
The World Saved!
Kitchen Waste
You know, it’s all the stuff you refuse to eat and usually throw in the trash (or grind into oblivion with your garbage disposal). Such is the normal life of kitchen waste. But STOP! Can we possible raise this lowly cast off to a place of honor? YES, of course you can!
This simple practice will confirm beyond all doubt your eco-warrior status so act NOW. Here’s how I do it:
Collect Your Waste
Instead of trashing your waste (or wasting your trash) just put it into a closed container under your sink. Depending on how you prepare your vegetables it might actually be easier since you won’t have to clean it out of your sink. I even put coffee grounds, filter and all, into the container. I put everything organic except meat (beef, pork, poultry, etc). Seafood is OK if it’s not a lot. Shrimp peelings and egg shells? Sure.
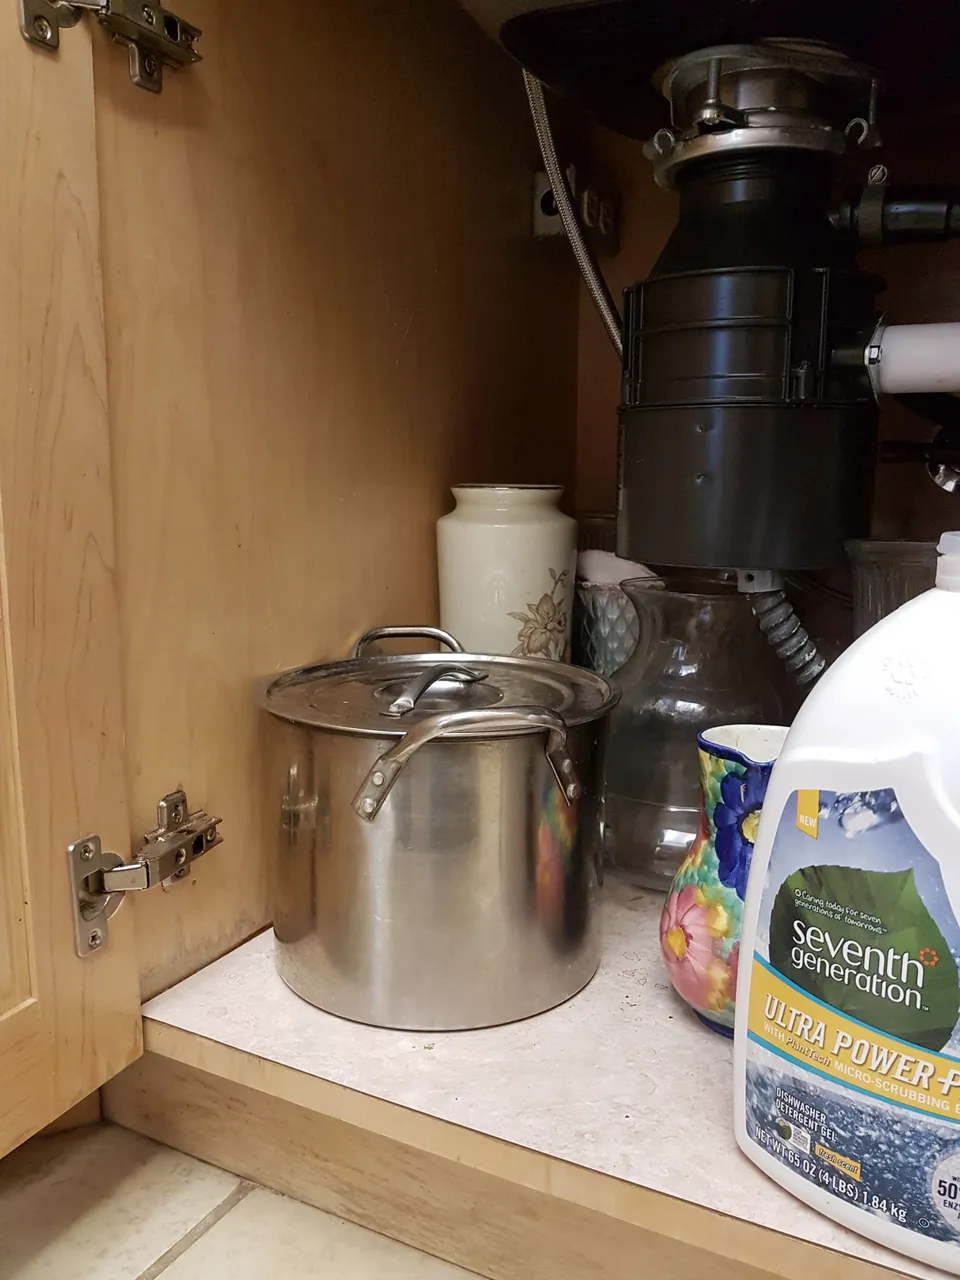
Our Stainless Steel Under-sink Container
Consolidate Your Waste
You will need to transfer the waste under your sink to an outside container. I’ve never had a problem with odors but you might not want it under your bedroom window.
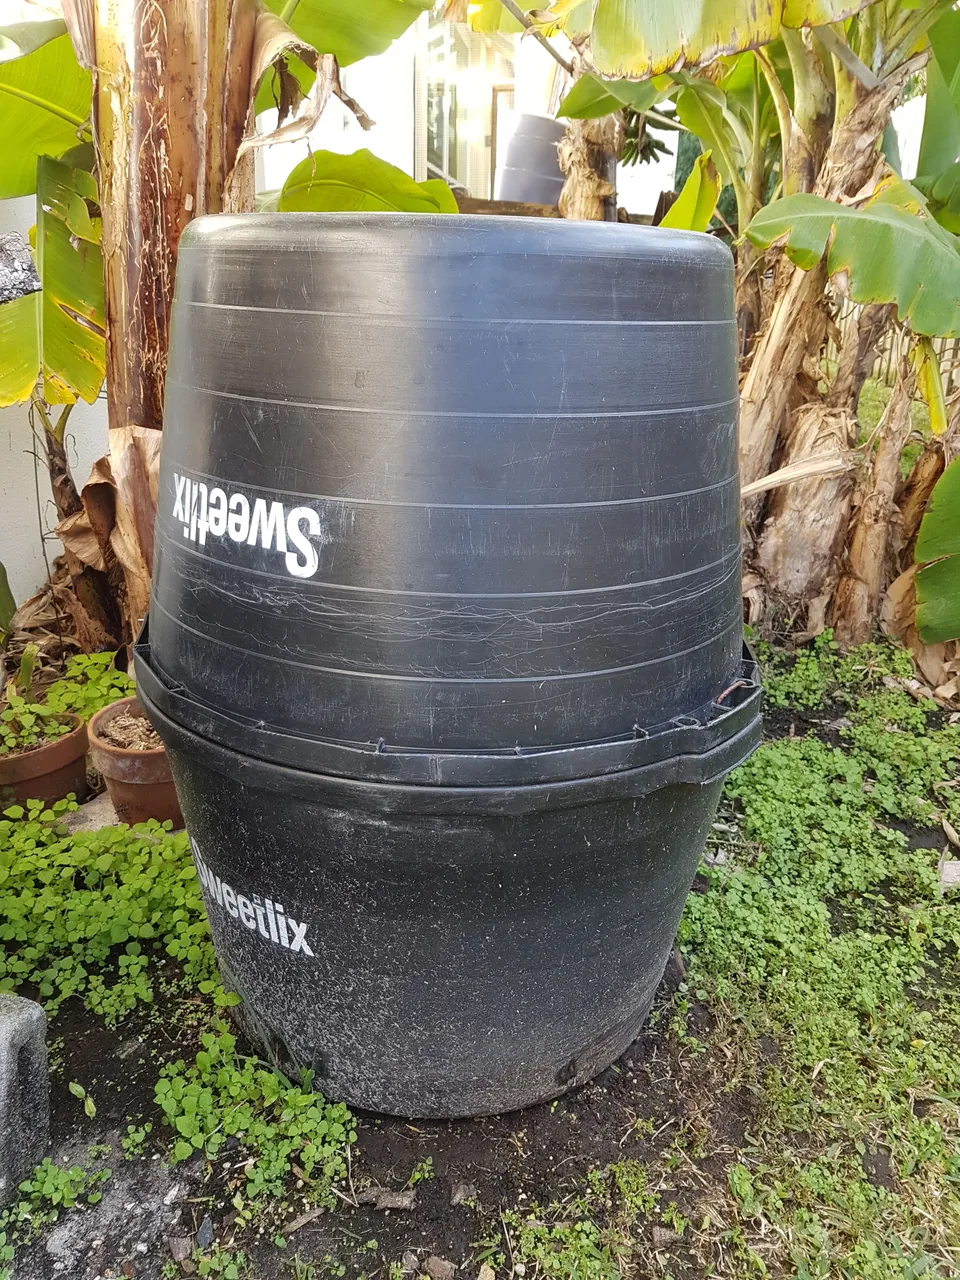
Our Repurposed “Sweetlick” Containers
If you happen to have a friend that runs cows they probably can give you some large plastic containers but I’m guessing most of you don’t have any cowboy friends. In that case a 25-30 gallon plastic garbage can WITH lid will work just fine.
Prepare the Outside Container
You need to have holes in the bottom of this container. The holes let fluids out; worms and other creatures in. The simplest way to do that is to drill 1/4” - 3/8” holes in the bottom. Drill a LOT of holes. Space them about 1/2” apart and cover the bottom with holes. Depending on the thickness of the plastic container adjust the width so that you don’t compromise the bottom too much. I put plastic screen in mine but holes might have been better.
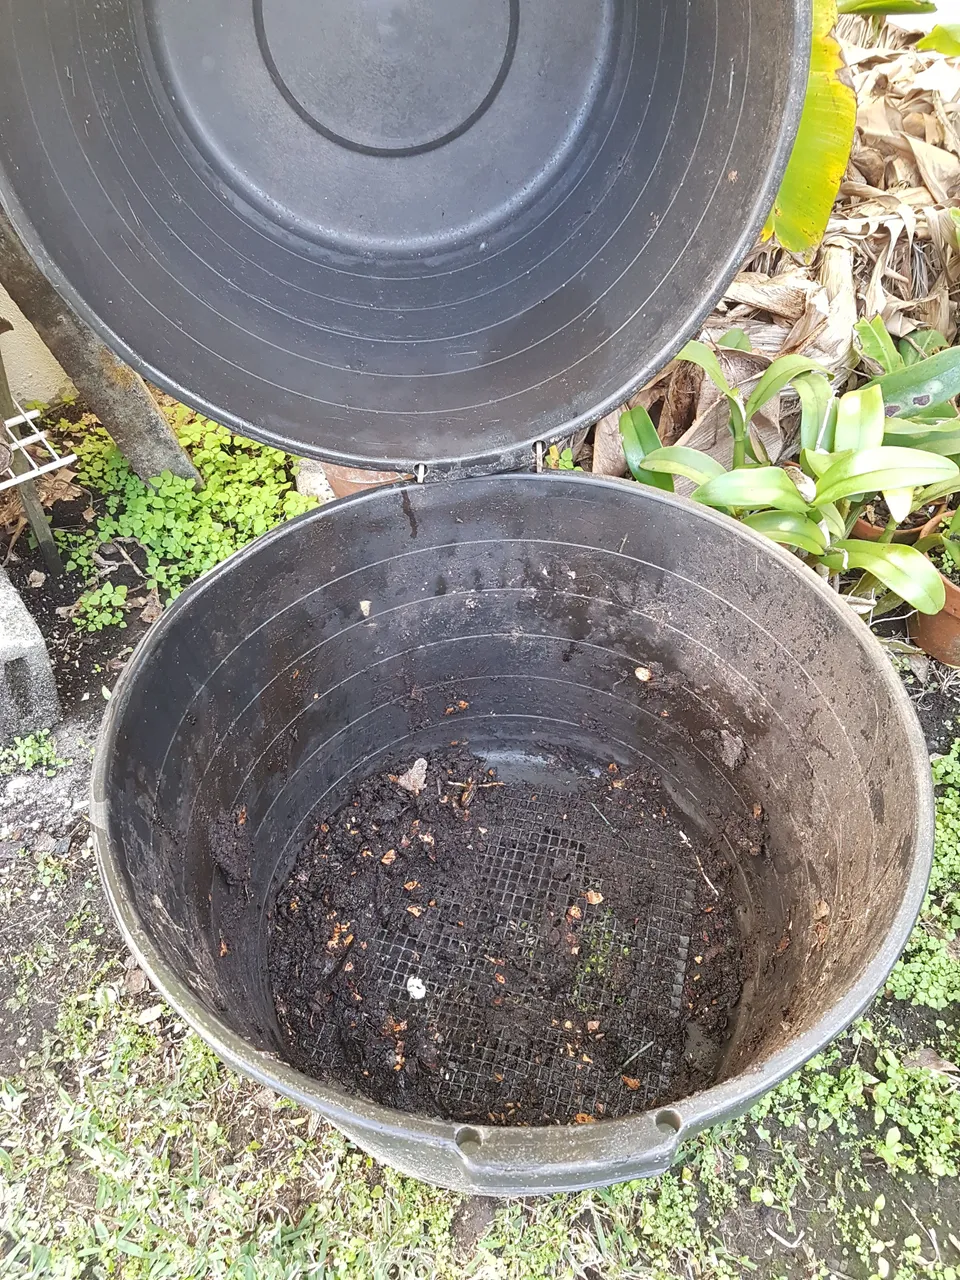
Holes in Outside Container
Position your Container
As the kitchen waste decomposes it will leak out nutrients into the ground under it. Position it so that it will fertilize a plant. Mine is by the banana trees, which look really poor because of the freeze we got down here.
Wait Patiently
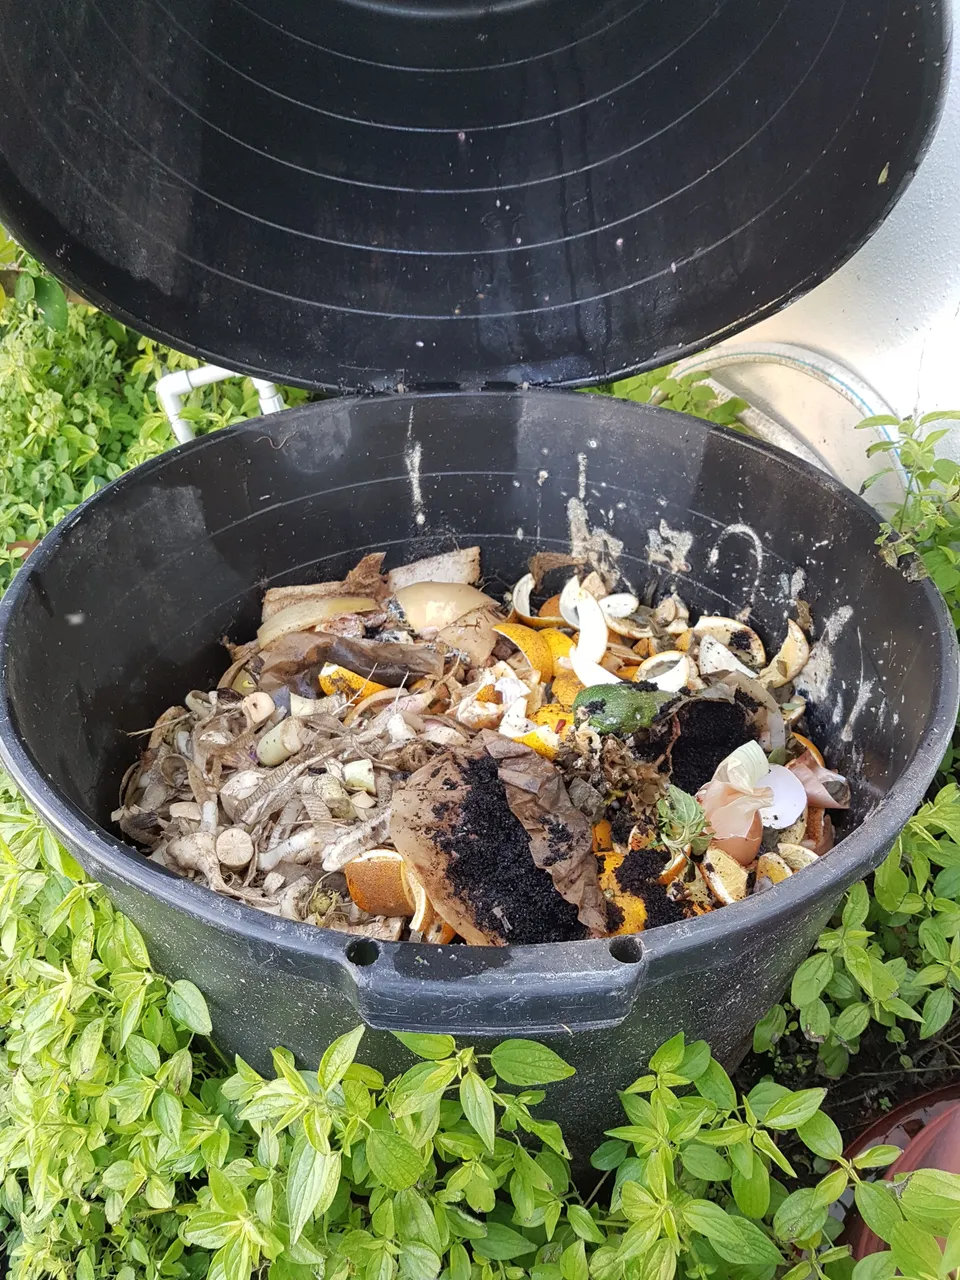
This step is mostly self explanatory. I fill one outside container and then switch to a second outside container. By the time I finish filling the second container the first container is ready to use. Yes, I know exactly what it looks like. In fact the two processes are very similar utilizing bacteria, fungi, and critters to do the work.
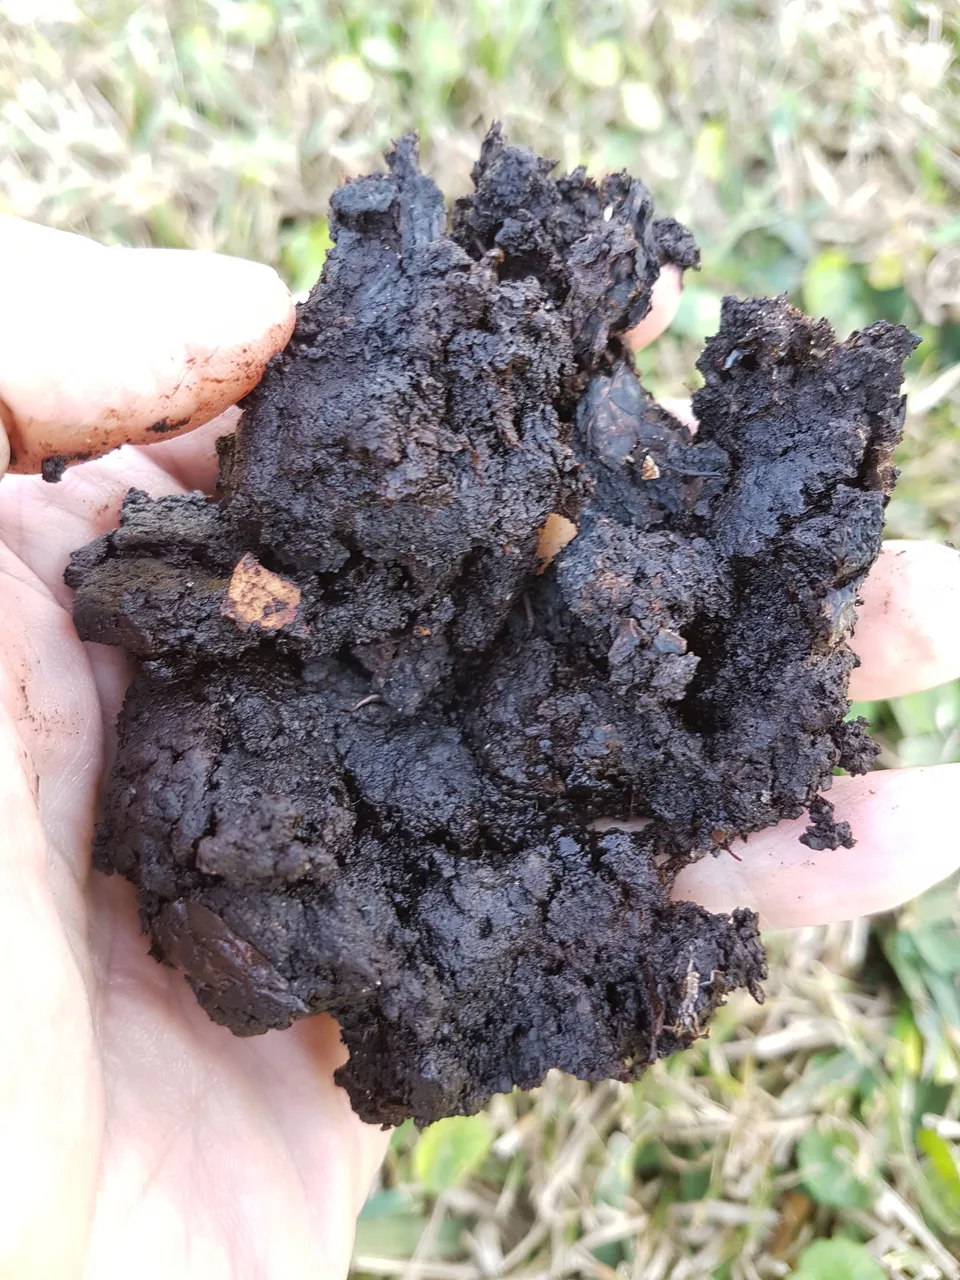
The Result of Waste and Patience
Utilize Your Results
The finished product is nearly 100% organic matter with no sand, rocks, dirt, etc. In fact it is surprisingly light because it has no sand or rocks which usually make up 45% of soil. This is NOT what you want to plant in, so if you use it for potting you must mix it with some top soil.
Alternatively you can just put it around your outside plants like mulch or fertilizer.
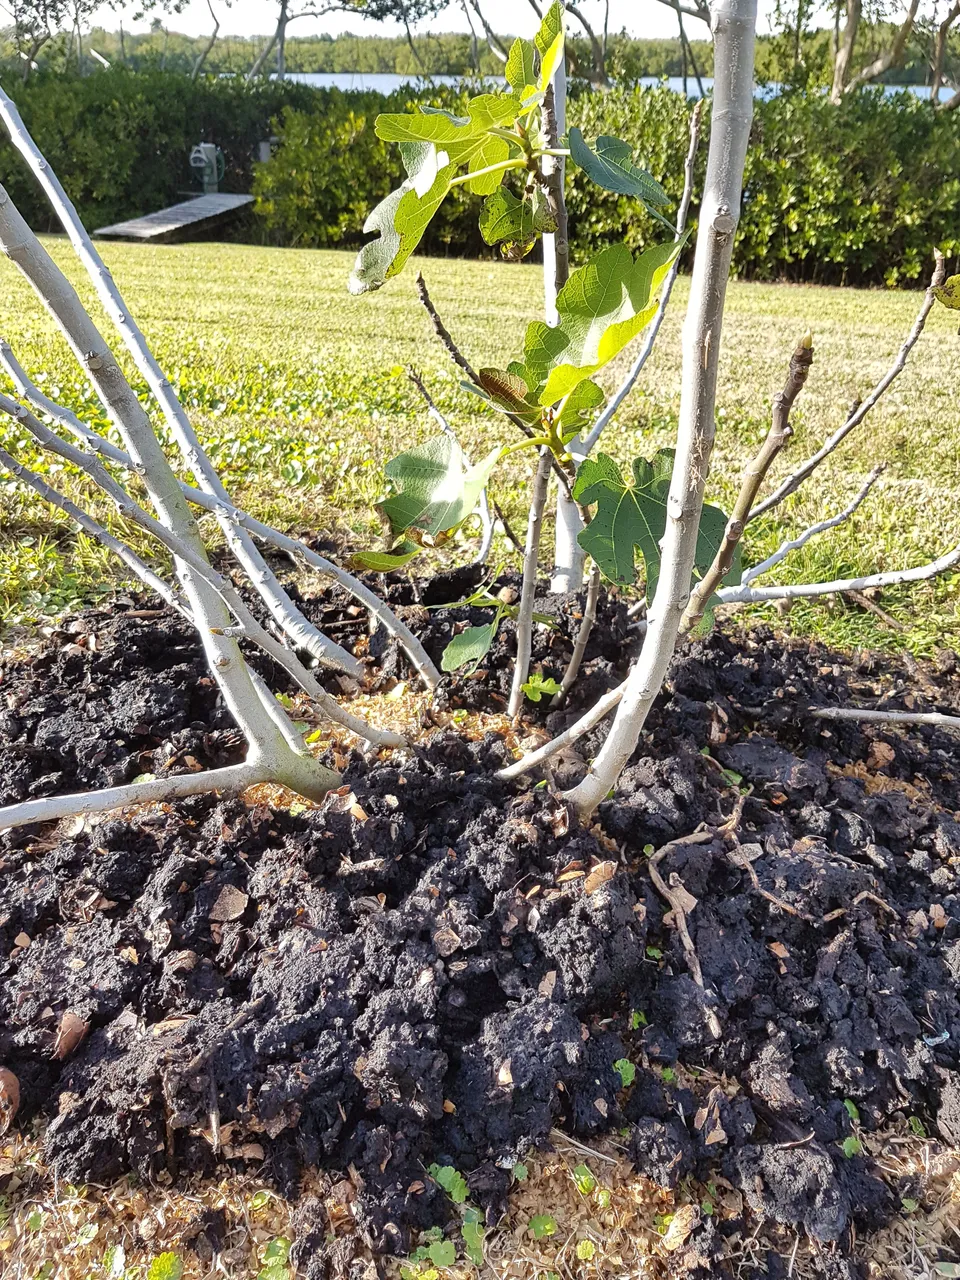
Our Happy Fig Tree (It’s been a hard winter for it)
Other Posts in this Series
Soil vs Dirt and Why It Matters
How We Kill Our Soil
Pretend you're a Worm or How to Love Your Soil
PS - If I don't cite a source for a photograph then it's one I took myself.