Hey everyone! A little while back @beckymeep was in an accident where both of her front tires popped off the rims and were bent and destroyed. She purchased new ones and was back on the road but I had the crazy idea to keep them for something. Almost a year later, I decided to utilize the wheels for a fire stove to go out in the back yard. The wheels had been sitting at @derekrichardson's house the entire time and he was happy to have me claim my junk property. Over that time I had also accumulated a giant stack of fire wood for camping trips. That wood was perfect for this stove, as I've been sitting on it so long I need to cycle it out.
These type of stoves are all over the internet so I just duplicated the design. I was happy to be welding, as practice makes perfect. This stove also helps reduce the cost of utilities as we would be cooking on it and not the interior stove.
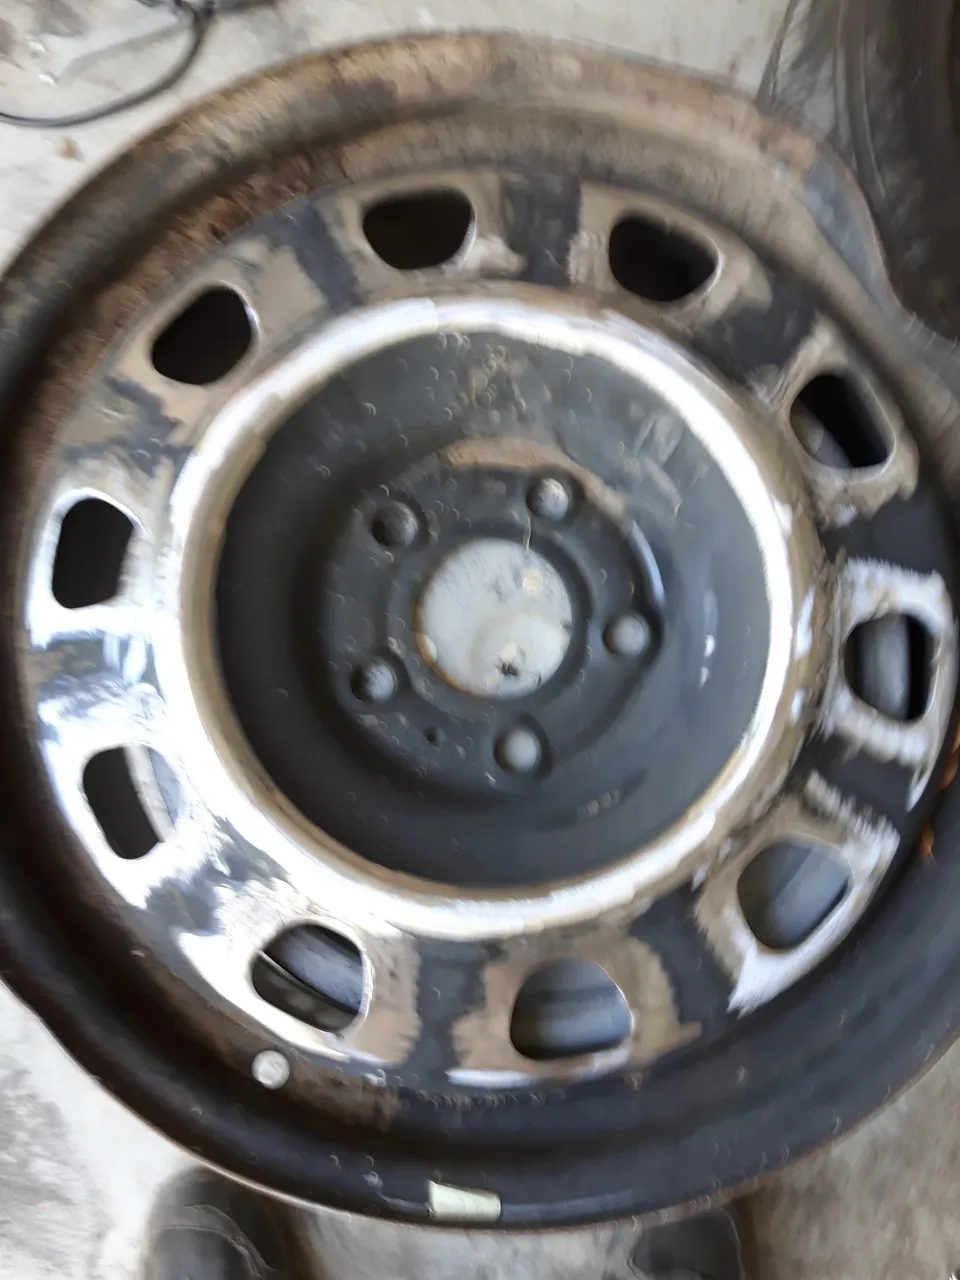
The tires needed to be separated from the wheels. I have de-beaded tires before and these tires made zero sense. Usually when a tire looses its bead it can just pop off the rim. Not this case. One side of the wheel would de-bead fine but the other was "glued" to the wheel. When I say "glued", I mean they were adhered somehow to the rim and I actually needed to cut through them to get them to pop off.
Getting the full tire off was a pain in itself. I had to cut a large portion of the tire out so that the angle grinder could fit in the center so that I could cut the interior "glued" section. When using an angle grinder always wear eye protection as well as gloves (not pictured). I have a spare angle grinder with a flap disk on it to save time. The flap disk was used to grind metal so that it was clean to weld. Cutting through the tire wore out my cutting disks to no end! I was burning through them faster than if I was cutting metal.
Now that the wheels and tires were separated, I got to grinding. First I ground off the little wheel weights, They are made of lead and that is not something I want in close proximity of heat.
@derekrichardson was nice enough to provide the grating for the bottom of the stove. I needed something that was thick steel grating to plug the large holes. That way large chunks of charcoal didn't fall through to the ground.
I cut the grating into small squares that would plug the holes. I did not have enough of it to cover the entire bottom so I economized and cut what I needed.
I used the flap disk to grind the metal clean for welding. The center ring was ground so that I could weld the stand to it. First though, the small squares that would reside under it needed to be welded.
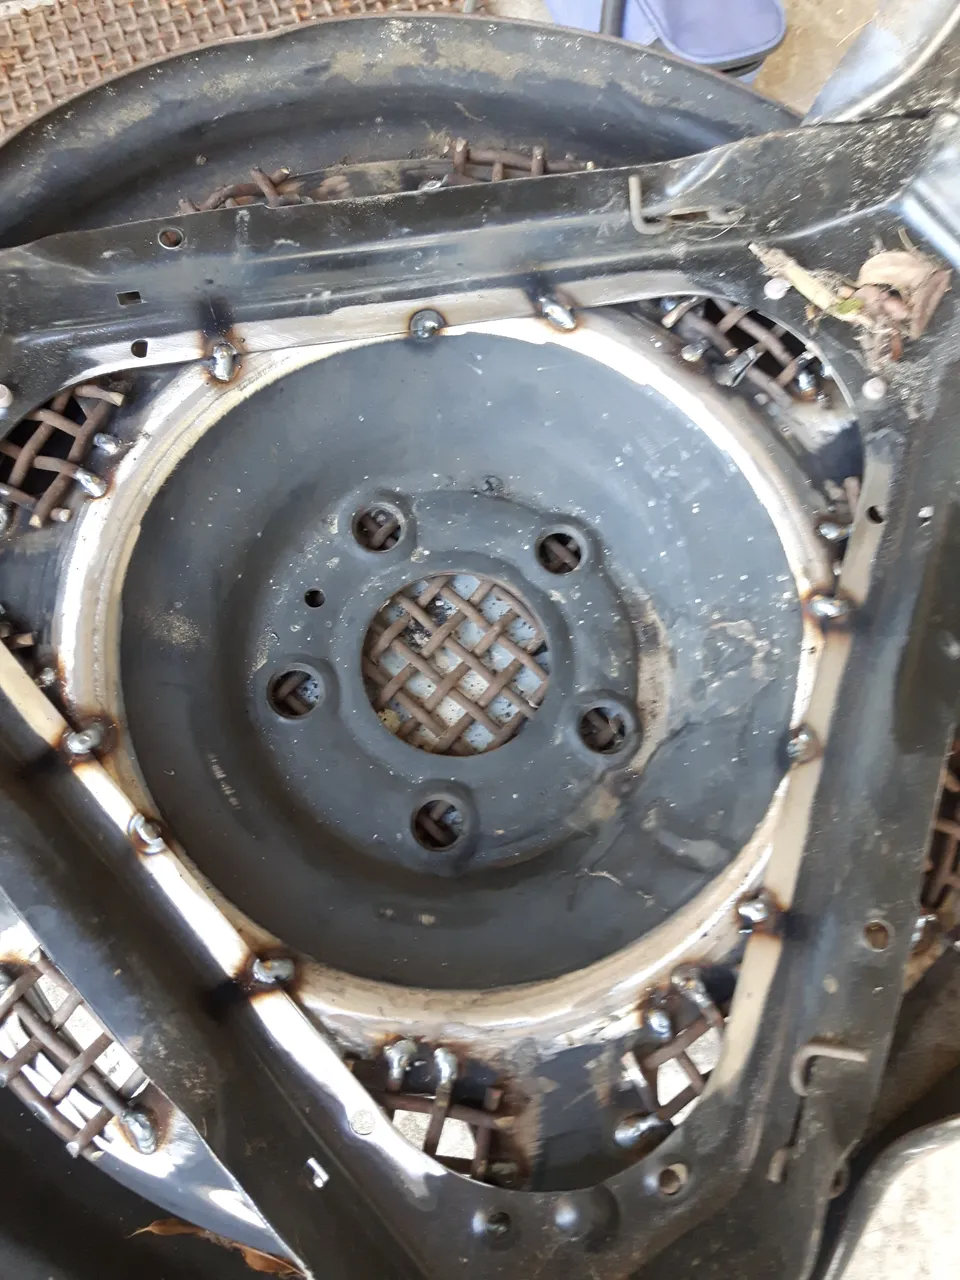
While at it, I ground clean the interior section of the wheel that would be plugged as well. I wanted the small squares on the exterior of the rim as it would be easier to weld them all. It would have been hard to get them all welded up in the interior. The center section was a different story and could be welded up inside.
I cut the best circle I could from the grating to cover the center section and while the rim was flipped I figured I would weld it into place. I fired up the good ole welder and had at it. Gloves and welding mask are a must!
The steel grating could only really be tack welded as it would melt very fast once the weld bead hit it. I flipped the rim back over and welded up the small squares.
At this point the stand could be welded on. Like the wheels, the stand was taken from an old washing machine and saved. I stripped the topload washing machine of a ton of parts and decided the stand looked useful. I ground clean where I was going to weld.
I only tack welded this stand due to the fact that there were only a few points of contact between the rim and stand. The square nature of the stand made it ideal for keeping the stove sturdy.
I slapped the second wheel on top and ground down where I would weld them together.
I welded the two wheels together, producing four inch beads at a time. This prevented the steel from warping. I alternated to the opposite side between welds.
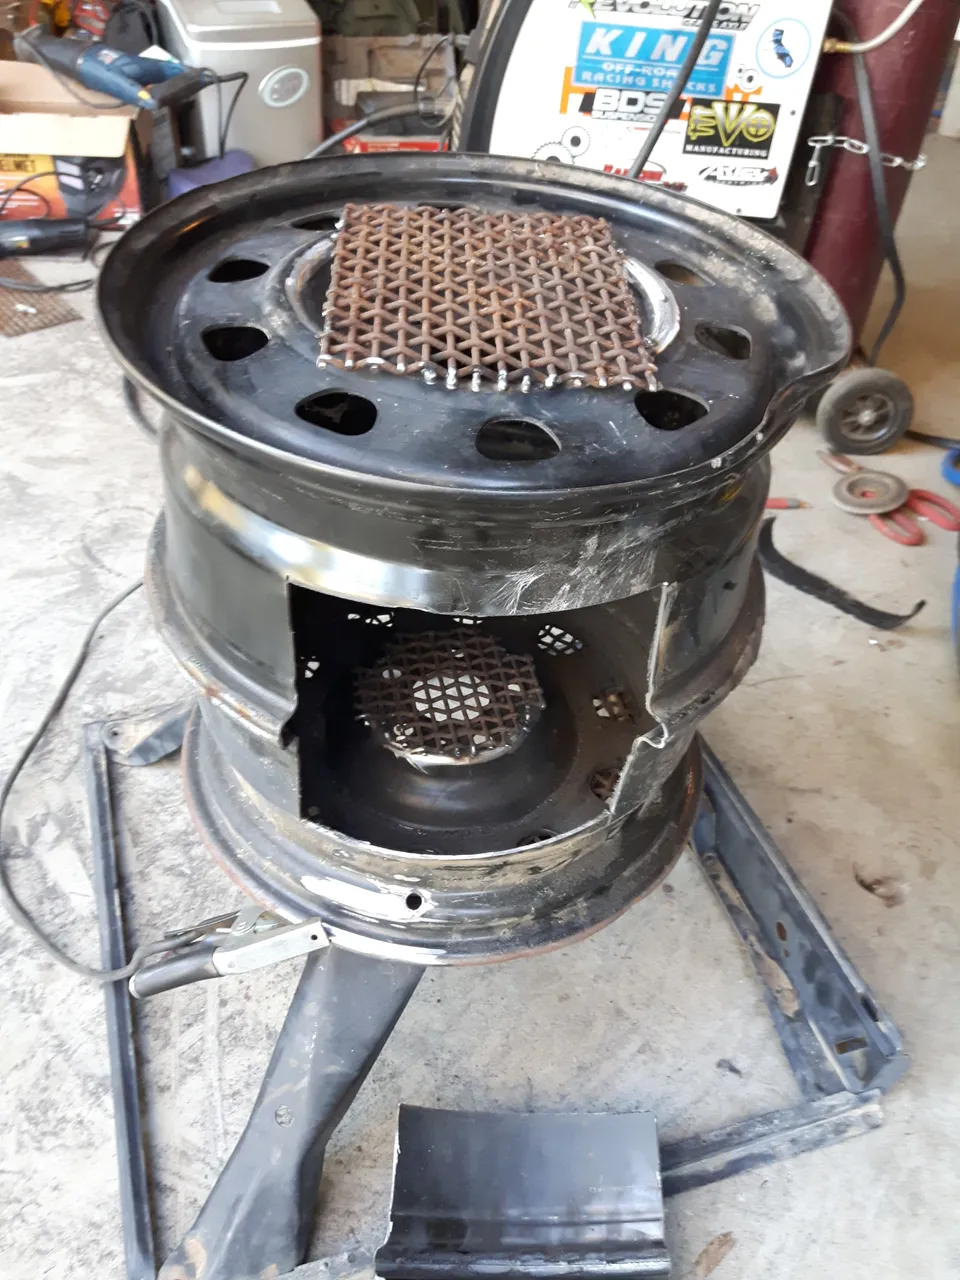
I went on to cut the door out using the angle grinder. I cut a square large enough to stick in some good size logs.
For the top where pans would be placed I cut a large square of grating and welded it to the center. This would allow us to cook on top with any size pan.
I ended up starting to construct the door but did not weld it on. I got a little excited about it being near finished that time flew by and that evening I wanted to use the stove. I might get around to finishing the door and painting it but for now it seems to work fine as is. Becca and I decided to cook something easy like hot dogs. I got the fire started and cooked the dogs up.
The stove seemed to work very well without the door. After dinner we sat by the fire under the stars before calling it a night.
I hope you enjoyed following along on this build and think about building your own backyard wood stove. I took wheels that were essentially trash, and built something useful. Thank you for your time!
All photos, unless otherwise stated or sourced, were taken by @csusbgeochem1 and may not be reused without permission. Animations and cover photo created by @csusbgeochem1 using GIMP.
If you found this story interesting you can find more like it by following @socalsteemit and help us expand the Steemit community together