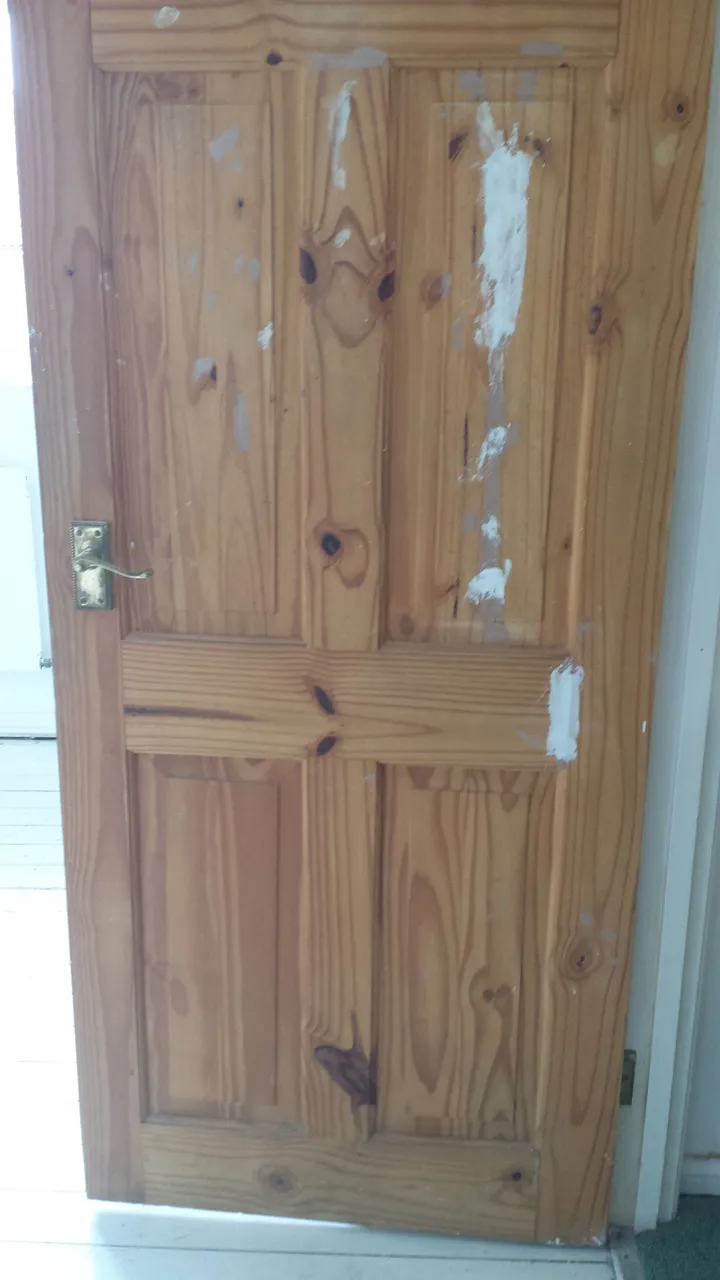
This is not an unpainted pine door.
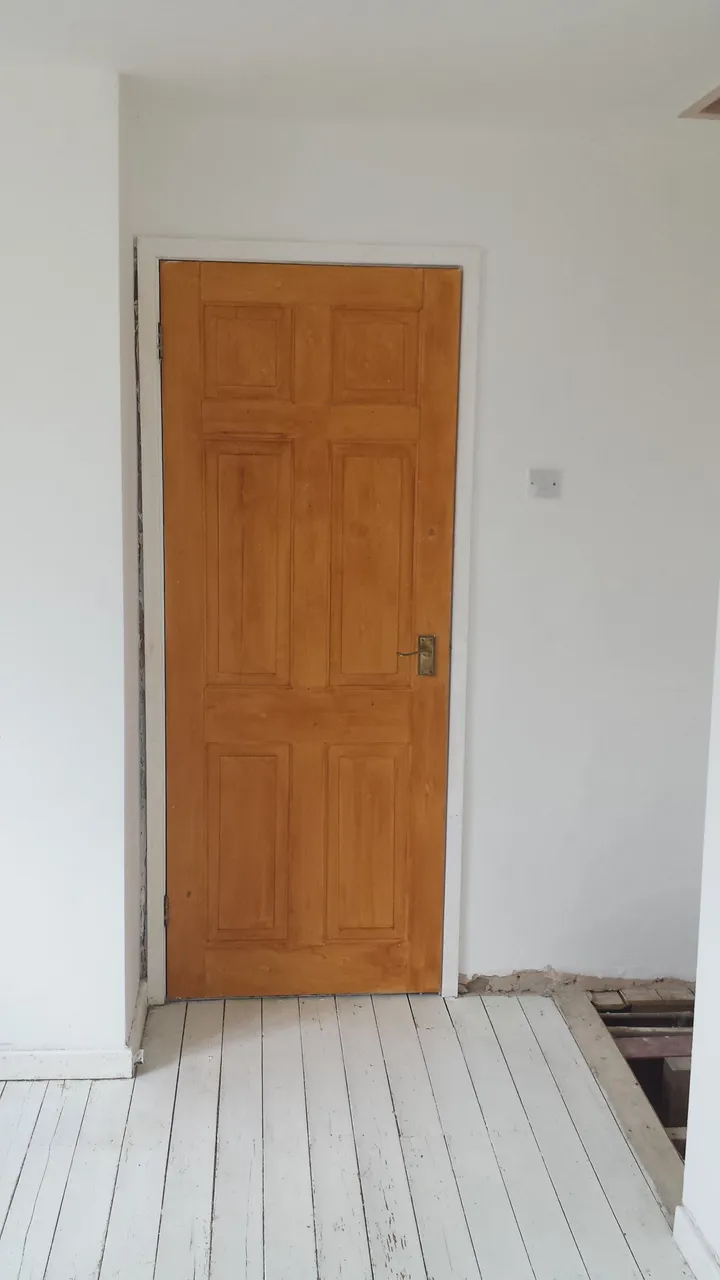
This is a knotty pine door that has been painted to look like knotty pine.
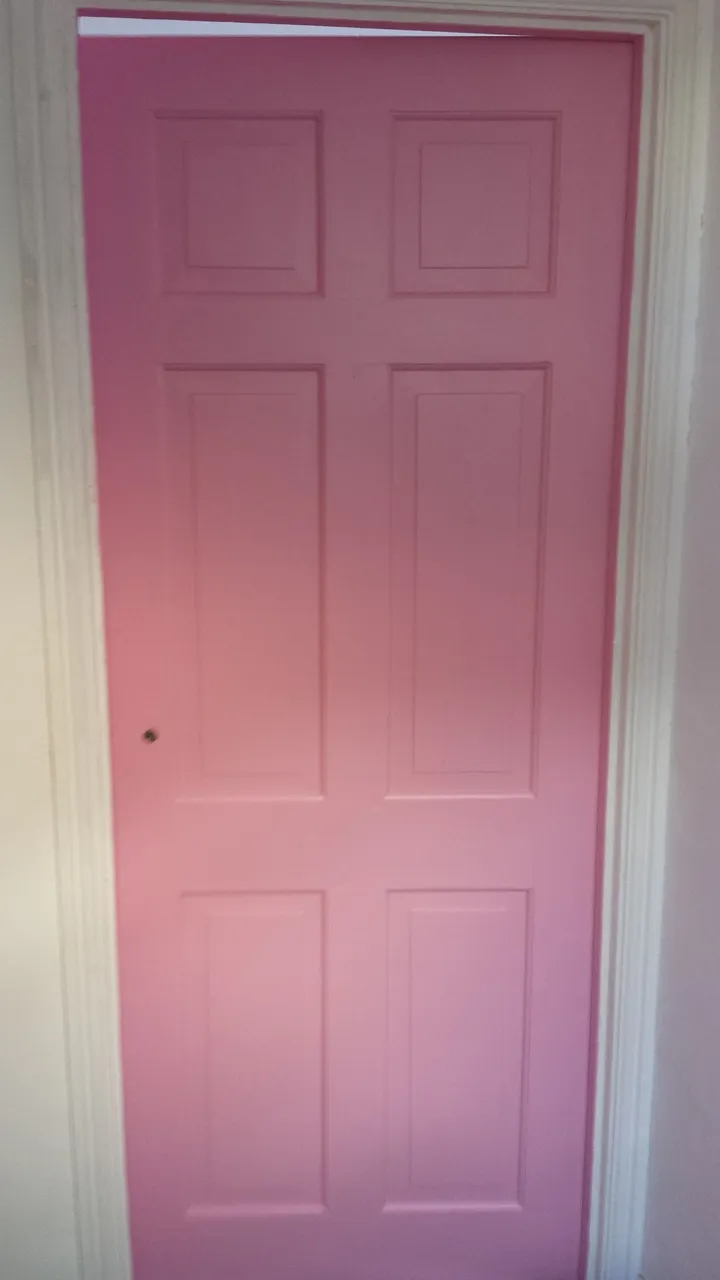
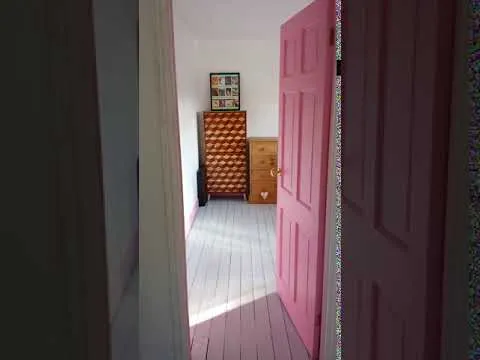
Tasteful.
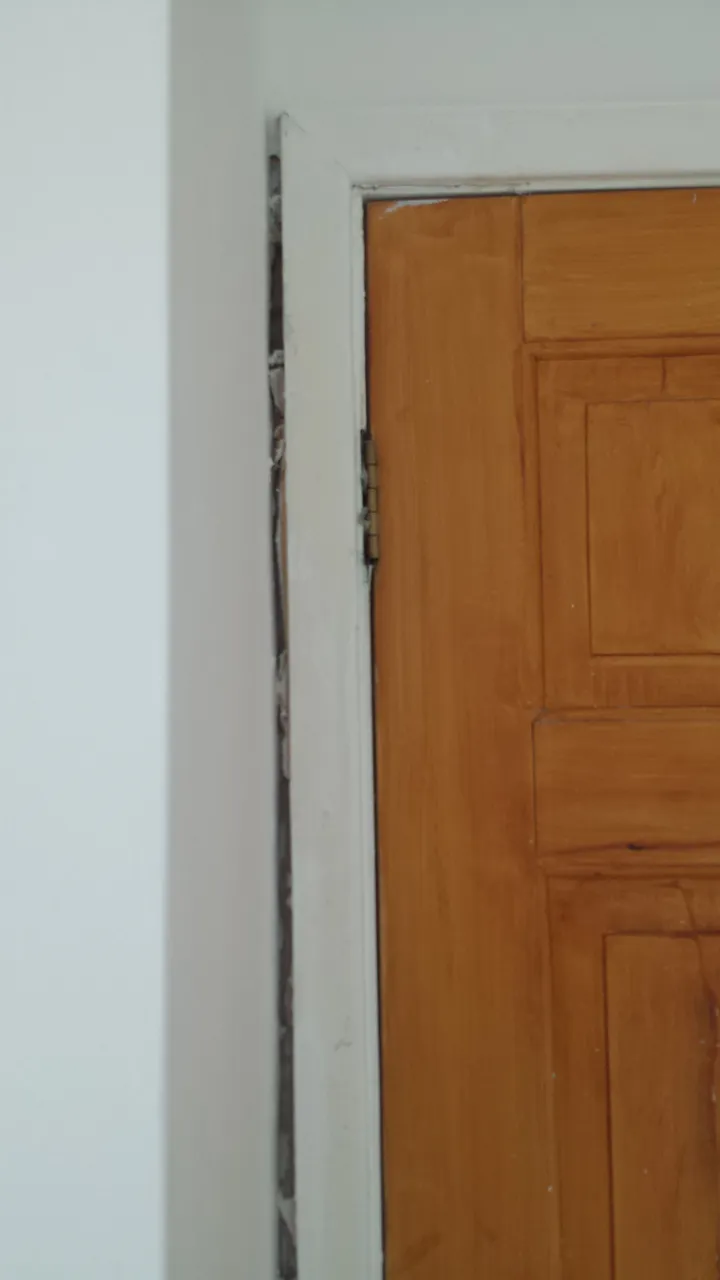
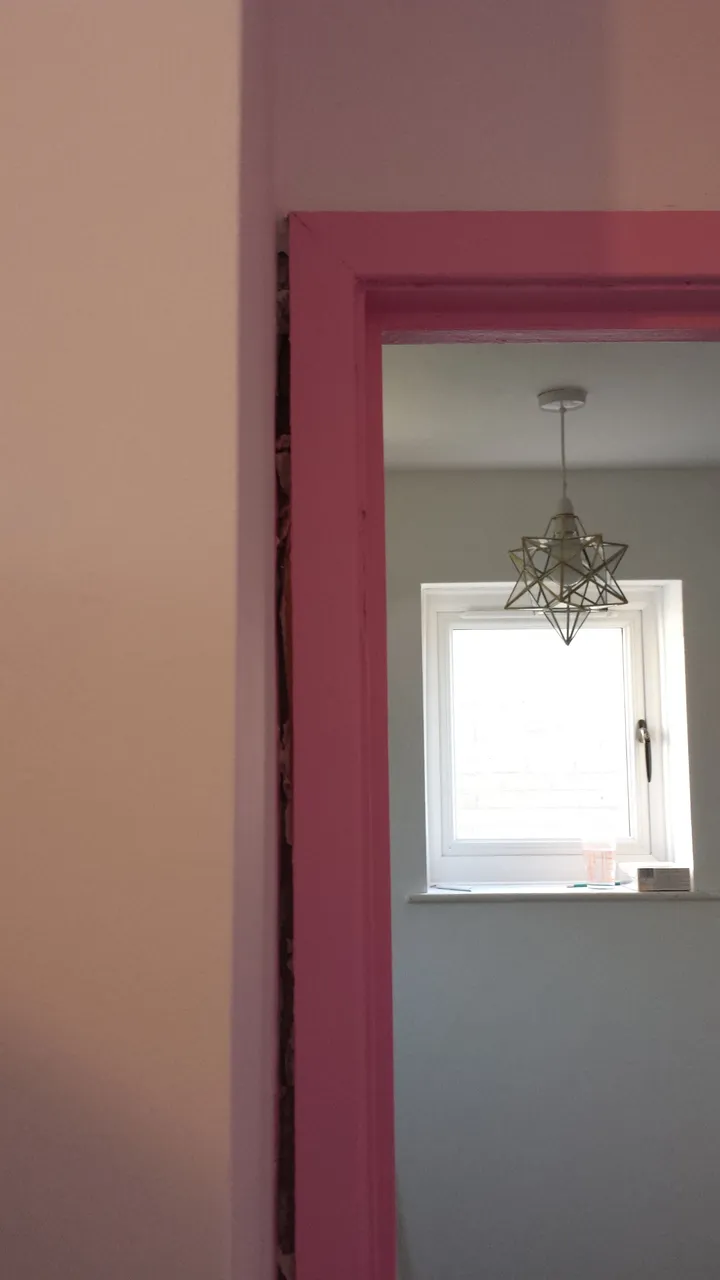
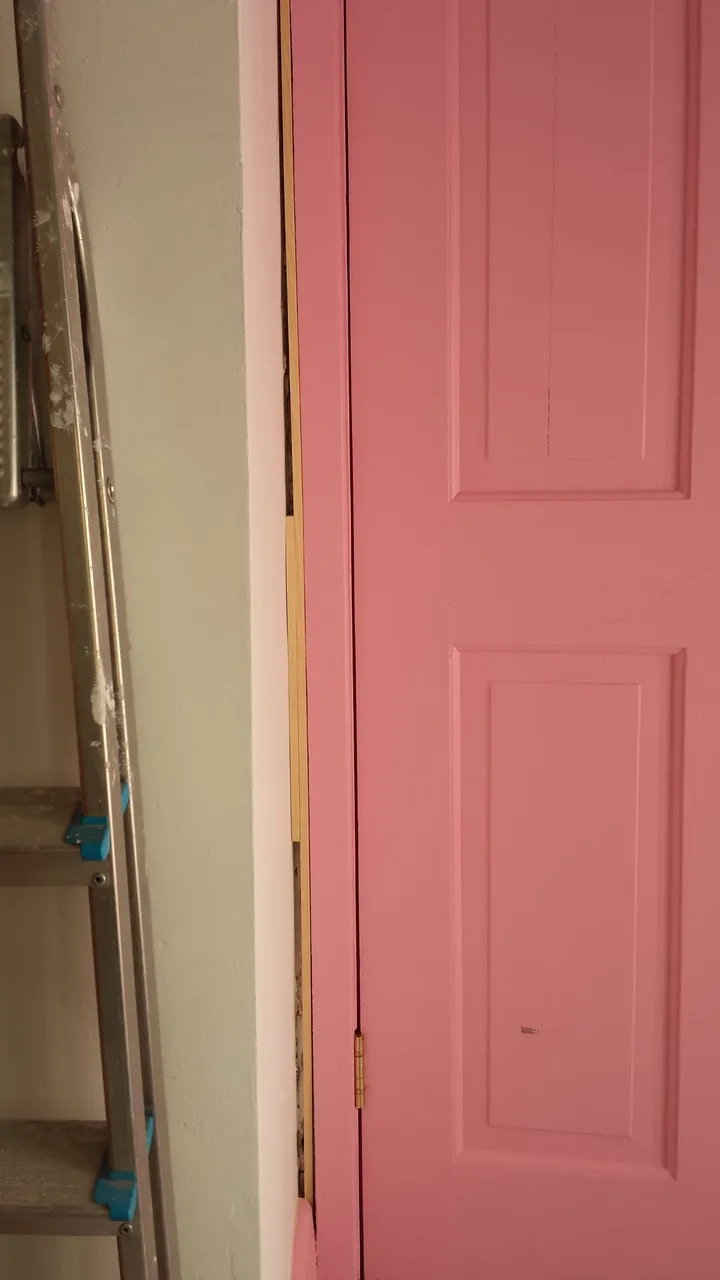
And with a handy 1 cm gap between the perpendicular wall and door frame, that widens to 2 cm at the bottom, because we have no straight walls in this house.
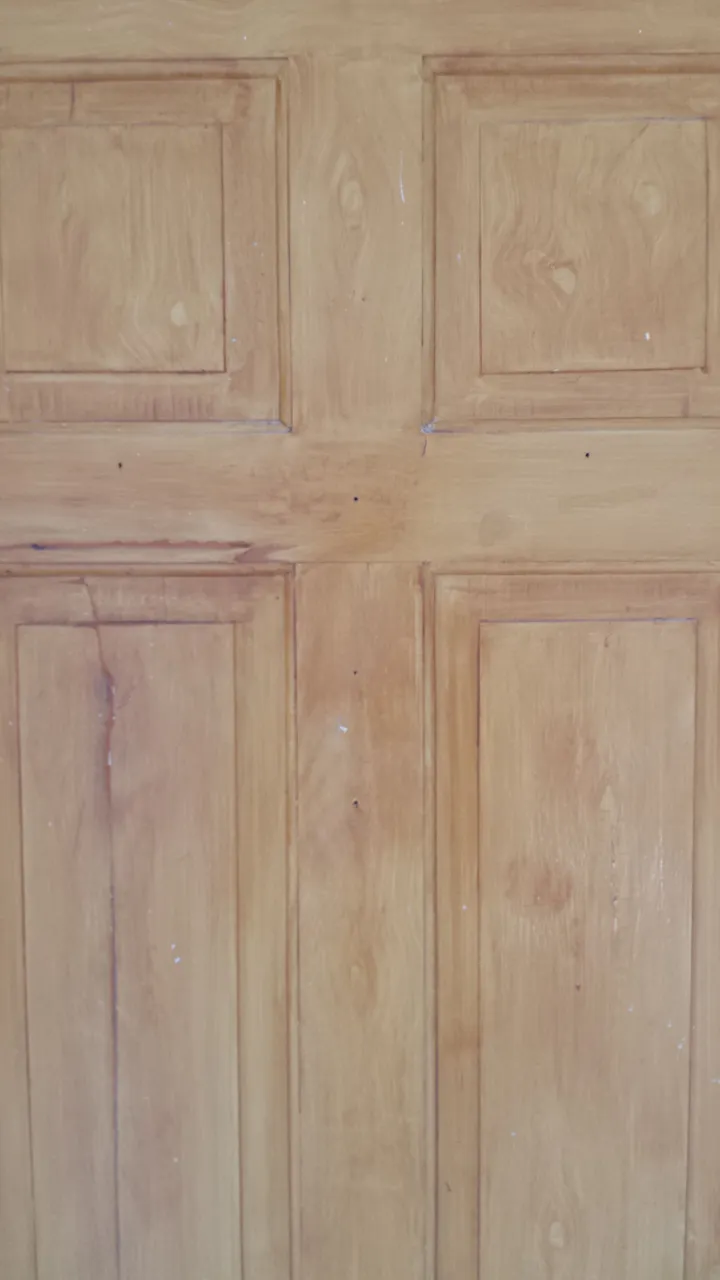
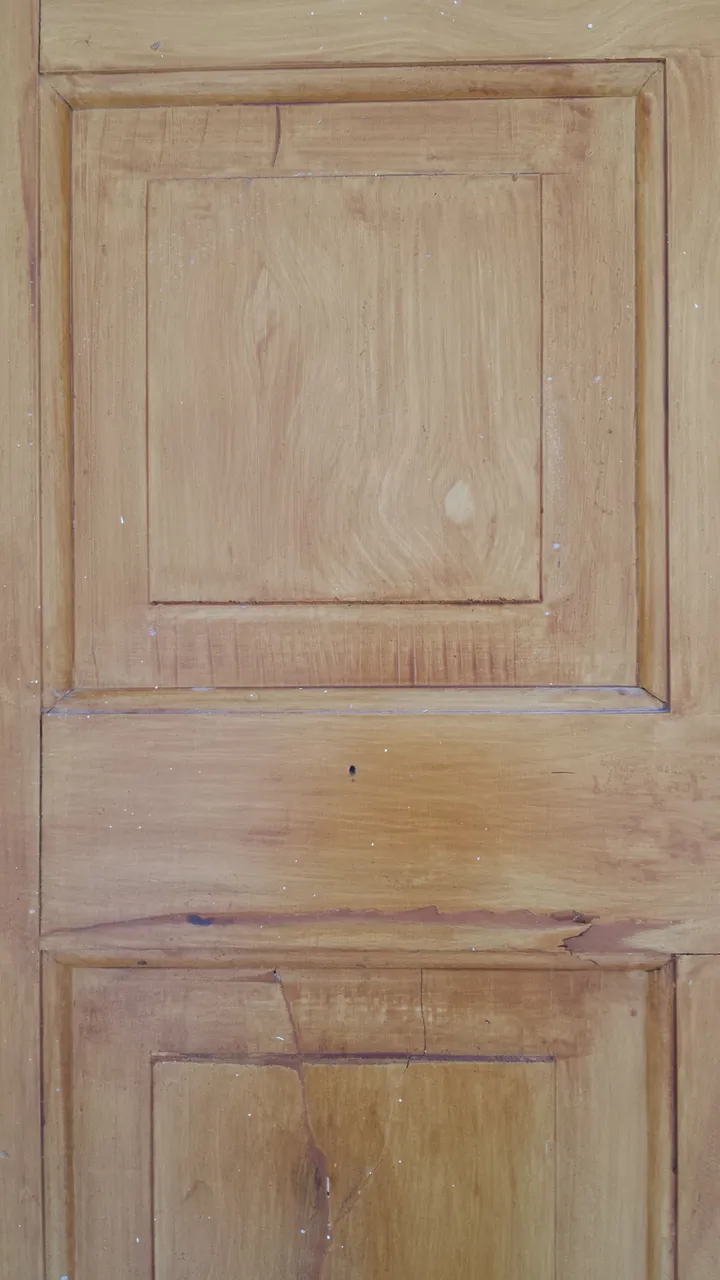
The reverse side of the door. Unpainted, but full of knocks and chips that needed filling.
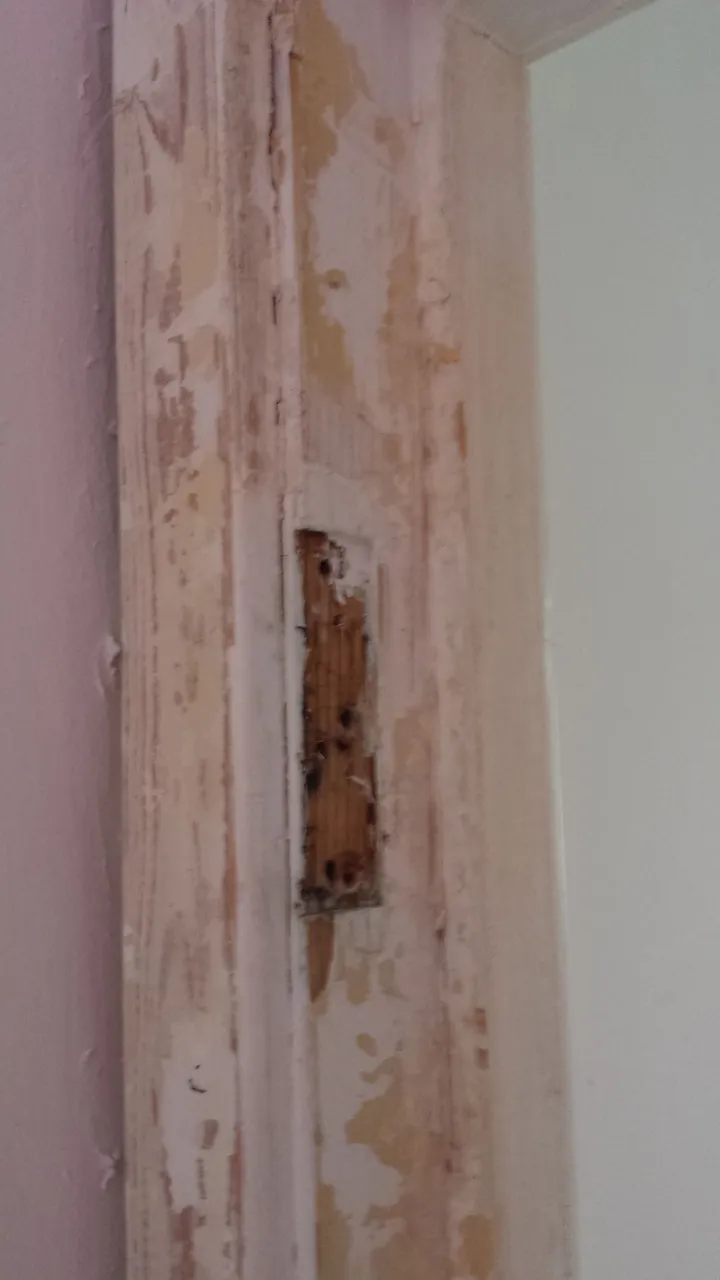
The door frame had a few layers of white/ yellowing white gloss paint. I used a heat gun to strip off the tops layers of paint and give a better surface to paint.
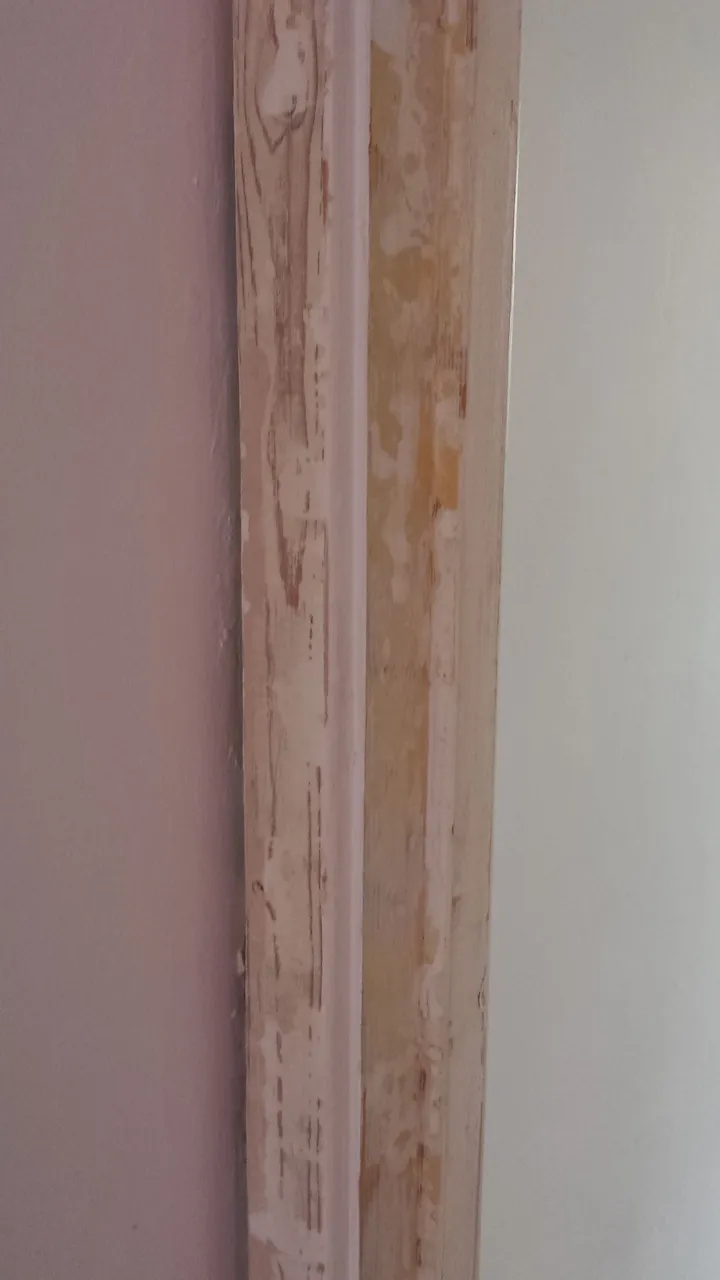
And took some rather dodgy out of focus photos.

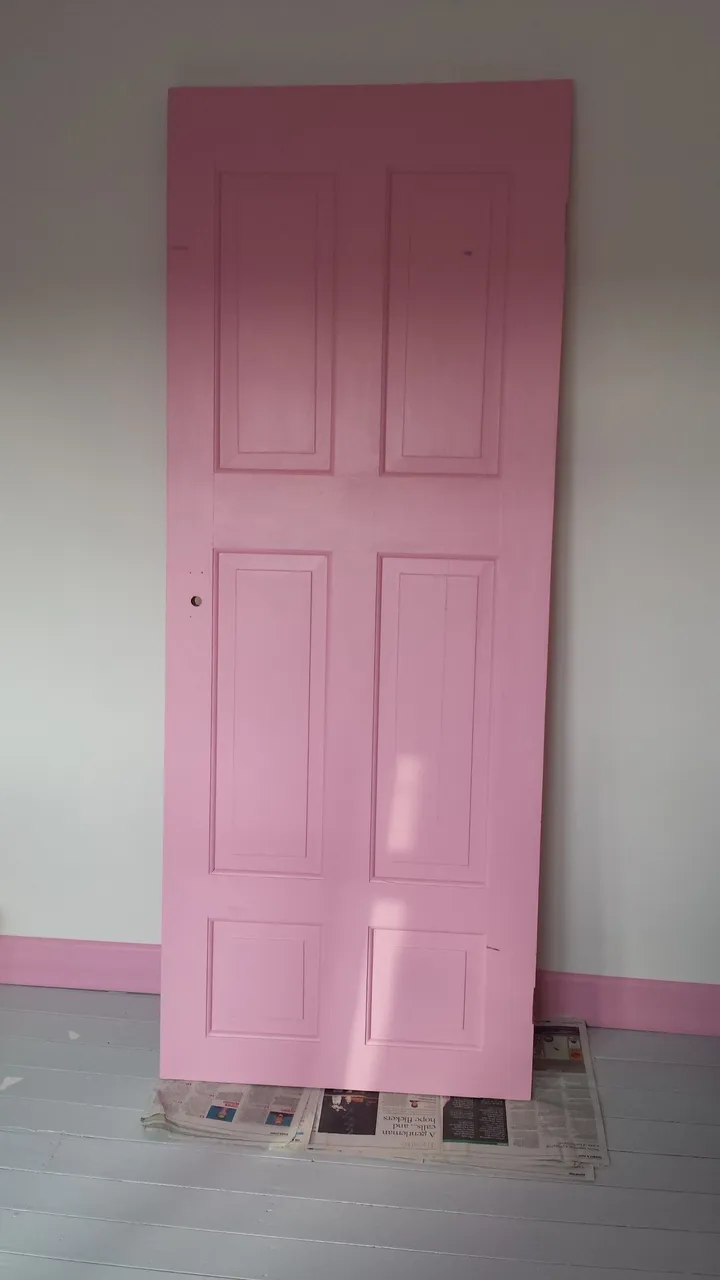
After stripping off as much paint as I could from the door frame, it had a good sanding before a clean up and coat of primer before painting it to match the skirting and closet doors (Designers Guild - Madame Butterfly). I painted the door whilst it was off it's hinges, propped up on trestles.
The (upside down) door!
The painted frame.

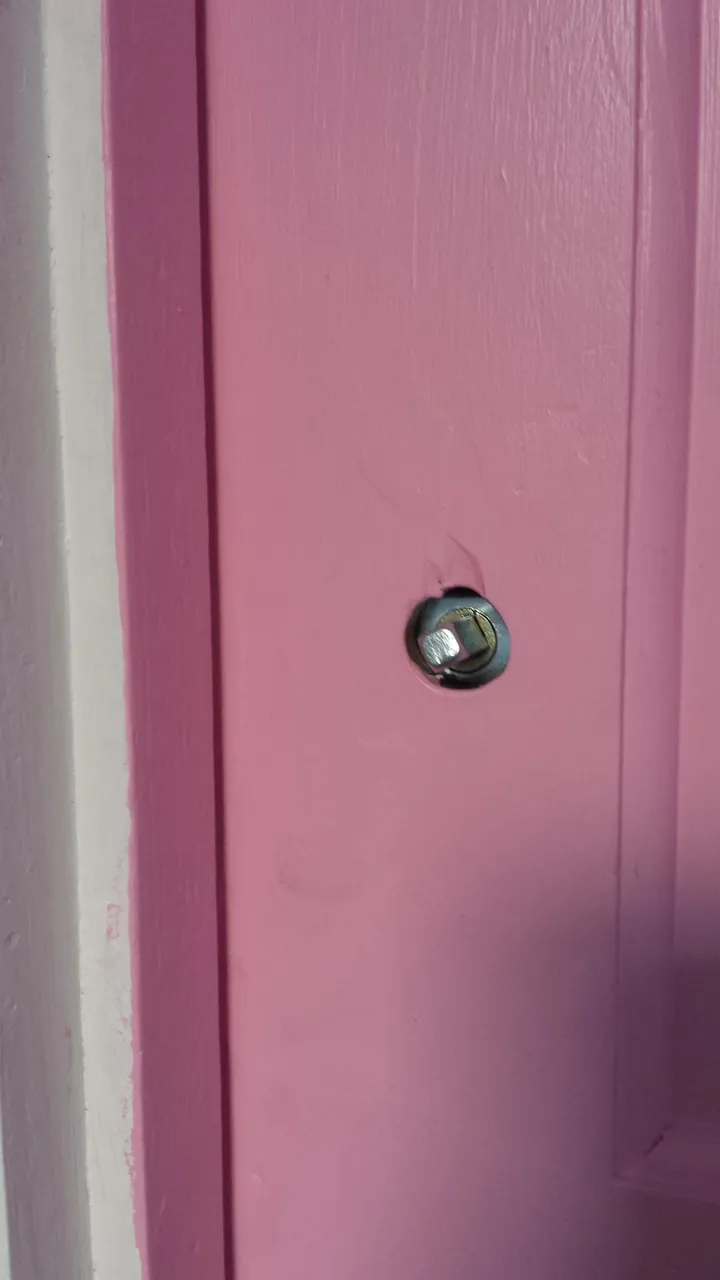
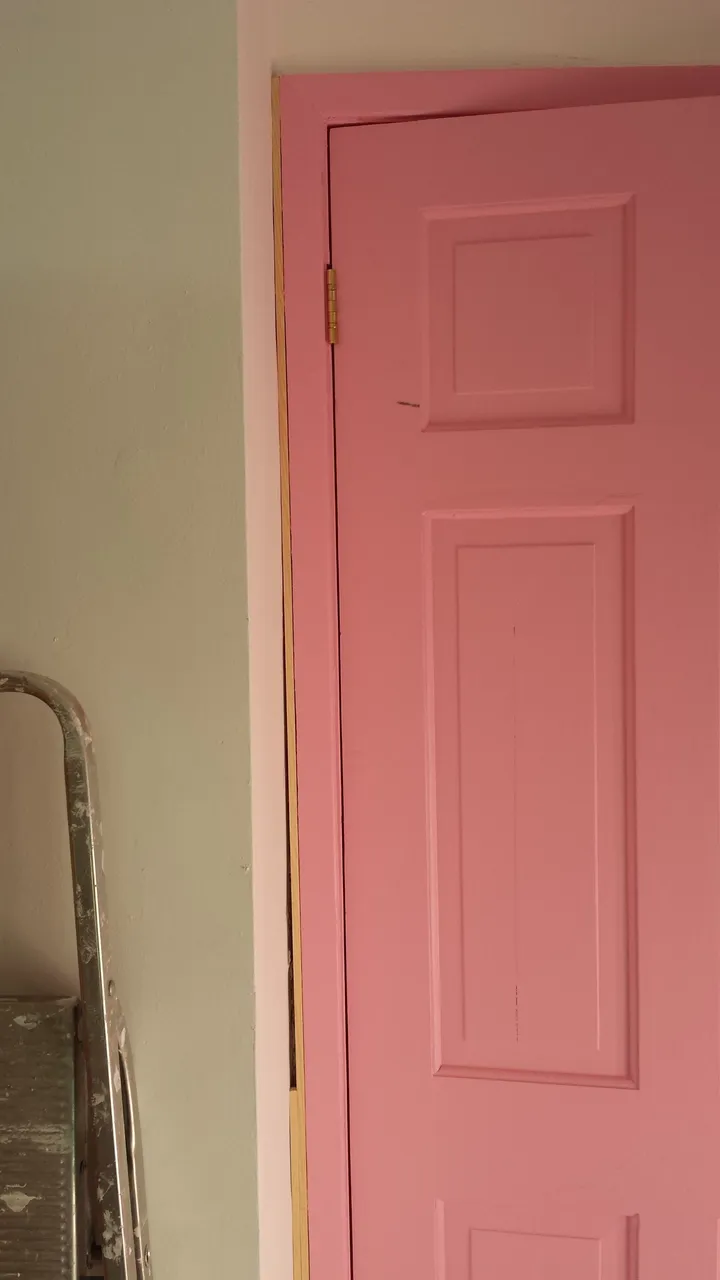
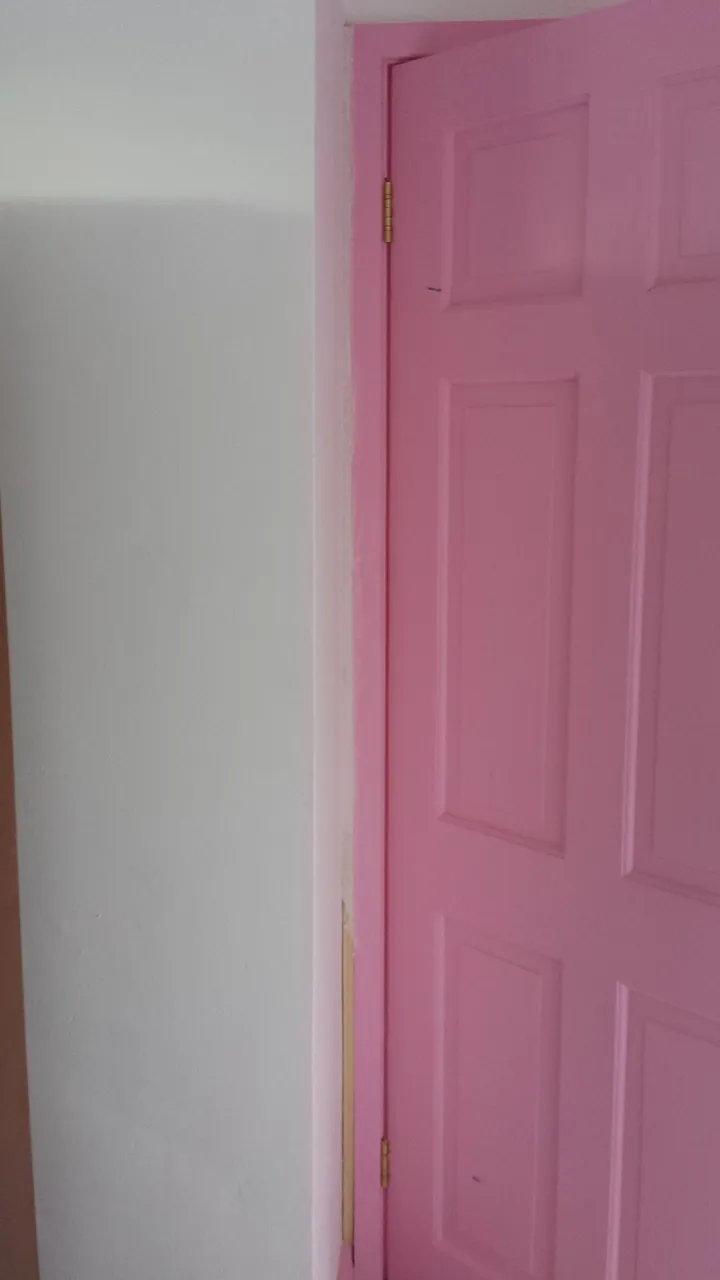
When hanging the door we changed existing hinges and door knob to new brass ones that match those on the bedroom door. The new hinges are slightly smaller than the original hinges, so there's a slight gap above the top of the hinges on the door frame. I might use some filler to patch this up later, but for now the pink paint makes it less noticeable.
Hanging a door is a two person job. Person A does the drilling/ screwing/ maneuvering, person B holds the door so it doesn't fall on person A. You start by marking out where to put the hinges on the door and the frame, and chiseling out the wood. You attach the hinges to the door first. Once the hinge lies flush to the wood, you mark where to drill the holes for the screws. Start with the middle screw first, then the top and bottom screws. We used the existing positions of the previous hinges, so only had a little bit of adjustment to do. You'll need to wedge something small underneath the bottom of the door to get it to the right height for the top hinge to be screwed into the frame. Screw the middle screw of the top hinge in first, then top and bottom screws. Then do the same on the bottom hinge. Make sure the door moves freely, not sticking on the floor or any parts of the door frame. If it does, mark where it's sticking, and then you'll see if this is an issue of re-positioning the hinges or planing down an edge of the door.
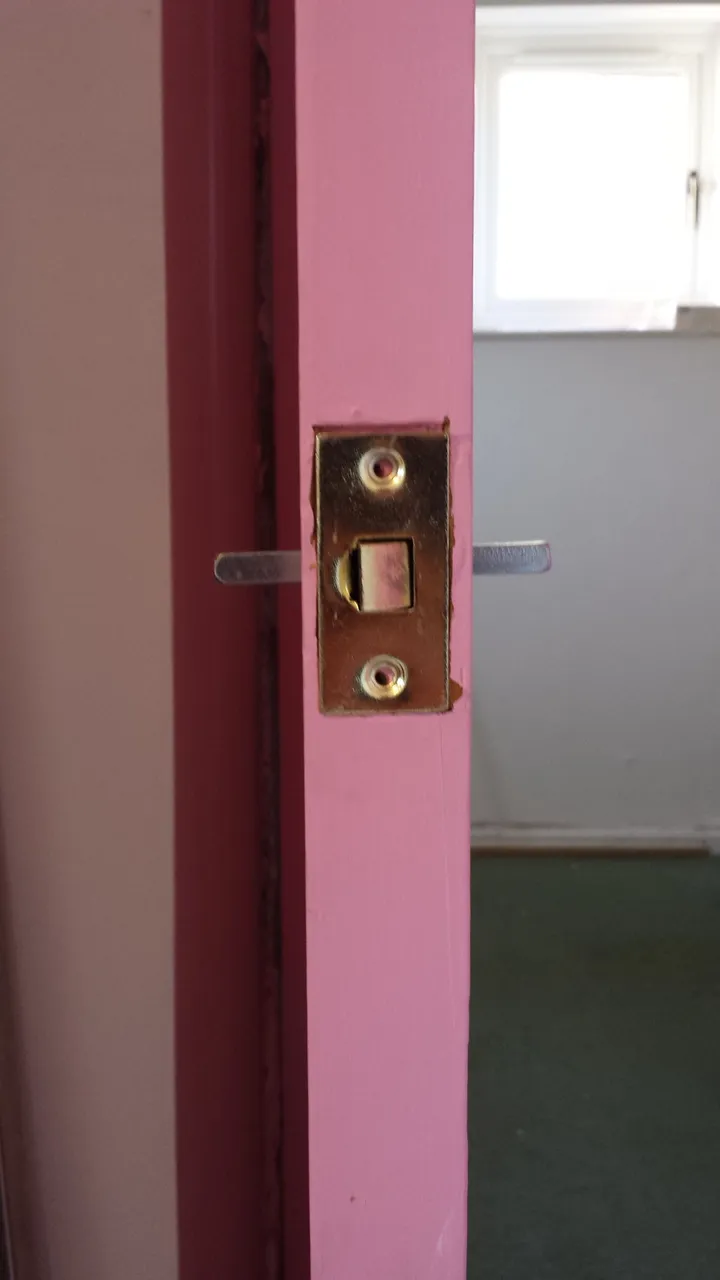
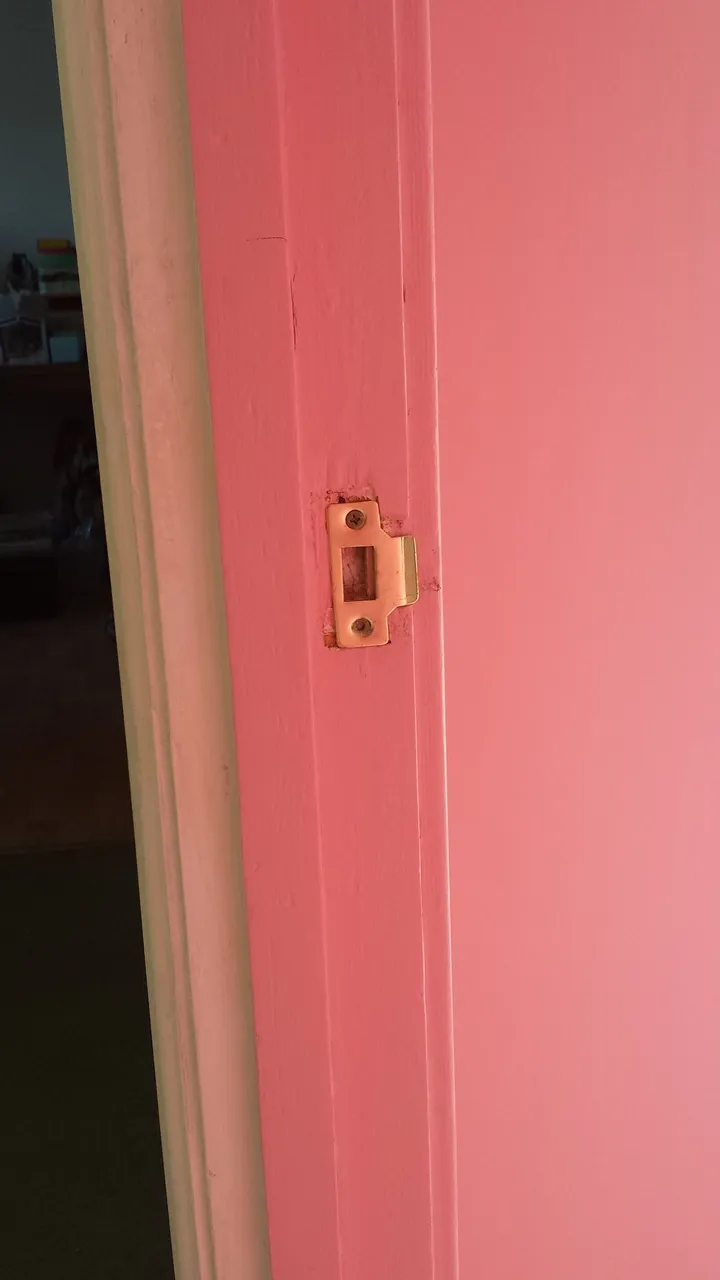
When putting the new latch mechanism in, it turned out that the latch didn't meet the hole originally chiseled out of the door frame, so the catch plate got moved forward to meet the right place. This is one of those fiddly jobs that require a little bit of chiseling, then stopping and looking at it again, and doing a bit more, looking again till you get it right.
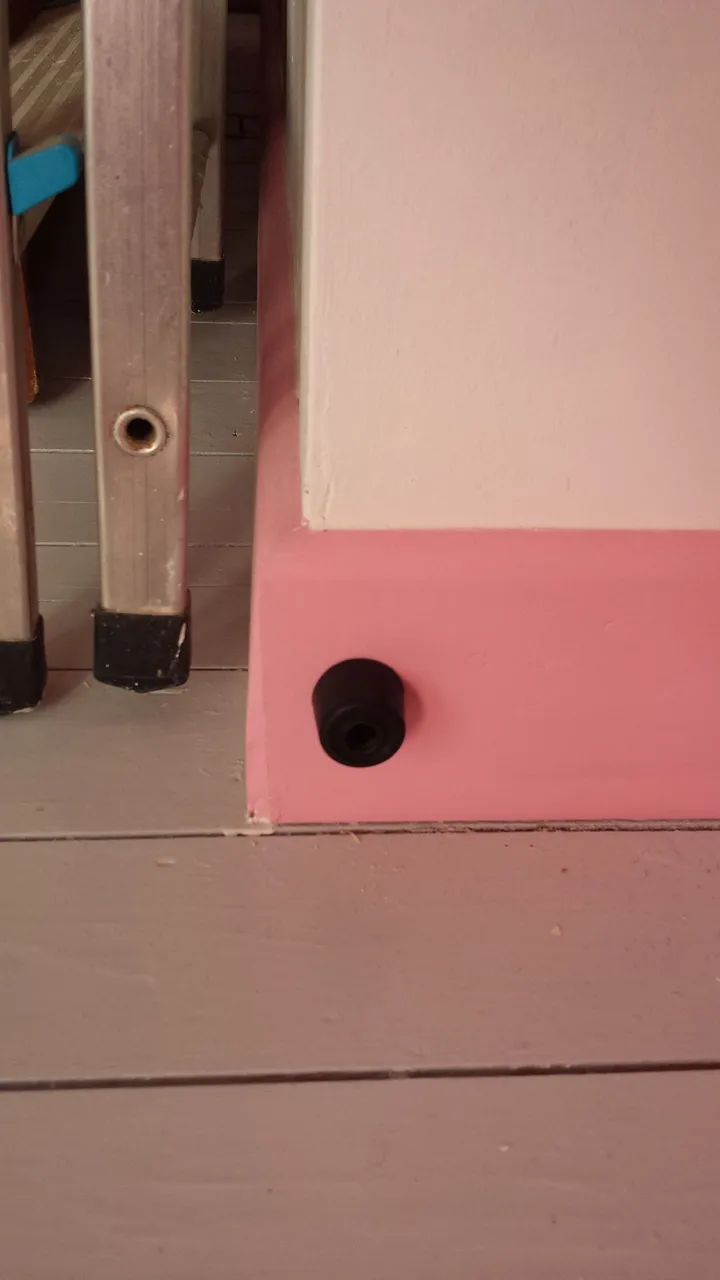
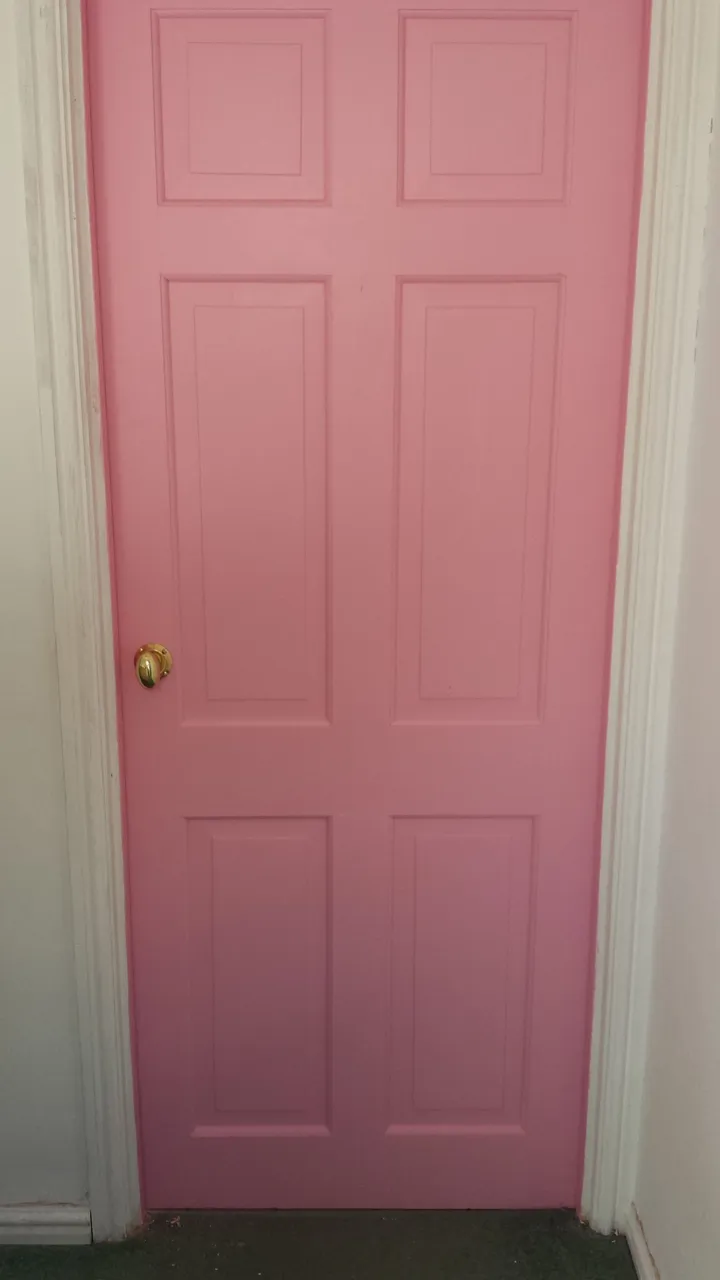
The door stop - I'm not letting this door get knocked about any more!
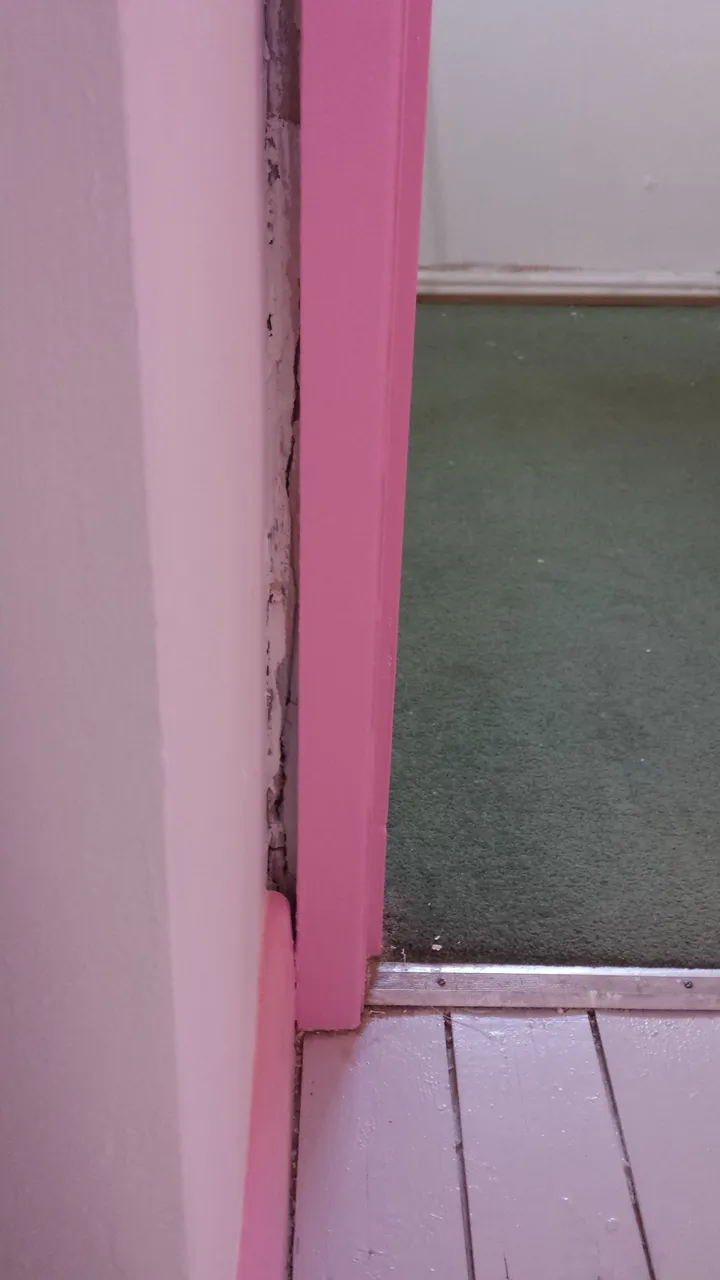
The gap at the side of the door - I don't know the purpose of leaving this gap? I can understand butting the door frame right up against the wall, or leaving a proper gap of 7 cm, or something that you could get your hand into so as to wallpaper or paint into the gap properly. This gap? Designed to irritate home owners? Hmmm.
As you can see, the gap has bits of plaster and crap that I can't get out.
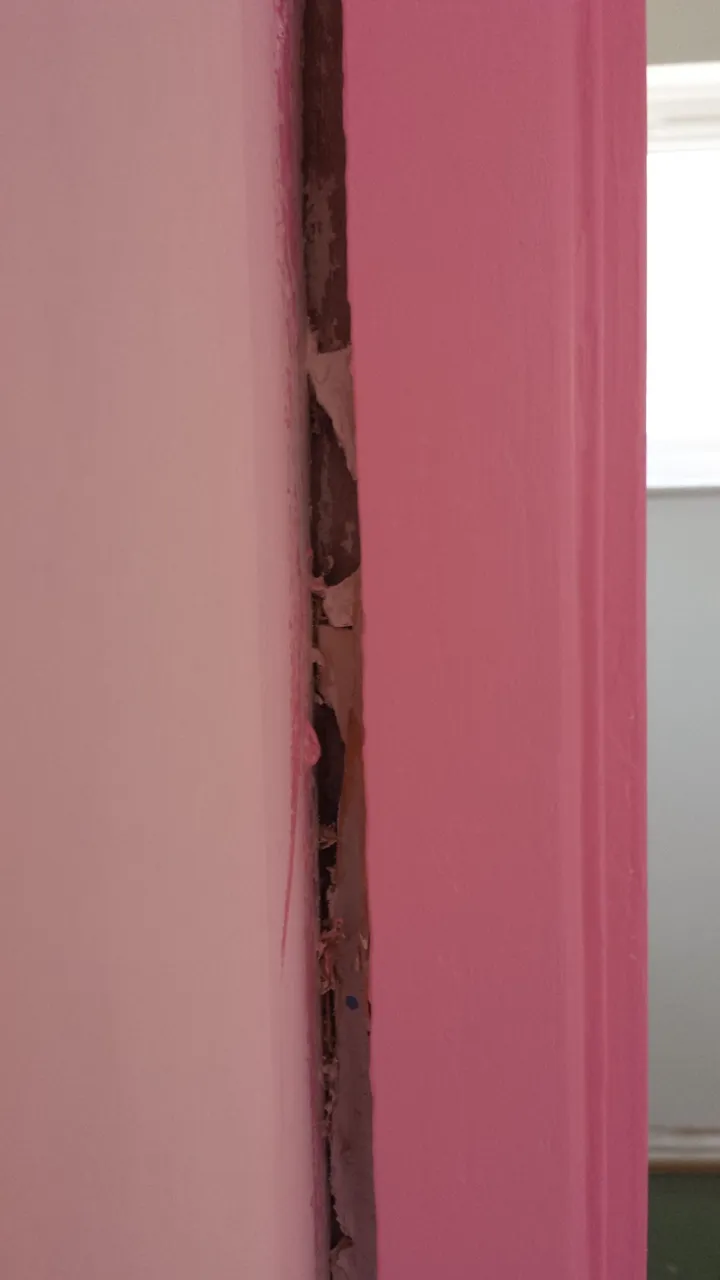
I think the best way to fill the gap is with a small baton of wood, that can then be painted white to blend in with the wall.

The wood gets smoothed over with filler.
Ran out of filler 😑

So there are a few little touch ups still needed; a little bit more filling, a lick of paint here and there, but all the main work is done.
Now, I have An Actual Working Door - on hinges, attached to a frame. This feels like its been a long time coming! I'm really happy with how it's turned out; and of course, bug thanks to my lovely husband @costopher for his sterling work.
As always , hope you enjoyed this post, and thinks for having a look!