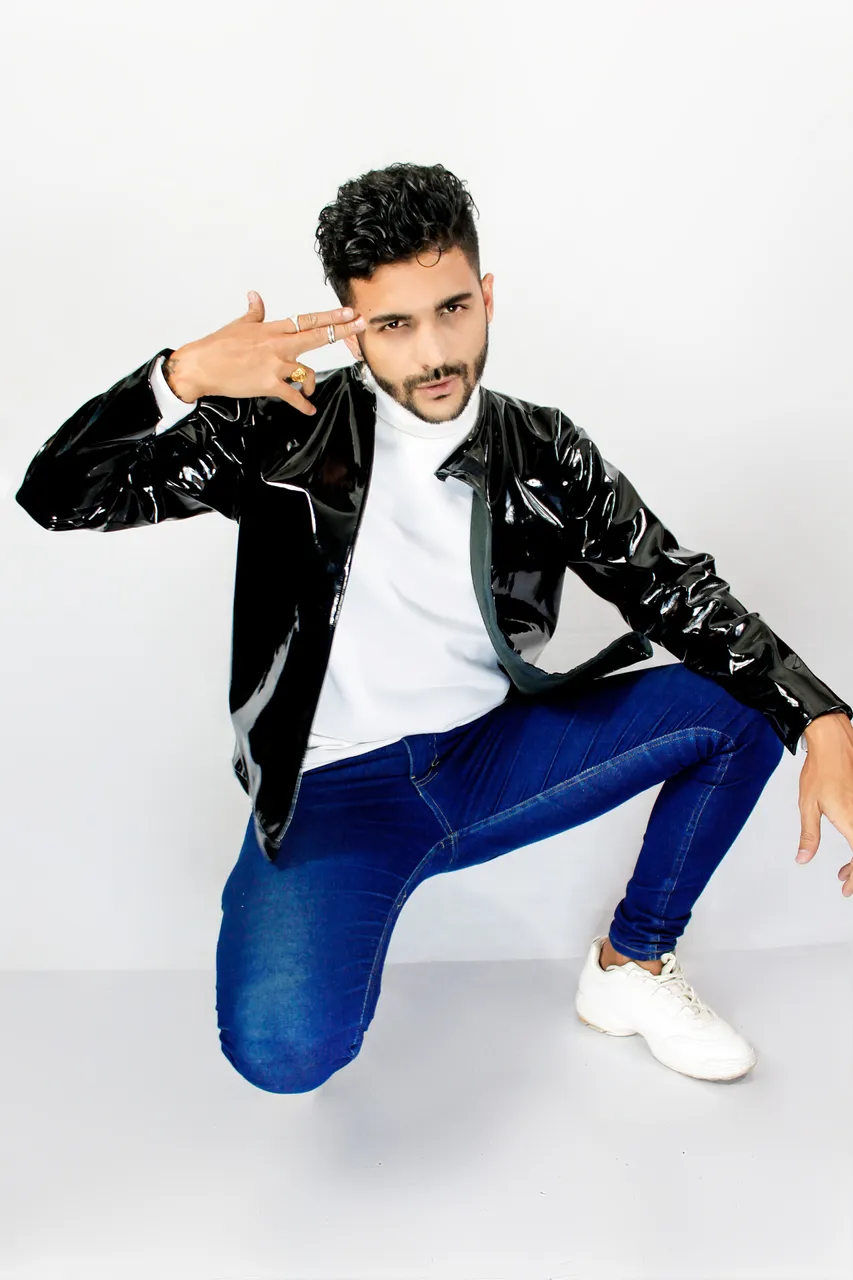
Amigos en esta oportunidad quiero mostrarles y más que mostrarles enseñarles un poco como me realizo a mi mismo las sesiones fotográficas de estudio para que ustedes pueden observar, aprender e intentarlo ustedes mismos en casa, verán que es el procedimiento es muy sencillo y pueden conseguir resultados bastante geniales. Cuando empece a realizar mis propias sesiones a mi mismo nunca tuve a nadie que me enseñara o guiara en un paso a paso, todo lo que he aprendido hasta el día de hoy ha sido con mucha practica y error, siempre he dicho que se trata de eso, sin practica no podríamos nunca intentar perfeccionar cada técnica la cual en este caso seria realizar una sesión fotográfica siendo fotografío y modelo, estar delante y detrás de cámara, entonces bien amigos, en tal caso de no tener una cámara profesional pueden hacerlo con un teléfono que tenga opcion a temporizador, si no tienen fondos o telas lisas pueden utilizar una pared unicolor del color que sea y si no tienen luces profesionales lo pueden hacer hasta con lamparas, lo importante de todo esto es resolver y encontrar algo que haga la misma función de los artefactos correctos y todo se los digo porque asi fue como empece yo antes de tenerlos y acá les muestro algunos resultados.
Friends, in this opportunity I want to show you and more than show you how I do my studio photo sessions so you can observe, learn and try it yourself at home, you will see that the procedure is very simple and you can get pretty great results. When I started doing my own sessions I never had anyone to teach me or guide me in a step by step, everything I have learned so far has been with much practice and error, I have always said that is what it is about, without practice we could never try to perfect each technique which in this case would be to make a photo session being a photographer and model, be in front of and behind the camera, so good friends, in such a case of not having a professional camera you can do it with a phone that has a timer option, if you don't have backgrounds or smooth fabrics you can use a single color wall of any color and if you don't have professional lights you can even do it with lamps, the important thing of all this is to solve and find something that does the same function of the correct devices and I tell you everything because that's how I started before having them and here I show you some results.
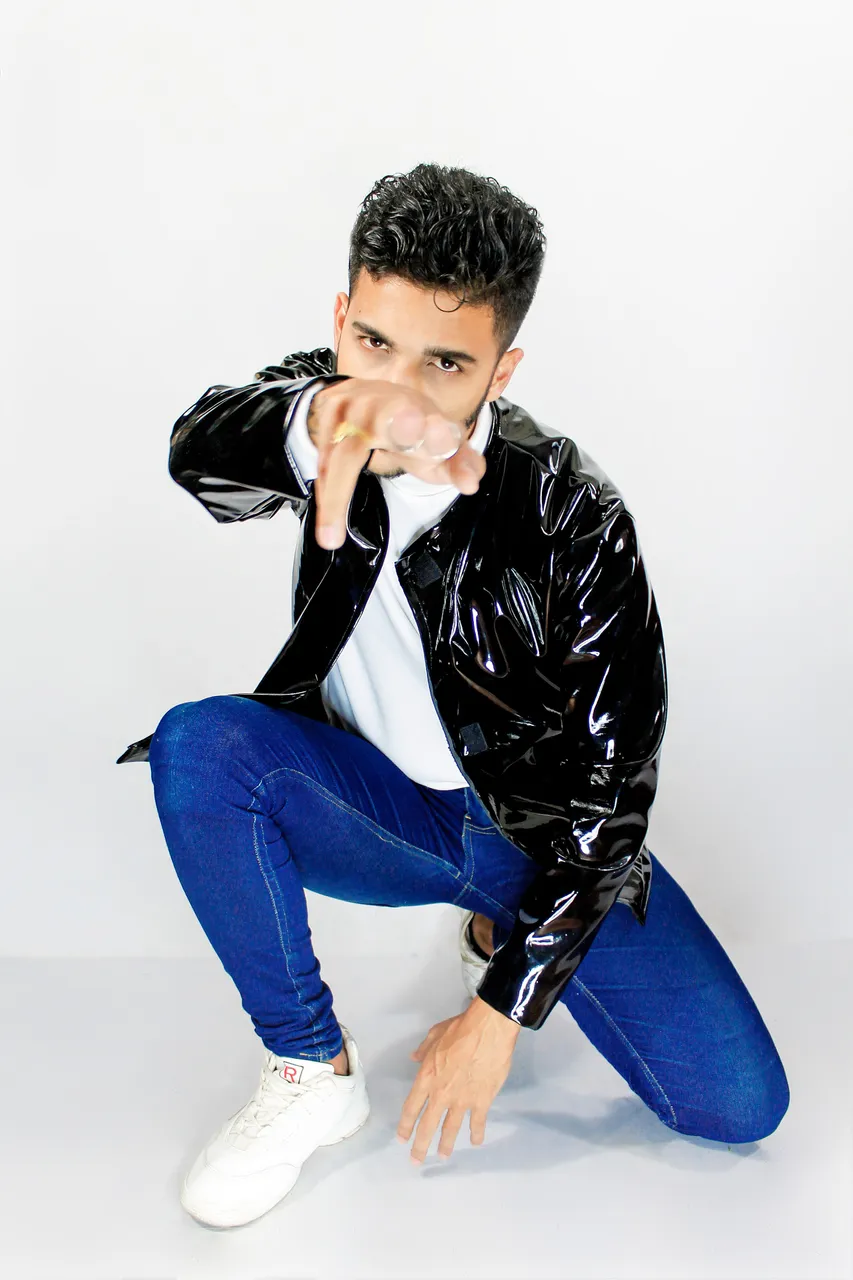
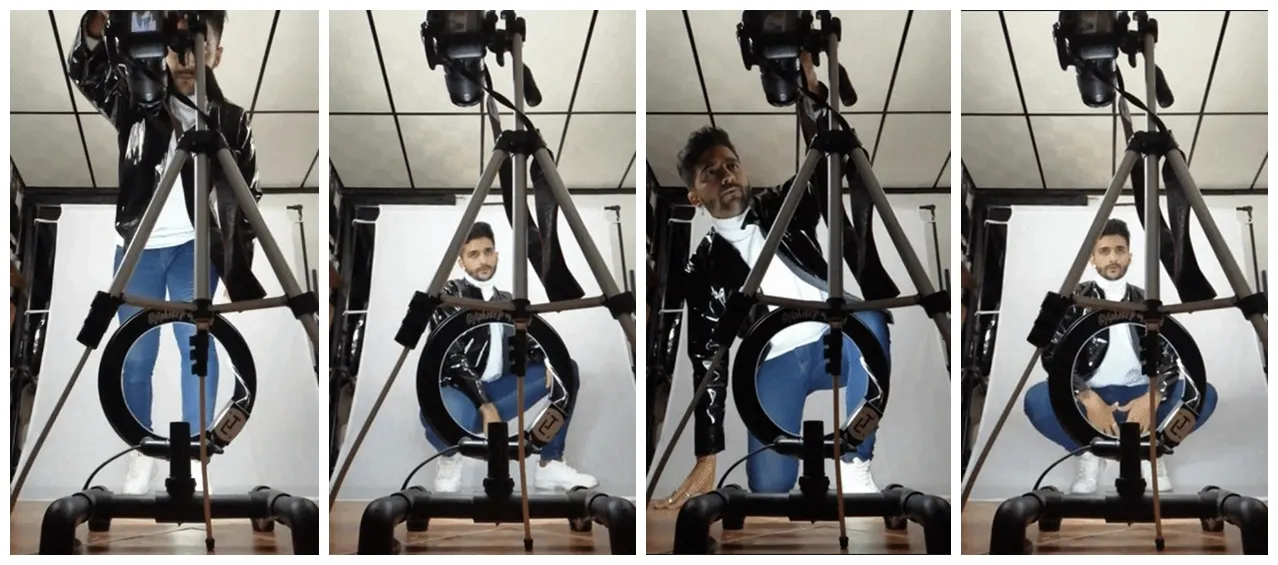
Antes de empezar a capturar cada fotografía podemos ir practicando con el temporizador, enfoque manual, cuadro, distancia y sobre todo rapidez para ponerse en el ángulo y posar, para eso hay que determinar si es posible hacerlo en 2 segundos, 5 segundos o 10 segundos ya que esas son las opciones que nos da la cámara o teléfono celular, honestamente este me emociona un poco, pero sigamos, en lo personal prefiero el enfoque manual porque si lo dejamos en automático puede que en la fracción de segundos que nos tome presionar el botón de captura y movernos hasta el centro del cuadro la cámara determine enfocar algo que no sea nuestra cara y es justo allí donde debe enfocar amigos, en la cara o en los ojos, entonces la mejor opcion o la que yo practico es poner un objeto en el lugar donde nos vamos a colocar y dejarlo enfocado, asi cuando presionemos en botón de captura y nos coloquemos en el lugar donde estaba el objeto estaremos totalmente enfocados sin ninguna falla y asi empezamos nuestra sesión el resto ya es hacer diferentes poses e ir haciendo fotografías porque con cada error que puedan notar e lo que hará que en la siguiente puedan hacerlo mejor y para las próximas veces, sera todo más fácil.
Before starting to capture each picture we can practice with the timer, manual focus, frame, distance and above all speed to get in the angle and pose, for that we must determine if it is possible to do it in 2 seconds, 5 seconds or 10 seconds since those are the options given by the camera or cell phone, Honestly this one excites me a little bit, but let's go on, personally I prefer the manual focus because if we leave it on automatic it may take us a fraction of seconds to press the capture button and move to the center of the frame and the camera will determine to focus on something other than our face and that's just where it should focus friends, in the face or in the eyes, then the best option or the one I practice is to put an object in the place where we are going to place it and leave it in focus, so when we press the capture button and we place ourselves in the place where the object was we will be totally in focus without any failure and so we begin our session the rest is already doing different poses and taking pictures because with each error you can notice and what will make the next one better and for the next times, everything will be easier.


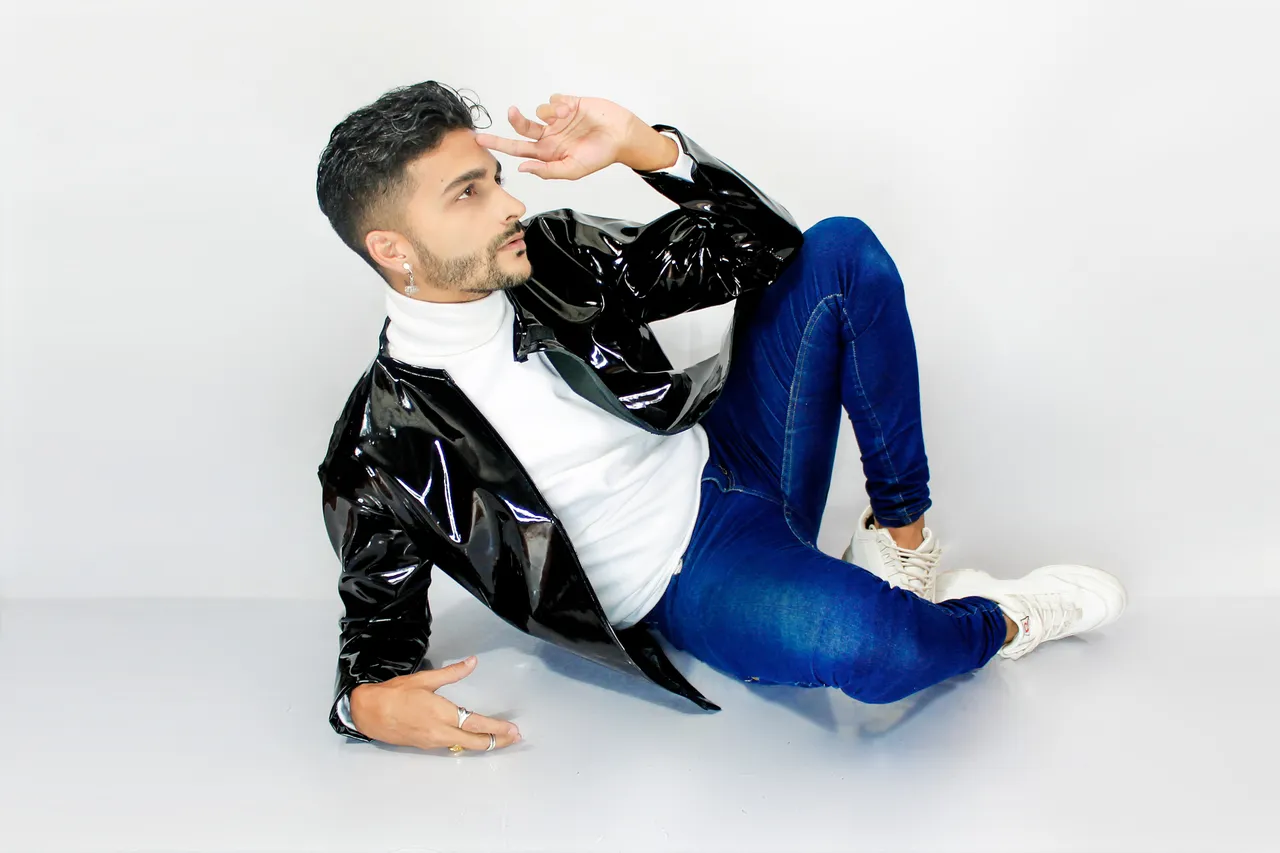
Y bueno amigos, asi fue como yo empece conmigo mismo, siempre les muestro este tipo de cosas y realmente a mi me encanta enseñarles como las hago, porque es una de las cosas que mas me preguntan siempre, como me hago las sesiones a mi mismo, si alguien me ayuda y la respuesta es no, desde el inicio aprendí a hacerlo todo yo para que si en algún momento quiera hacerlo y no pueda tener ayuda tener la experiencia y poder hacerlo todo yo mismo y créanme, es justo y necesario. Pero si leer toda esta parte teórica no los ayuda a entender del todo no se preocupen porque acá debajo les dejare adjuntado un pequeño vídeo donde toda esta teoría esta de forma visual, en lo personal siempre he dicho que se entiende mas viendo que leyendo pero todo es importante, espero les guste muchisimo, que lo intenten y les quede súper genial y sobre todo que leer y ver esta publicación los ayude y motive.
And well friends, that's how I started with myself, I always show you this kind of things and I really love to show you how I do it, because it's one of the things that people always ask me the most, how do I do the sessions to myself, if someone helps me and the answer is no, from the beginning I learned to do everything myself so that if at any time I want to do it and I can't have help to have the experience and be able to do everything myself and believe me, it's fair and necessary. But if reading all this theoretical part does not help you to understand completely do not worry because here below I will leave attached a small video where all this theory is in a visual way, personally I have always said that it is understood more by seeing than by reading but everything is important, I hope you like it very much, that you try it and it is super cool and above all that reading and seeing this publication helps you and motivates you.

Objetivo Canon: 18-55mm
Programa de edición: Adobe Photoshop CS6
Camera used in this session: Canon EOS REBEL T3
Canon Lens: 18-55mm
Editing program: Adobe Photoshop CS6
Thanks for watching and reading, see you in the next publication friends.