Hello #Hive photography lovers! Today I bring to share with you some pictures taken in the rural roads around my village. I have chosen to share the monochrome versions of these photos as the main part of this publication and thus participate in #monomonday!
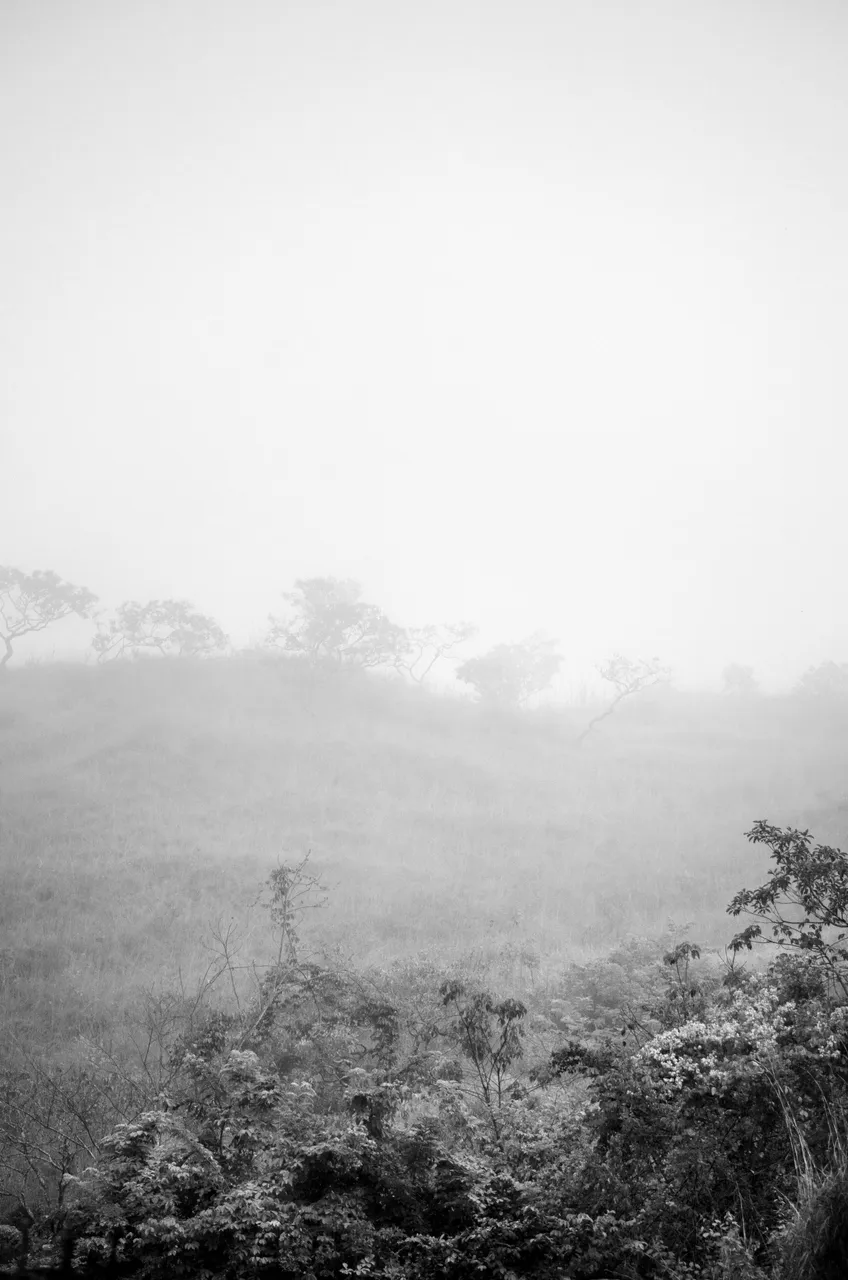
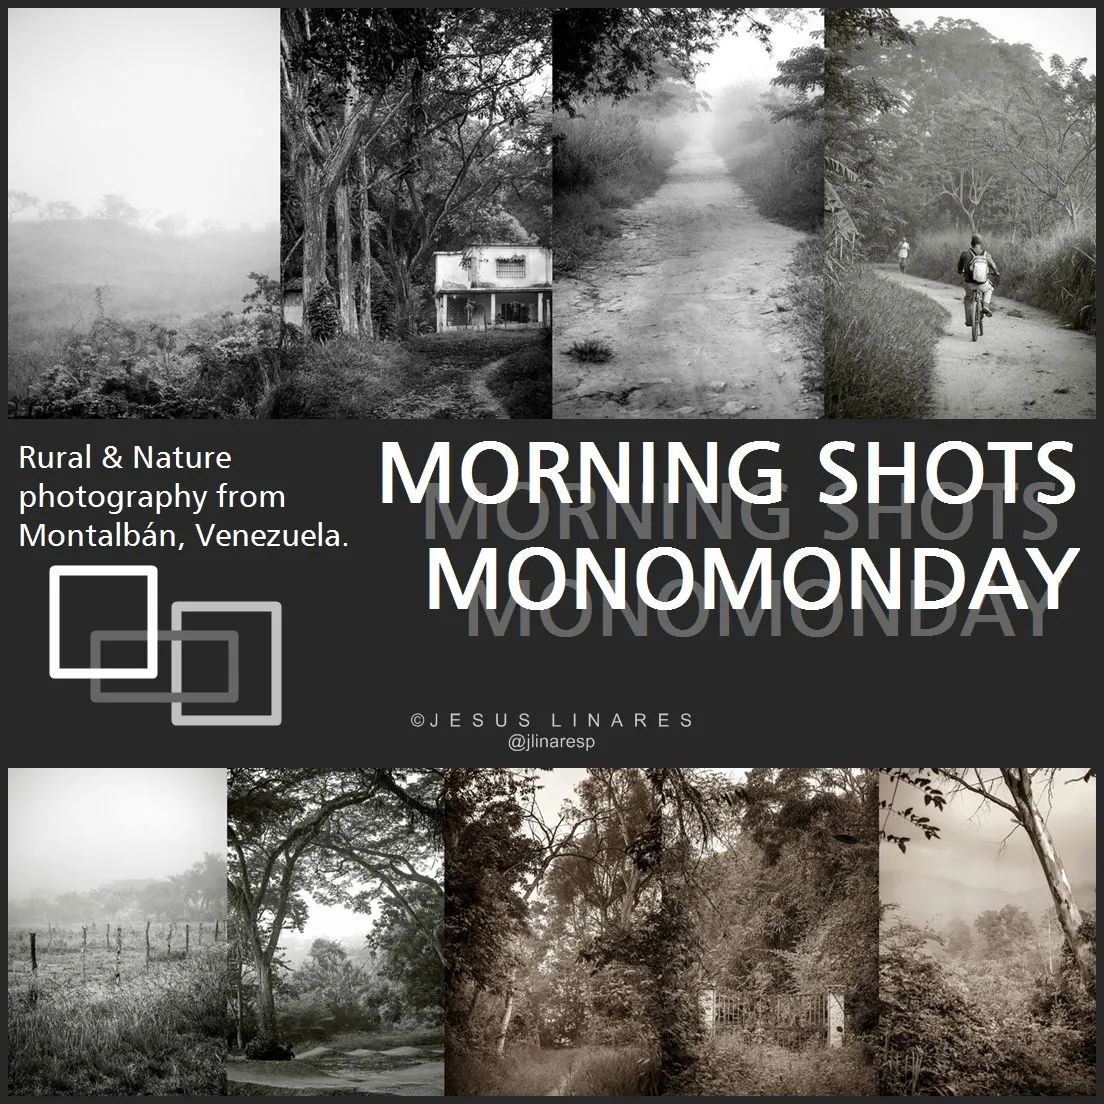
"Hill view 6 AM" - Technique: Pure B&W
70 mm | 1/2000s | f/4.5 | ISO 320
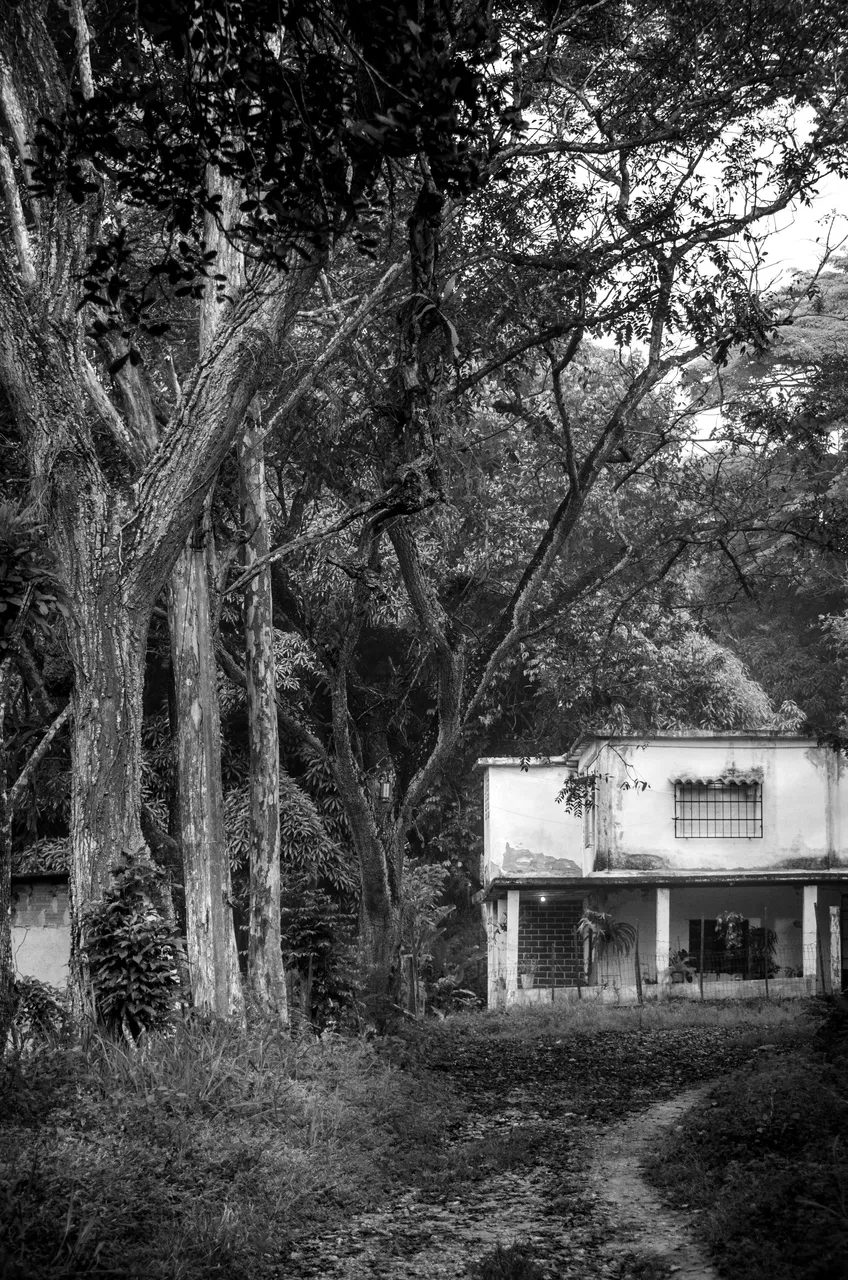
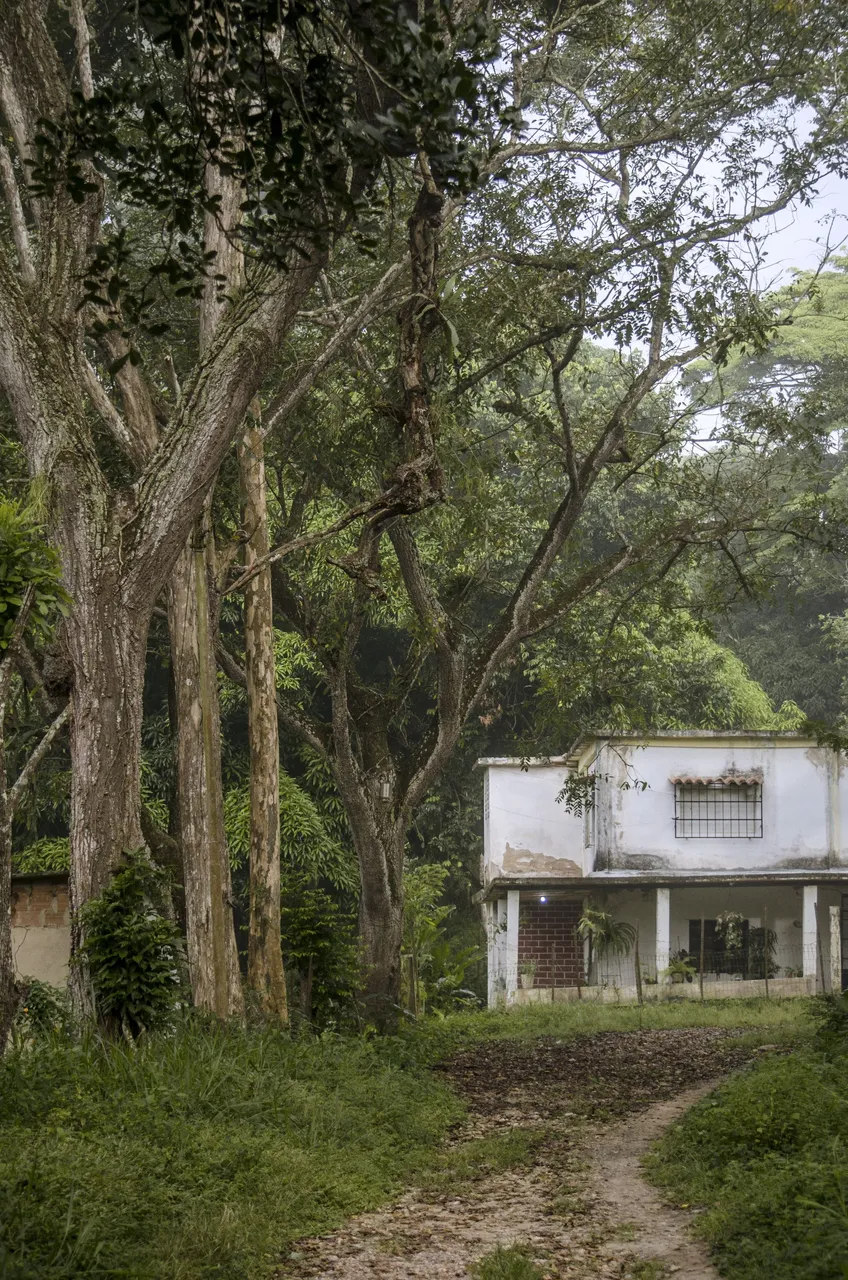
"George's house in the forest" - Technique: Pure B&W
55 mm | 1/400s | f/4.5 | ISO 320
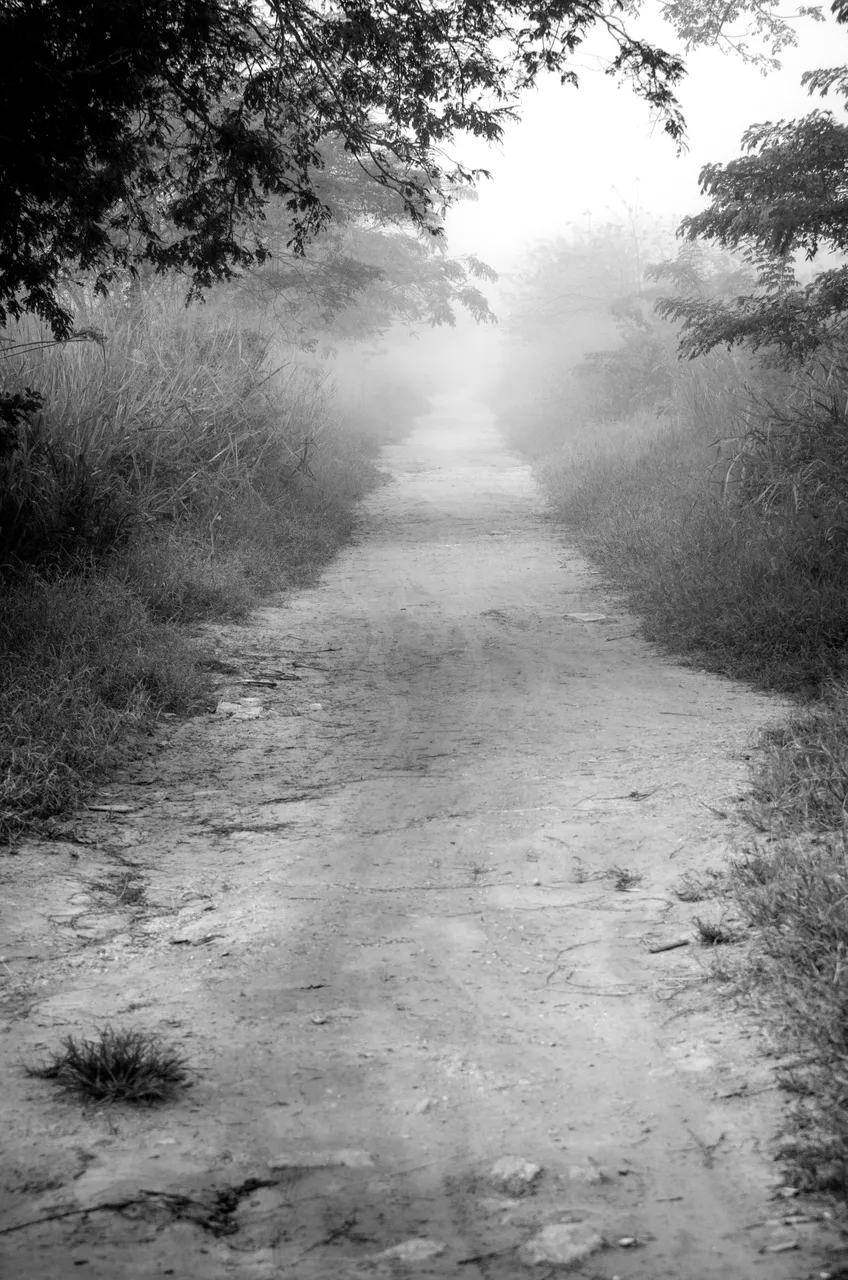
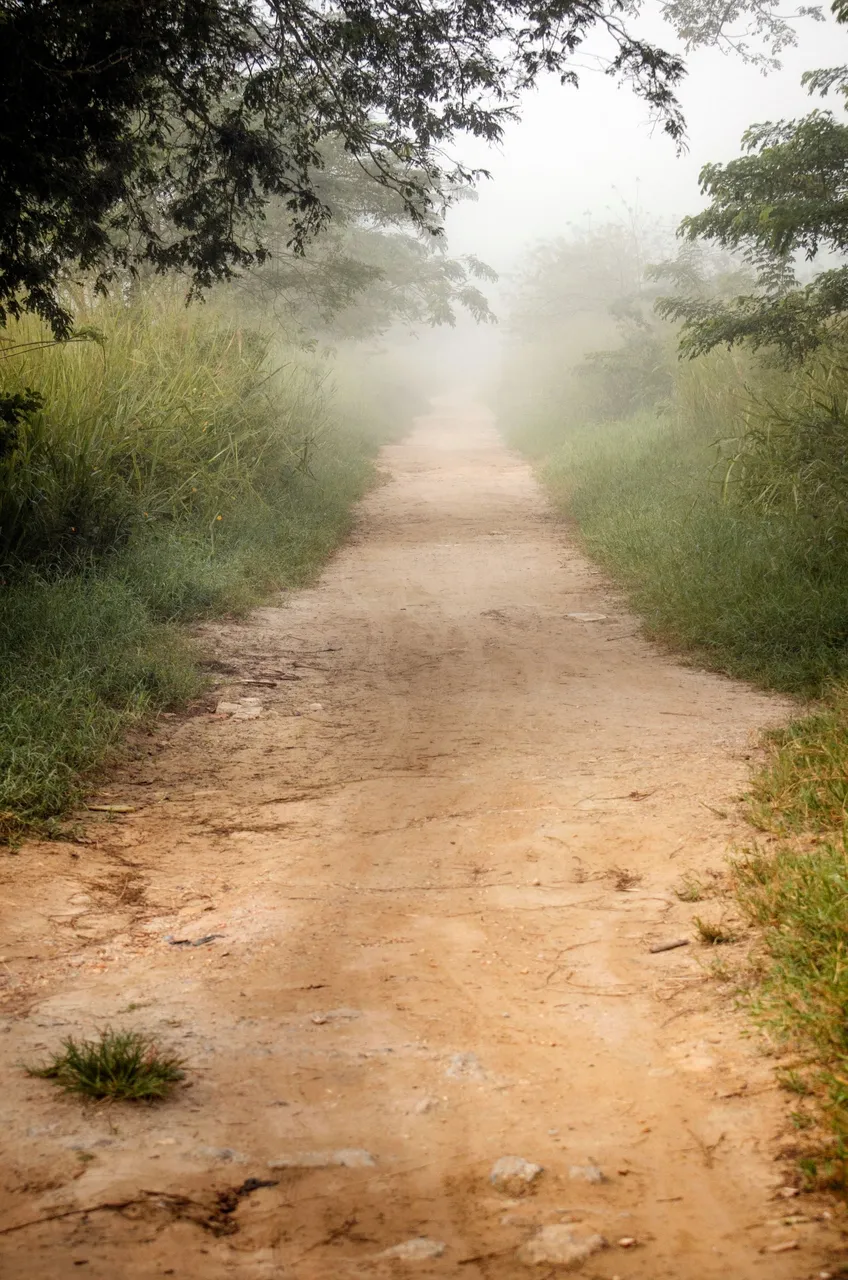
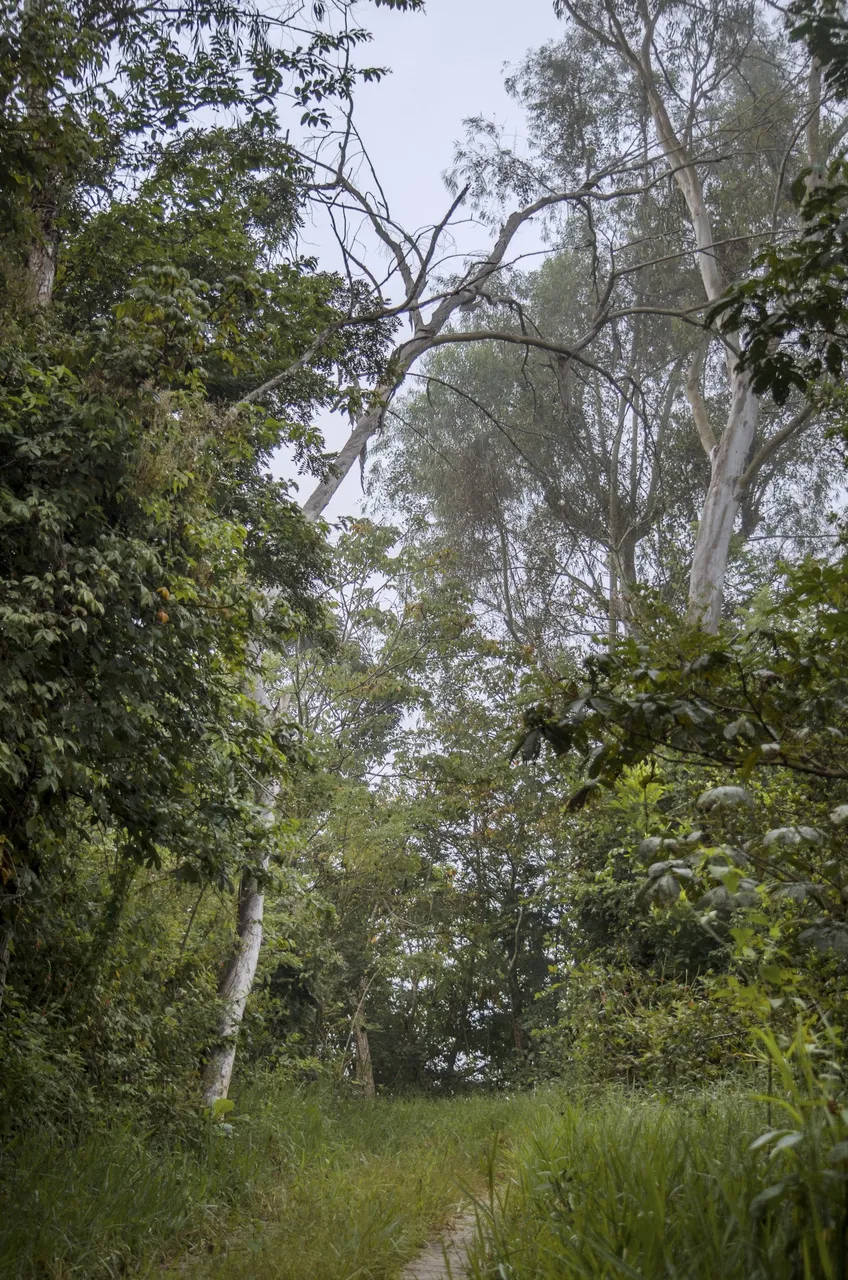
"Long Path to the South" - Technique: Pure B&W
55 mm | 1/800s | f/7.1 | ISO 320
I wanted to edit these photos using various monochrome techniques. These first three photos above, I edited them in pure black and white by desaturating the RAW image and adjusting the brightness of the different colours one by one until I got something satisfactory to export to JPG files on which I made some additional adjustments.
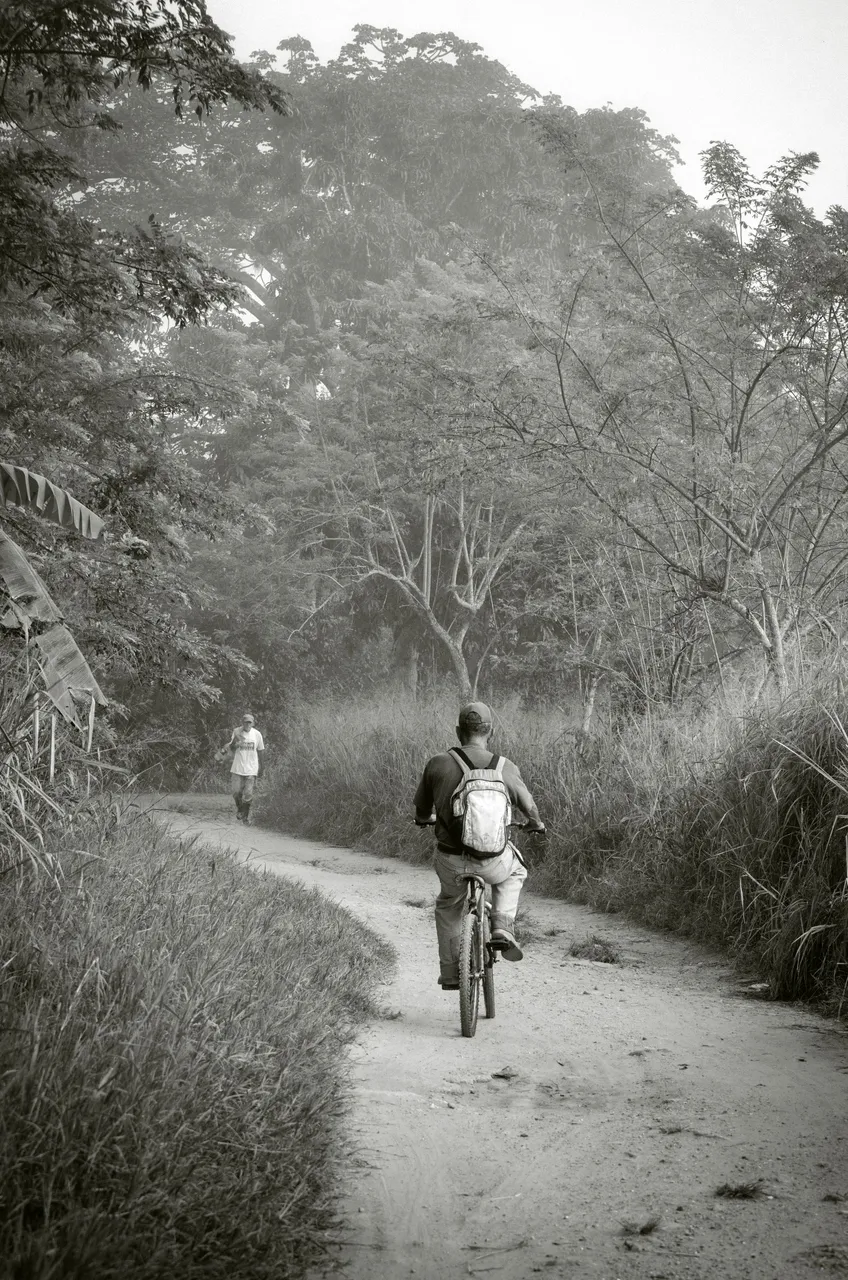
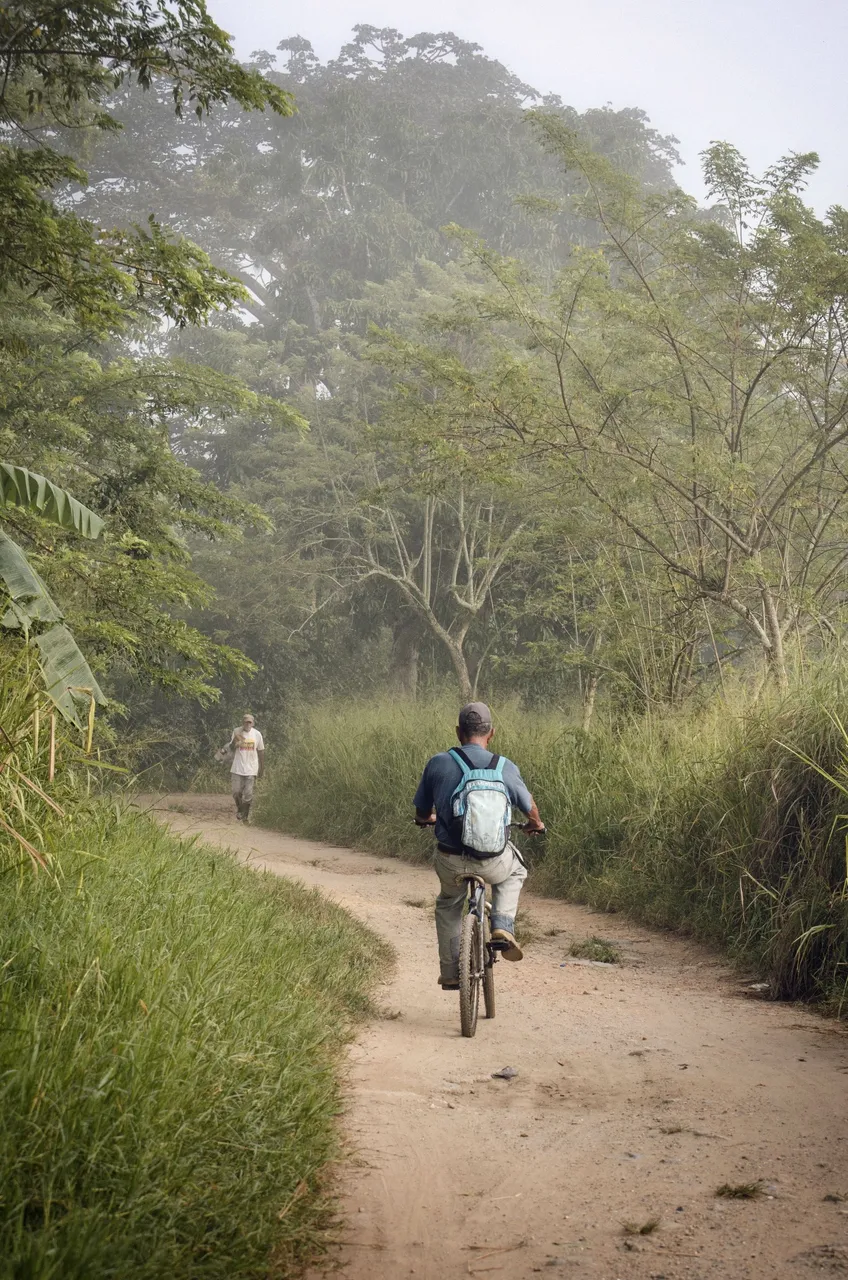
"Workers" - Technique: Vintage B&W
65 mm | 1/1000s | f/7.1 | ISO 320
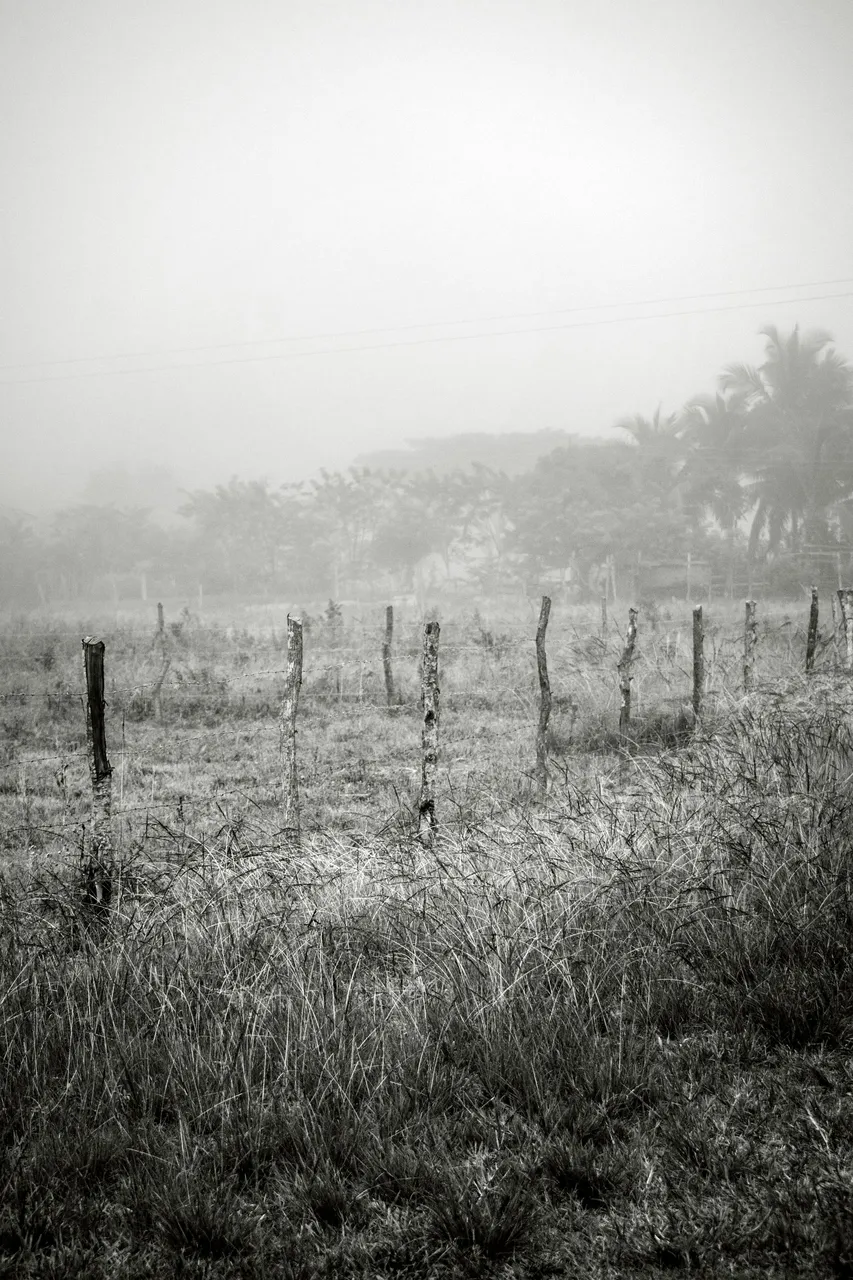
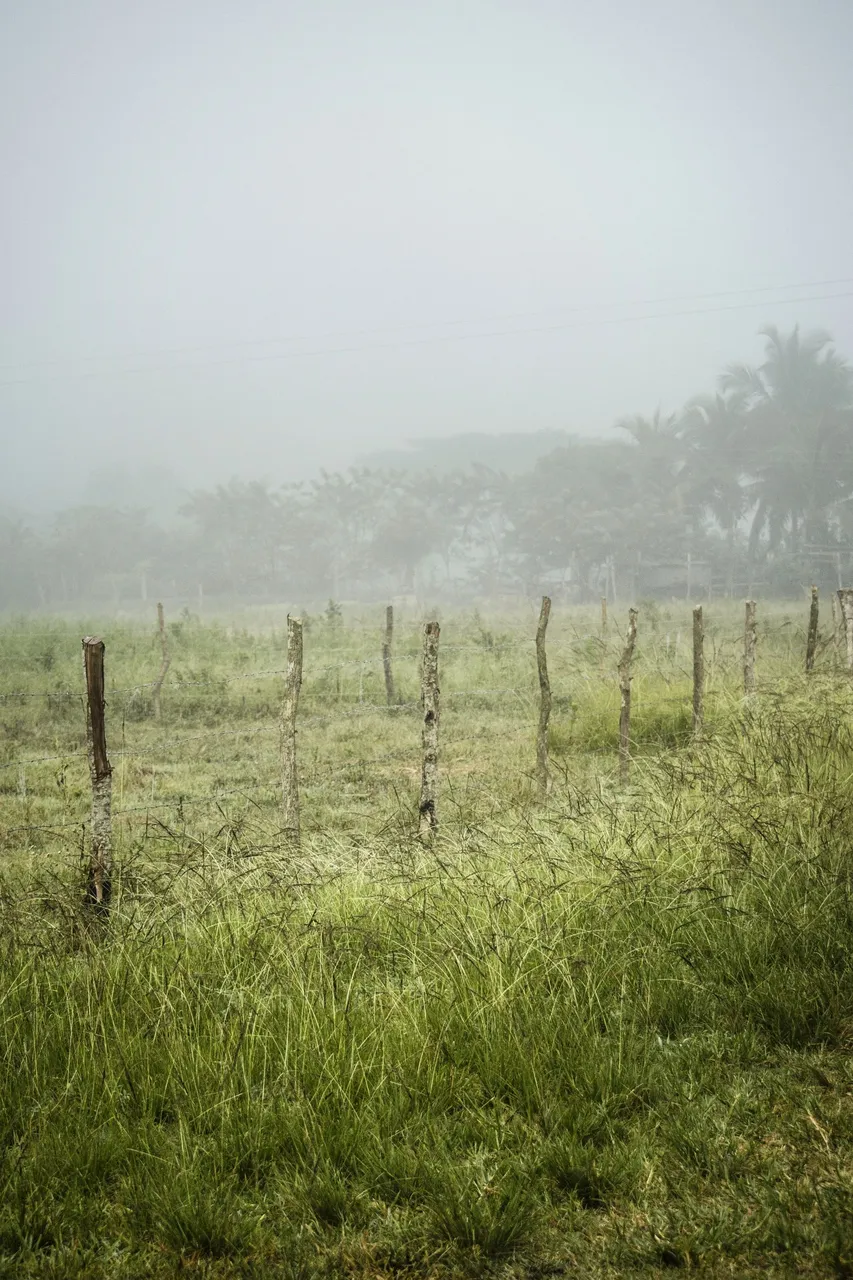
"Pasture and fence" - Technique: Vintage B&W
55 mm | 1/1250s | f/5 | ISO 320
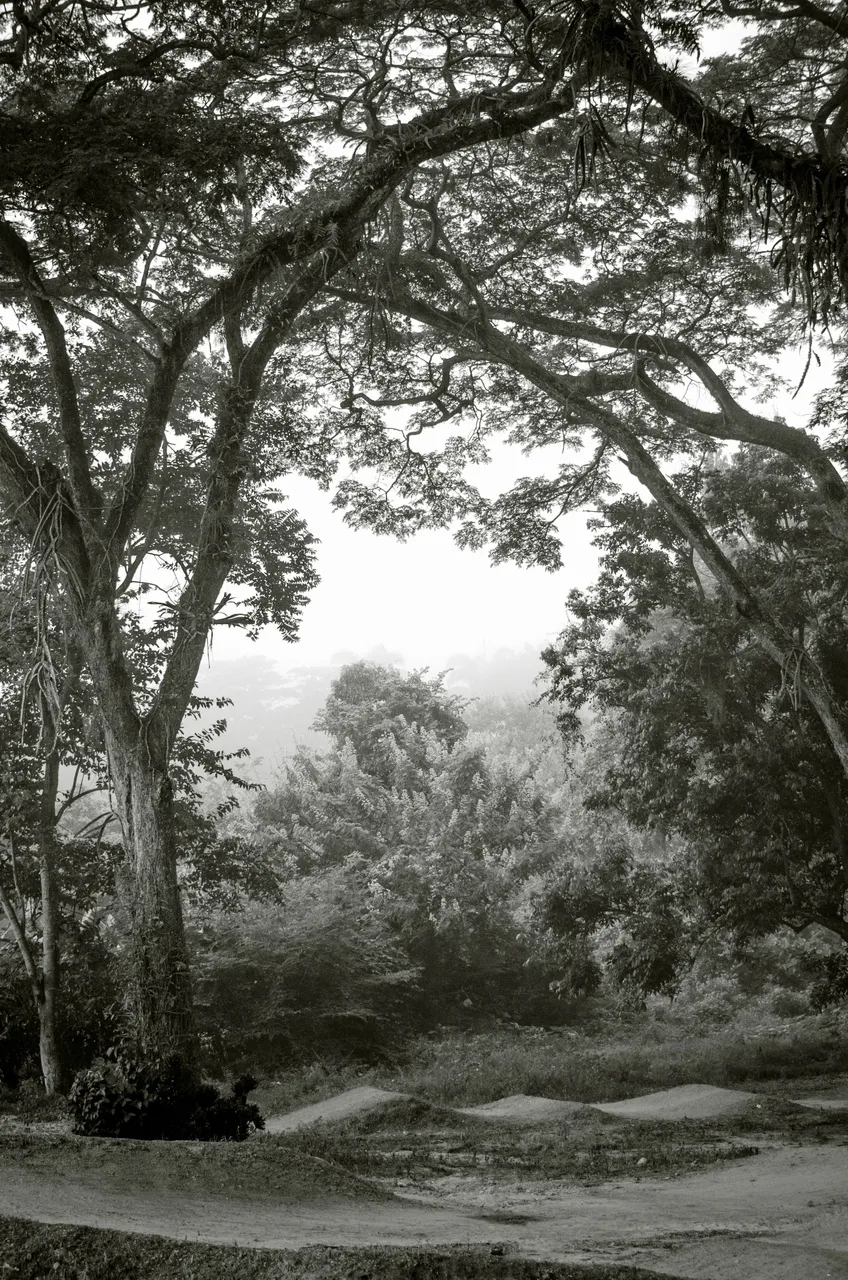
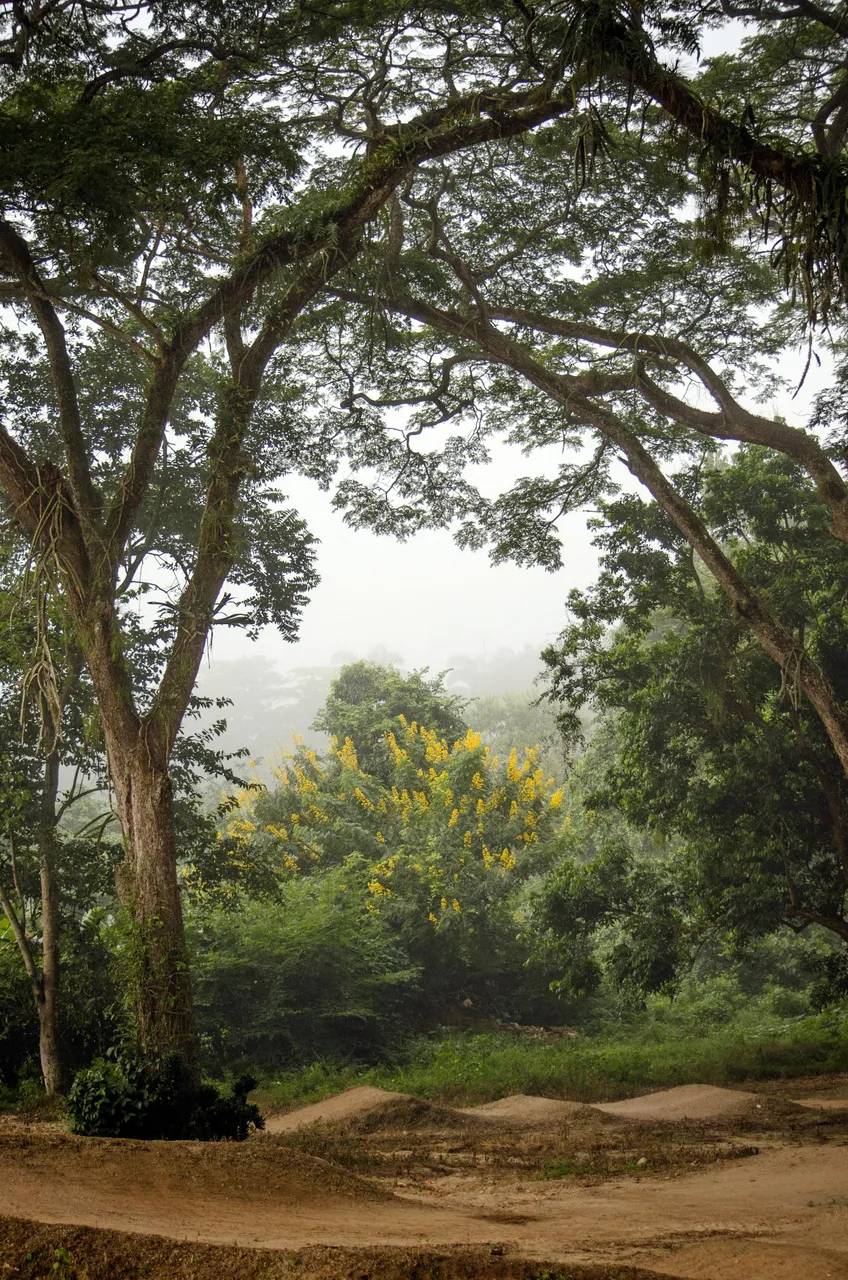
"Forest in old park" - Technique: Vintage B&W
55 mm | 1/800s | f/4.5 | ISO 320
The second trio of photos are edited with a technique which I usually call "Vintage B&W" and differs from pure Black & White in the addition of an extra layer of colour with 90% transparency and 5% yellow tone. In addition the contrasts are attenuated at will to achieve a lower contrast effect. I like to use this type of processing for my street photos from time to time, but now I am realising that it is also suitable for certain photos with natural elements like these ones above.
"Walking uphill" - Technique: Sepia & Blue
55 mm | 1/500s | f/4.5 | ISO 320
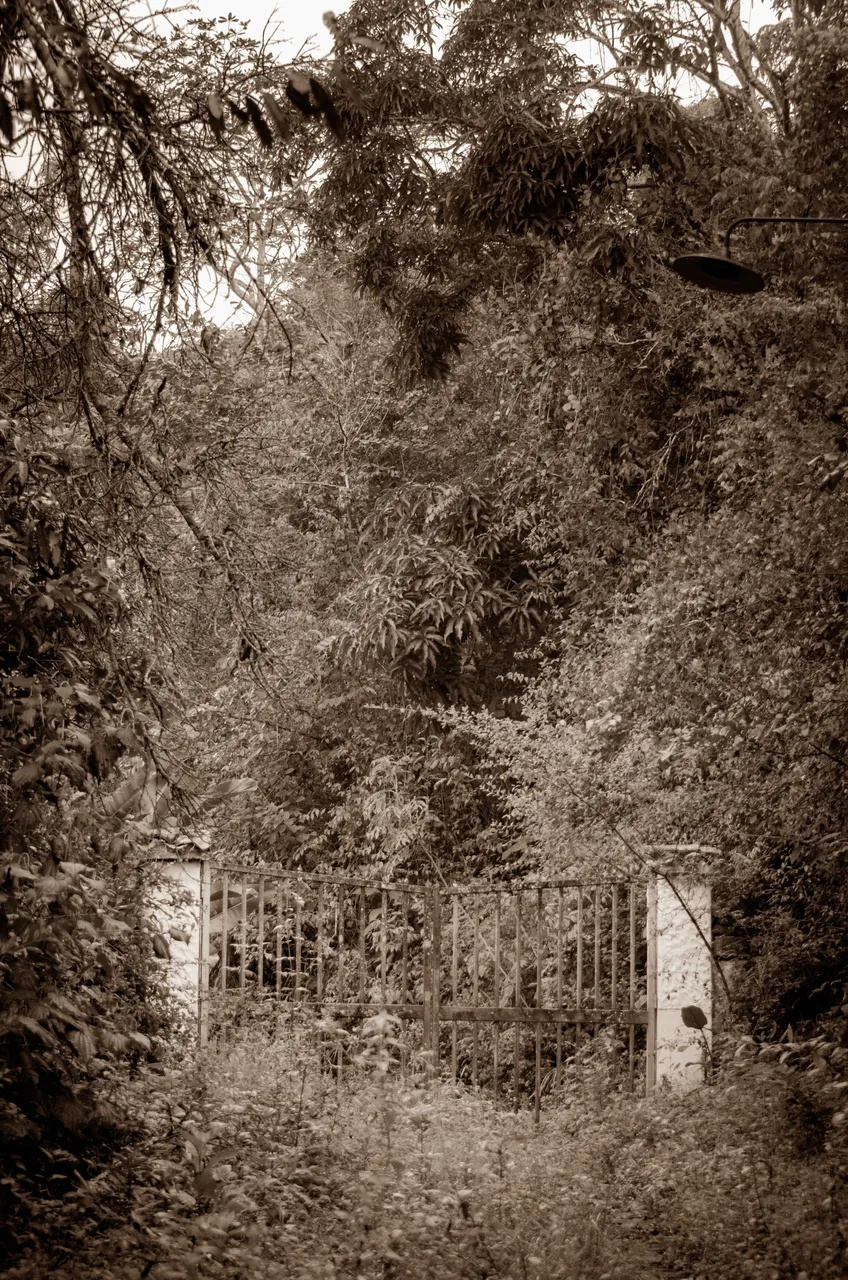
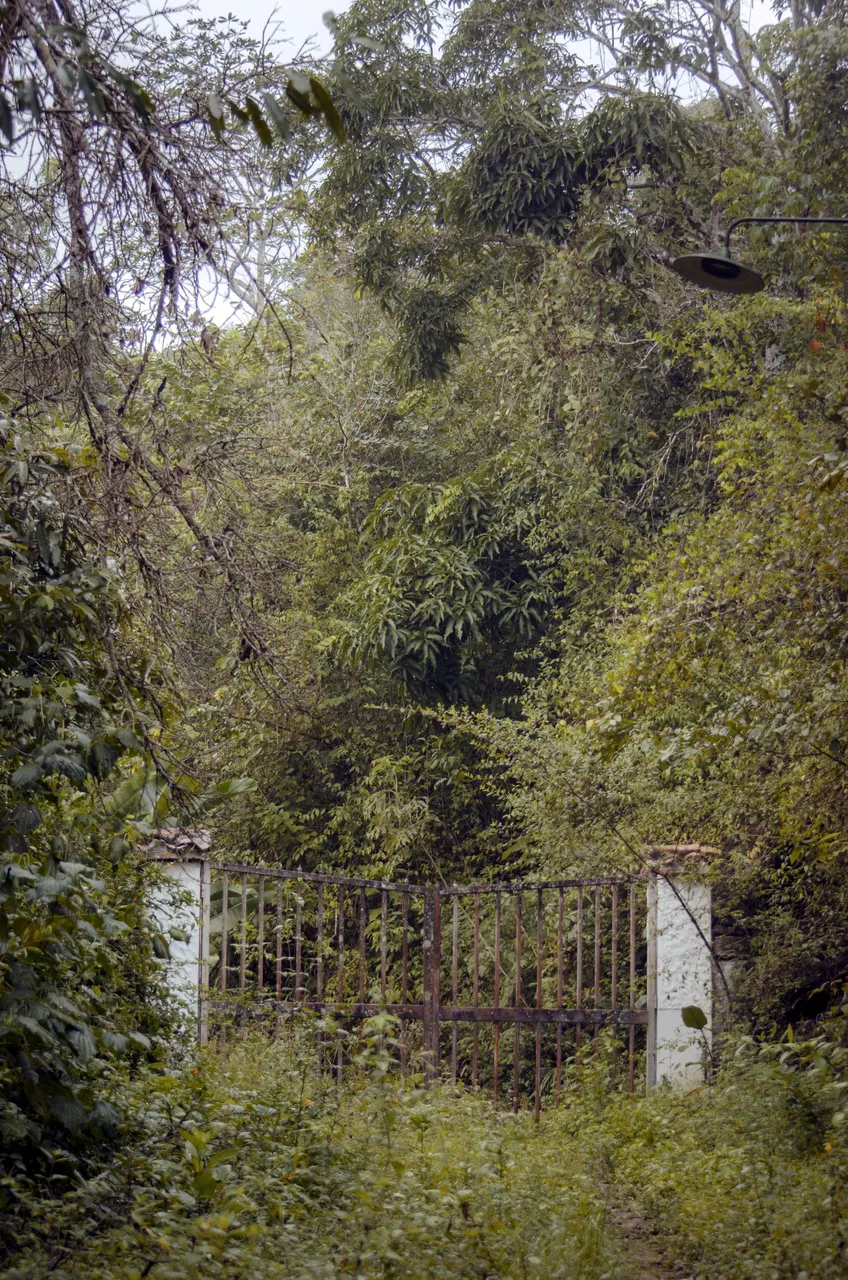
"Abandoned gateway" - Technique: Sepia & Blue
55 mm | 1/160s | f/4.5 | ISO 320
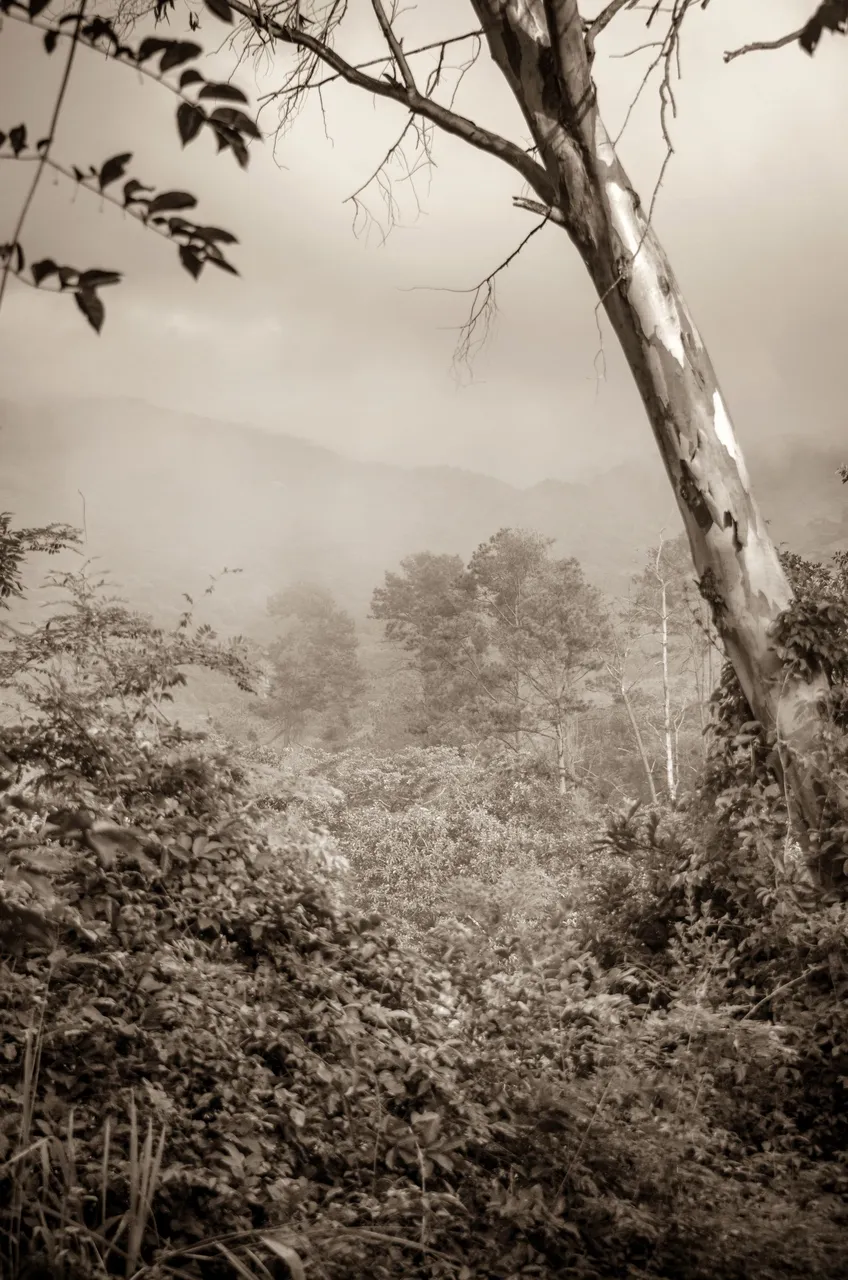
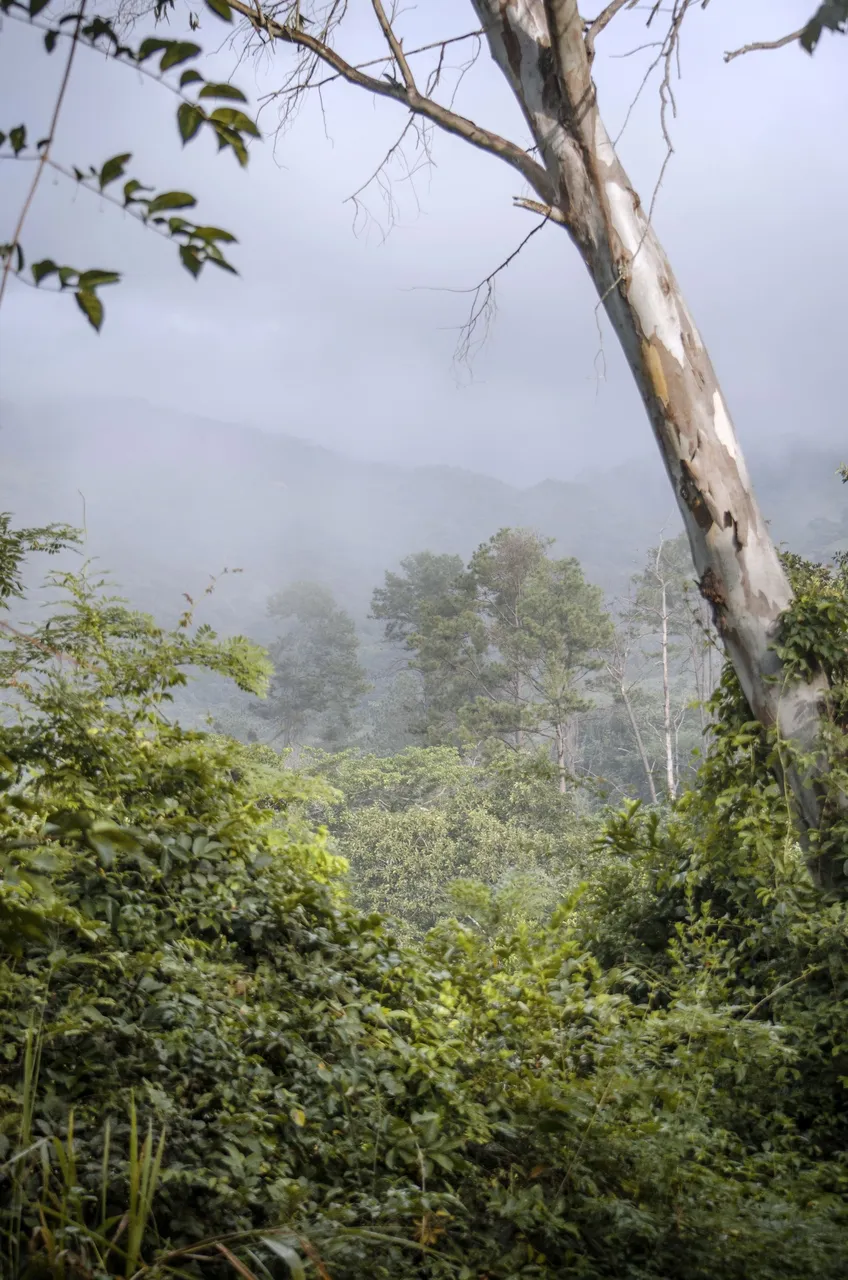
"View to the mountains" - Technique: Sepia & Blue
55 mm | 1/640s | f/4.5 | ISO 320
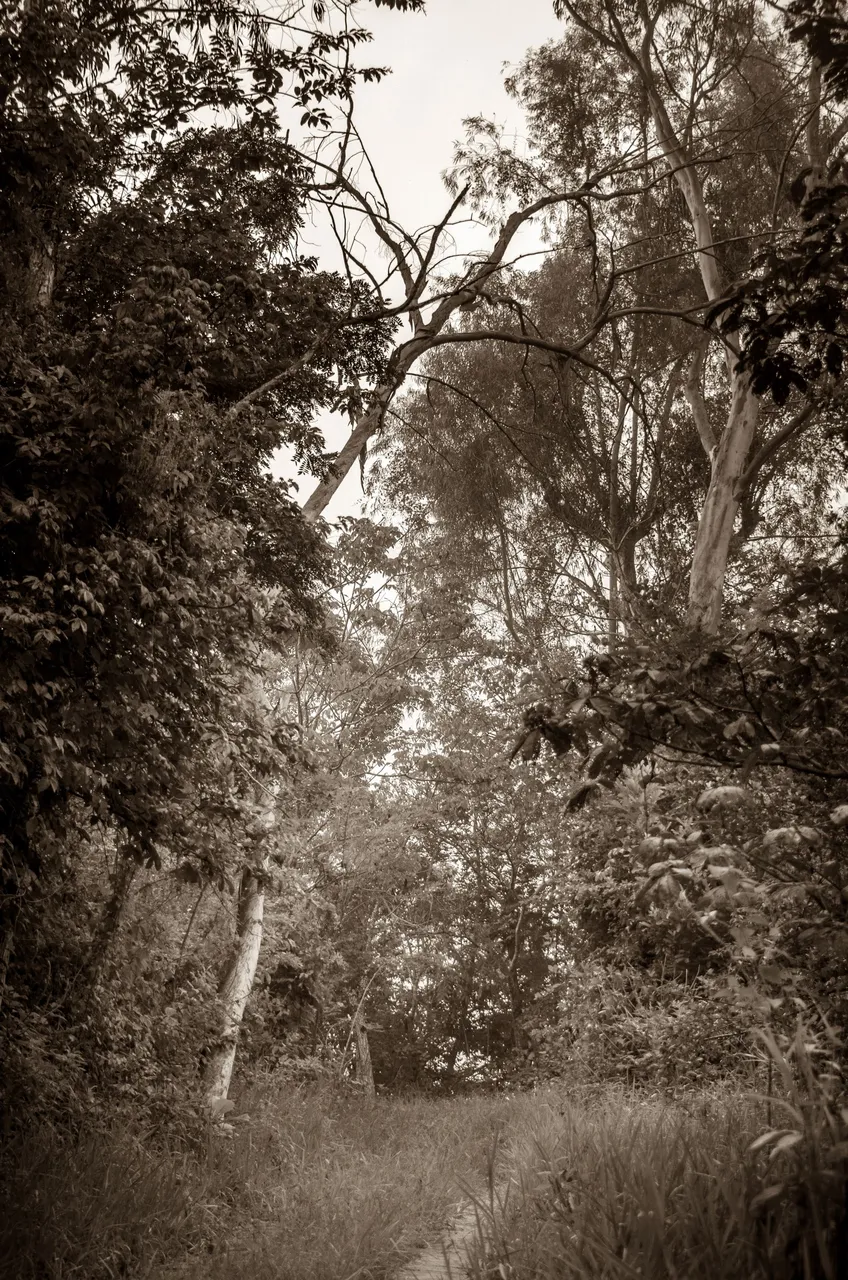
The last three photographs in today's publication are edited in "Sepia & Blue" and that's something I made up myself to deal with my dislike for the traditional sepia tone (too red and slightly monotonous for my taste). So what I do to make "Sepia & Blue" is to desaturate the photo completely and add a layer of brown tone with percentages as required by the visual characteristics of the photo. This can also be done directly on the RAW using the tone tools of processing software. After I have a photo with a traditional sepia, I add a layer of navy blue close to 43% and with transparency as I see fit and on that basis I adjust the levels until I achieve a convincing result. This is not very orthodox, but at least I like it better than the traditional sepia...
STANDARD COLOUR VERSIONS

Ok, and for those who also want to see these photos in colour, here are all of them!(Please CLICK on the photo to enlarge)
| 📷 01 | 📷 02 | 📷 03 |
|---|---|---|
 |  |  |
| 📷 04 | 📷 05 | 📷 06 |
|---|---|---|
 |  |  |
| 📷 07 | 📷 08 | 📷 09 |
|---|---|---|
 |  |  |
ADDITIONAL TECHNICAL NOTE: Photographs captured with my Nikon D7000 DSLR camera in RAW format, then processed in Adobe Camera RAW for adjustments regarding light, sharpening, contrast and depth... The pictures are then exported to JPG format on which minor modifications such as straightening and adding watermarks were carried out using PhotoScape 3.6.3. and/or Photoshop
Thank you very much for your visit and appreciation!
"We make photographs to understand what our lives mean to ourselves." - Ralph Hattersley.
Lens: AF-S DX NIKKOR 55-300mm f/4.5-5.6G ED VR