This is a continuation of the previous blog of my DIY Not-So-Newborn Photoshoot Part 1. So I didn't know that post-processing of photos takes a lot of time! You got to edit them individually as I'm used to editing photos in bulk for my travel blogs. I've segregated my photos into 13 batches according to the different setups we did. If only I knew, I would have just picked at least 5 photos from each set and that's it. But I couldn't resist picking out more since there were a lot of good ones in my opinion.
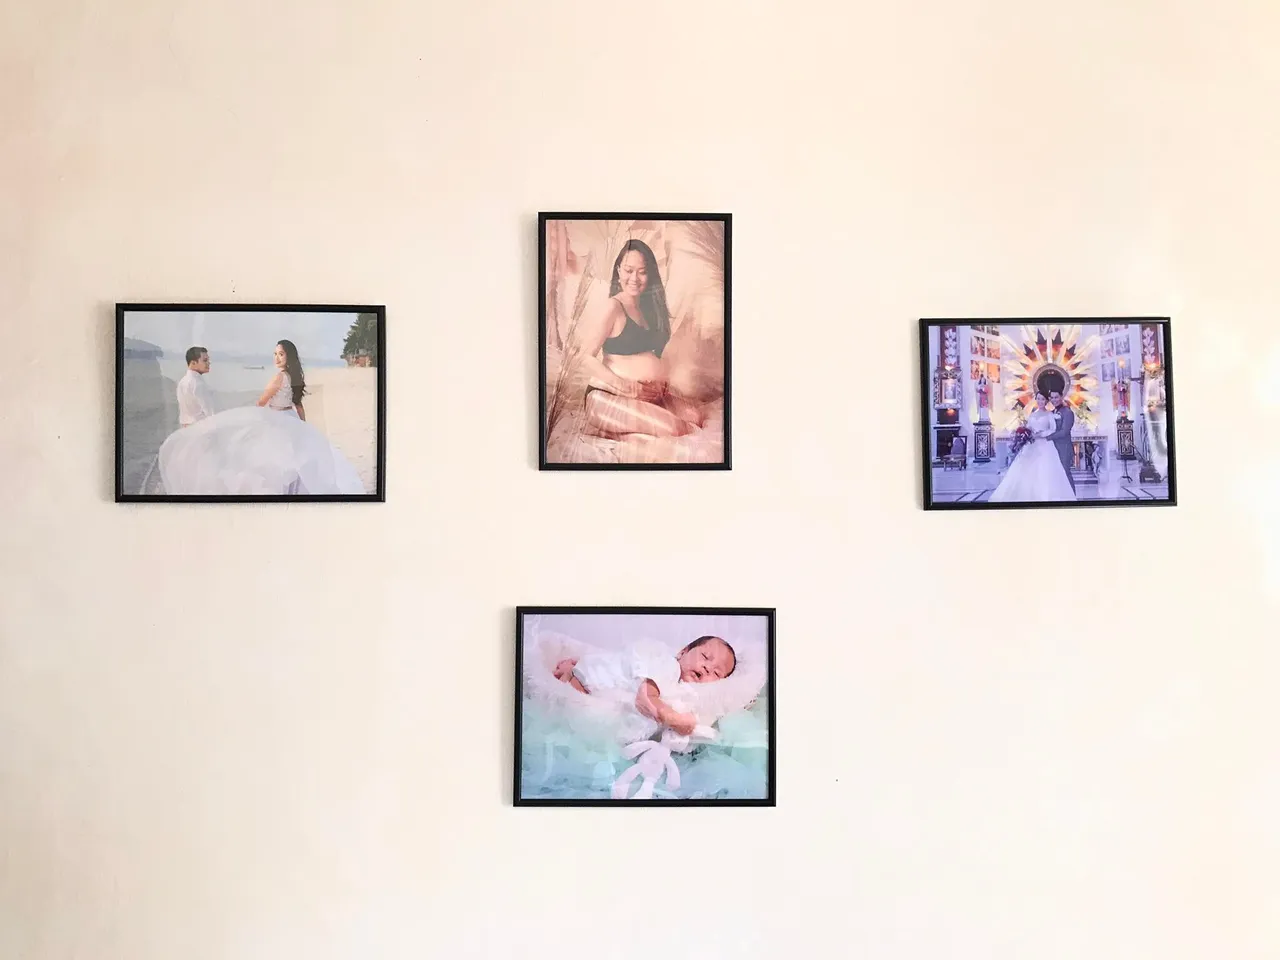
My sister-in-law sent me a photo where she already printed and hung two of the photos she chose from our DIY photoshoots! This sweet gesture touched my heart. I even joked her "So I'm a legit DIY photographer." 😂 I don't know. I just like making memories for her and my nephew.
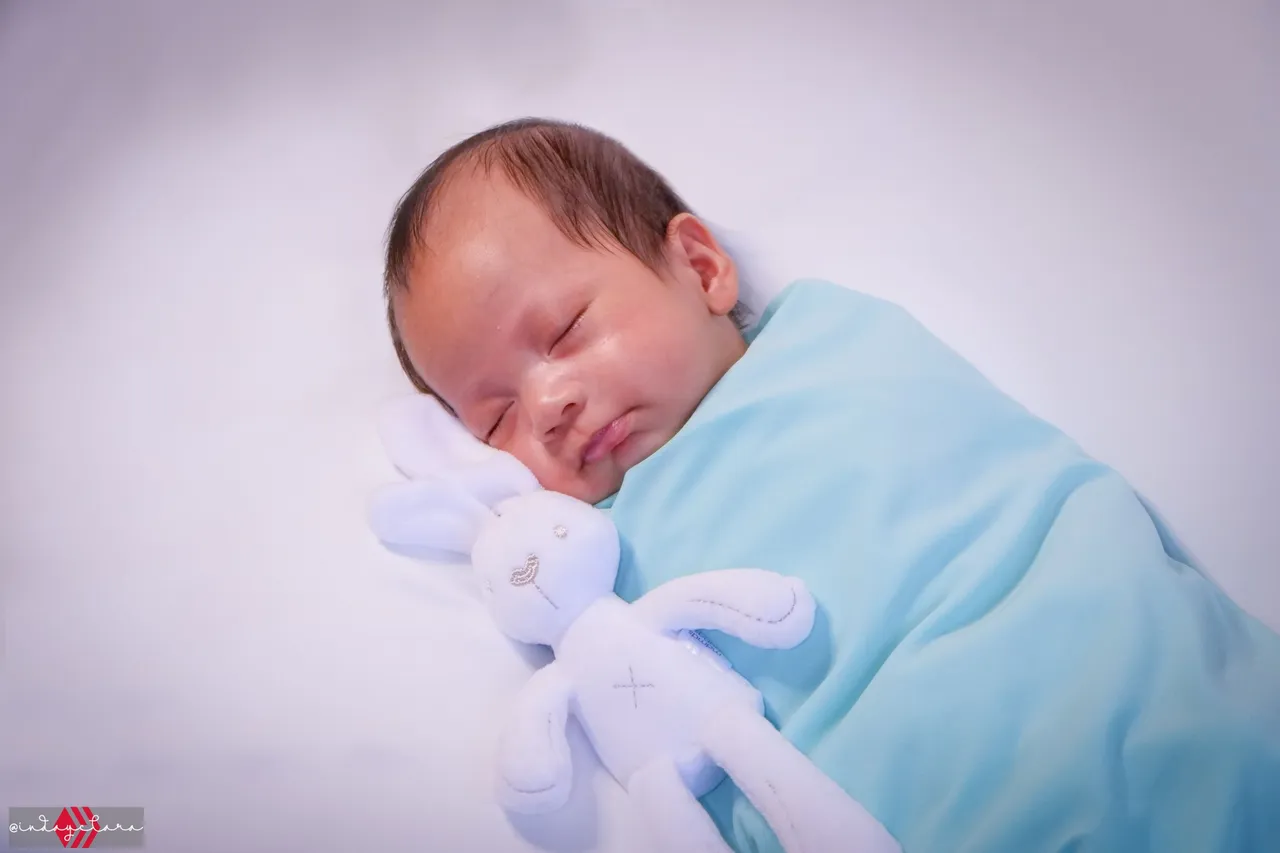
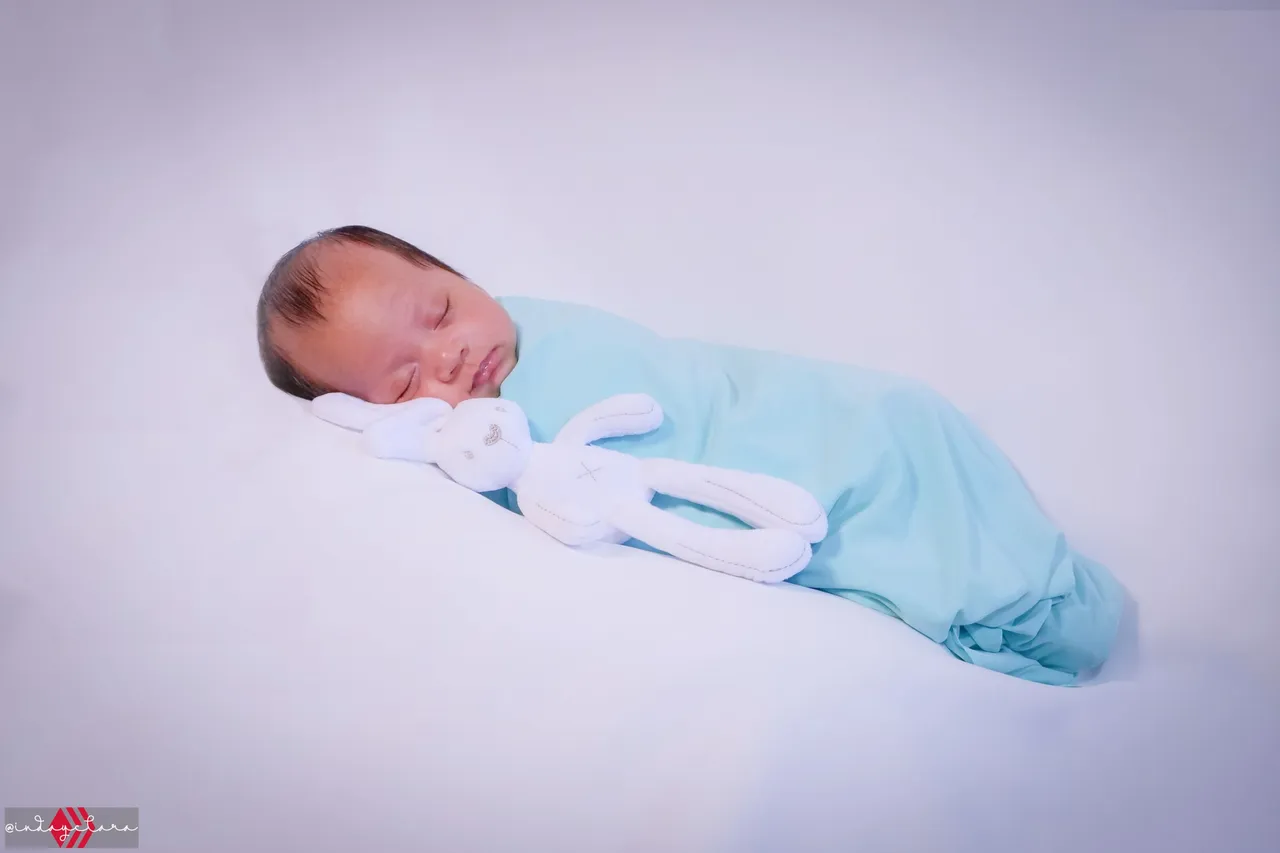
Batch 5
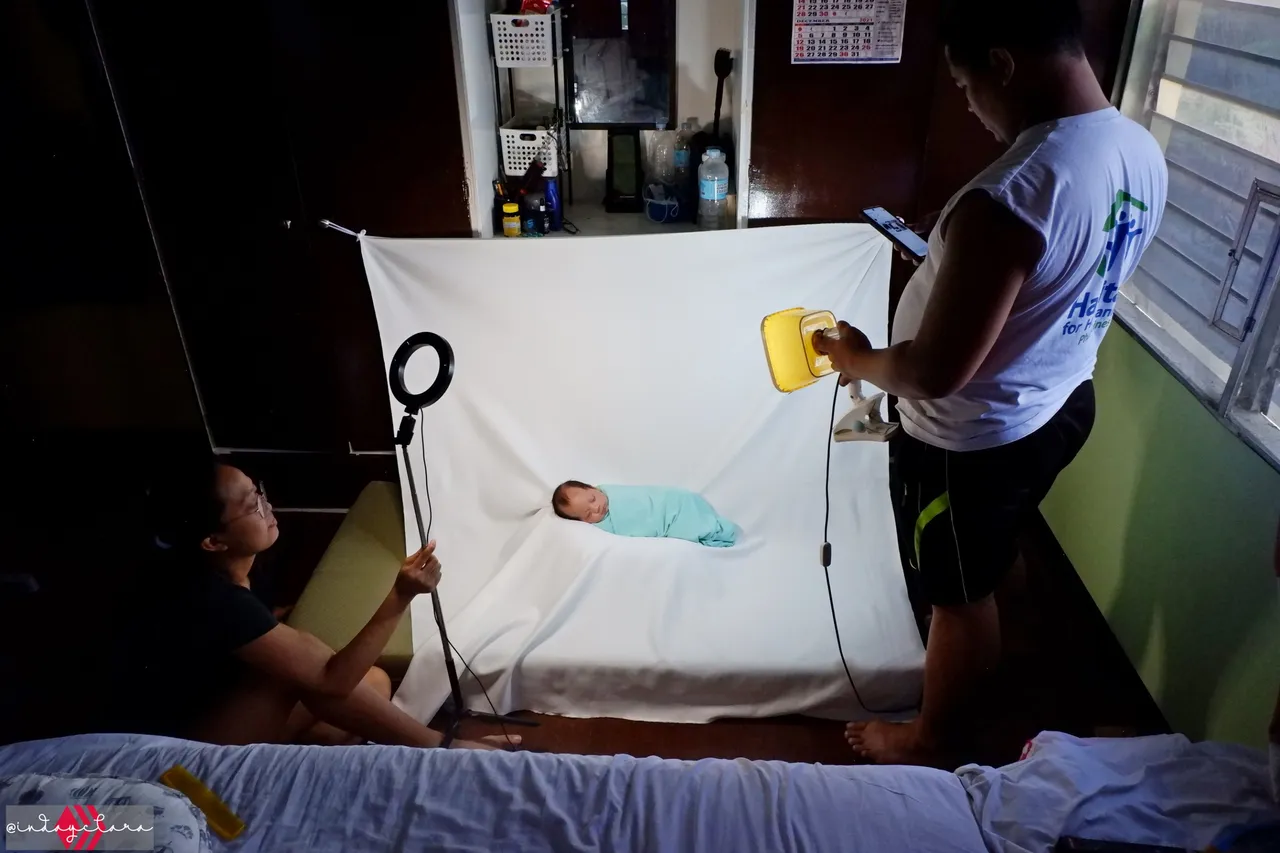
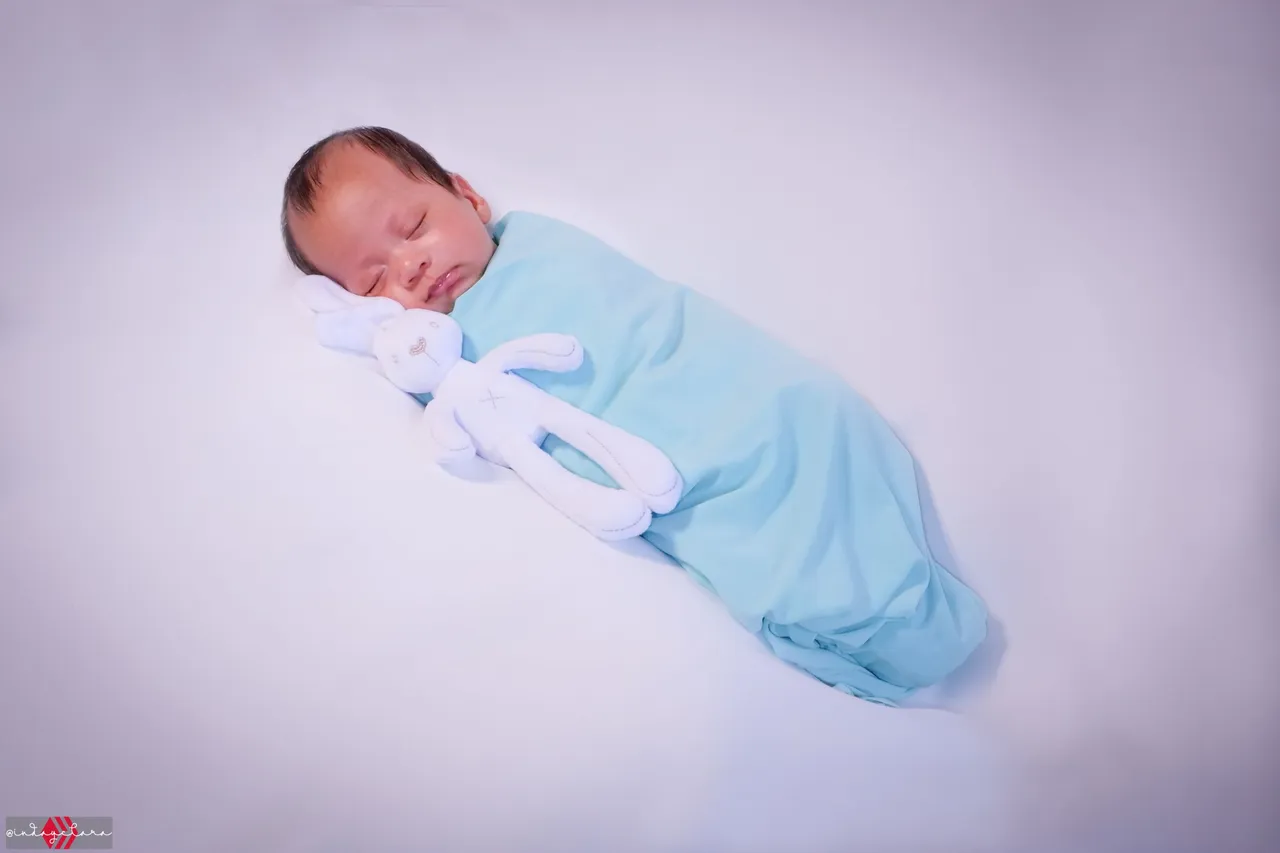
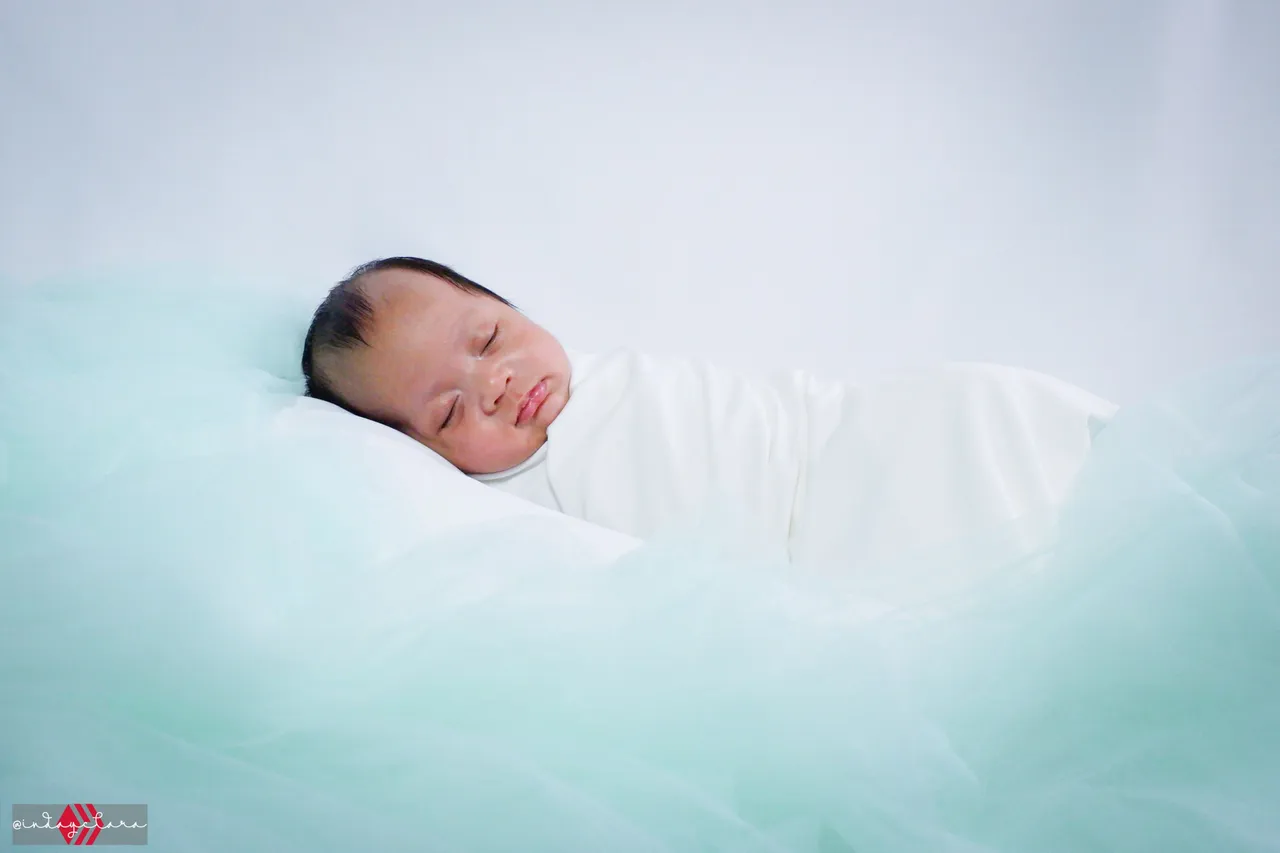
For this batch, we wrapped Alex in a mint green cloth however after post editing, the color leaned towards shade blue. I was more focused on correcting the white balance so I could get the skin color right. Also my ASUS laptop's color is saturated so when I checked the photos on my other monitor and my phone, they all give different color tones which is a struggle. Anyways, this batch isn't the best but was grateful that my nephew slept a bit longer during this round.
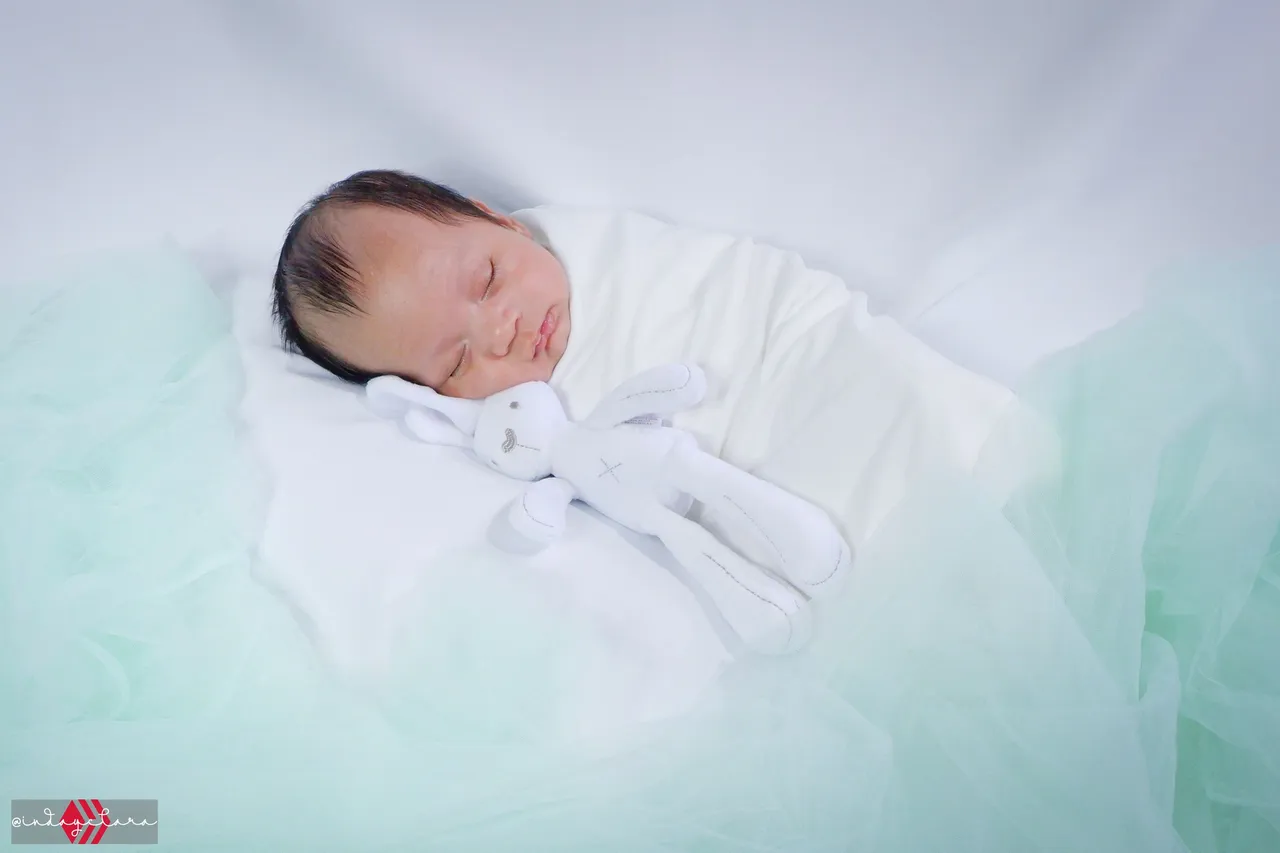
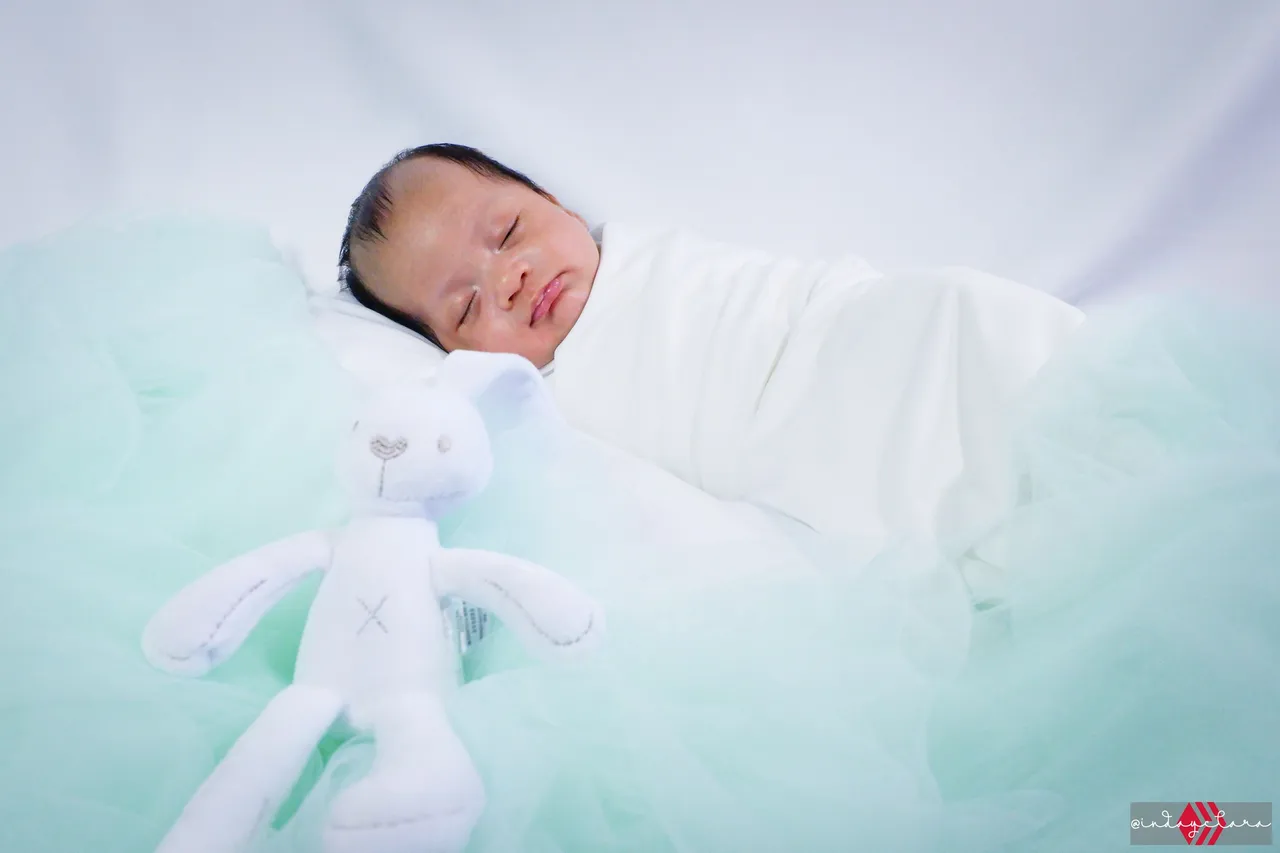
Batch 6
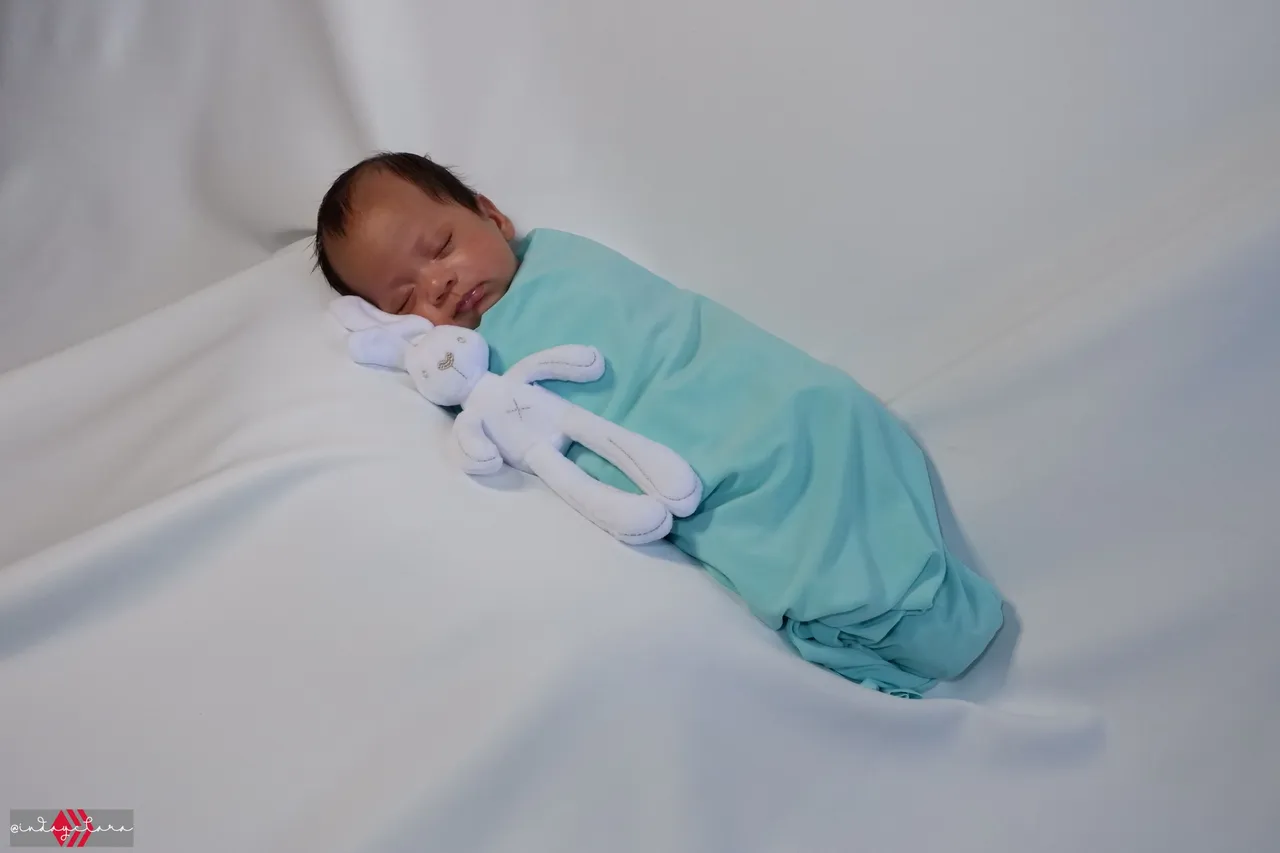
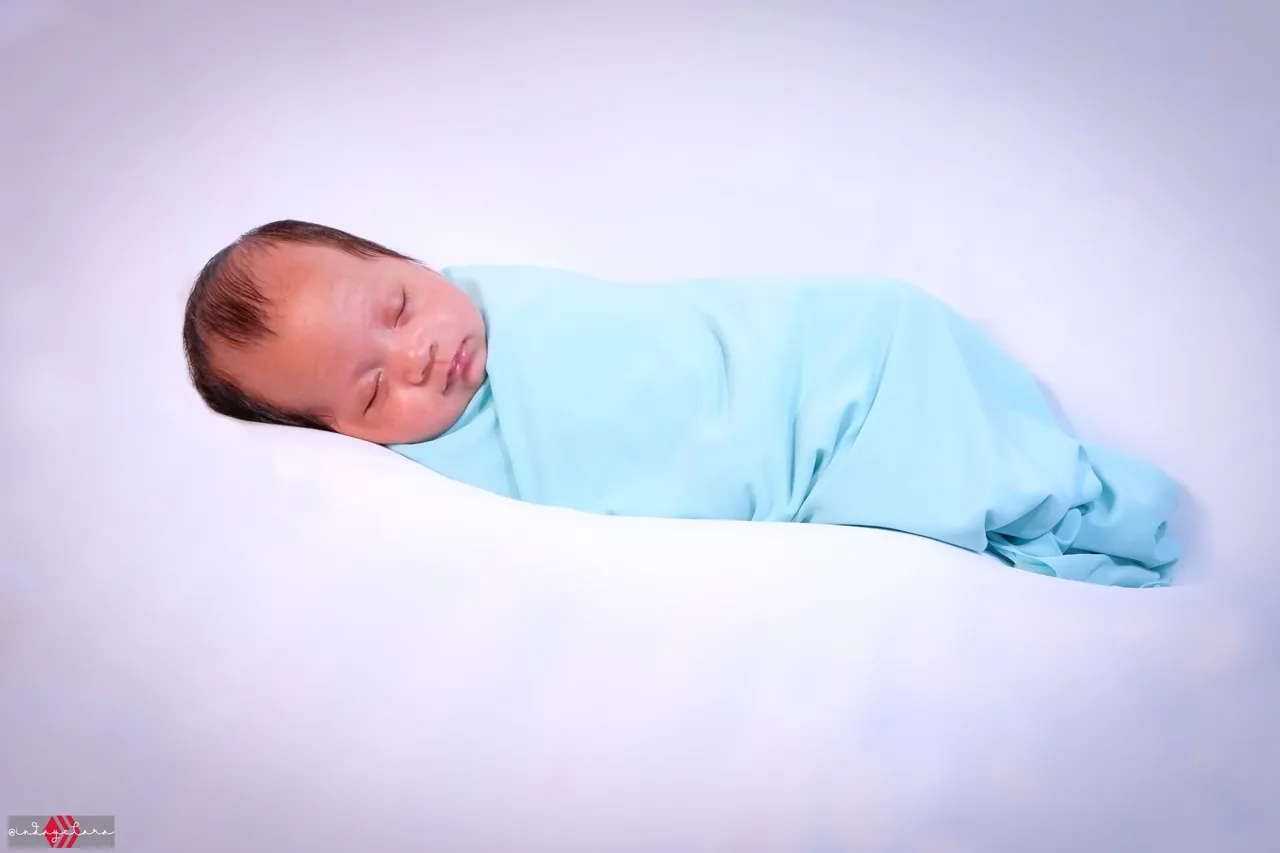
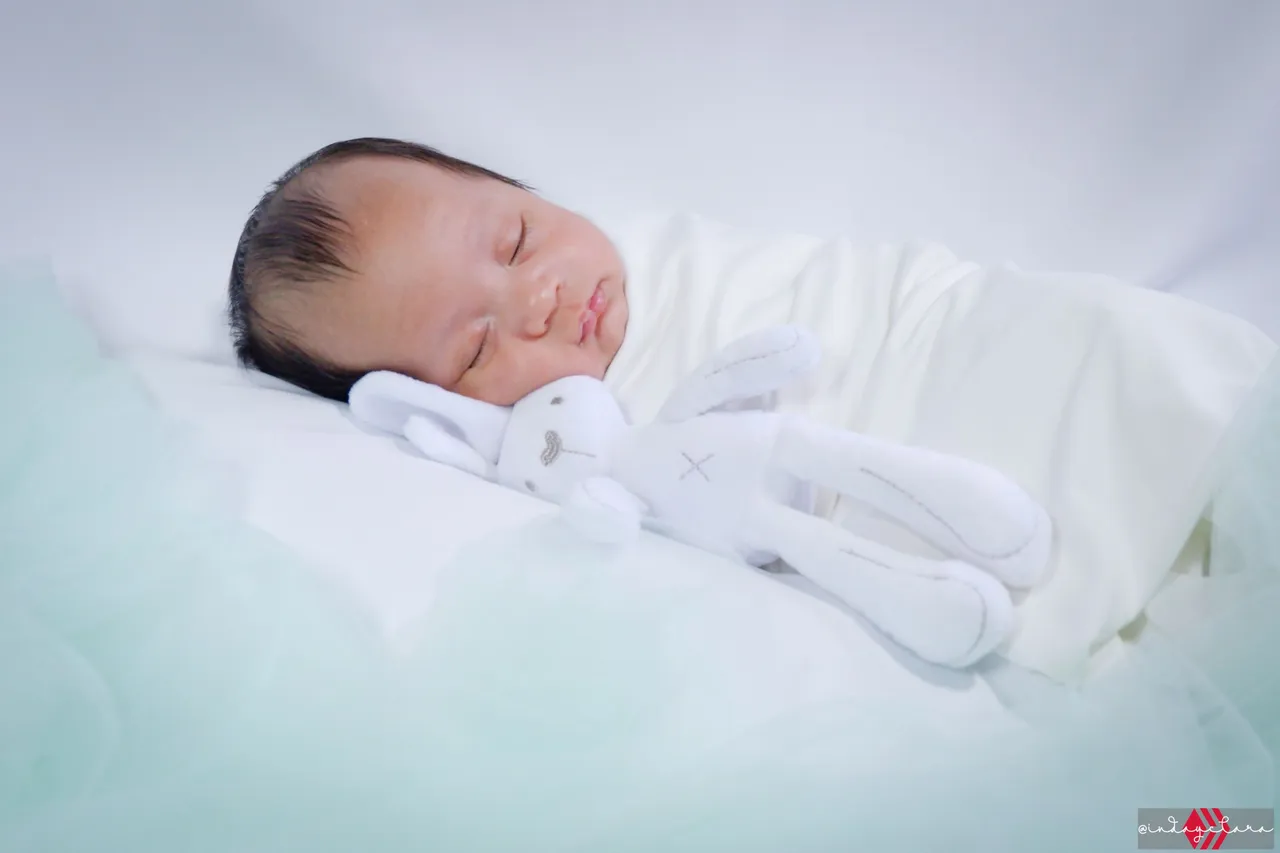
For this set-up, we had Alex wrapped in a white cloth then just added a mint green tulle to add some color to our background and his white bunny. During post-editing, I could have brought out the mint green color more but it's a tedious job since I would have to use the adjustment tool on the raw camera filter editor. I also wanted to smooth out the background white cloth but perhaps next time since I needed to finish this project asap.
Anyways, here is the output...
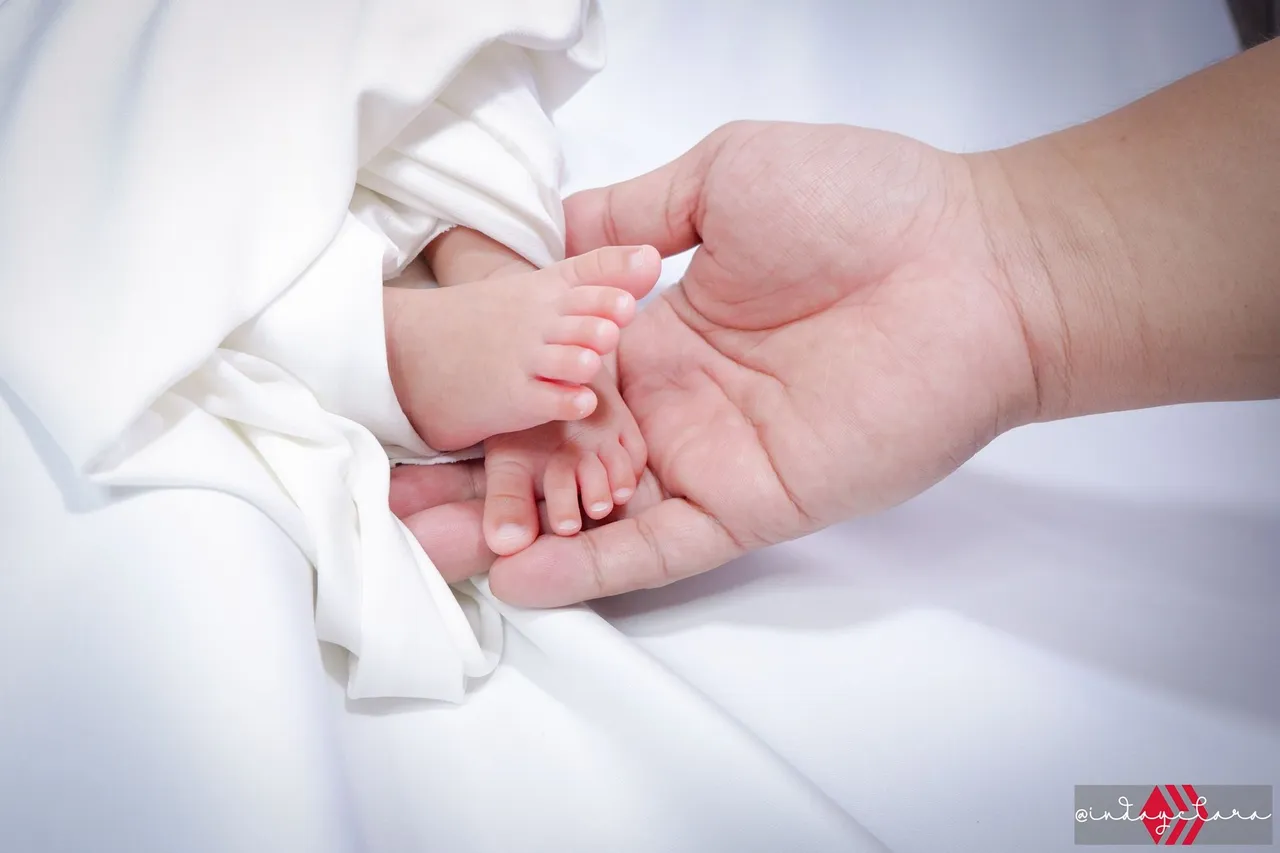
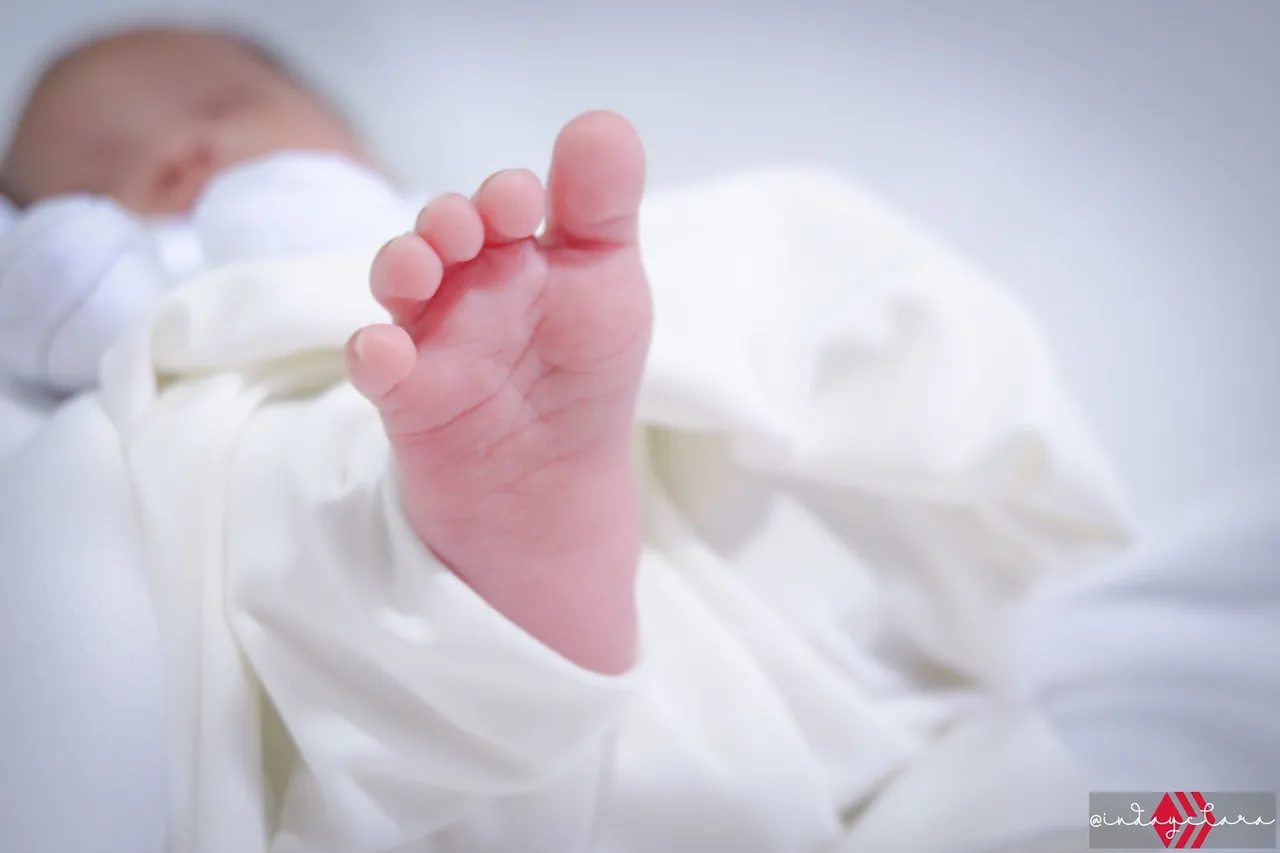
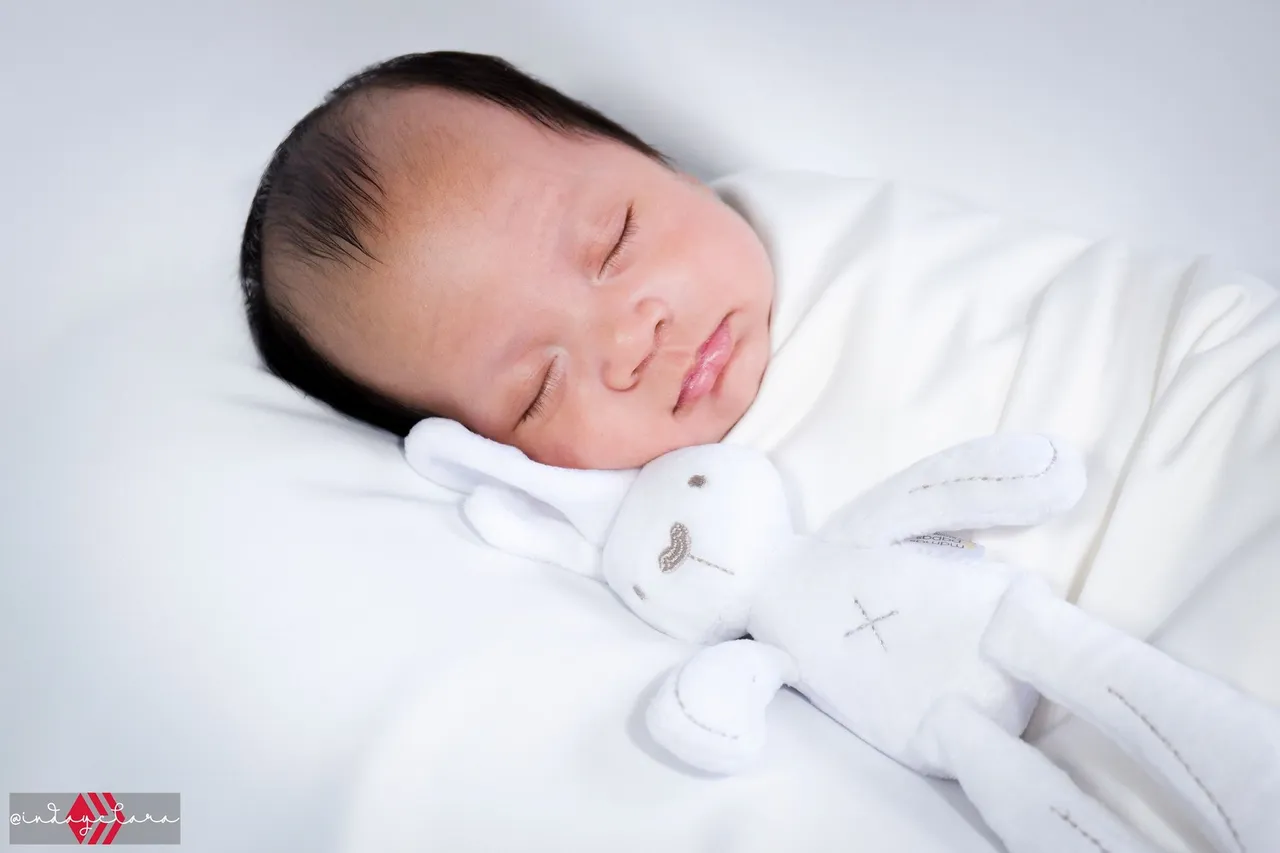
Batch 7
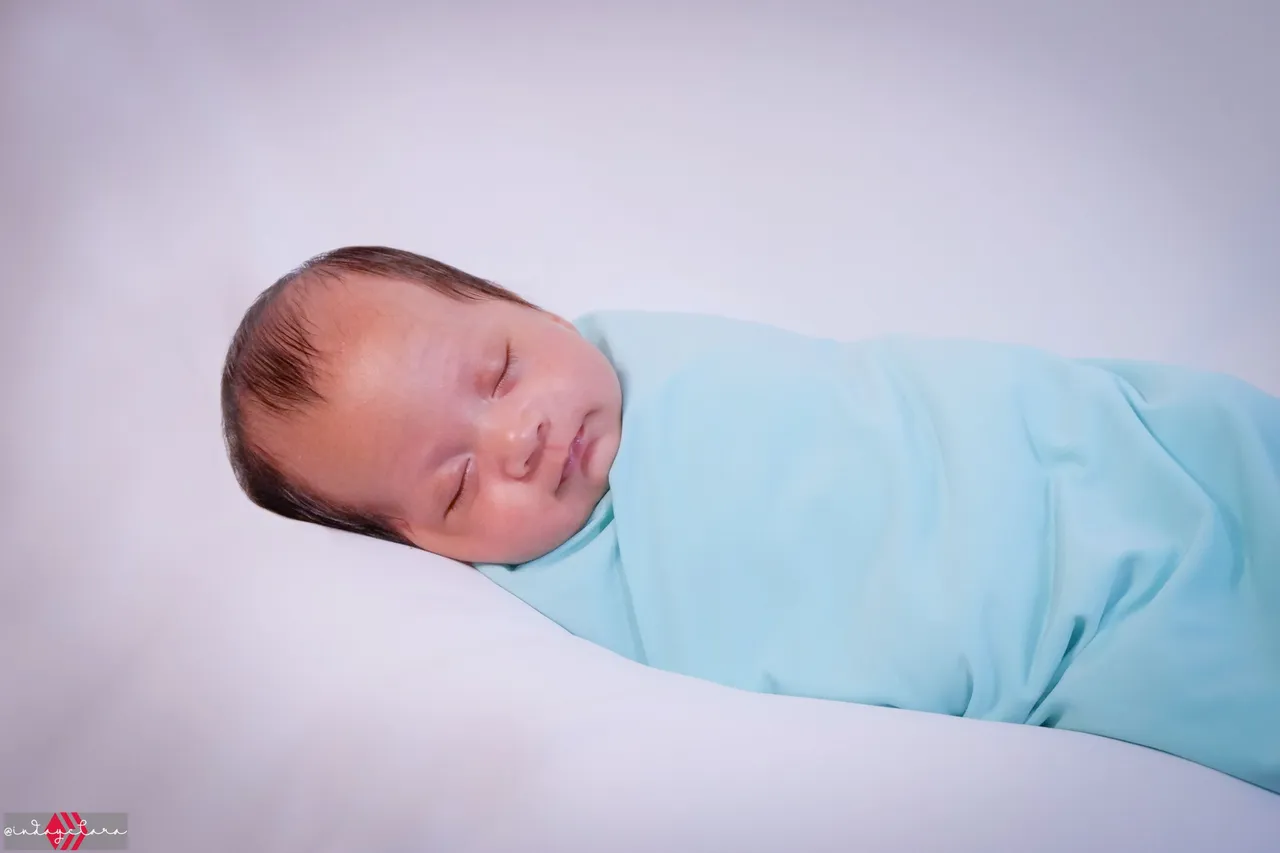
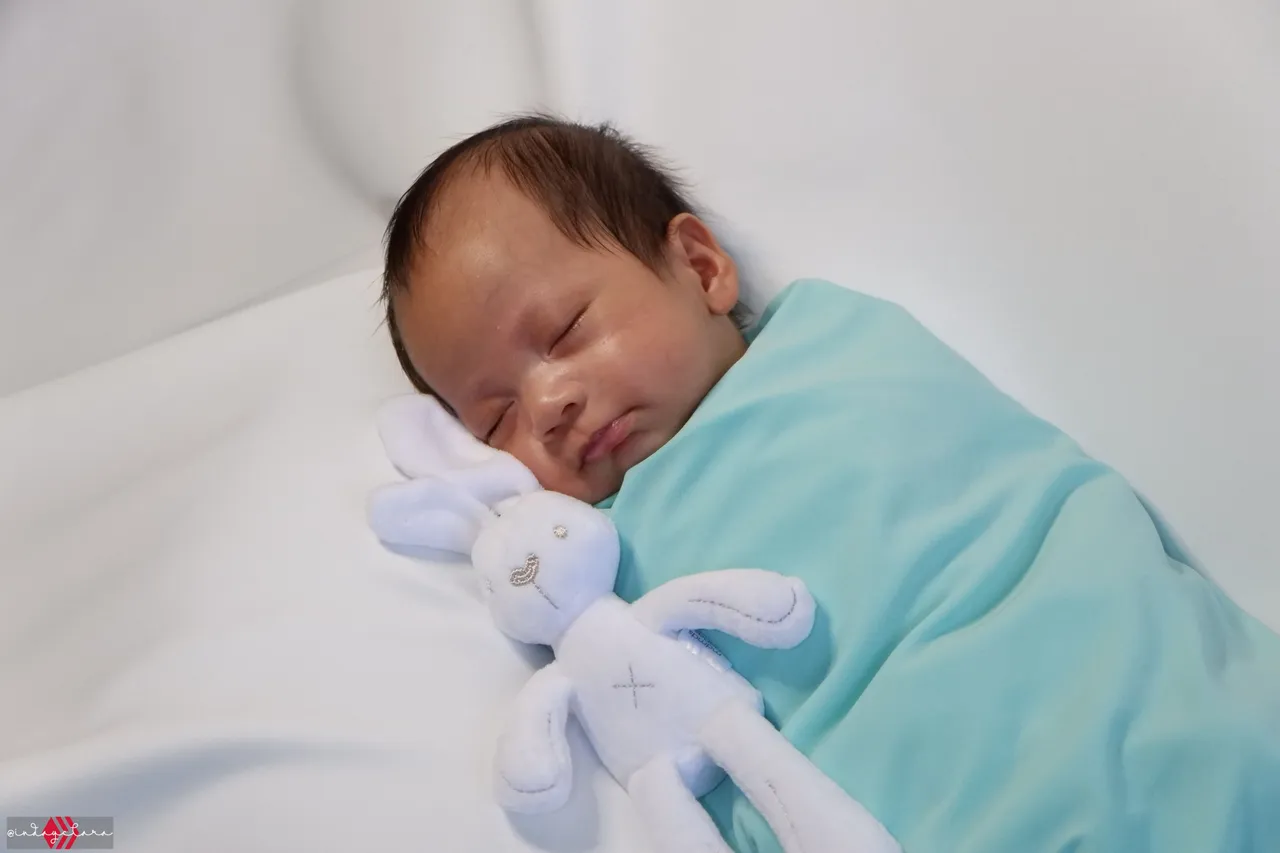
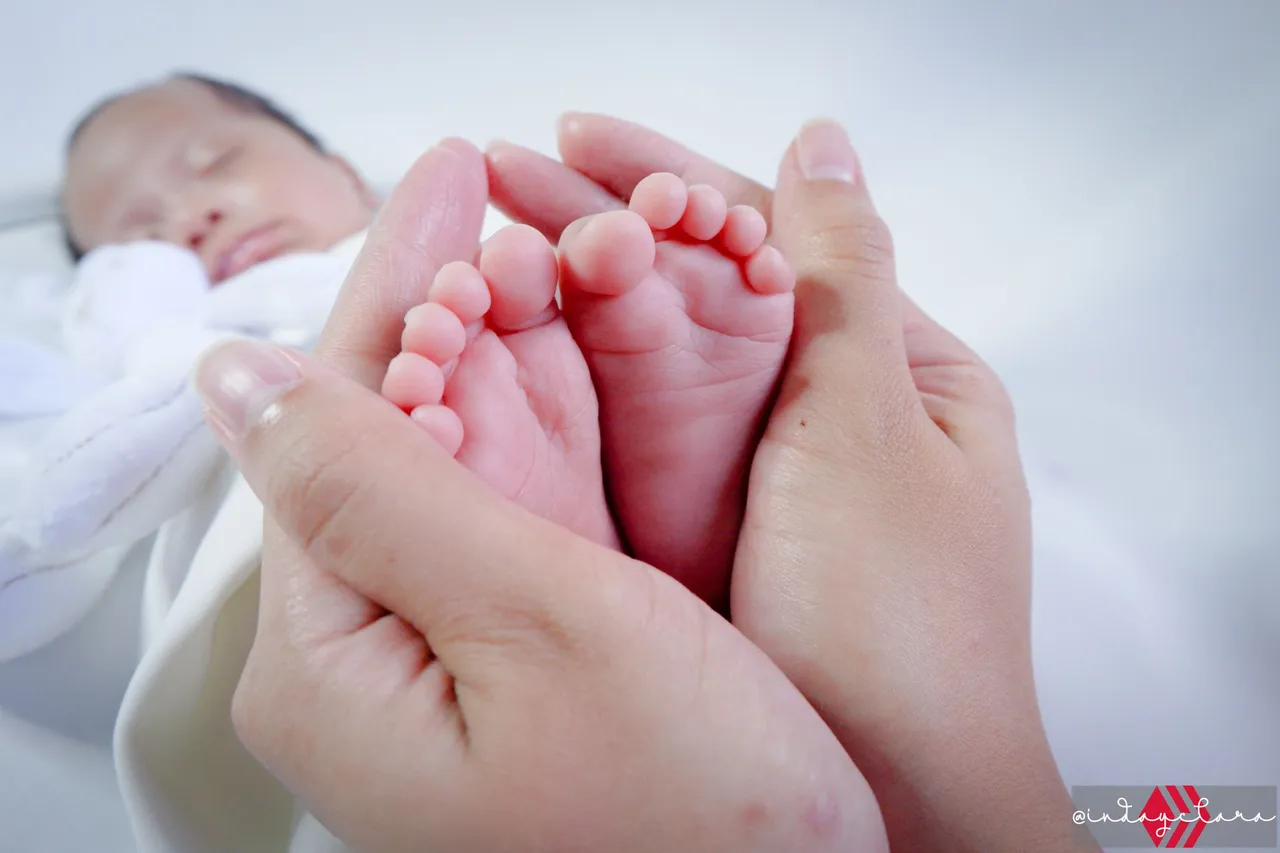
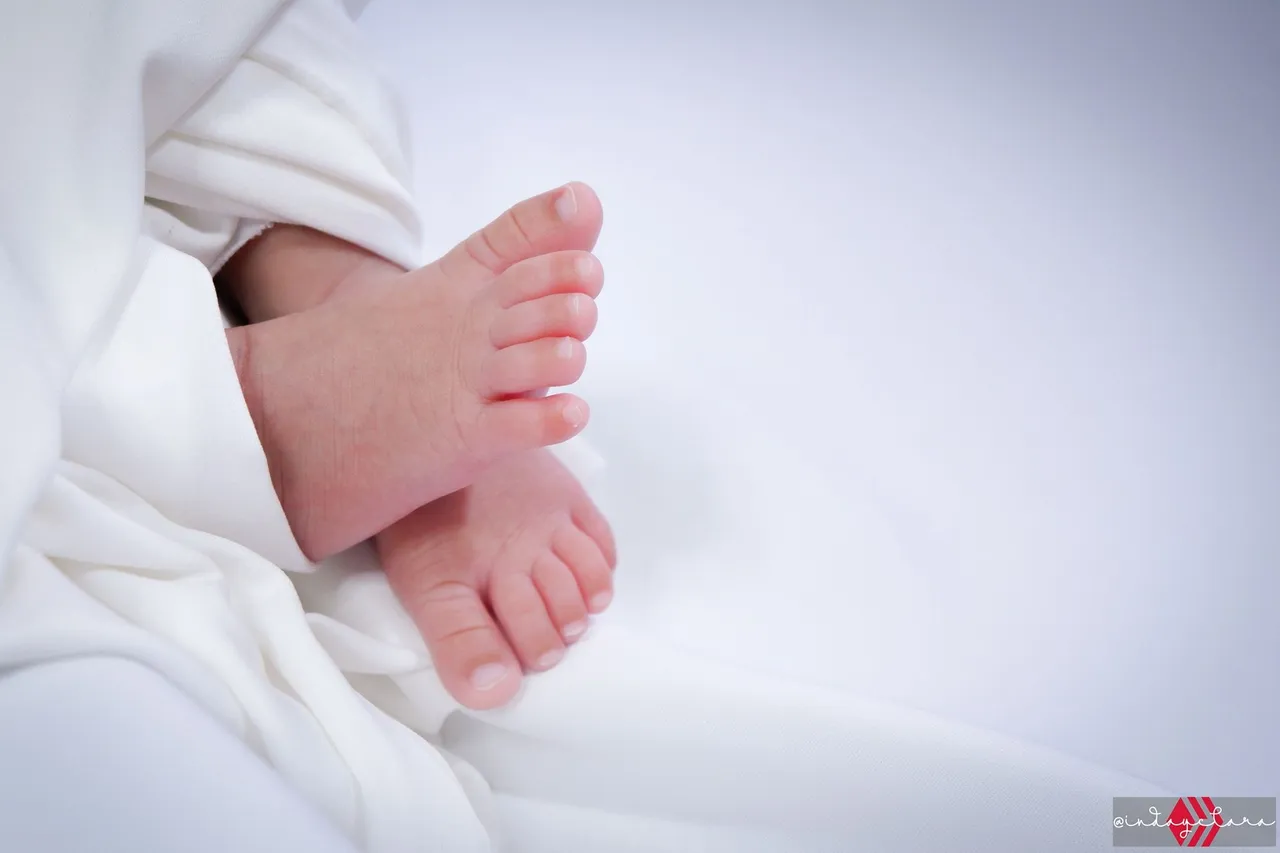
This is my favorite batch to edit. I just felt like Alex was angelic here with all the white background so I tried trying to bring in some gentleness on the colors and tone. I took some shots with his little feet too while he was wrapped in white cloth with his white bunny. His white bunny is his first toy from me and we will be using it on his yearly birthday photoshoot.
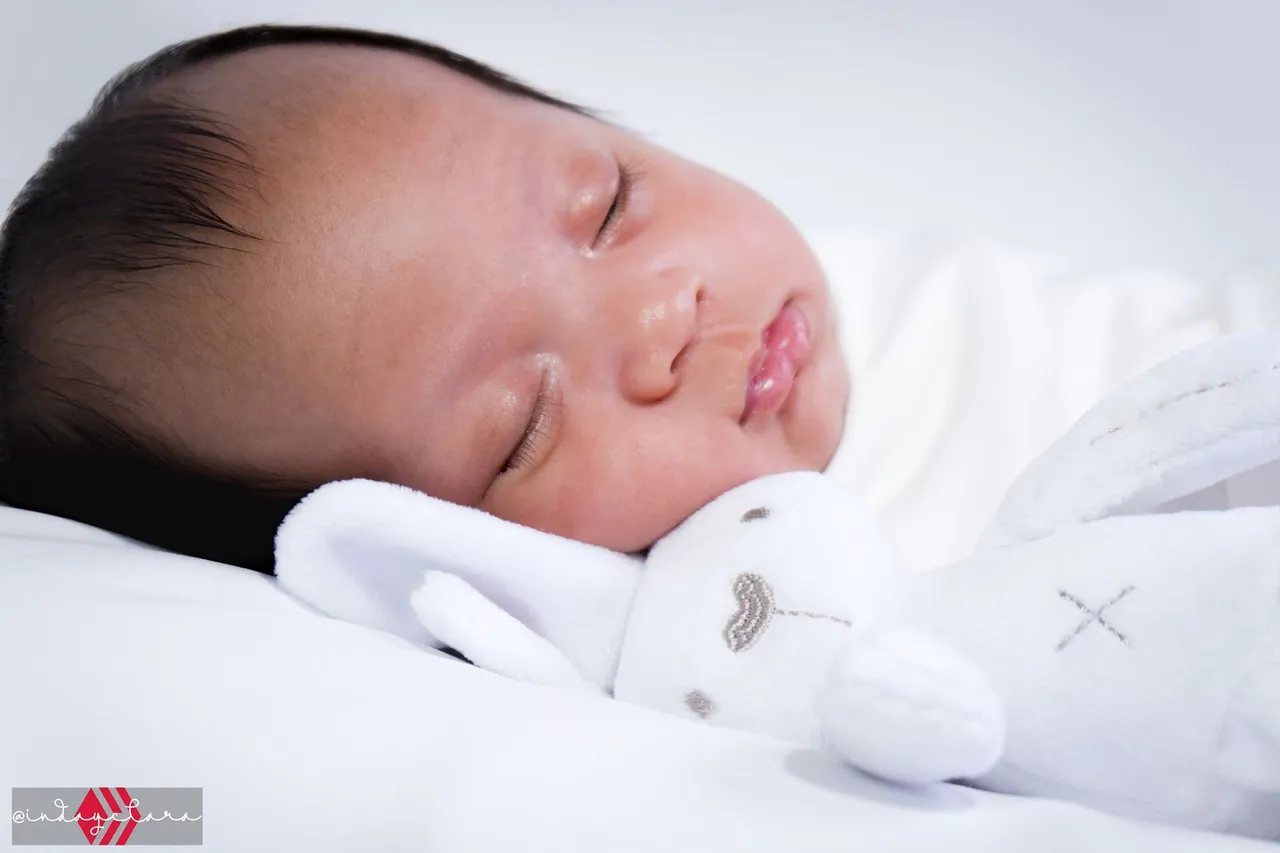
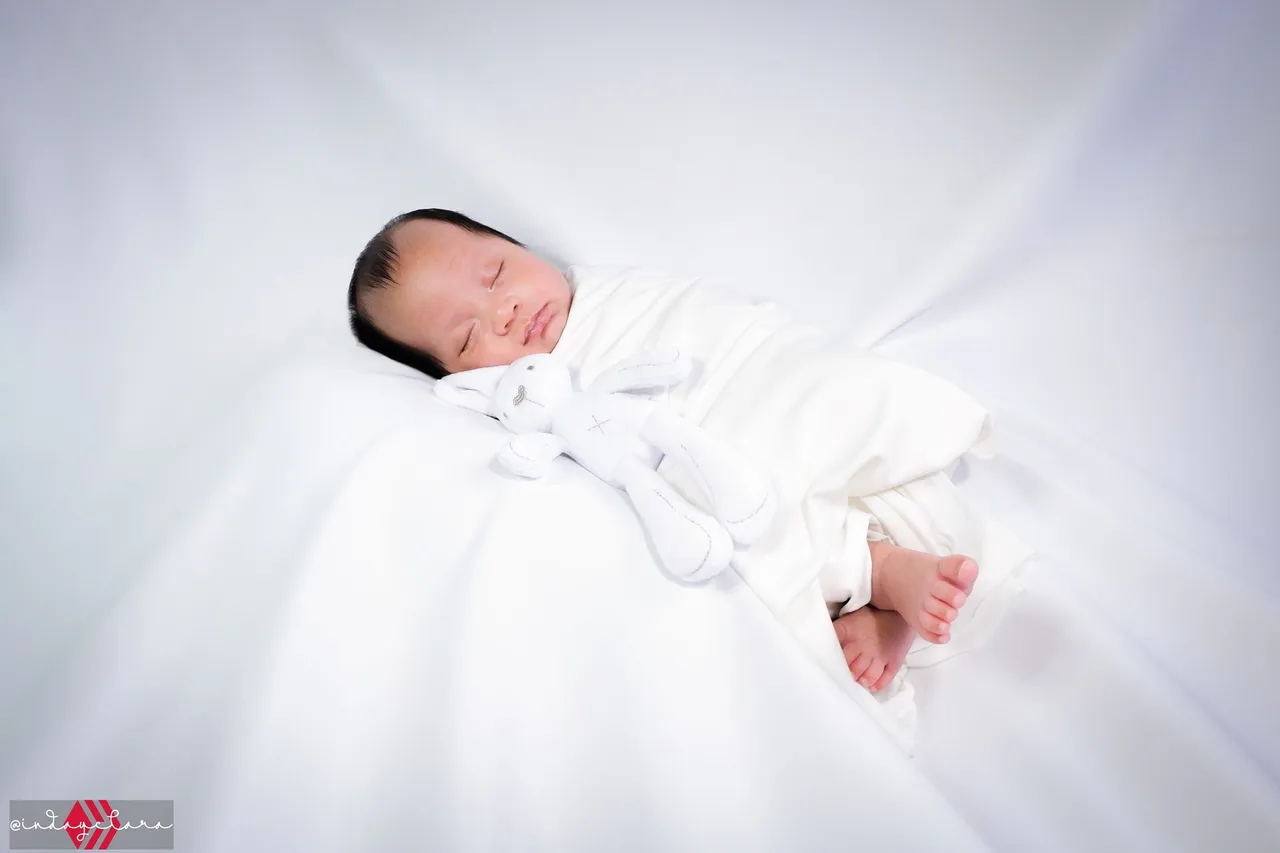
This last shot here is my favorite. He is no longer a newborn by the time we shot this. He was like a month old already and was getting bigger as the day passes by but it doesn't matter as long as we were able to capture his baby look. To tell you honestly, he no longer looks like this as of writing! Babies grow up way too fast! Anyways, that is all for this one. Thanks for making it this far... Now, when I think of it, during my time or even the older generations... We don't have these "newborn photoshoots". 😂 When and why did this become a thing? Did you also go for a newborn photoshoot with your kids? Let me know in the comments below!
Dive into Clara's world of bliss as she ventures out into the universe and travel to awesome destinations. If her content made you 😁, then drop some ❤️ by upvoting and leaving a comment.
Join her as she take on the road to self-discovery and limitless possibilities.
Also, click the Follow button to keep posted on her whimsical musings.