Hello everyone!
As much as I love photography, as much if not more manipulation with them. Most of them are manipulations that I do according to tutorials for Photoshop, which can be found on YouTube. I will try to describe each one individually.
My first photo manipulation was made from two photos, a tree and the moon (it looks like the sun, but it's the moon), superimposed on each other. In the layers selected Blending mode and Overlay, and Opacity at 50%.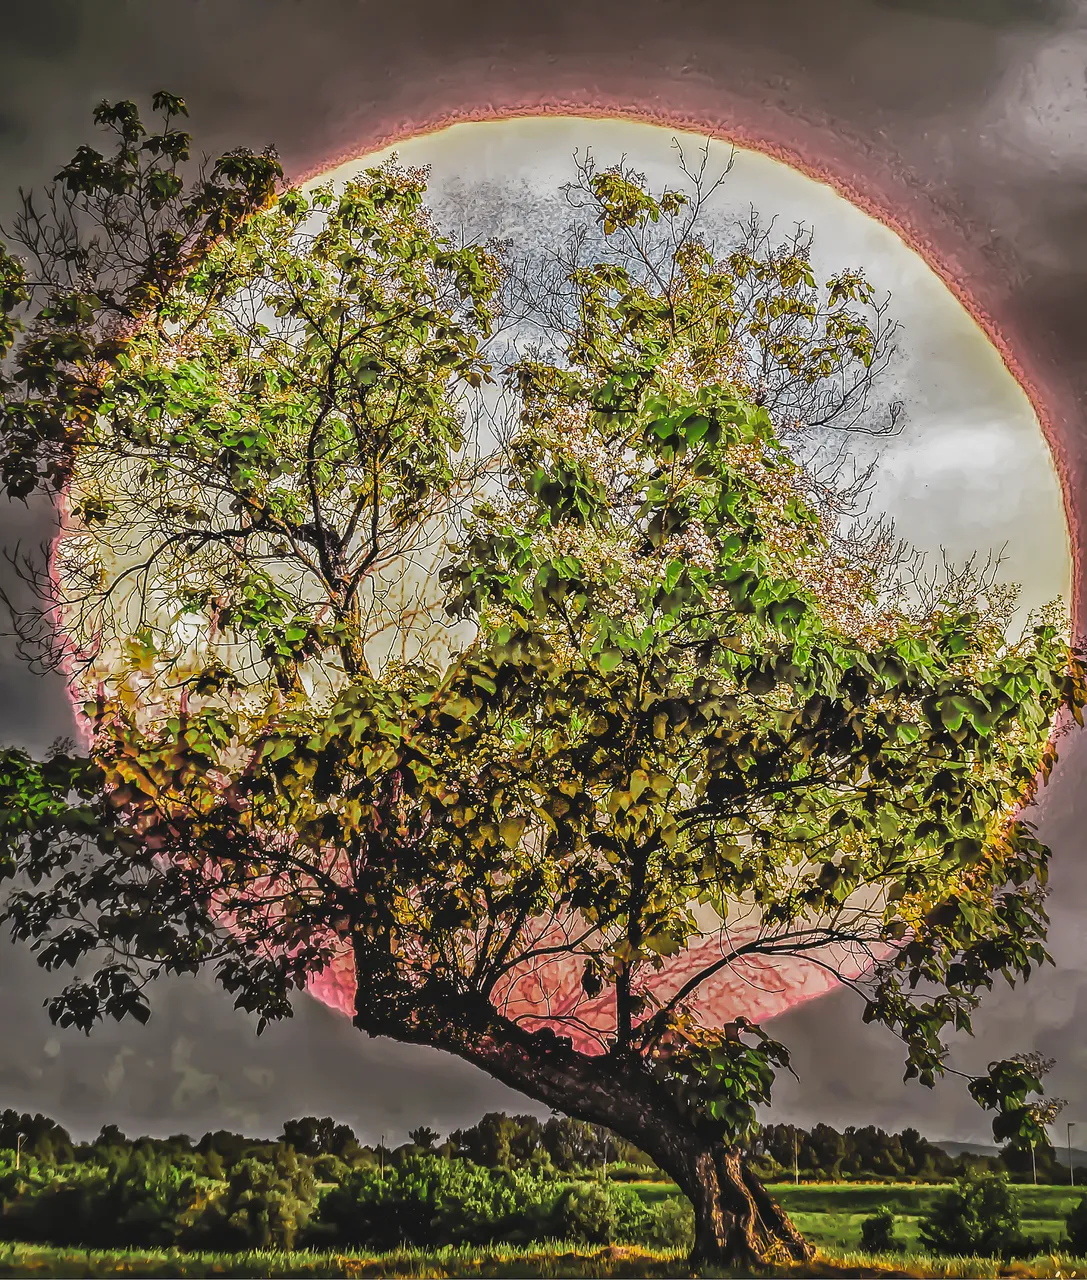
The next manipulation is called Planetica. For it, it is necessary to photograph an area with a rotation around the axis for 360 degrees. After that, a panorama is created, which is further rotated in Photoshop and we get a planet like this. I must say that sometimes it is very difficult to put it together.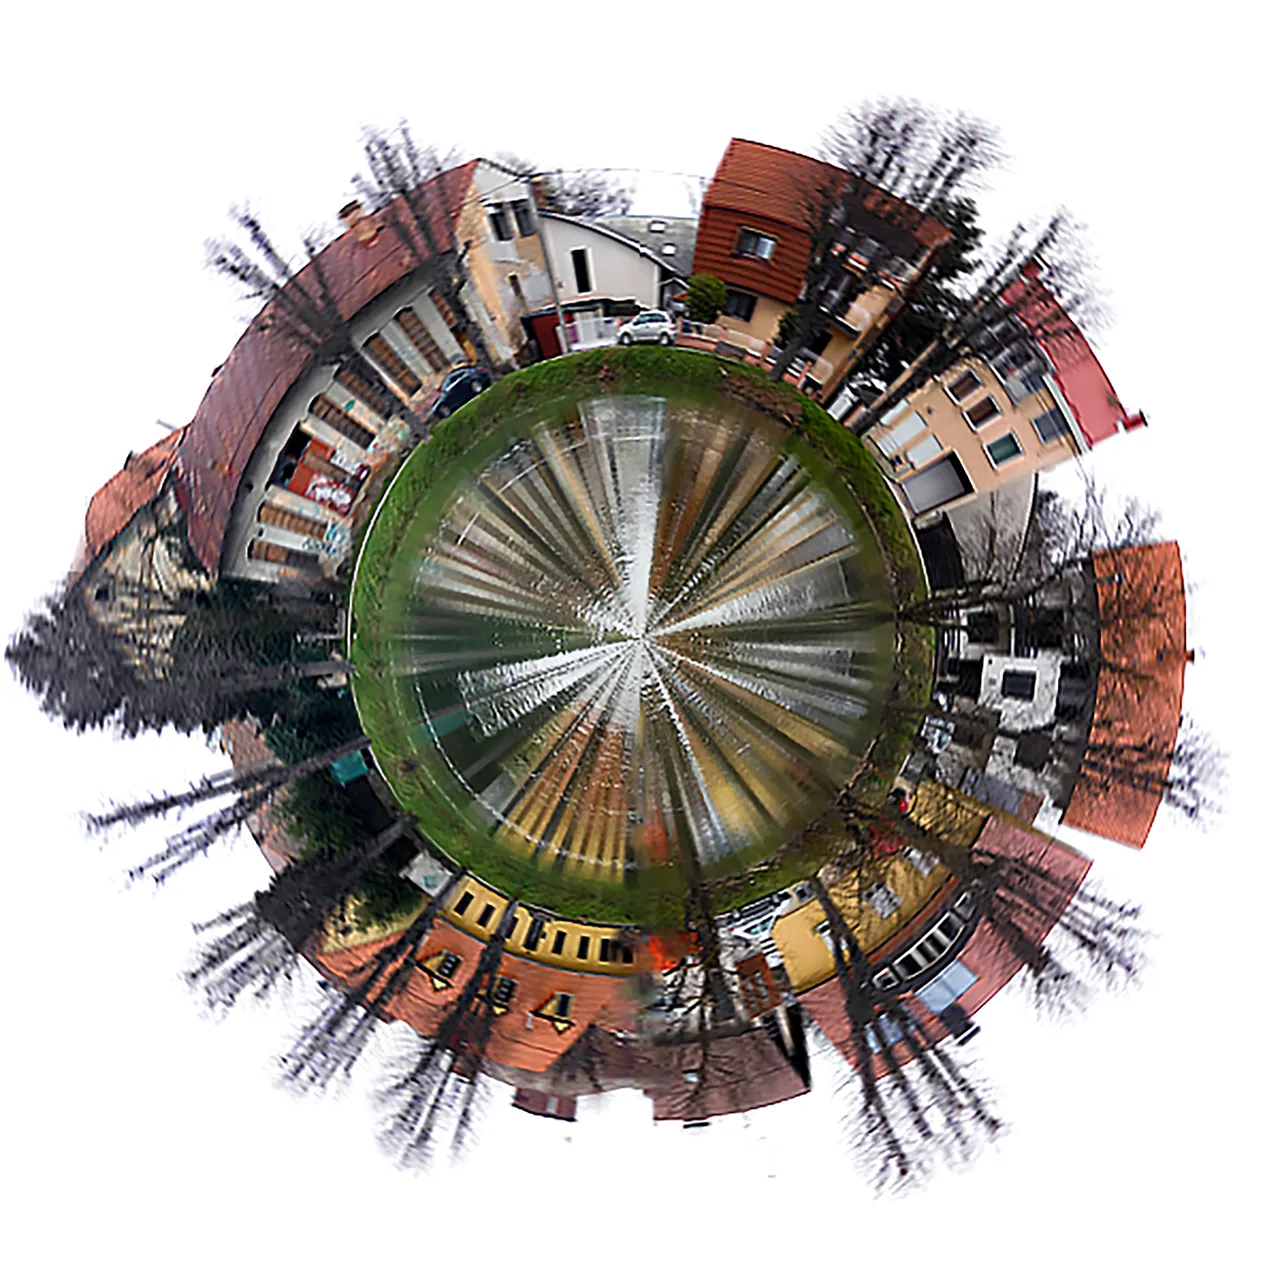
I really like this photo manipulation. I combined a photo of my granddaughter and a photo of an electric light bulb. Of course, with a lot of refinement, I got a satisfactory result, at least I think I did.
In the same way as the previous one, I composed this photo manipulation from a photo of the full moon and a crane.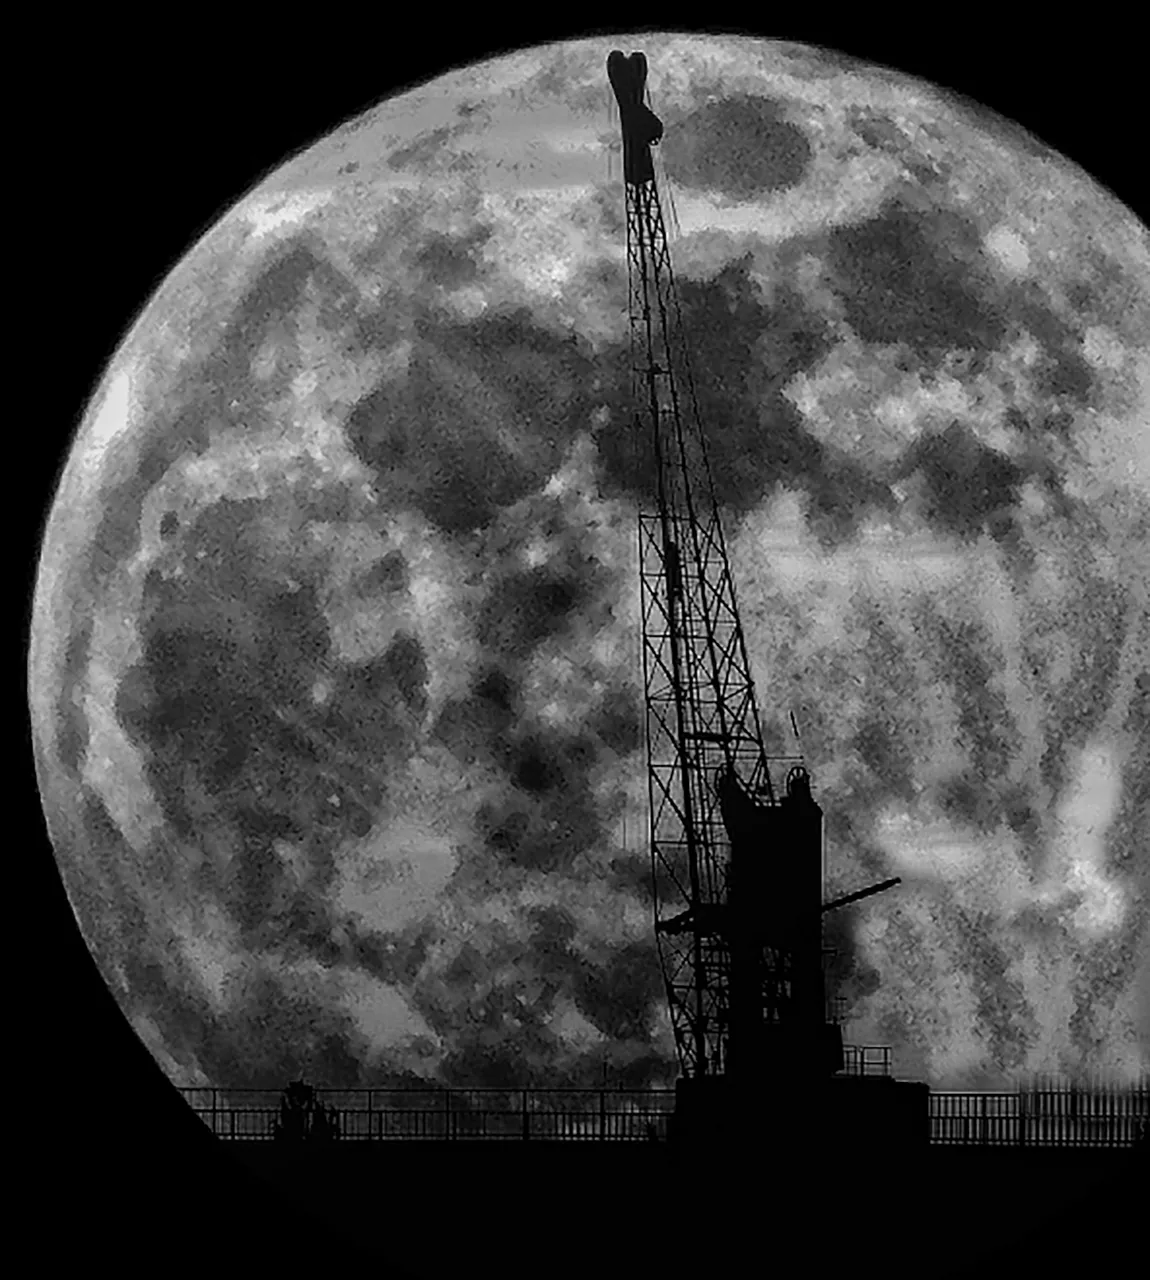
Now comes analog photography. I worked in a photography workshop for 6 and a half years. I connected two negatives, put them under the light source and did a time lapse of them. And dear people, that's me at the age of 19!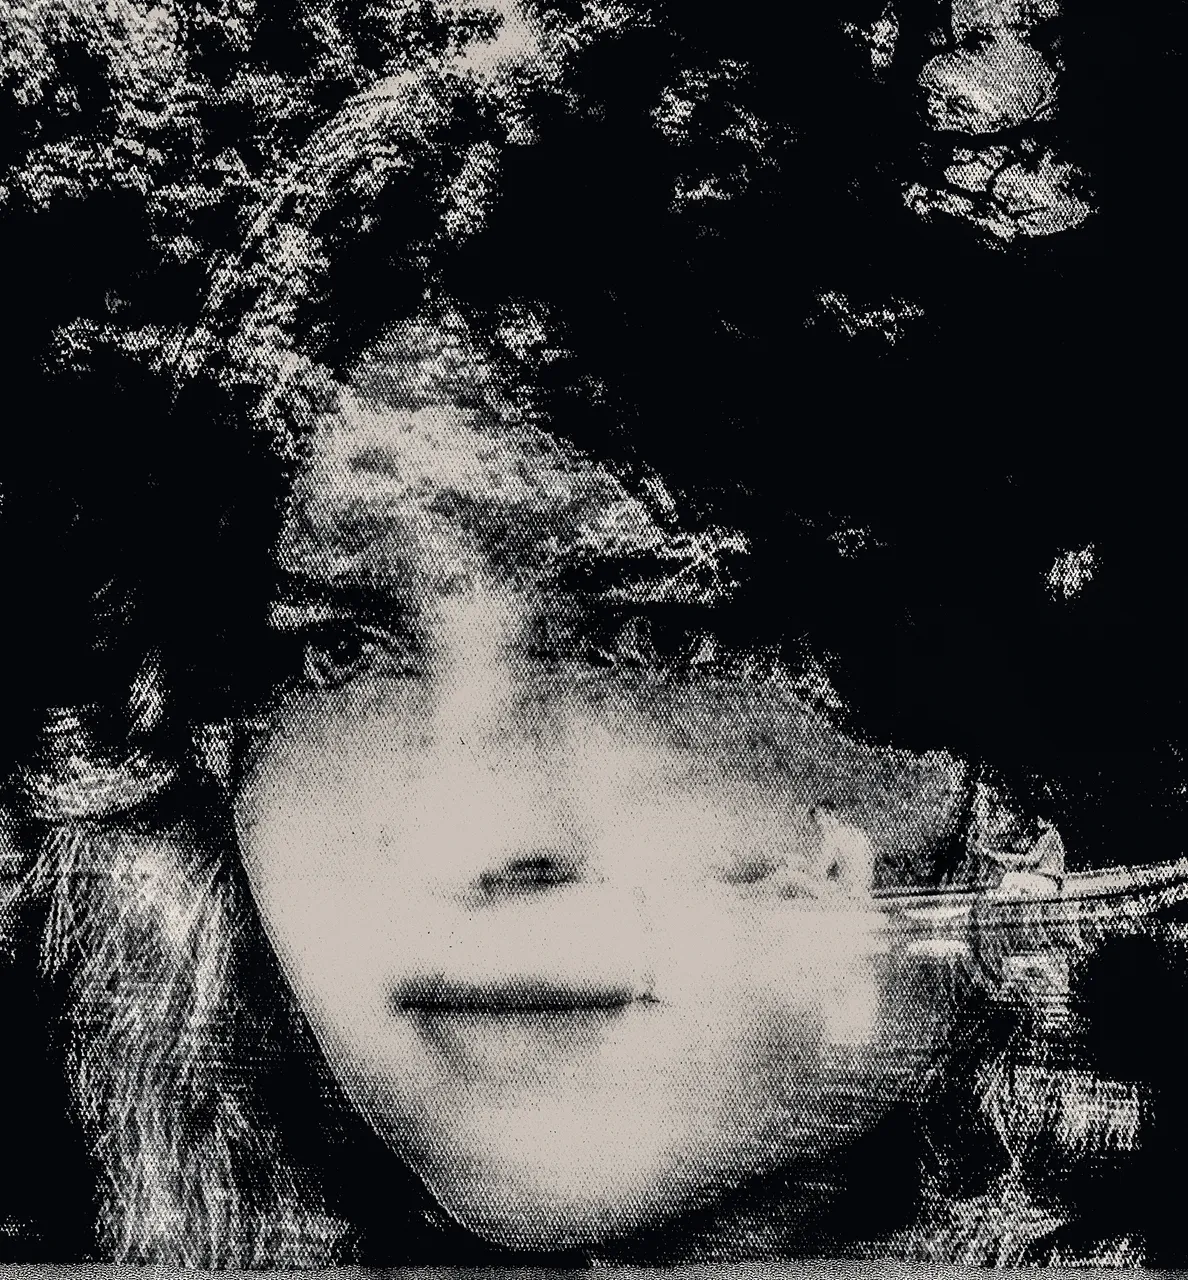
Ok, let's move on..... This photo was taken with a Nikon CoolPix L840 camera which has a reflection program in it.... Very simple
This photo manipulation may be morbid to some, but you now know that it is not a real photo. So, a photo of a railway bridge on whose rails a man is sitting in the snow and waiting for the arrival of a train ... From the photo it could be said that the train is rushing to meet him, but in fact the light was added in Photoshop - Filter - Render - Lens Flare. So there is no reason to panic.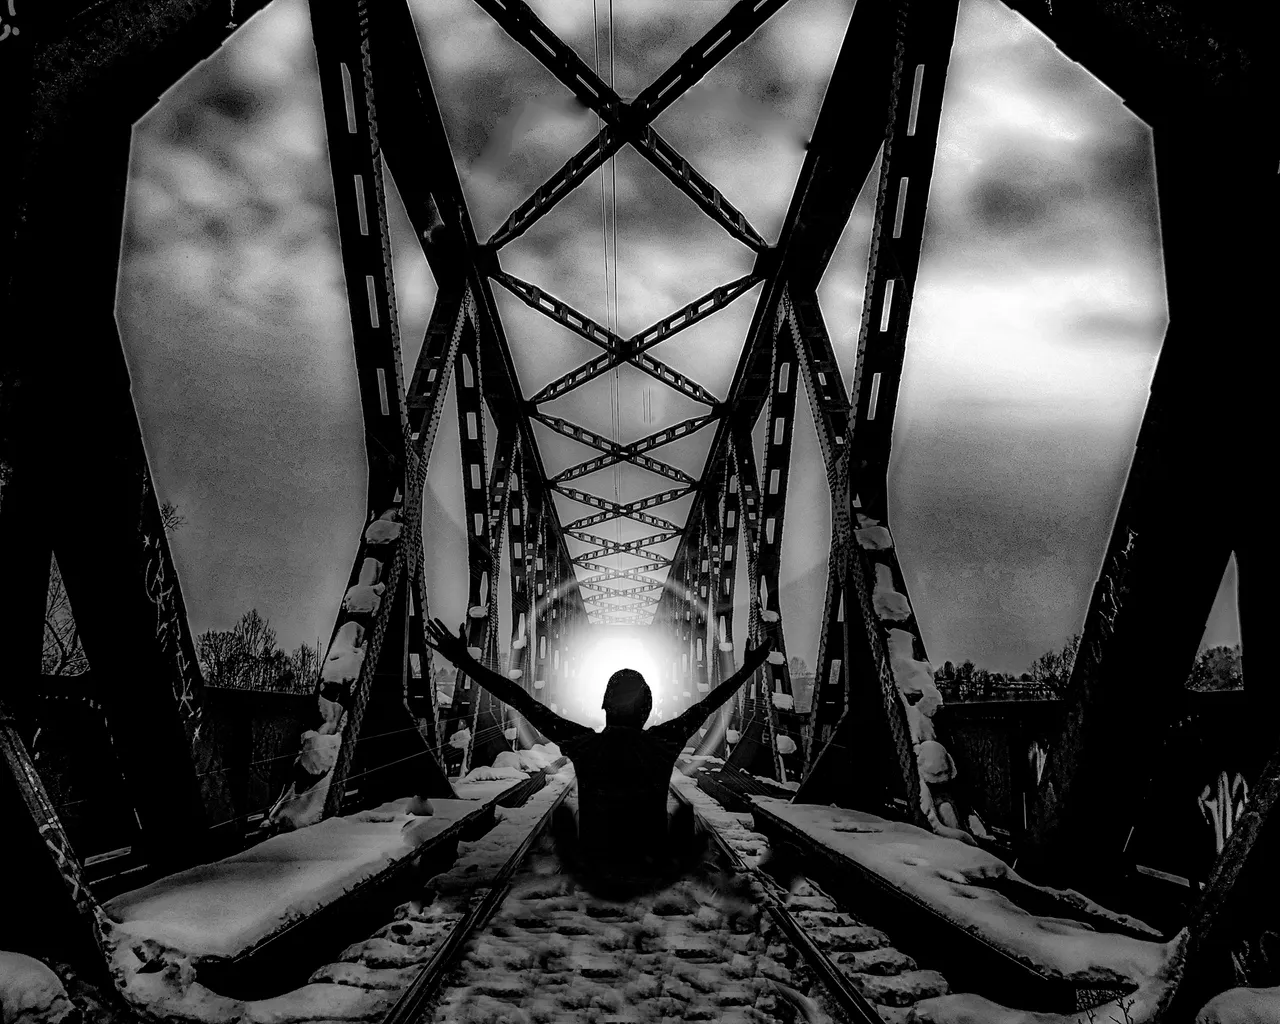
This is the bridge in my town, I grew up next to it, it's called the Old Bridge. I merged his photo and added a photo of the crescent moon. As before, there were more finishing touches, which I finish when I am satisfied with the result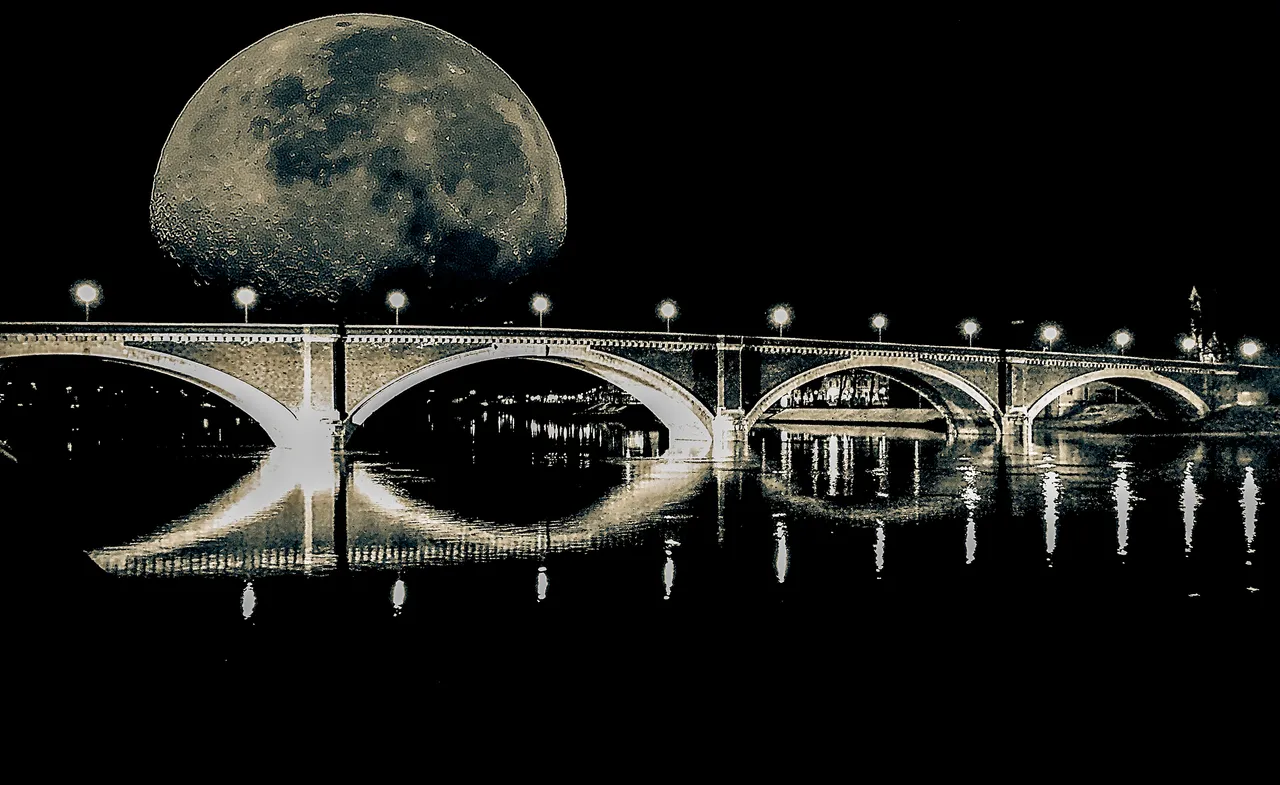
The moon seems to be my favorite model.... So here I combined a photo of the moon and a model I photographed for our enjoyment.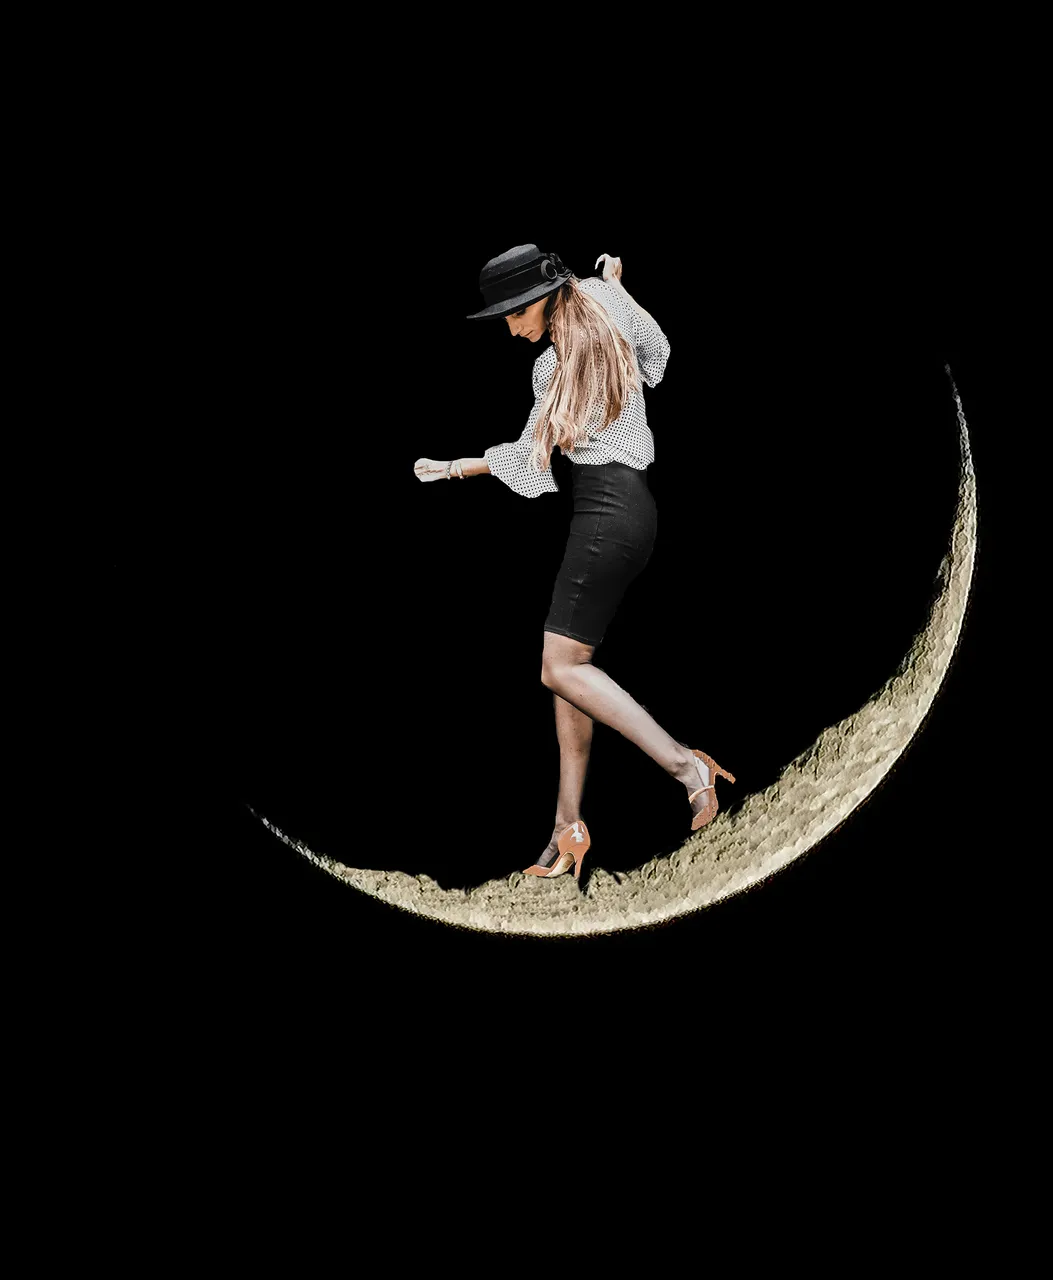
My favorite model, her name is Violeta, we call her Viki. I photographed her in an old cemetery (I will also show you that set of photos one day). I love portraits cut in half, so here. I added the silhouette of the crow as Photoshop Brushes.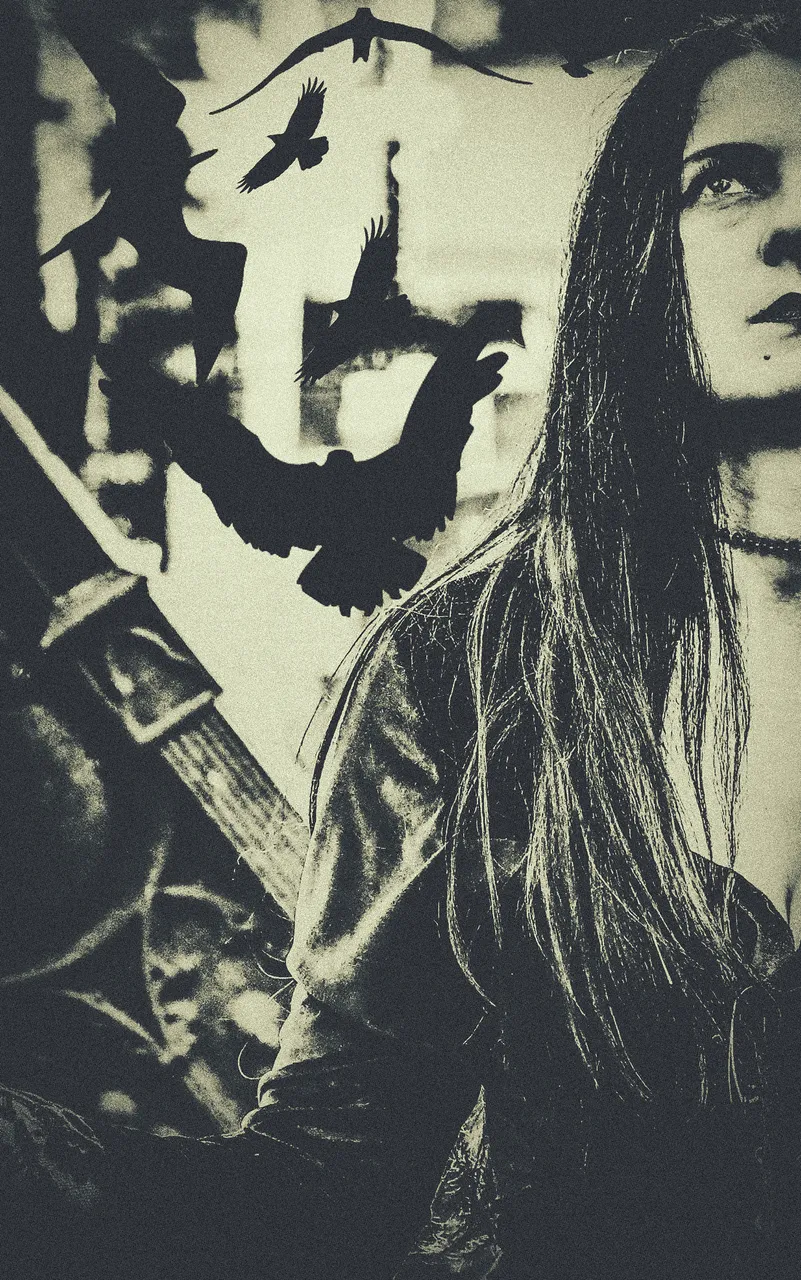
Here I created a white background of a certain dimension. Then I selected subject in Photoshop from another photo (my grandchildren) - switched to Black&White. Arranged on a white background and added everything else as Photoshop Brushes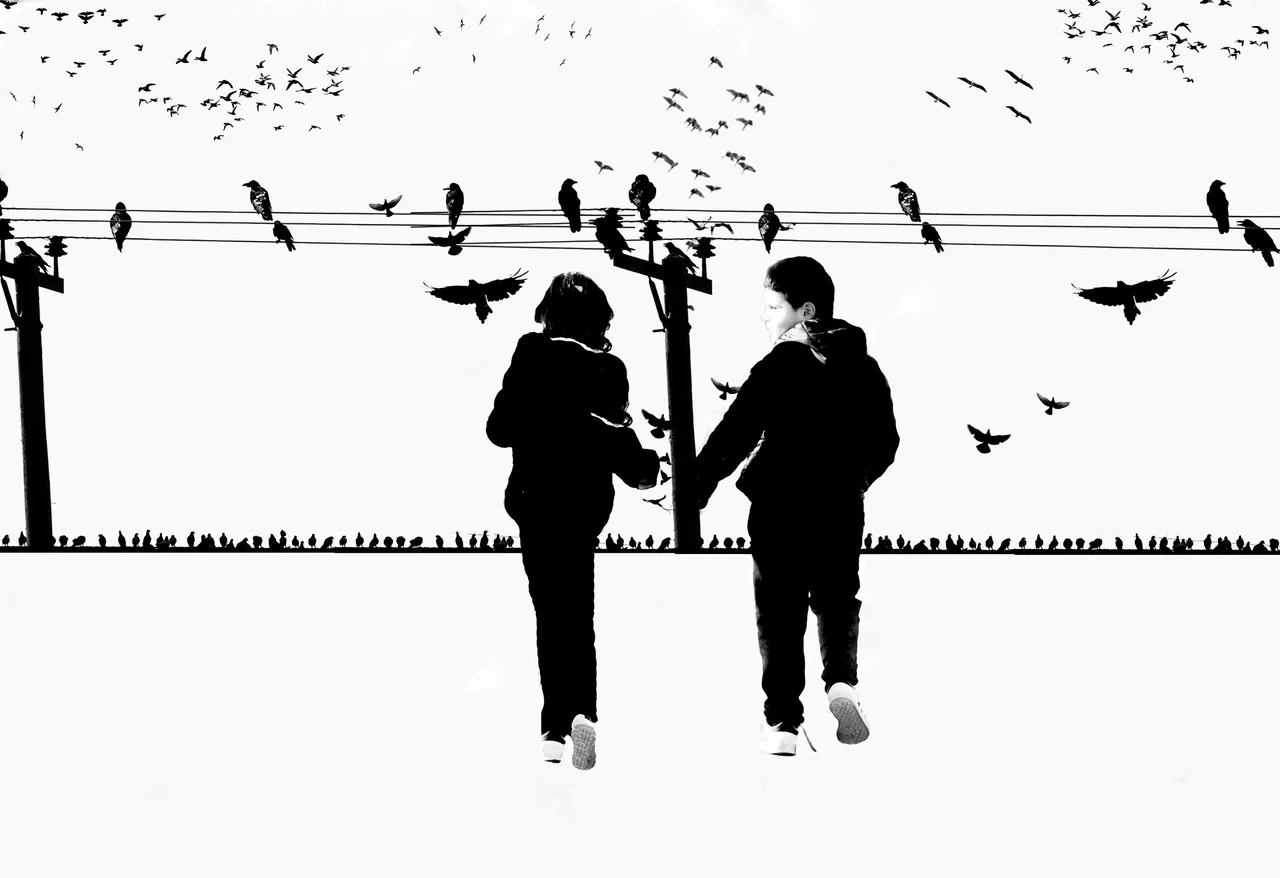
This is a photo of a girl walking through the city, photographed from behind. I am delighted with Brushes, miracles can be done with them.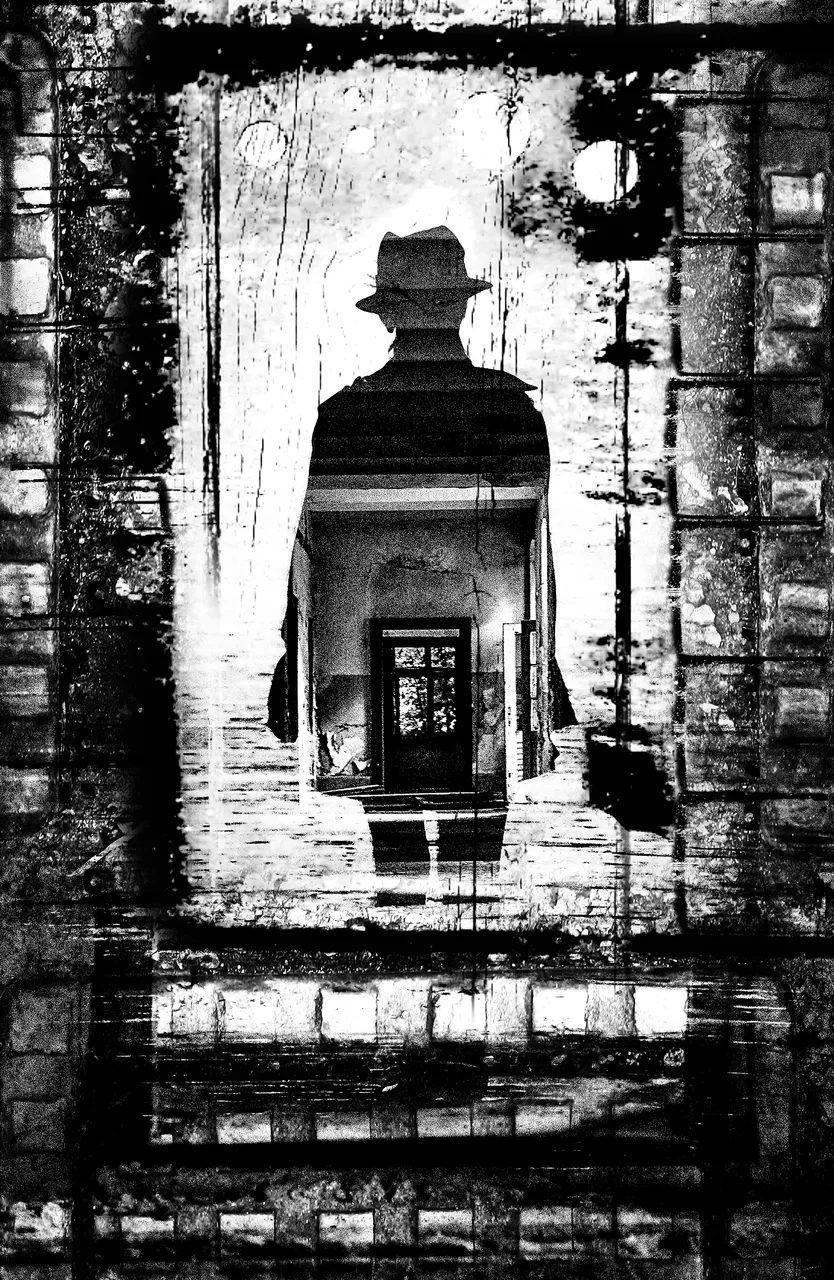
And at the end of this first part of the photo, a portrait of a girl. With the help of a tutorial on YouTube, I made this photo manipulation using Sand and dust 47 Brushes.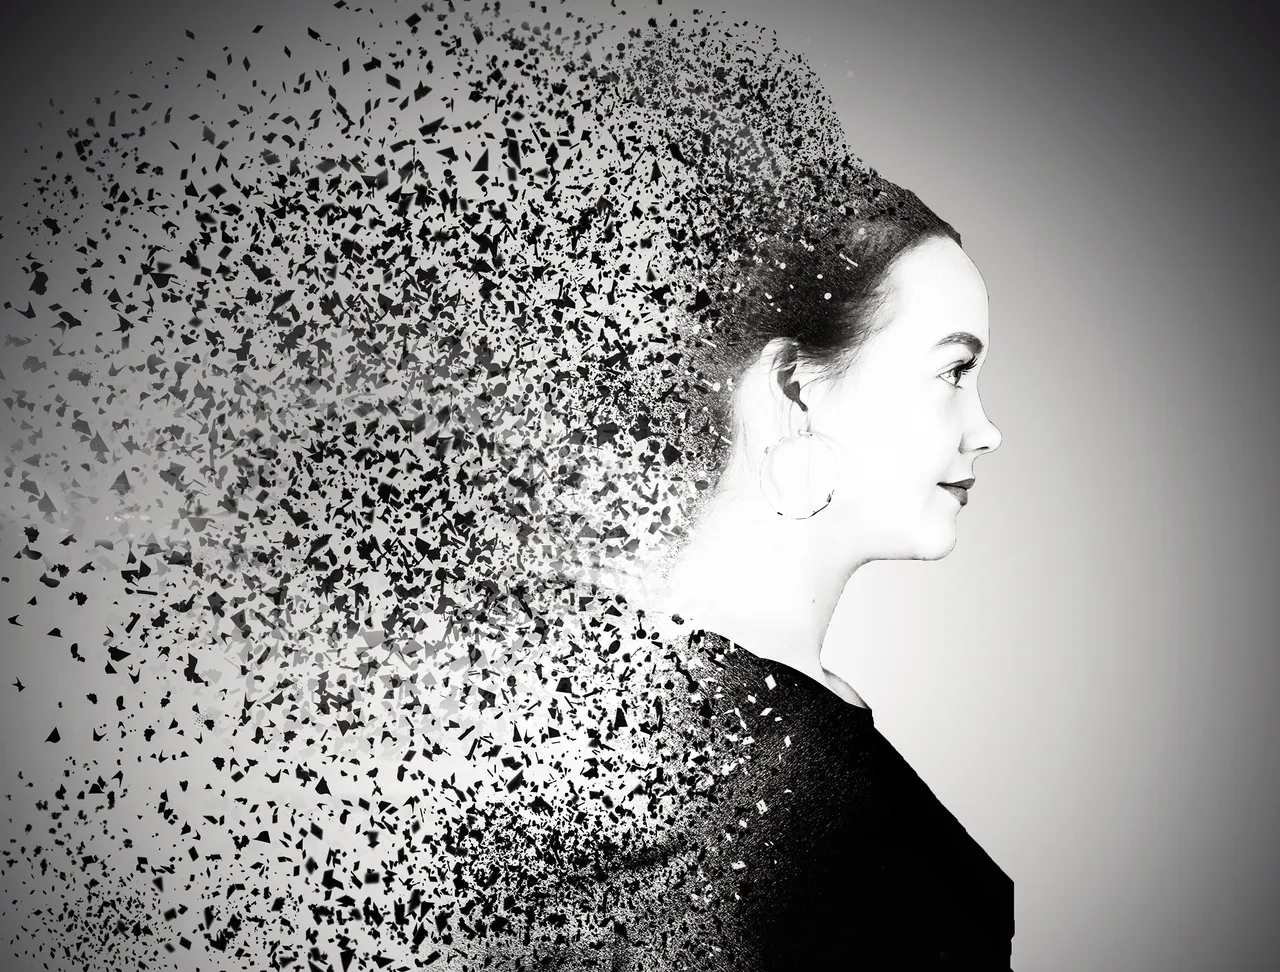
Soon my manipulations will follow - part two .... I hope you like my work, greetings to the team