~ Prince of Pumpkins ~
So, it's Fall or Autumn and definitely a season of change for me. As i mentioned in my last post, My Son of Thunder, that i just had a son and i finished the post showing a pumpkin and where i left off there we pick up here. Since my boy is born in October, my favorite time of year, i thought it would be cool to carve a pumpkin for him, my little Prince of Pumpkins.
I haven't carved a pumpkin in many, many years! But i have been thinking about it for the last few. You can scroll back to my limited posting history and see that last October i was pretty active making art. The main artwork i recall is Garfield riding Odie with a carved pumpkin on his head. I did it in ink with my dipping pen called the 'Blue Pumpkin.'

Now, i got all my tools ready and a bowl to collect the pumpkin seeds. I was ready to get this party started!
Beetlejuice
I carved off the top and took a photo of what the guts looked like coming off for the first time.
I was pleasantly surprised that there were fewer guts than in my previous experiences and the seeds were already almost separated by themselves!
So, i cleaned the lid, gutted the pumpkin, separated the seeds, and skinned the inside meat out.
This made the pumpkin fully ready to carve. Carving the faces is always my favorite part. There are so many variations on how anyone could carve a Jack 'O' Lantern! I usually just go freehand or do them freestyle. This pumpkin was no exception!
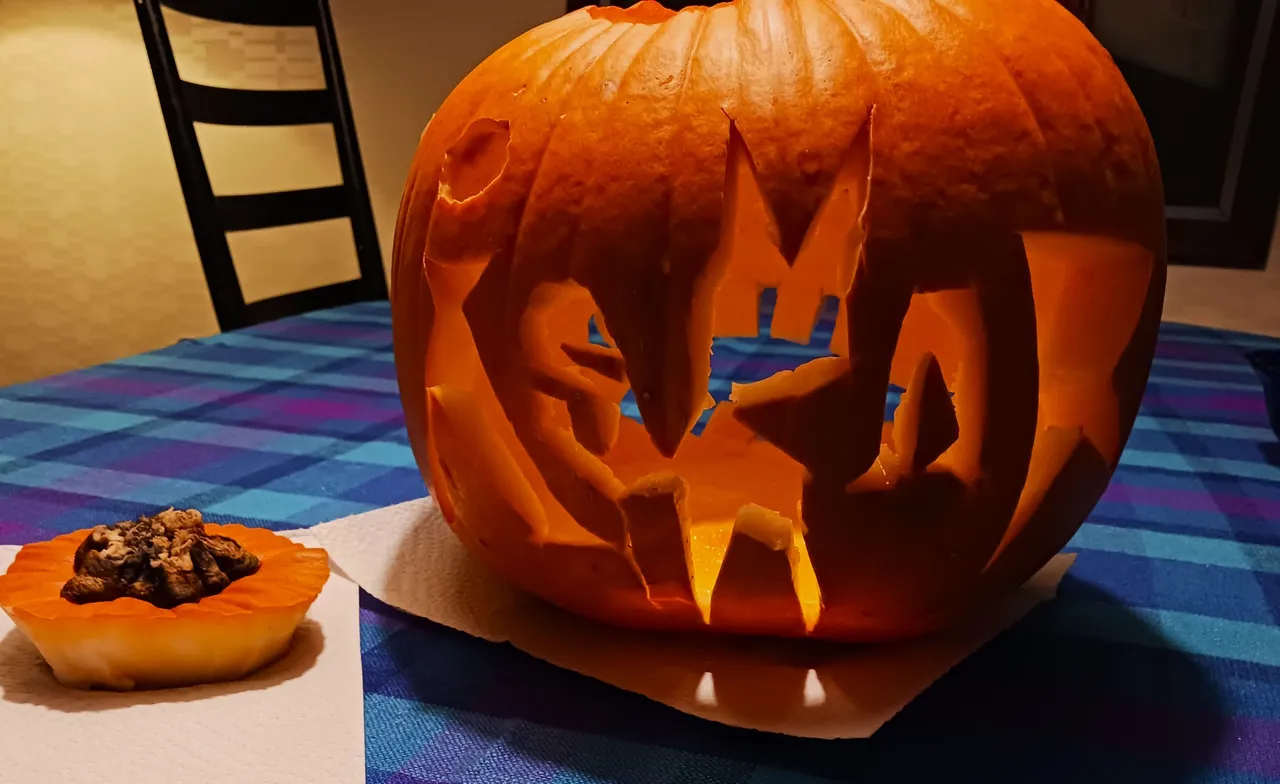
I decided to start by carving my boy's name into the backside.
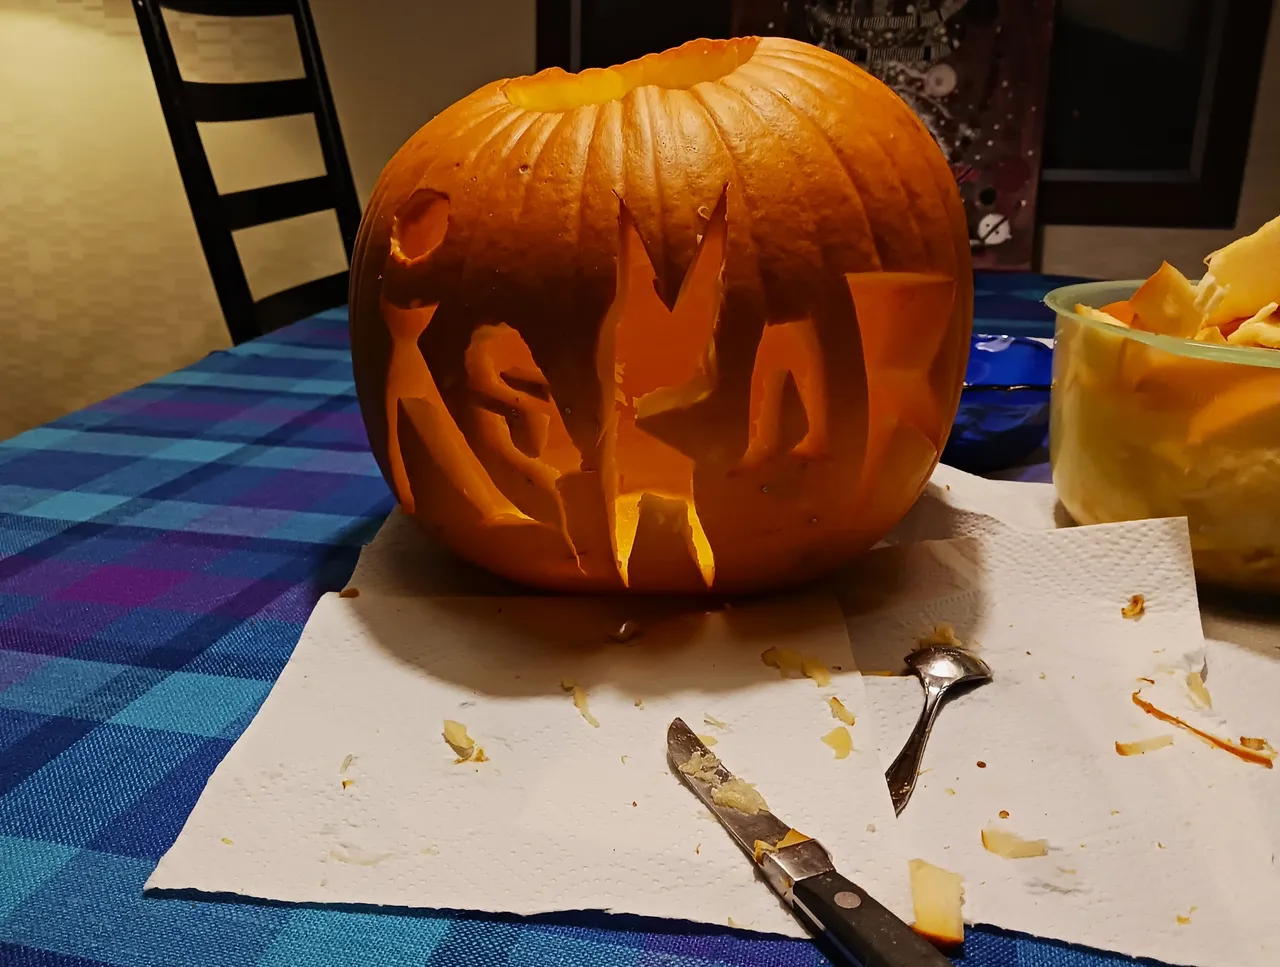
Åskar is a cool name and the Viking rune style of letters lends itself to carving, considering that is how the letters were derived to be inscribed... via carving!
However, since i didn't plan my letters, i realized a fatal flaw midway through the first letter. You can't have floating pieces of pumpkin to fill in the voids. So, my Å had to adapt mid carve. The S also had some negative space issues due to lack of planning.
In the end, the name turned out ok, but nothing to write home about.
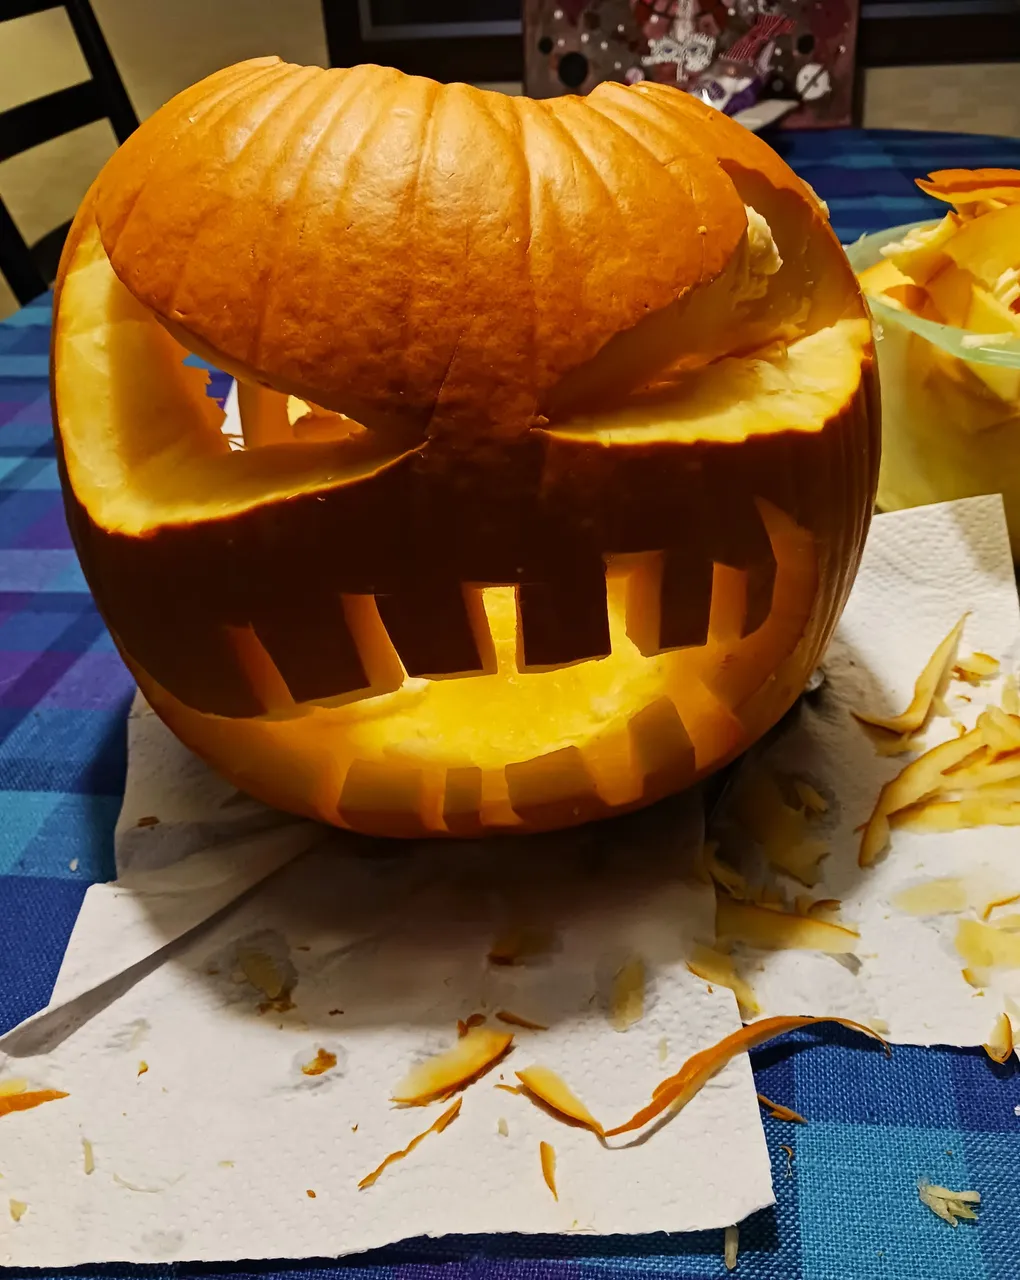
But the face on the other side was a bit more fun to freestyle. I missed recording many of the steps but i think you will get the picture!
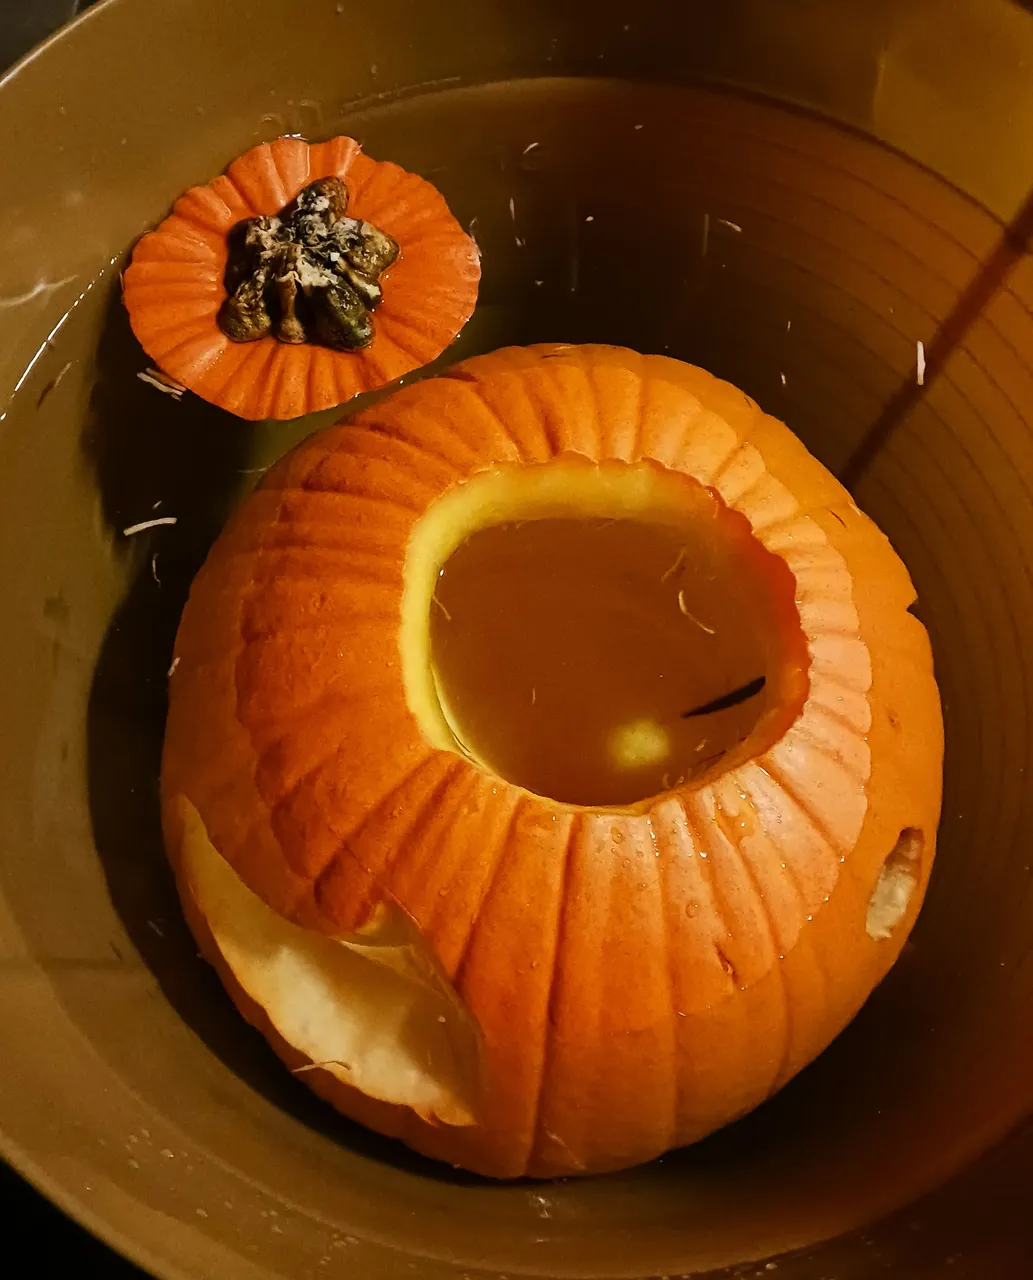
I also read that to preserve your carved pumpkin a bleach bath is one of the best ways. So, i gave that a try.
Bleach Bath
Overall, i was pleased with the front and back. Both could have been planned and executed much better. Both could have also been done much worse.

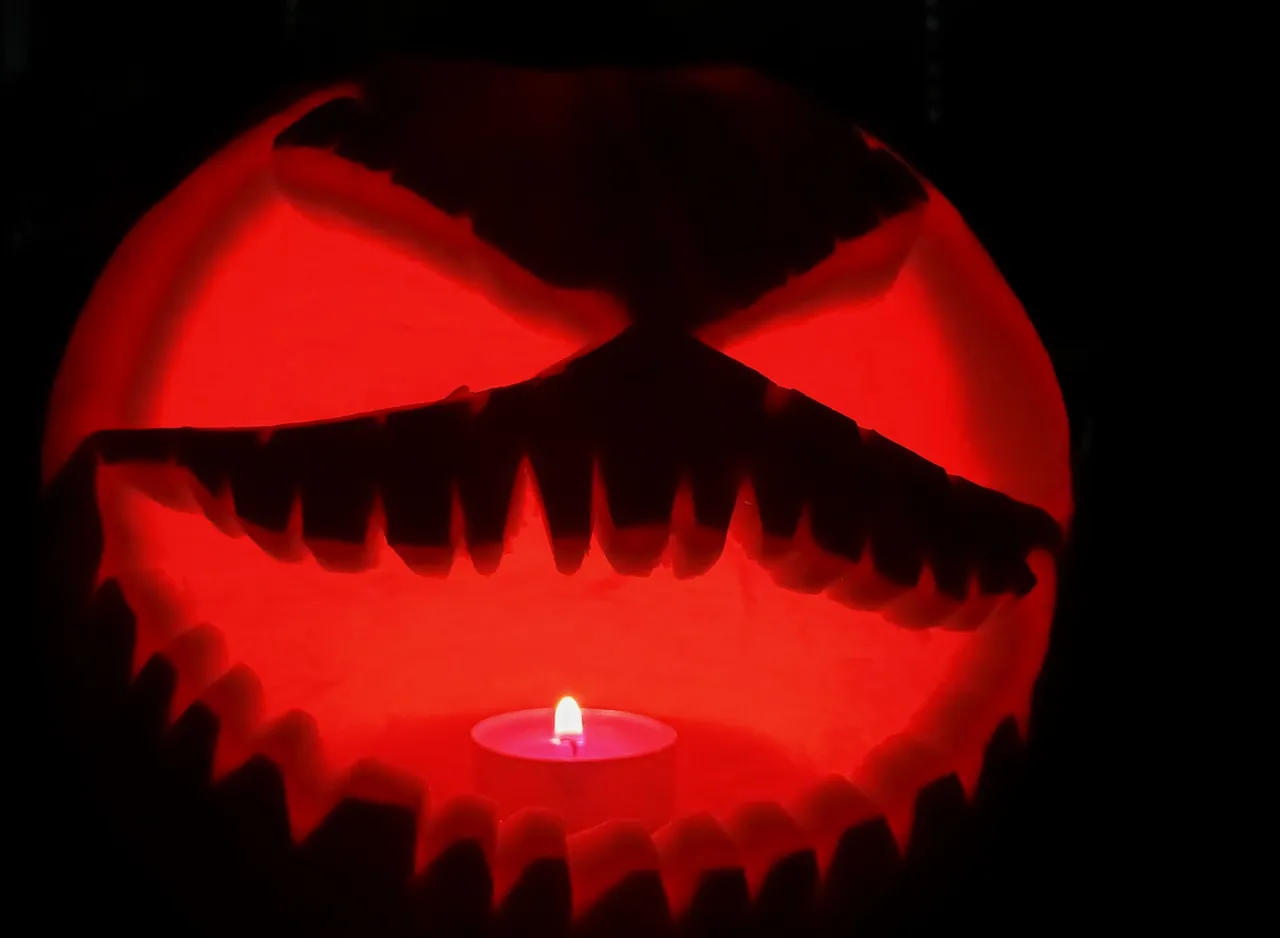
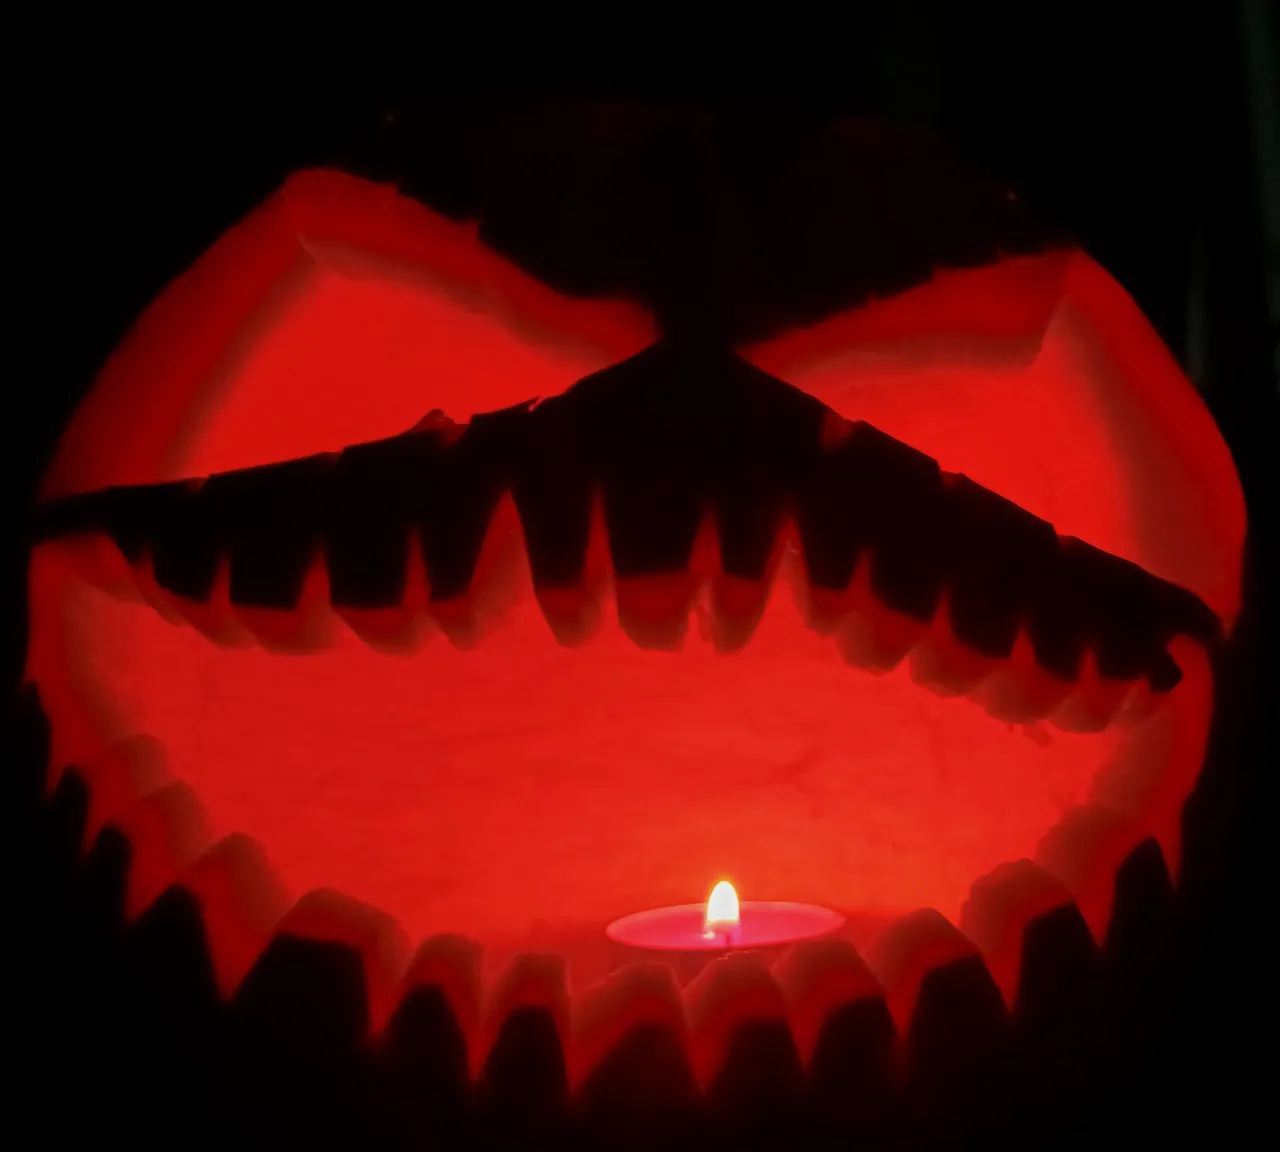
Now that the face was done, i couldn't resist to get a candle and see how this thing would glow once lit up!
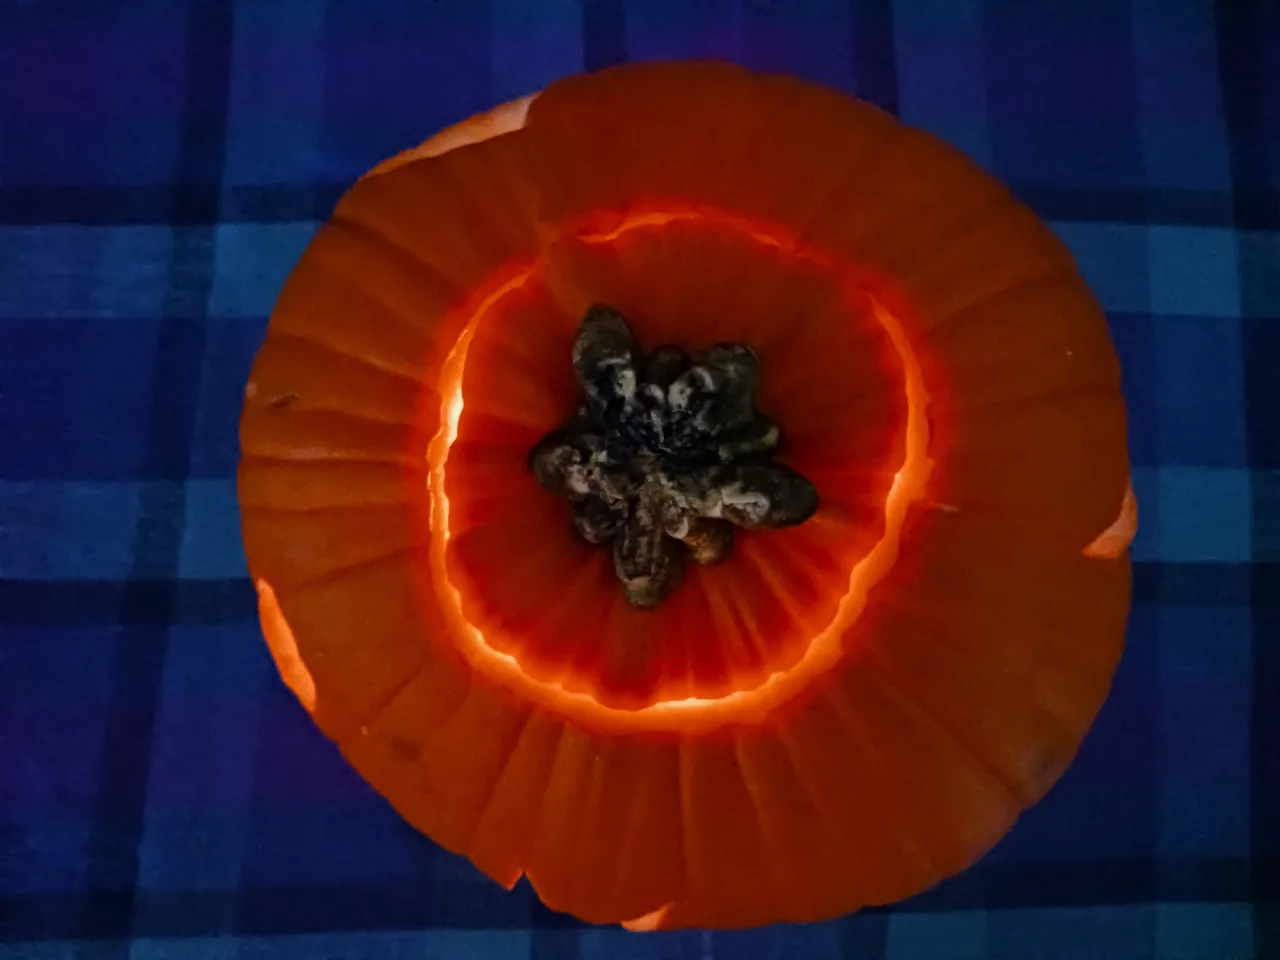
So far so good! Looking at it from an aerial view made me think of the ring of fire and lava from volcanoes.

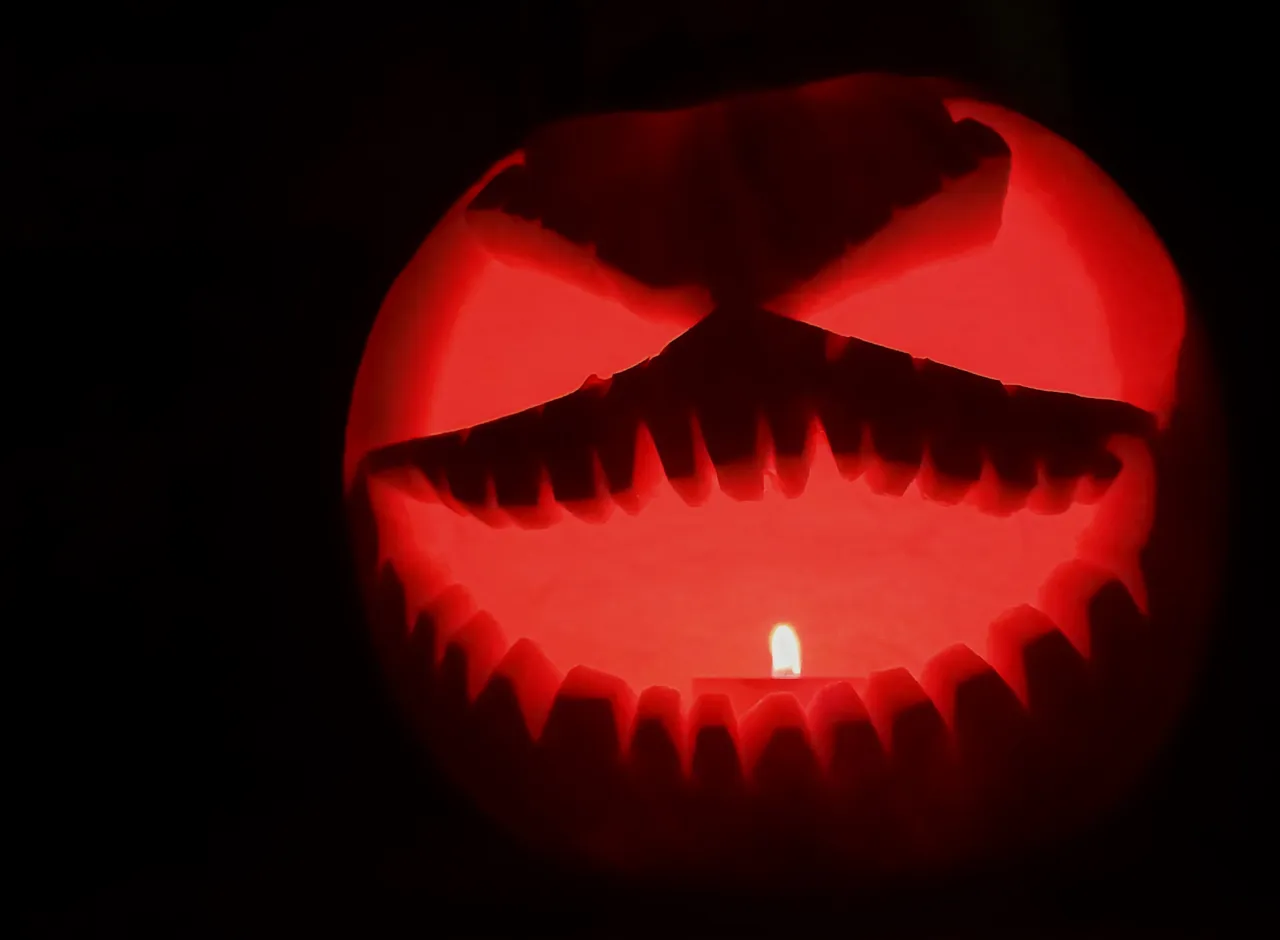
The orange color of the pumpkin, with the glowing carved face really gave off the Halloween vibe. I felt that this one turned out pretty generic but also a bit more on the sinister side than your typical generic carved Halloween pumpkin.
The lighting and settings on my camera made it difficult to capture the true essence and color of the pumkin along with the glow of the pumpkin as it was illuminated from within. I tested out many shots to try and show the range of values to the colors and lightings.
Due to my poor planning and a few cuts that went too deep on the overlaps, i almost lost some flimsy chunks of pumpkin within the lettering. This problem was exacerbated after the bleach bath. So, to create more structural integrity and support, i used some metal wires to 'psuedo' invisibly anchor some pumpkin lettering chunks together.
Creative Solutions!
You can see the remnants of those metal wires by the dark dots in the image below.
So, overall... that pumpkin turned out pretty badass considering it's been probably over a decade since my last carving experience. Next time around, i would probably opt to do two pumpkins... one with the name and another with the face. But, for now... this pumpkin will do.
~ Second Chances ~
Well, 'for now' lasted part of one night. I had so much fun carving that pumpkin i felt compelled to go get another. Second chances more in terms of doing another one rather than correcting what i got wrong on the first one.
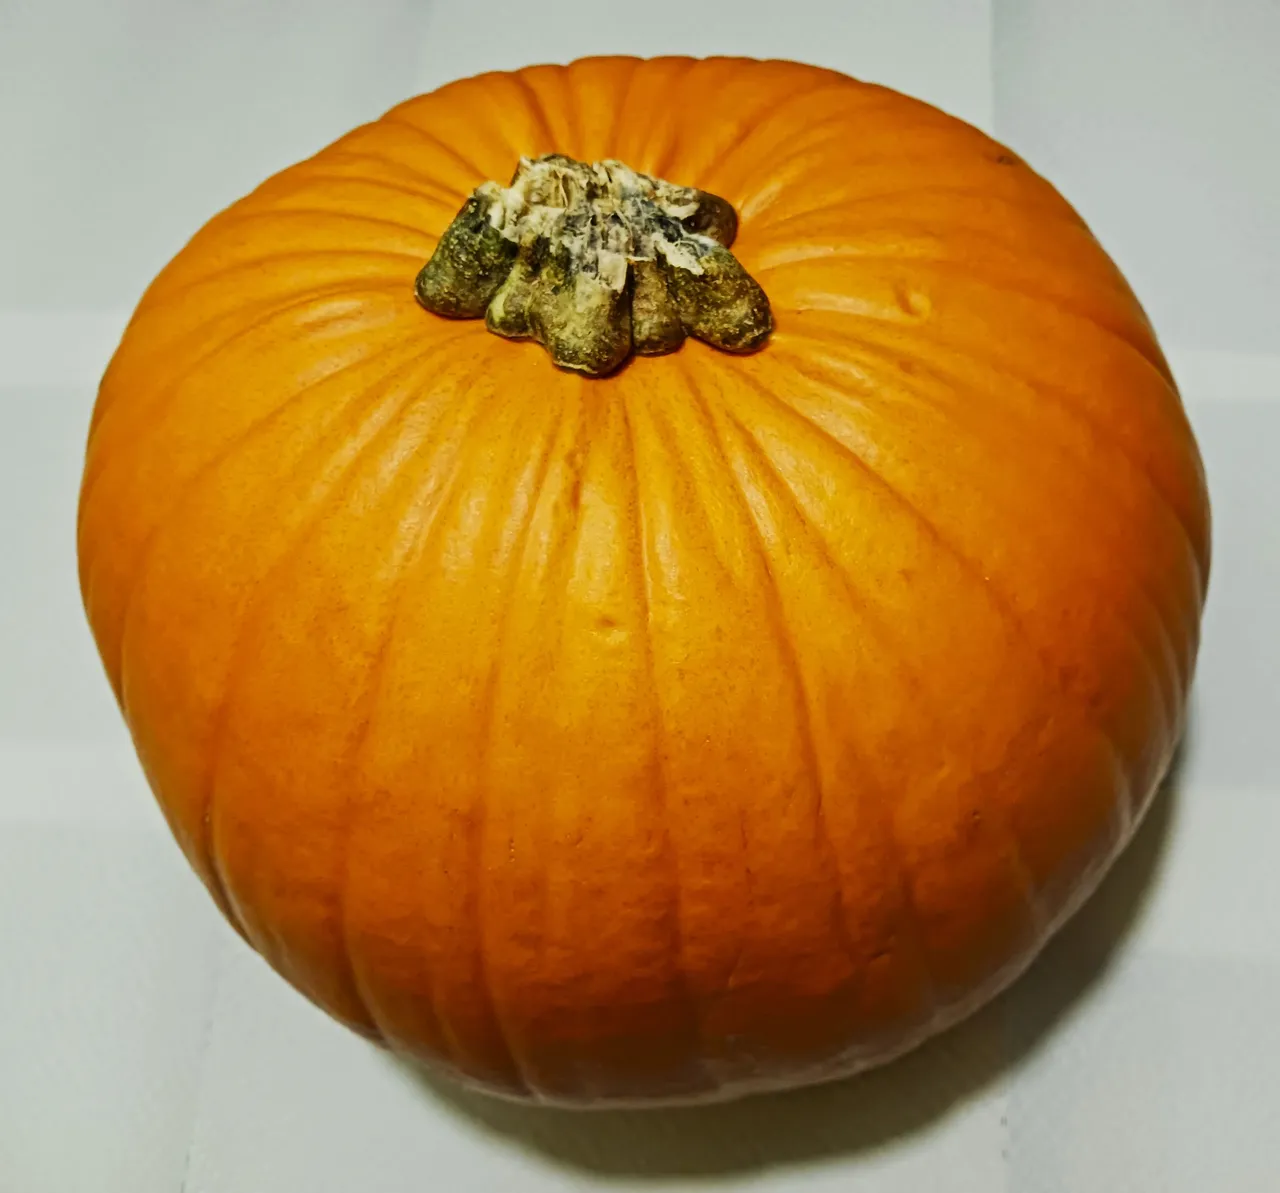
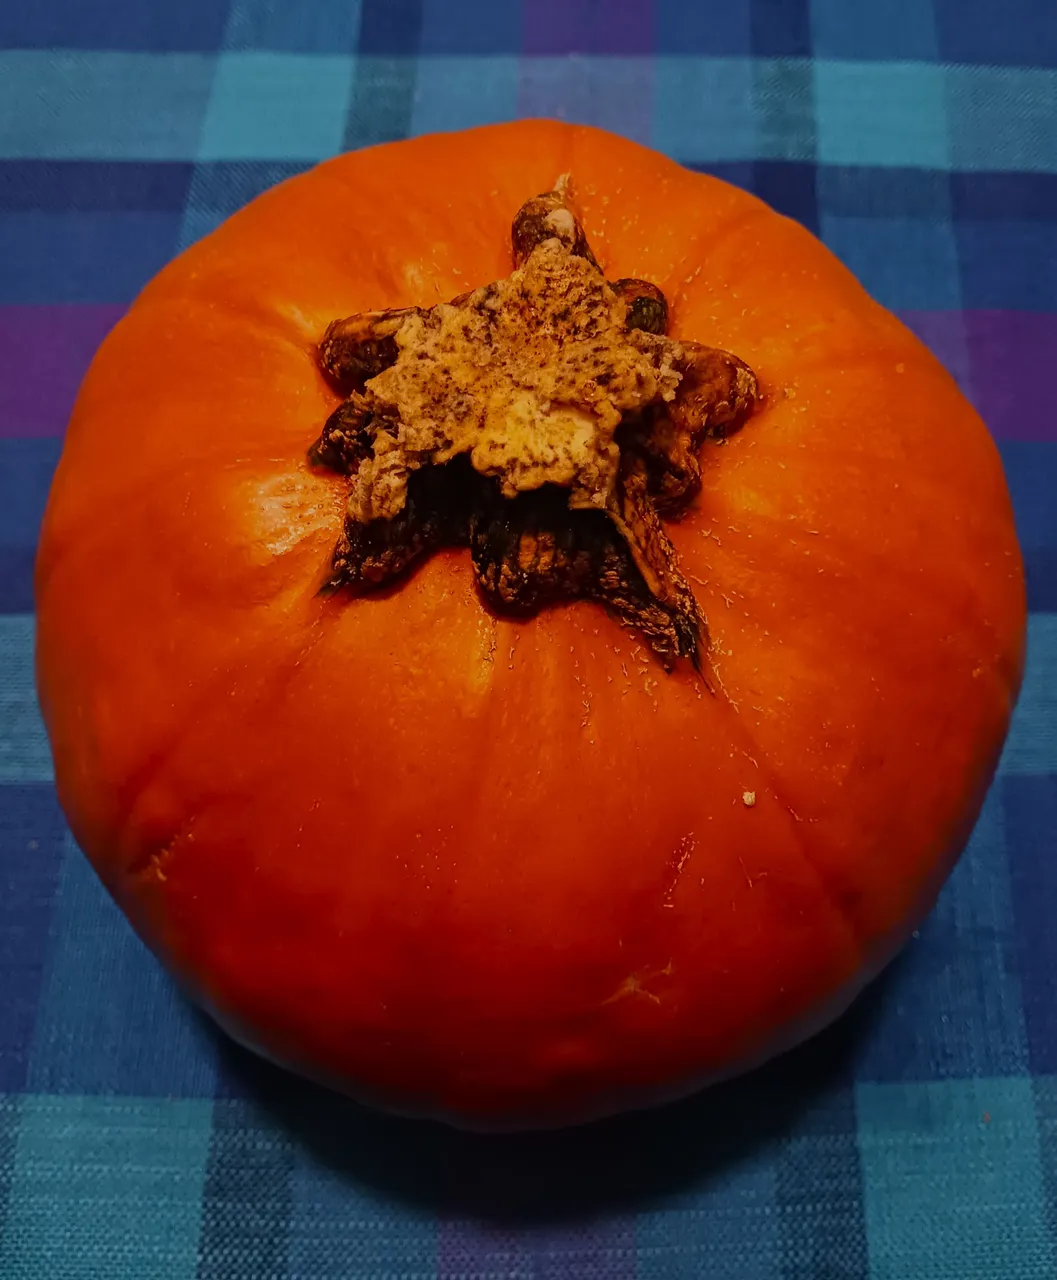
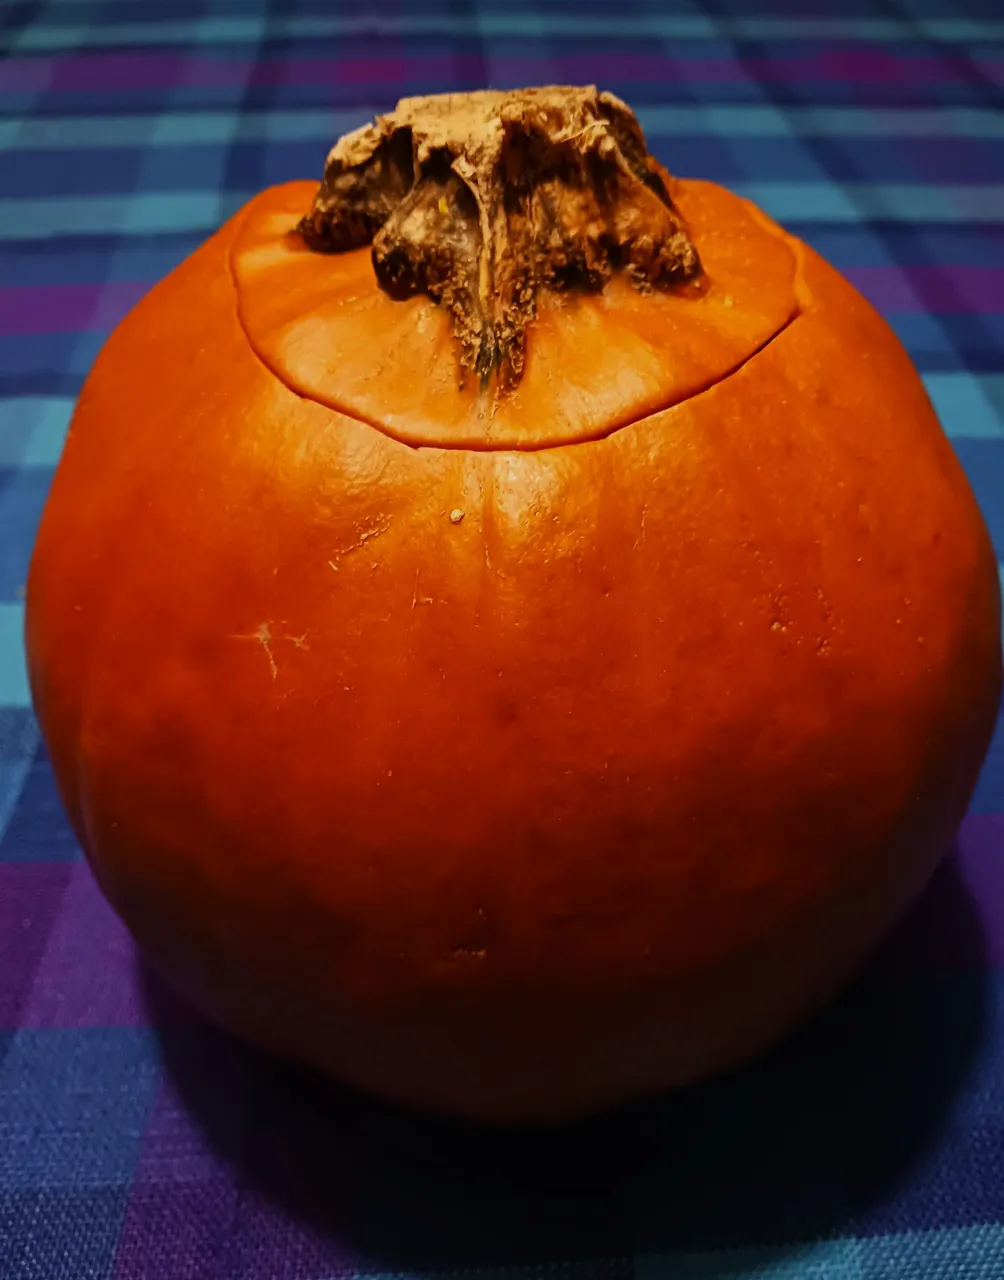
I was sad to see that most of the best ones were gone from the store. But, i did find this much smaller pumkin with a deep orange tone and a nice shape and character.
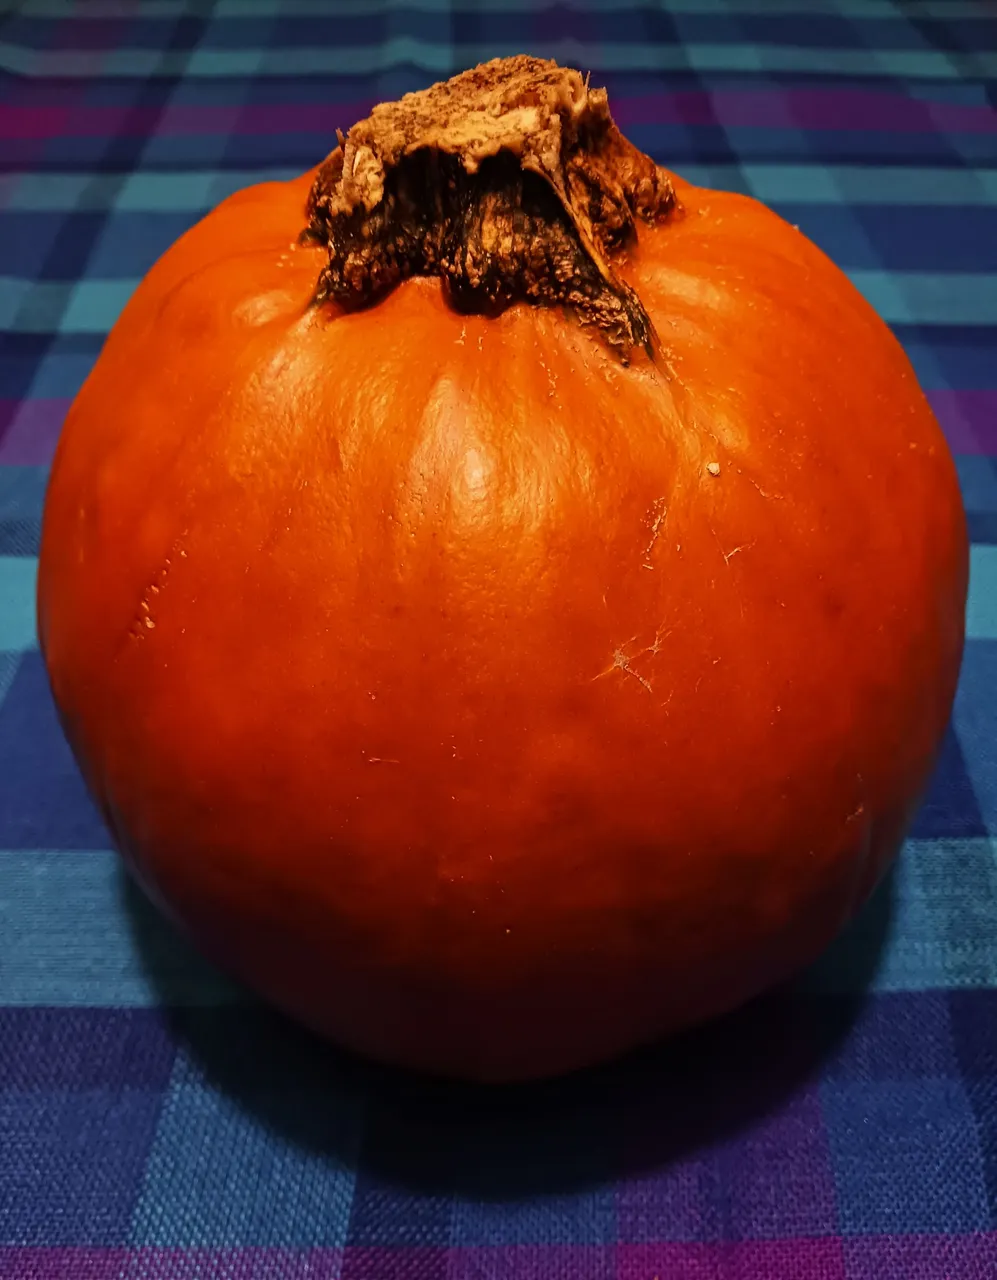
Even the stem had some character to it. I spent a good deal of time thinking about how i would go about this pumpkin applying the lessons learned from the Jack 'O' Lantern before.
I didn't even use paper towels underneath this time. I guess my confidence level had risen and thinking this would have less mess since it was a smaller specimen.
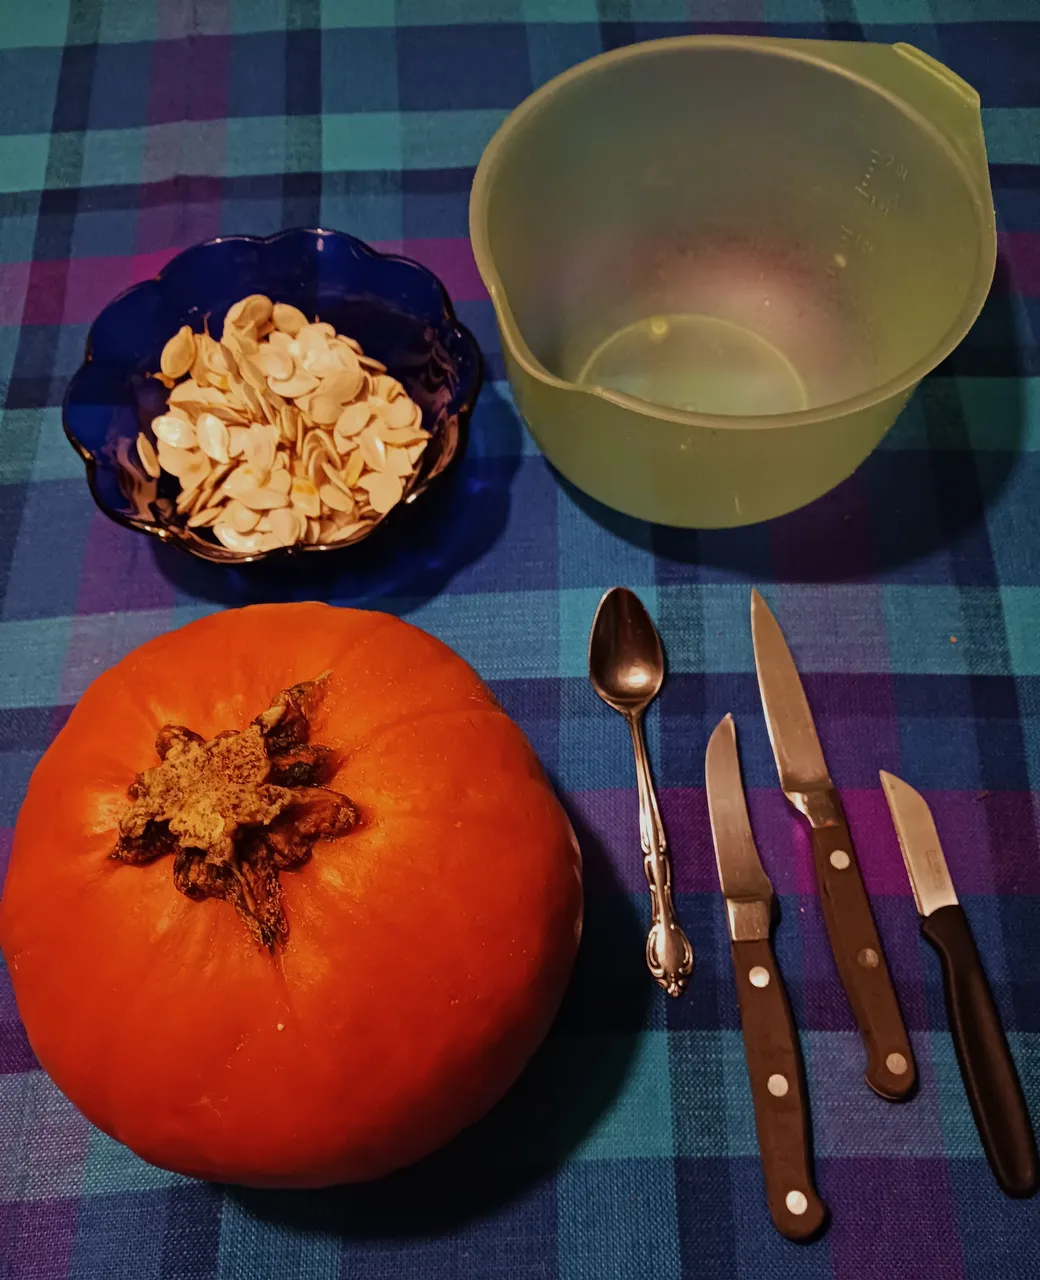
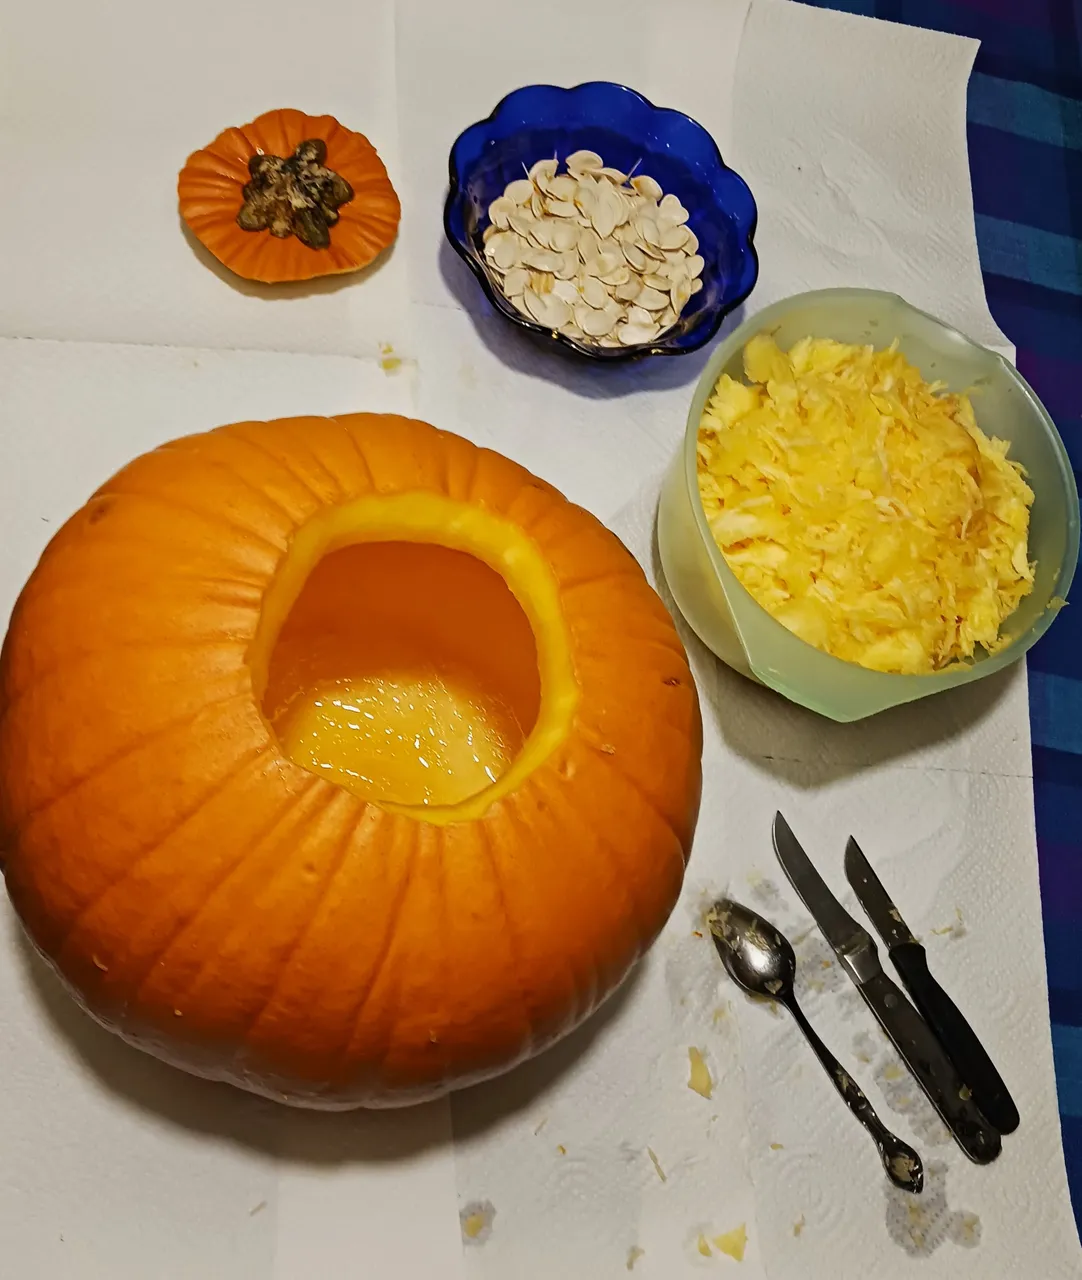
You can see all the seeds collected from the much larger pumpkin in the blue bowl above. After getting all the things ready... i was super excited to get to the guts!

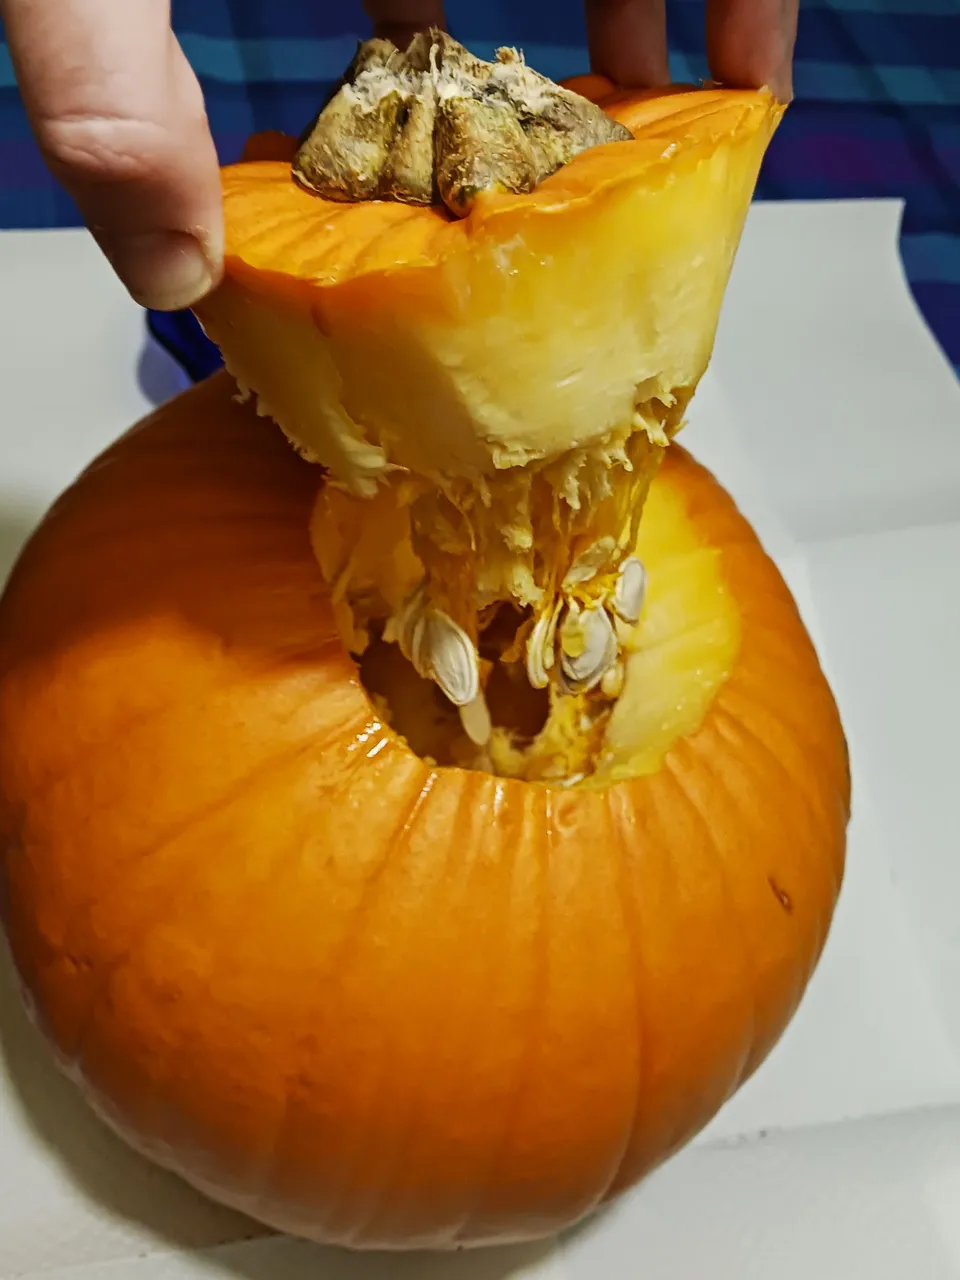
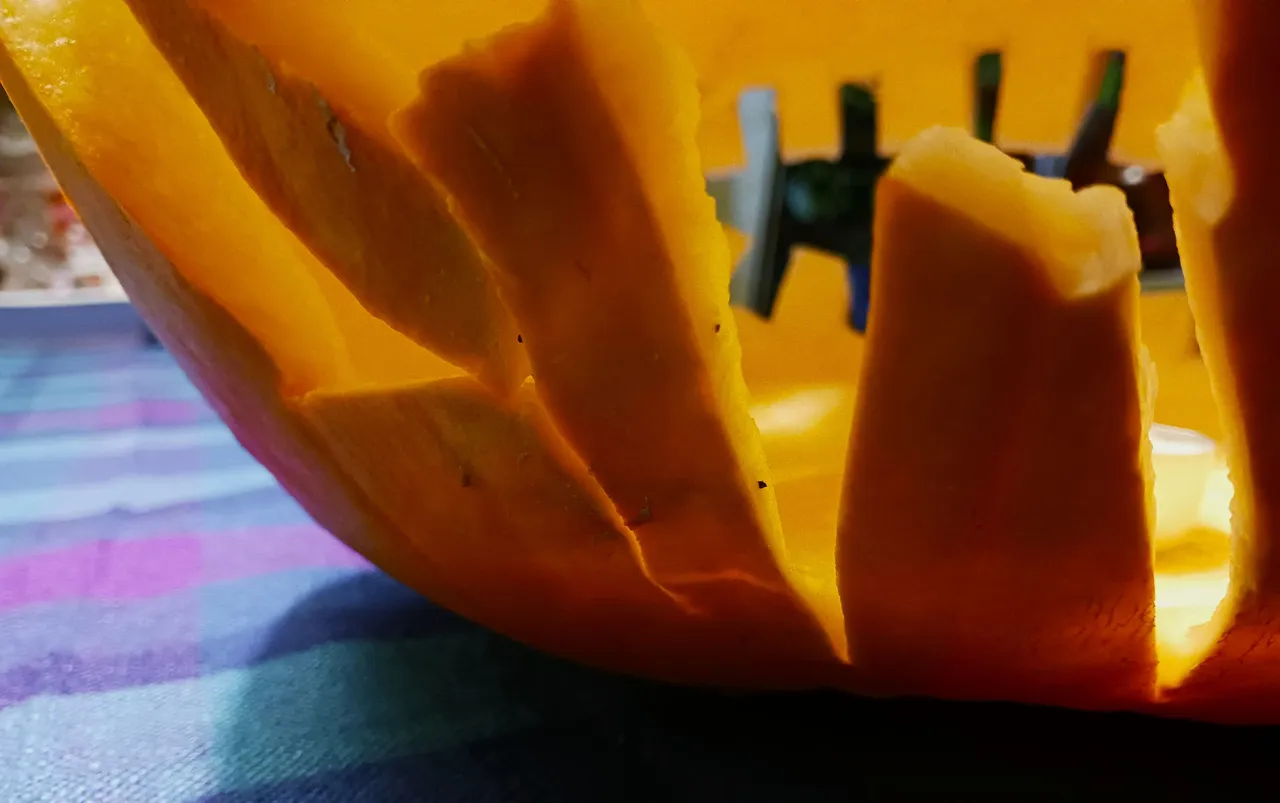
Guts
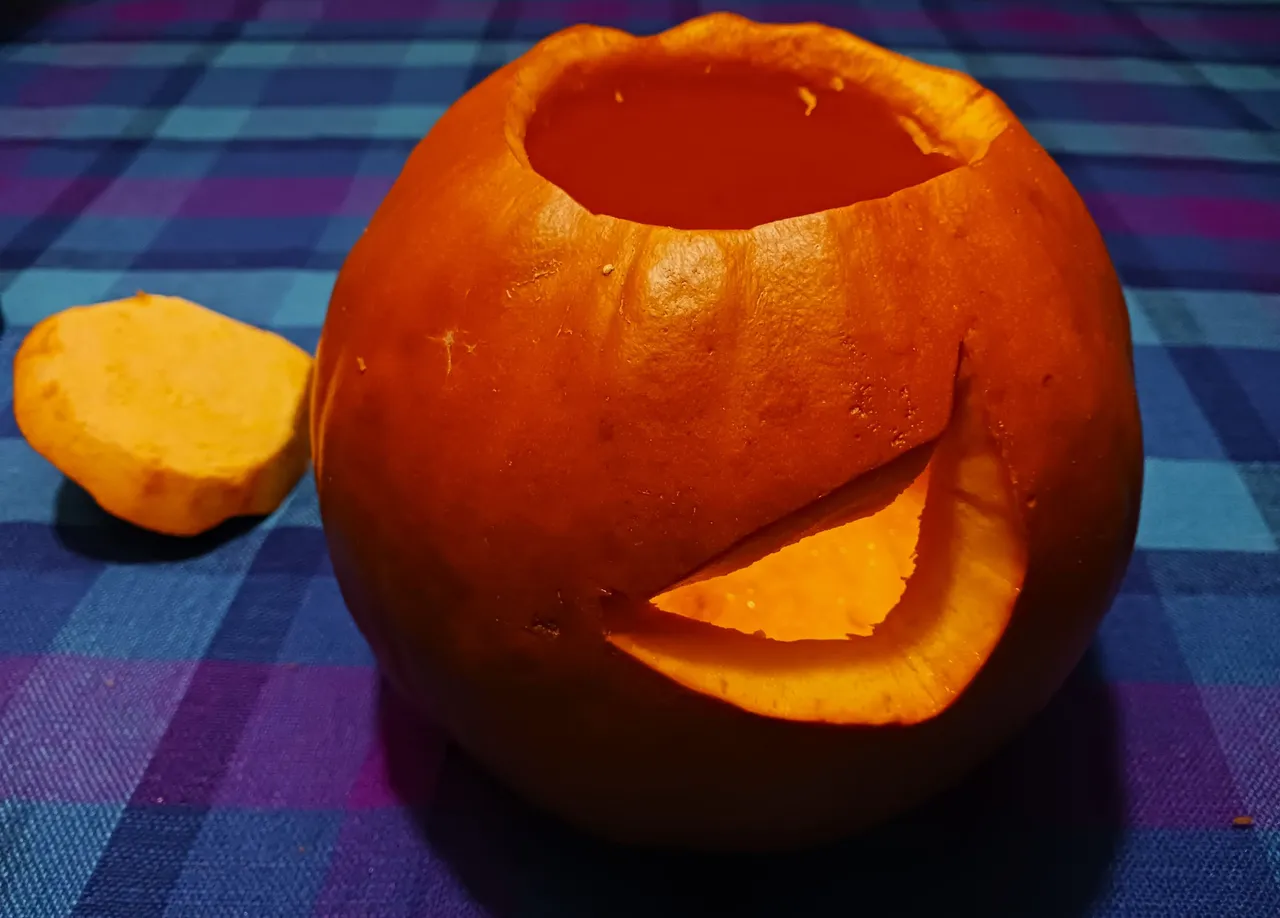
So, same photo, me pulling the carved top off to reveal the guts.
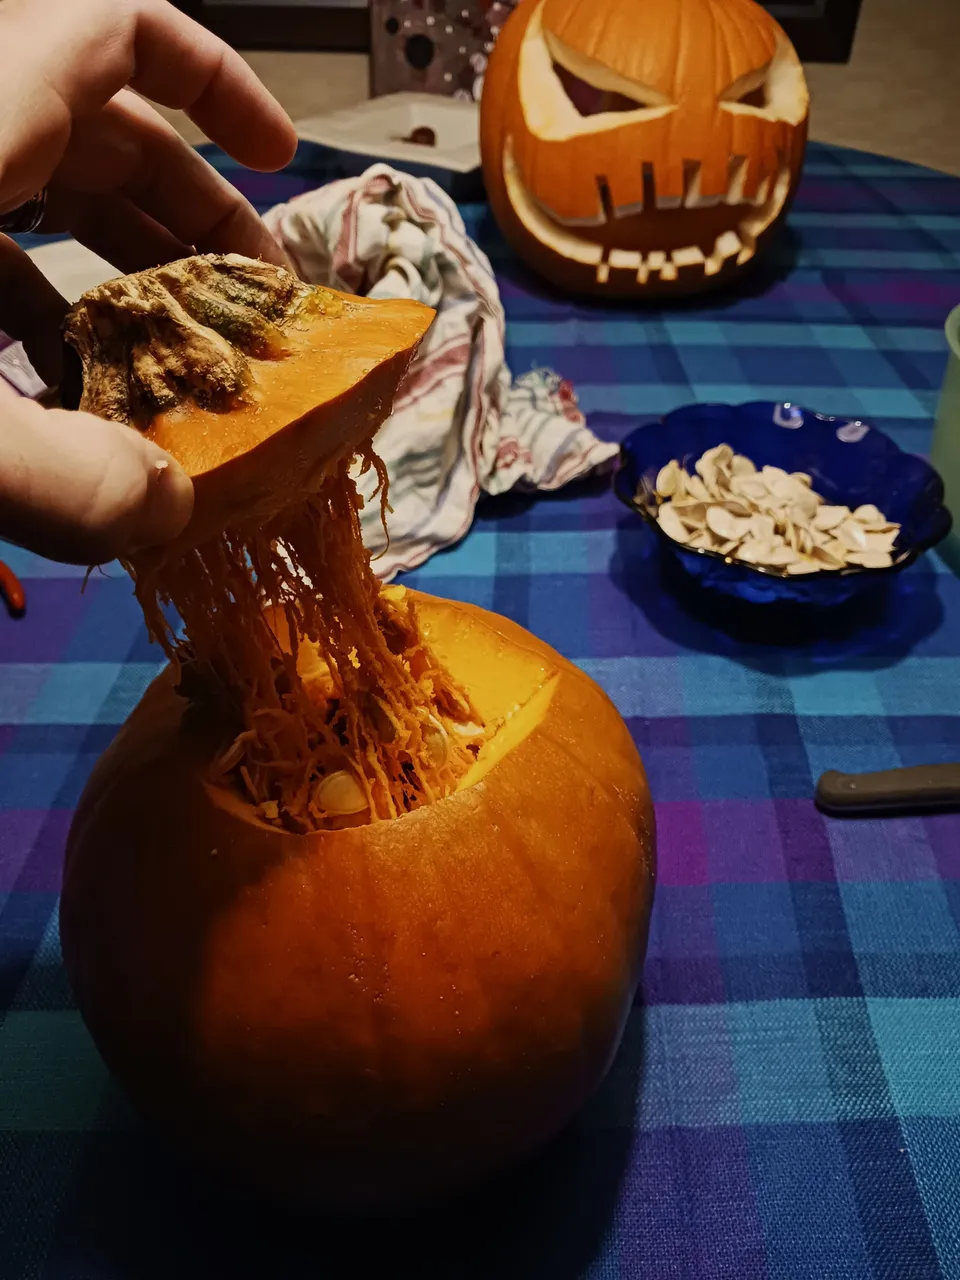
This smaller pumpkin had much denser guts with more seeds intertwined within the web of wet slimy innards!
This kind of pumpkin cleaning was more of what i had been used to in my previous experiences! These guts reminded me of the good 'ol days of my childhood, when hands were more sized and suited to cleaning out tiny gourds.
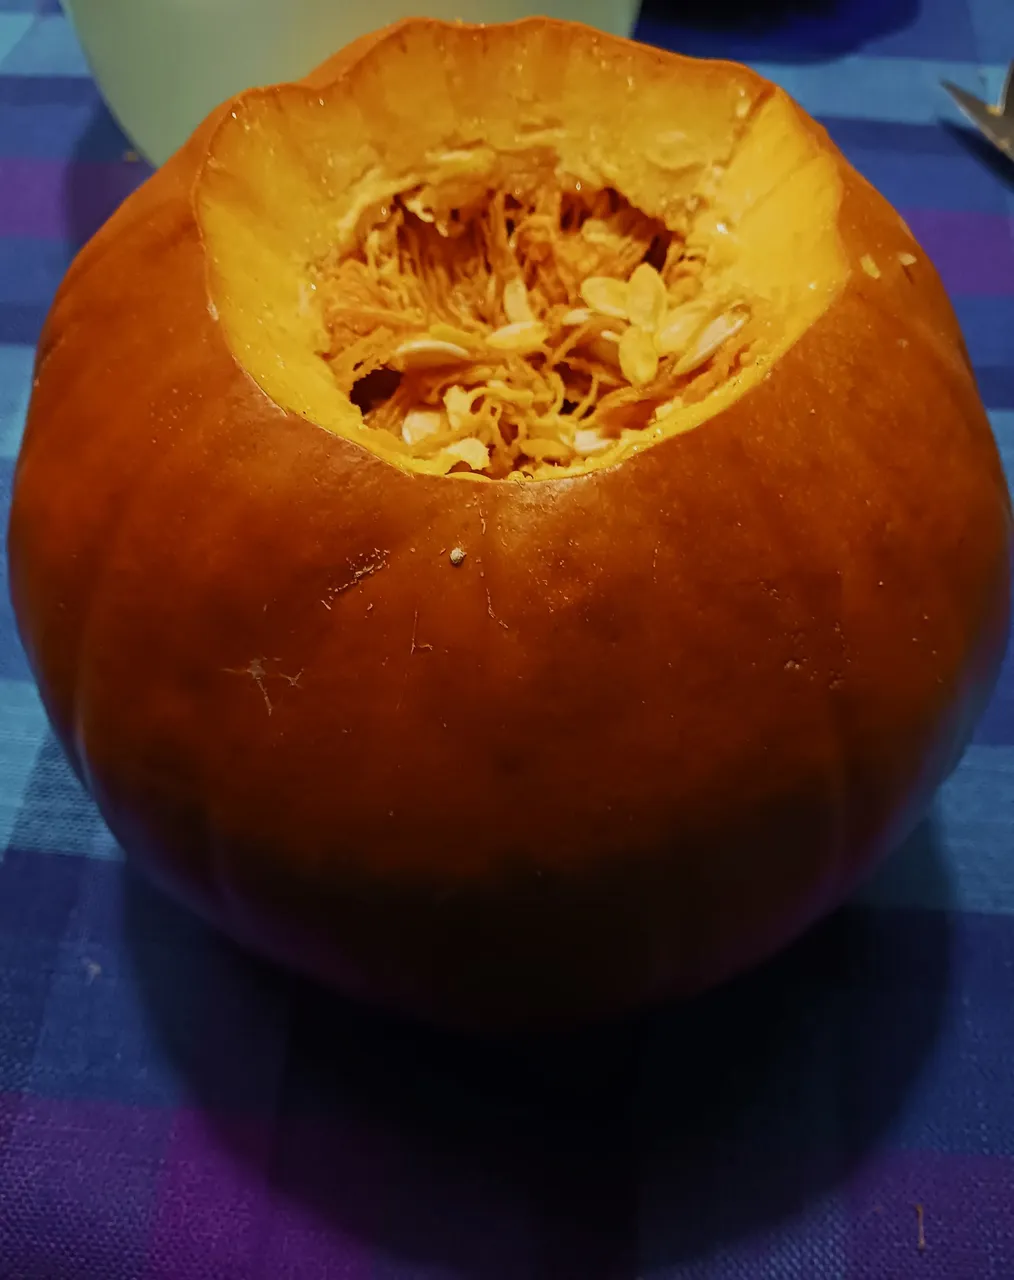
More guts...
And now that we are all cleaned out, it's like a blank canvas for a painter!
~ Pumpkin King ~
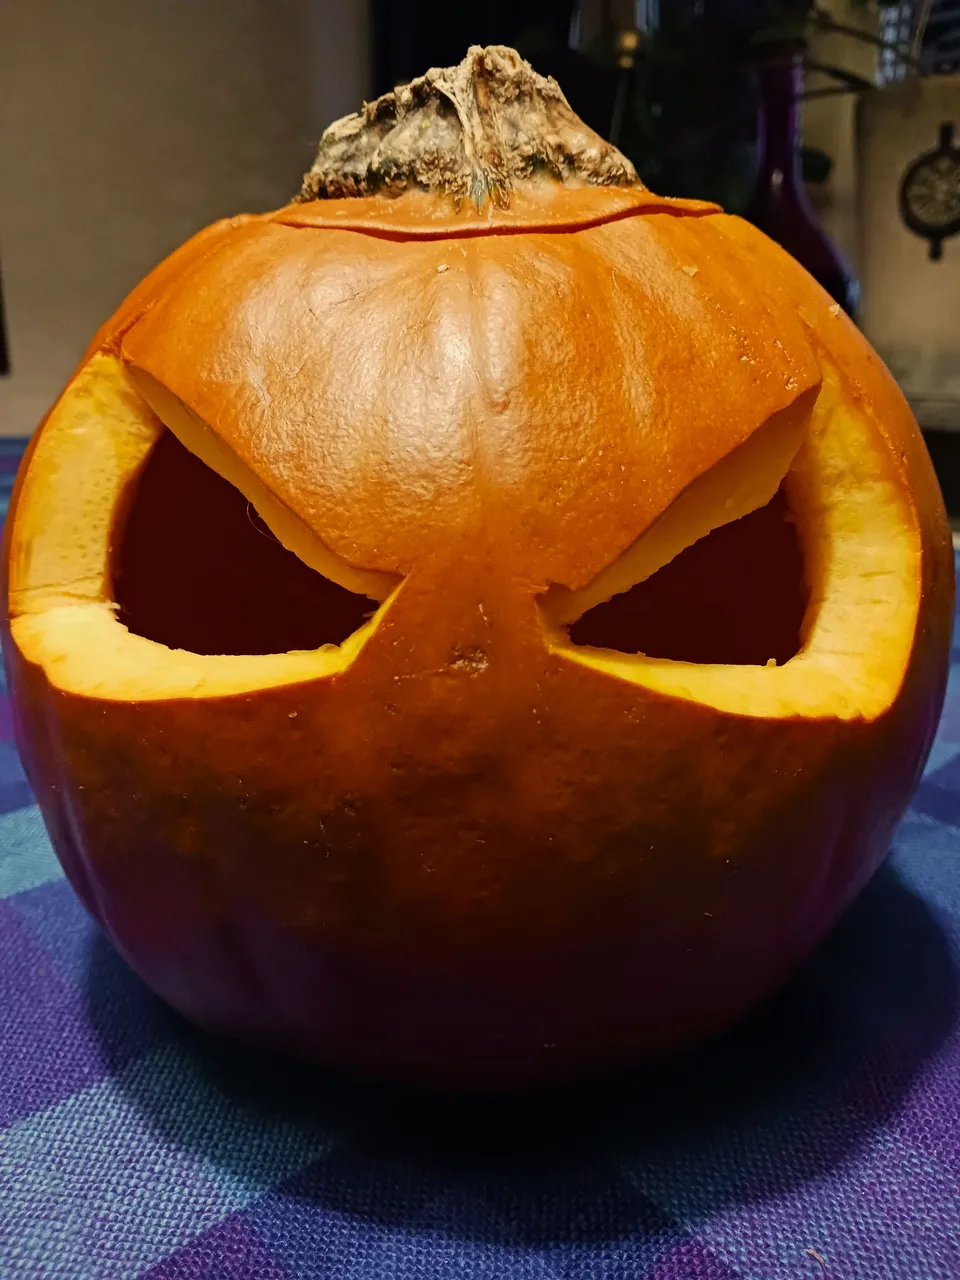
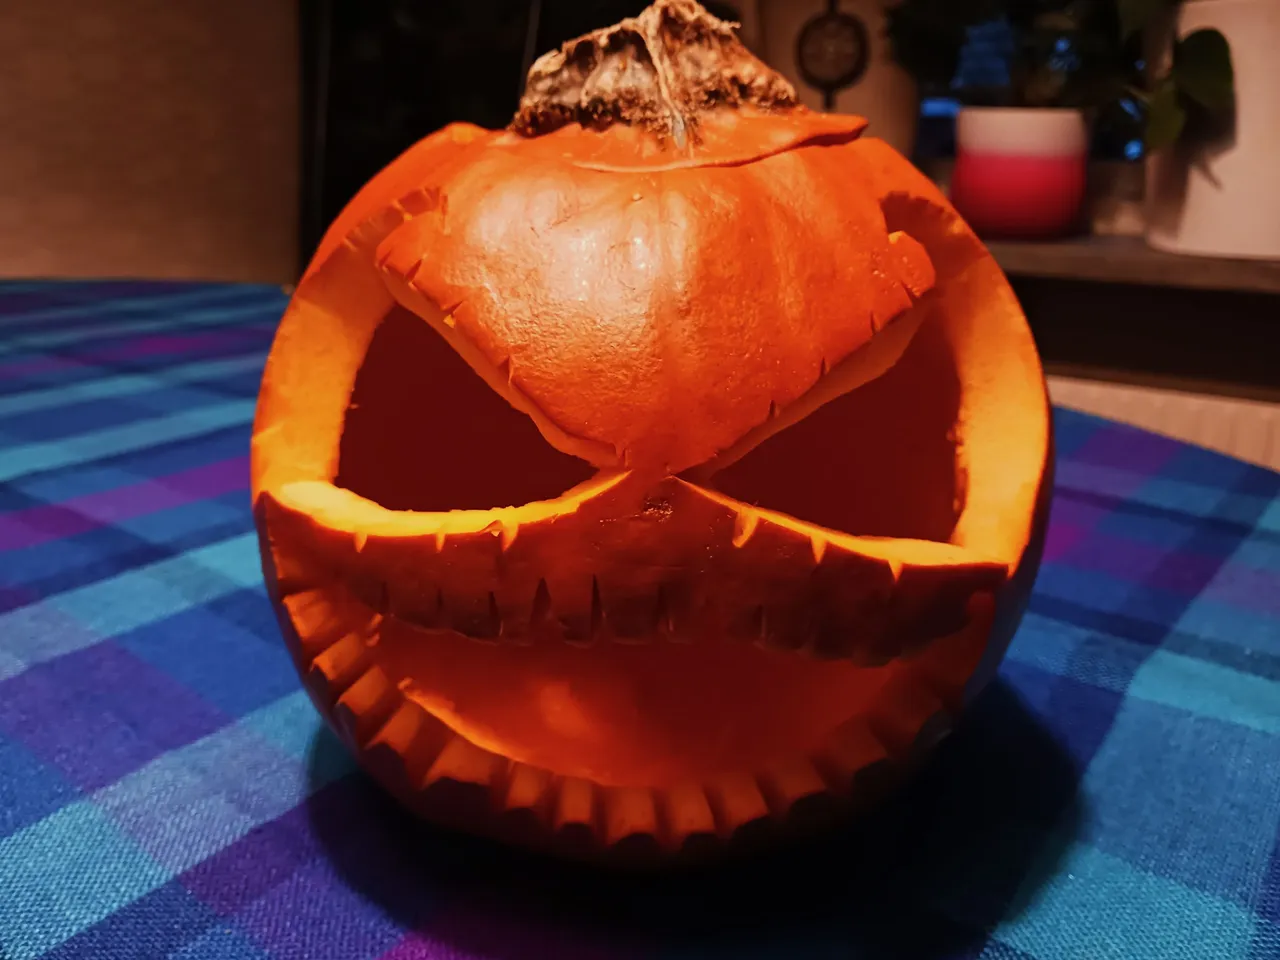
Now, i just get straight to the point! Carve out a badass face to make a badass Jack 'O' Lantern. The top turned out almost perfect.
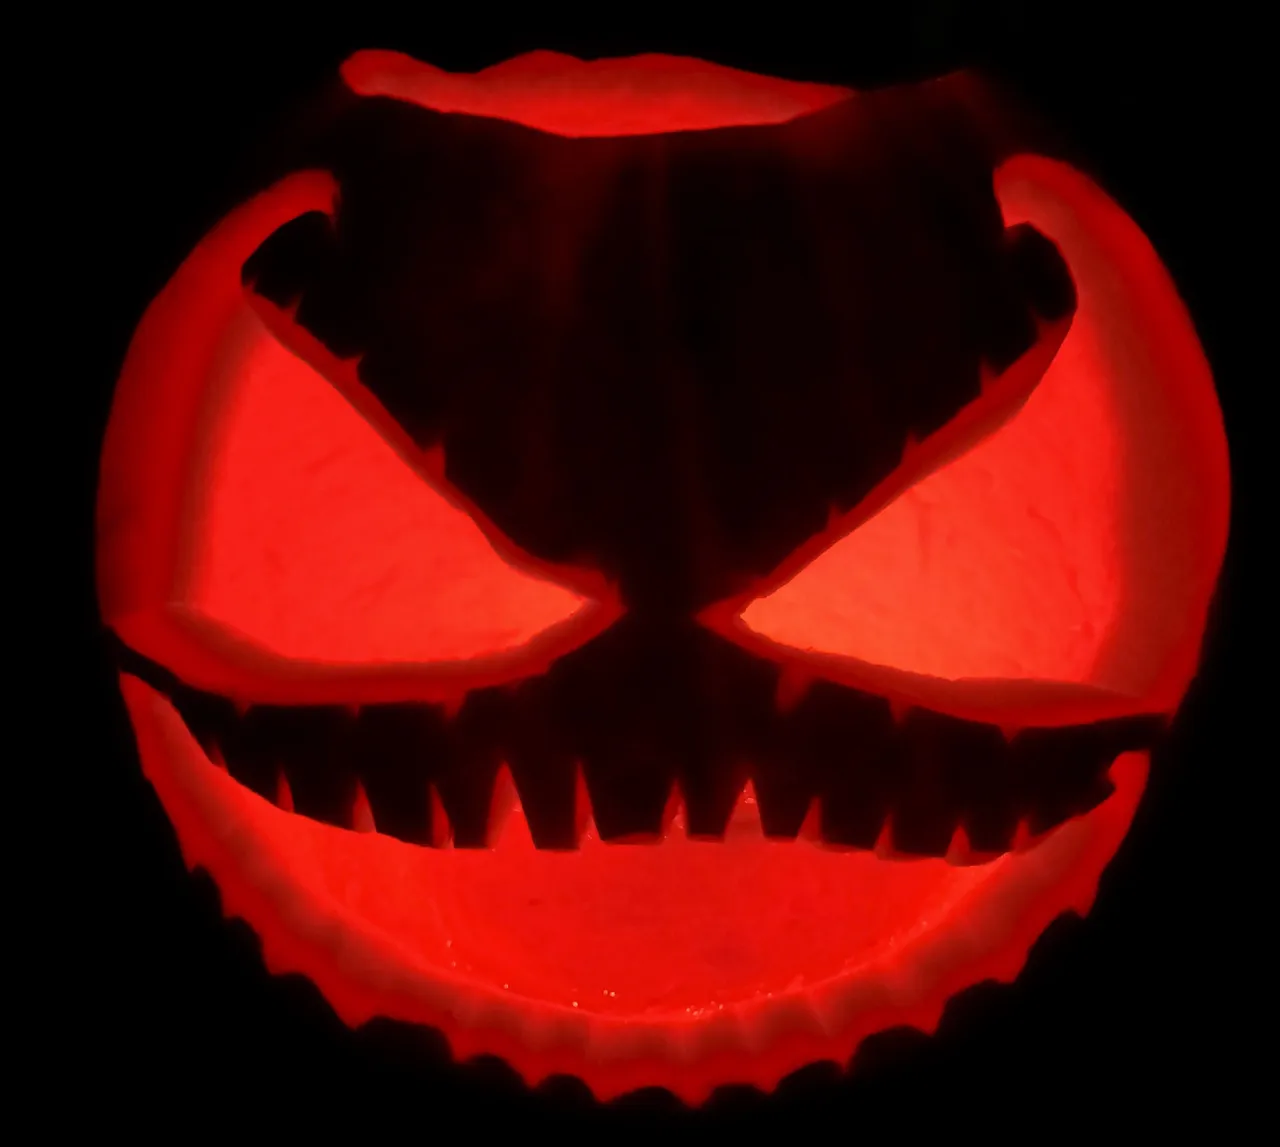
Now, lets get some awesome eyes carved. I was inspired by Spawn, Venom, Jack Skellington, and Punisher for the motiff.
For freehand... the symmetery turned out fairly well. I didn't want exact symmetry, just something that wasn't totally off balance.
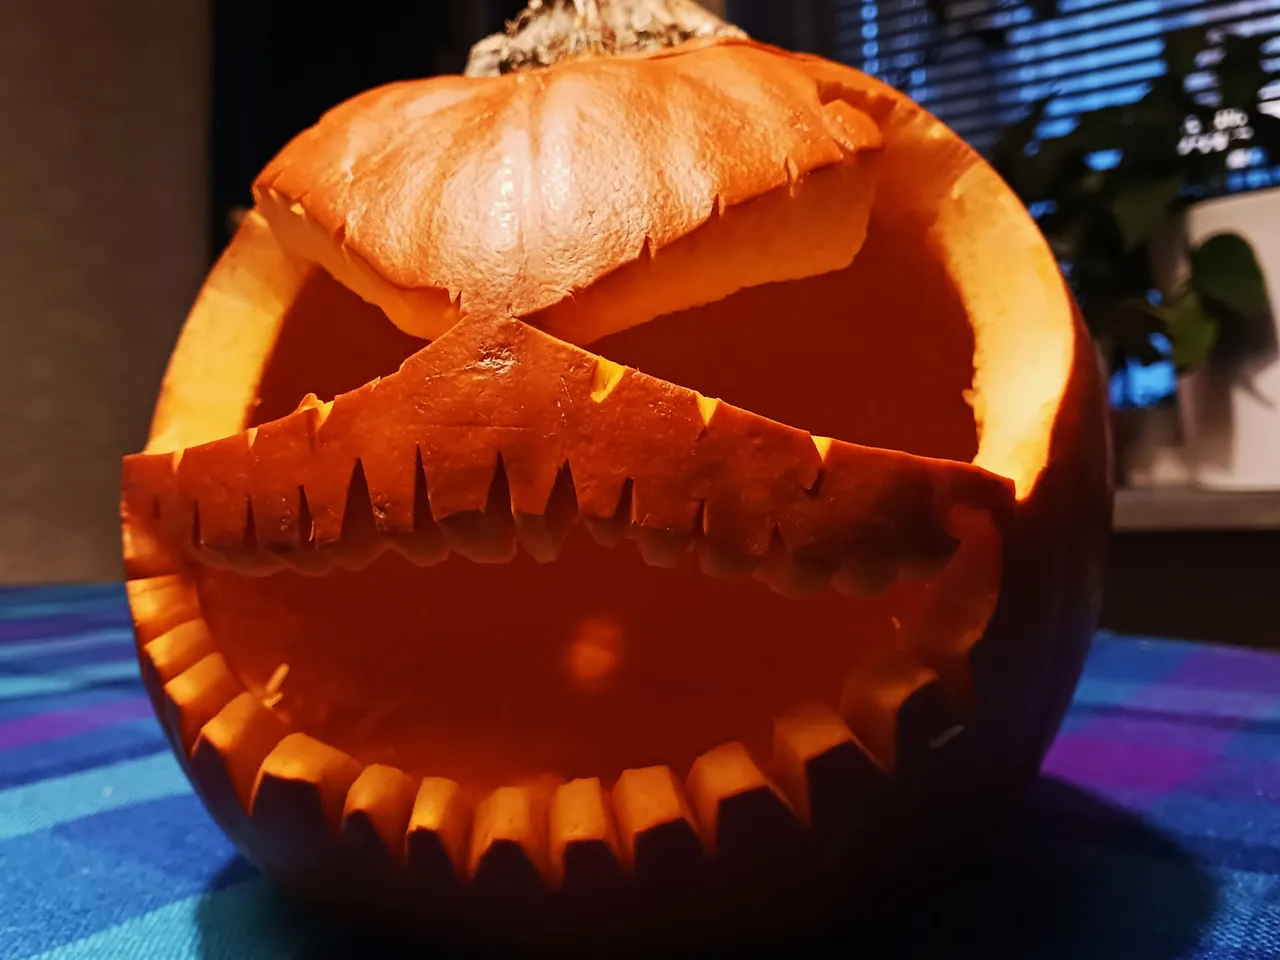
The dimensionality of the lighting for the carved areas and the shadows were pretty incredible. I carved at steep angles to get more of the meat to show on the edges of the carved areas. I also played with angles and details to get a better feel for how things would carve up and present as a final artwork.
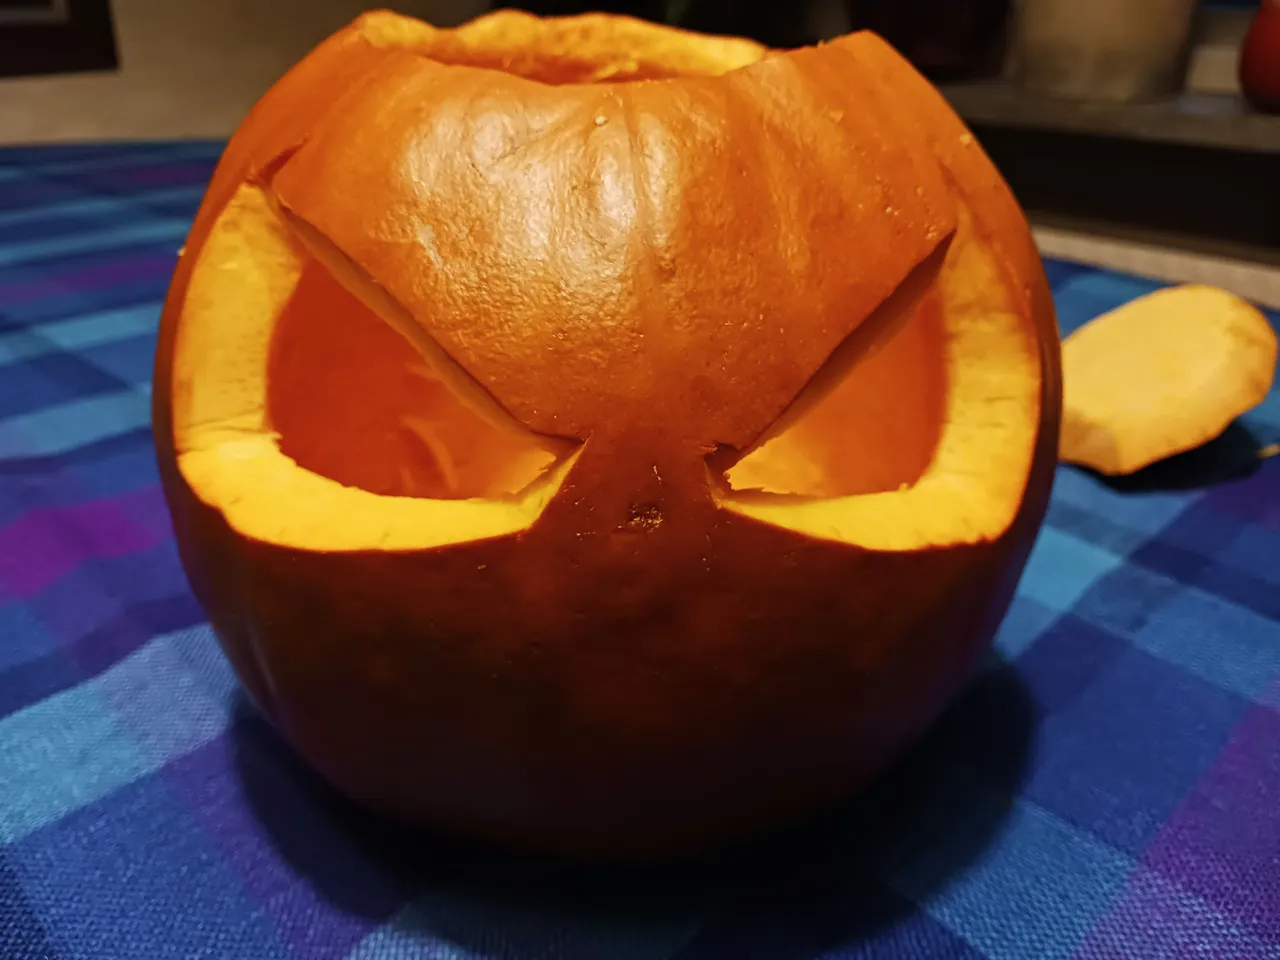
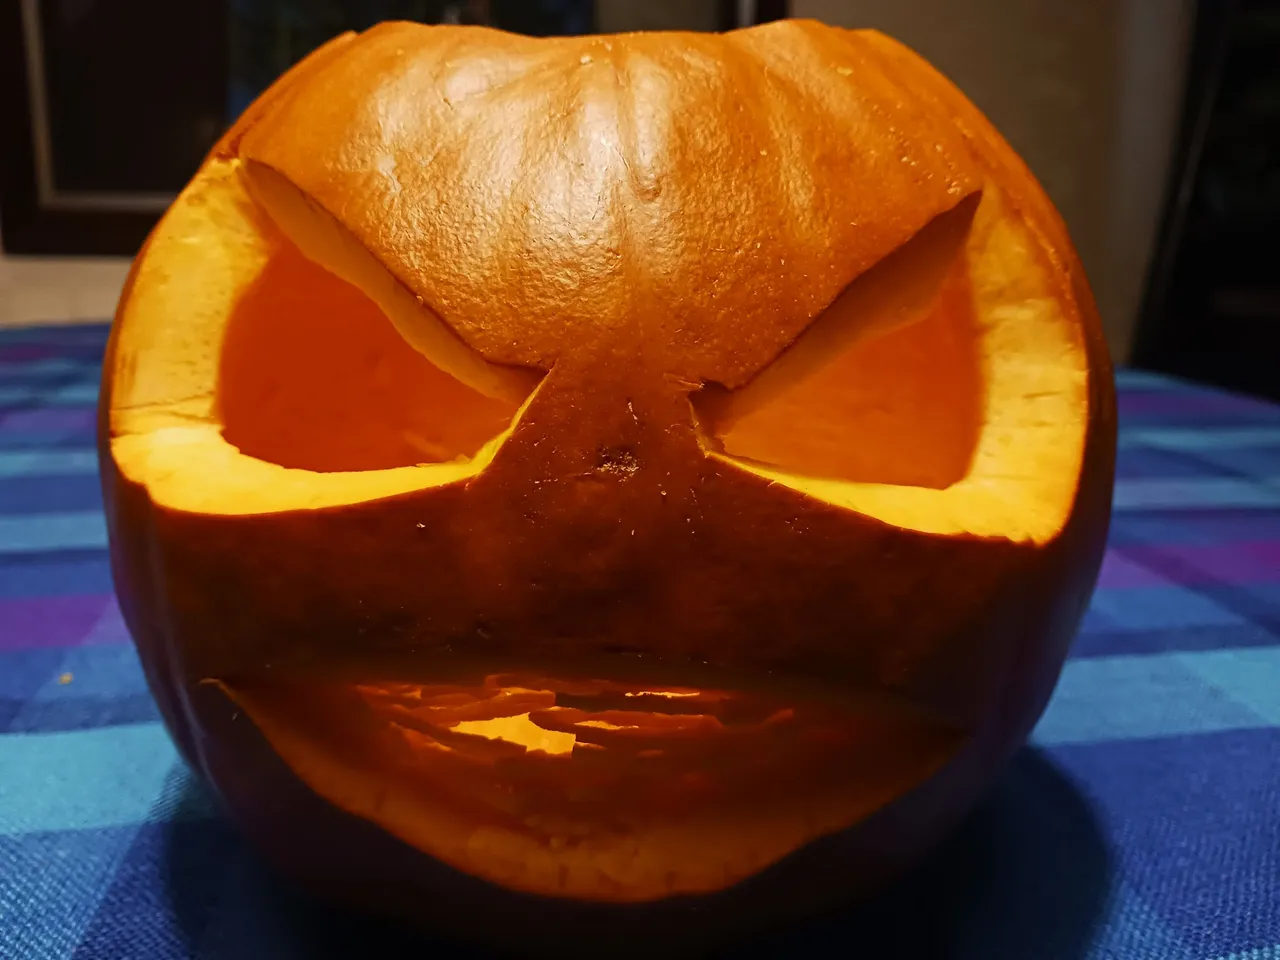
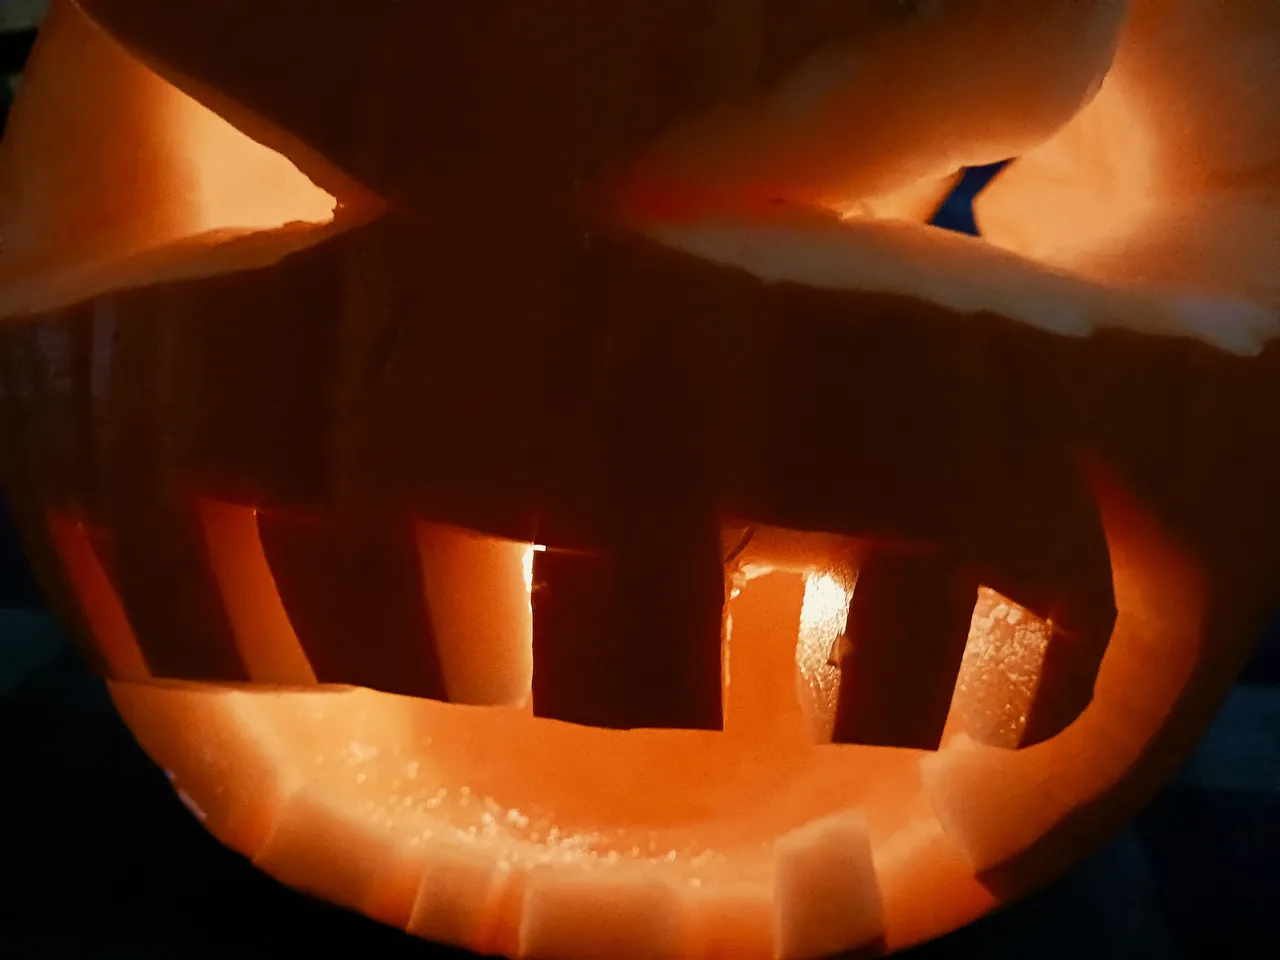
Some of my angles were so intense that the pumpkin didn't have any fallout. There was not giant void at the end. I thought the stringy mouth look might be cool so i lit the candle just to see how it glowed before moving forward.
Carving
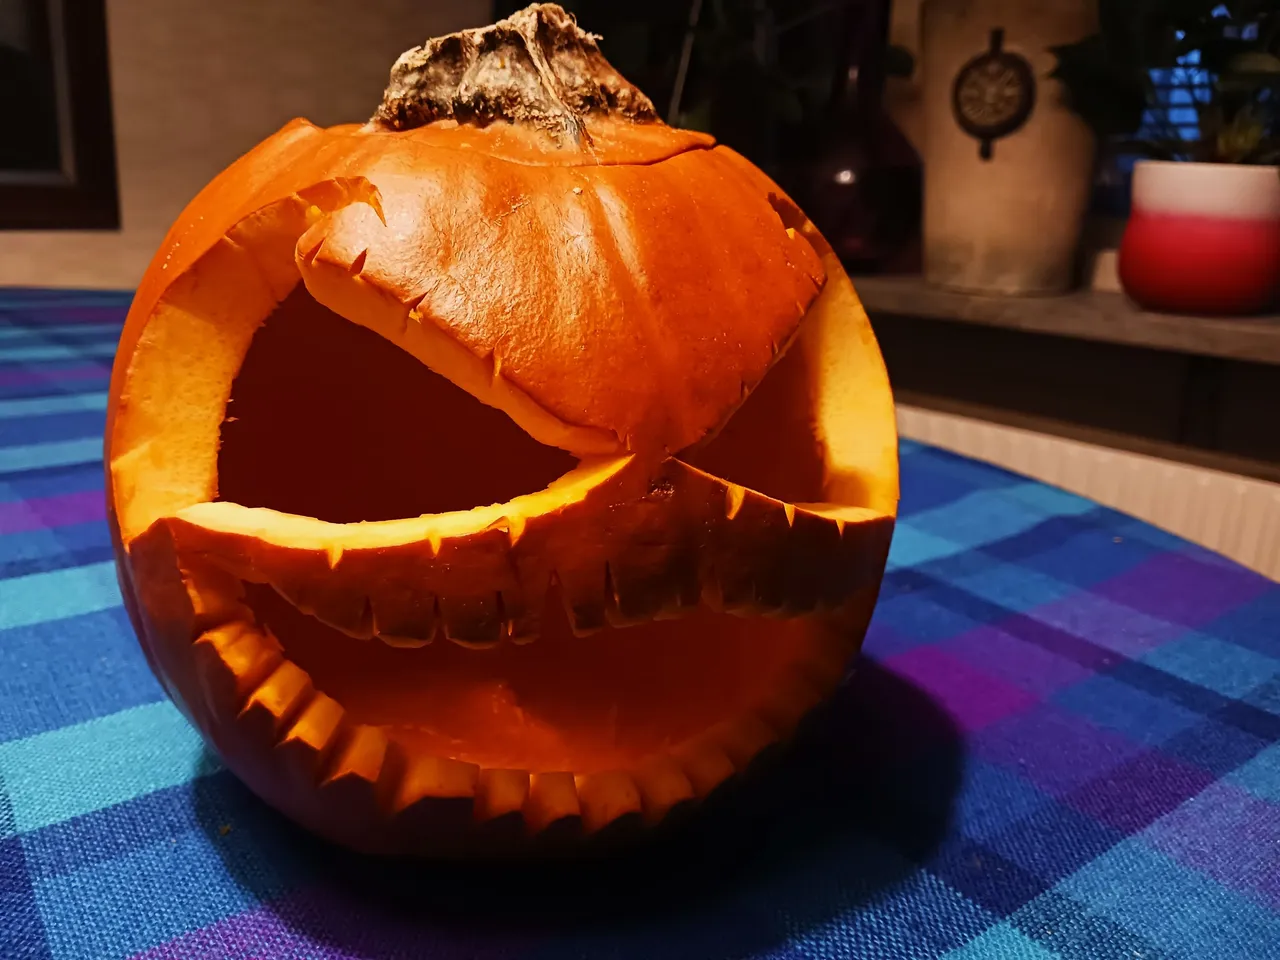
It looked pretty cool but i felt it would be a better element and technique to utilize in the future. So, i carved on.
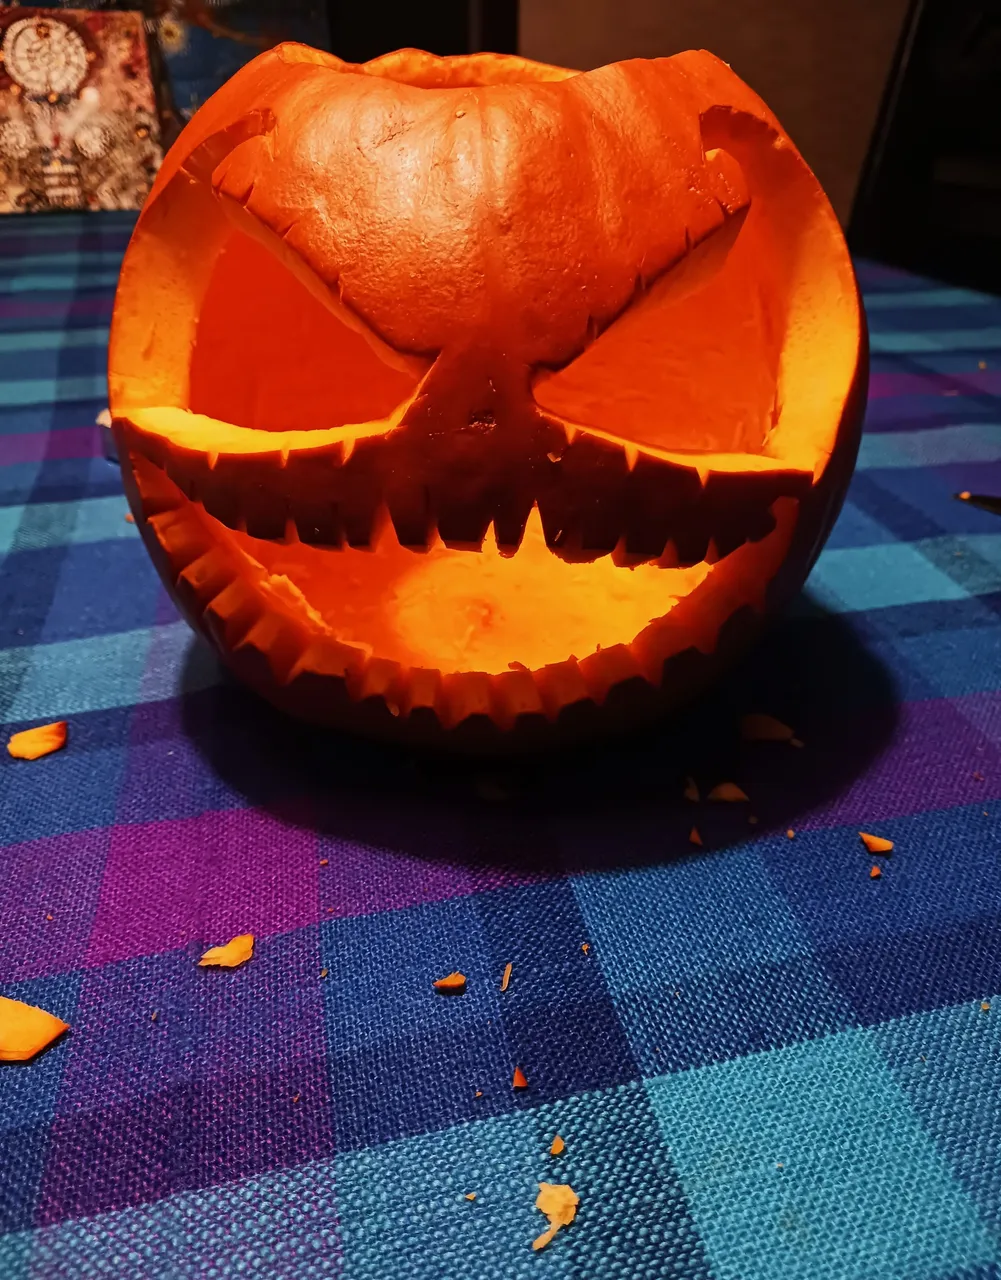
And i carved on....
And i carved on some more!
I did another bleach bath when i was finished. I spent more time on details for this pumkin but i still feel like i could have done a better job. Either way, it was all pretty satisfying.
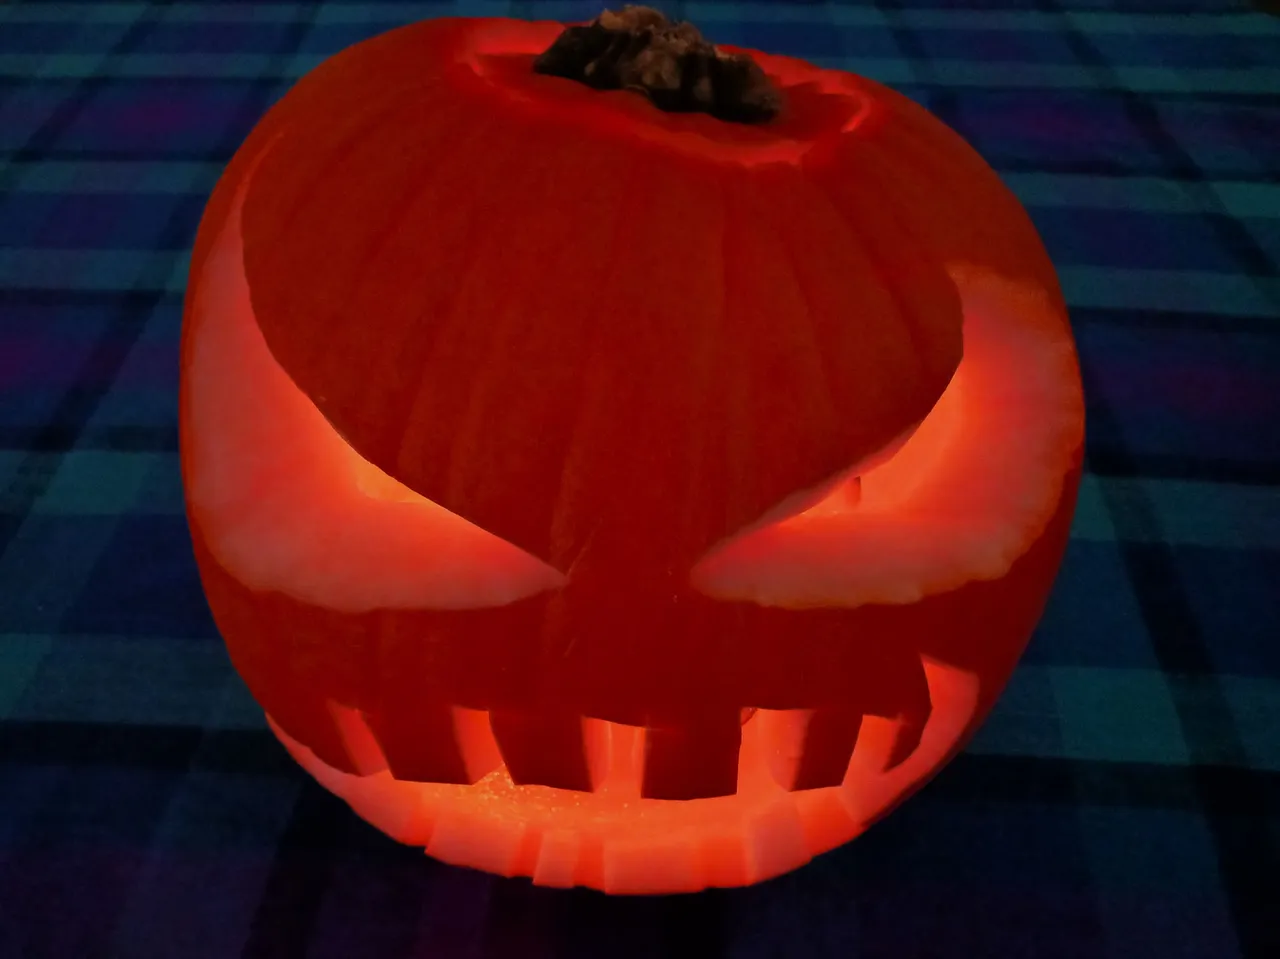
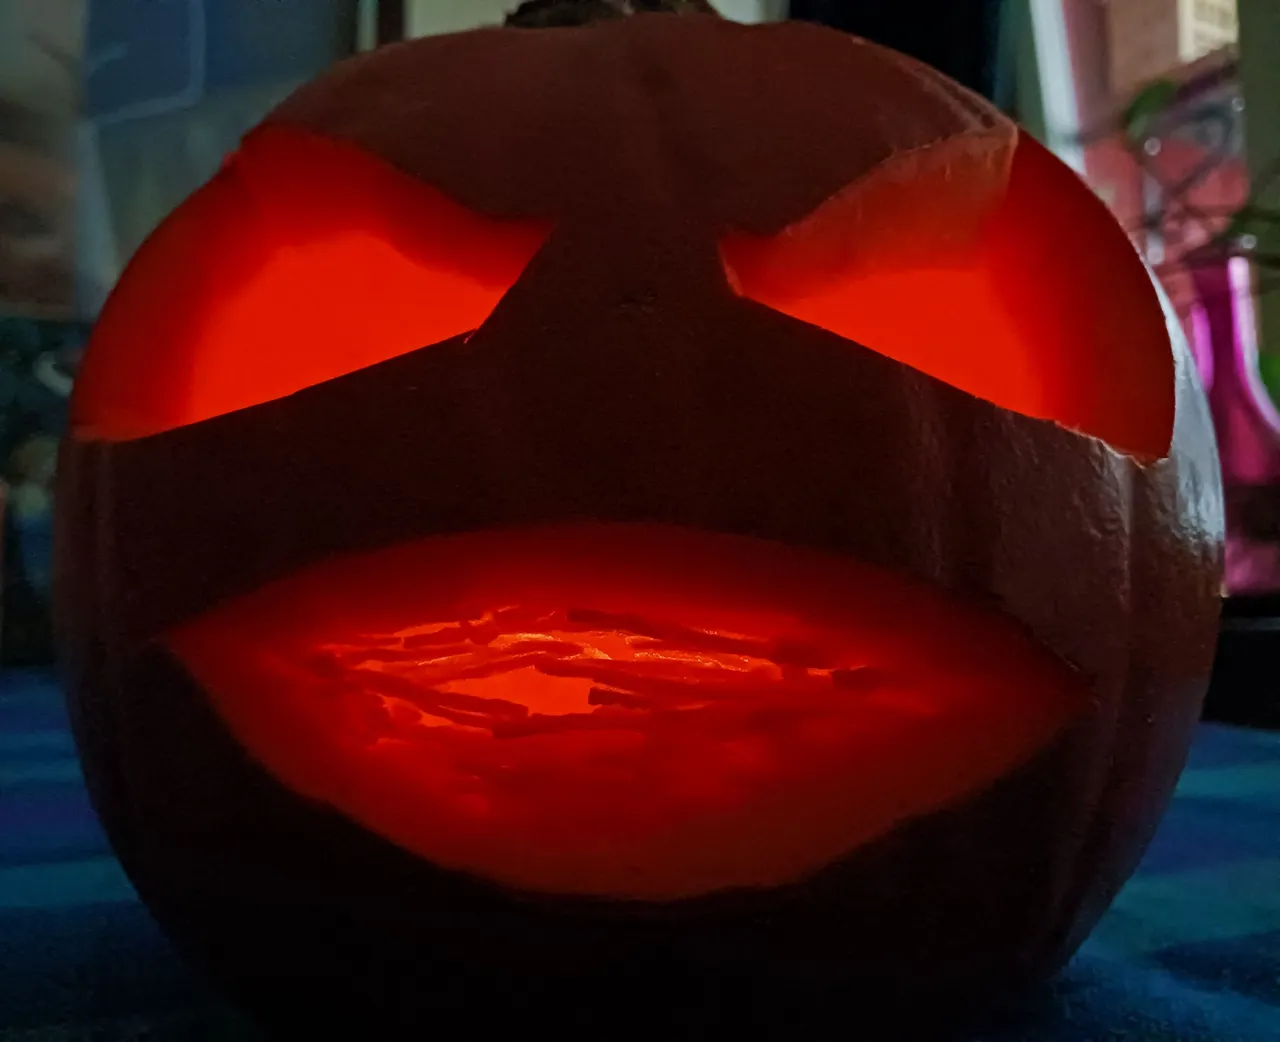
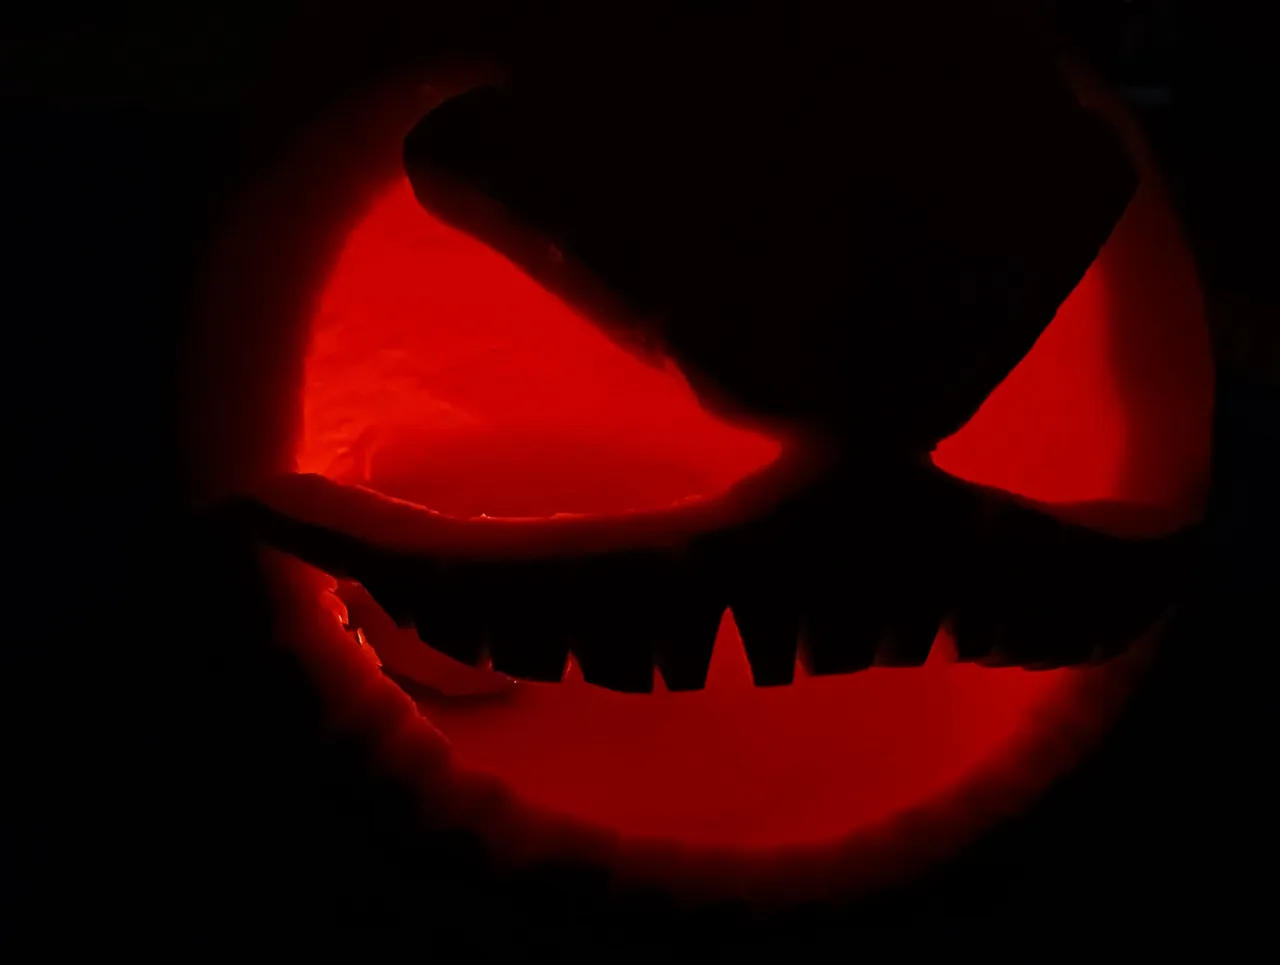
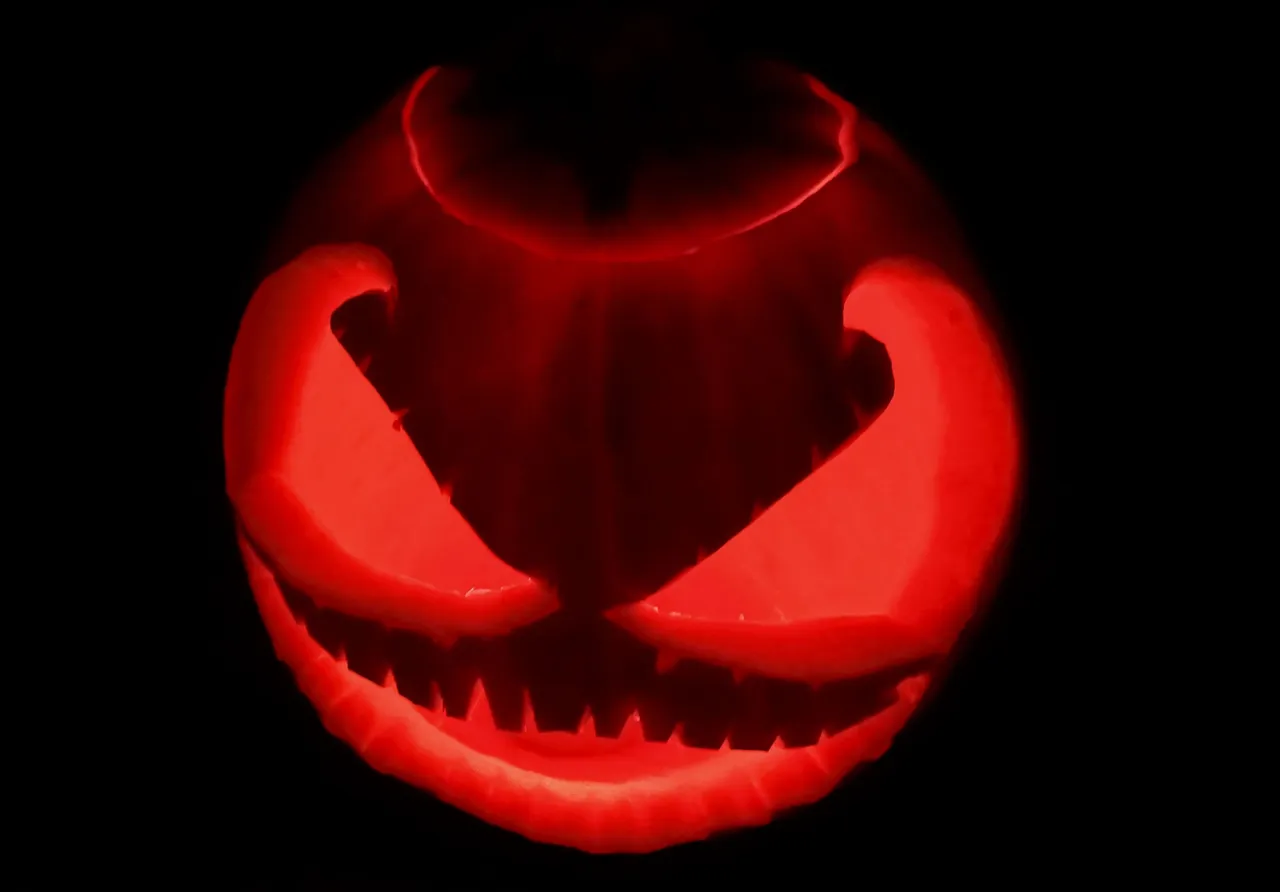
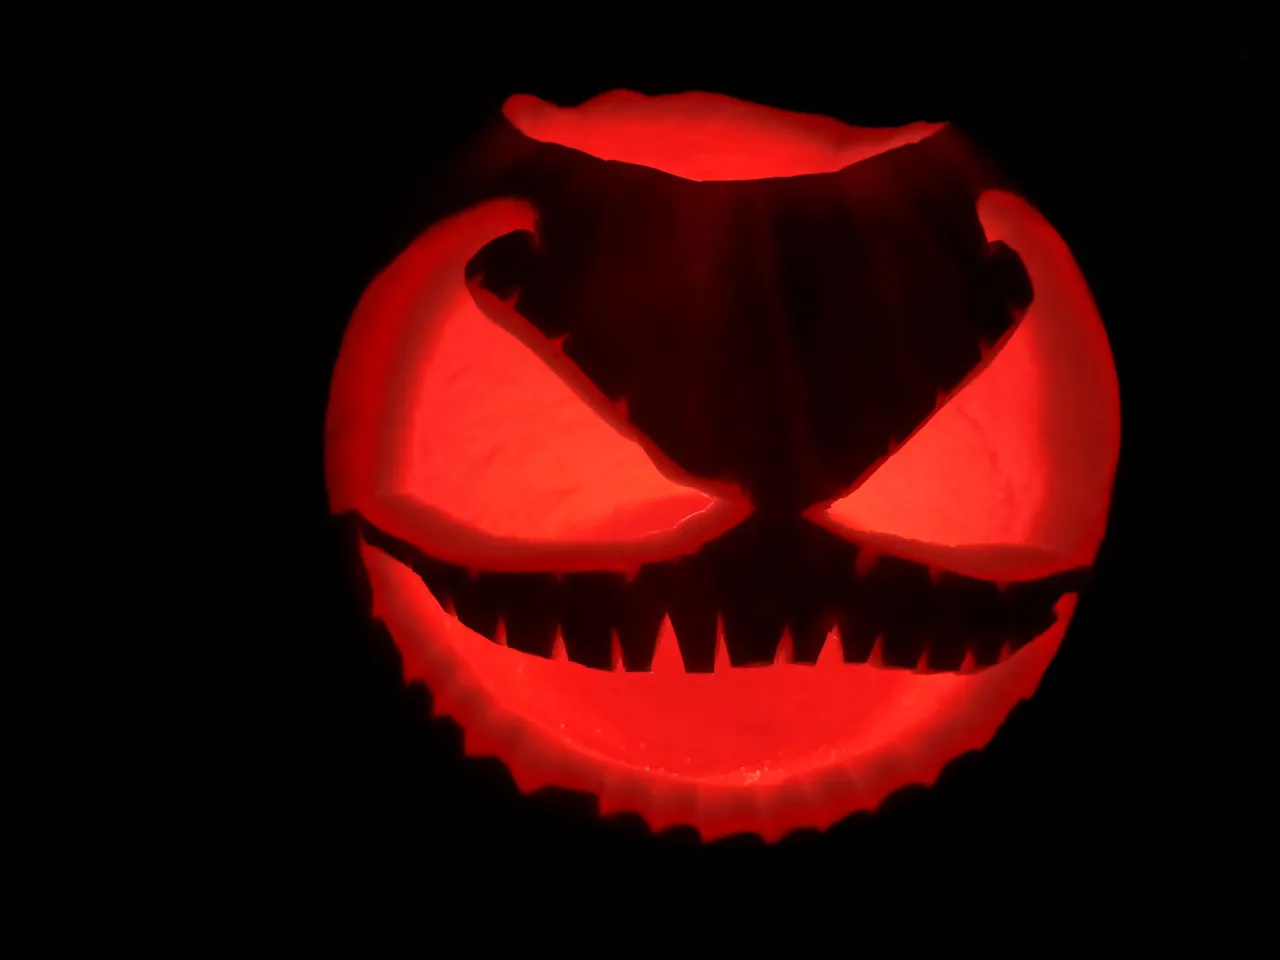
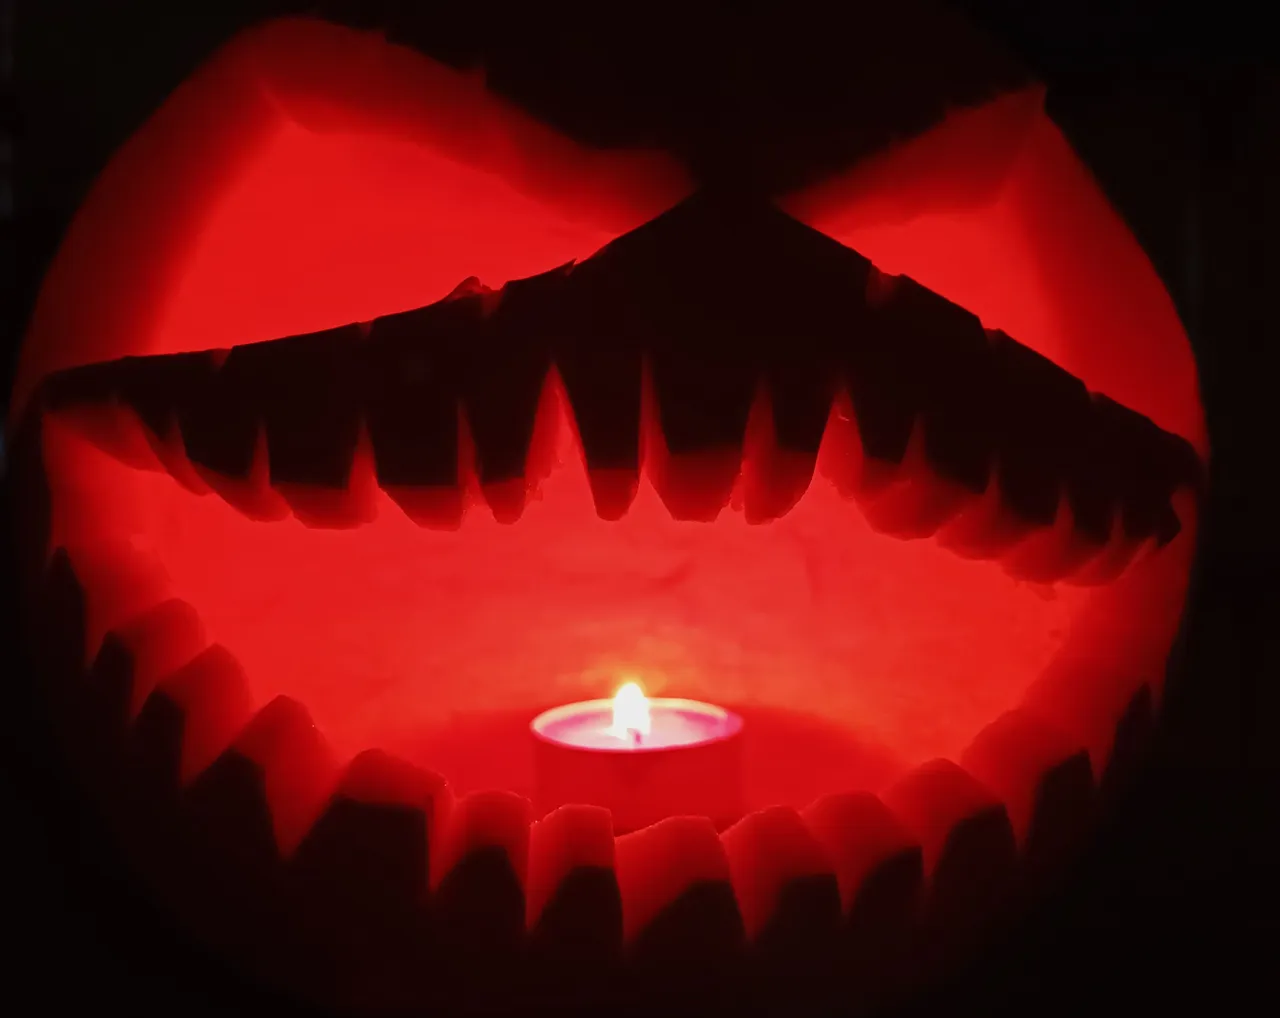
~ The Glow ~
Now, i lit that little pumpkin up! I tried to capture the glow as best i could. I hope you enjoy the final outcome!

Here are a few of the tunes i listened to whilst working on this project. I hope you enjoy this time of year as much as i do. Let me know which photos are your favorite in the comments.

And, thanks for stopping by to check out my post! I hope you liked seeing the process of how i carved up a couple pumpkins. Next year will be even better!
Being IN the moment...
Take Care and Don't Party Too Hard Without Me! Cheers