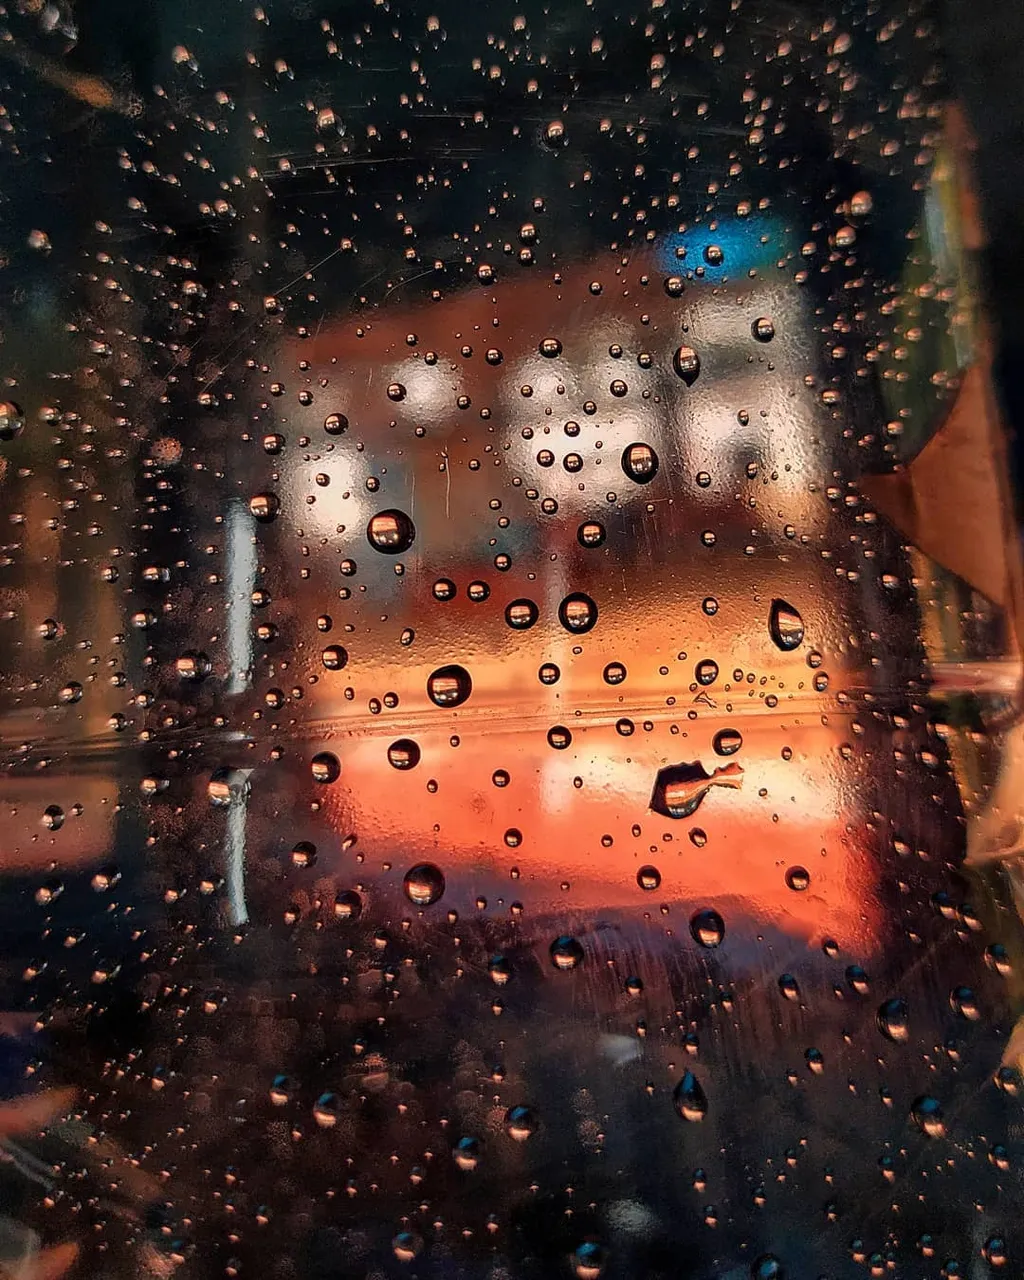
droplets on a bottle~~
If you are like me, you constantly take photos with your cell phone. But have you ever wondered why your mobile phone photos don't quite have that “WOW” factor you see on Instagram? I'm not a professional, but I'll give you some tips that i know which can apply to photography in general and cell phone cameras, in particular, to help you on your journey to better mobile phone photography.
𝐌𝐎𝐁𝐈𝐋𝐄 𝐏𝐇𝐎𝐍𝐄 𝐂𝐀𝐌𝐄𝐑𝐀
𝐀𝐃𝐕𝐀𝐍𝐓𝐀𝐆𝐄𝐒 & 𝐋𝐈𝐌𝐈𝐓𝐀𝐓𝐈𝐎𝐍𝐒
Let's start this discussion by going over a few strengths and weaknesses of the camera you carry in your pocket.
𝐀𝐃𝐕𝐀𝐍𝐓𝐀𝐆𝐄𝐒
∆ Compact size
∆ It's always with you
∆ Strong daylight performance
∆ Easy to use
∆ Constantly improving
𝐋𝐈𝐌𝐈𝐓𝐀𝐓𝐈𝐎𝐍𝐒
∆ Limited zoom power (can't change lenses)
∆ Limited or poor low light performance
Now let's get to some ways you can improve your mobile phone photography. Here are 7 tips to help you take it up a notch.
𝐓𝐈𝐏 #𝟏- 𝐂𝐋𝐄𝐀𝐍 𝐘𝐎𝐔𝐑 𝐋𝐄𝐍𝐒
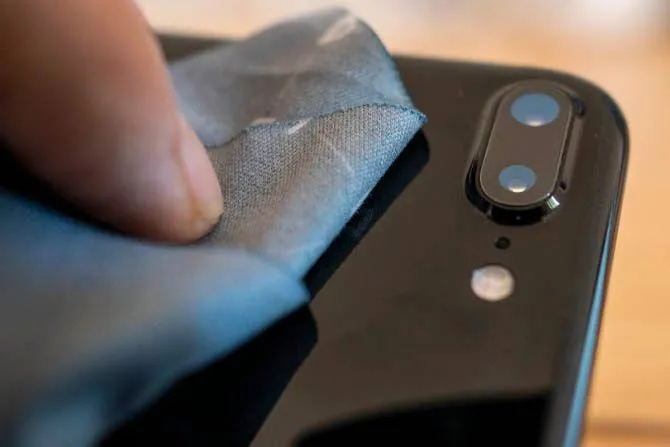
This one is really basic, but you will be amazed at how many times I have reached for my phone only to find lots of smudges and dirt from little hands that think they are helping with everything and anything.
So, do yourself a favor and get into the habit of quickly wiping your phone camera lens before taking a shot. It does make a world of difference to the picture quality.
𝐓𝐈𝐏 #𝟐- 𝐒𝐓𝐀𝐁𝐈𝐋𝐈𝐓𝐘=𝐁𝐄𝐓𝐓𝐄𝐑 𝐏𝐇𝐎𝐓𝐎
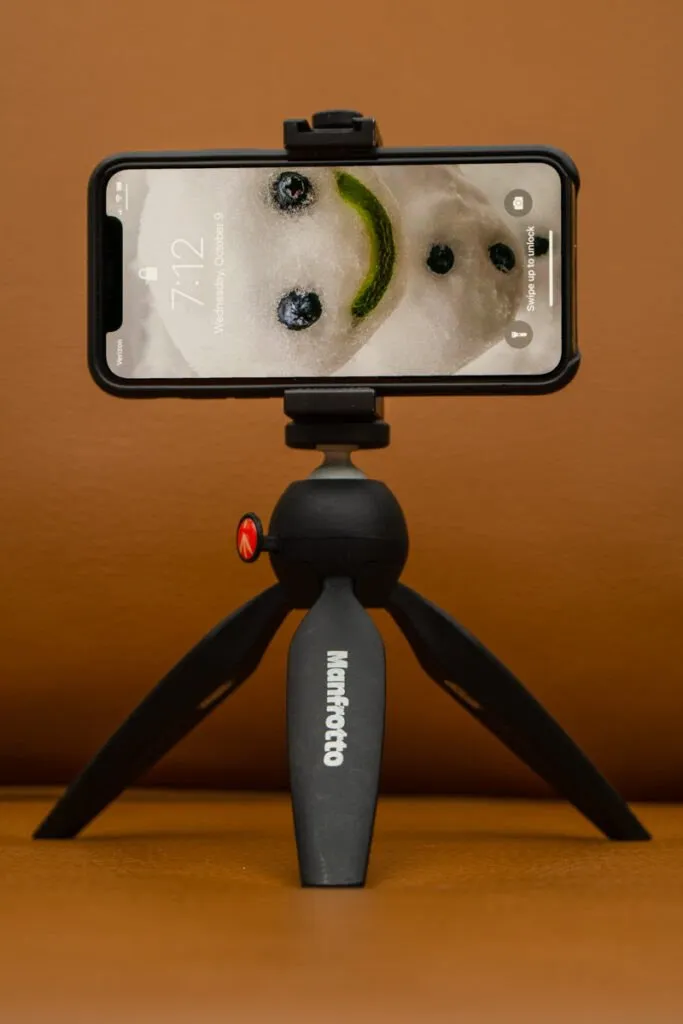
Because of the limited low light performance of your cell phone camera, keeping it steady is really important. Ensuring that the phone is stable will improve your image quality. Here's how you can achieve this for yourself.
𝐒𝐇𝐎𝐎𝐓𝐈𝐍𝐆 𝐅𝐑𝐎𝐌 𝐀 𝐒𝐓𝐀𝐍𝐃𝐈𝐍𝐆 𝐏𝐎𝐒𝐈𝐓𝐈𝐎𝐍
Step 1 – Stand with your feet shoulder-width apart.
Step 2 – When shooting from a standing position, hold your mobile phone camera with both hands and tuck your elbows into your body.
Step 3 – Use the volume button to snap the shot. This will help minimize camera shake, which causes blurry images.
If you are not shooting from a standing position, there are other ways to stabilize the phone.
∆ Brace the phone against something stationary, like a wall, counter, fence, railing, tree, etc.
∆ Use a tripod with an appropriate clamp. Many options are available.
∆ Embrace improvisation when it comes to setting up your phone.
𝐓𝐈𝐏 #𝟑- 𝐒𝐄𝐓𝐓𝐈𝐍𝐆 𝐄𝐗𝐏𝐎𝐒𝐔𝐑𝐄 𝐀𝐍𝐃 𝐅𝐎𝐂𝐔𝐒
You don't have to give control over to the camera all the time even shooting with your phone.
If you want to adjust the brightness of the photos you are taking, the process is pretty straight forward. Tap the screen in the area you want to be in focus and set the exposure for that area. This will bring up a yellow box around the area you tapped and a slider. You can move the slider up to brighten the scene or down to darken.
Raised or increased exposure.
Lowered or decreased exposure.
𝐓𝐈𝐏 #𝟒- 𝐈𝐌𝐏𝐑𝐎𝐕𝐄 𝐘𝐎𝐔𝐑 𝐂𝐎𝐌𝐏𝐎𝐒𝐈𝐓𝐈𝐎𝐍
One of the easiest and most important things you can do to take your mobile phone photography to the next level is to improve your composition. Here are a few tips to help you.
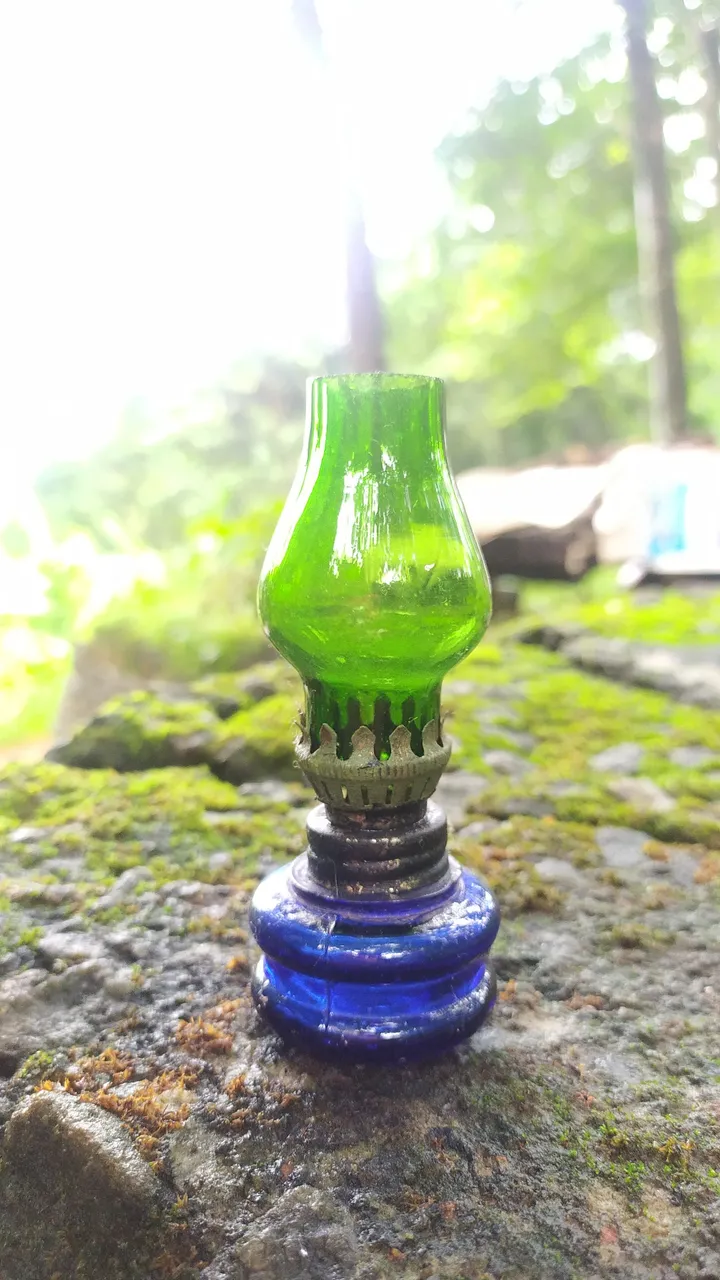
𝐑𝐔𝐋𝐄 𝐎𝐅 𝐓𝐇𝐈𝐑𝐃
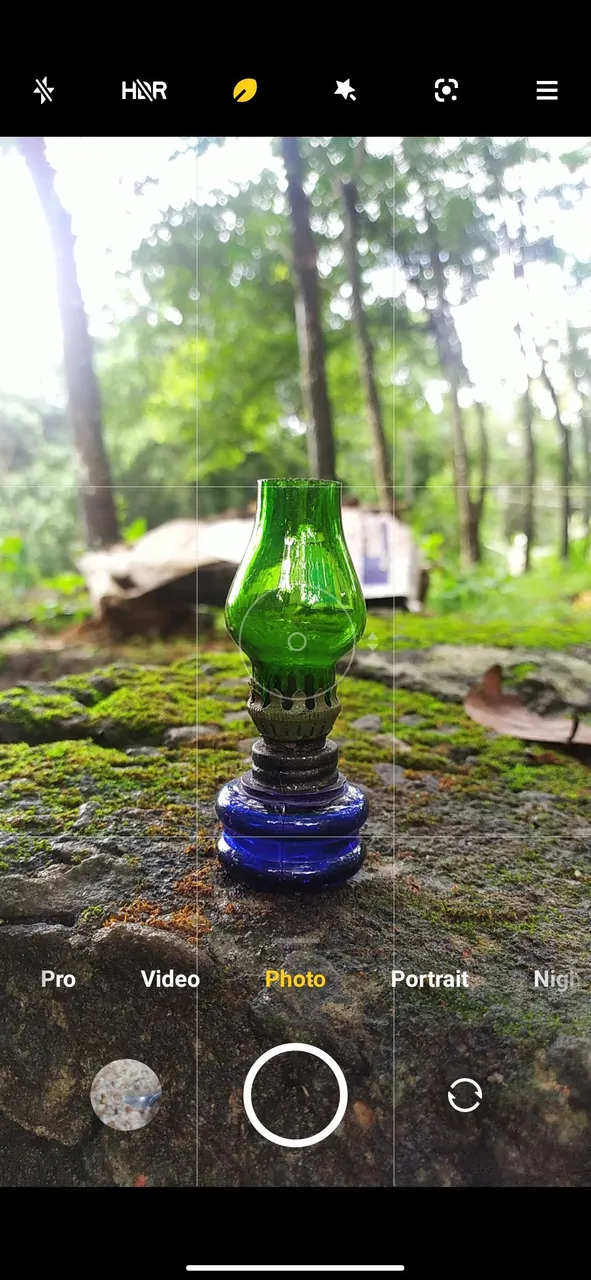
As you see in this example above, I have my scene divided into a three-by-three grid. This grid is used by both beginner and professional photographers to aid in the composition process.
In general, you will create a pleasing composition if you place the subject of your photo at the intersection of two of the lines (one horizontal and one vertical) on the grid.
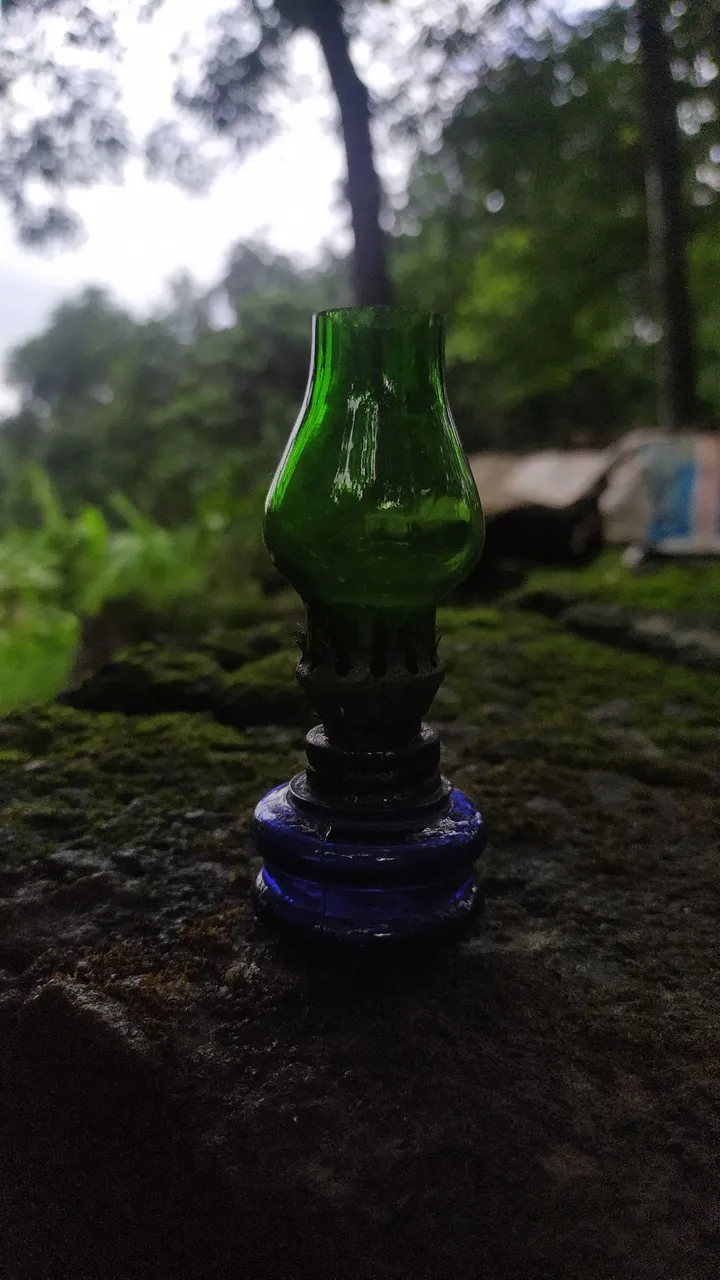
In this particular image, I had set up my main camera to capture the image of the small lantern🏮. My aim was to have you focus on the lantern while still noticing the trees in the background.
I set the focus on the lantern because it is the subject. But I also wanted you to see the background because it gives the photo some context. I could have taken just a picture of the lantern,but that wasn't as interesting for the behind-the-scenes kind of image I was looking to create.
𝐆𝐄𝐓 𝐂𝐋𝐎𝐒𝐄𝐑
There's an adage that I've heard more than a few times from photographers.
“If the photo isn't interesting enough, you're not close enough.” – The quote is actually by famous war photographer Robert Capa.
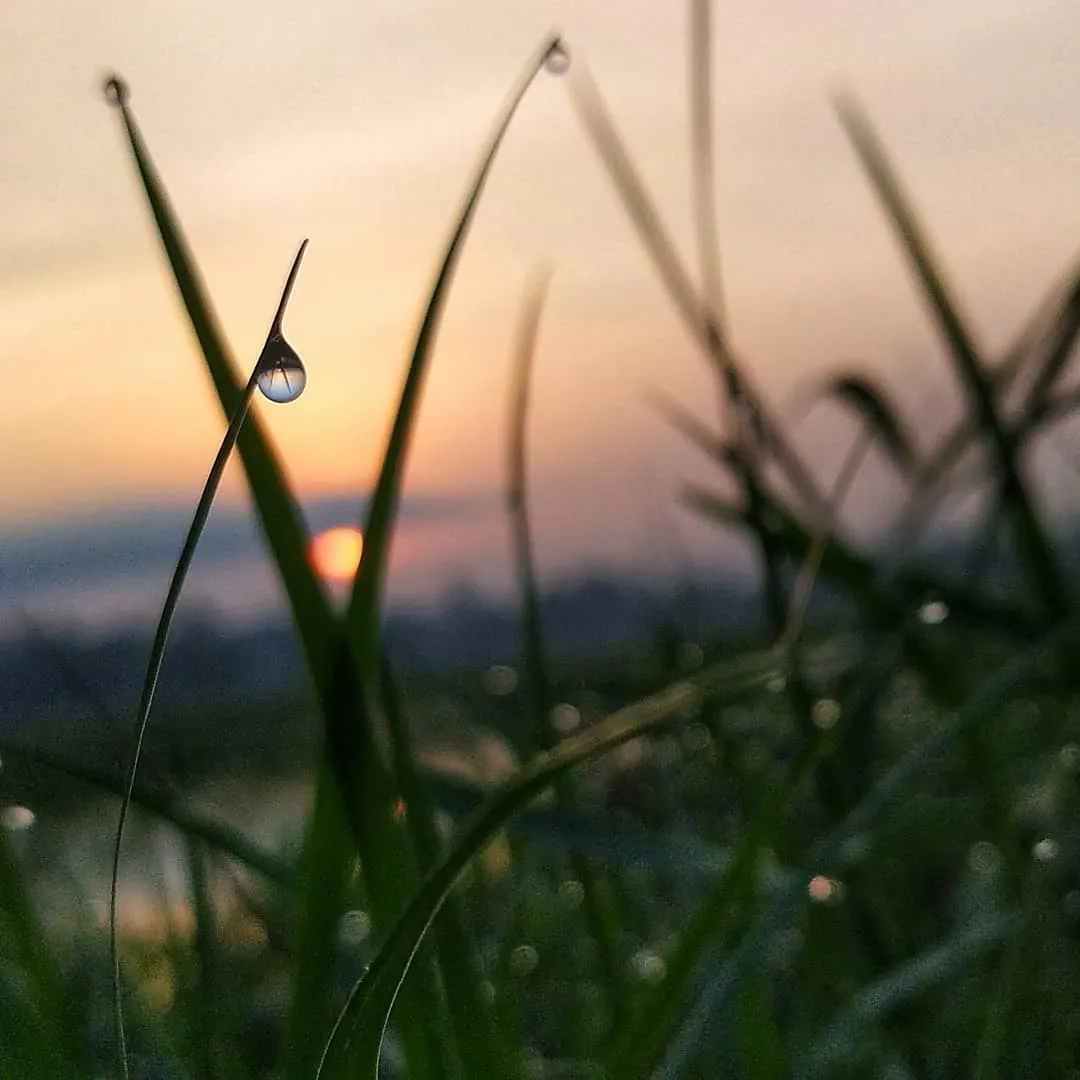
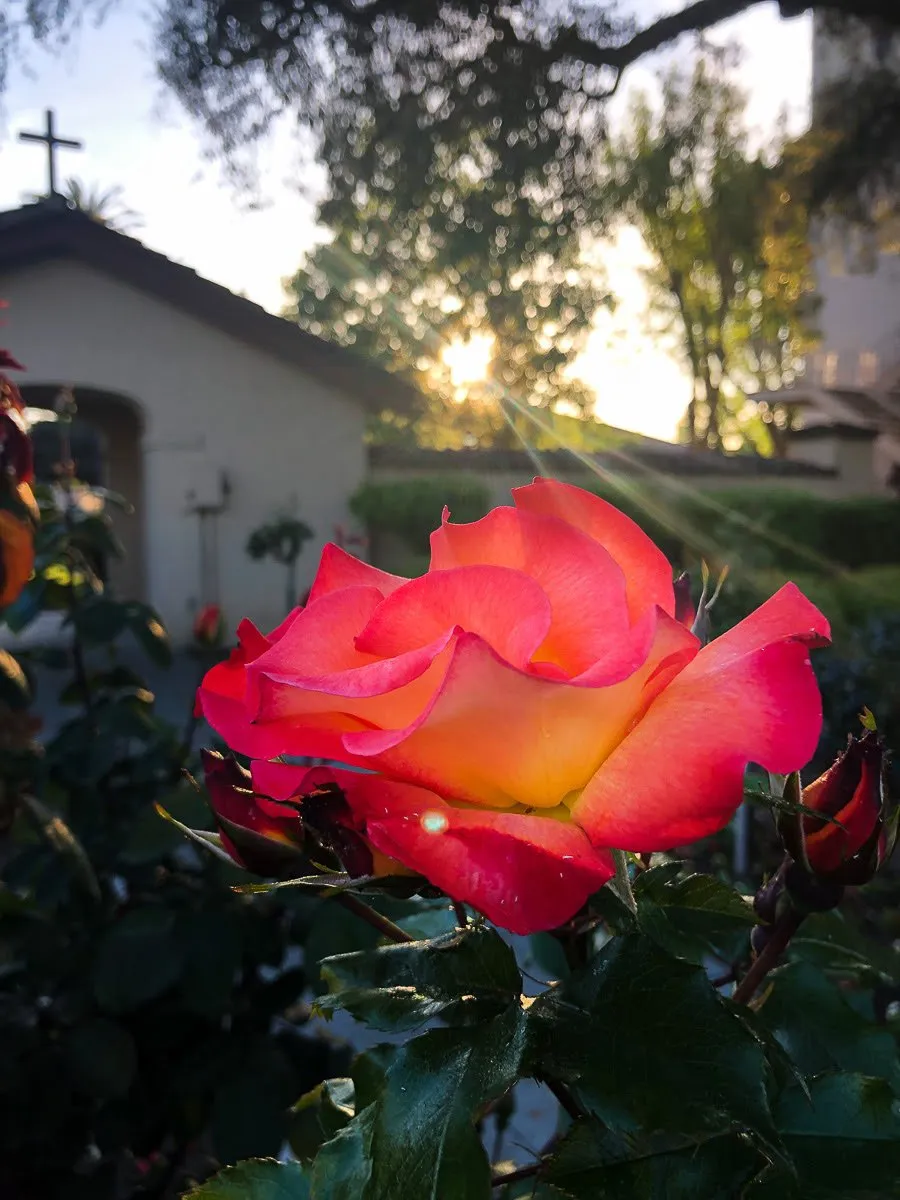
With that in mind, what do you think is the most important thing in this image? If you said the water drop💧, then you would be right.
Now, imagine if I had taken this photo from 20 feet away. What would I have captured? You would probably be looking at a picture of a bush, some watery field behind and a sun.
However, would you have known that the water drop was the subject of the photo? Probably not.
The point of this series of questions is to get you to think about what you really want people to see as important in your images. Then, it is your job to cut out unnecessary parts of a scene to accomplish your goal.
𝐂𝐇𝐀𝐍𝐆𝐄 𝐘𝐎𝐔𝐑 𝐏𝐄𝐑𝐒𝐏𝐄𝐂𝐓𝐈𝐕𝐄
A habit that many photographers get into is always shooting from a standing position, with the camera held at eye level. For a large vista, that may not be a big deal. However, there are plenty of cases when changing the position of the camera relative to the subject can create a completely different result.
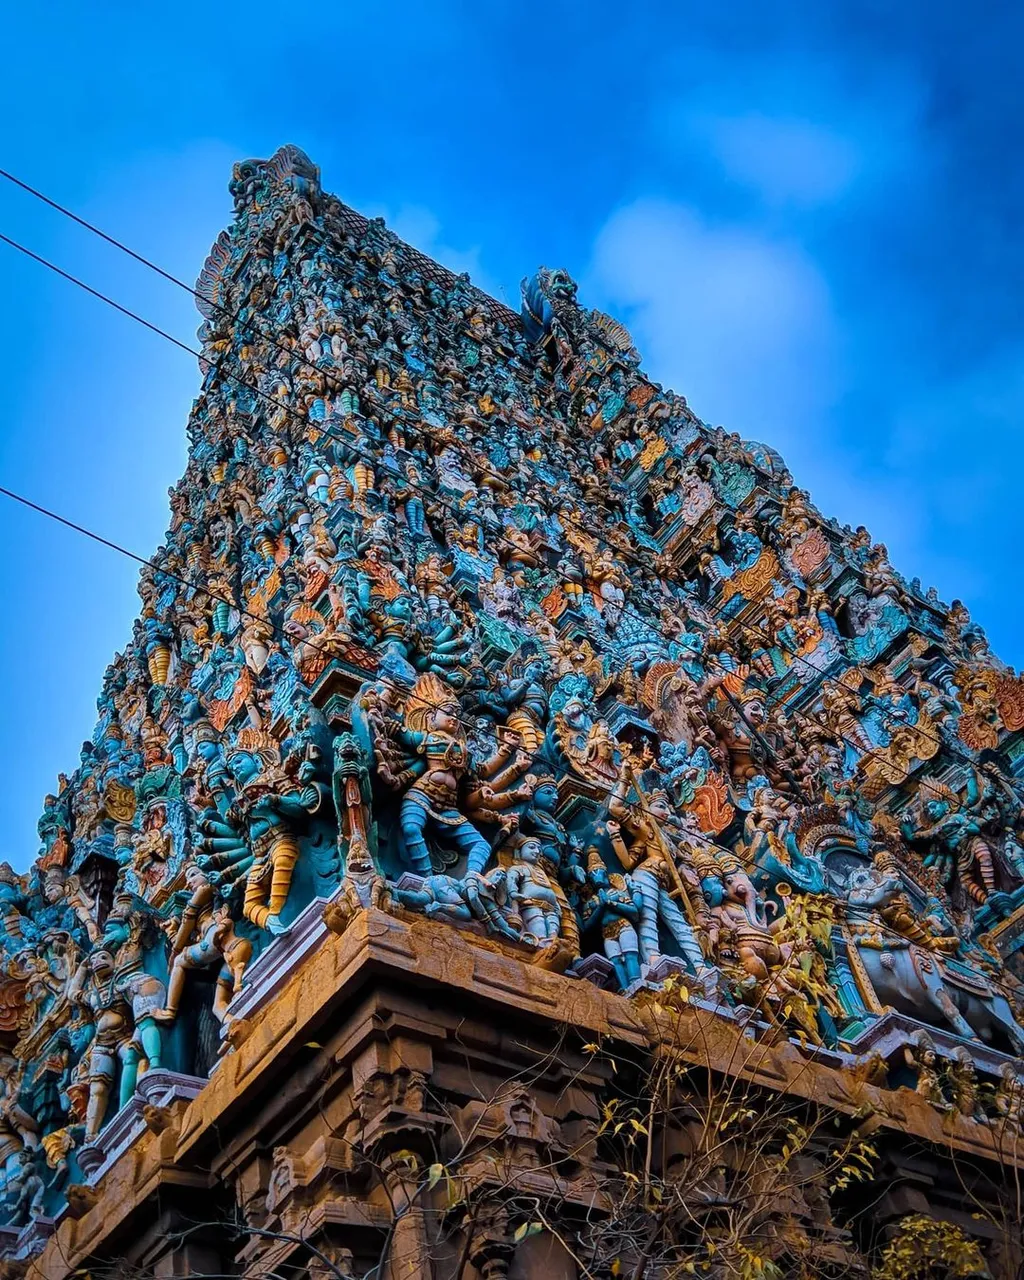
A low camera angle, shooting up at the subject is called the “HERO SHOT”. Looking up at a subject can make it appear larger and more powerful.
Similarly, shooting down on a subject from a high position creates a smaller, more diminutive result.
Because of the cell phone's size and weight, changing your vantage point is quite easy. So try different angles for more variety and storytelling.
𝐓𝐈𝐏 #𝟓- 𝐒𝐇𝐎𝐎𝐓 𝐇𝐃𝐑
High dynamic range (HDR) is a term that may need a bit of explaining.
For every scene, there is an area with the greatest brightness and also one that is the darkest. When you bring your phone out to take a picture the camera attempts to expose the scene so you can see detail from the brightest to darkest areas. Think of this exposure as somewhat of an average.
However, the sensor in the camera has a limit when capturing the difference between the two extremes. This is why parts of the scene might be completely black or white. The sensor is just not able to capture all the information in one picture.
𝐇𝐎𝐖 𝐇𝐃𝐑 𝐖𝐎𝐑𝐊𝐒
HDR was introduced as a way to capture the details in a scene that has a large difference (dynamic range) between the brightest and darkest areas. When you select the HDR setting for your mobile phone camera, you are telling it to take a series of photos then combine them together to create the final image.
The phone will first take an exposure reading for the scene like normal. Then it will take one or two photos that are darker than the average, the average exposure, and one or two photos brighter than the average. Finally, the photos will be merged together to produce the final result.
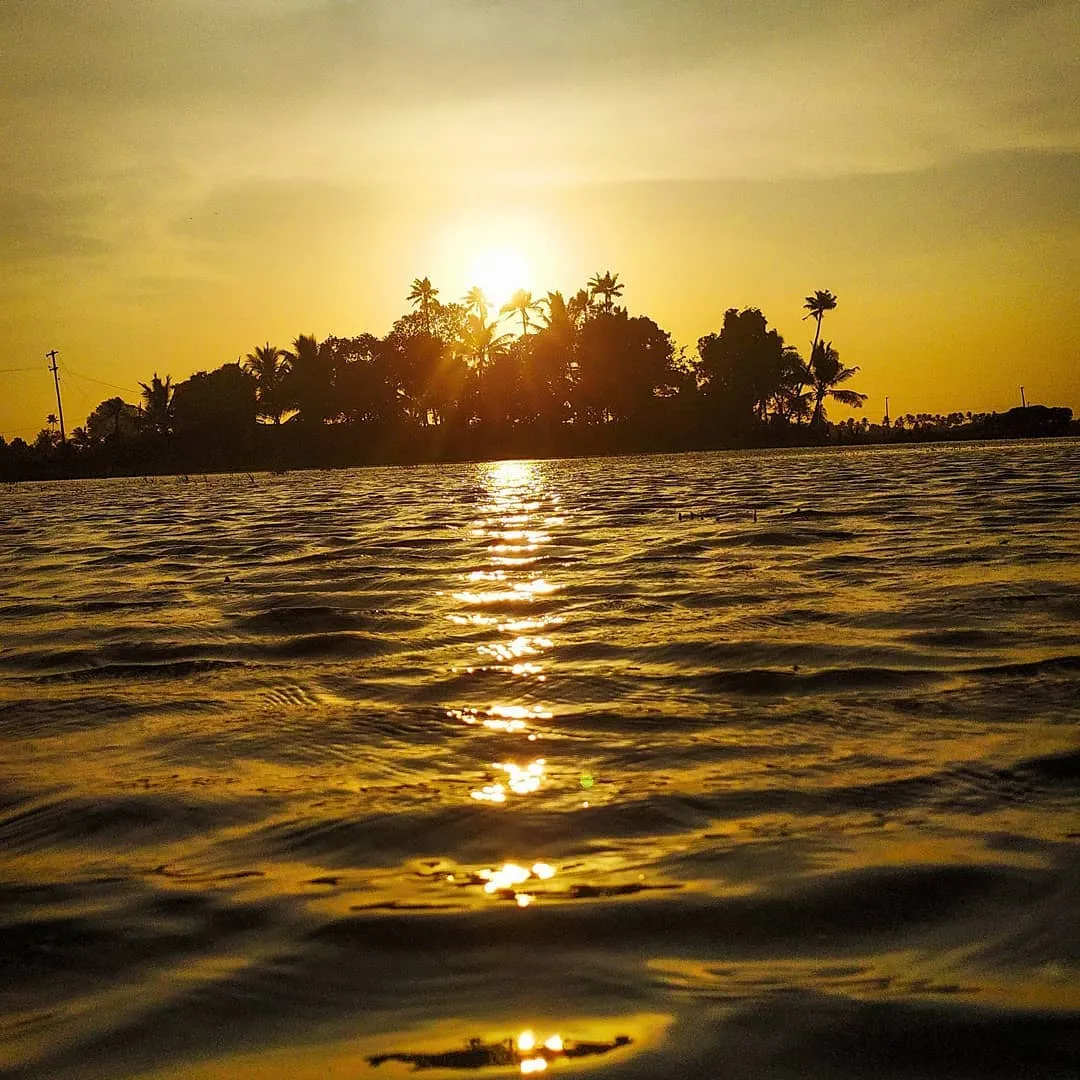
HDR is best used in the morning and evening light to capture elements of the light and dark areas you are photographing. When you are photographing in mid-day light, your skies are likely to look artificial because there is a limit to the phone's capability.
The problem is that the amount of light from the midday sun is considerably more than the light hitting any dark shadows in the scene.
𝐓𝐈𝐏 #𝟔- 𝐔𝐒𝐄 𝐍𝐀𝐓𝐔𝐑𝐀𝐋 𝐋𝐈𝐆𝐇𝐓
It's hard to find a great smartphone photo that was taken with a flash. Most of the time, they make a photo look overexposed, negatively altering colors and making human subjects look washed out.
Take advantage of the sources of natural light you can find, even after dark. This gives you a chance to play with shadows.Create a silhouette with other ambient sources of light, like traffic and surrounding buildings.
Once you've taken the photo, play with the "Exposure" tool in your favorite photo editing app to see if you can make the image slightly brighter, without making it too grainy.
THATS ALL FOR NOW GUYS. SUPPORT.. 🥰🥰