Hola queridos amigos de esta comunidad un gusto saludarlos le deseo mucho amor felicidad y prosperidad espero que estén muy bien y con grandes energías para seguir creando contenido maravilloso para esta plataforma.
El día de hoy les voy a mostrar cómo realizar un portadazo en foami muy fácil de hacer e ideal para tener en casa y poner nuestros envases de plástico y tenerlos un poco más organizado.
Los materiales utilizados en la elaboración del portavaso fueron los siguientes:
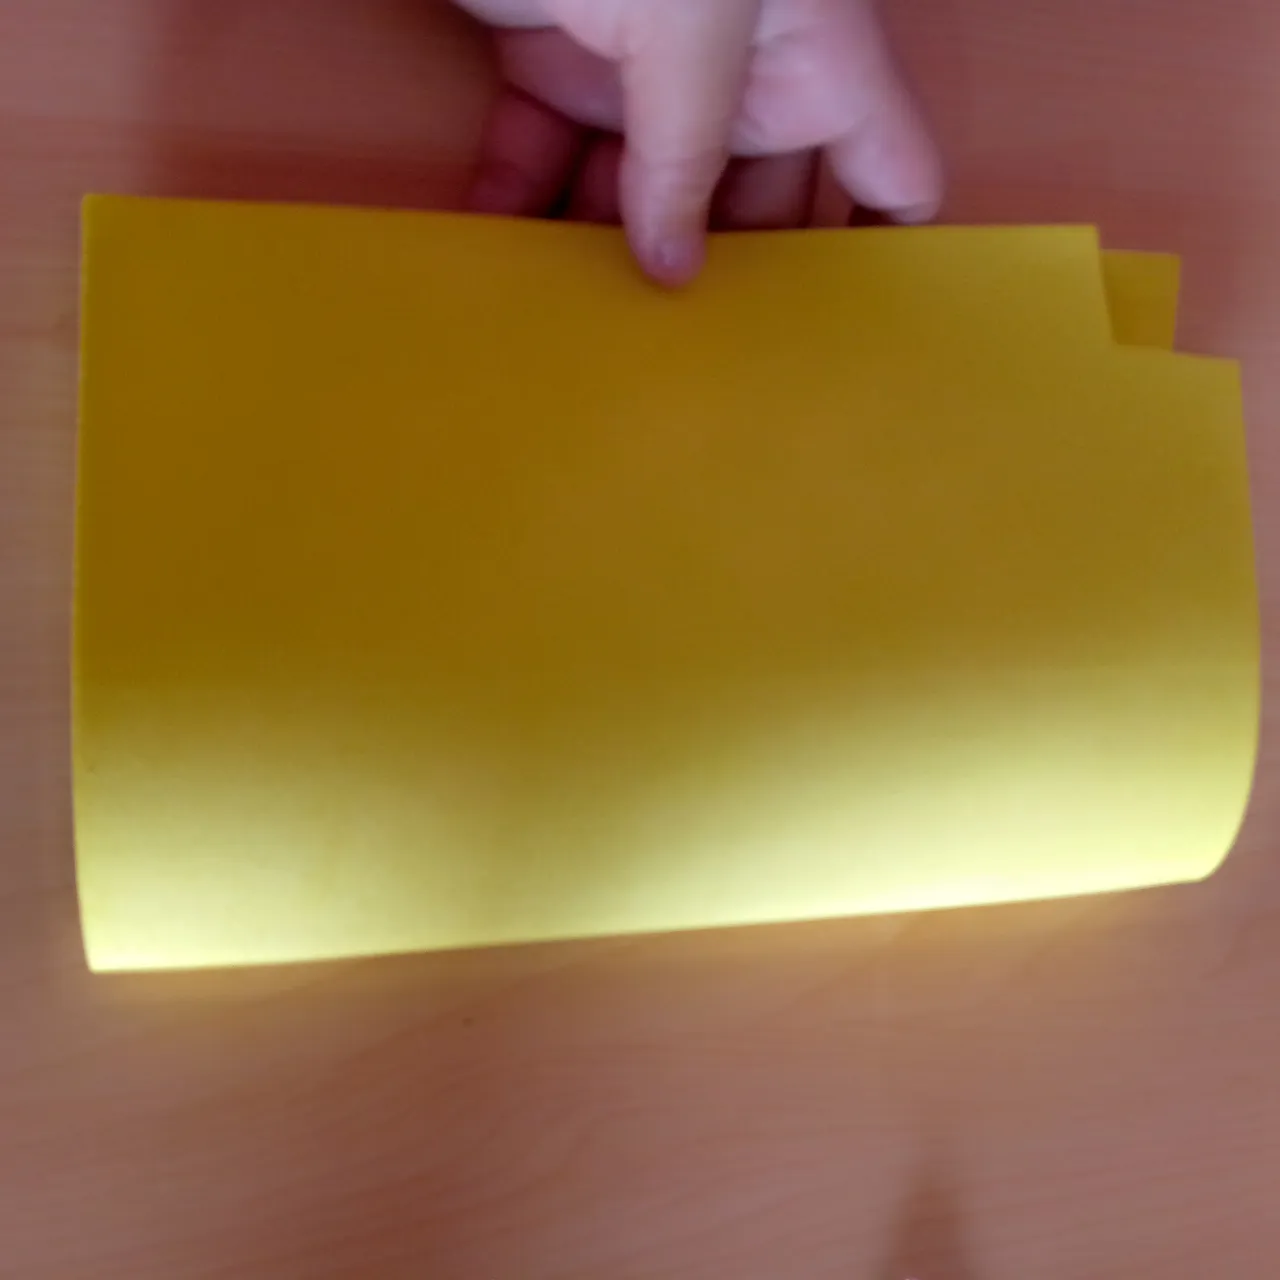
- Foami amarillo y azul
- Foami negro escarchado
- Foami rosado, morado, verde, plateado, escarchado
- Tijera
- Silicon
- Carton pequeño
A continuación les estaré presentando cómo realizar el paso a paso de El portavaso!!!

Primero tomamos una hoja y recortamos en forma de 5 así de esta manera.
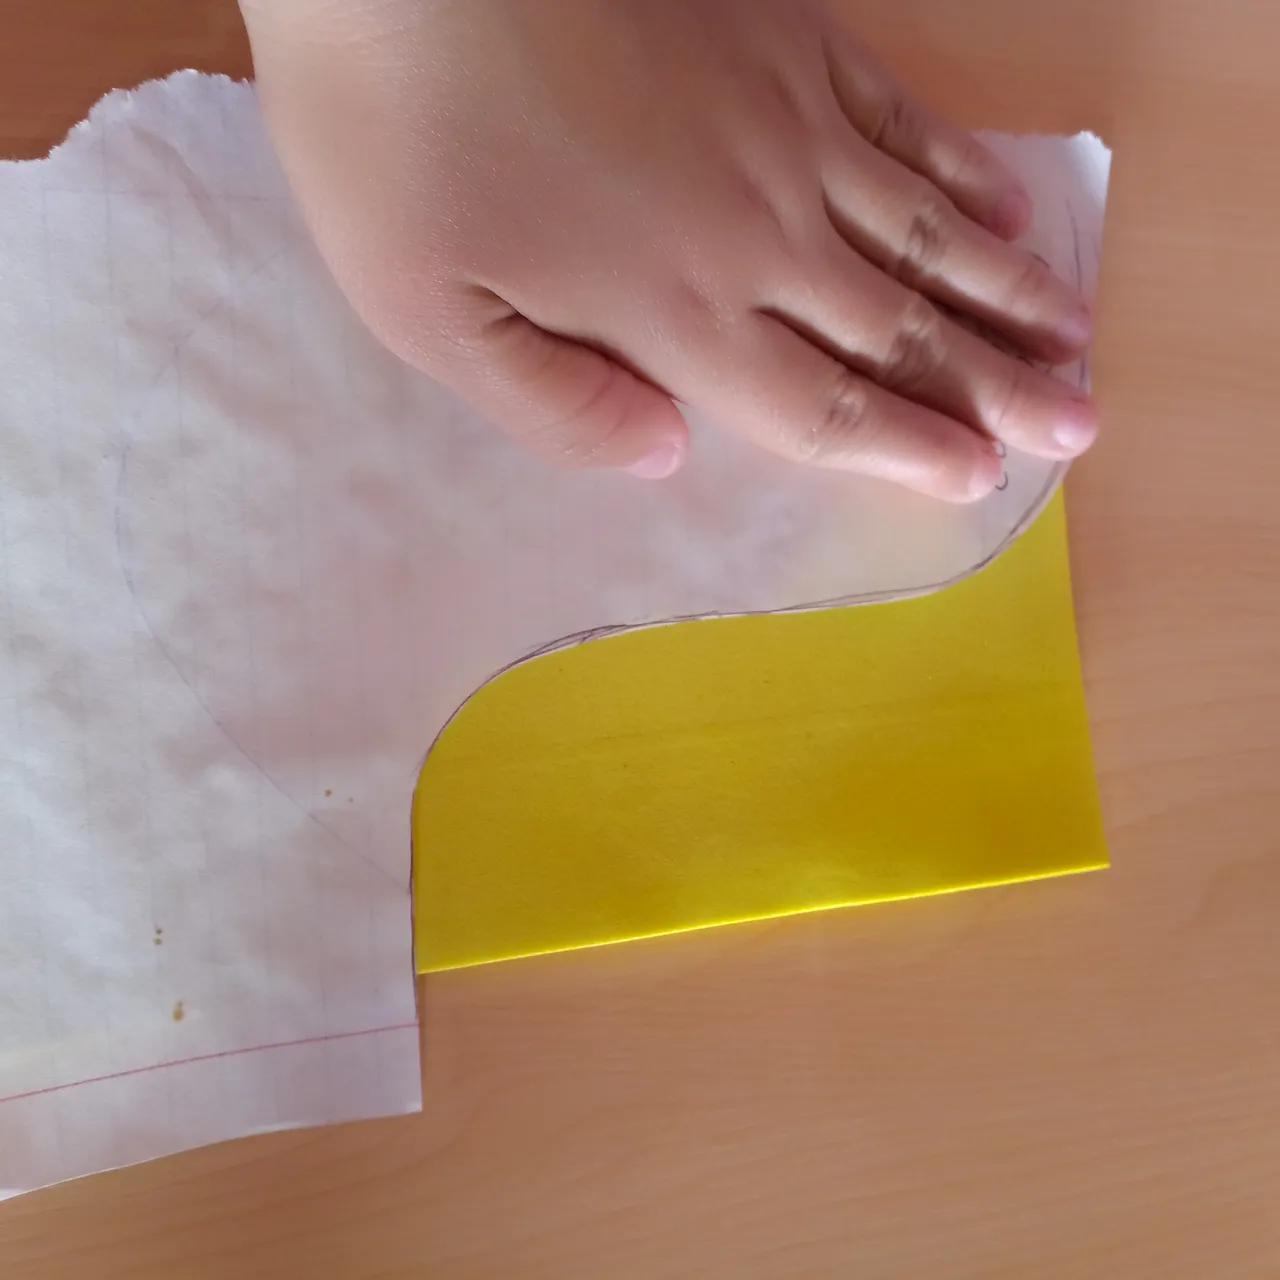
Luego tomamos el foami y el molde de papel y lo trazamos la forma de la hoja asi de esta forma.
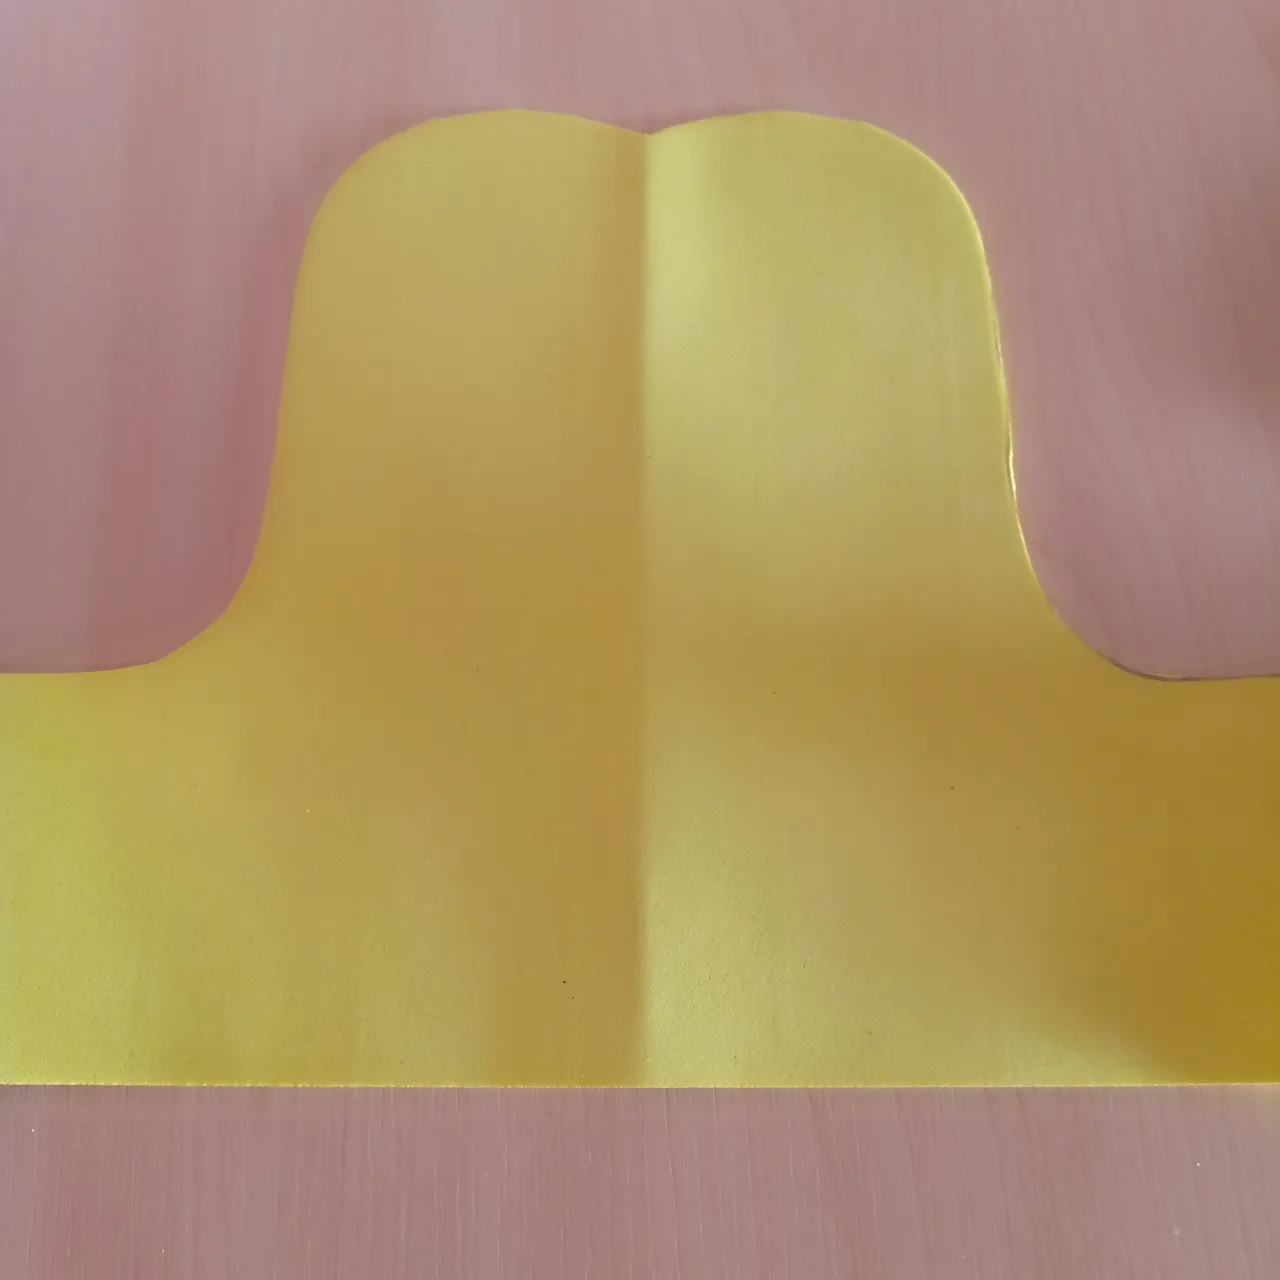

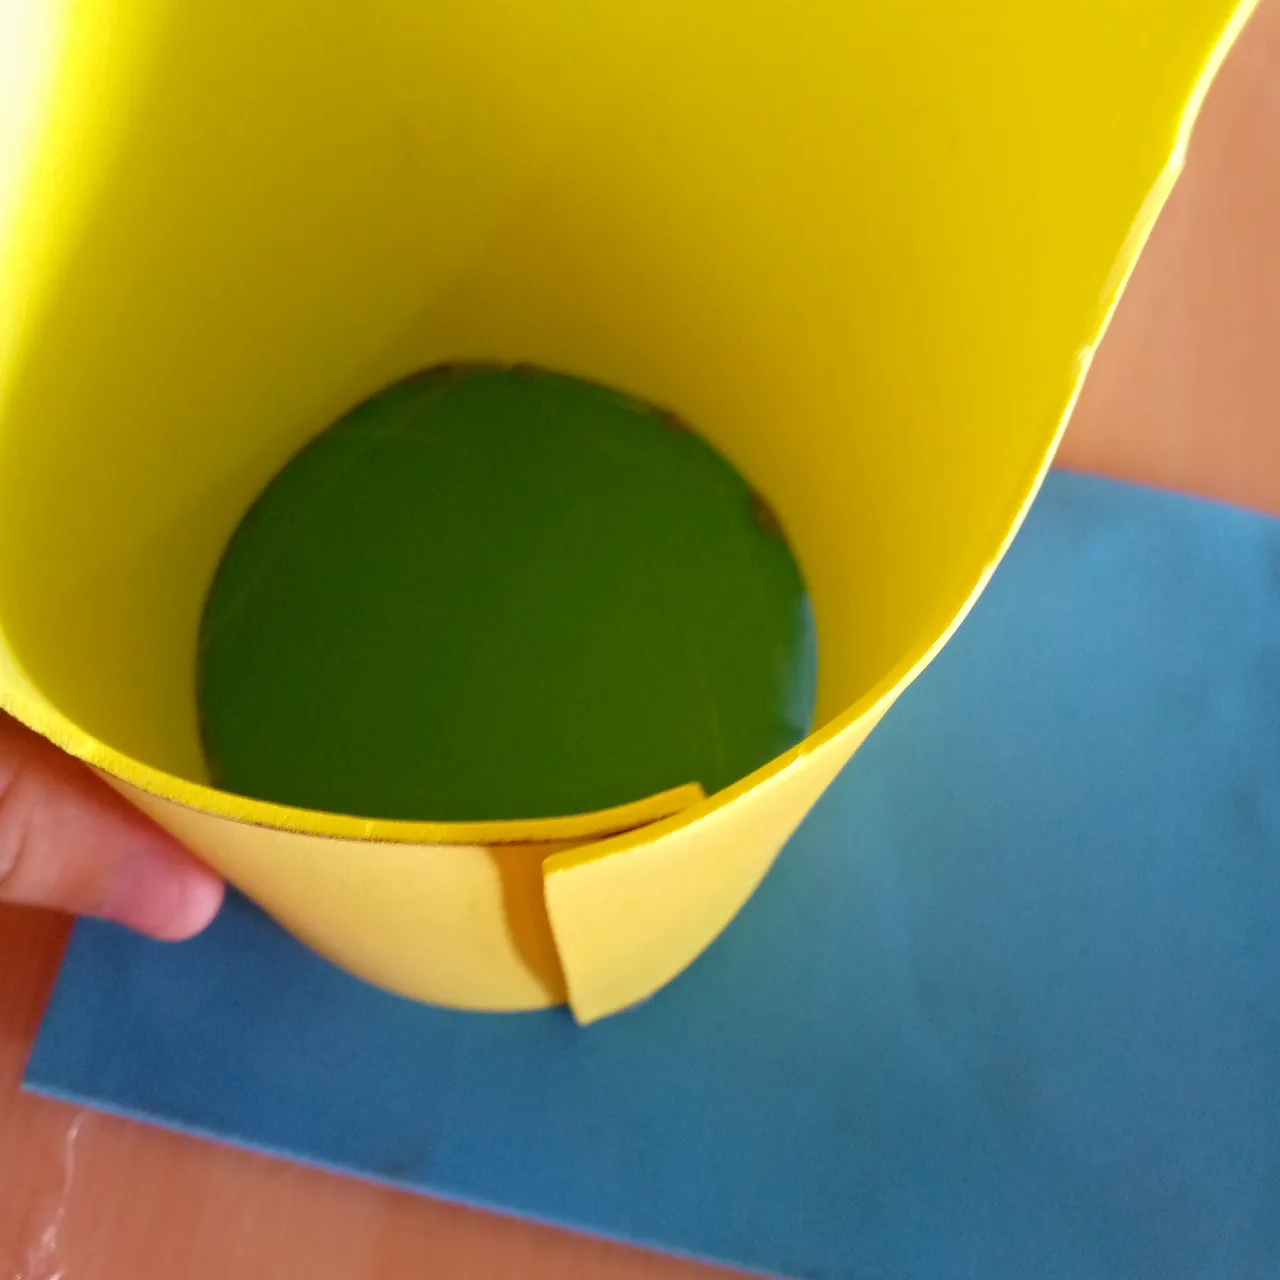
Una vez ya listo lo abrimos por la mitad y luego lo mismo en ambas partes dejando así una forma ovalada para el porta vaso.
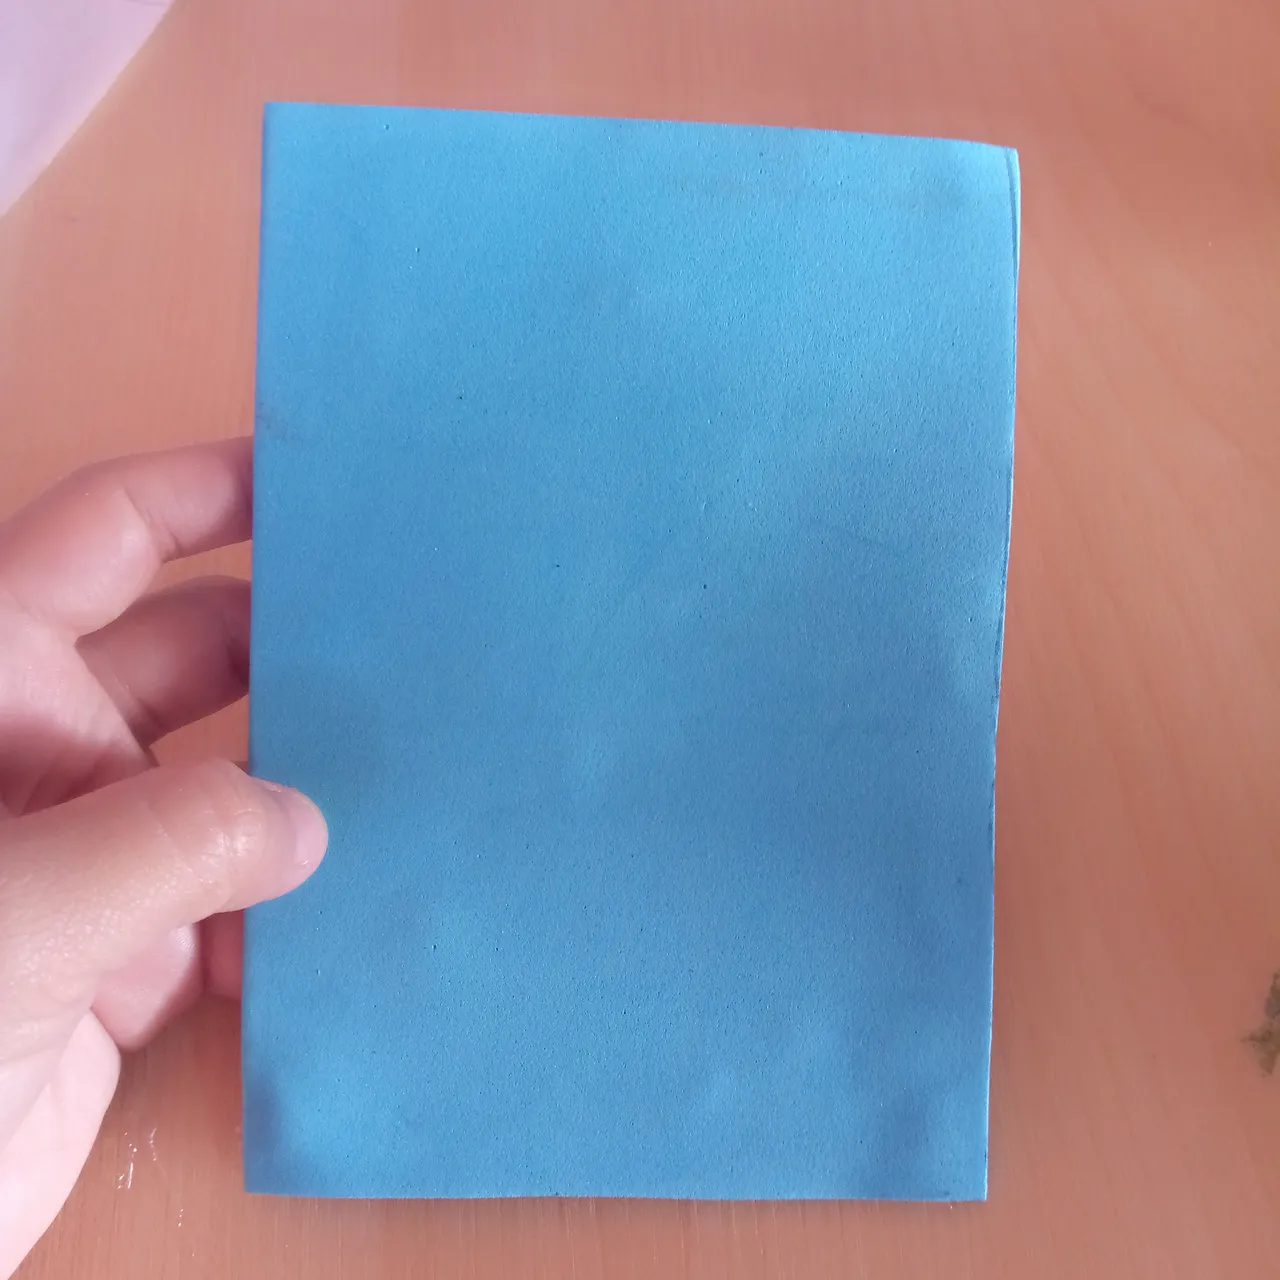
Ahora lo que hacemos Es tomar el foami azul y el pedazo de cartón recortar y pegarlo para que sea la base del portabaso.
Agregando suficiente silicón para que quede estable y de una manera más segura.
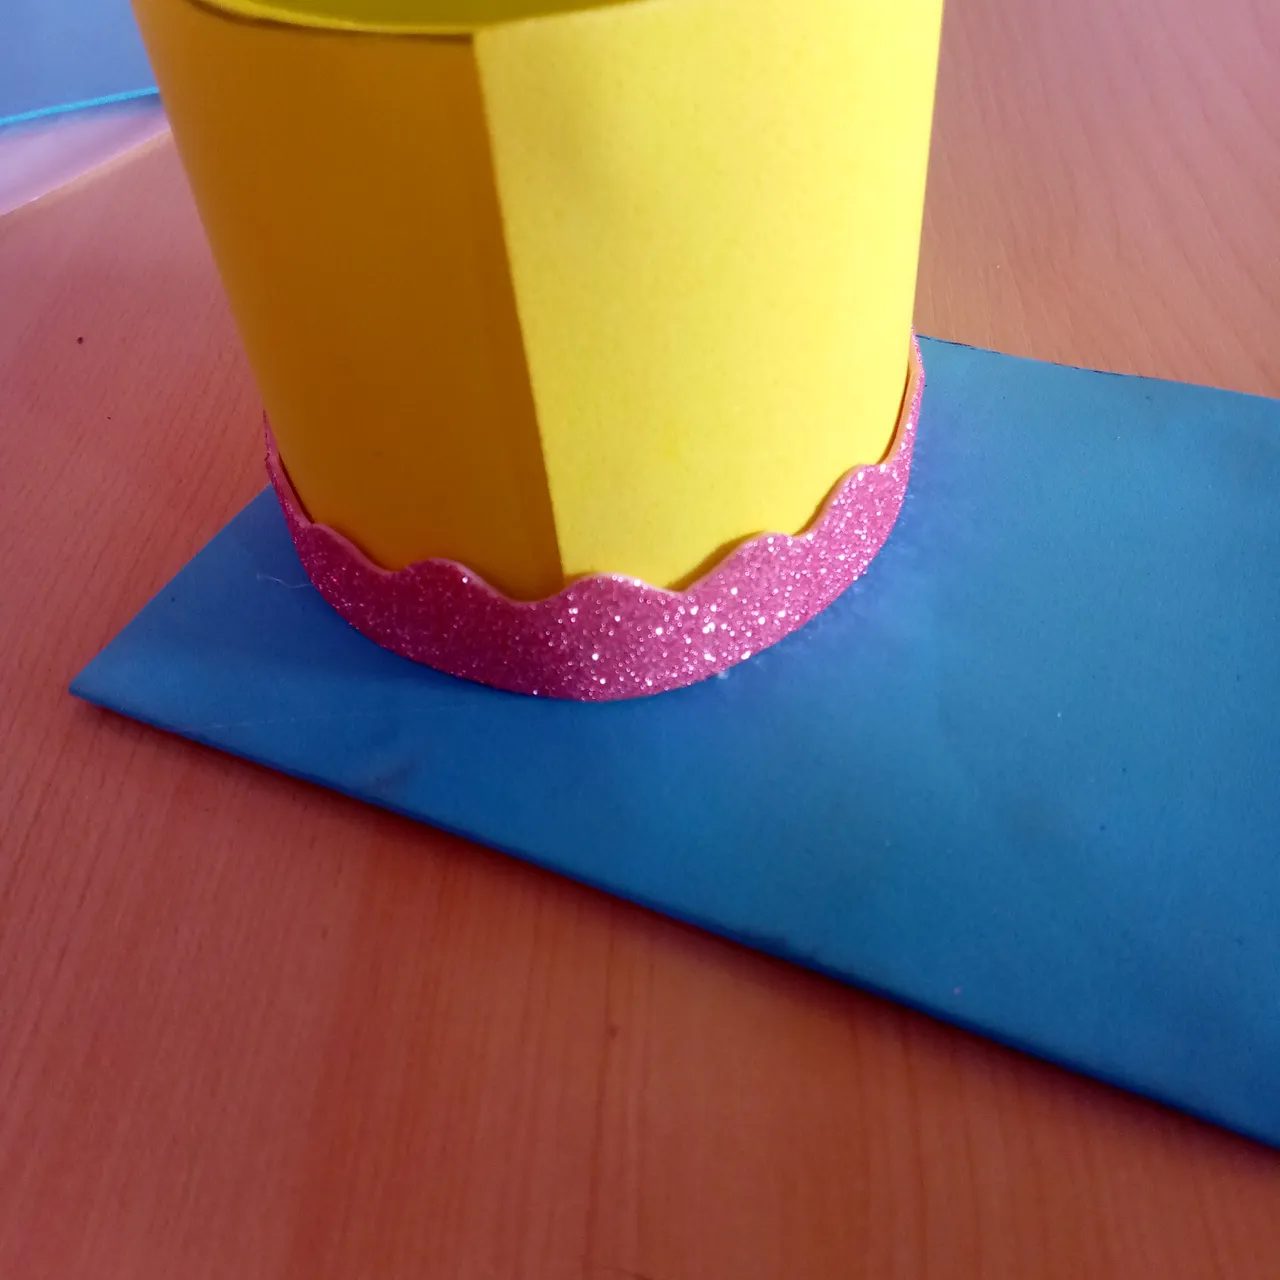
Ahora lo que vamos a hacer es con el Juani rosado escarchado recortar una tira en forma de acuarela y esta la vamos a pegar en la parte de abajo de el portazo.

Y en la parte de arriba vamos a pegar De igual forma una pero en forma vertical así de esta manera para que pueda quedar un poco más colorida y con un toque elegante.
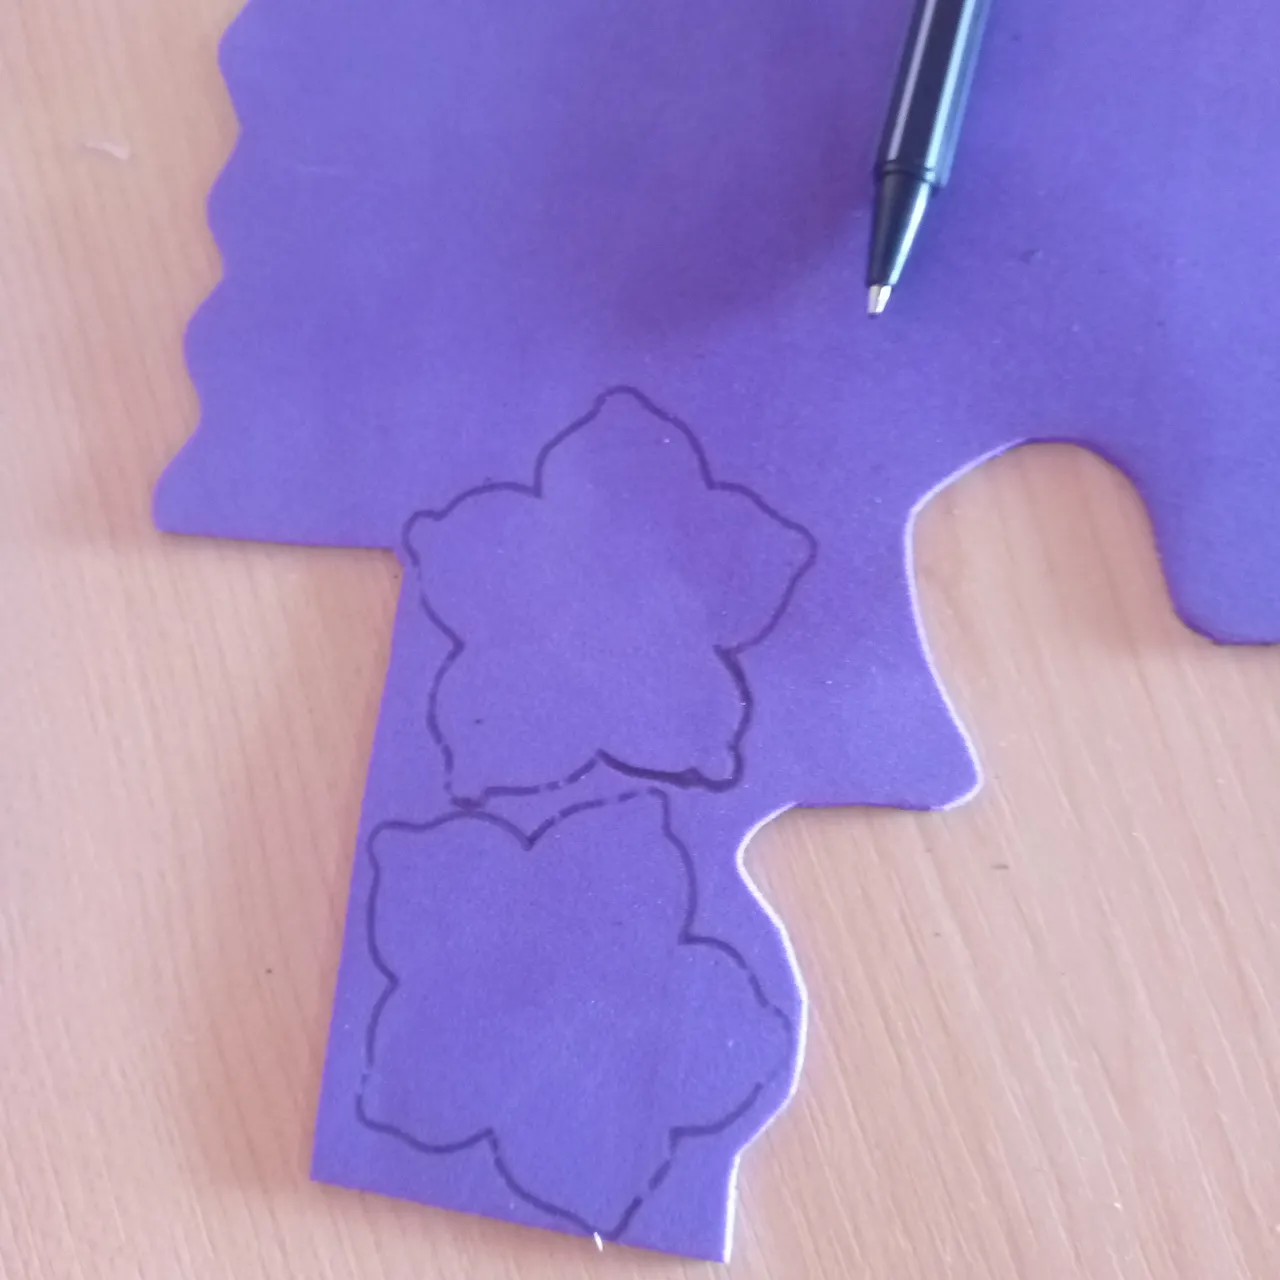
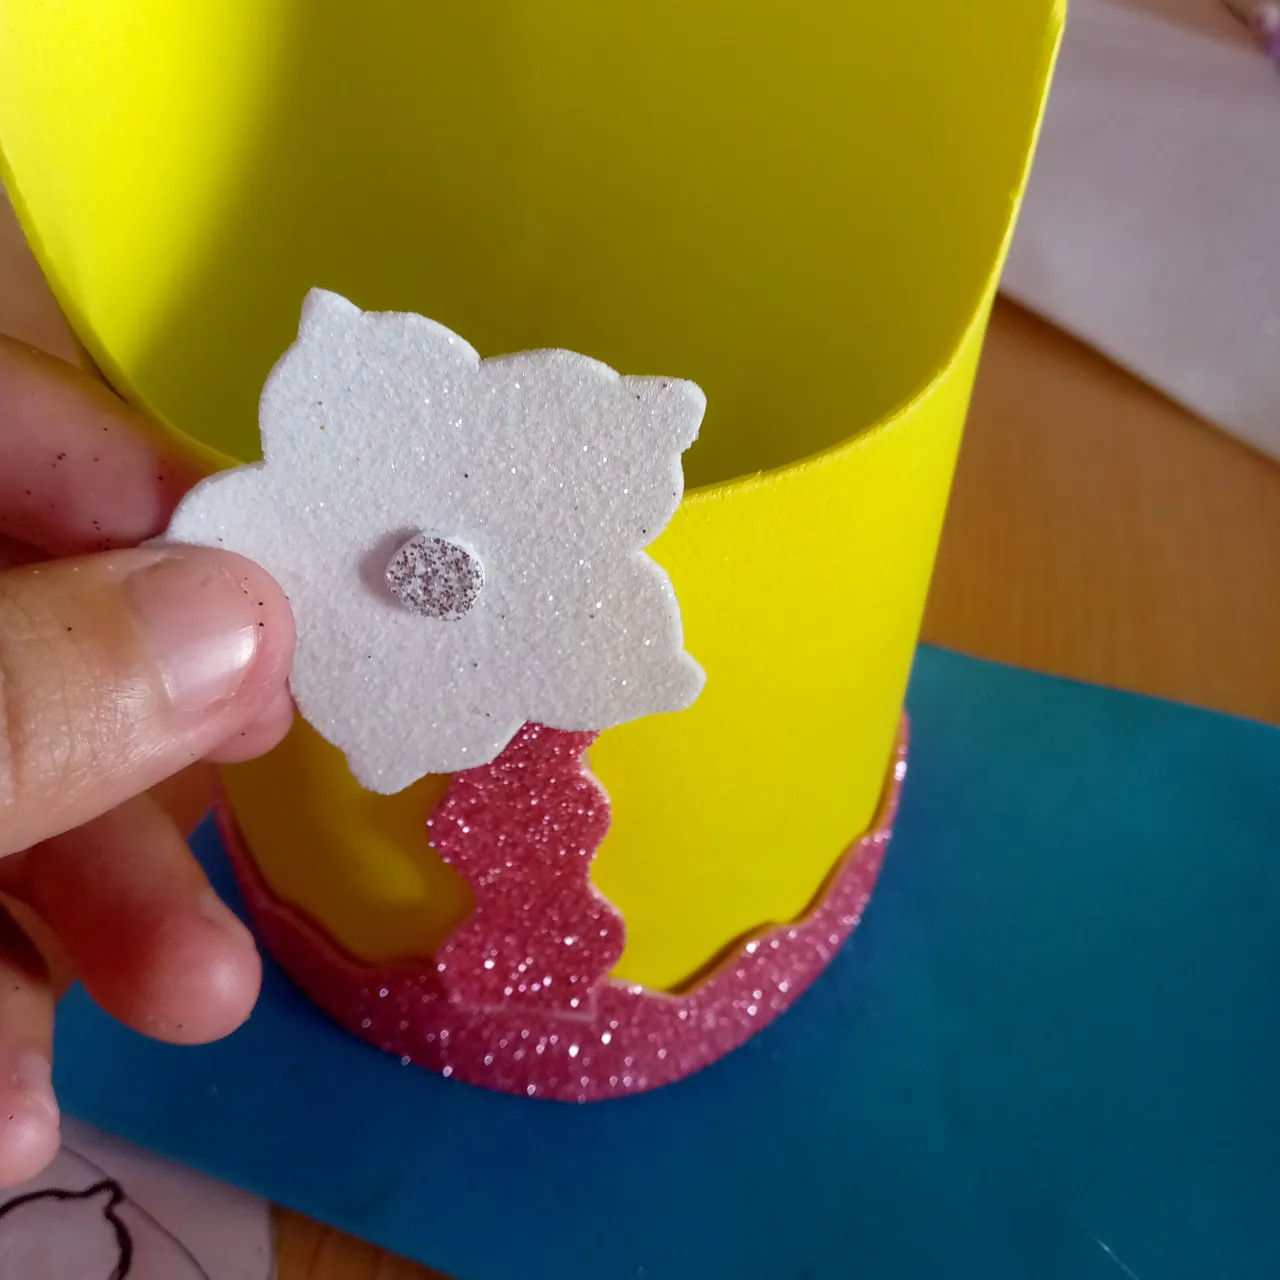
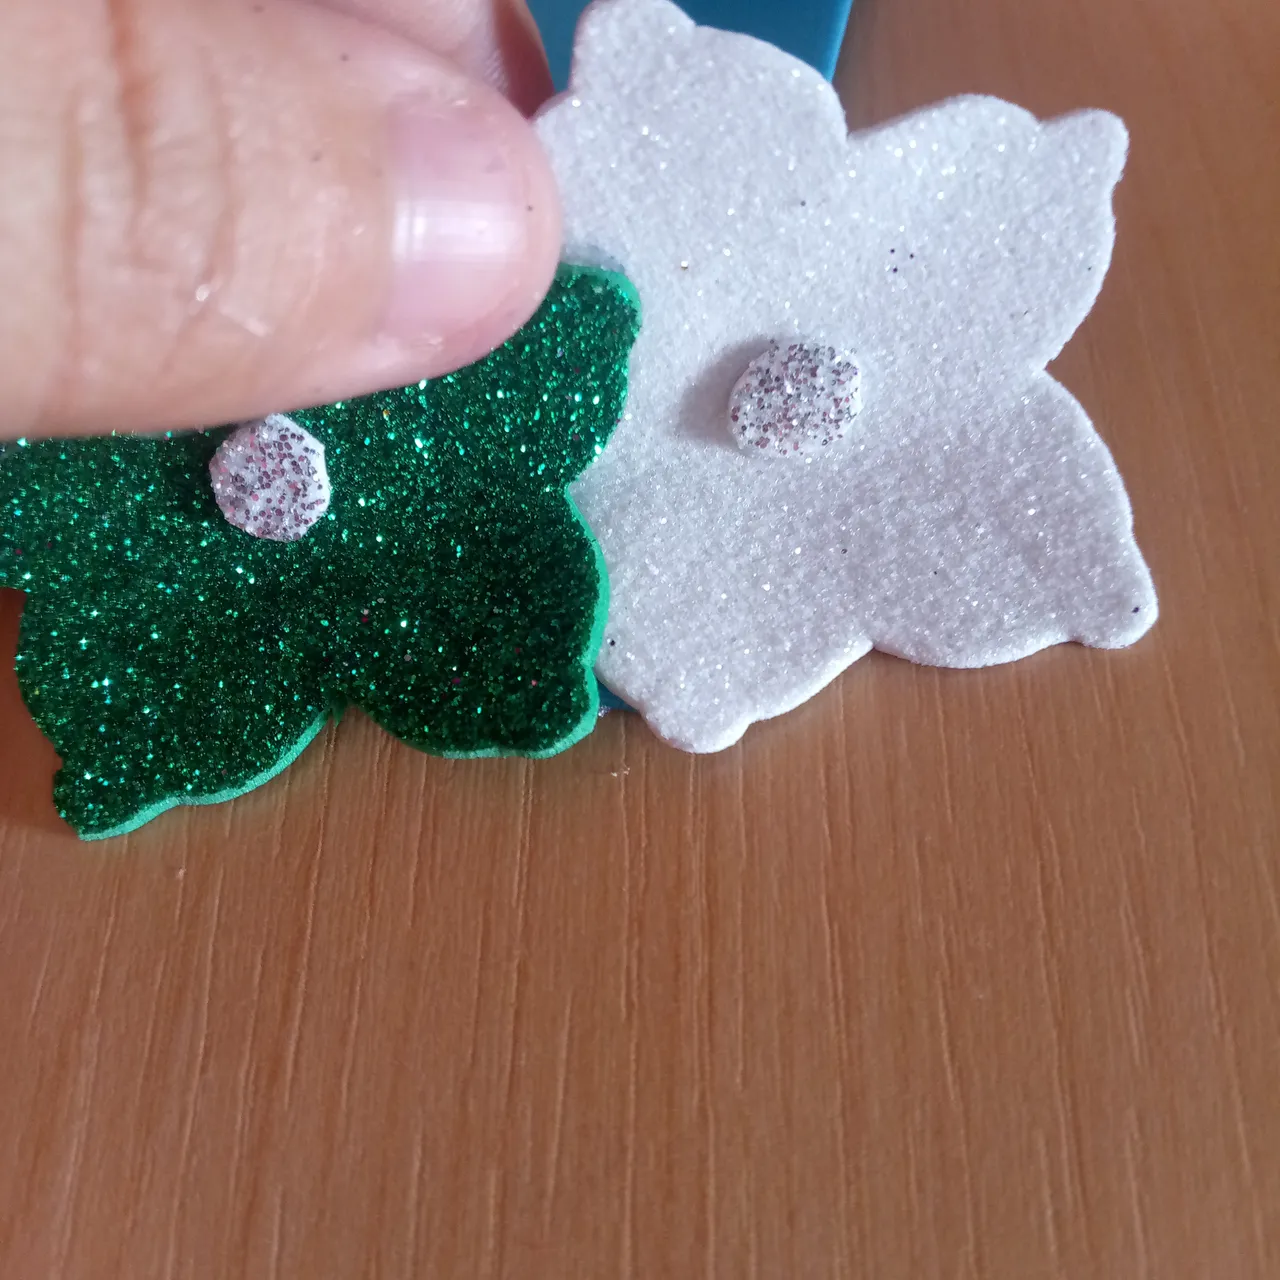
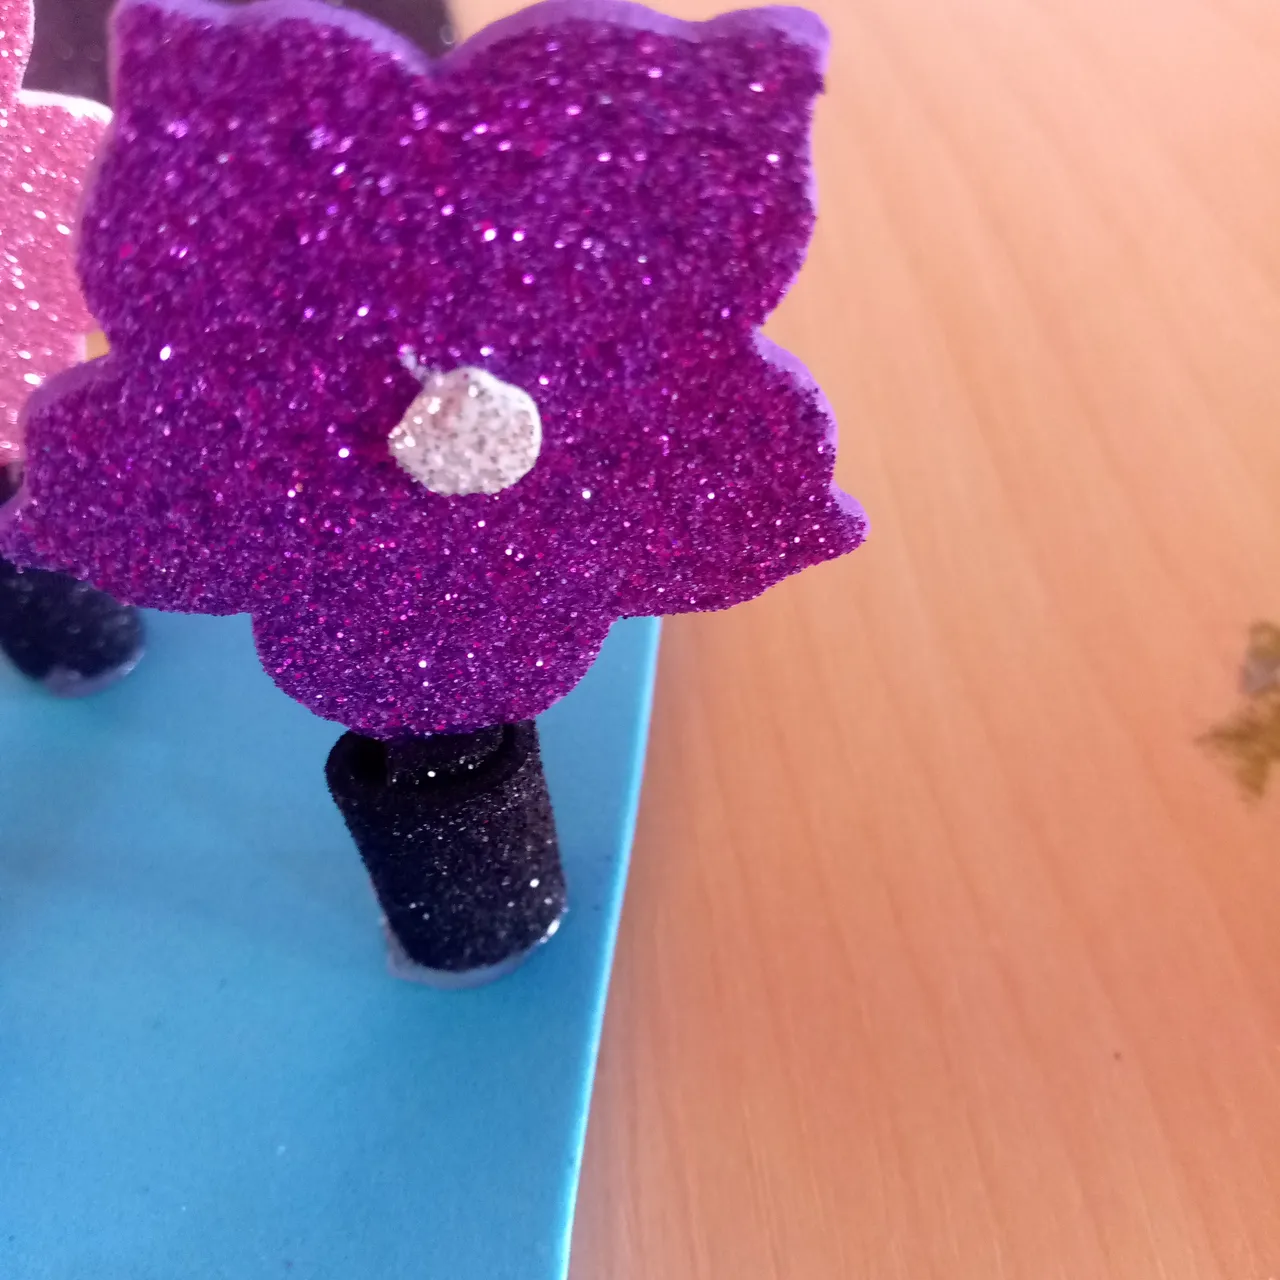
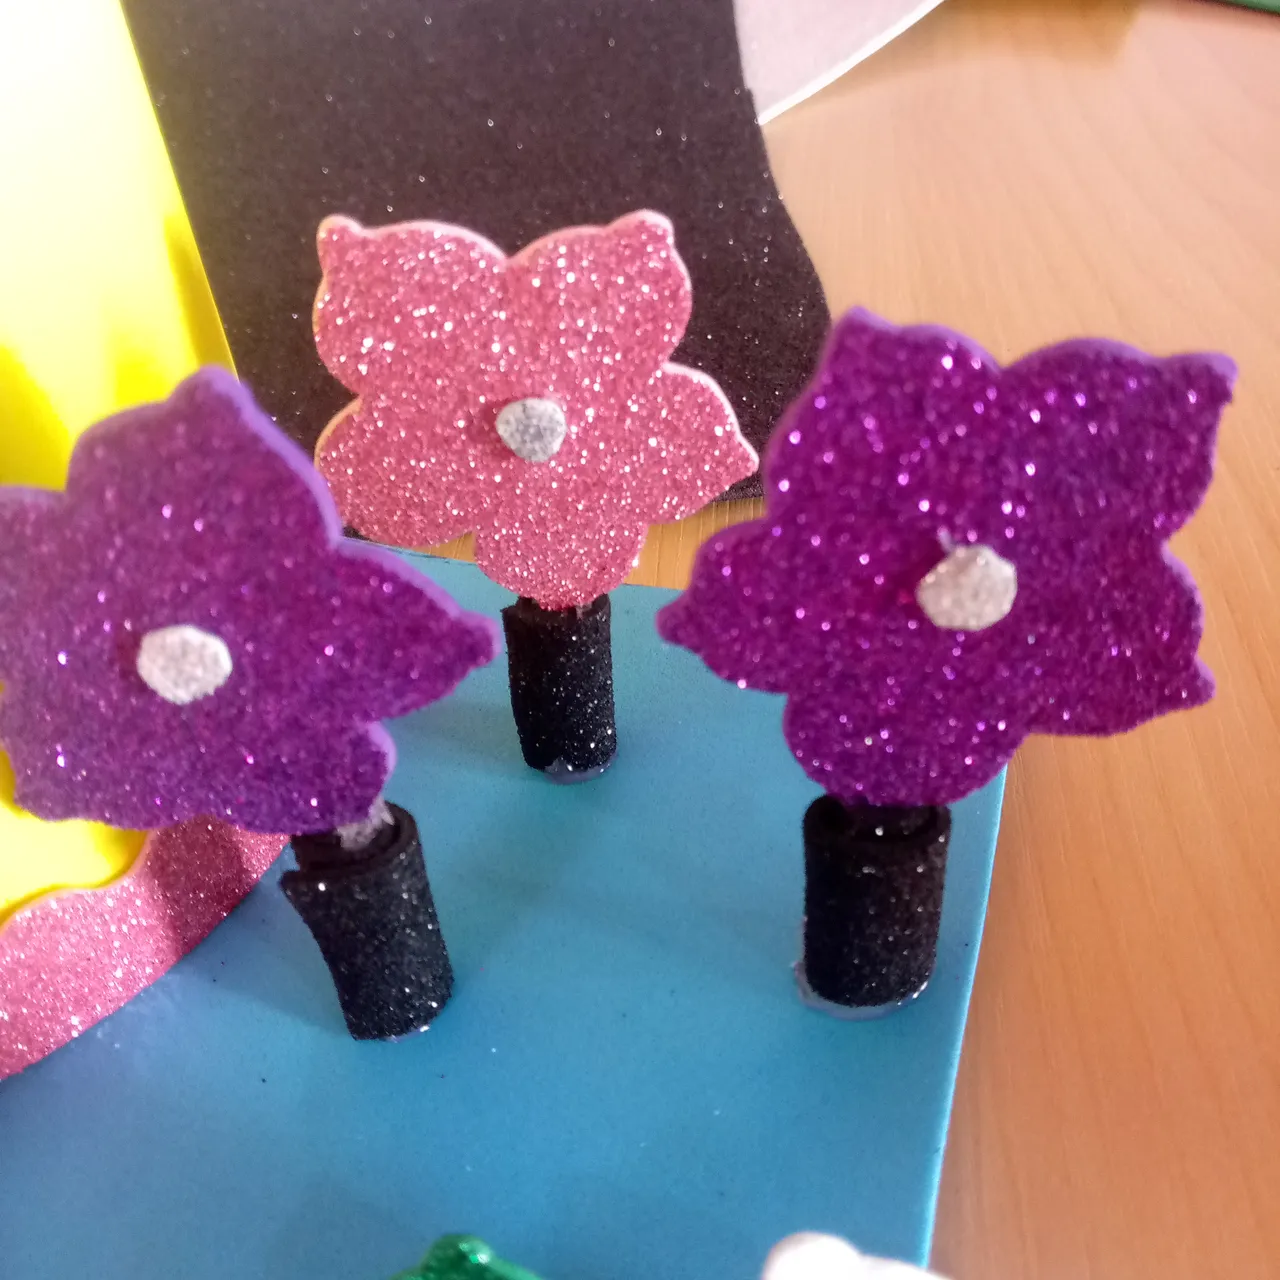
Seguidamente tomamos los goles escarchados de diferentes colores como el morado verdes y rosado y blanco y vamos a realizar una flor de cinco pétalos reforzándolas y con el foamy plateado hacemos los círculos que van en el centro así de esta forma

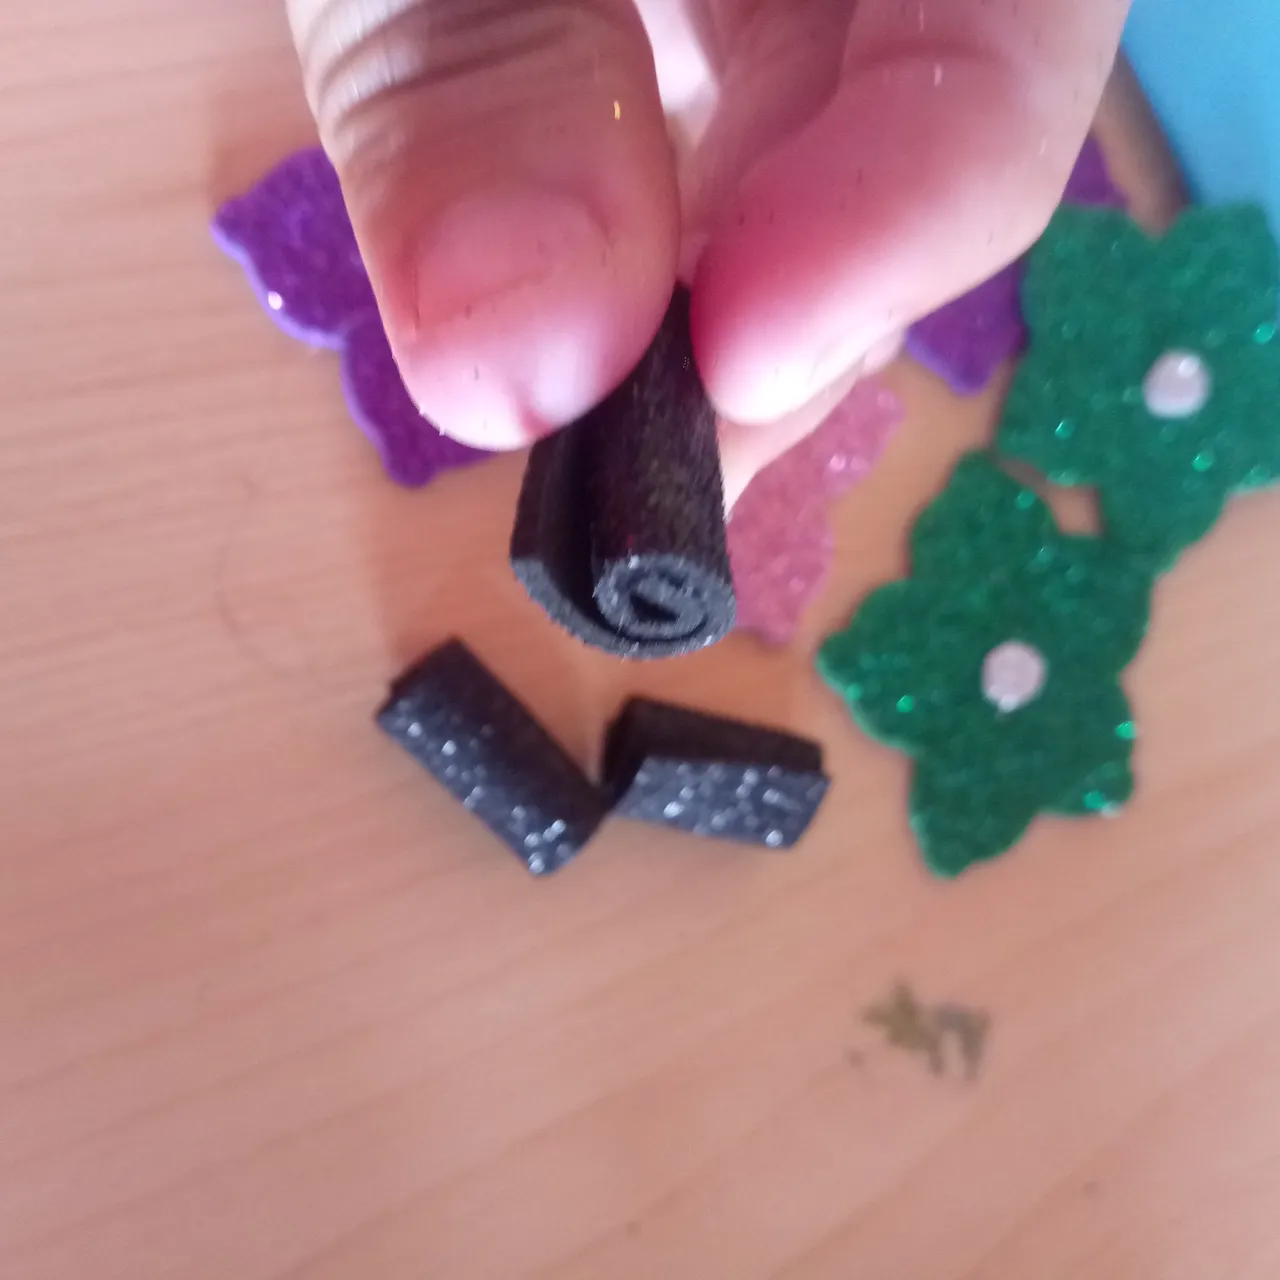
Hacemos pequeñas tiras con el foami escarchado negro y de estas hacemos unos tronquitos así de esa forma.
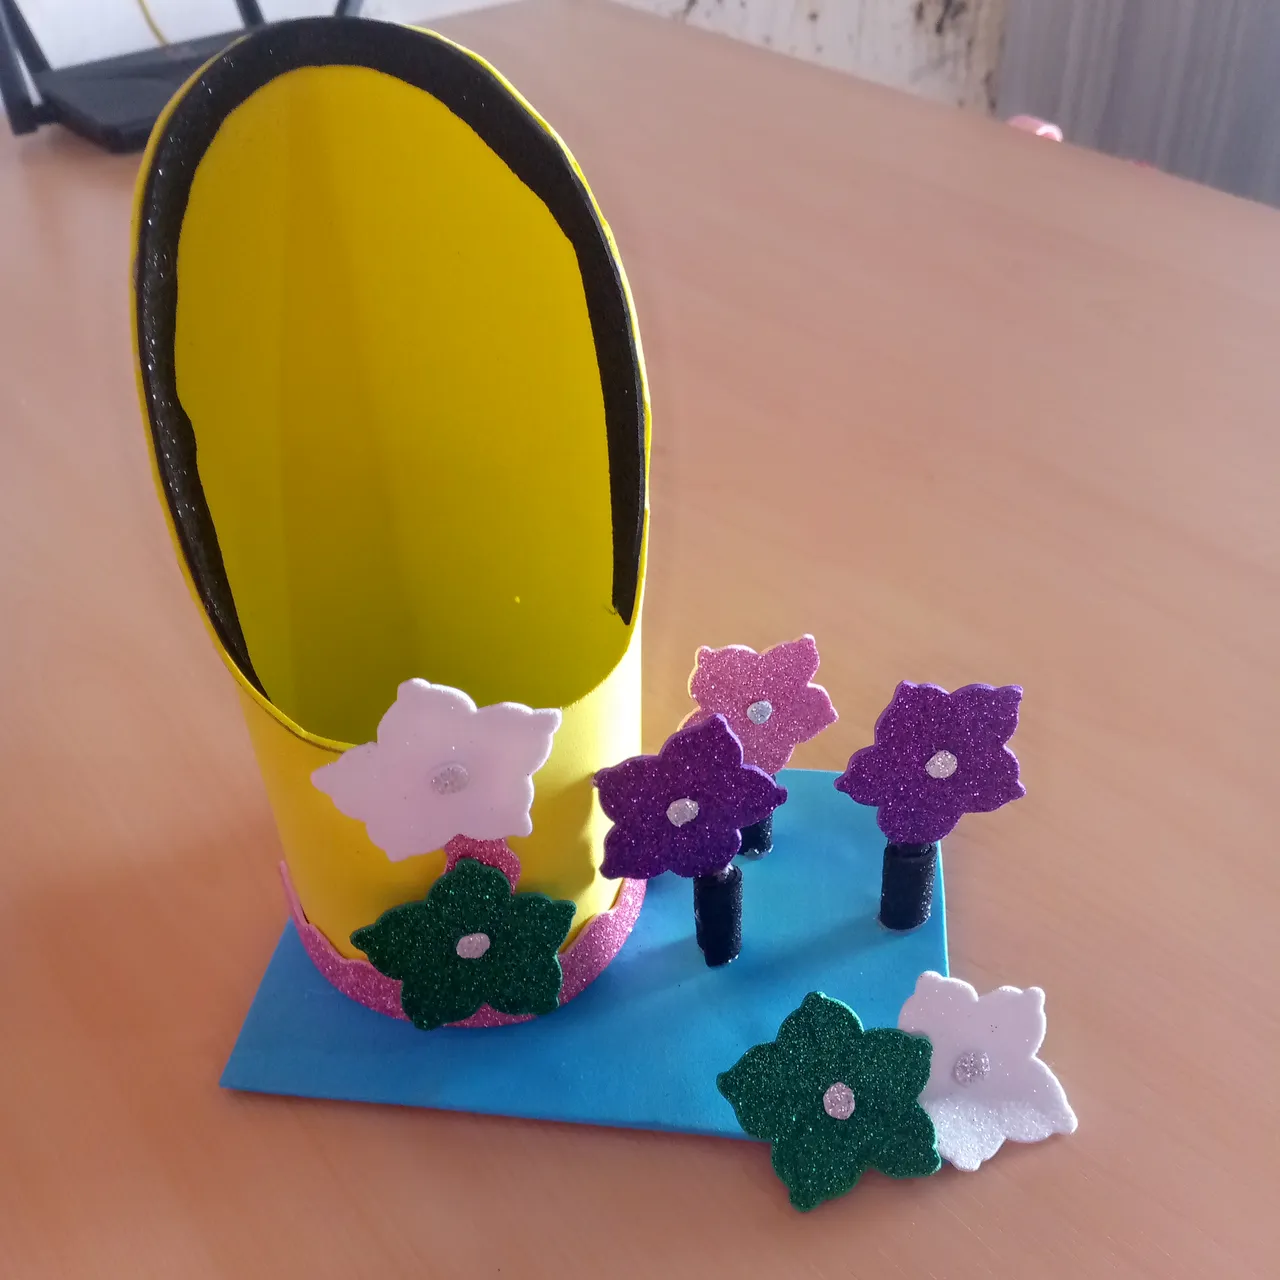
Ahora lo que faltaría es estructurar todo y armar la decoración del portavaso con las flores, empezamos asi de esta forma.
Siempre recordamos que tenemos que agregar suficiente silicon para que no se despegue nada de lo que ponemos.
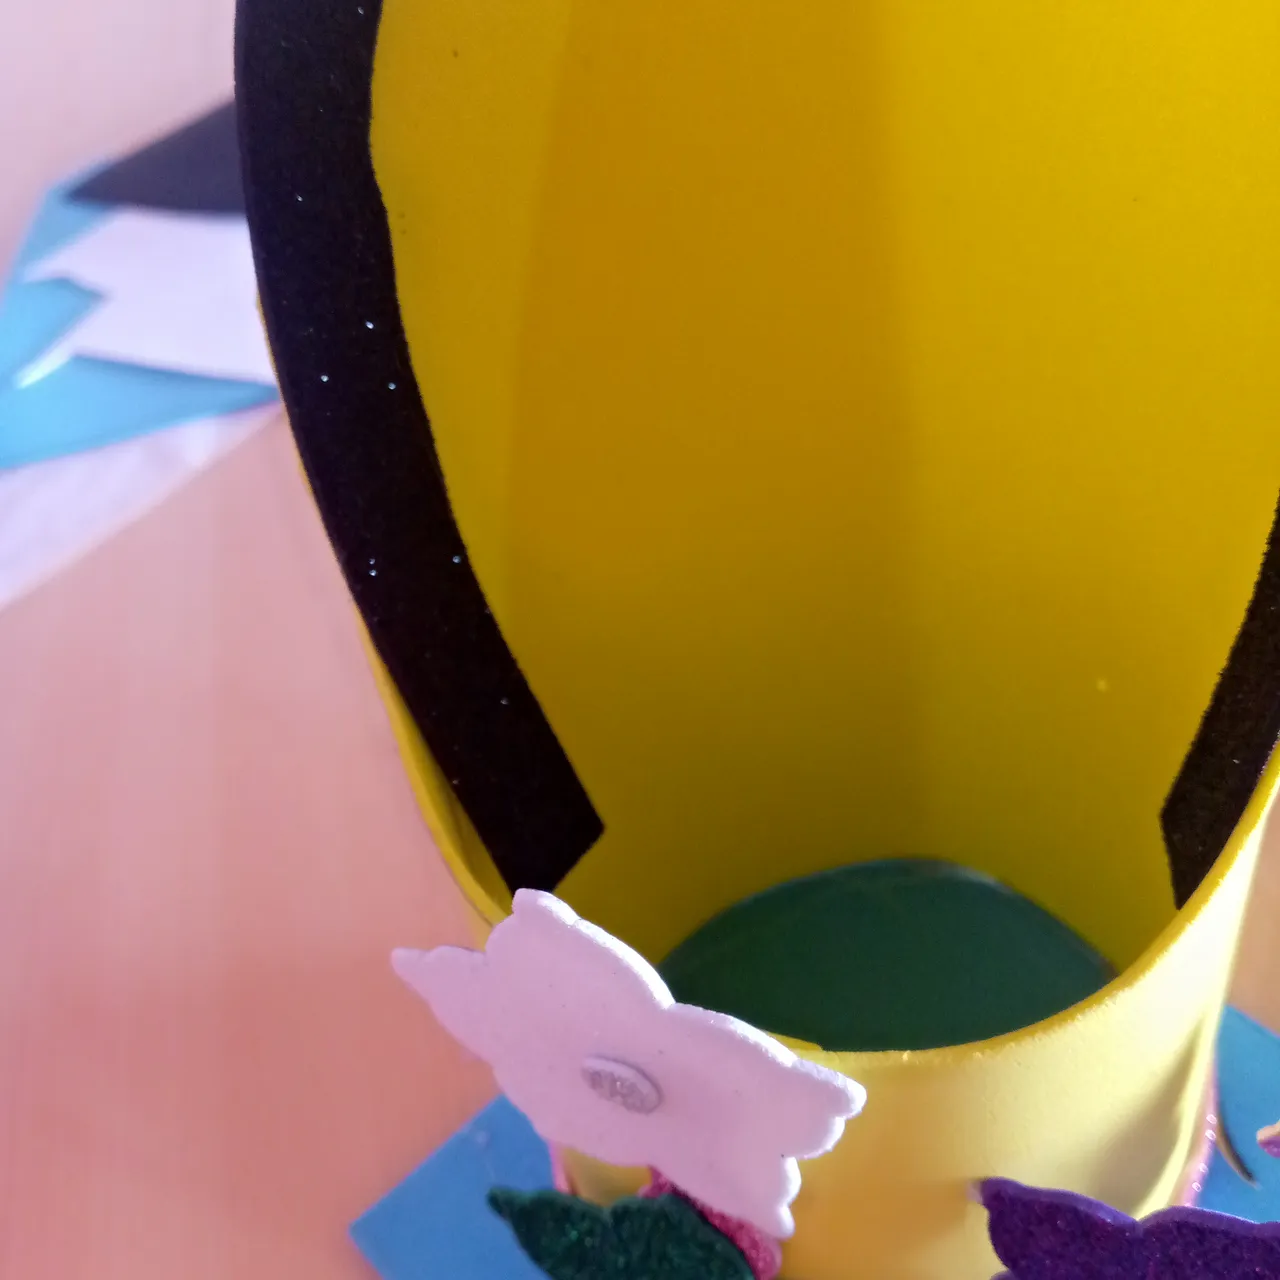
Ahora solo me faltaría colocar la tira negra de foami sobre el borde amarilo del portavaso asi de esta manera.

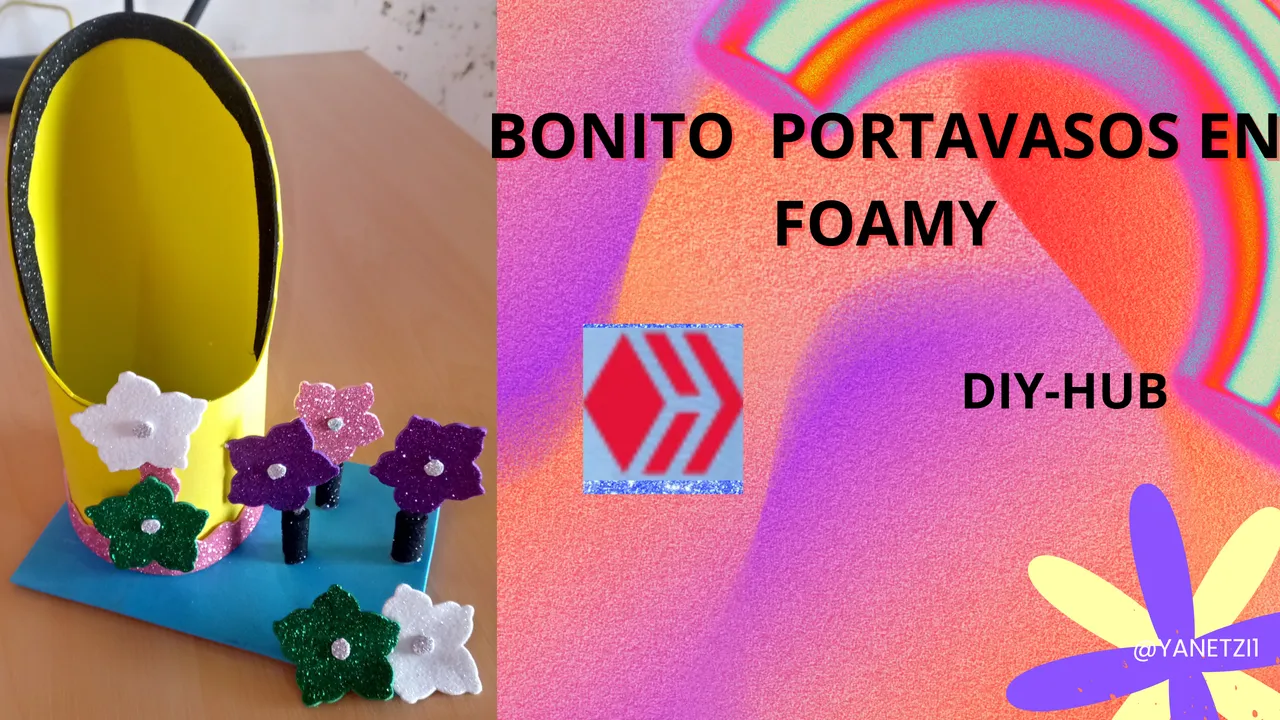
Y por fin asi hemos terminado nuestro portavaso de flores listo para lucir en nuestra cocina o en fiestas y asi tener los vasos un poco más organizado a la hora de una fiesta o evento, espero que les pueda gustar.
RESULTADO FINAL!
Hasta la próxima amigos😉
Las imágenes son tomadas por mi teléfono tecno.
Traductor utilizado:https://www.deepl.com
La imagen fue editada mediante la aplicación de canva.
Hello dear friends of this community a pleasure to greet you I wish you much love, happiness and prosperity I hope you are very well and with great energy to continue creating wonderful content for this platform.
Today I'm going to show you how to make a very easy to make and ideal to have at home and put our plastic containers and have them a little more organized.
The materials used in the elaboration of the cup holder were the following:
- Yellow and blue foami
- Black frosted foami
- Pink, purple, green, silver, frosted and frosted foami.
- Scissors
- Silicone
- Small cardboard
Next I will be showing you how to make the step-by-step of the cup holder!!!
First we take a sheet of paper and cut it out in the shape of 5 like this.
Then we take the foami and the paper mold and we trace the shape of the leaf like this.
Once ready we open it in half and then do the same on both sides leaving an oval shape for the cup holder.
Now what we do is to take the blue foami and the piece of cardboard and cut it out and glue it to be the base of the glass holder.
Adding enough silicone to make it stable and more secure.
Now what we are going to do is with the frosted pink Juani cut out a strip in the shape of a watercolor and we are going to glue it to the bottom of the holder.
And at the top we are going to glue the same way but vertically in this way so that it can be a little more colorful and with an elegant touch.
Next we take the frosted goals of different colors like purple, green, pink and white and we are going to make a flower of five petals reinforcing them and with the silver foamy we make the circles that go in the center in the following way
We make small strips with the black frosted foami and from these we make small trunks of this shape.
Now what is missing is to structure everything and assemble the decoration of the cup holder with the flowers, we start like this.
We always remember to add enough silicone so that nothing of what we put will come off.
Now I just need to place the black foami strip over the yellow edge of the cup holder like this.
And finally this is how we have finished our flower cup holder ready to show off in our kitchen or at parties and so have the glasses a little more organized at the time of a party or event, I hope you like it.
FINAL RESULT!
Until next time friends😉
The images are taken by my techno phone.
Translator used:https://www.deepl.com
The image was edited using canva application.