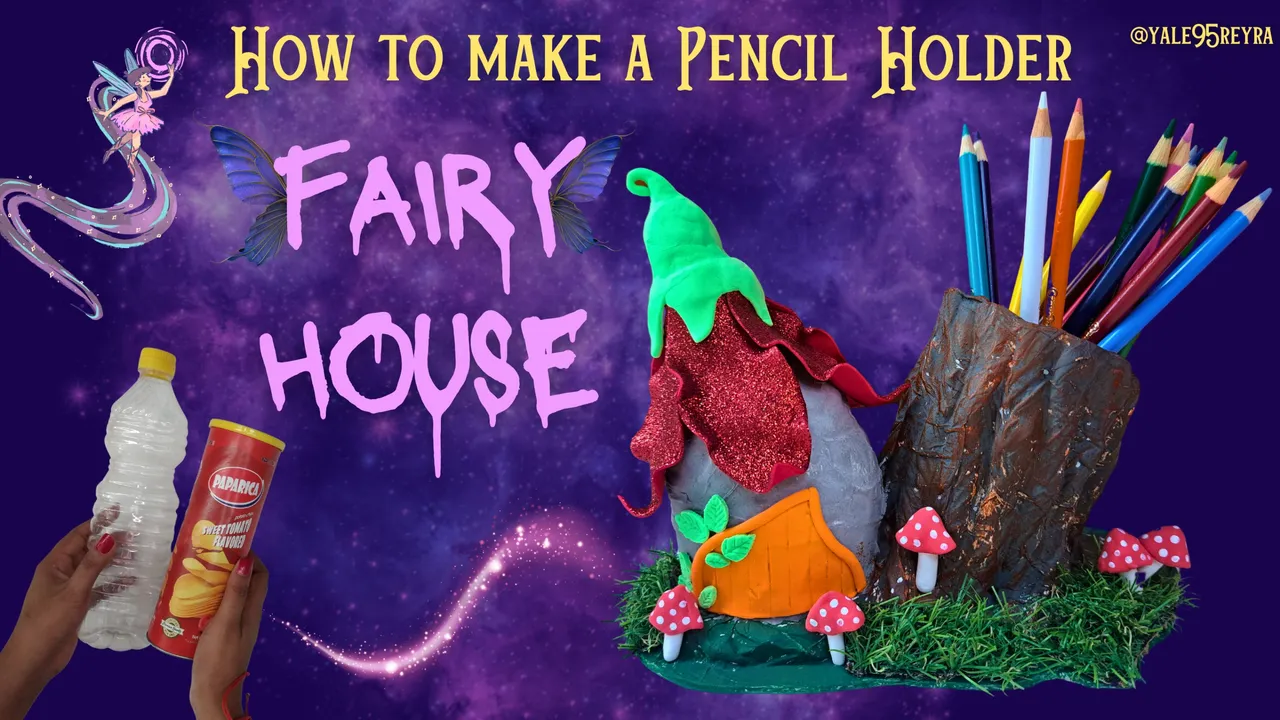
Hello dear craft lovers, today I bring you a new tutorial on how to make your own pencil holder with a “fairy house” theme, I take this opportunity to make my entry in the monthly contest of the @diyhub community that has as its theme the magical world.
Only people who truly believe in magic are able to see the little inhabitants of these houses. They build them from parts of nature or whatever they can find in the surroundings. Everything is useful, whether it is a flower or a dry tree trunk. For those who have lost their imagination, it is just a pencil holder, but those who still believe should look closely and through their doors and windows they will be able to spy on the magical tenants of this little fairy house.
For the realization of this project I used mostly recycled materials such as plastic bottles, cardboard and paper to form the whole structure. Below, I show you all the materials and the step by step. I hope you like it.
Hola queridos amantes de las manualidades, el día de hoy te traigo un nuevo tutorial de como elaborar tu propio portalápiz con temática de ¨casa de hadas¨, aprovecho para hacer mi entrada en el concurso mensual de la comunidad @diyhub que tiene como tema el mundo mágico.
Solo los personas que creen verdaderamente en la magia son capaces de ver a los pequeños habitantes de estas casas. Estas las construyen con partes de la naturaleza o lo que puedan encontrar en los alrededores. Todo es útil, tanto una flor como un tronco de árbol seco. Para aquellos que han perdido la imaginación solo es un portalápiz , pero aquellos que aún creen deben fijarse bien y a través de sus puertas y ventanas podrán espiar a los mágicos inquilinos de esta casita de hadas.
Para la realización de este proyecto utilicé en su mayoría materiales reciclados como botellas plásticas , cartón y papel para conformar toda la estructura. A continuación, te muestro todos los materiales y el paso a paso. Espero te guste.
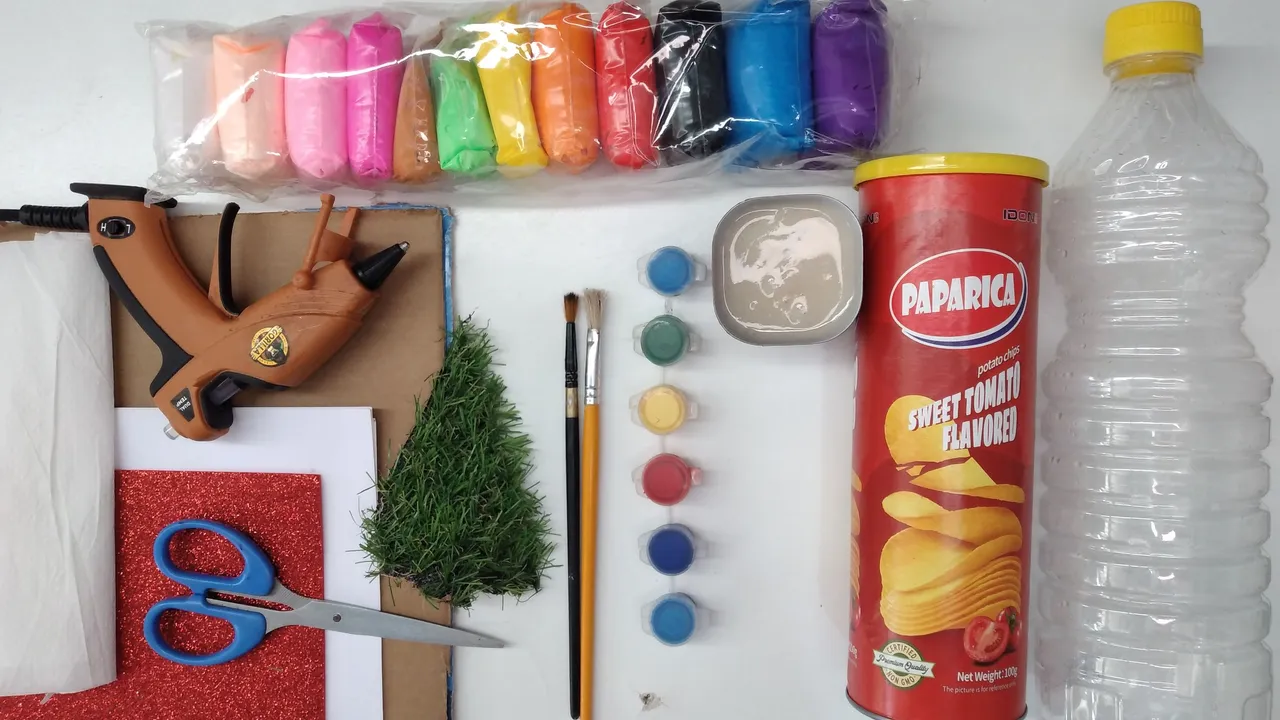
🍄Materials // Materiales🍄
- Recycled cardboard and paper / Cartón y papel reciclado
- Plastic bottle / Botella plástica
- Potato container / Envase de papas
- Liquid glue / Pegamento líquido
- Kitchen paper / Papel de cocina
- Paints / Pinturas
- Brushes / Pinceles
- Scissors / Tijera
- Red frosted Foami / Foami rojo escarchado
- Moldable Foami / Foami moldeable
- Silicone / Silicona
- Artificial grass / Césped artificial
🍄Step by step // Paso a paso🍄
 |  |  |
 |  | 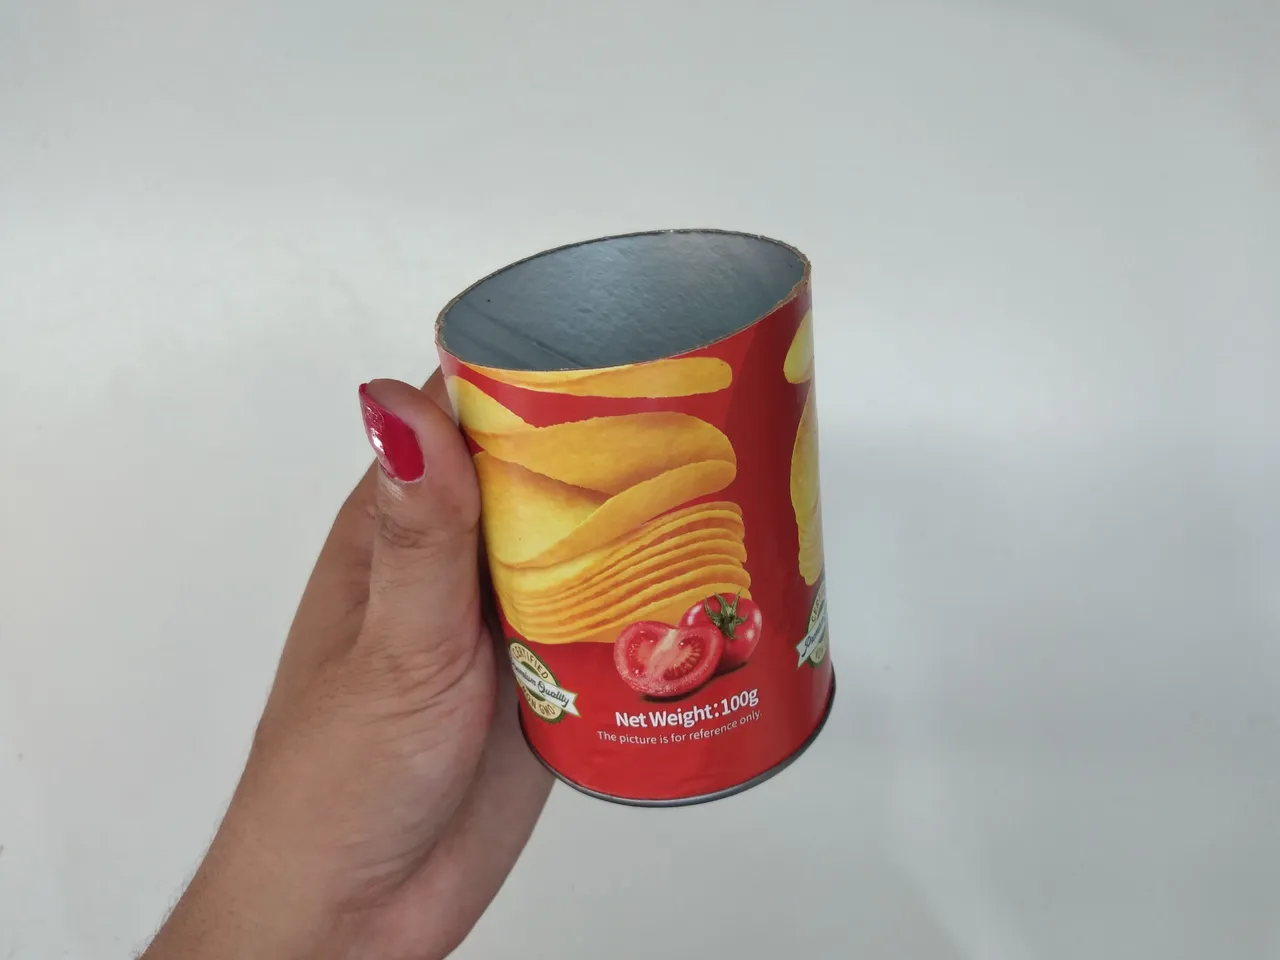 |
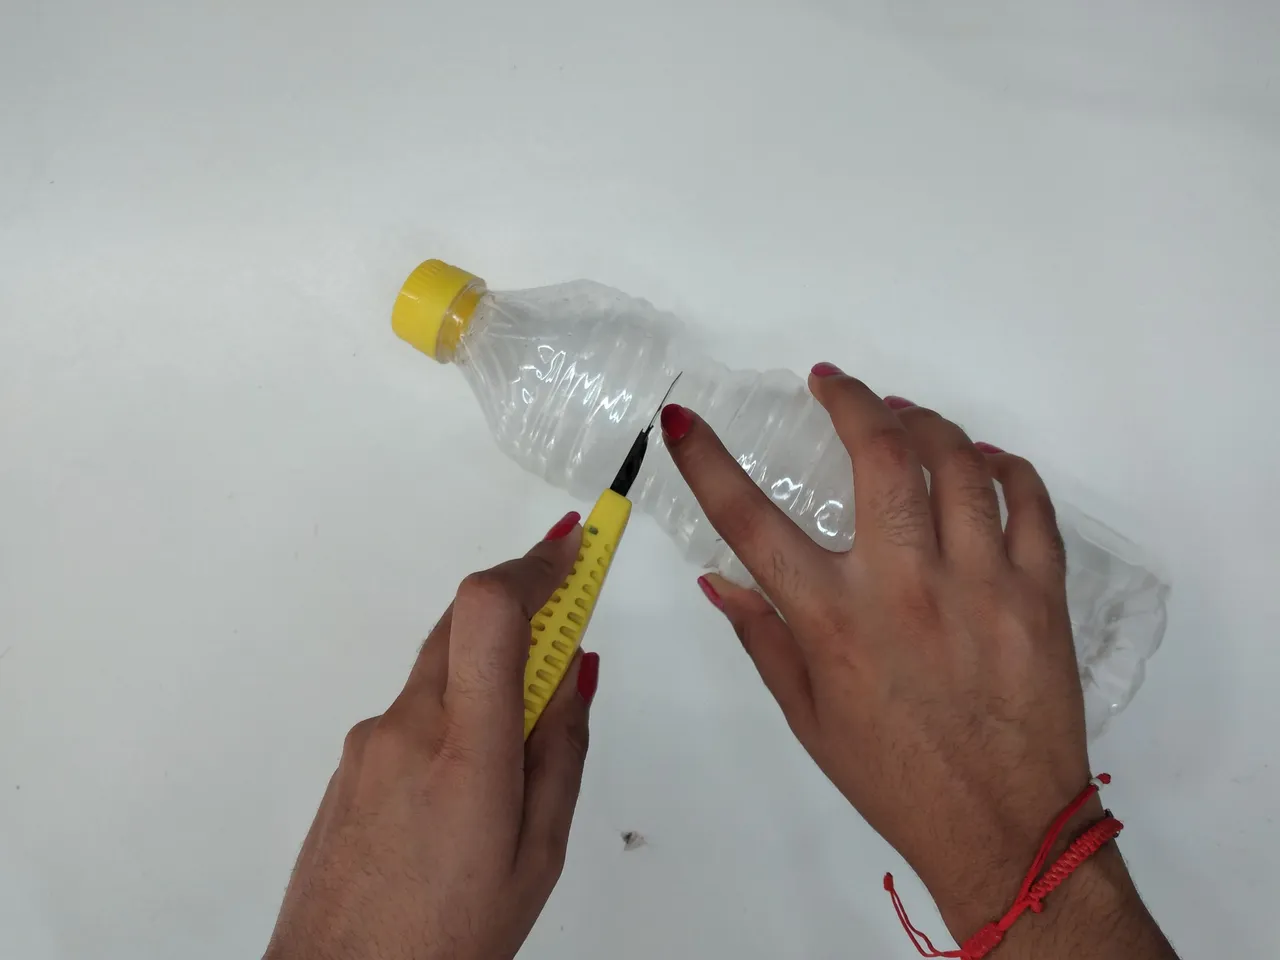
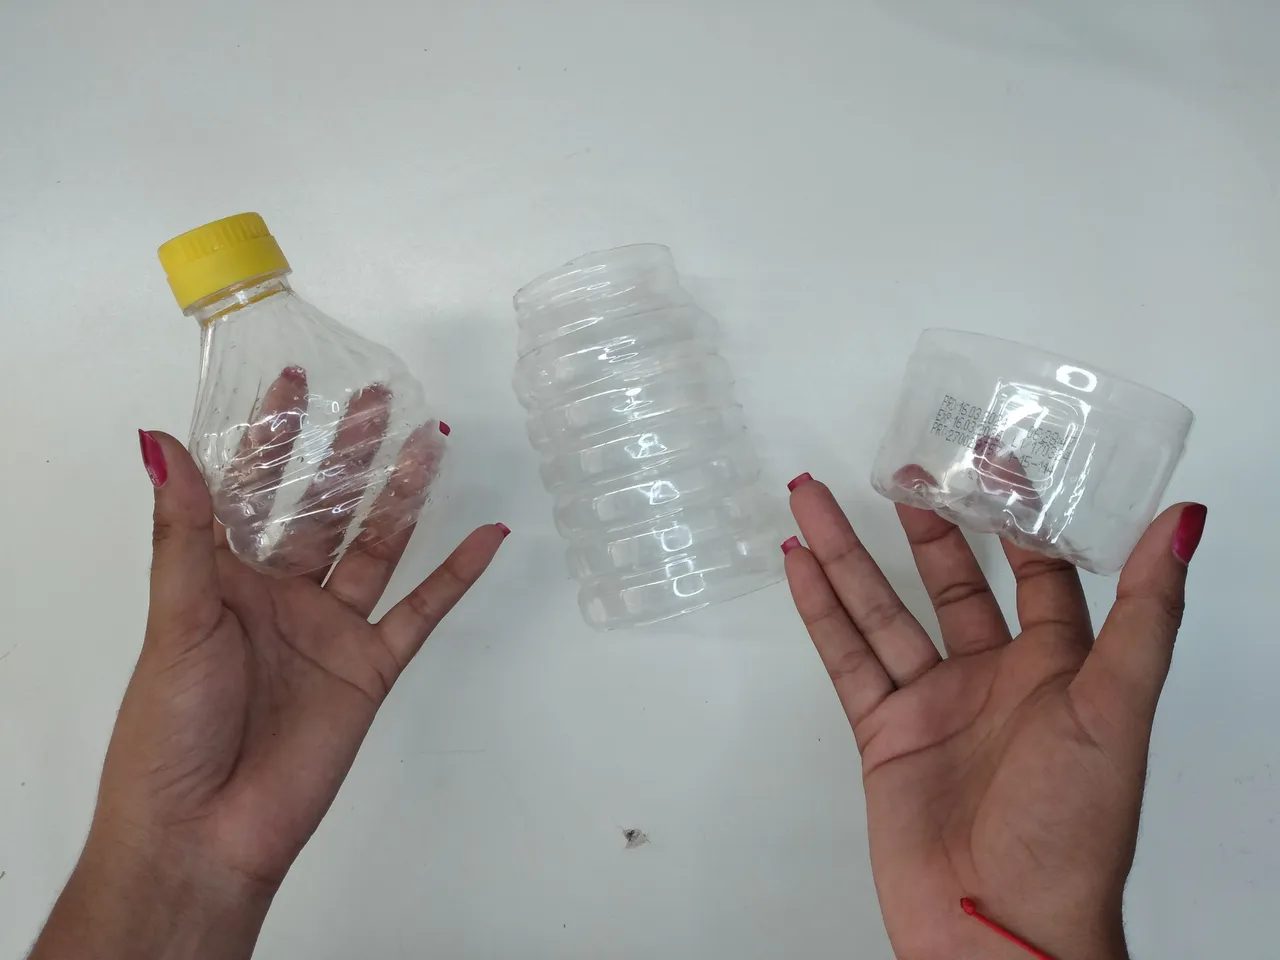
To begin with I took a plastic bottle and cut it into three parts, the upper part is 10 cm long, and the lower part is 5 cm long. We will use only these two parts. Insert the upper part inside the other but giving it some inclination, so that it is a curve. Then we glue them together so that they do not lose their shape, either with silicone or adhesive tape. The potato container is also cut but with a height of 9 cm.
Para comenzar tomé una botella plástica y la corté en tres partes, la parte superior tiene un largo de 10 cm, y la parte baja 5 cm de longitud. Utilizaremos solo estas dos partes. Introducir la parte superior dentro de la otra pero dándole cierta inclinación, para que quede una curva. Luego las pegamos para que no pierdan la forma, ya sea con silicona o cinta adhesiva. El envase de papas también lo cortamos pero con una altura de 9 cm.
 | 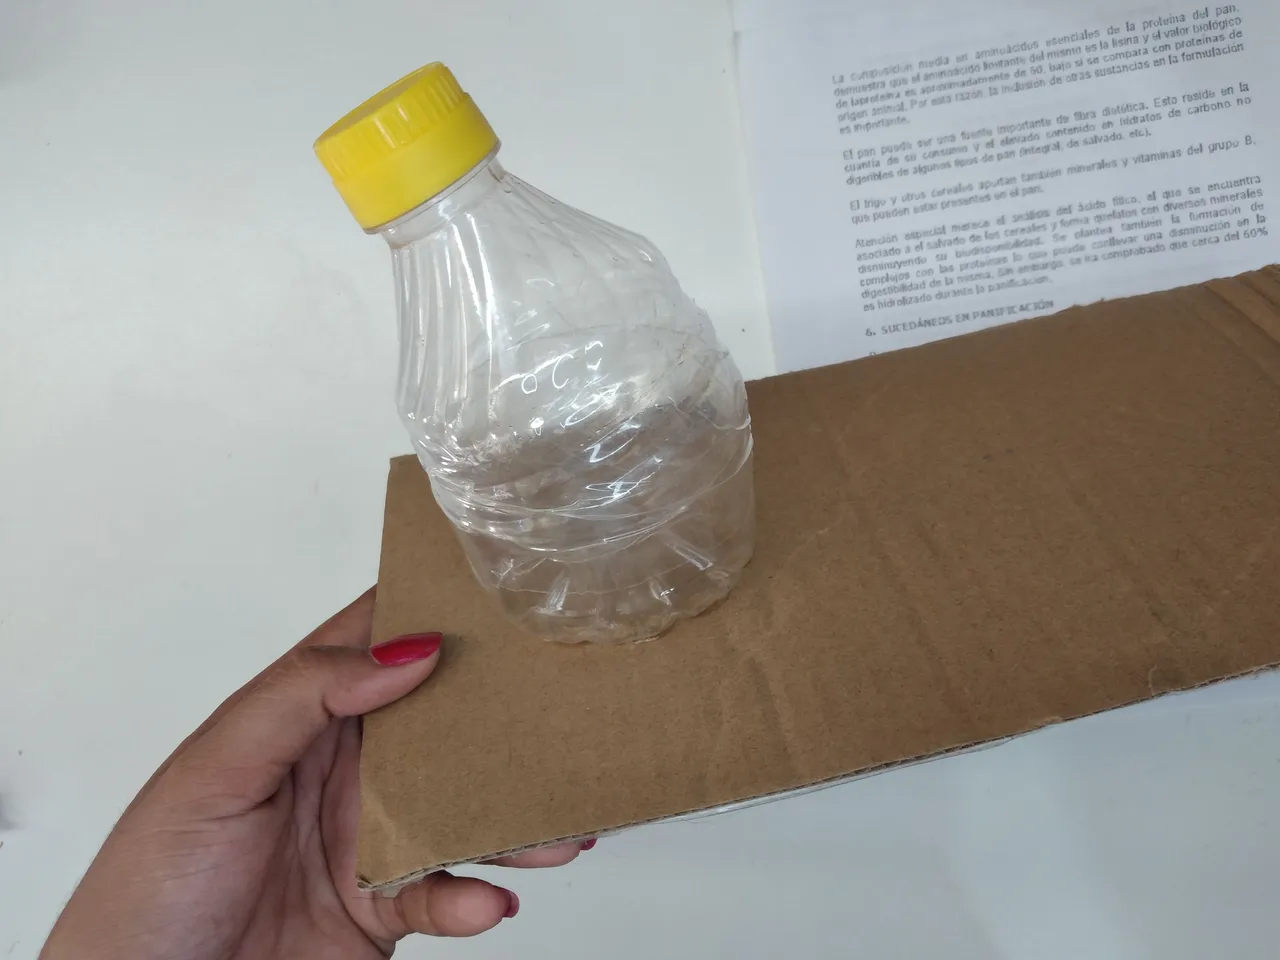 |
Take a thick cardboard to be the base, glue the chopped bottle on one side of the cardboard.
Tomar un cartón grueso para que sea la base, pegar la botella picada en un lado del cartón.
 |  |  |
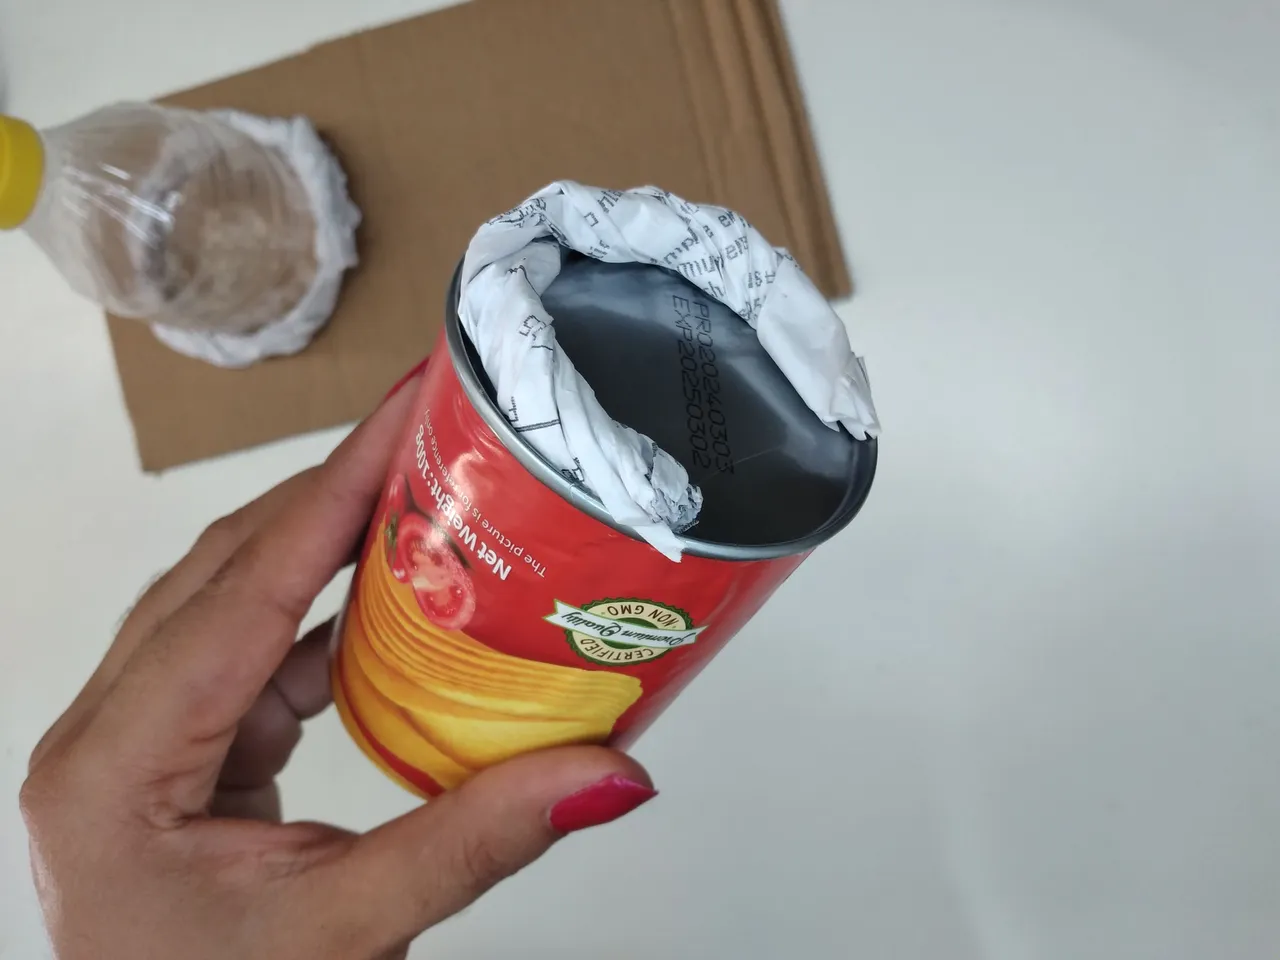 |  |
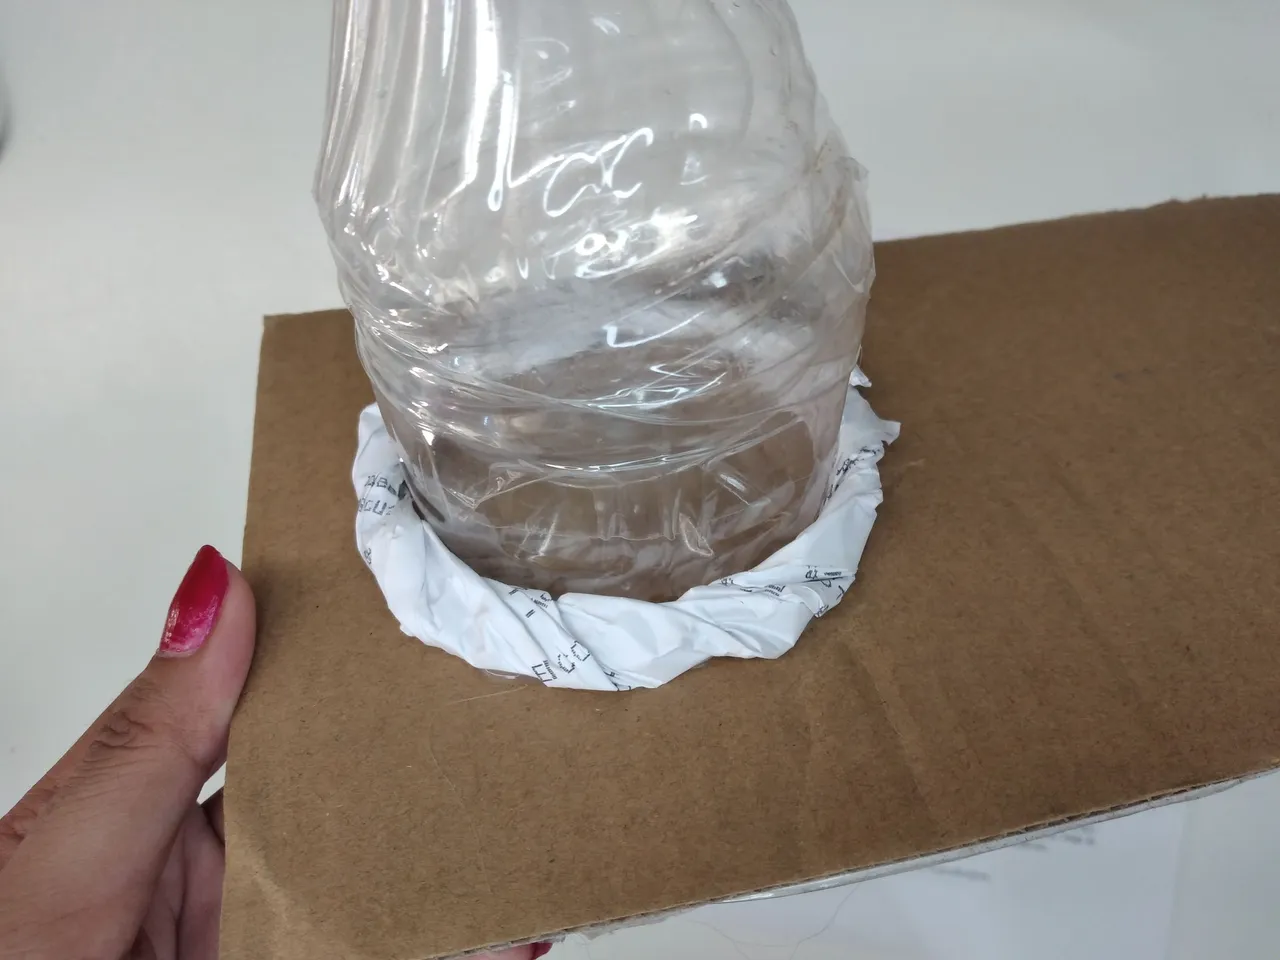
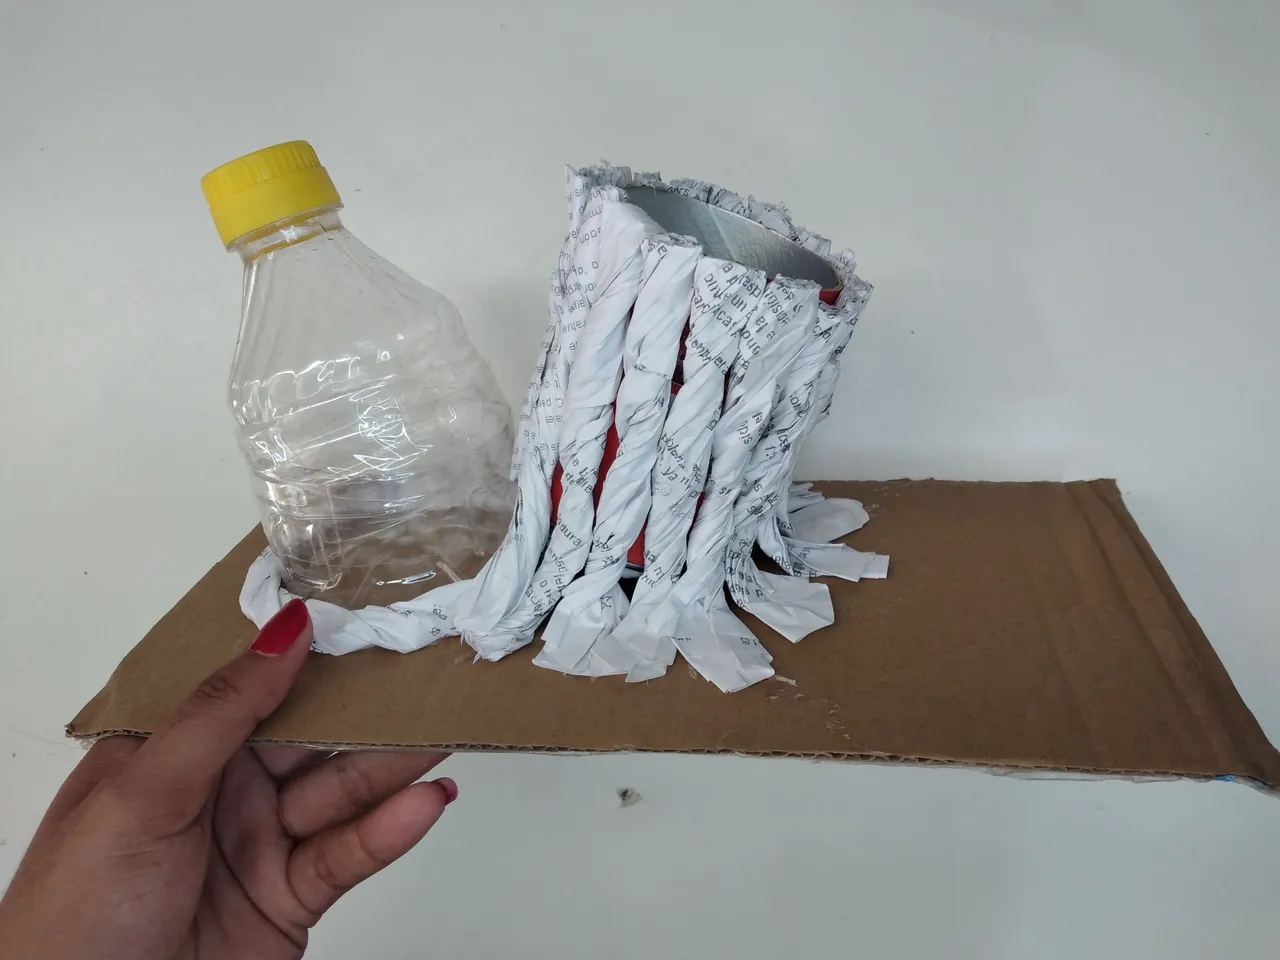
Take two sheets of paper and twist them in this way, then we surround the bottom of the bottle with one of these pieces and the other one we will cut to glue it at the bottom of the potato container, but only in a horseshoe shape, this is to give it more height when gluing it at the base. It is placed at an angle.
Tomar dos hojas de papel y torcerlas de esta forma, luego rodeamos la parte baja de la botella con una de estas piezas y la otra la cortaremos para pegarla en el fondo del envase de papas, pero solo en forma de herradura, esto es para darle más altura a la hora de pegarla en la base. Se coloca de forma inclinada.
 |  |
 | 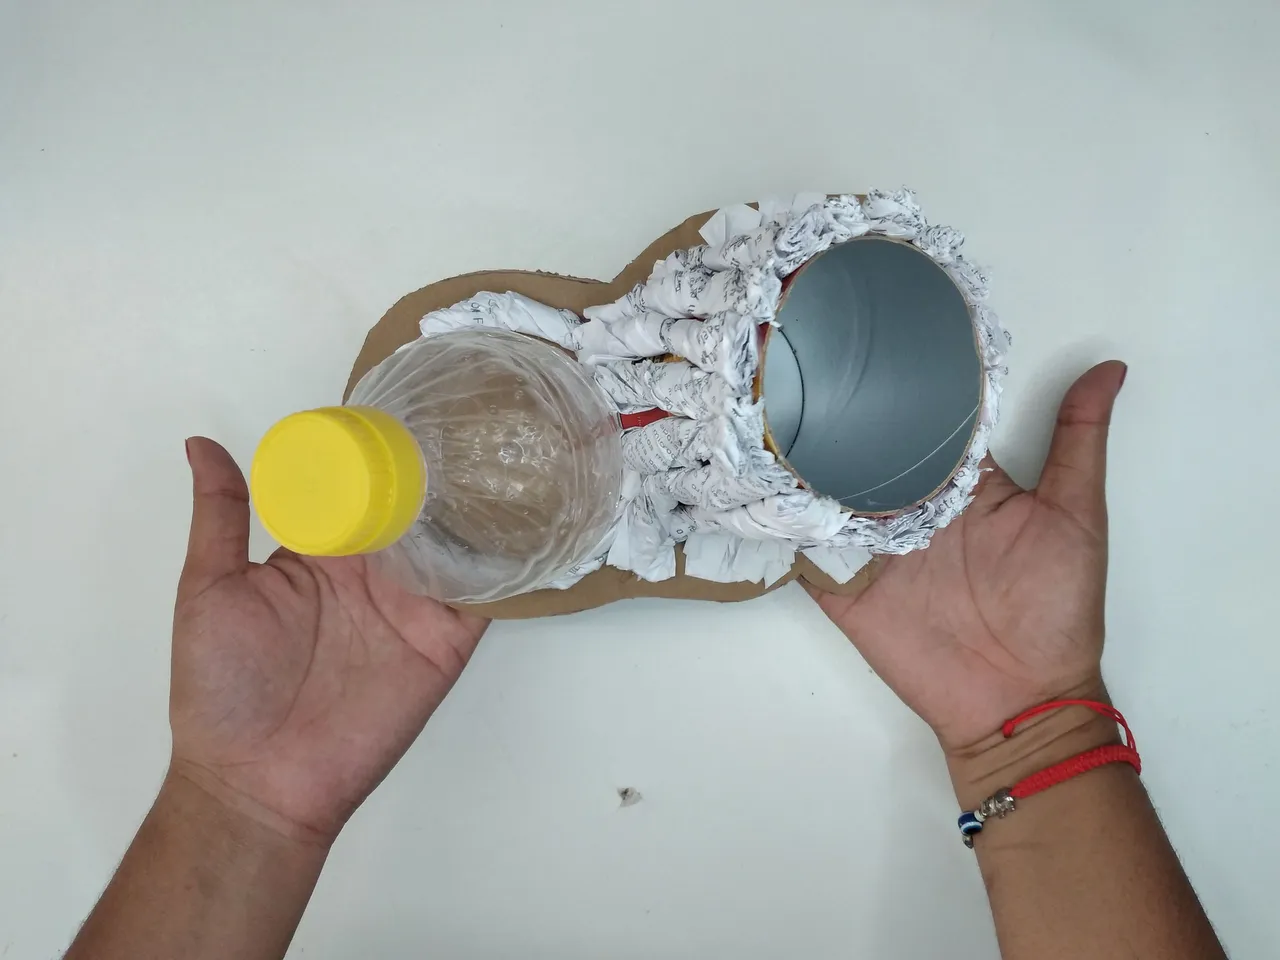 |
Make more twisted strips to cover the entire contour of the potato container, this will be the trunk. Then mark a silhouette around the entire structure and trim off the excess cardboard.
Hacer más tiras torcidas para cubrir todo el contorno del envase de papas, este será el tronco. Luego marcar una silueta alrededor de toda la estructura y recortar los sobrantes de cartón.
 | 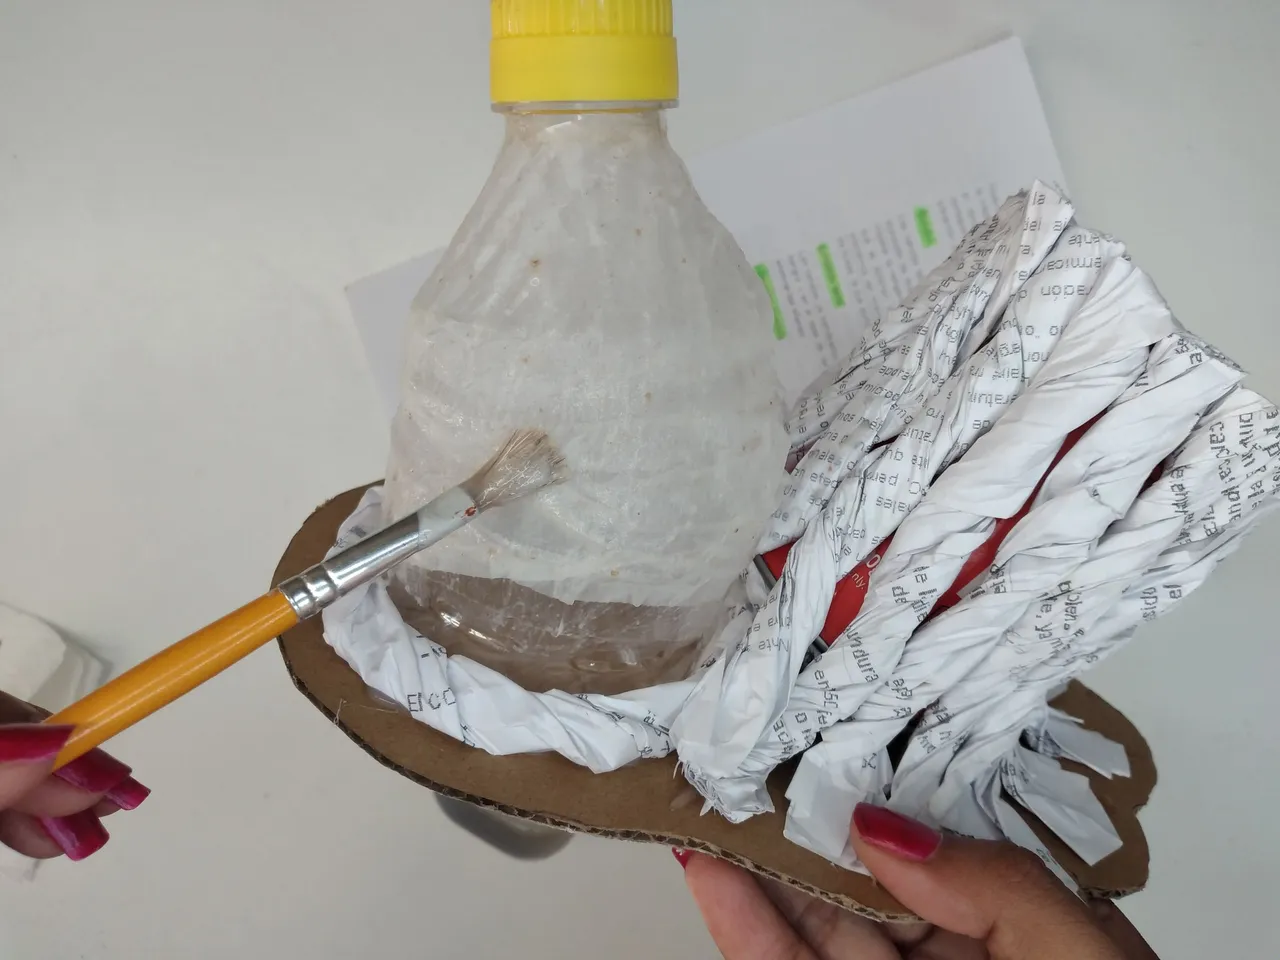 | 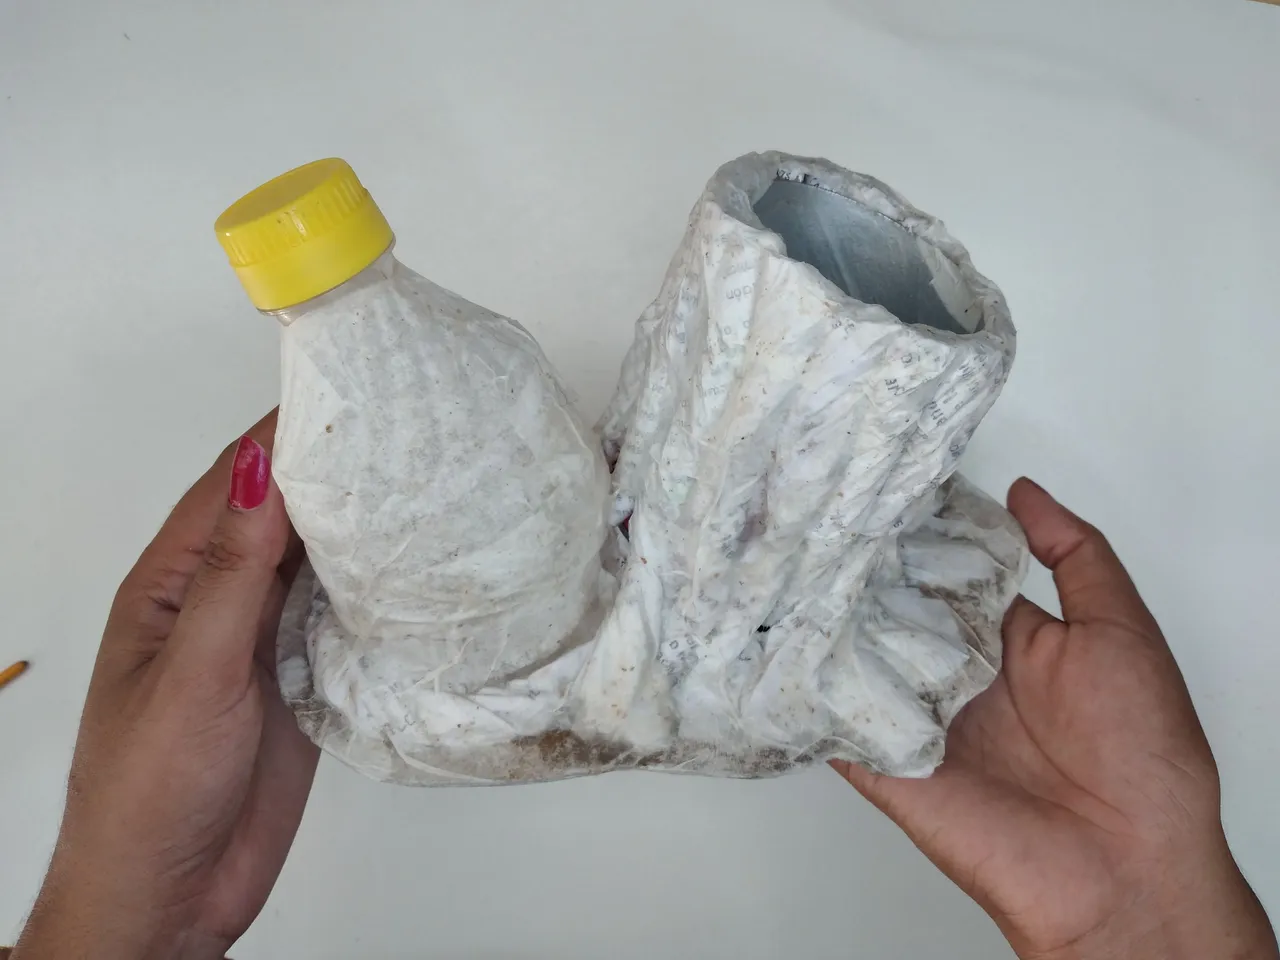 |
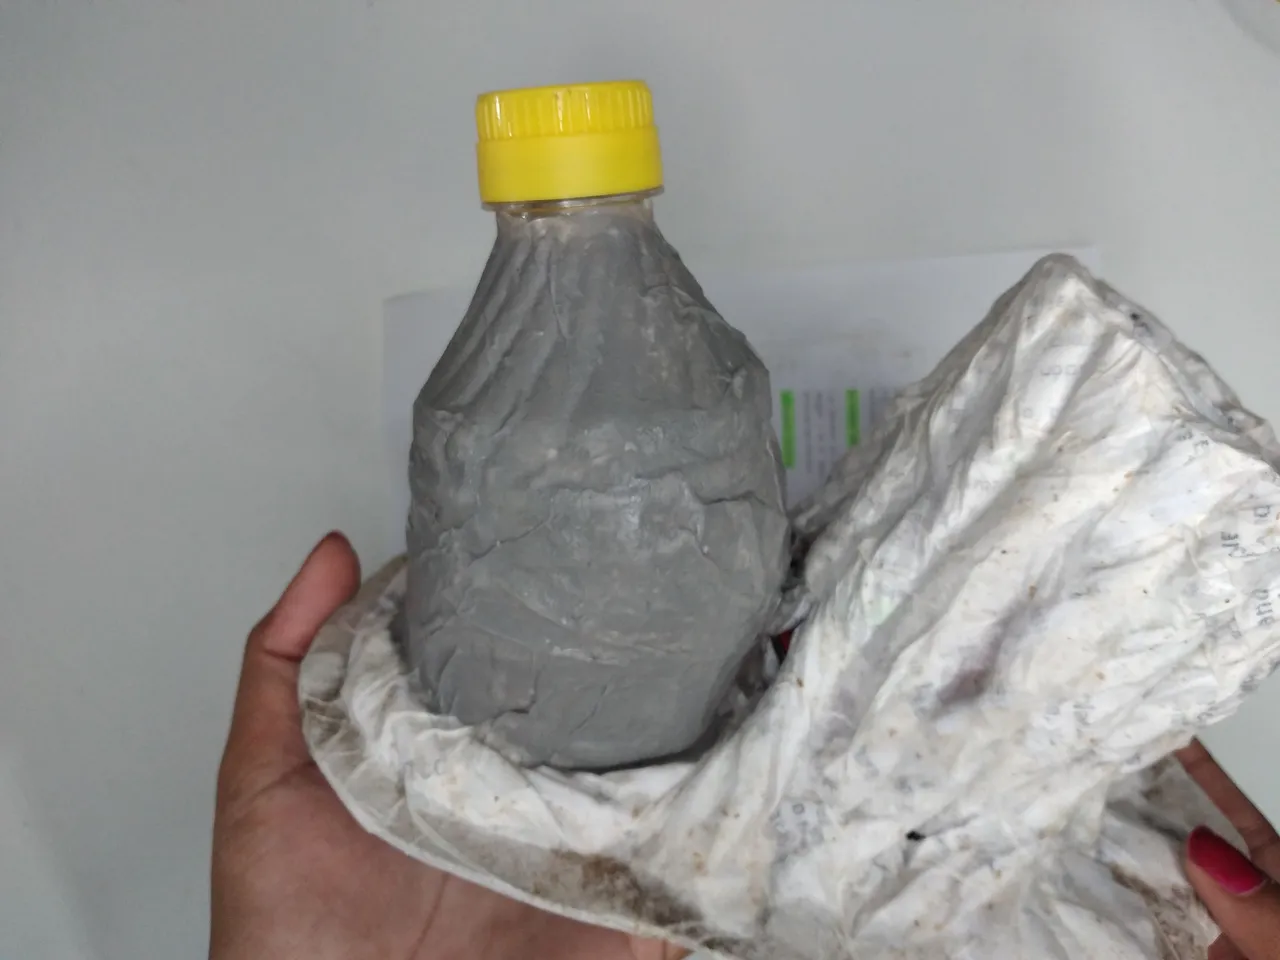
Paper the entire surface with kitchen paper and liquid glue to cover all imperfections and strengthen the structure.
Empapelar toda la superficie con papel de cocina y pegamento líquido para cubrir todas las imperfecciones y fortalecer la estructura.
 |  |
 | 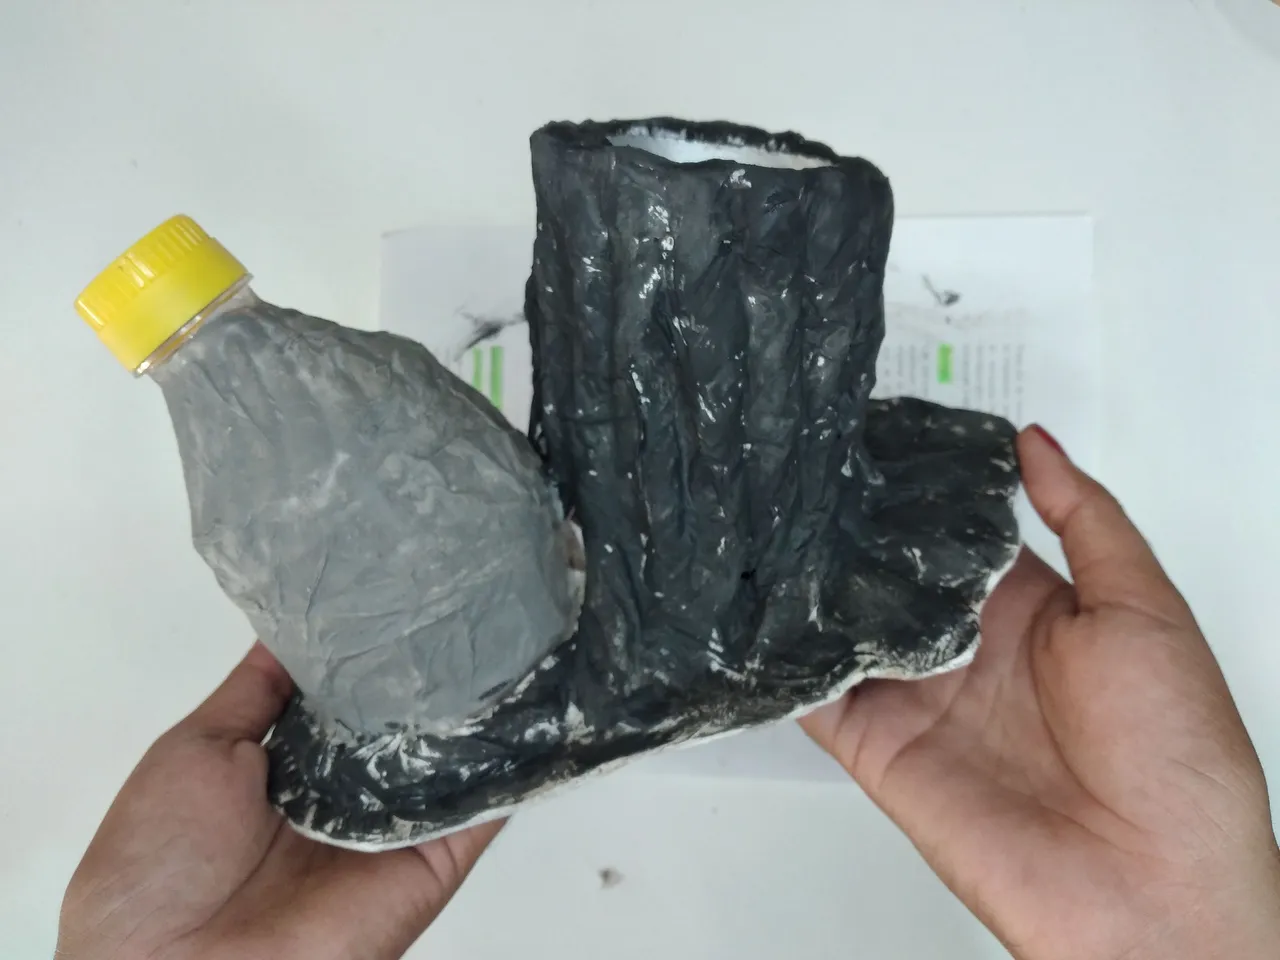 |
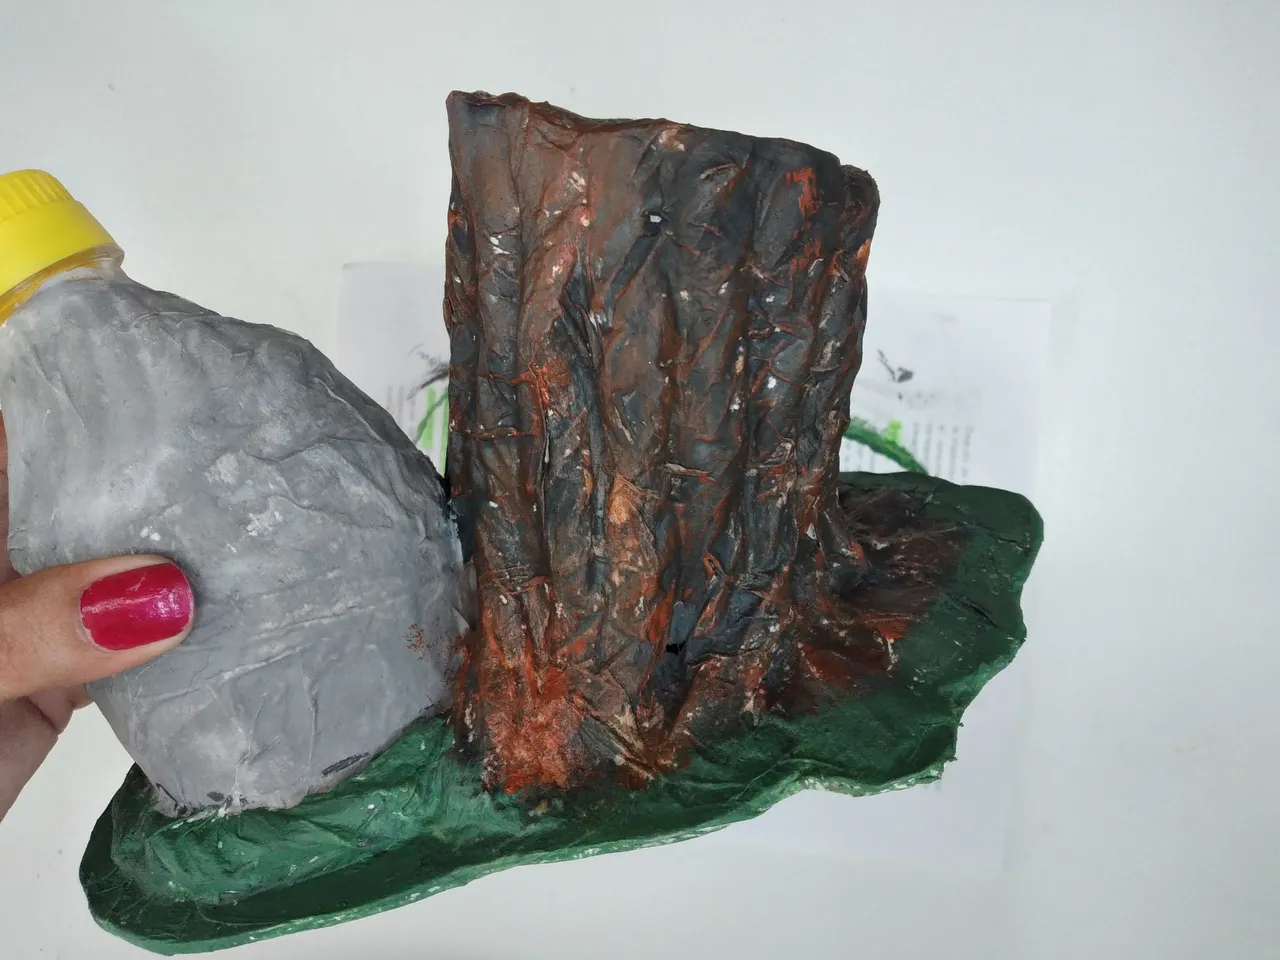
The bottle will be the house, this will be painted with a light gray tone and the trunk will be given a black base.
La botella será la casa, a esta la pintaremos con un tono gris claro y al tronco le daremos una base de color negro.
 |  |
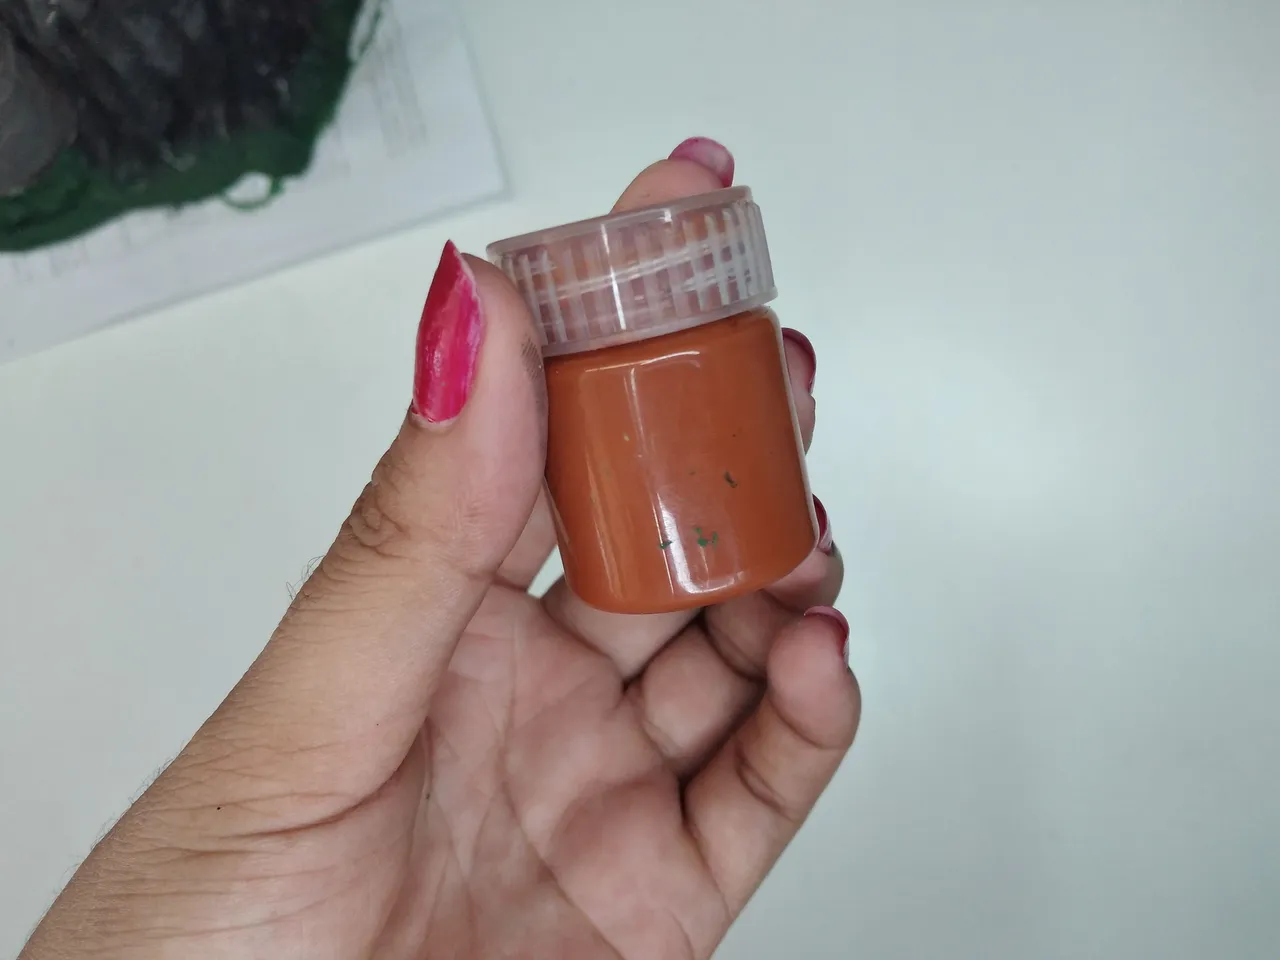 |  |
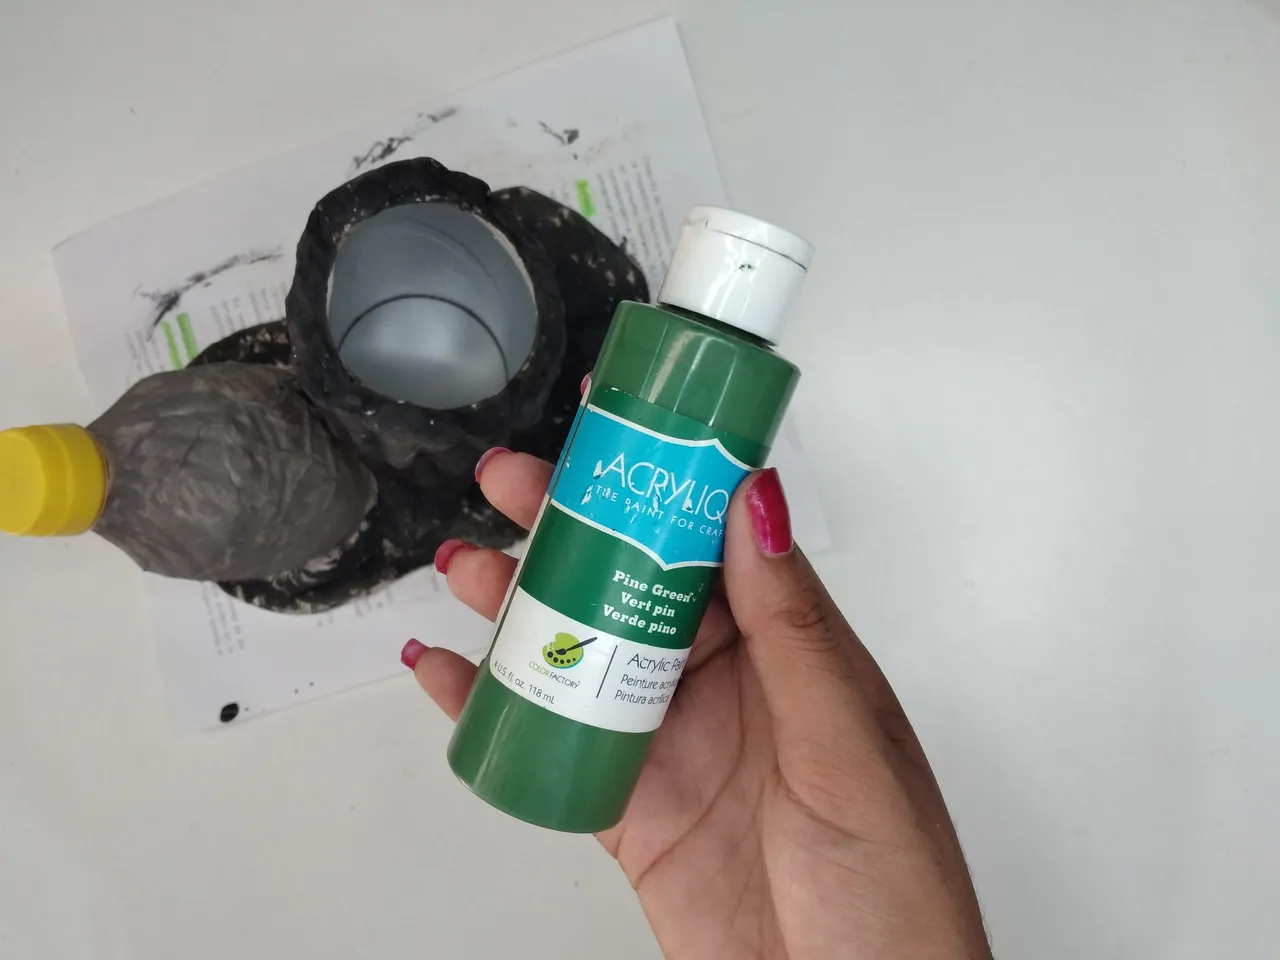
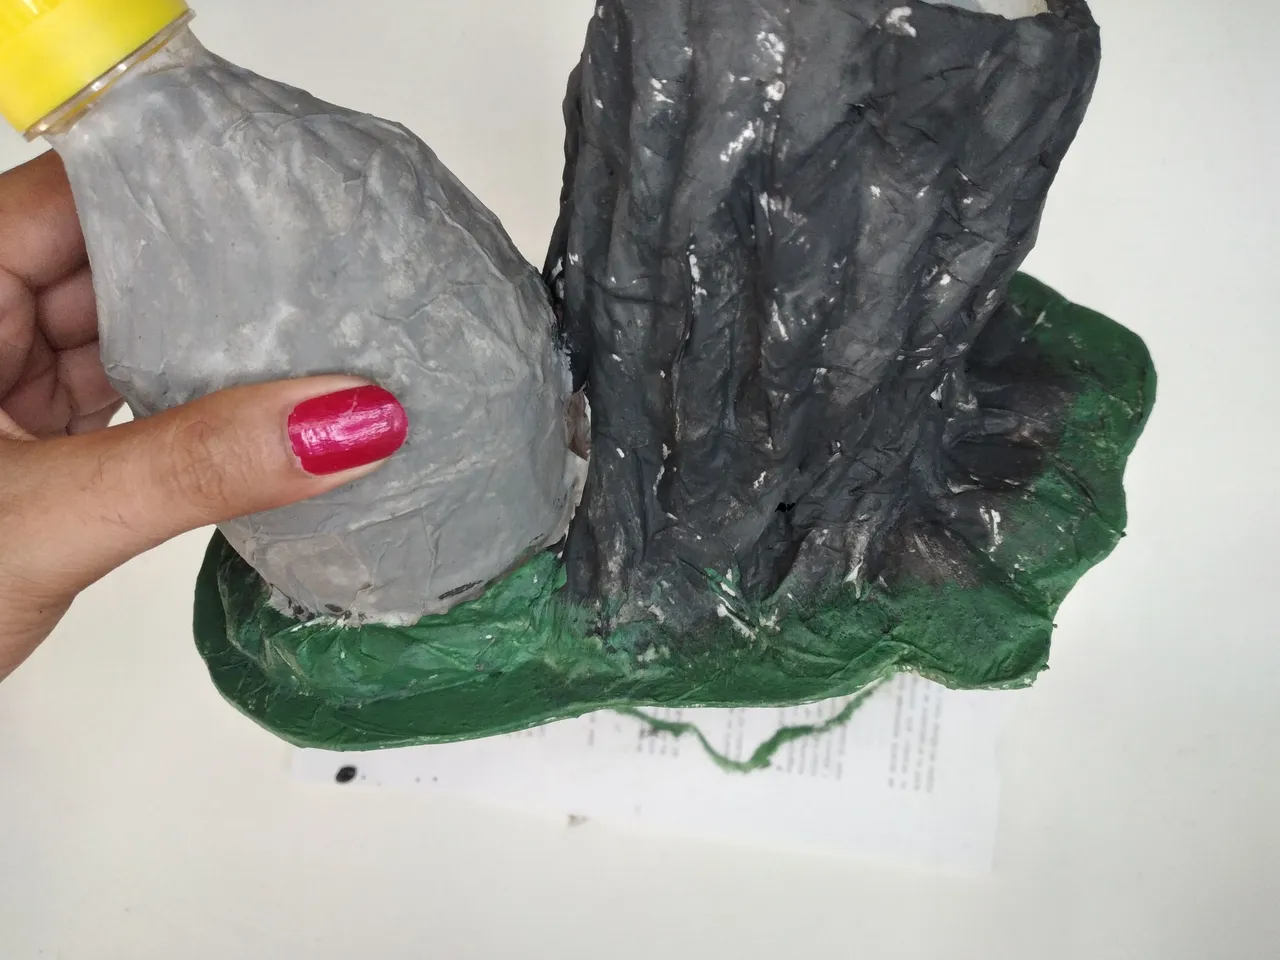
To all the border we will give green color to simulate the grass and with a carmelite color we will give brushstrokes with the brush almost dry in the trunk so that it is a beautiful effect.
A todo el borde le daremos color verde para simular la hierba y con un color carmelita daremos pinceladas con el pincel casi seco en el tronco para que quede un efecto bonito.
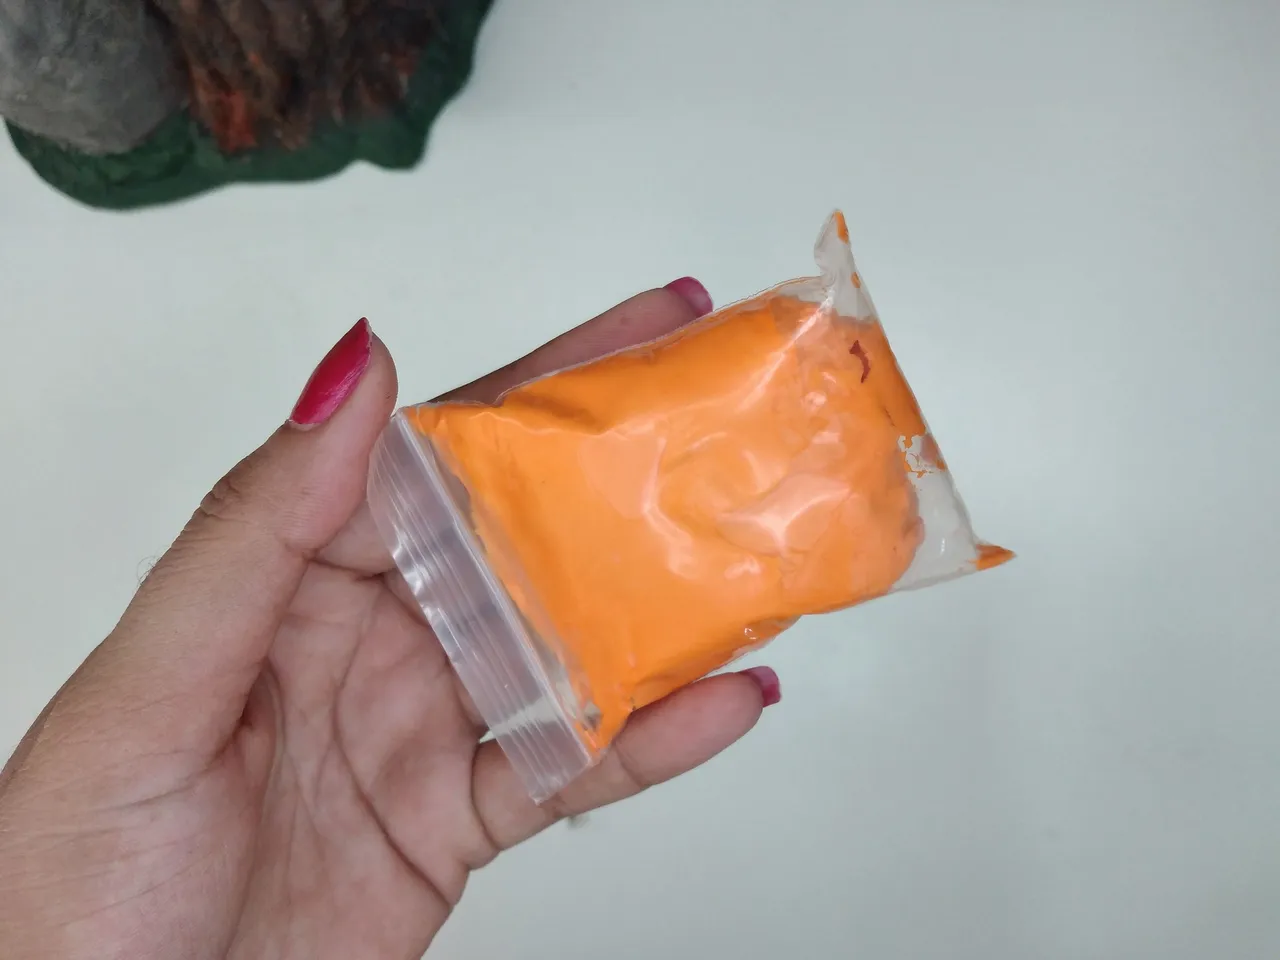 | 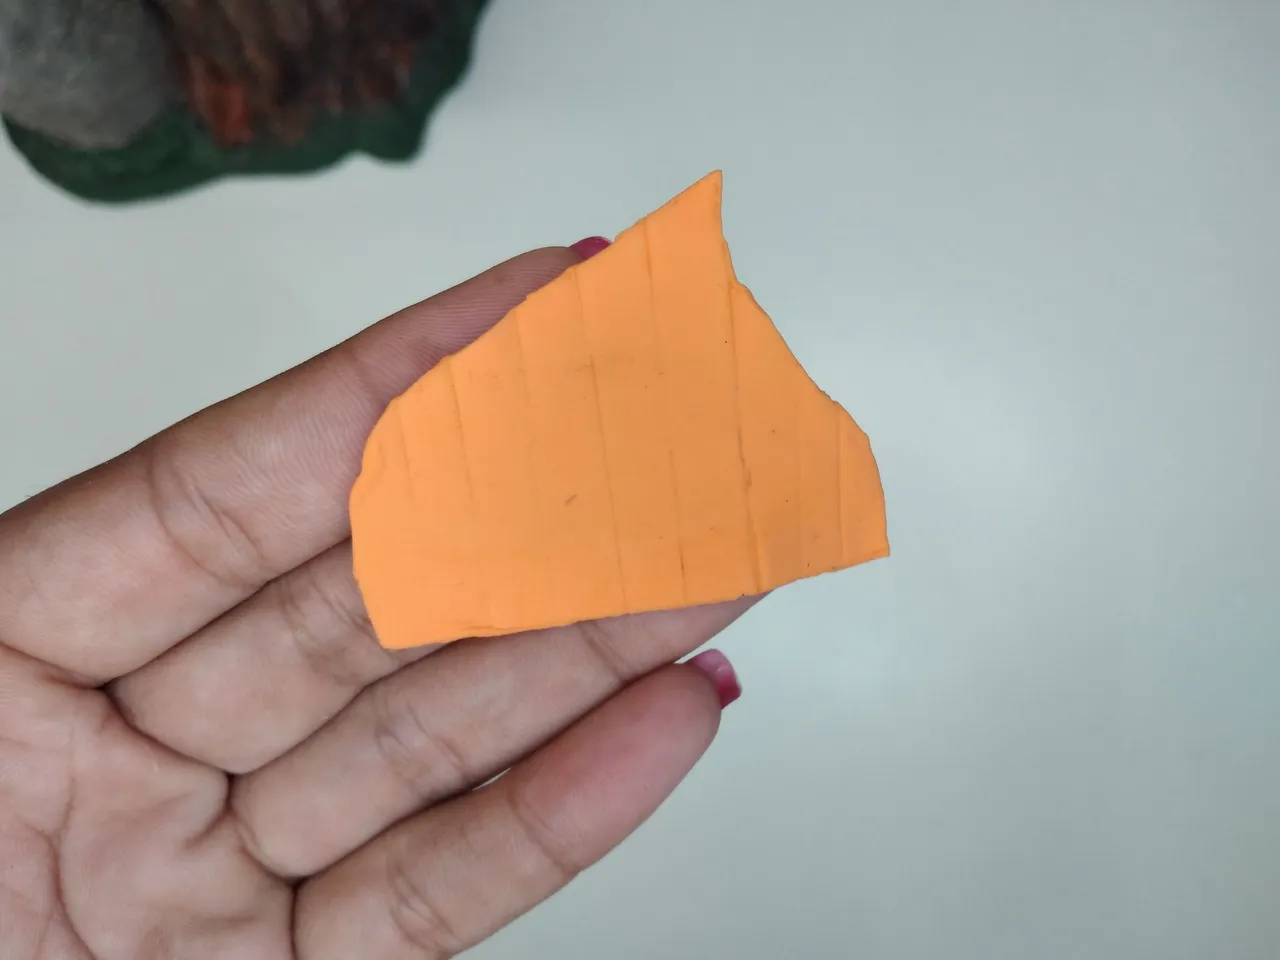 |  |
With orange moldable foami we will make the door and the frame, it has a leaf shape to give it that touch of fantasy.
Con foami moldeable de color naranja haremos la puerta y el marco, tiene forma como de hoja para darle ese toque de fantasía.
 |  |  |
 |  |  |
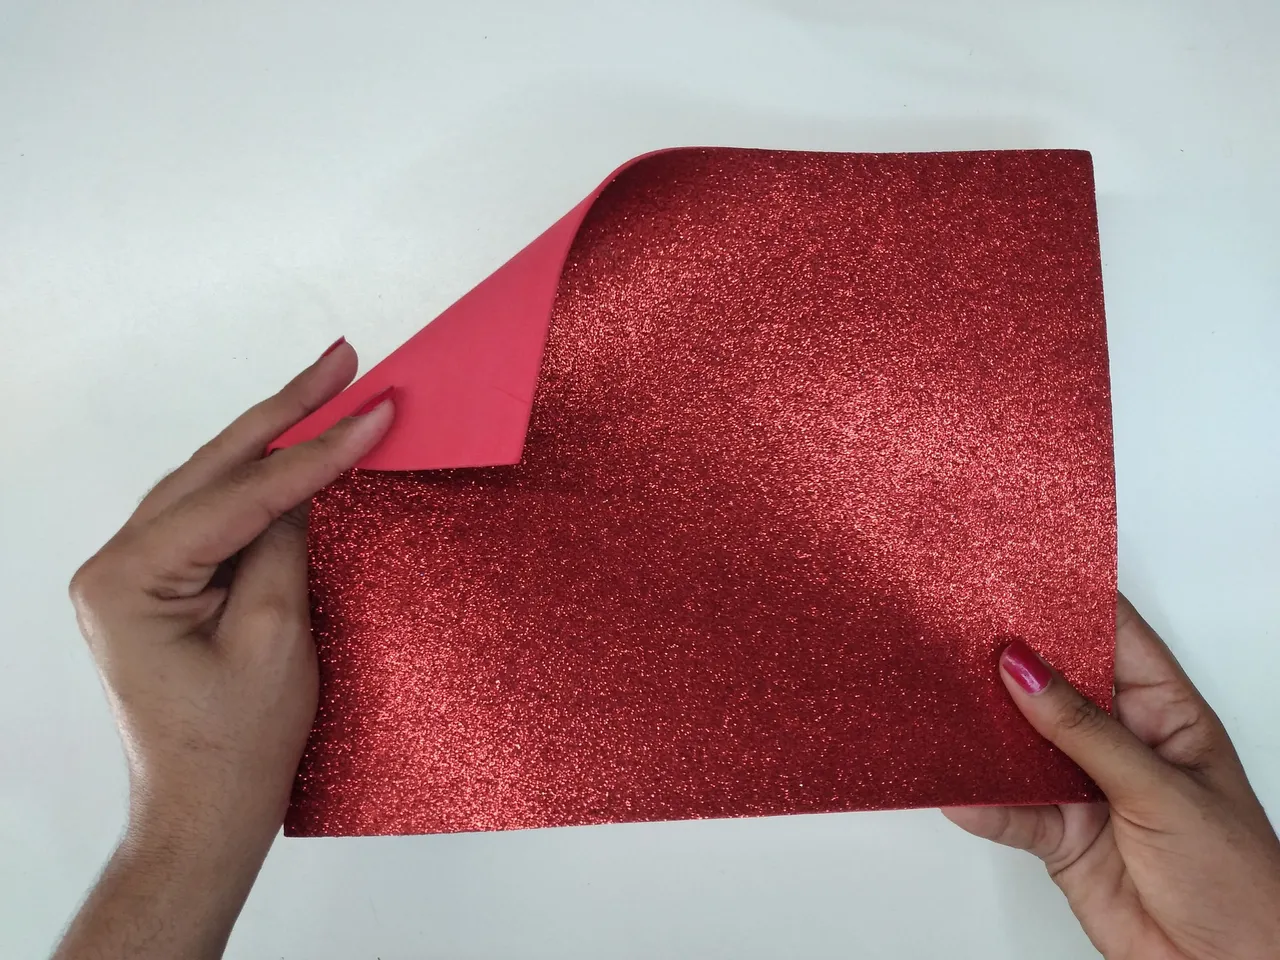
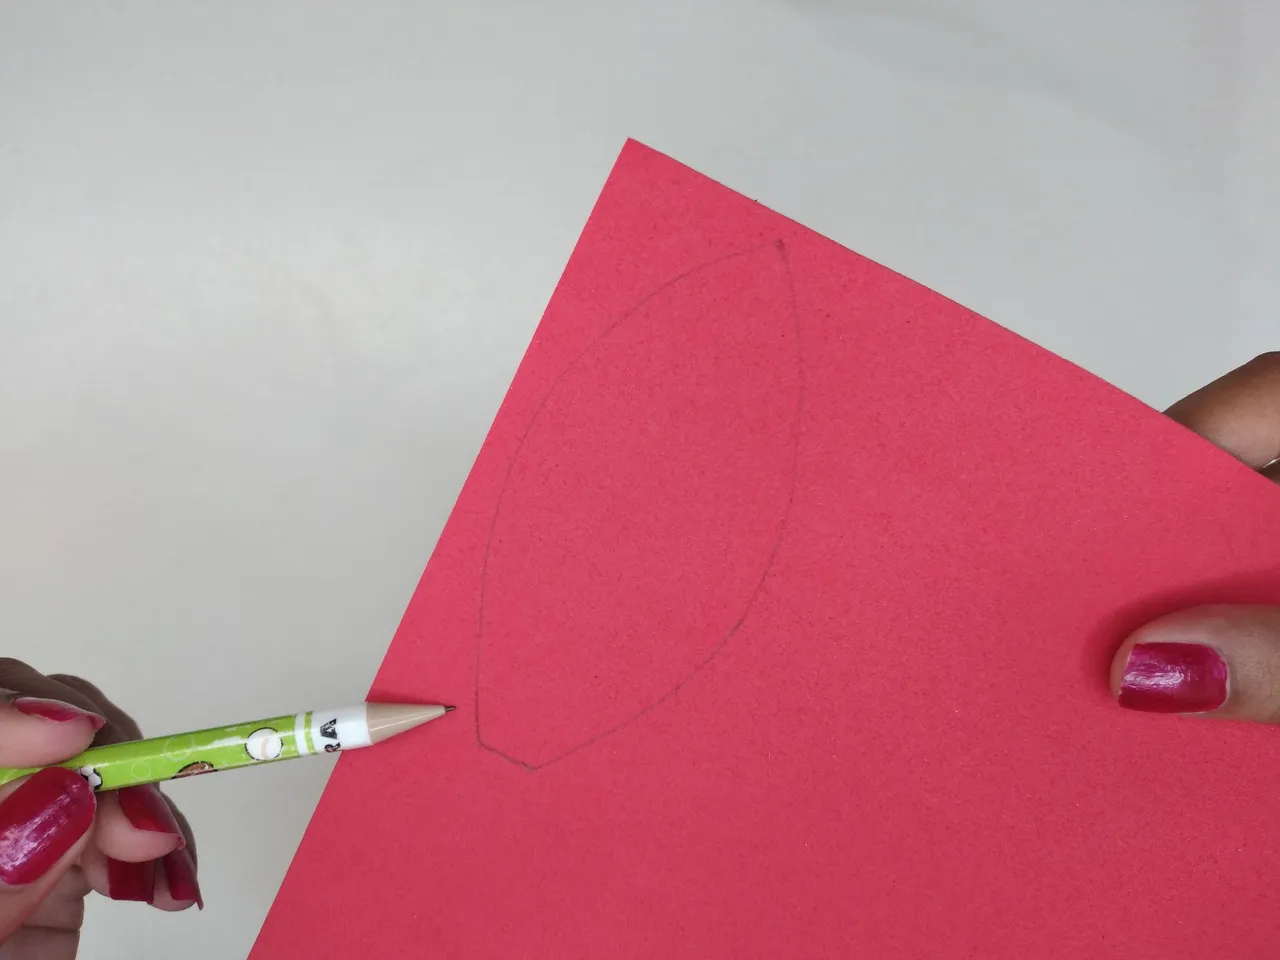
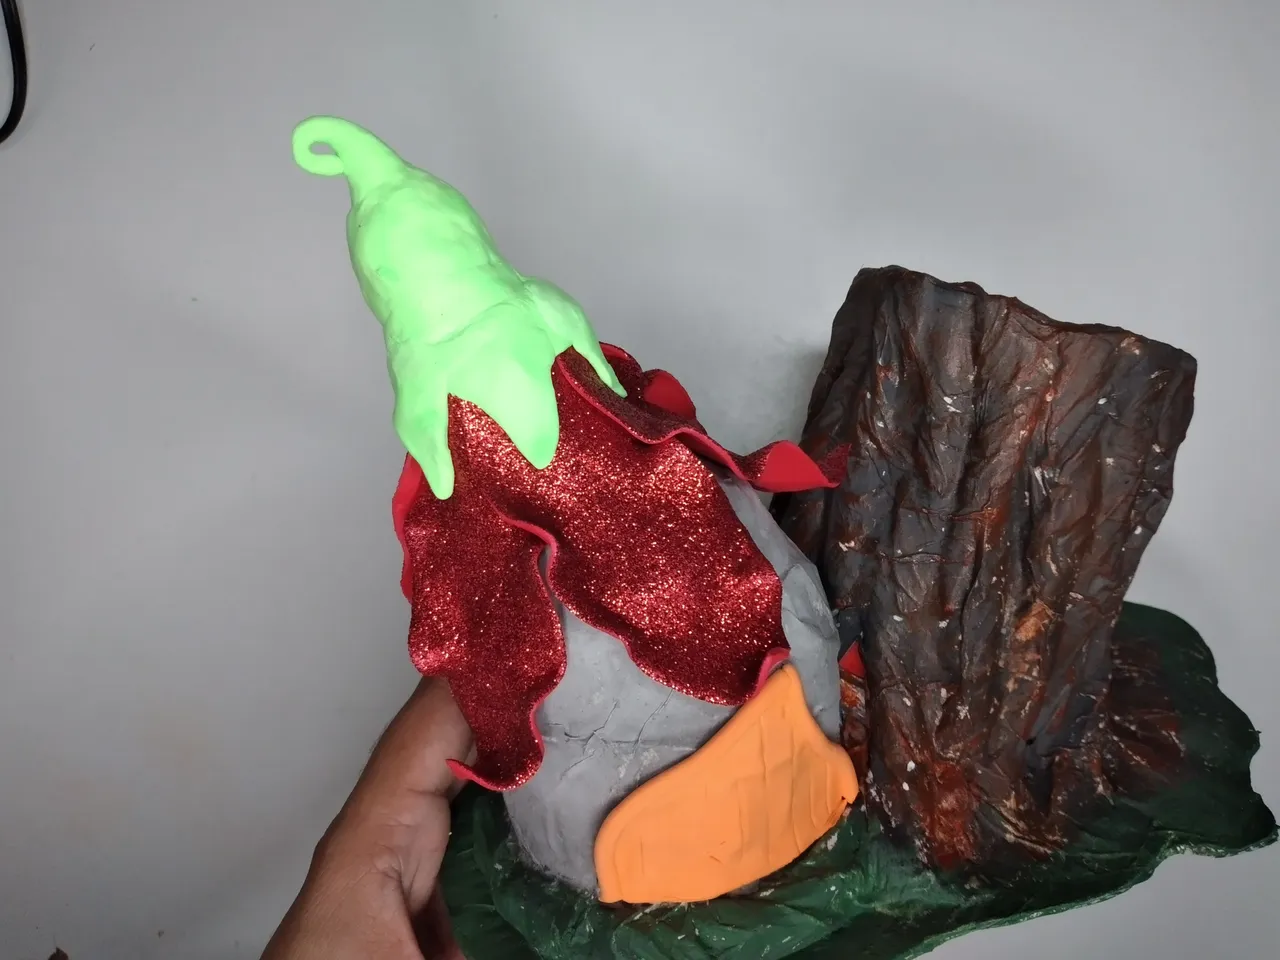
We will use a sheet of frosted red foami to make the roof of the house, this will be in the shape of a flower. For this we will make 6 petals, which are thermoformed to make the waves and placed on the top of the bottle.
Utilizaremos una lámina de foami rojo escarchado para elaborar el techo de la casa, esta será en forma de flor. Para ello haremos 6 pétalos, los cuales se termoforman para hacer las ondas y se colocan en la tapa de la botella.
 |  |  |
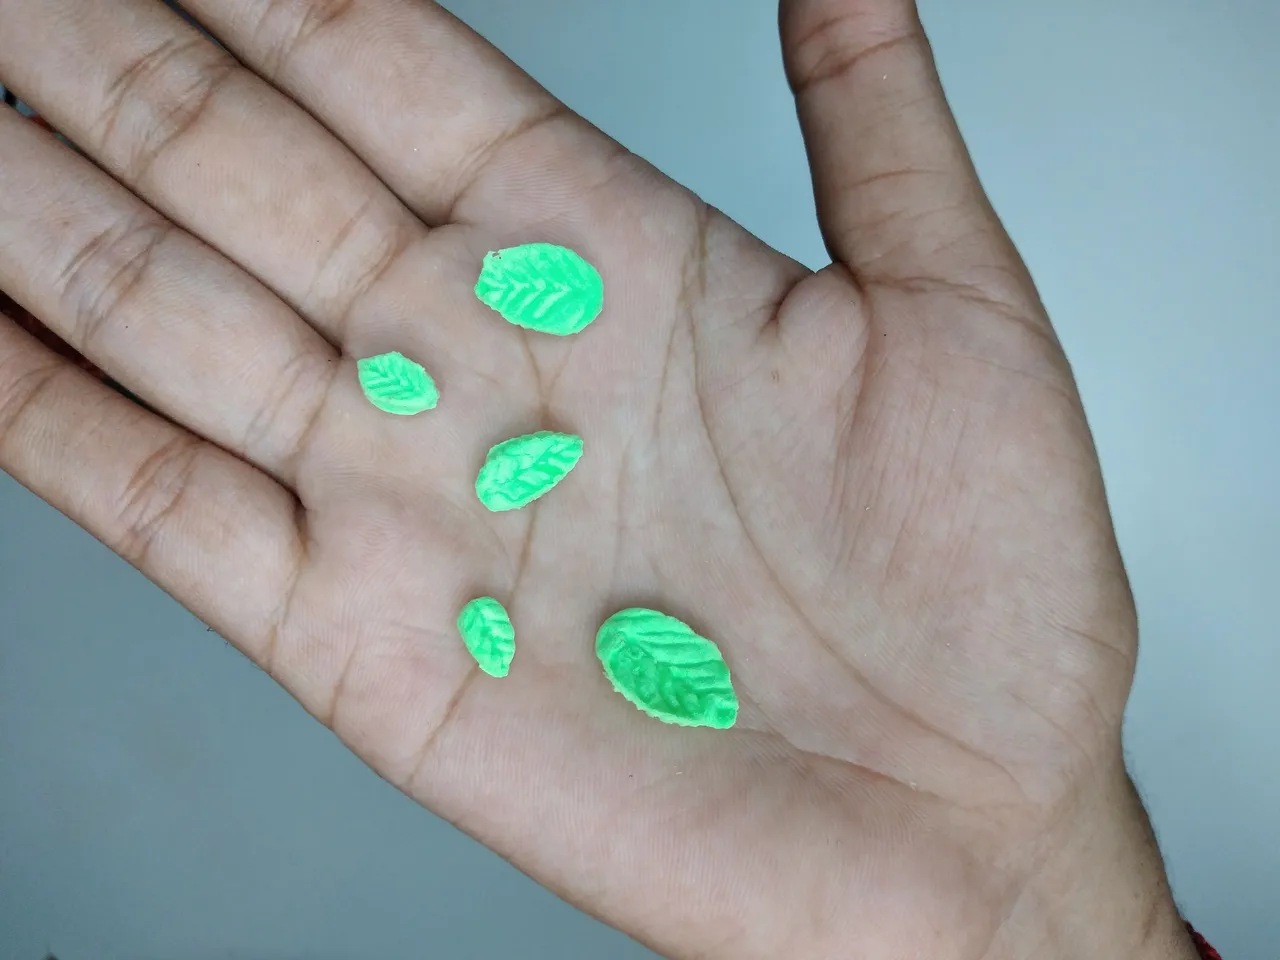 | 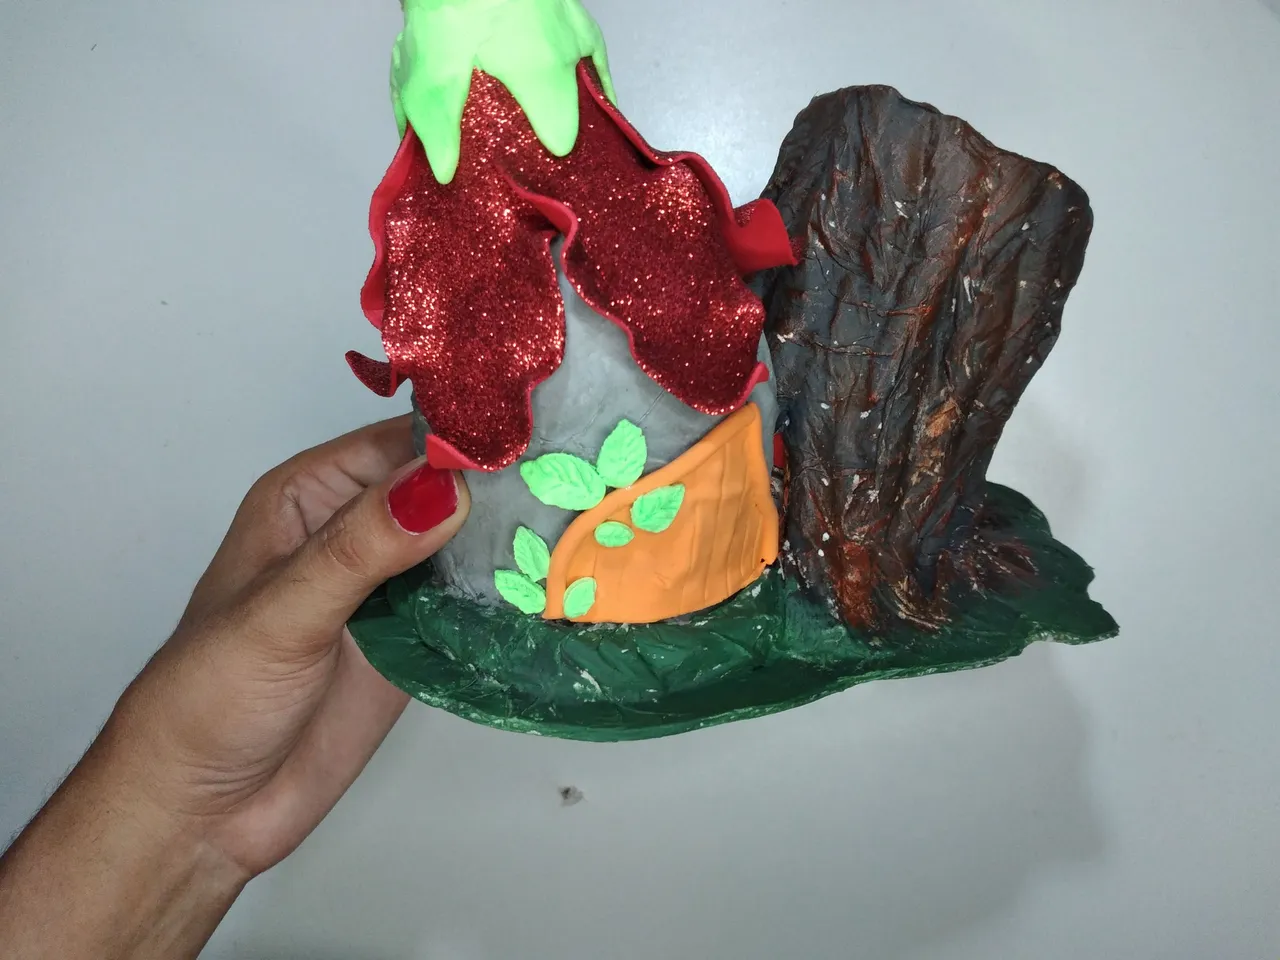 |
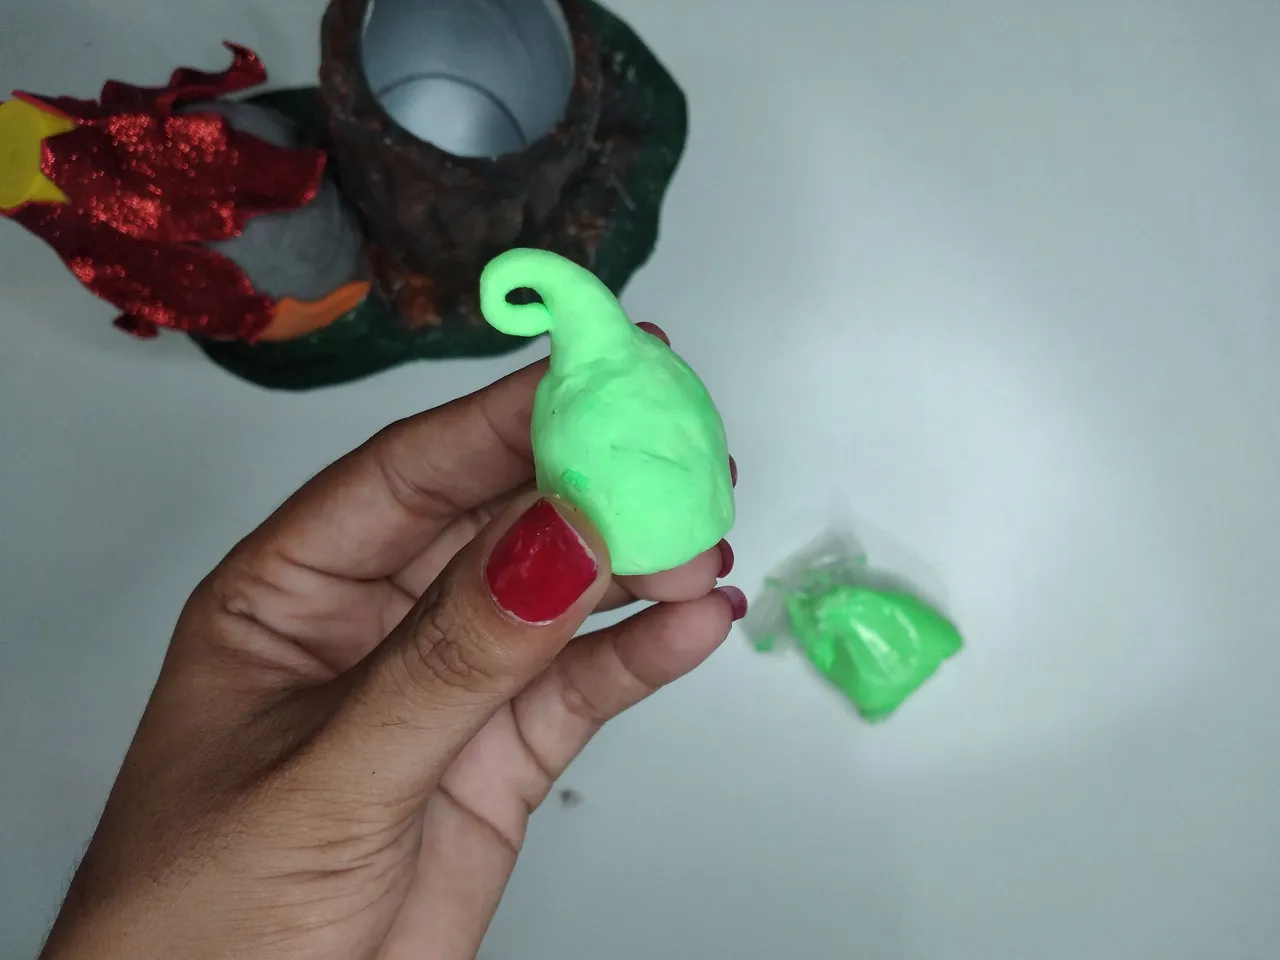
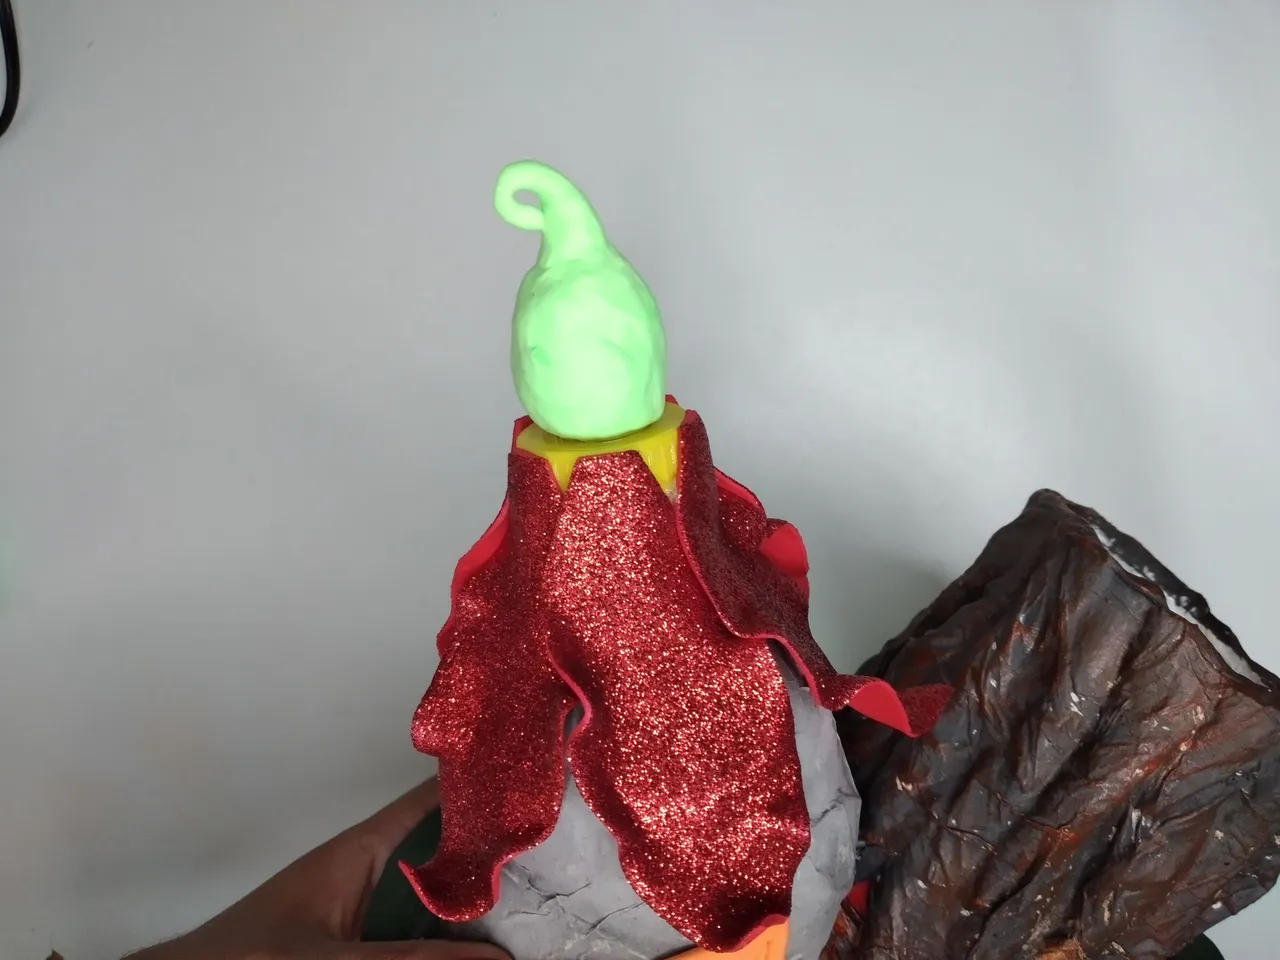
I made the flower's sepal with moldable foami, since it is easier to shape it. I also made a few small leaves, which I placed on the side of the door.
El sépalo de la flor lo elaboré con foami moldeable, ya que es más fácil para darle la forma. También hice unas cuantas hojas pequeñas, las cuales coloqué a un costado de la puerta.
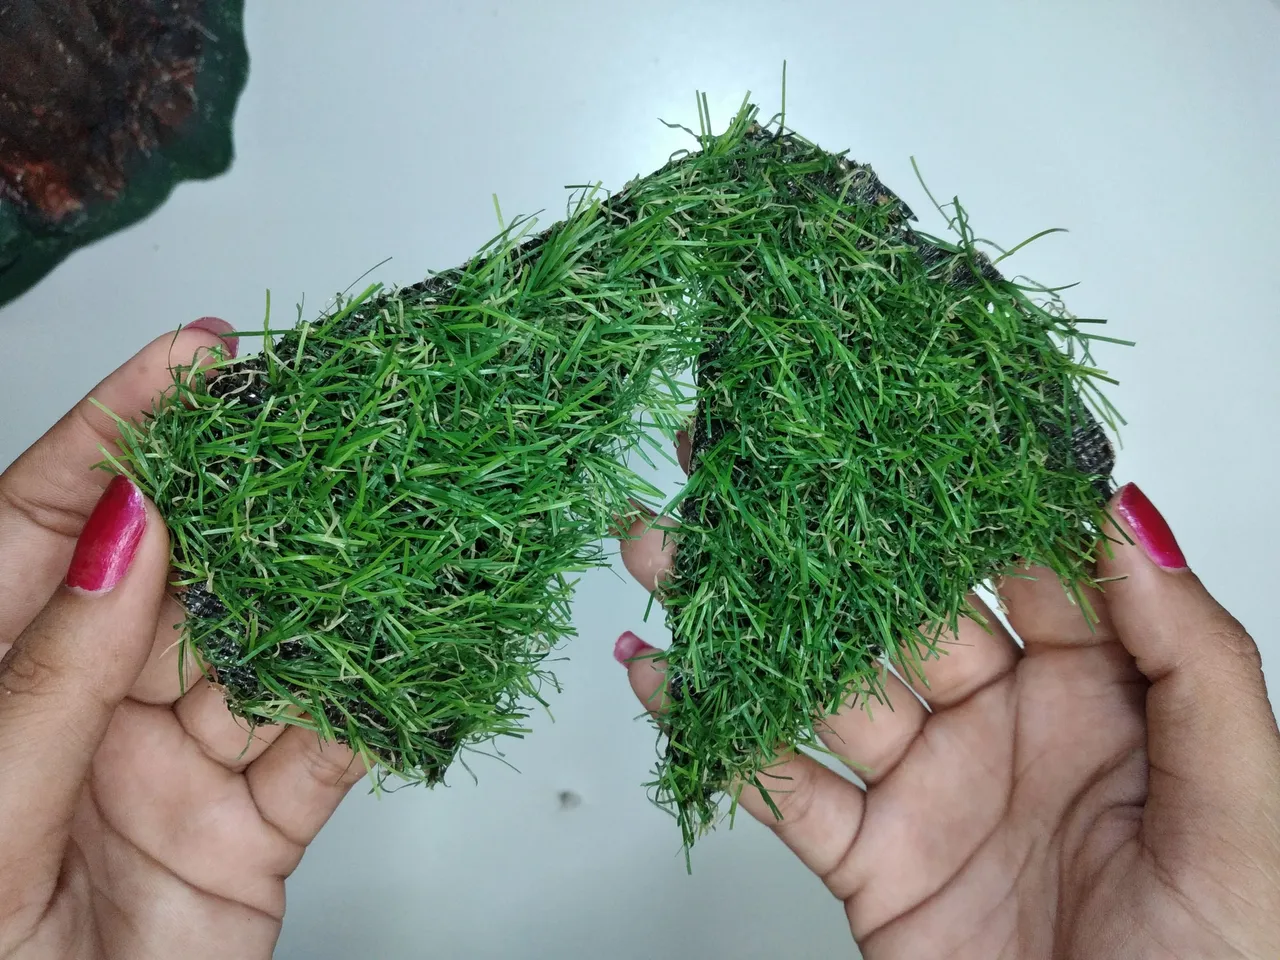 |  |
I used artificial grass clippings to give more realism to the grass.
Utilicé recortería de césped artificial para darle más realismo a la hierba.
 |  |  |
 | 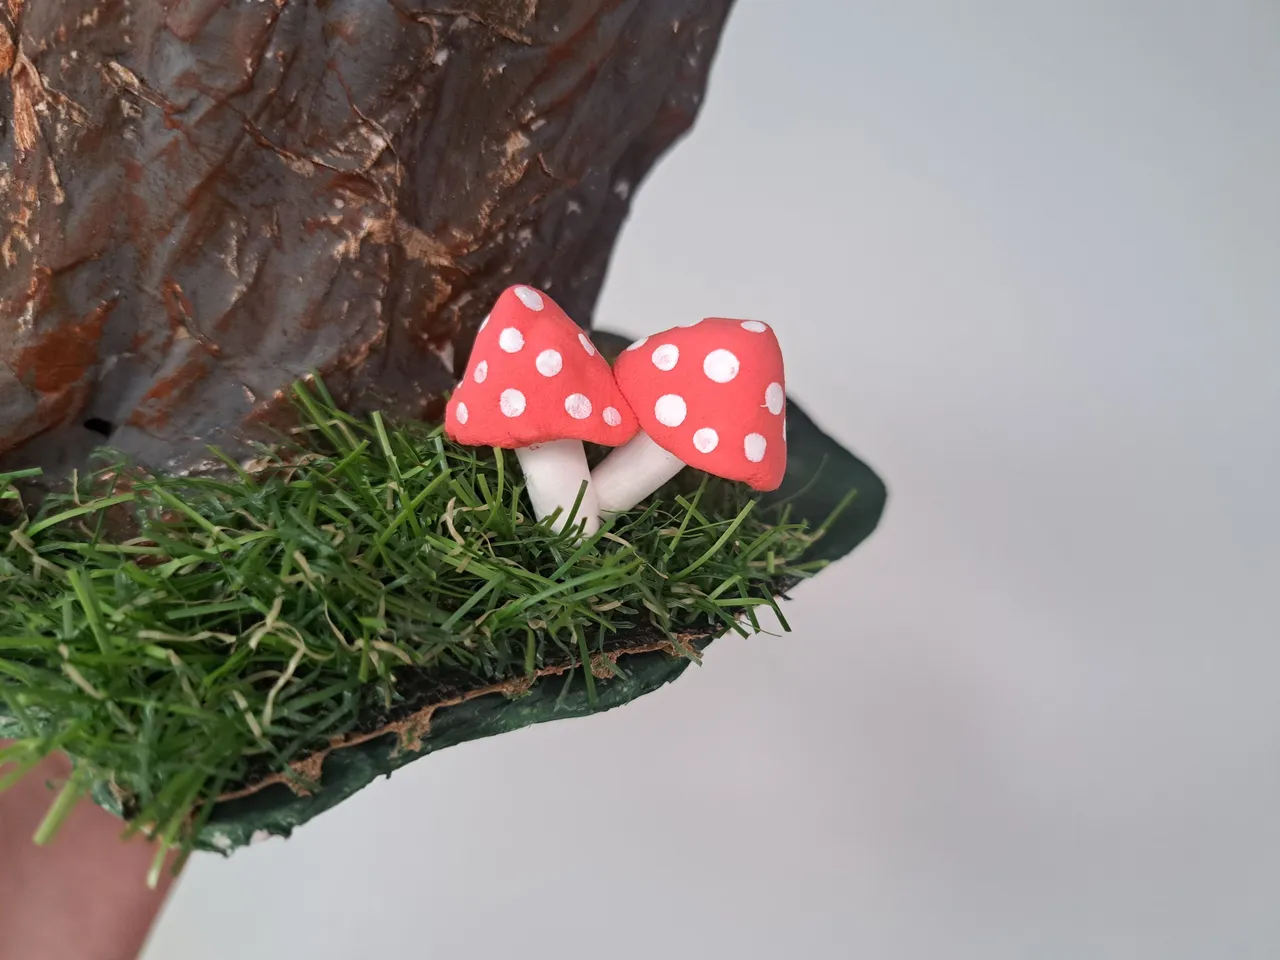 |  |
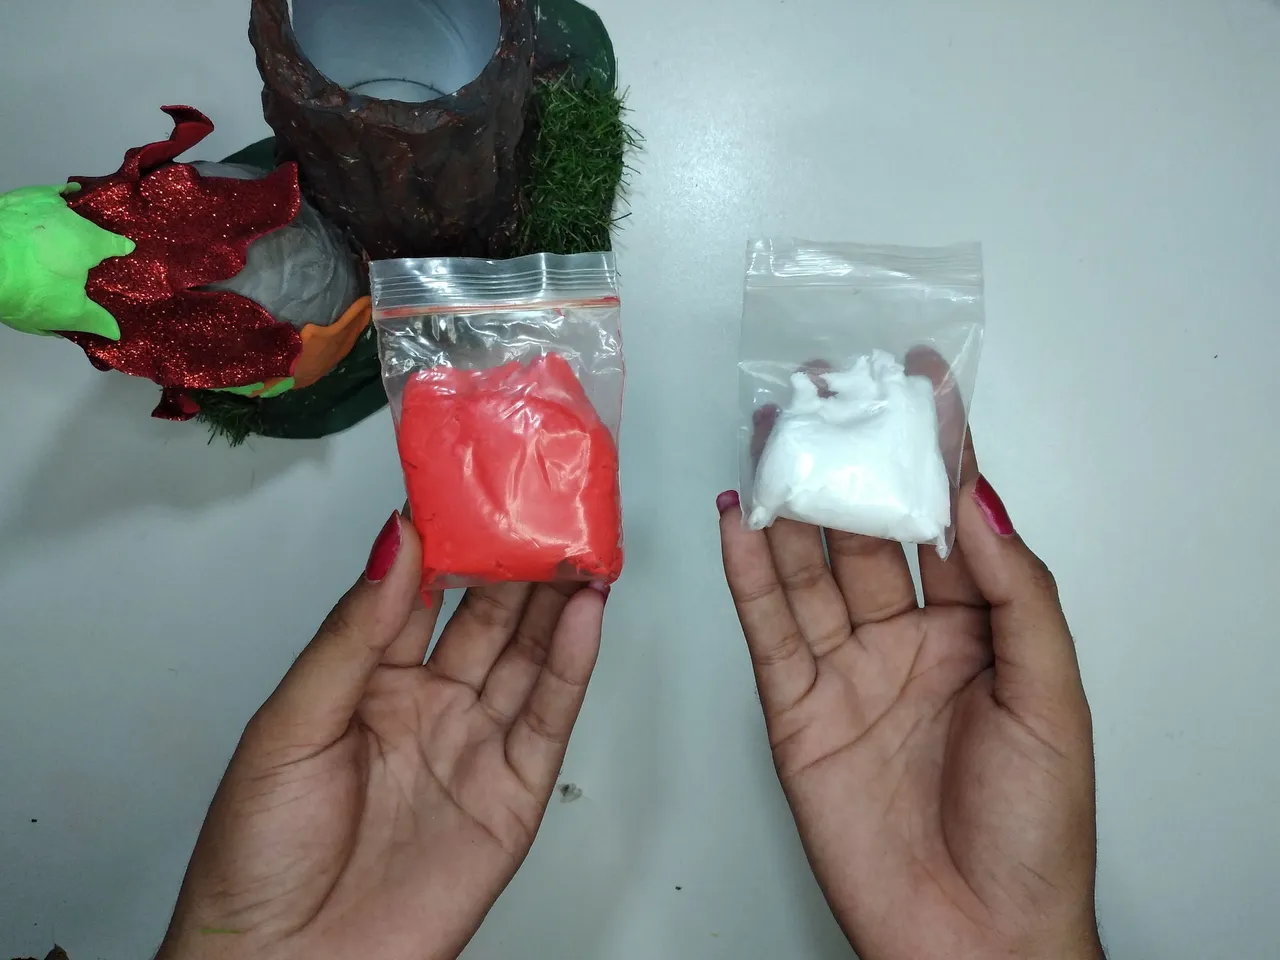
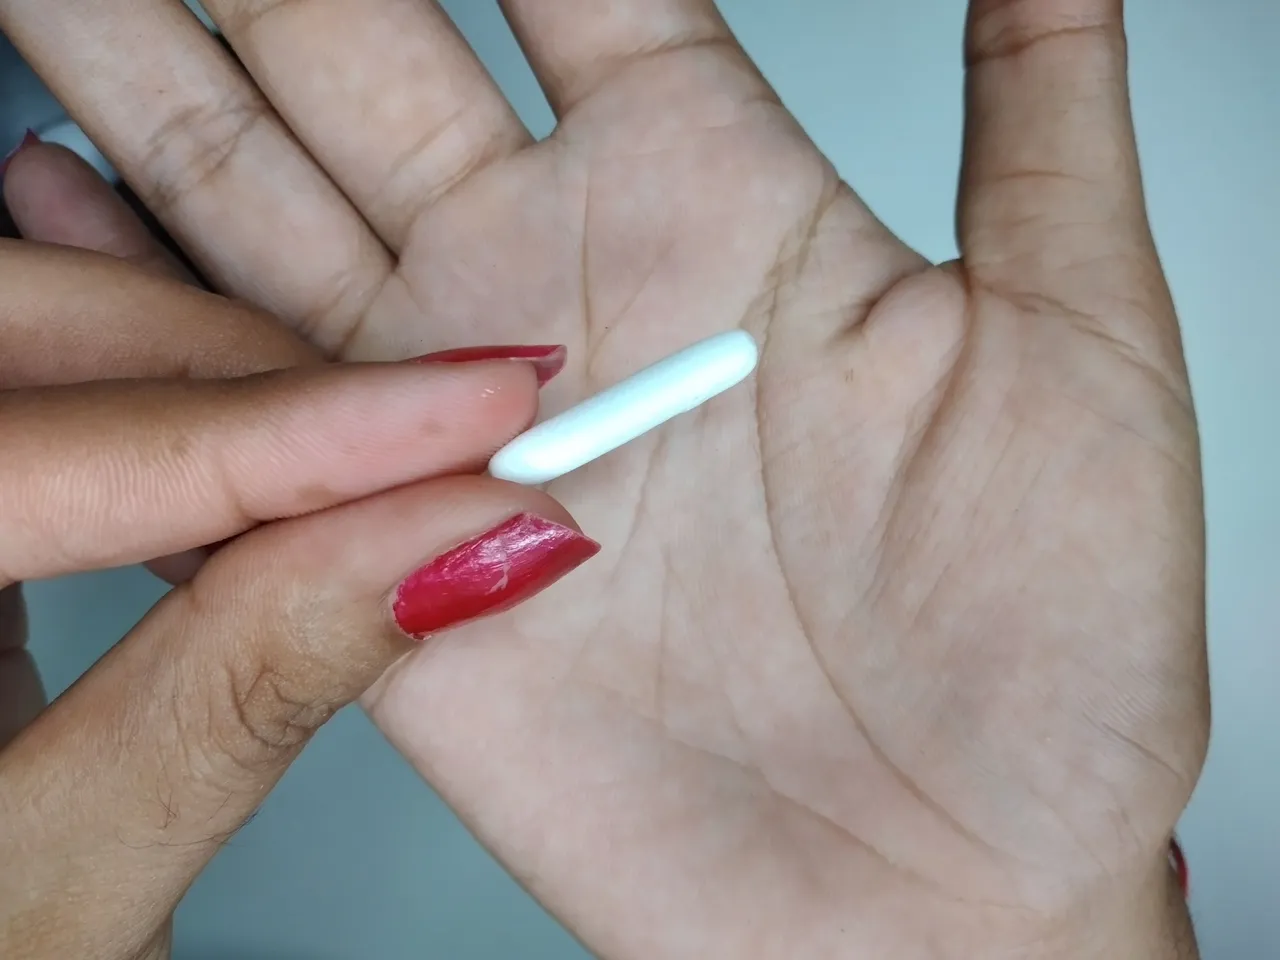
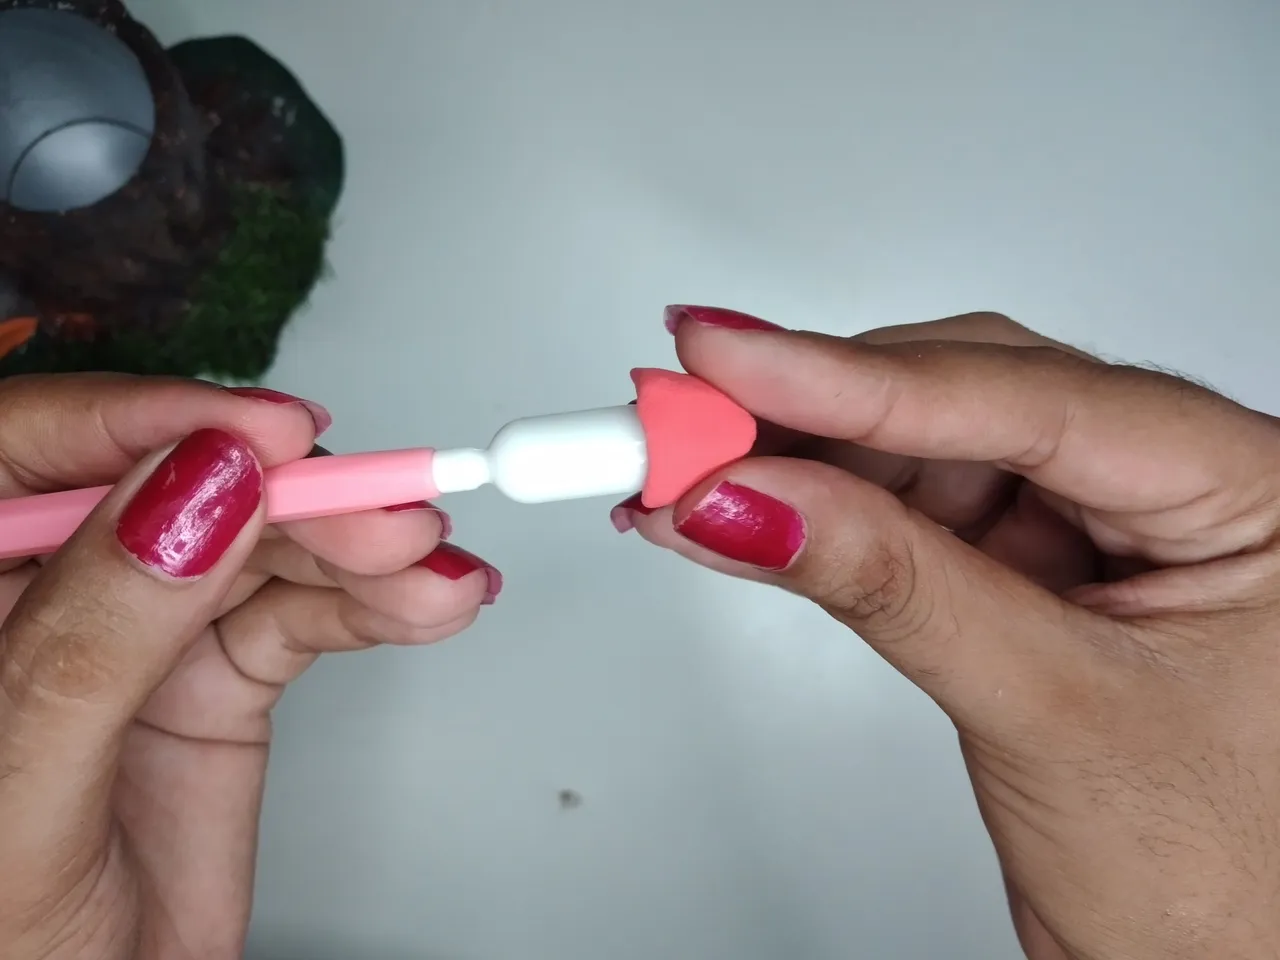
Finally I wanted to add a few mushrooms, because these can not be missing in this magical world, for its elaboration I used white and red moldable foami, then I made the white dots with white paint.
Por último quise agragarles unos cuantos hongos, pues estos no pueden faltar en este mundo mágico, para su elaboración utilicé foami moldeable de color blanco y rojo, luego le hice los puntos blancos con pintura blanca.
 |  |
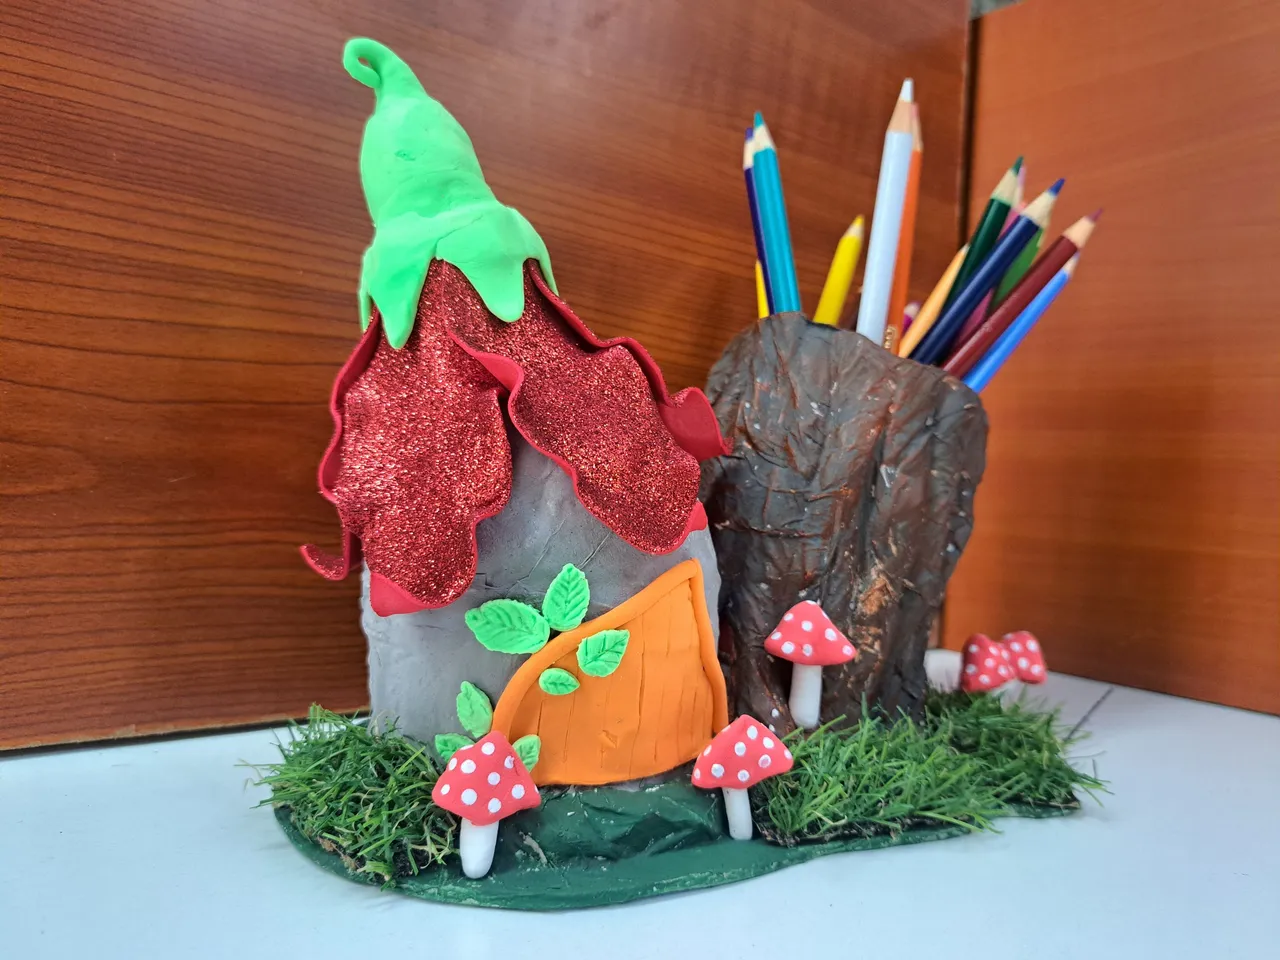 |  |
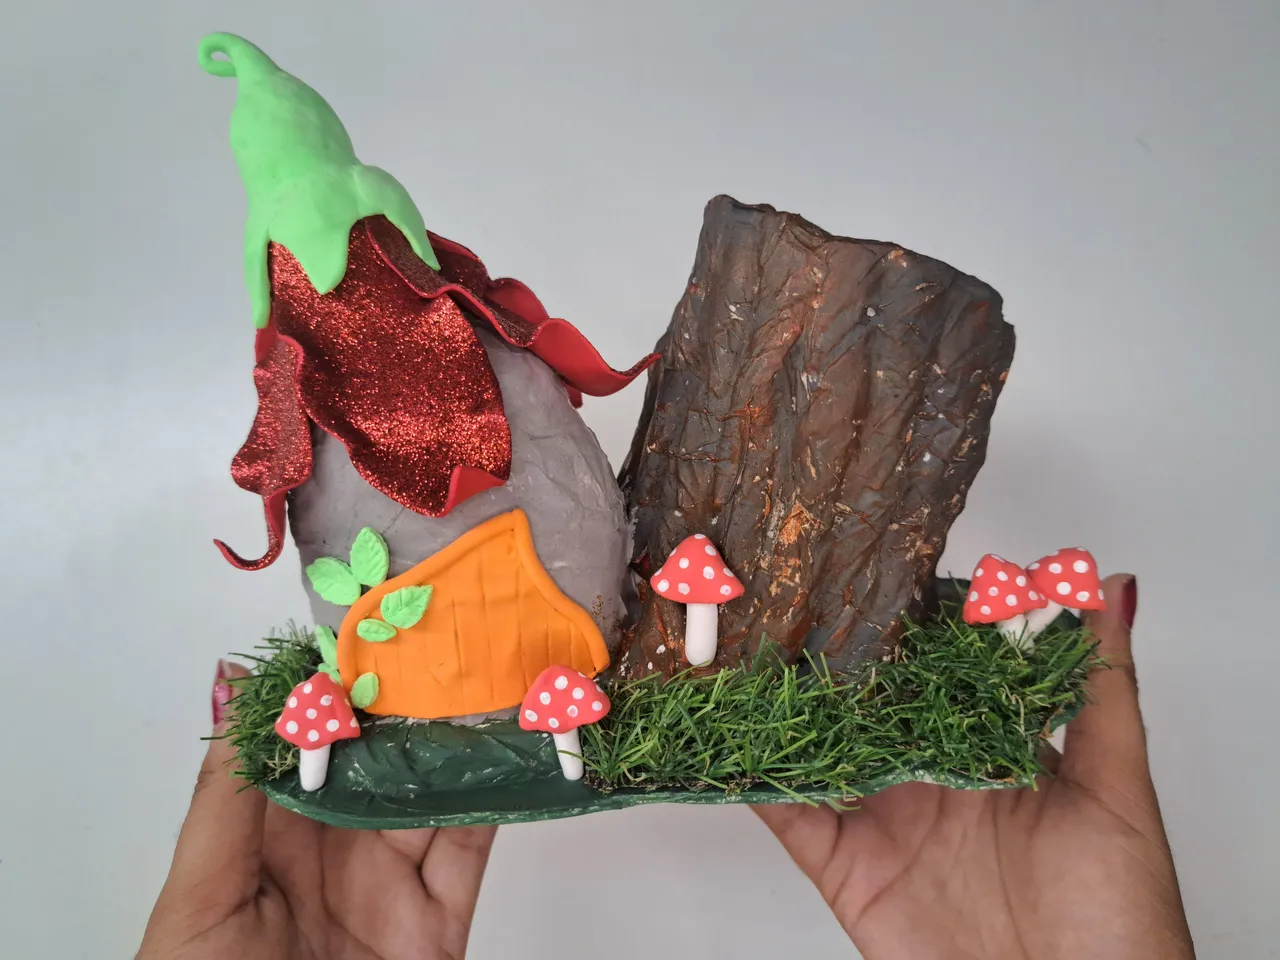
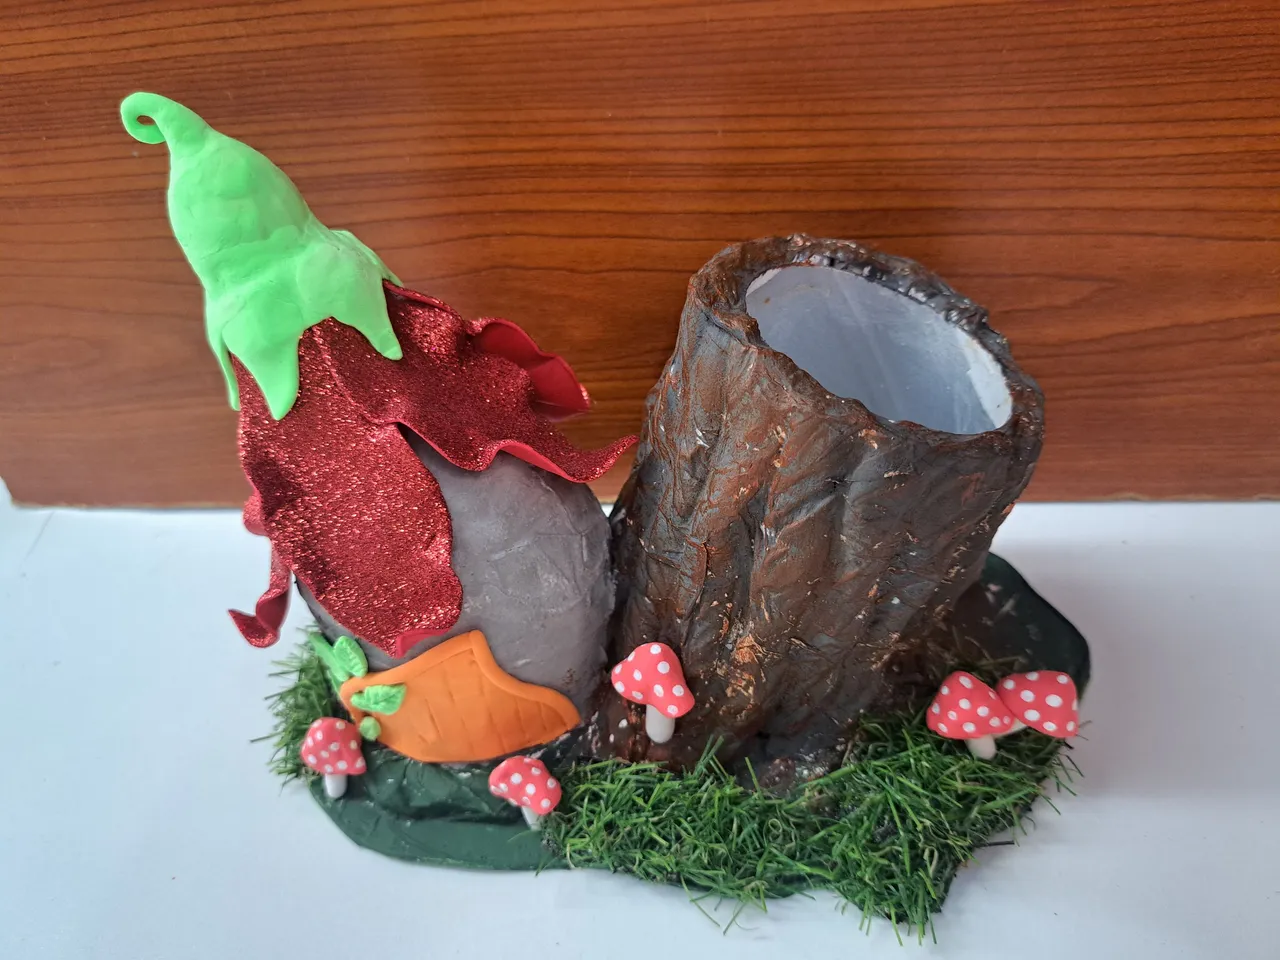
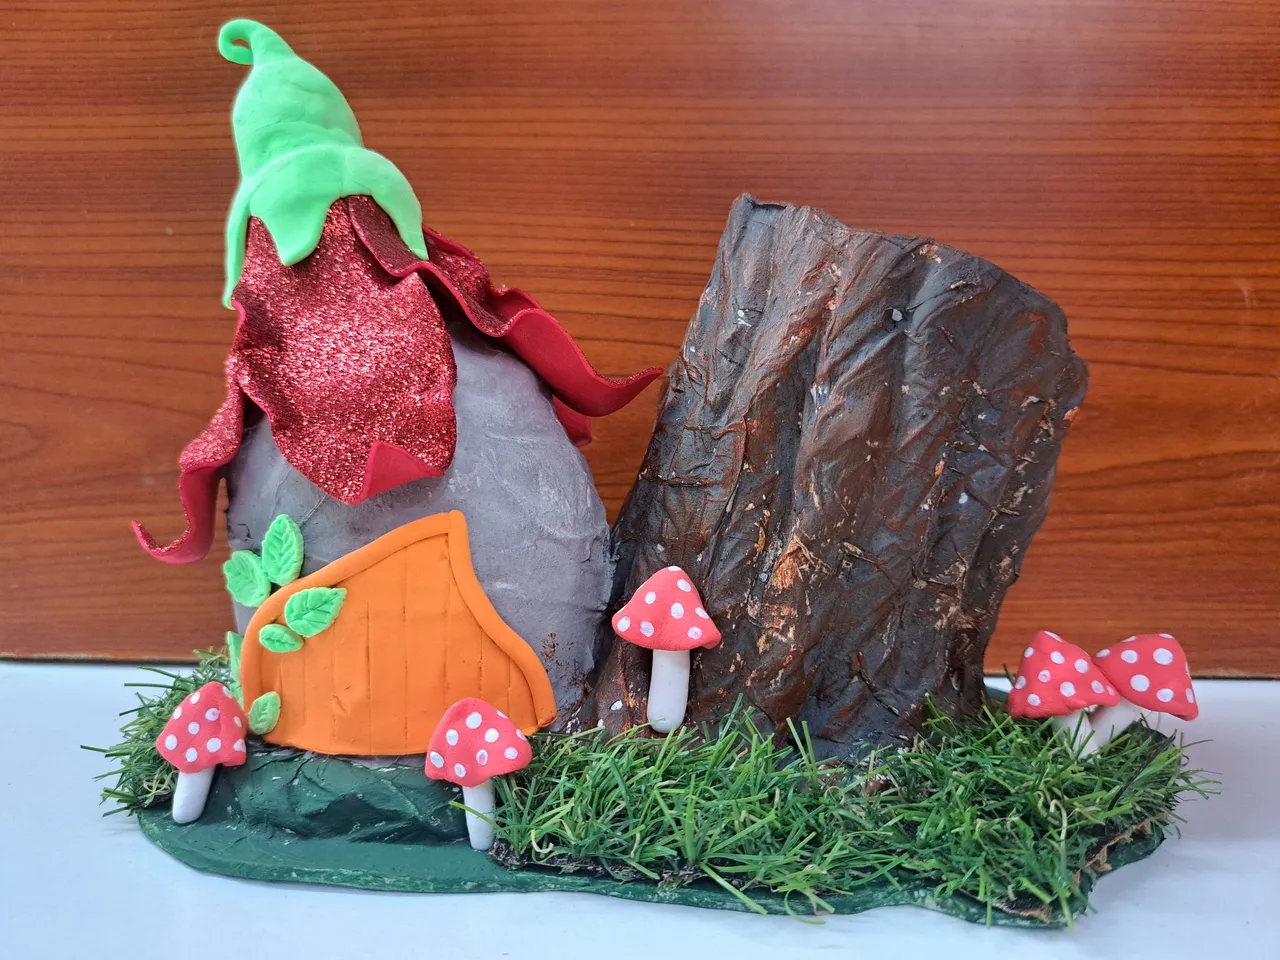
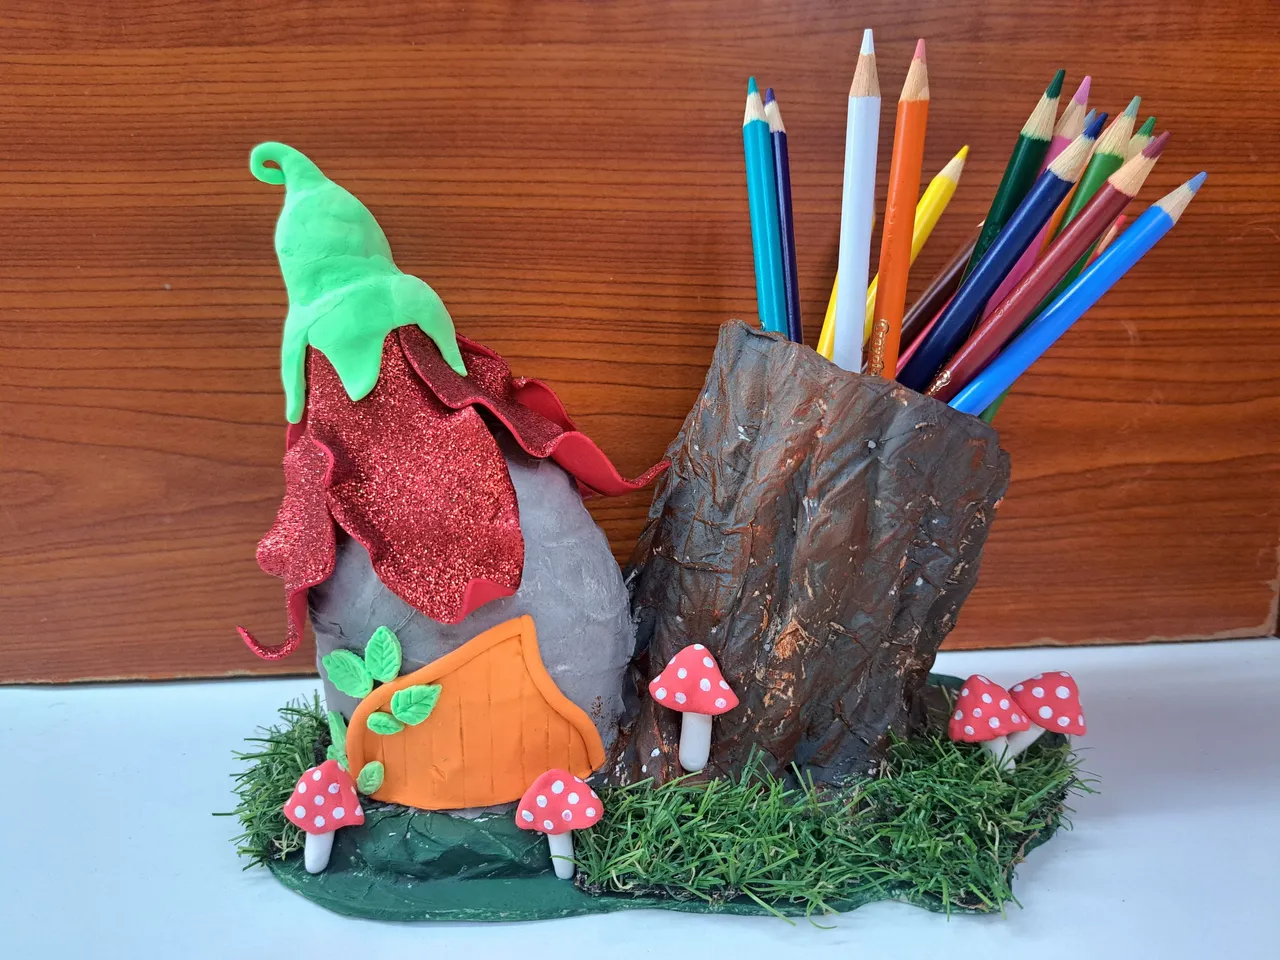
And so this magical pencil holder in the shape of a fairy house is finished, I hope you liked it and that you will be motivated to replicate it for the princesses and princes of the house. This is a nice design that allows us to enter a fantastic world full of magical creatures that flutter everywhere, fulfilling all our most cherished desires. Let me know in the comments what you thought and new suggestions, best regards.
Y de esta forma se encuentra terminado este mágico portálapiz con forma de casa de hadas, espero les haya gustado y se motiven a replicarlo para las princesas y príncipes de la casa. Este es un lindo diseño que nos permite adentrarnos en un mundo fantástico repleto de criaturas mágicas que revolotean por doquier, cumpliendo todos nuestros deseos más añorados. Déjame en los comentarios que te pareció y nuevas sugerencias, un saludo.
Cover made in Canva
English is not my native language, translated by DeepL