Hello DIY lovers✨
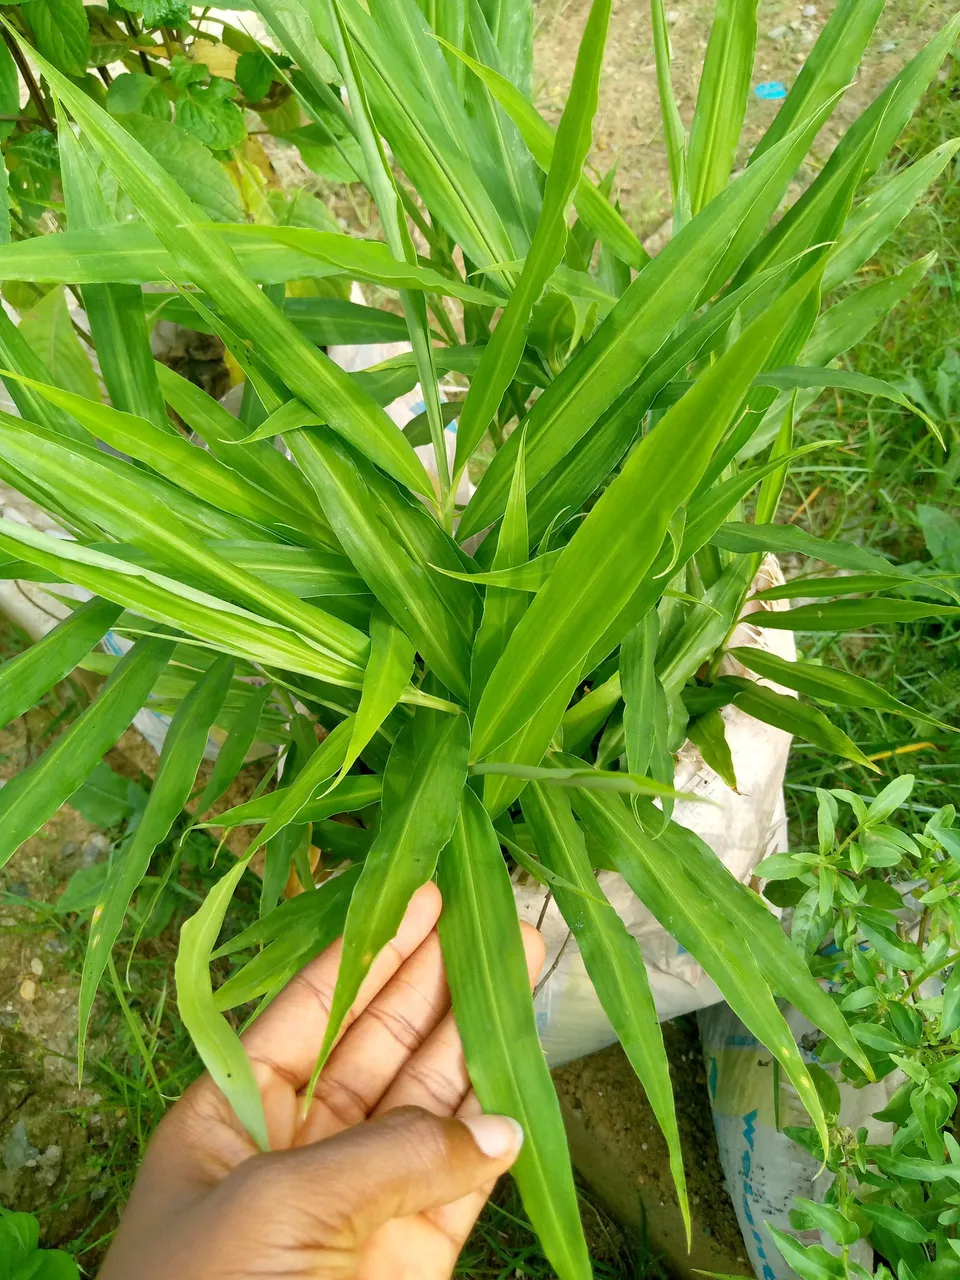
I recently ventured into something I never thought I would venture into a few months ago–gardening–and so far, it has been amazing. The joy of planting a seed or a stem, caring for it and watching it day after day is quite refreshing. Last month, I shared a few pictures of my sustainable diy soil bag garden and you can find that blog post here.
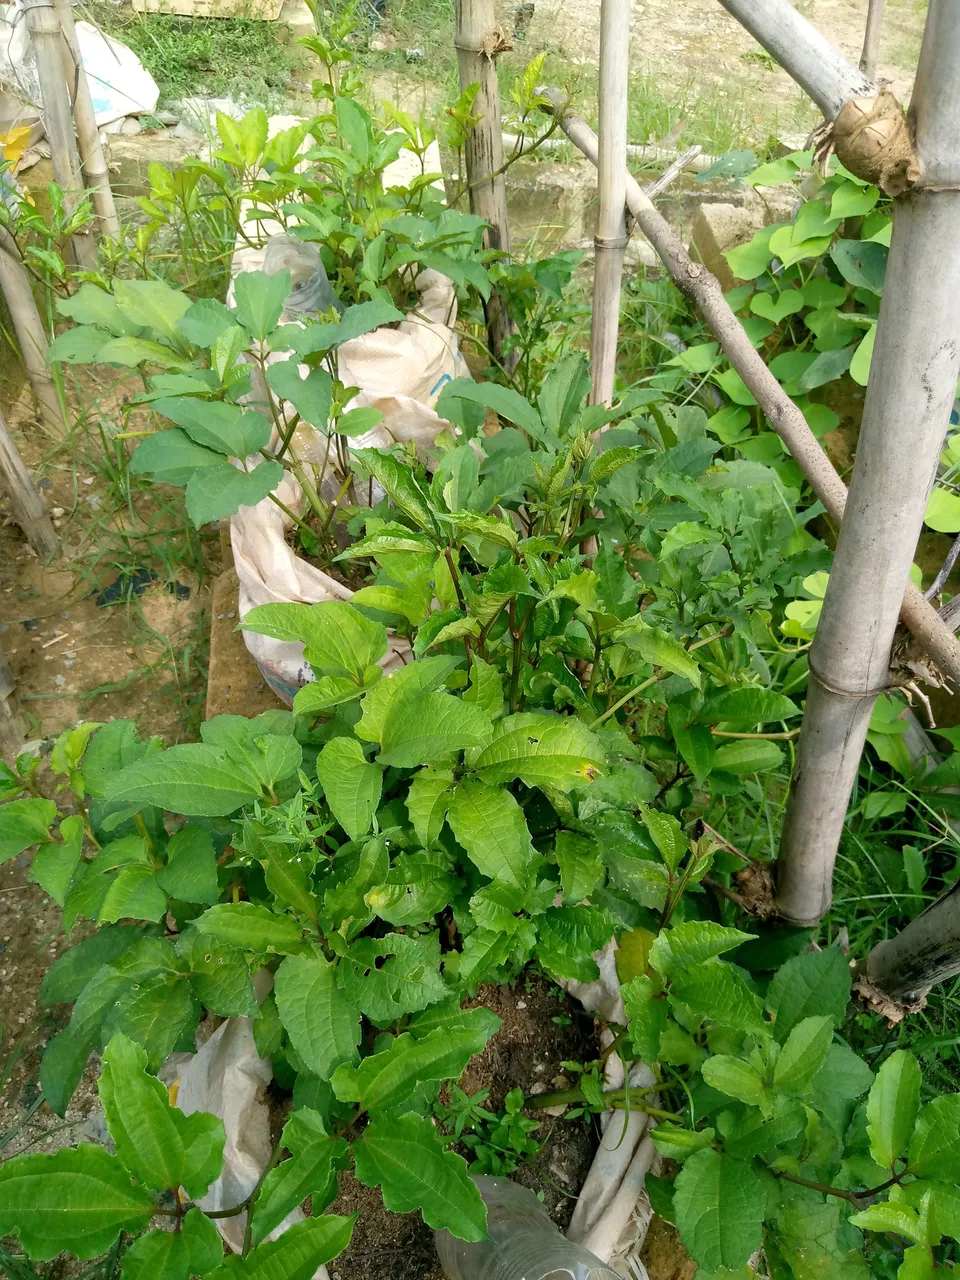
The sustainable garden was made solely from old cement bags. At first instinct, I thought the idea of gardening with cement bags was ludicrous and the chances of the plants surviving were about 60-40. Still, I went for it and I watched as the plants slowly grew and are still in the process of growing. With that, I decided to try out a new form of gardening. Today, I will be sharing with you the steps I took in order to grow pepper plants from plastic bottles.
Things Needed For The plastic bottle garden
- Plastic bottles.
- Ropes.
- A pointed object for piercing.
- Wood and nails
- viable seeds
This idea to create this mini garden was gotten from a video online. First off, it is an amazing way to recycle plastic bottles instead of trashing them and causing pollution in the long run. Second, planting in bottles is a great way to utilise the litlle available space especially for people who do not have so much space to spare but still want to plant.
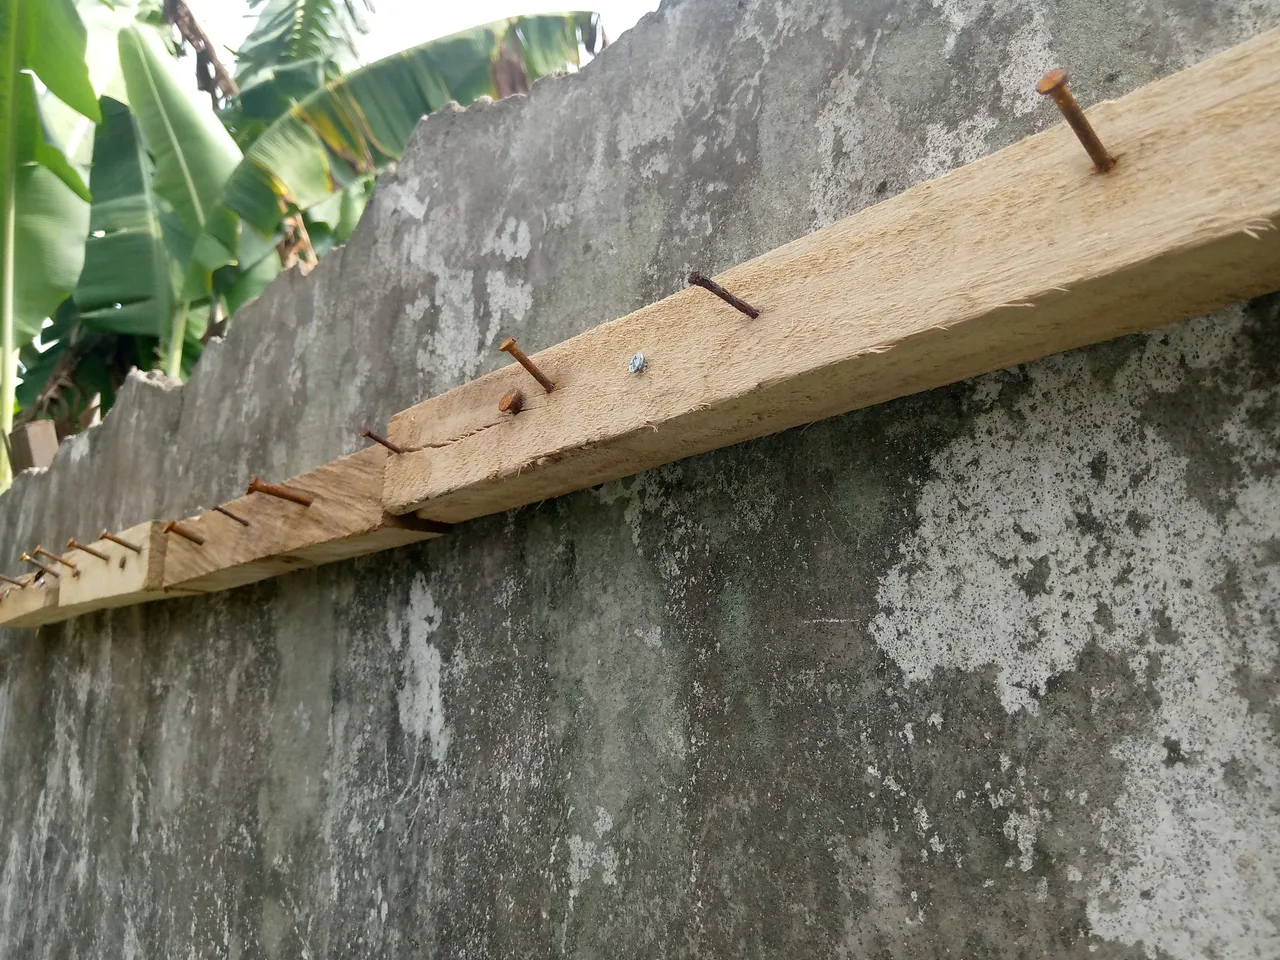
The very first step was hammering the spare wood into the concrete wall. These pieces of wood remained after a construction work done in the house and so they came in very handy. I tried hammering the woods into the wall myself but for some reason, the nails kept twisting and entering in the wrong. Eventually, I asked a friend to help and he did a fantastic job.
The next step was to gather as many 1 litre plastic bottles as I could because they were the ideal size for the project.
Along the line, I found a few bottles that were larger than 1 litre and that was equally good.
The next step was cutting off the bottom part of the bottles.
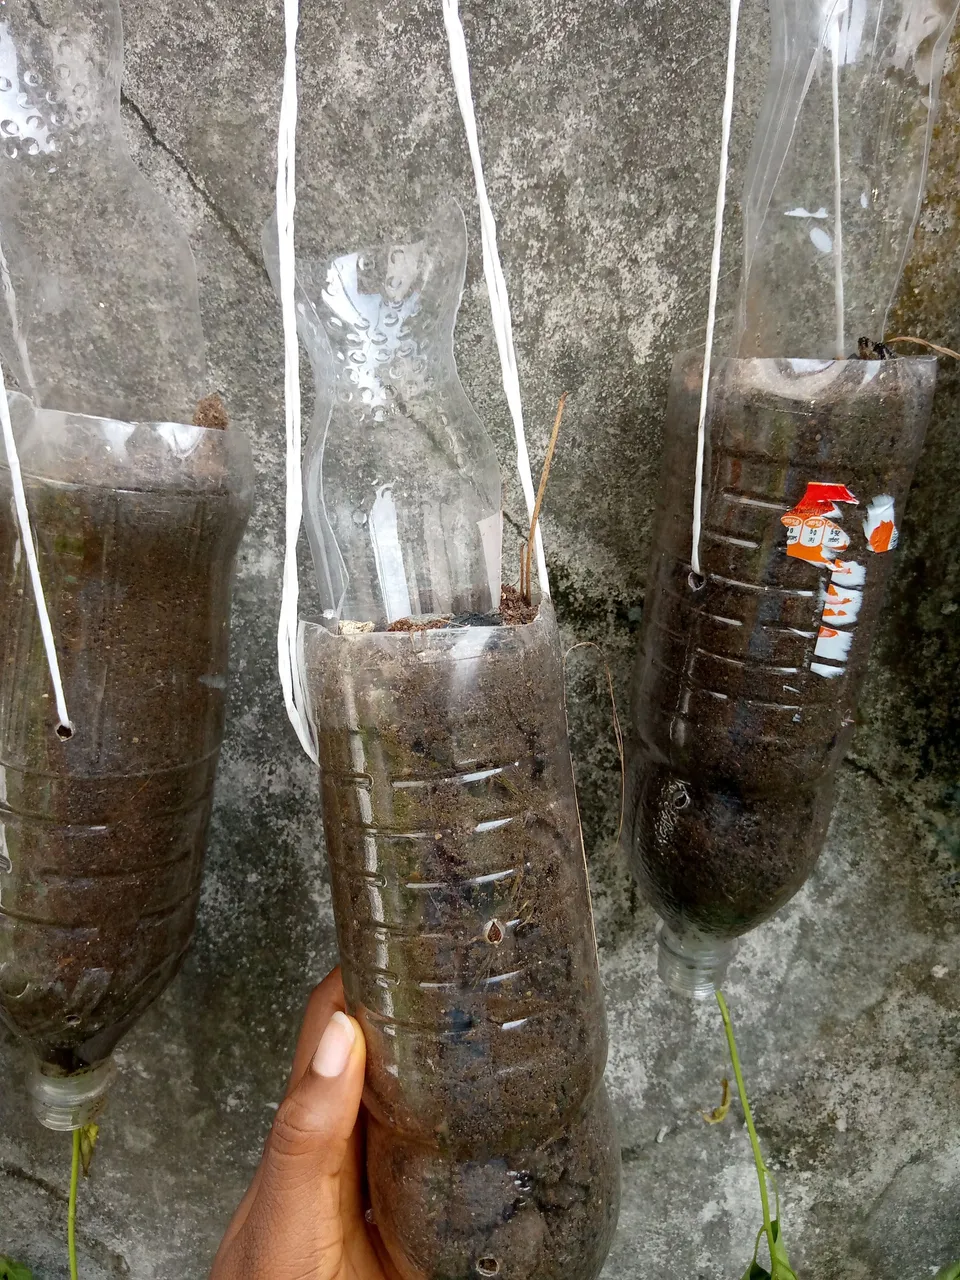
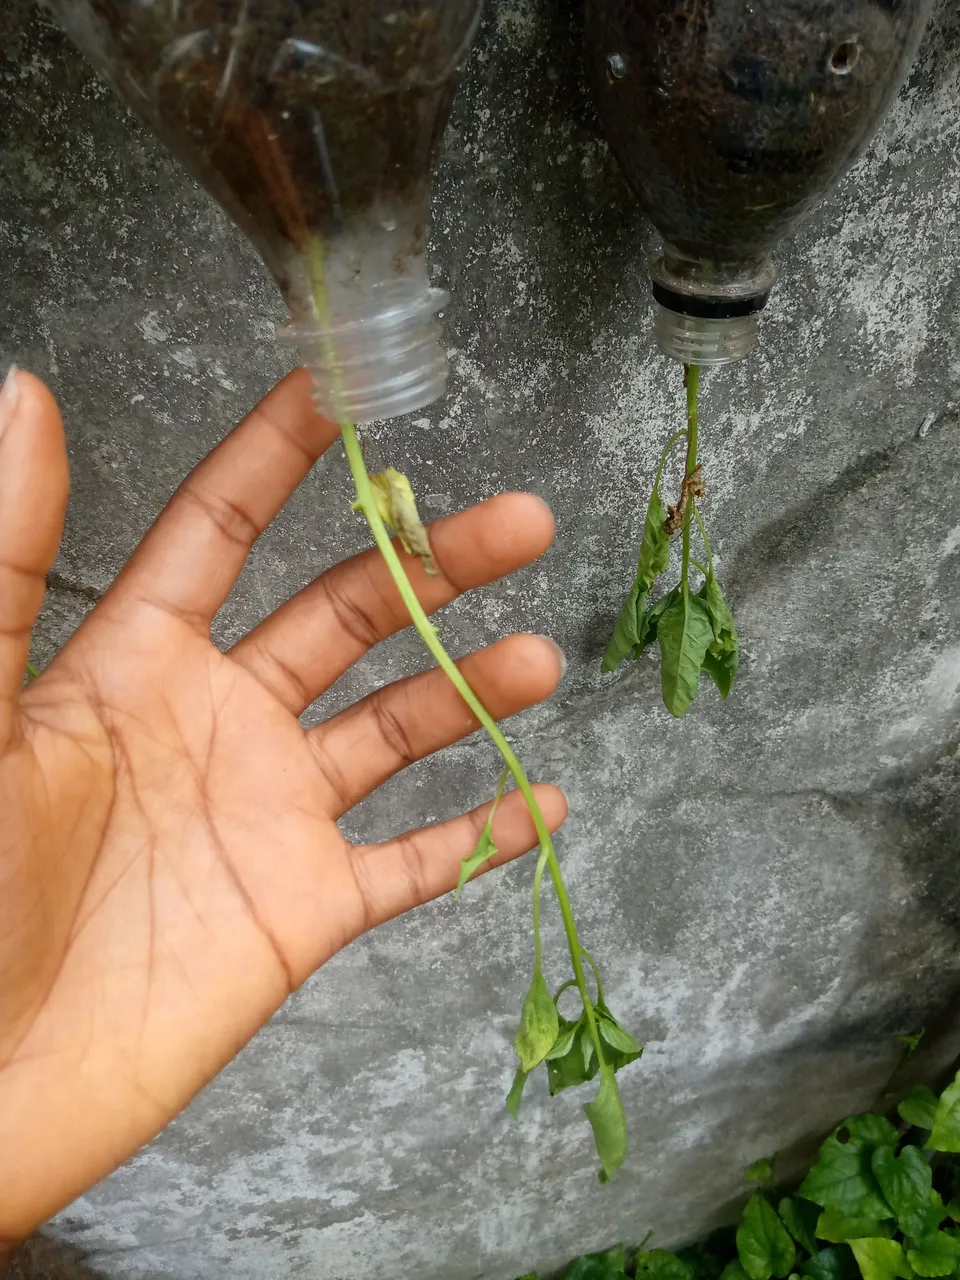
After cutting off the bottom parts, I went ahead to pierce a few holes at the top and more holes at the bottom of the plastic bottles.
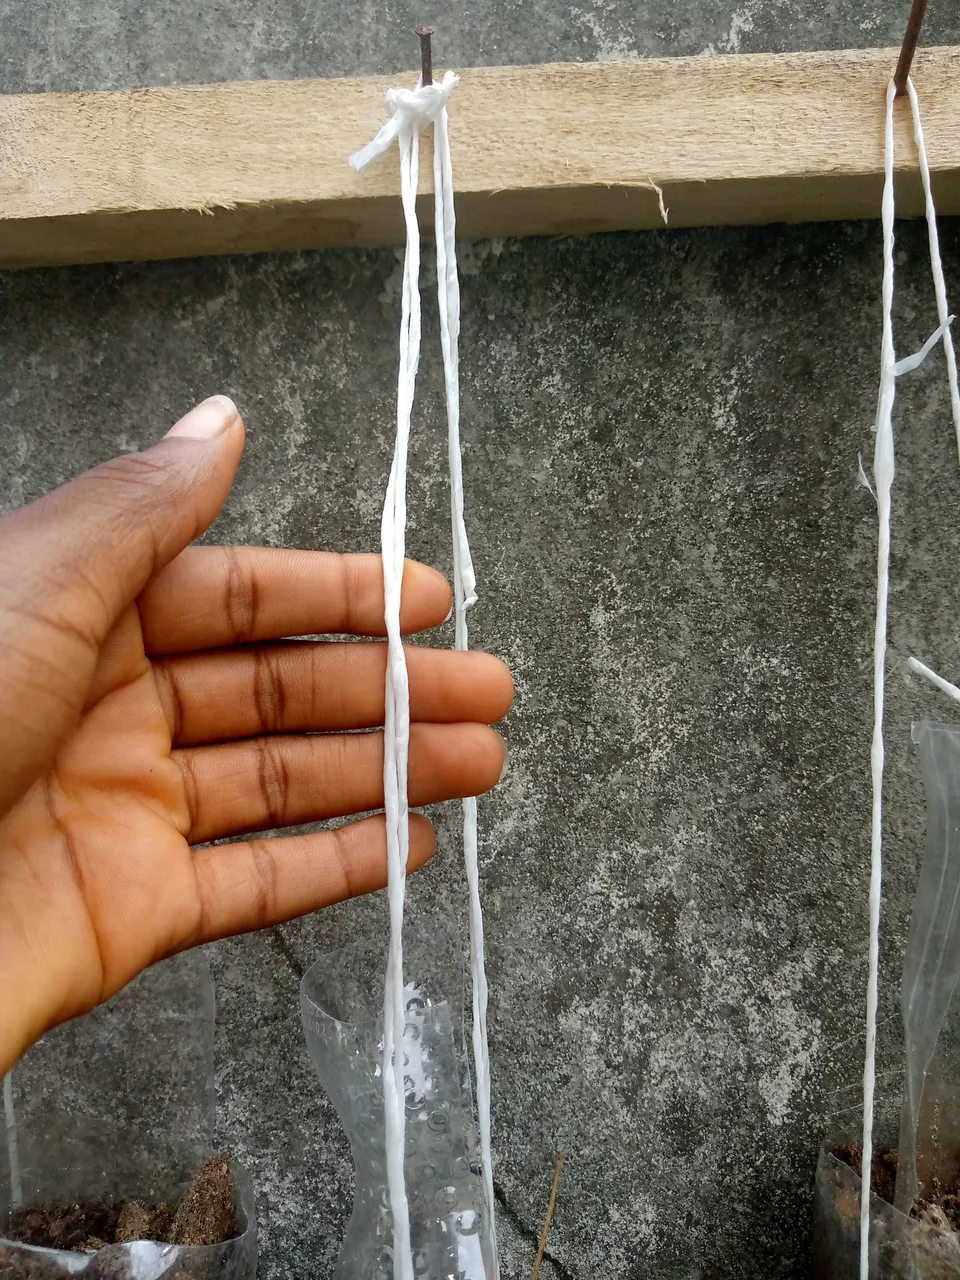
The top piercings are to serve holes for attachment. This is where I inserted the ropes with which I hung the bottles.
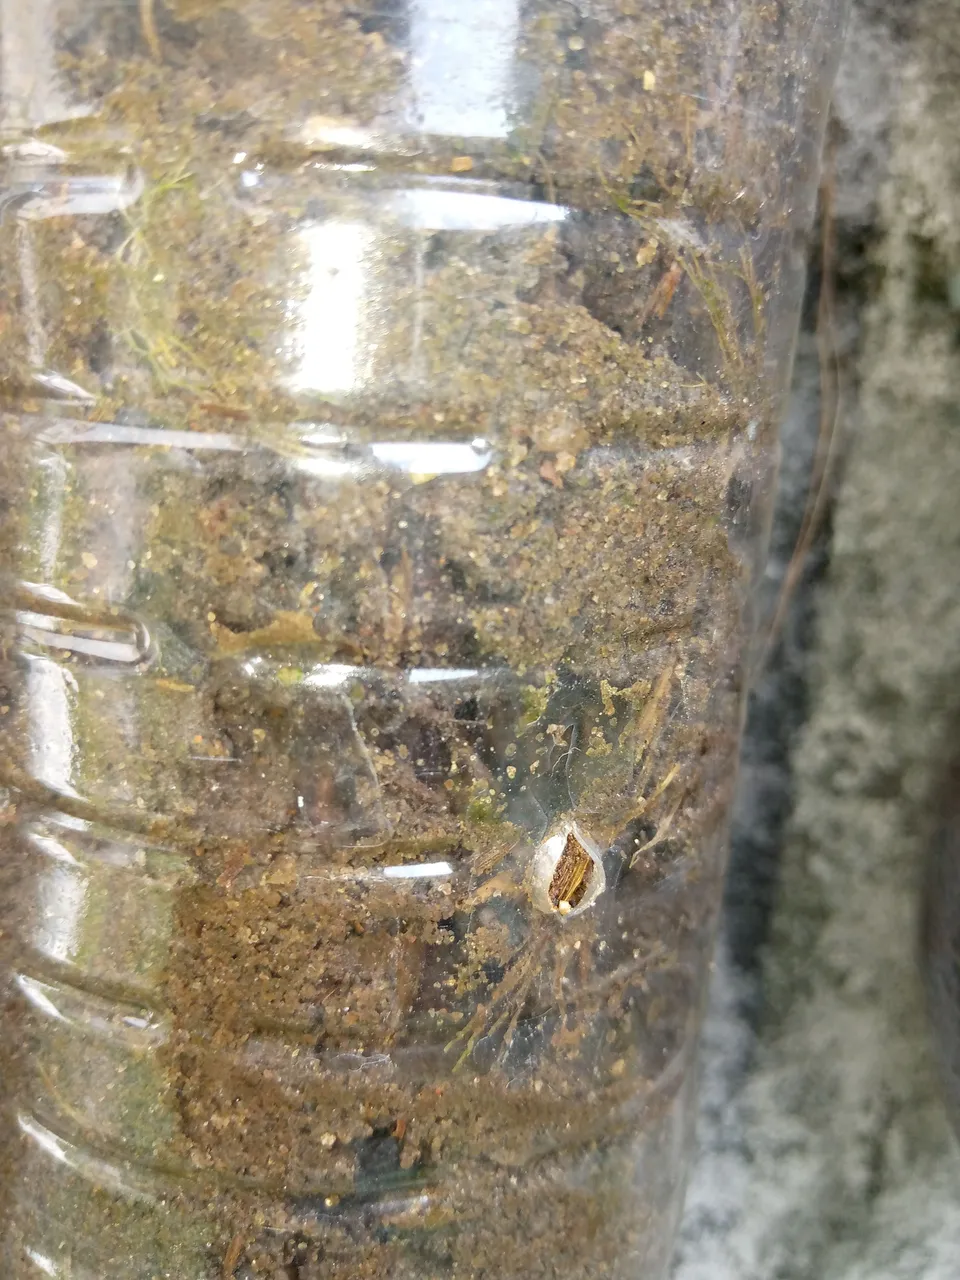
The bottom holes are basically to serve as space for air.
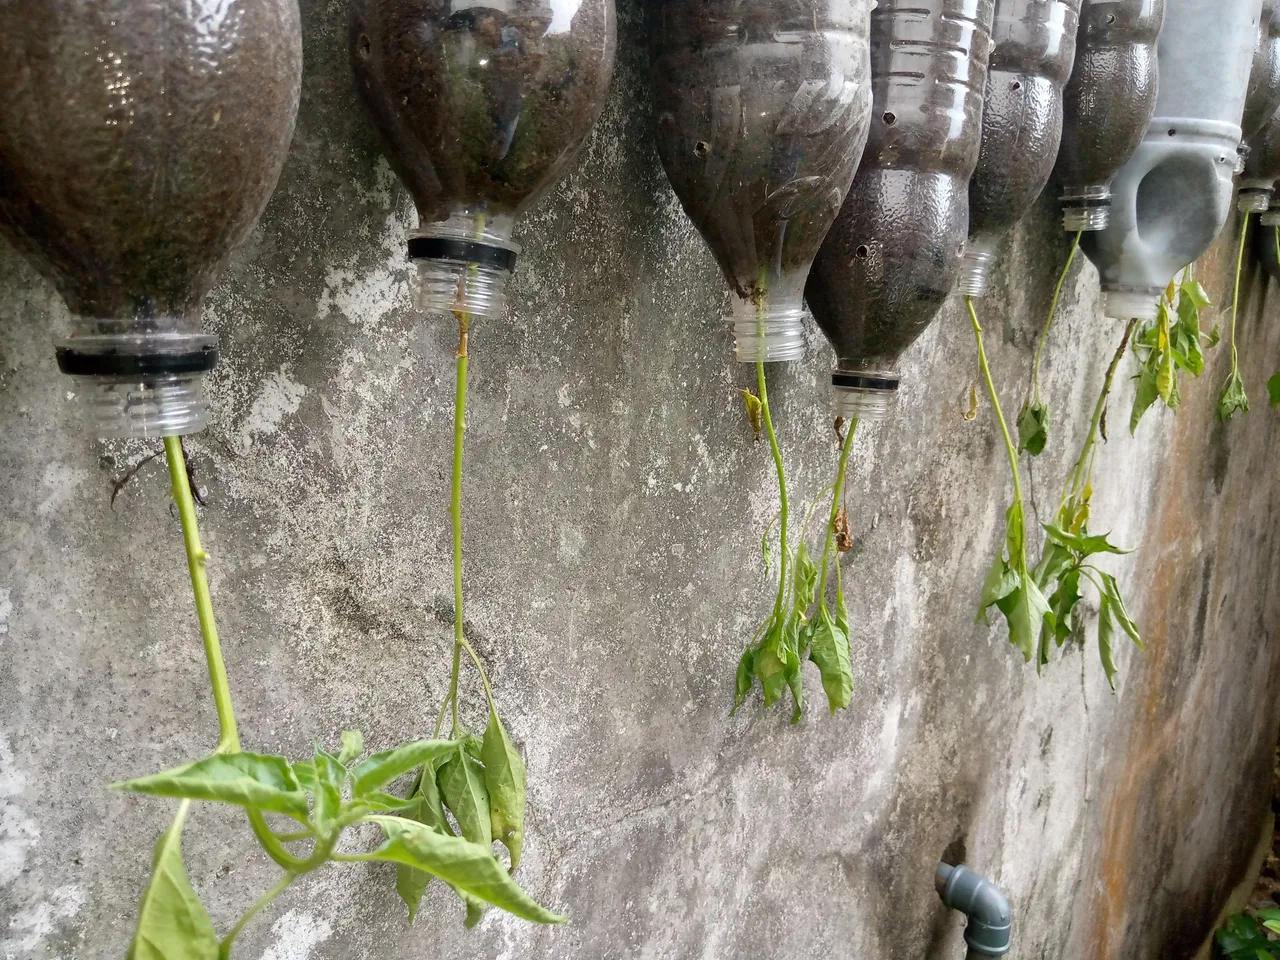
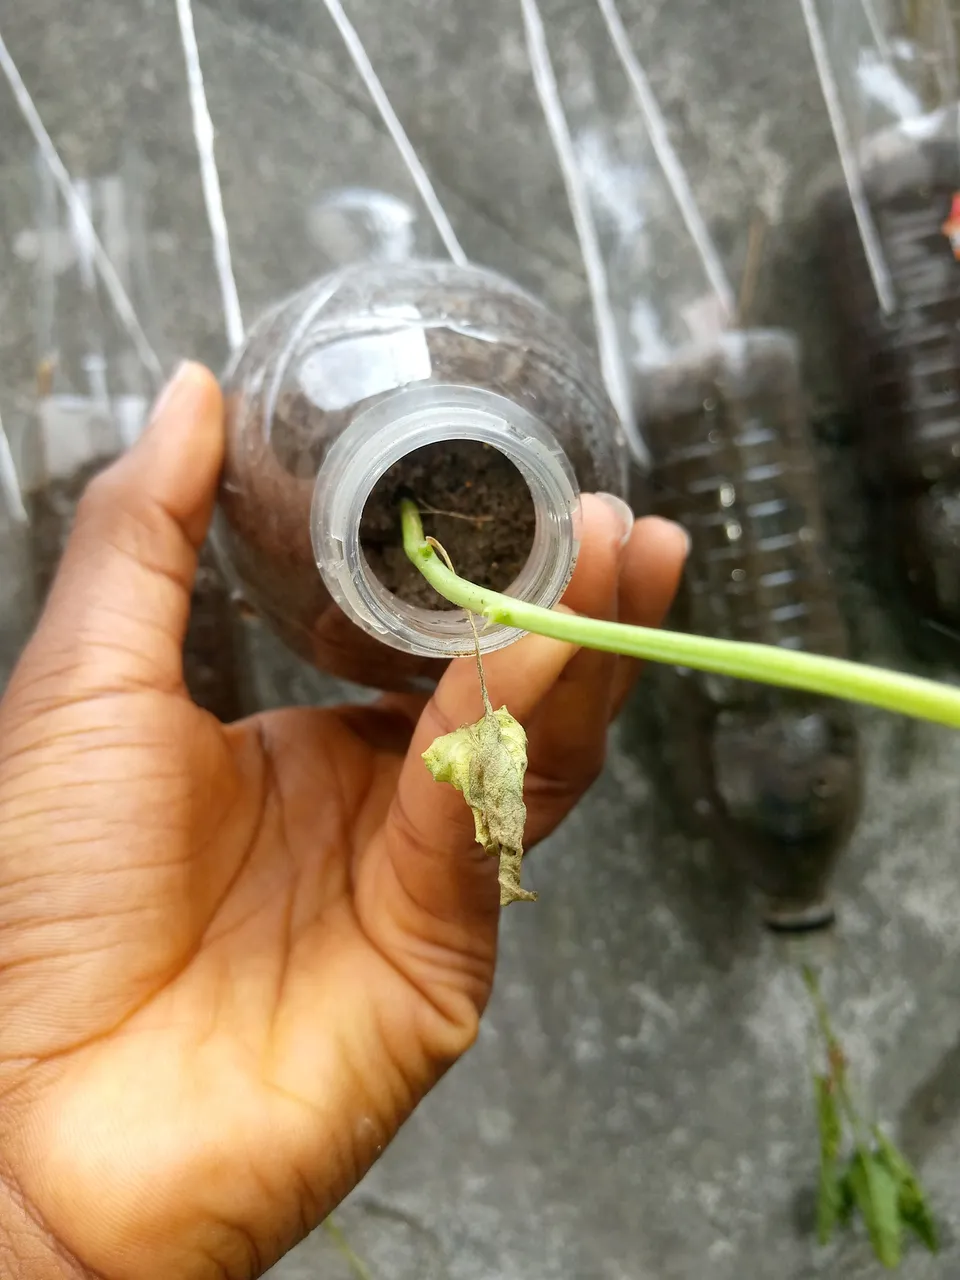
After piercing the plastic bottles, I filled 1/4 of it with moist soil, added my pepper seed and then filled up the rest of the bottle with sand. I repeated this same procedure for all the bottles.
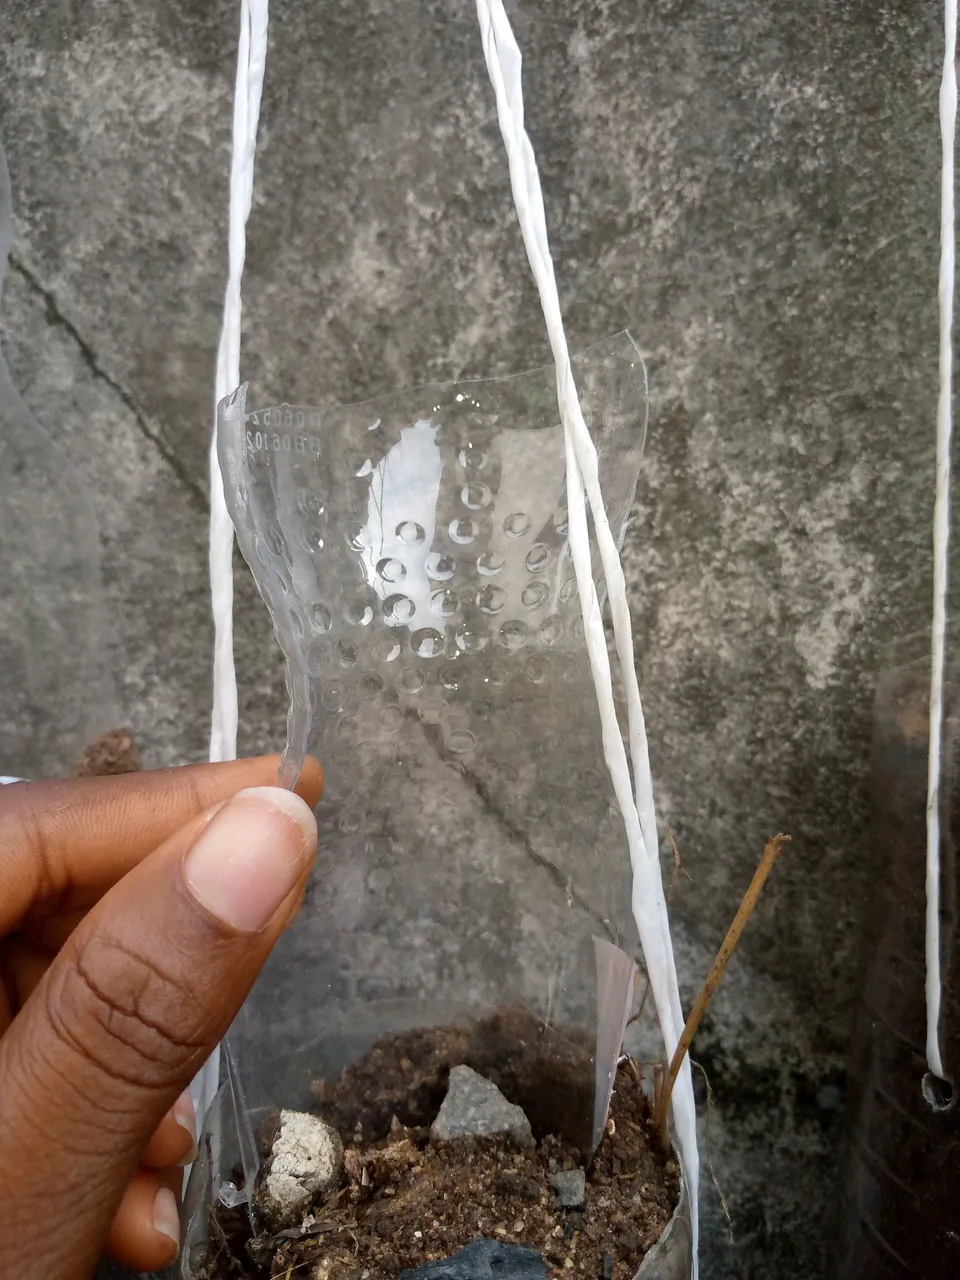
After filling them up, the last thing I added were the mini funnels carved out from plastic bottles too. These funnel’s main aim is to ensure that water goes as deep into the bottle as possible whenever I'm watering the pepper plant.
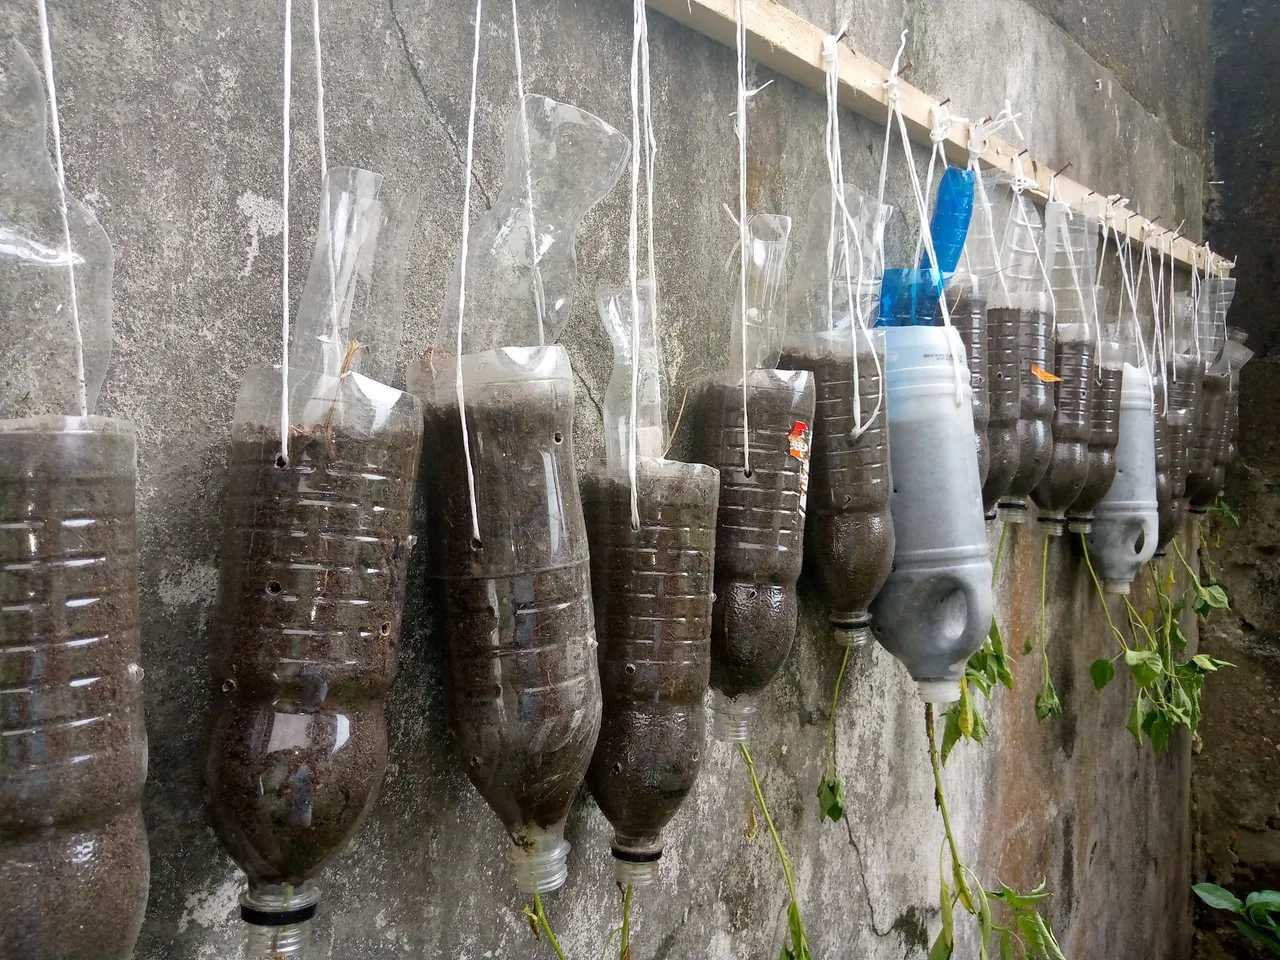
Visibly, the pepper plants are doing pretty well; even better than I expected. Once the pepper plant roots are firm enough and seem healthy enough, I shall transplant them so that they flourish even better. So for now, we can call this project a plastic bottle nursery.
What do you think of this project? Do you think the plants would survive long enough to be transplanted?
All images used belong to me and were taken with my mobile device except stated otherwise.
Love🤍