If you also want to make these cute calendars of Pochacco or any other character of your choice, you will need:
For the Calendar:
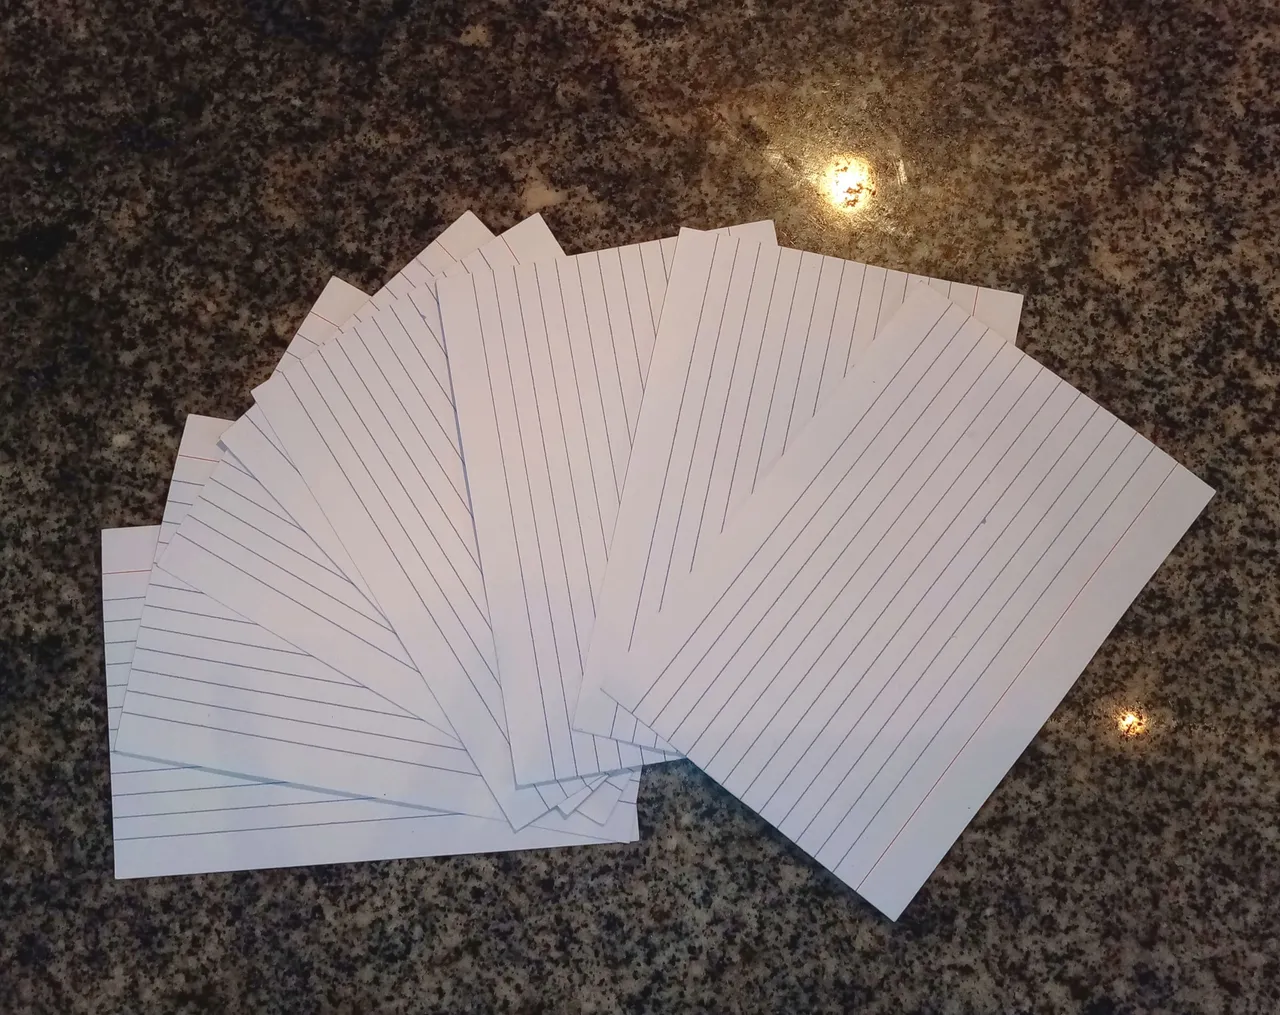
- Note cards
Black Pen
Images of Pochacco
For the tripod:
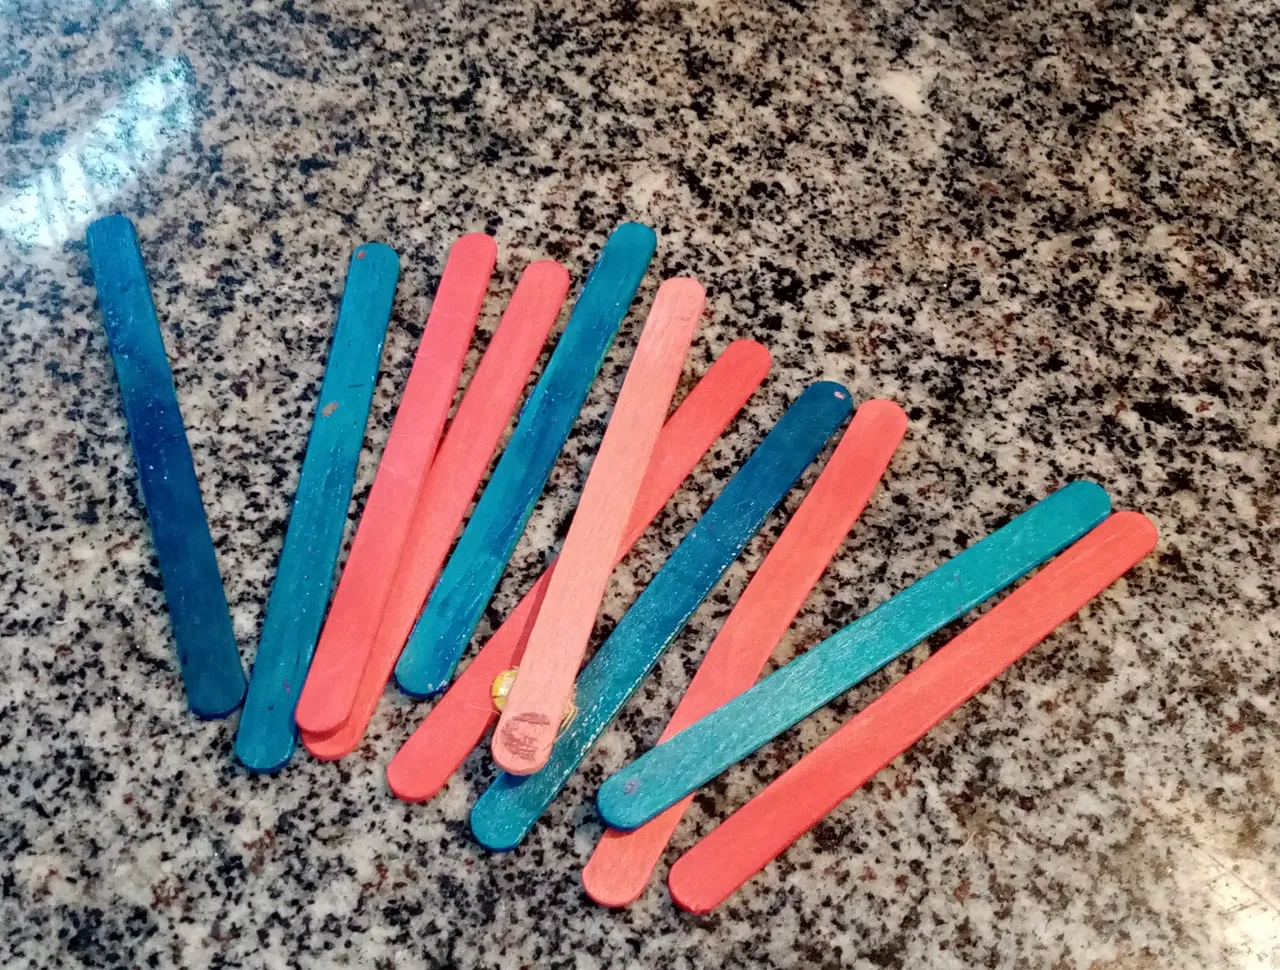
- Wooden palettes (you can get them by eating ice cream, it's a win-win)
Glue
A piece of paper
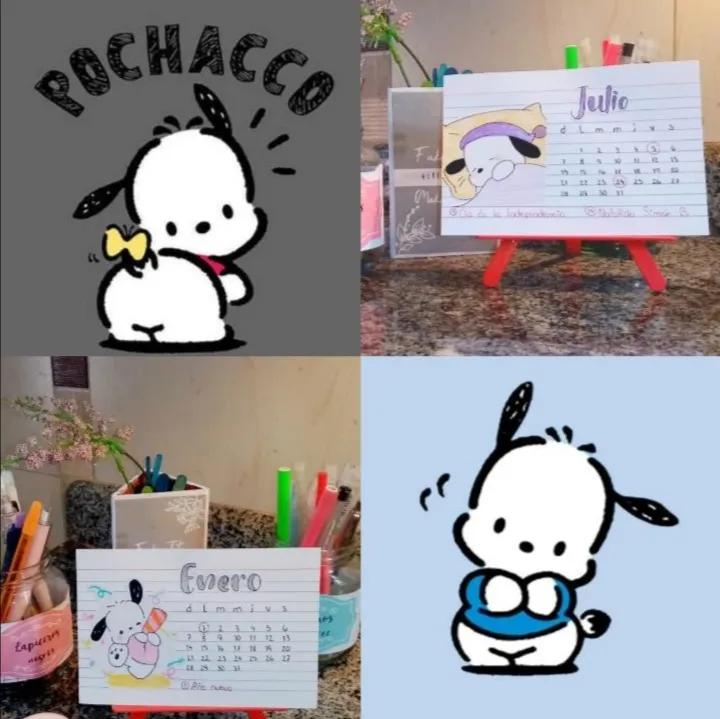
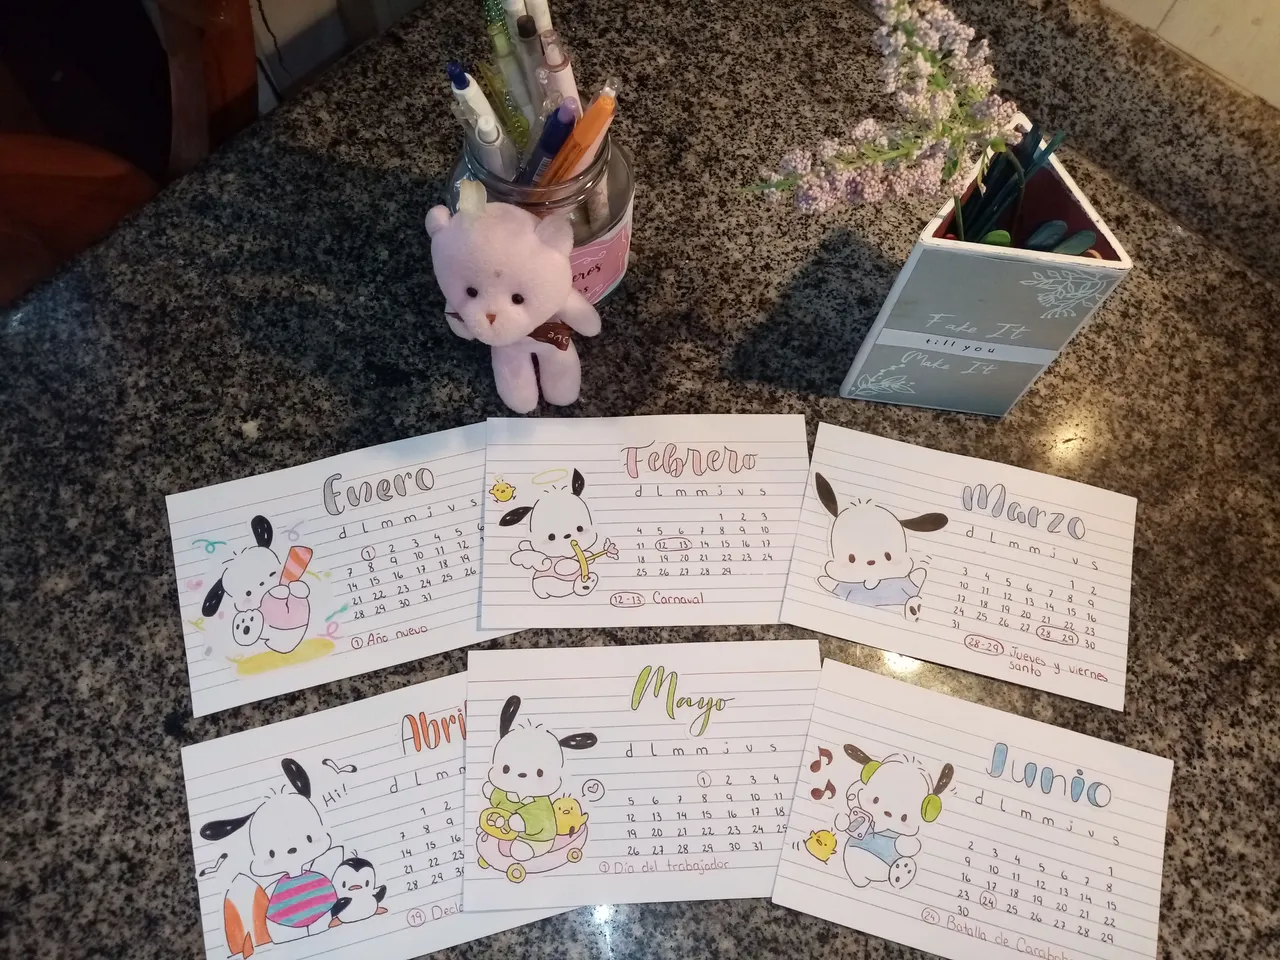
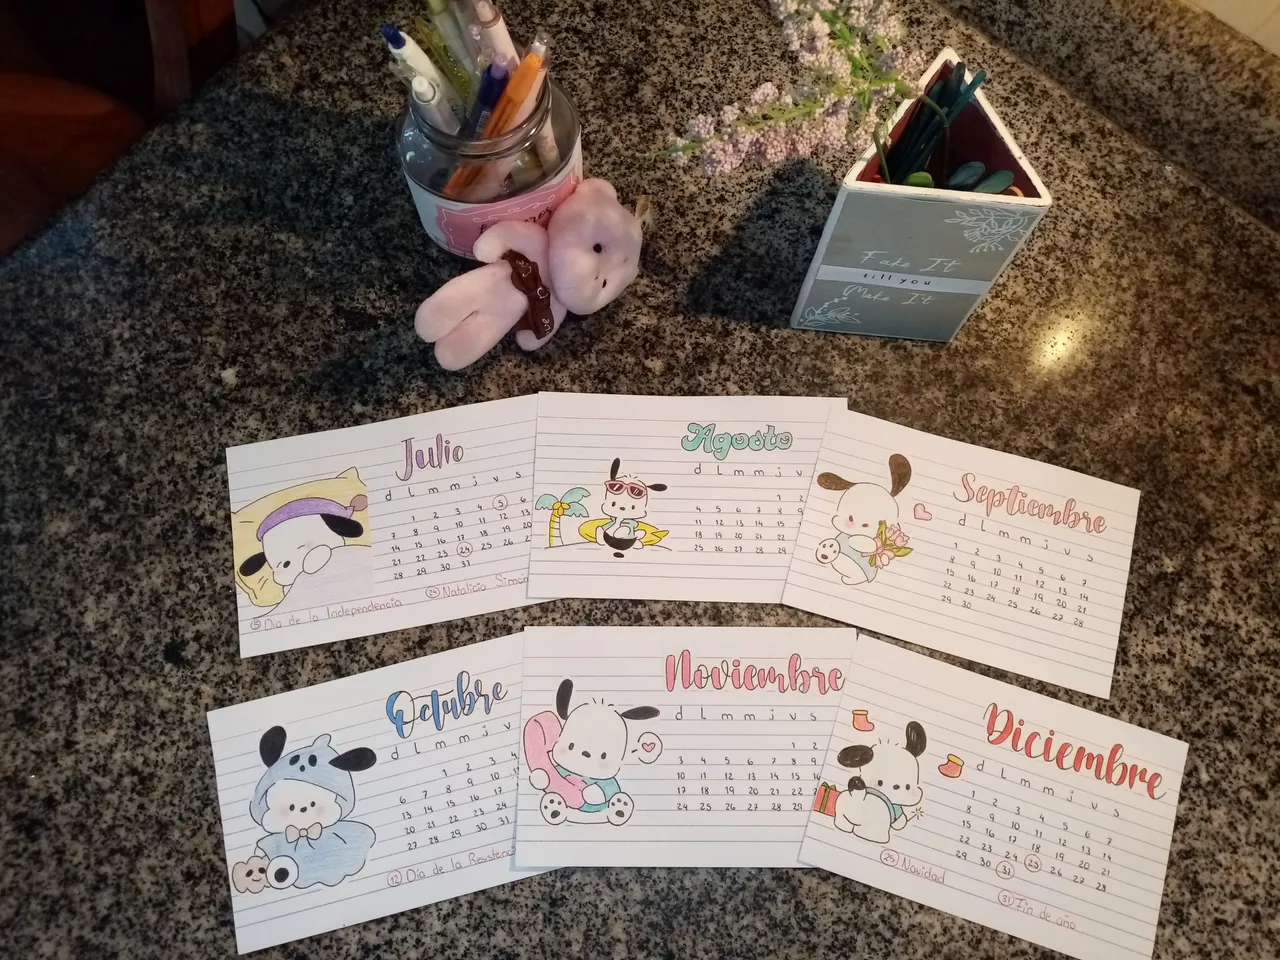
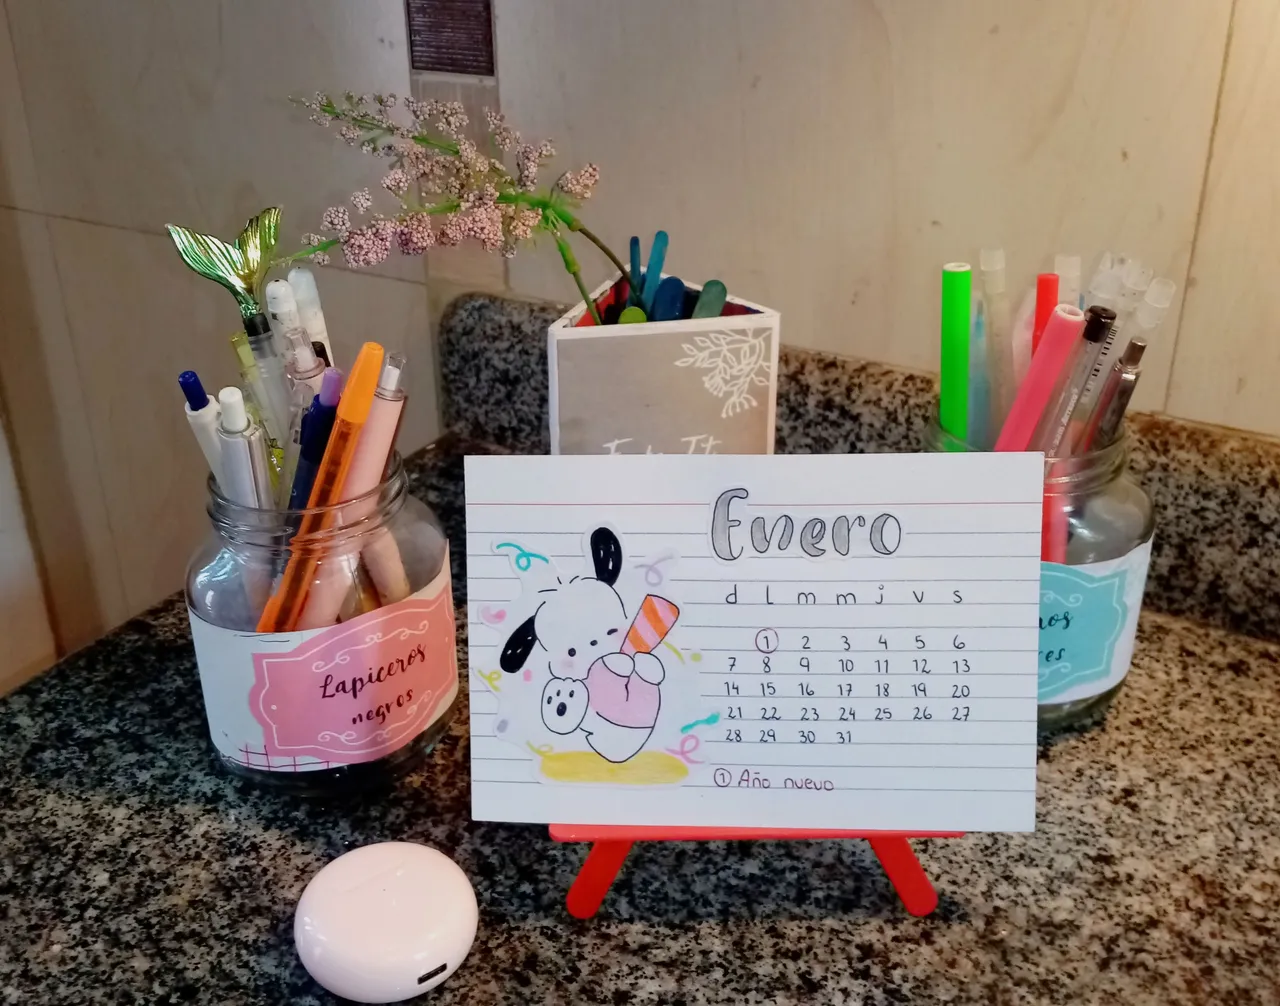
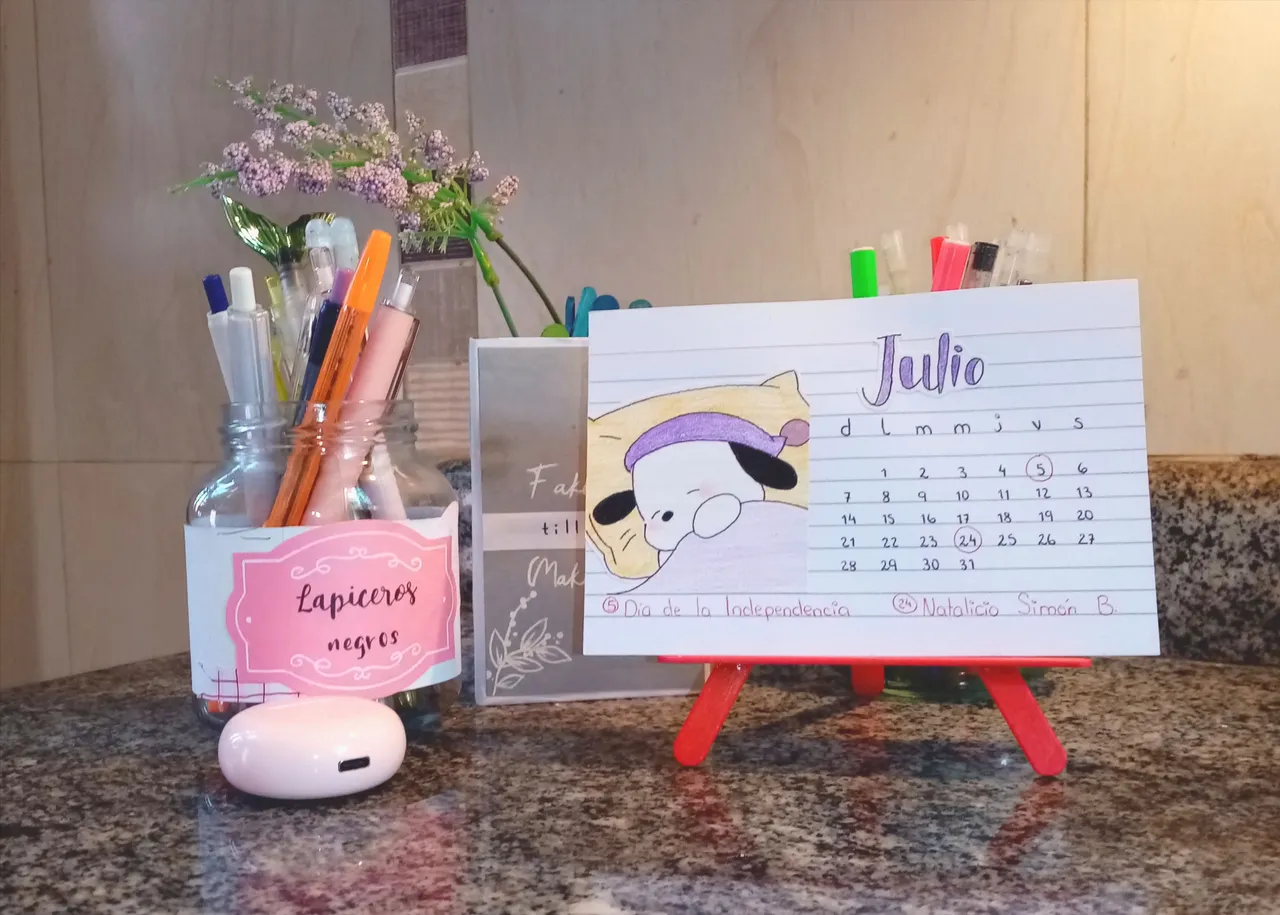
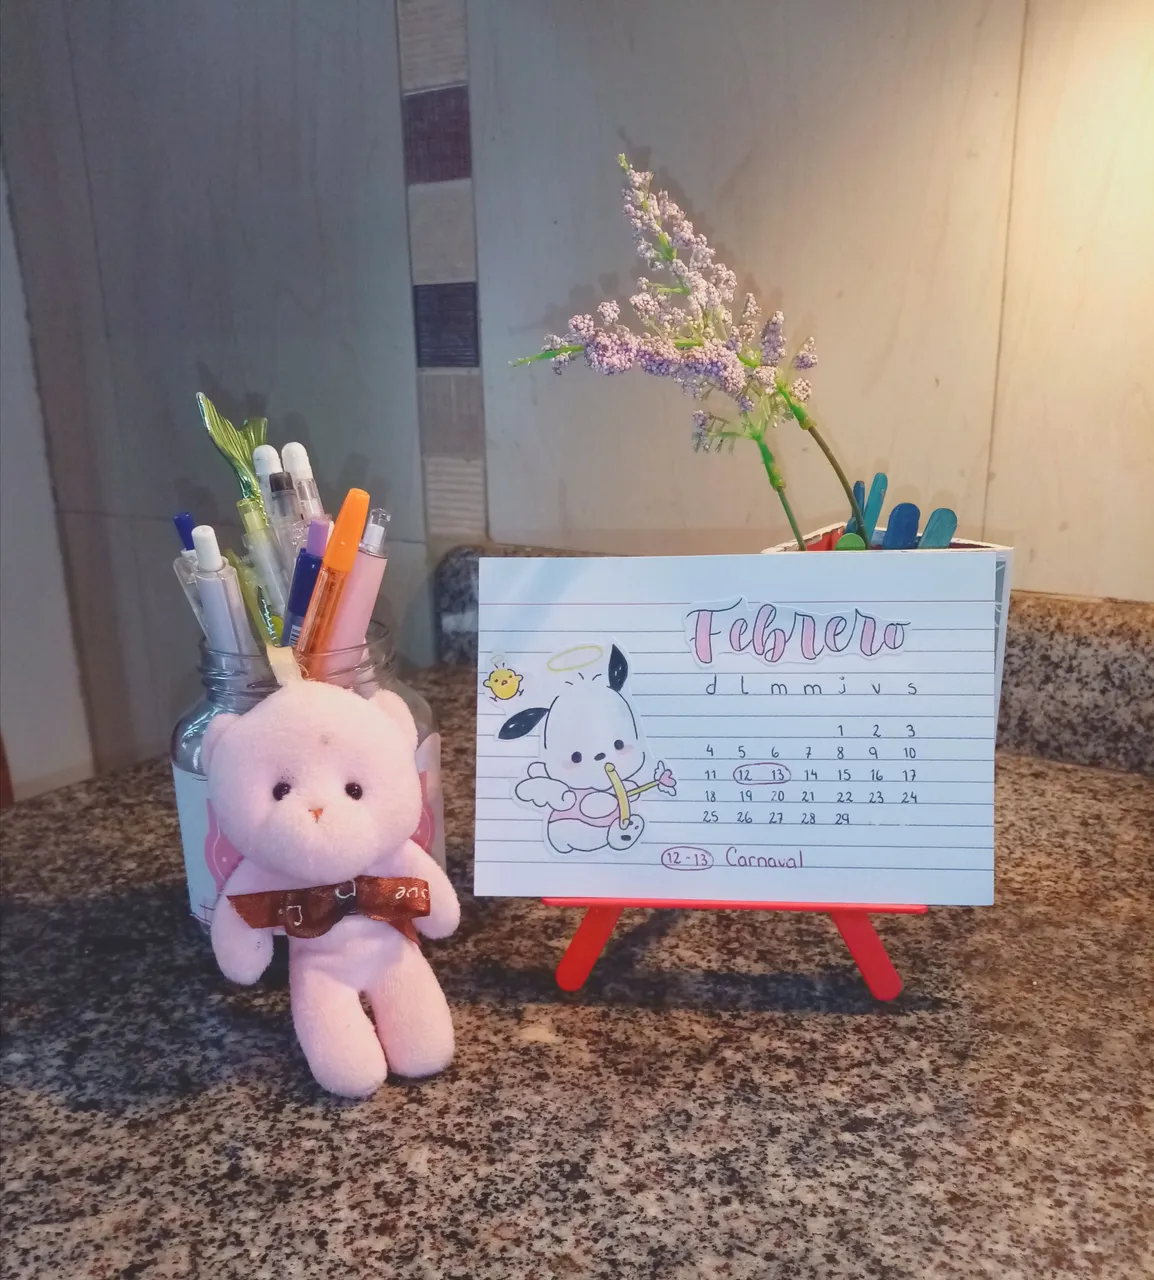
The way you want to make the calendar is up to you, here are my ideas of how I organized the dates along with the images of Pochacco, which were handmade by me:
Now, a step-by-step of how to make the tripod:
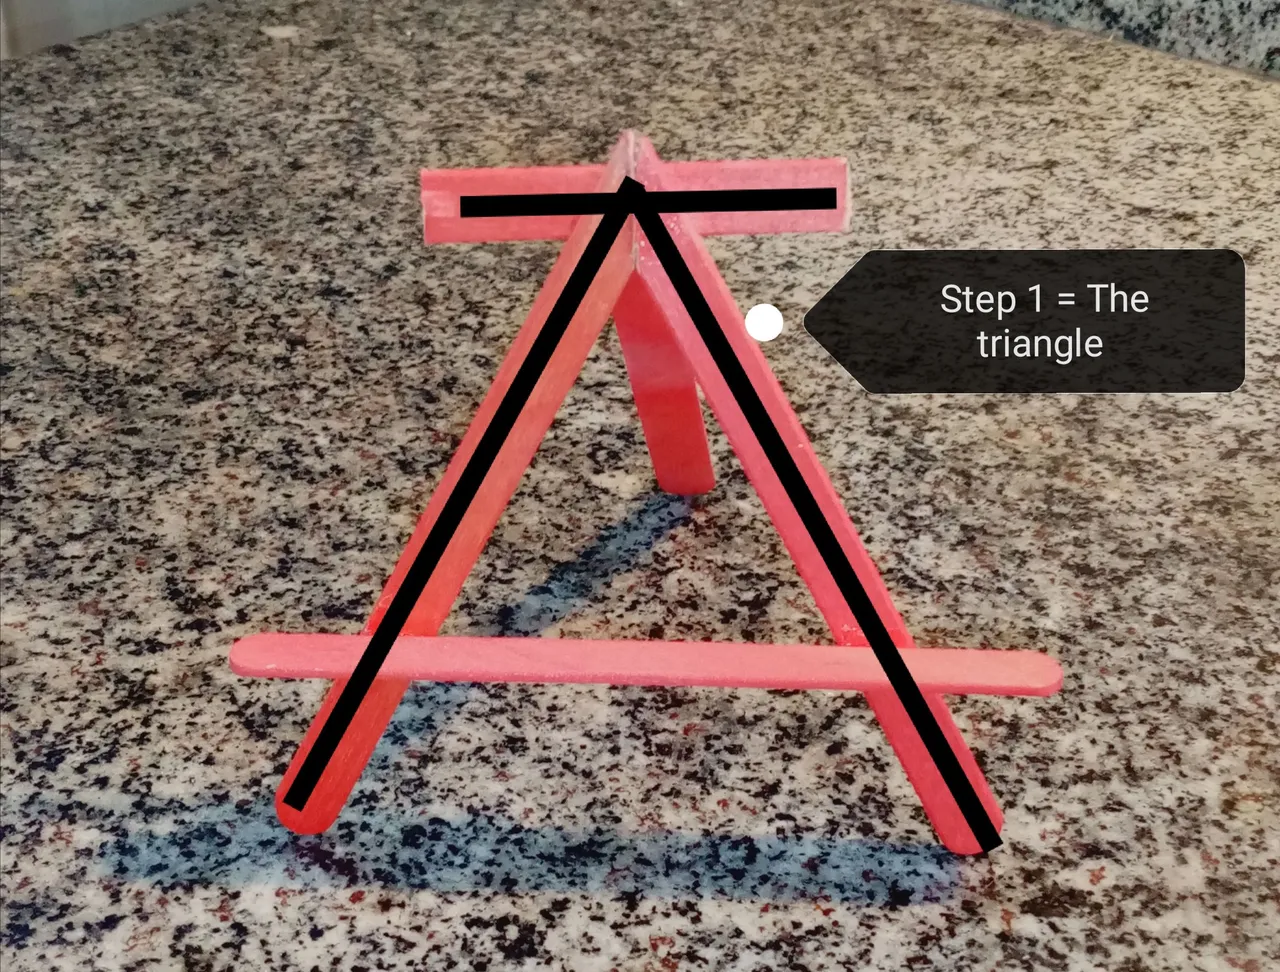
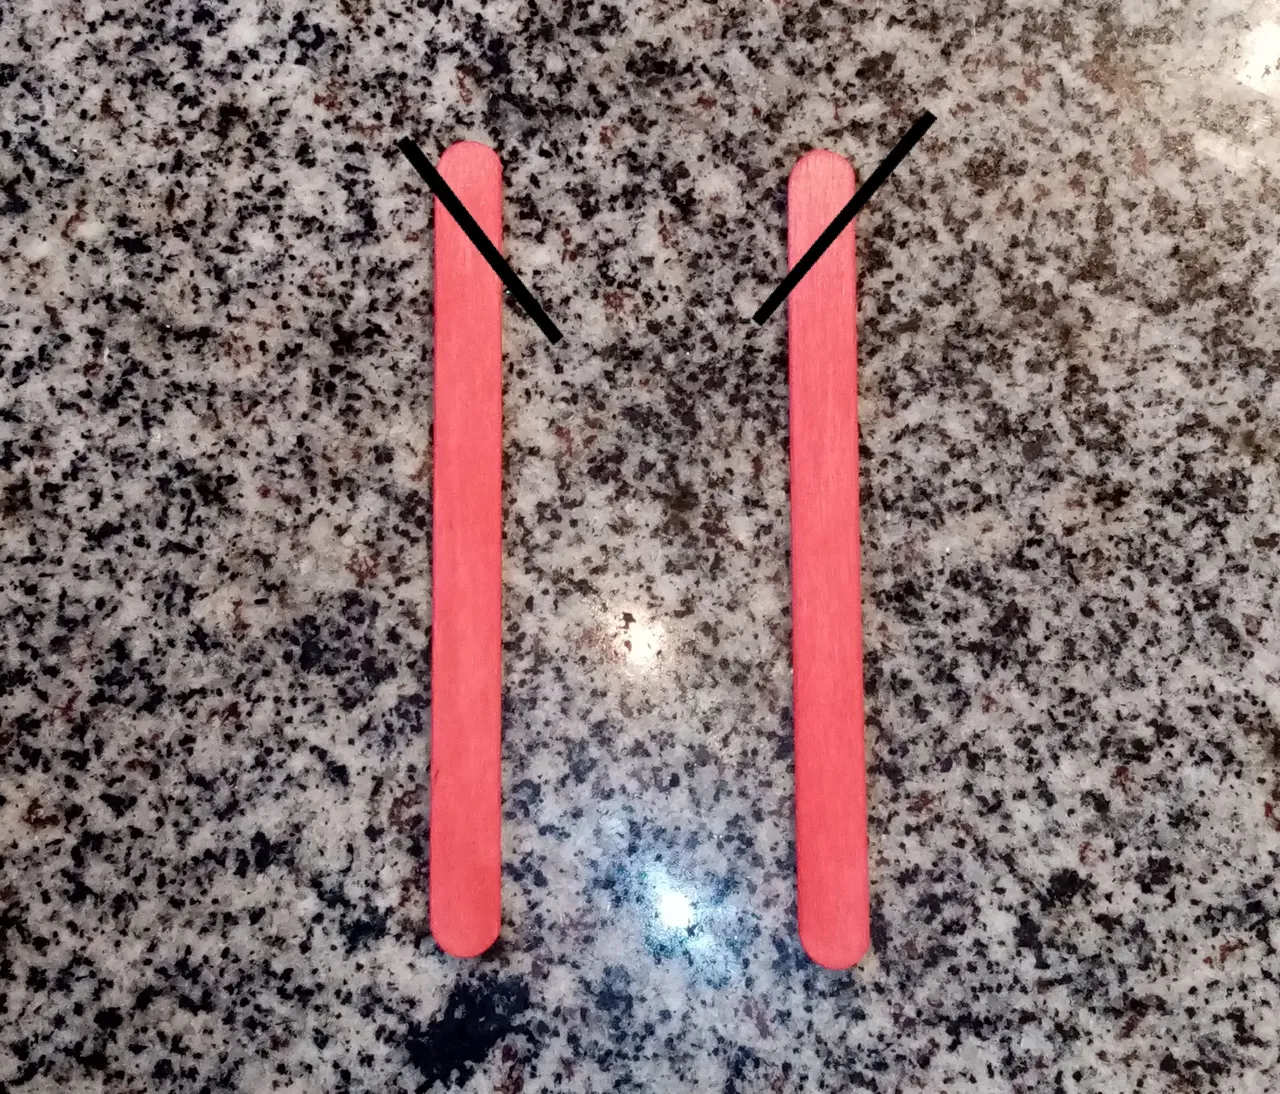
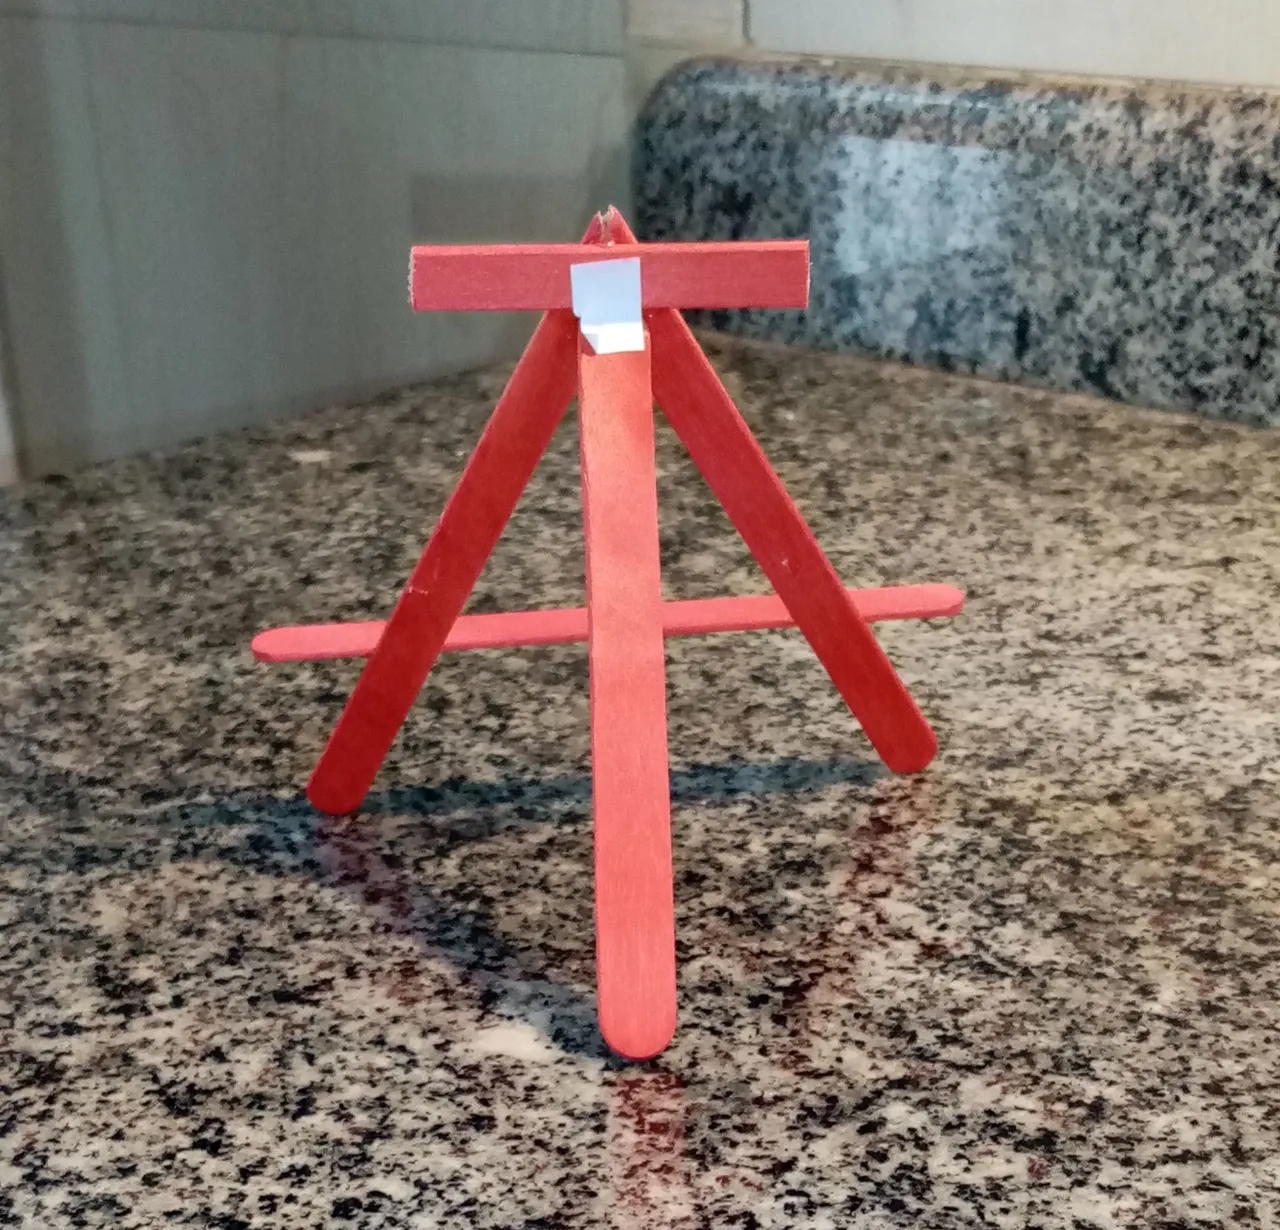
We will take two palettes, and at their ends we will make cuts of approximately 45 degrees, Here we will join them:
We can put a palette at the top of the triangle for more support (see reference image)
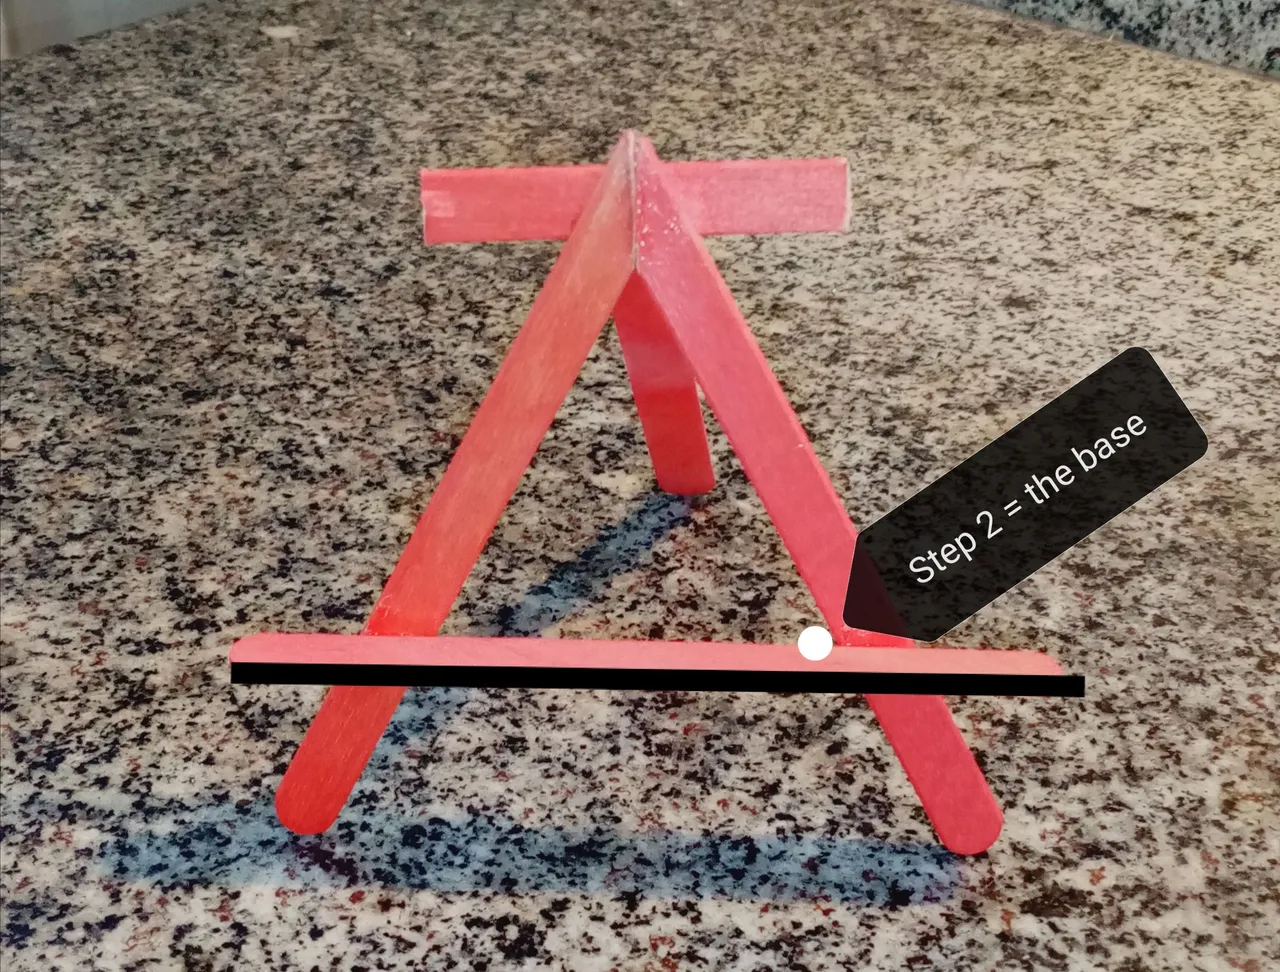
You just have to place a palette lying between the triangle, this will help to hold the calendars.
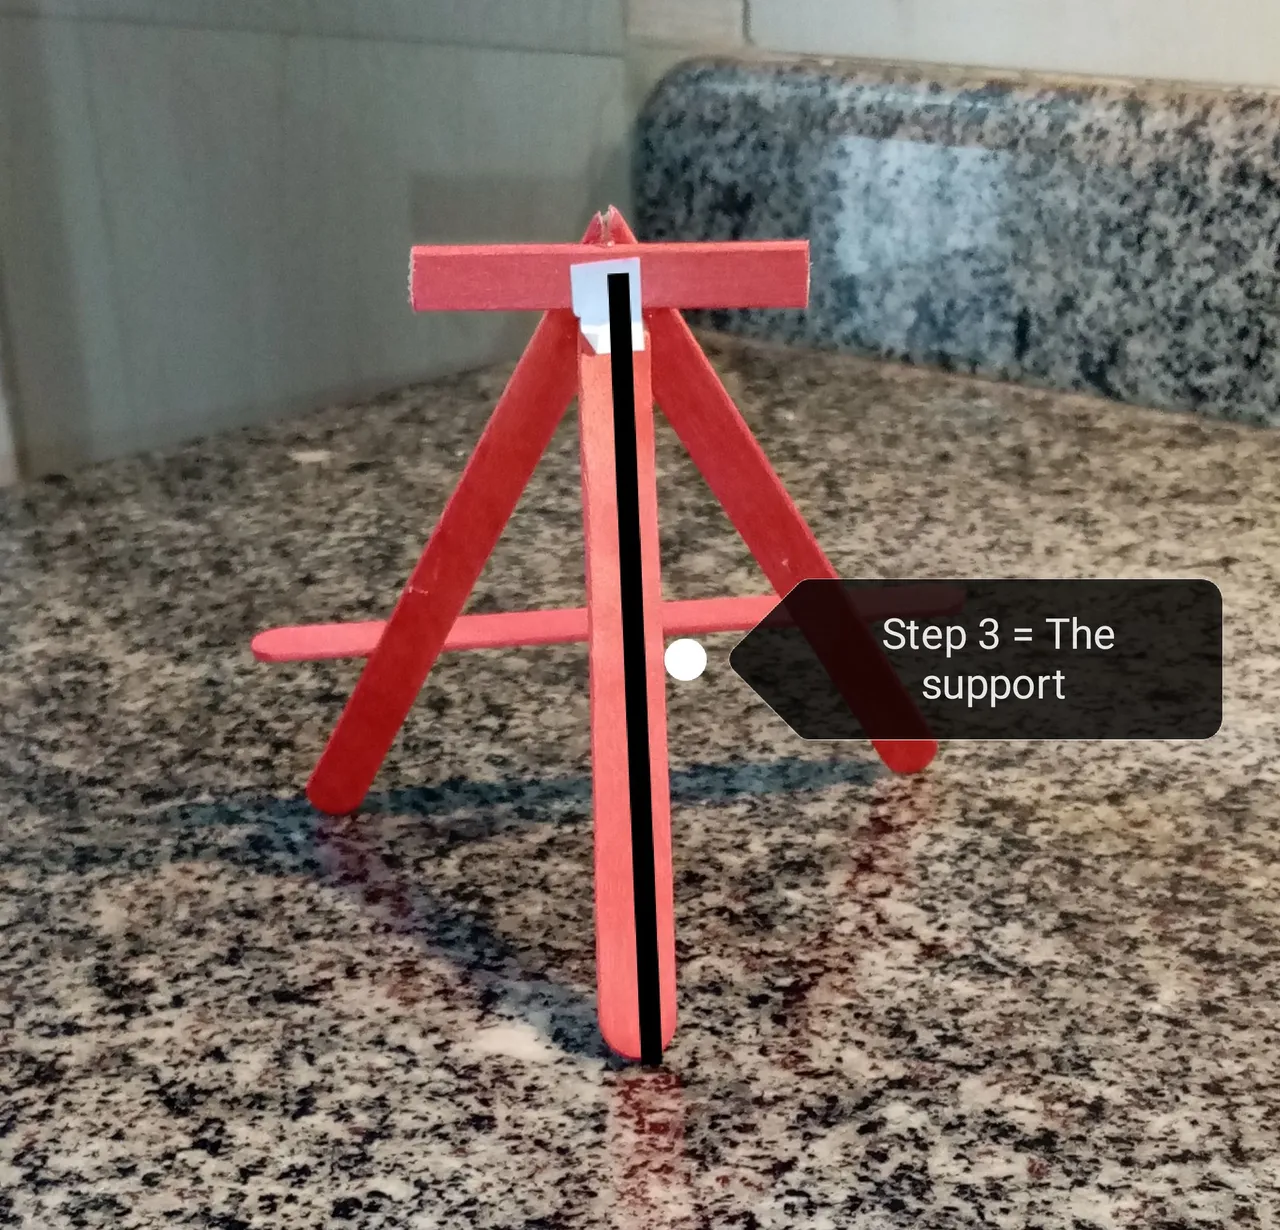
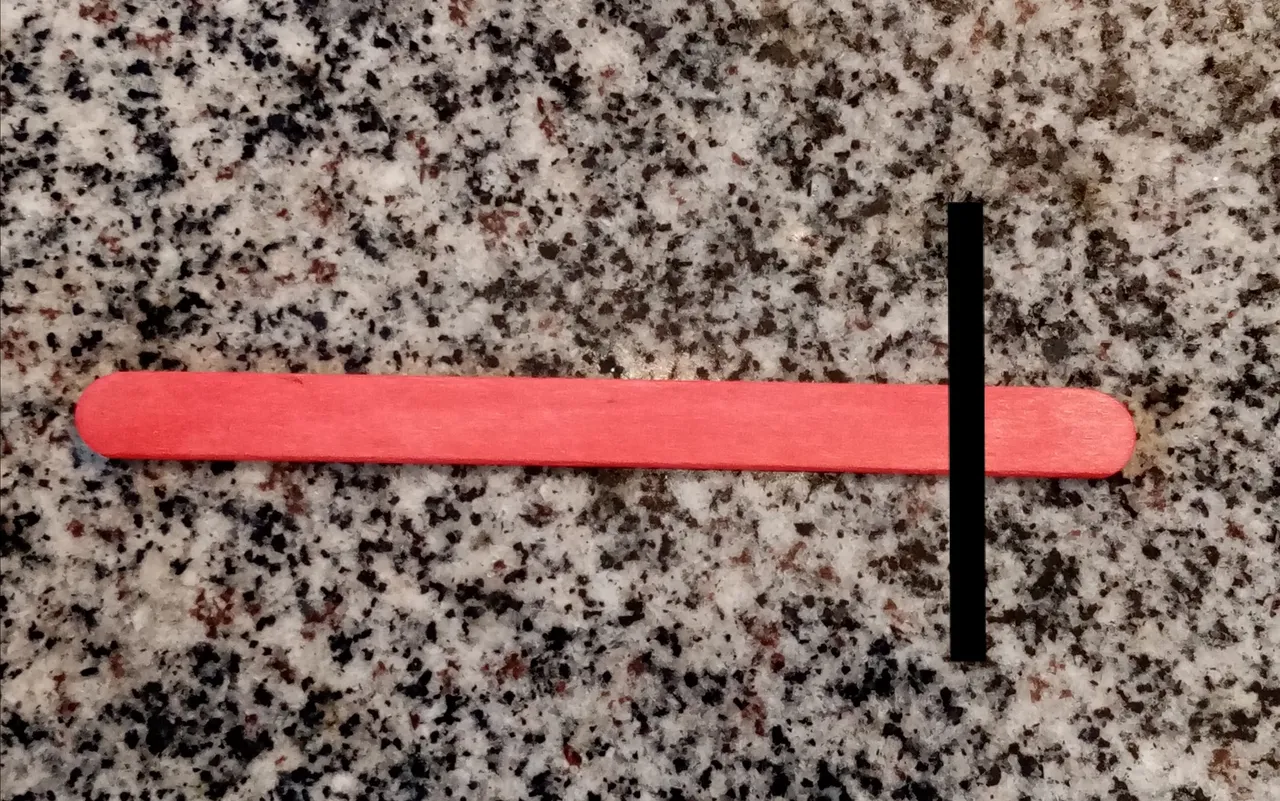
Cut a palette straight at one end, Then we will glue it to the back of the triangle, and with a square of paper we will reinforce the joint.
And just like that you can create such a nice decoration, for your room, office, and it could even be a nice detail to give to someone. I hope you liked it.
Thanks for reading <3
Text and pictures by:@valentina23 (pictures taken with Huawei Y6)
Translation into Spanish by: @valentina23
¡¡¡Hola!!! Feliz comienzo de noviembre a todos. ¿Cómo has estado? ¿Se están preparando para la Navidad? Yo todavía no, pero me he dado cuenta de que mucha gente sí, y gracias a eso también me he dado cuenta de que el año está a punto de acabar.... Qué rápido pasa el tiempo. Por eso en mis ratos libres se me ocurrió algo 👀. Combiné mi amor por Pochacco (el personaje de Sanrio) y mi gusto por tener todo organizado en calendarios y me puse a hacer calendarios temáticos de Pochacco para este nuevo año.
Si además quieres hacer estos simpáticos calendarios de Pochacco o de cualquier otro personaje de tu elección, necesitarás:
Para el calendario:
- Tarjetas de notas
- Lapicero negro
- Imágenes de Pochacco
Para el trípode:
- Paletas de madera (puedes conseguirlas comiendo helado, es un ganar-ganar)
- Pega blanca
- Un pedazo de papel
La forma en que quieras hacer el calendario depende de ti, aquí están mis ideas de cómo organicé las fechas junto con las imágenes de Pochacco, que fueron hechas a mano por mí:
Ahora, un paso a paso de como hacer el trípode:
Tomamos dos paletas, y en sus extremos haremos cortes de aproximadamente 45 grados, aquí las uniremos:
Podemos poner una paleta en la parte superior del triángulo para mayor apoyo (ver imagen de referencia)
Sólo tienes que colocar una paleta tumbada entre el triángulo, esto ayudará a sujetar los calendarios.
Cortaremos una paleta recta por un extremo, luego la pegaremos a la parte posterior del triángulo, y con un cuadrado de papel reforzaremos la unión.
Y así de fácil puedes crear una decoración tan bonita para tu habitación, oficina, e incluso puede ser un bonito detalle para regalar a alguien. Espero que les haya gustado.
Gracias por leer <3
Texto e imagenes por: @valentina23 (fotos tomadas con mi Huawei Y6)
Traducción al español por: @valentina23