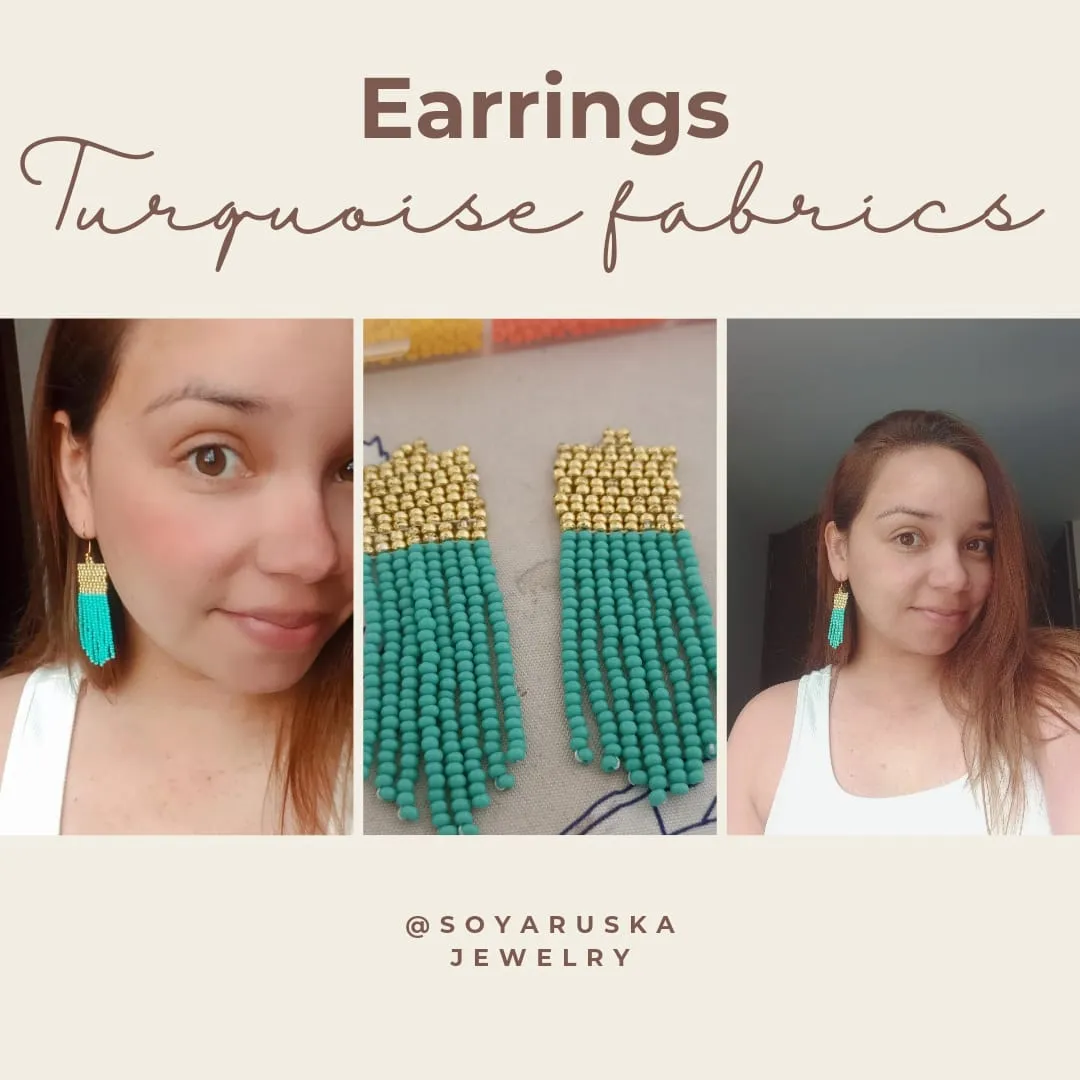
Bienvenidos a mi blog!
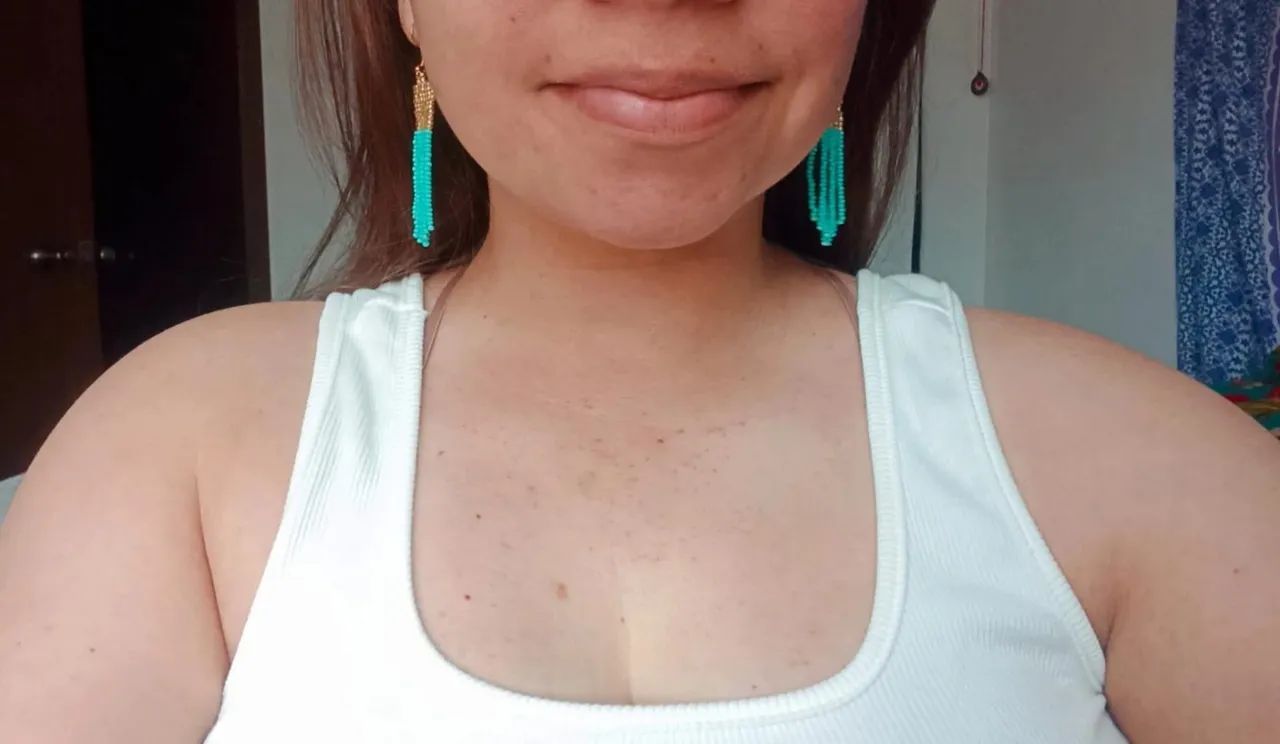
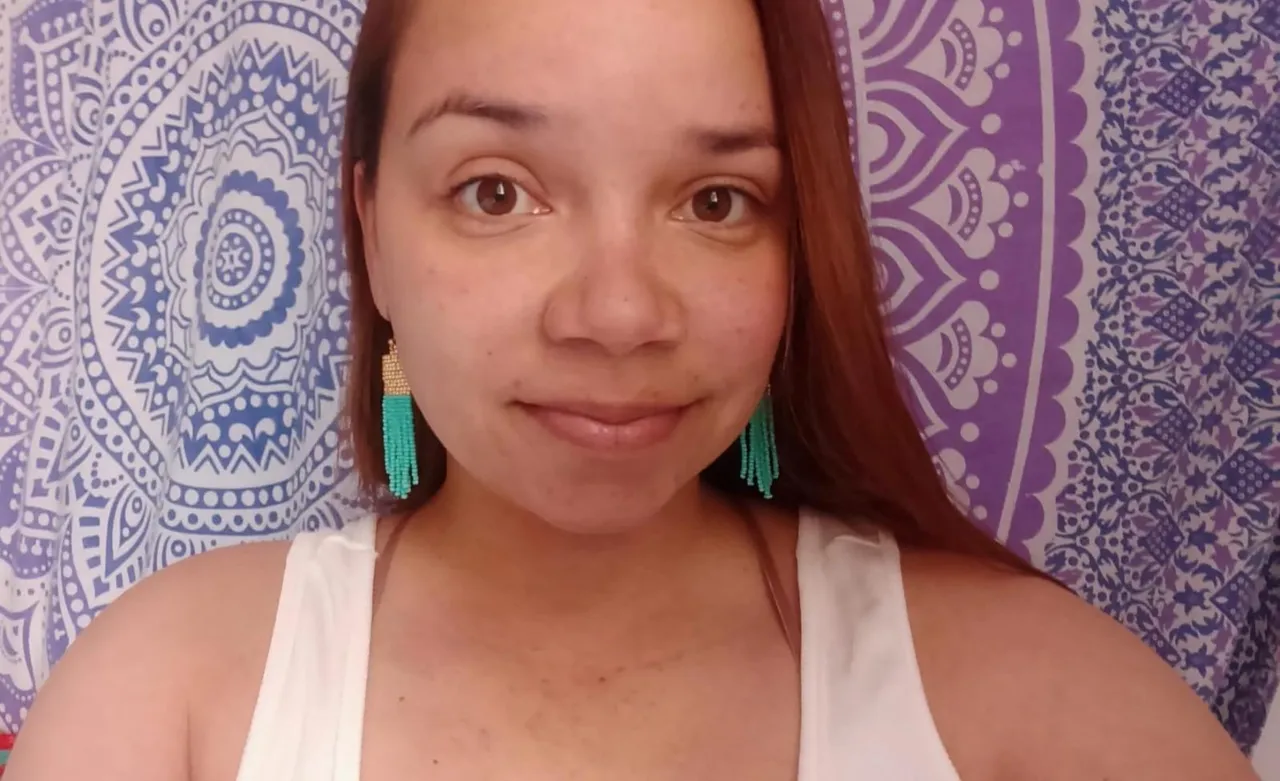
El turquesa es uno de mis colores favoritos, siento que combina muy bien con varios colores, e ilumina el rostro. Como no suelo maquillarme los zarcillos de color le suman diversión a nuestro look.
Hoy te traigo un paso a paso sencillo pero detallado para elaborar unos aretes colgantes perfectos para cada ocasión, además, son muy económicos de fabricar lo cual los hacen más atractivos de aprender.
Welcome to my blog!
Turquoise is one of my favorite colors, I feel that it combines very well with various colors, and brightens the face. As I don't usually wear makeup, colored earrings add fun to our look.
Today I bring you a simple but detailed step by step to make a pair of dangling earrings perfect for every occasion, plus, they are very inexpensive to make which makes them more attractive to learn.
Materiales que utilicé:
- Dos colores de mostacillas #10 (doradas/turquesas)
- hilo encerado blanco
- tijeras
- dos ganchos para aretes tipo garfio
- aguja
Materials I used:
- Two colors of #10 beads (gold/turquoise)
- white waxed thread
- scissors
- two hook type earring hooks
- needle


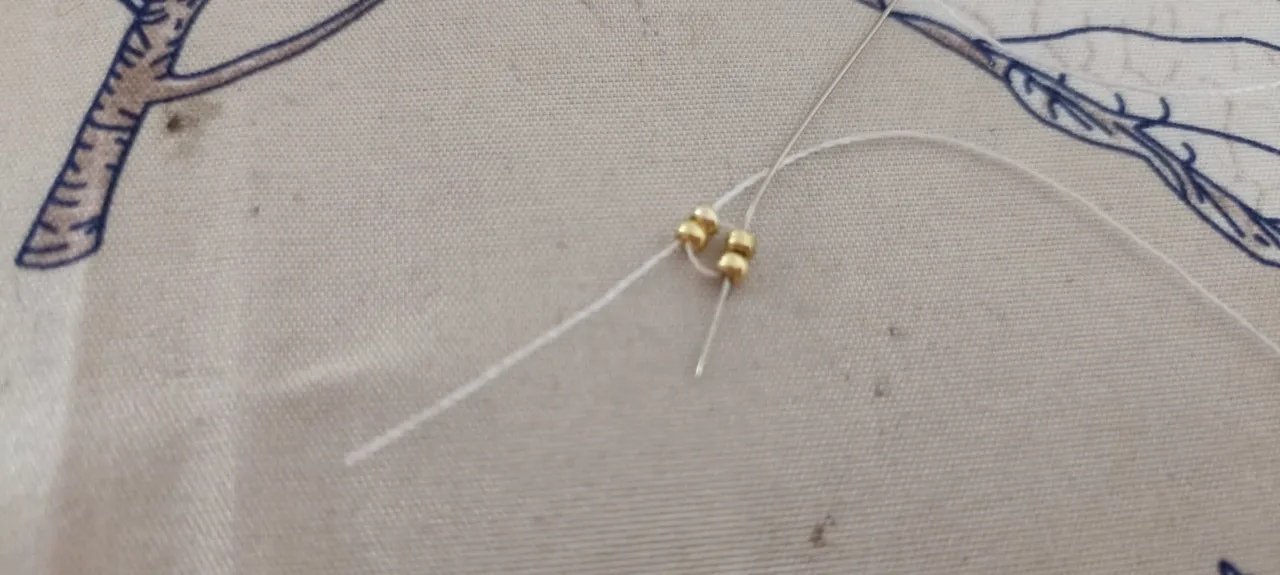
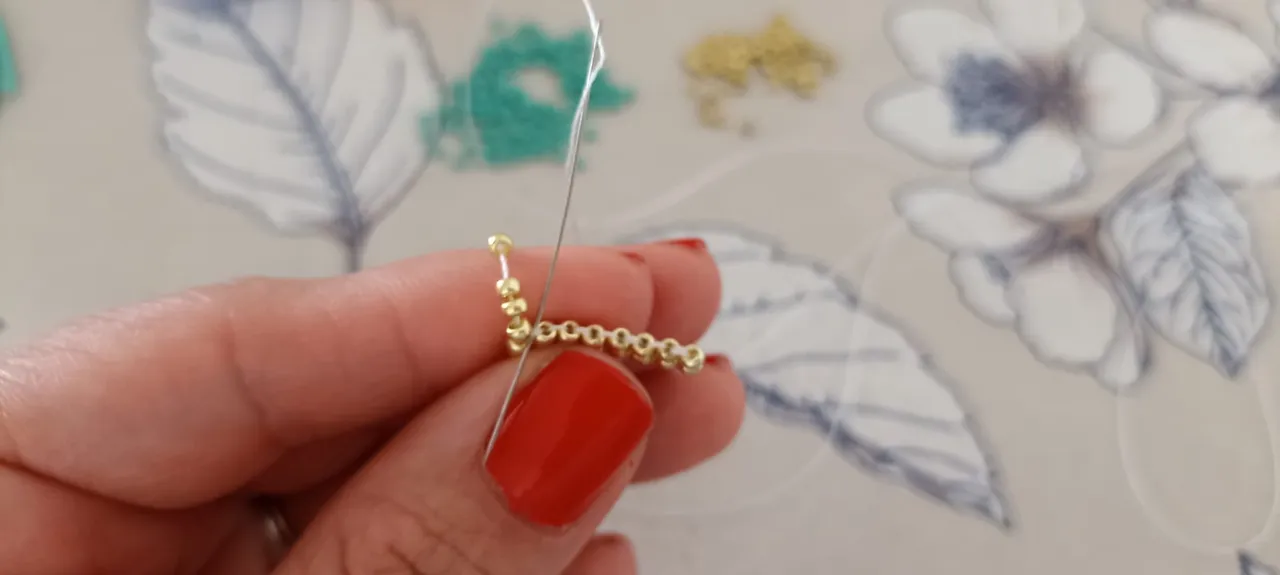
Comenzaremos colocando un metro de hilo encerado en la aguja, debes elegir una que sea tan delgada que entre dos veces por la mostacillas, usualmente las venden como agujas de bordar abalorios.
LLevaremos cuatro mostacillas doradas al final del hilo y meteremos la aguja por las últimas dos, así formaremos un cuadradito.
We will begin by placing a meter of waxed thread in the needle, you must choose one that is so thin that it goes twice through the beads, usually sold as beading needles.
We will take four golden beads to the end of the thread and we will put the needle through the last two, so we will form a little square.


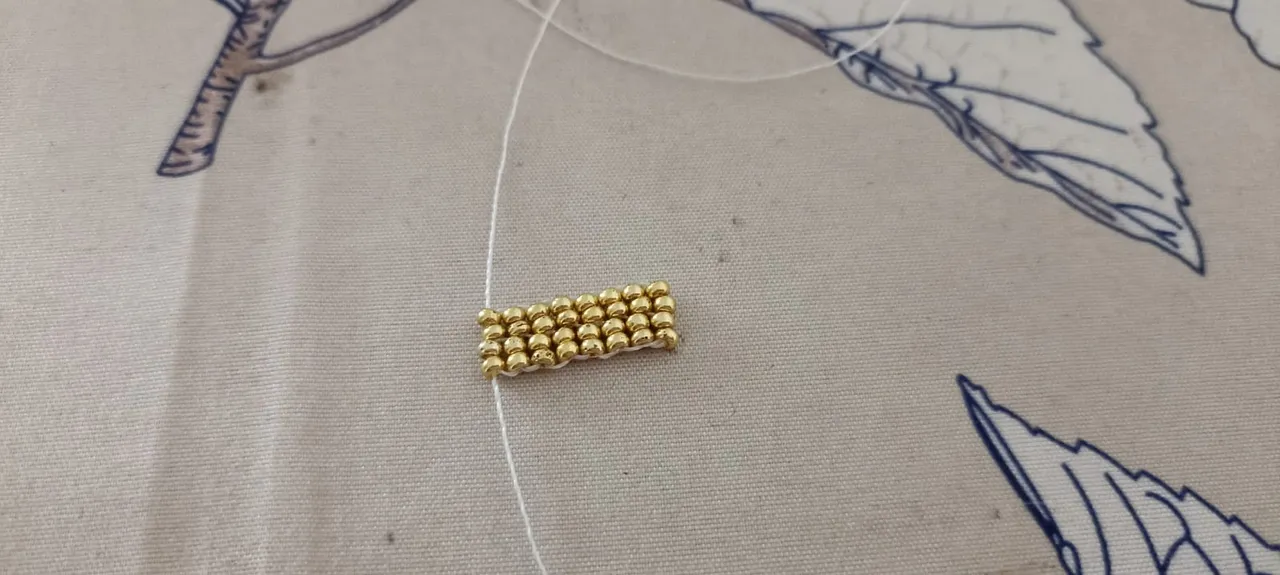
Seguiremos bordando de dos mostacillas al lado de cada última. Serán 16 ocho filas.
We will continue embroidering from two beads next to each other. There will be 16 eight rows.

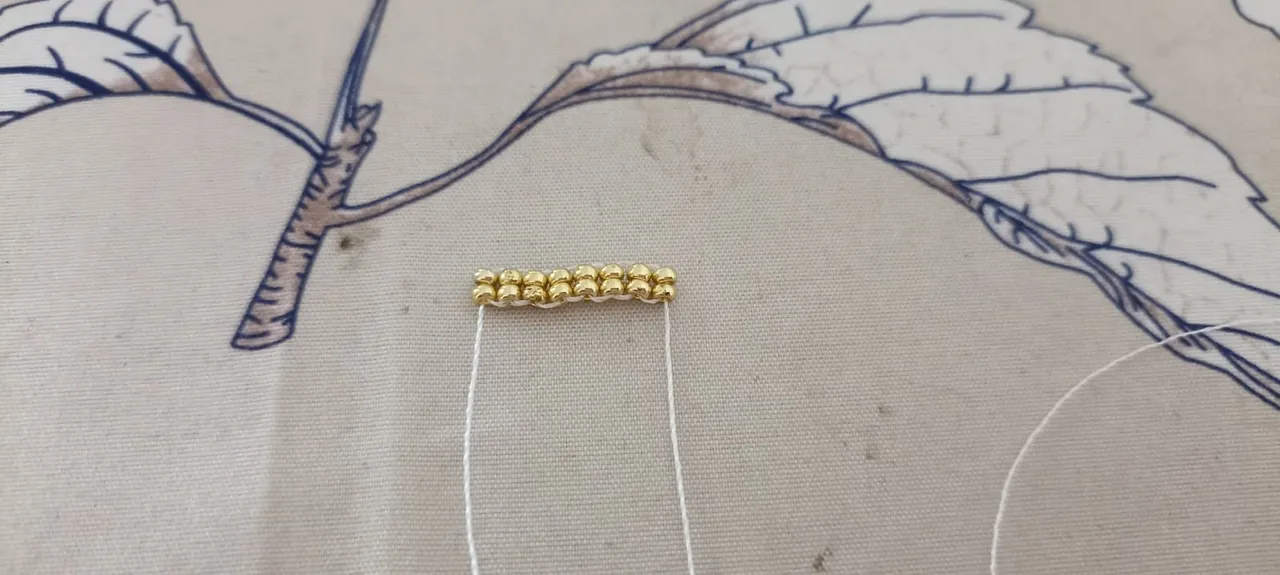
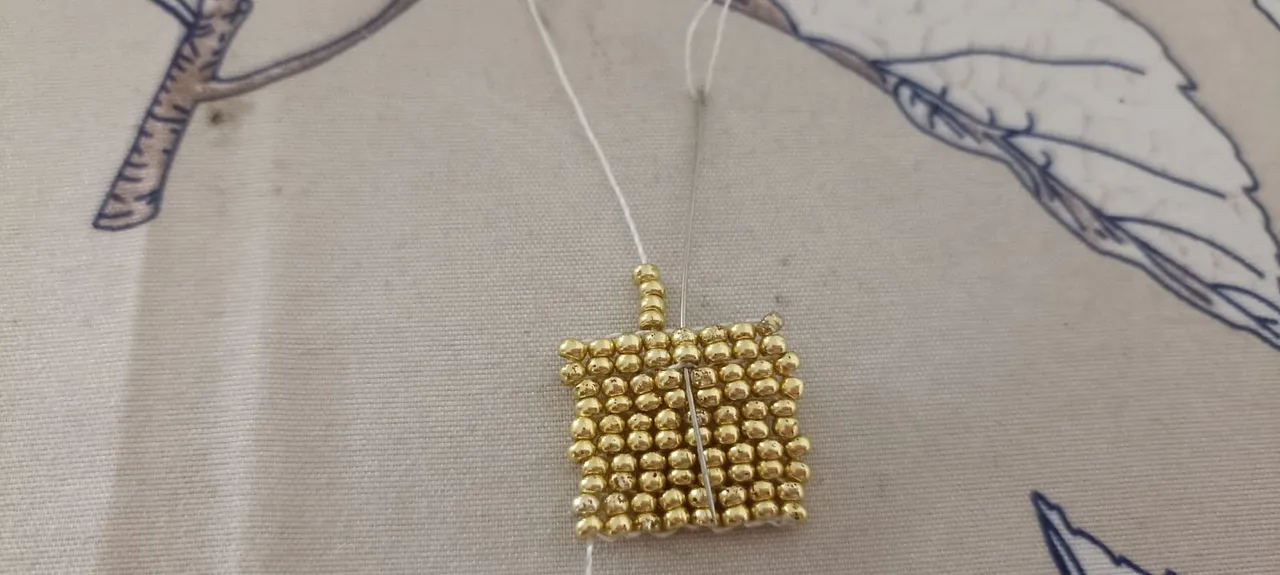
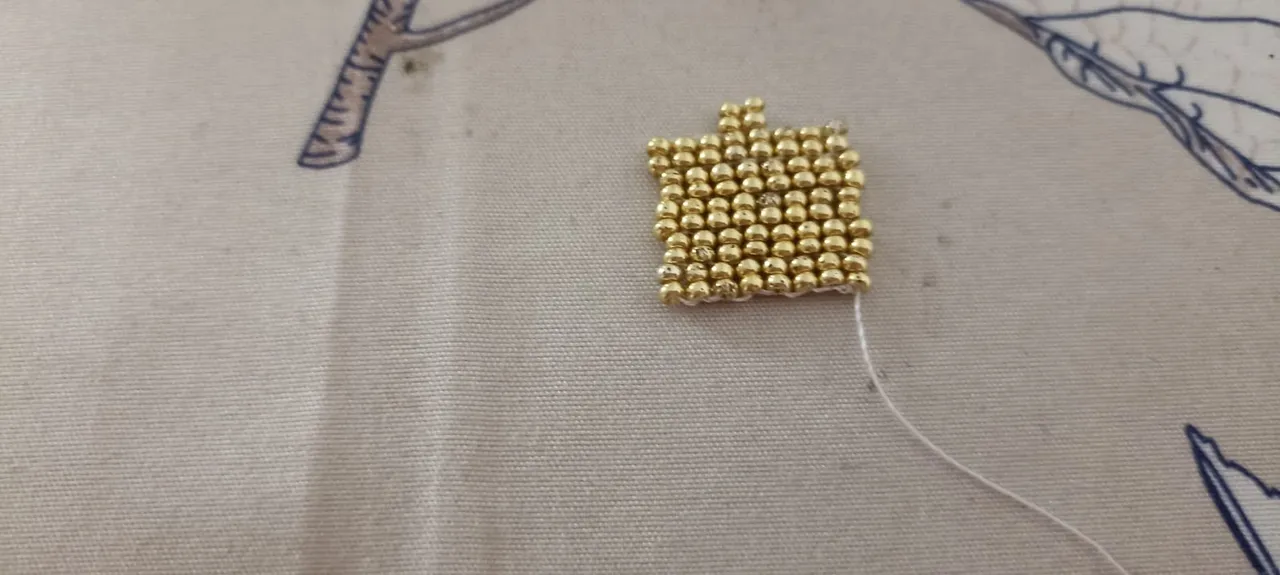
Vamos a repetir cada paso hasta que construyamos un cuadrado de cinco filas y ocho columnas. Siempre que comiences una fila usamos cuatro mostacillas y luego de dos en dos.
We will repeat each step until we build a square of five rows and eight columns. Whenever you start a row we use four beads and then two by two.

Cuando terminamos vamos a ubicar el medio y realizaremos un cuadrado con cuatro mostacillas, y ahí irá nuestro colgante del arete que pondremos al final.
When we finish we will place the middle and we will make a square with four beads, and there will go our earring pendant that we will put at the end.
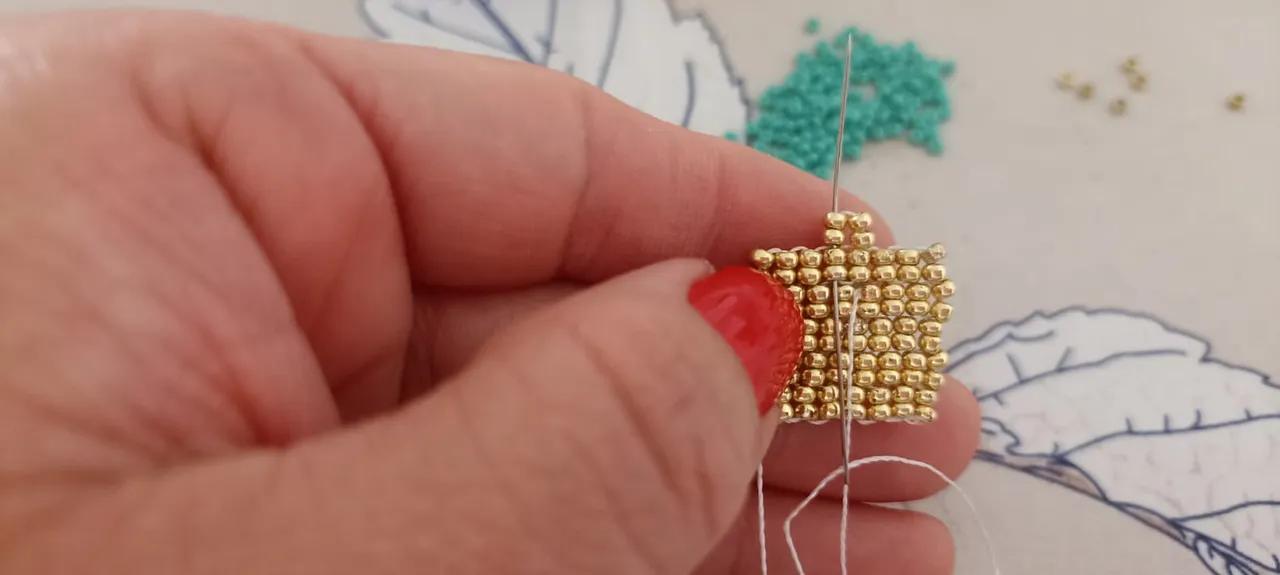
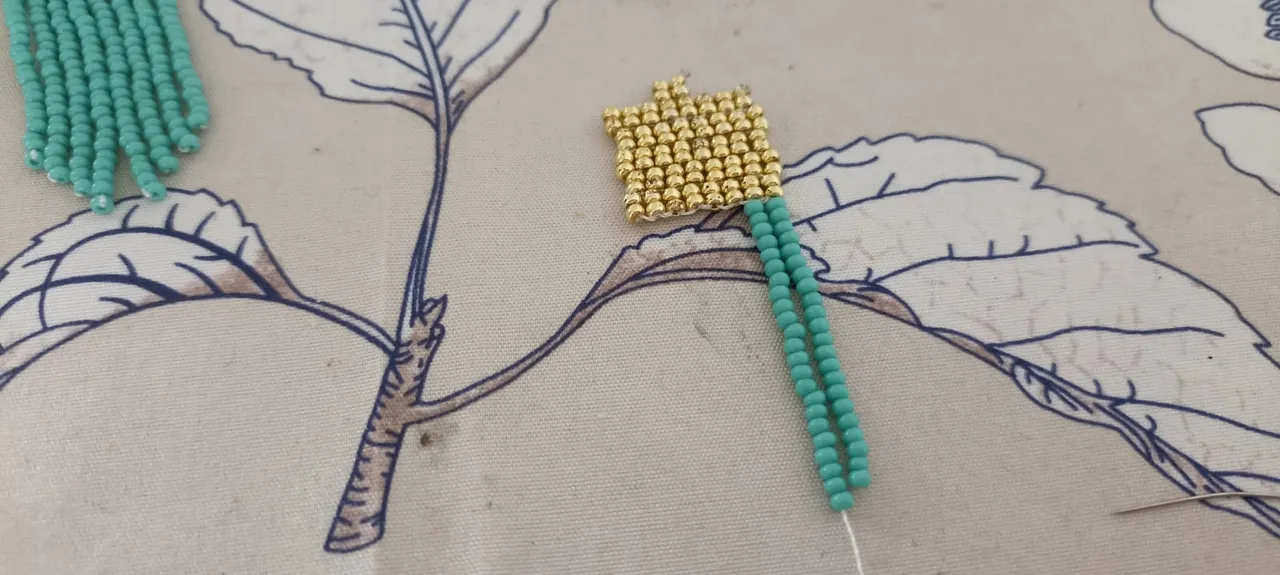
Ahora bajamos con el hilo y la aguja por uno de los extremos, al llegar a la parte inferior vamos a empezar a meter las mostacillas turquesas. Lo realice en forma de cascada, a medida que avanzaba colocaba una o dos mostacillas extra para que fuese un triángulo invertido.
Al llegar a cada final nos vamos a devolver con la aguja sin meter la última mostacilla.
Now we go down with the thread and needle through one of the ends, when we get to the bottom we are going to start inserting the turquoise beads. I did it in a cascade shape, as I advanced I placed one or two extra beads so that it would be an inverted triangle.
When we reach each end we are going to return with the needle without inserting the last stitch.


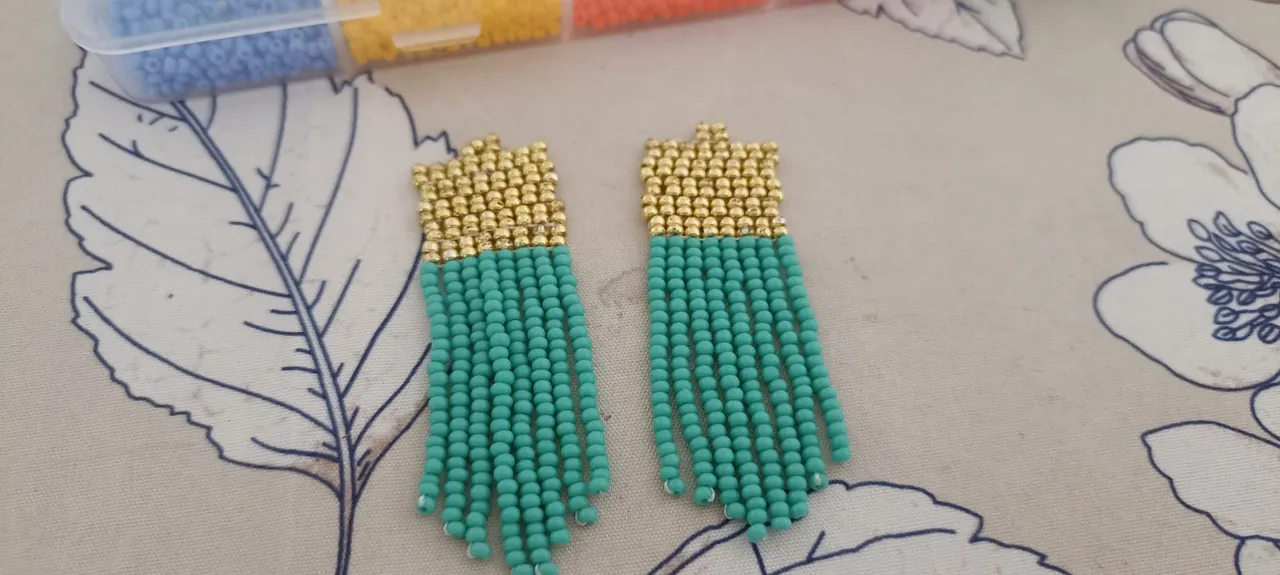
Al terminar las filas hacemos el otro arete con la misma cantidad de mostacillas para que queden del mismo tamaño, así aseguramos que sean prolijos.
At the end of the rows we make the other earring with the same amount of beads so that they are the same size, this way we ensure that they are neat.
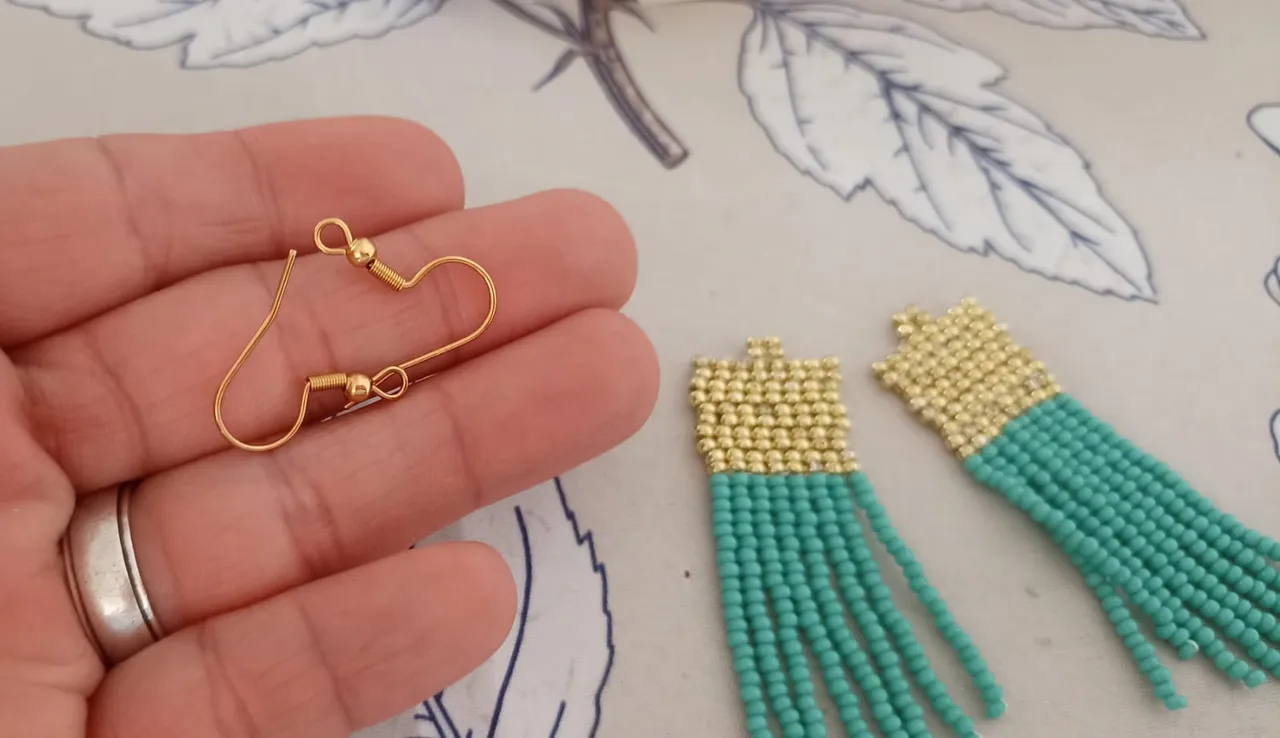
Colgaremos los ganchitos tipo garfio de los cuadrados de arriba, abrimos mínimamente los ganchitos y metemos el hilo, y cerramos.
We will hang the hooks from the squares above, open the hooks slightly and insert the thread, and close them.
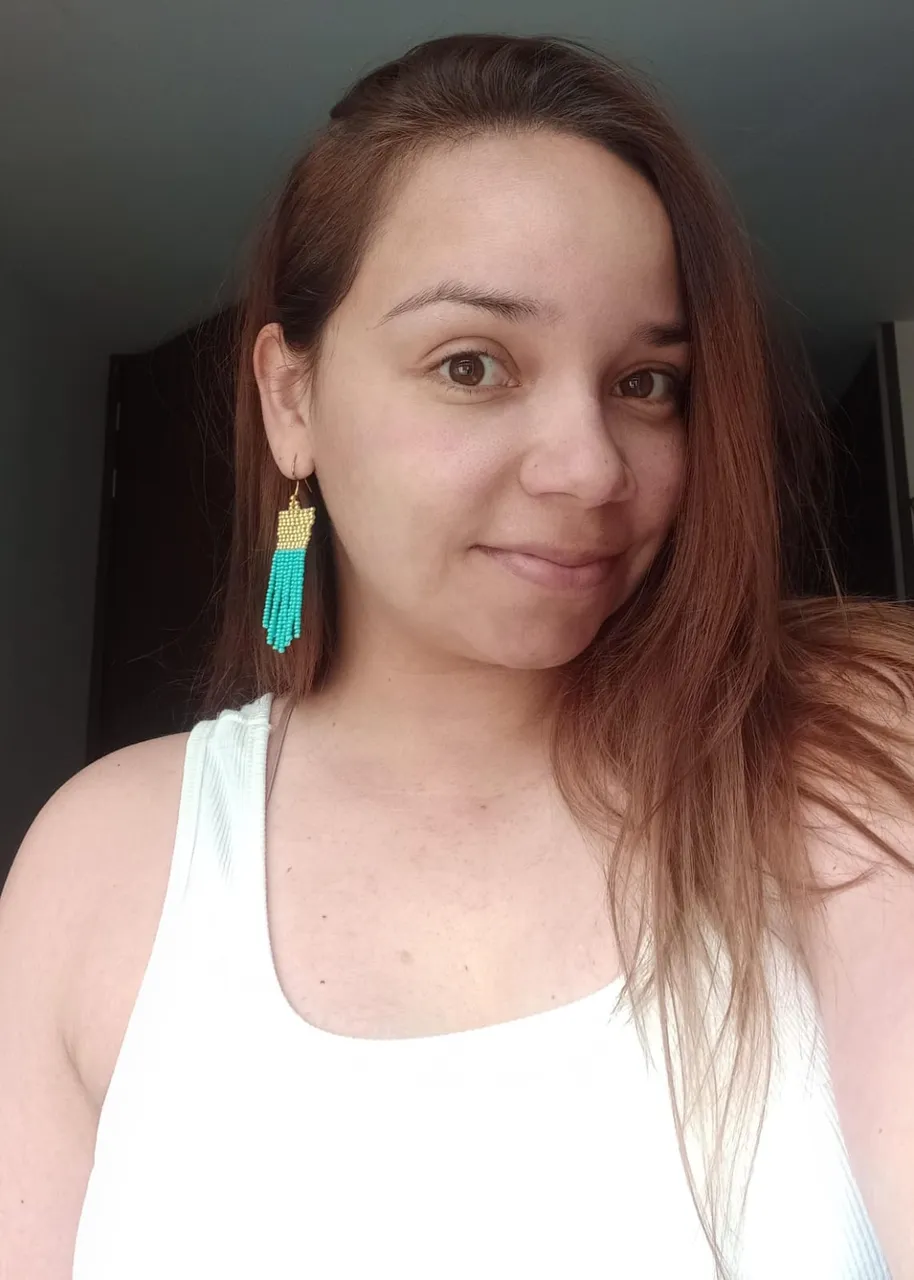
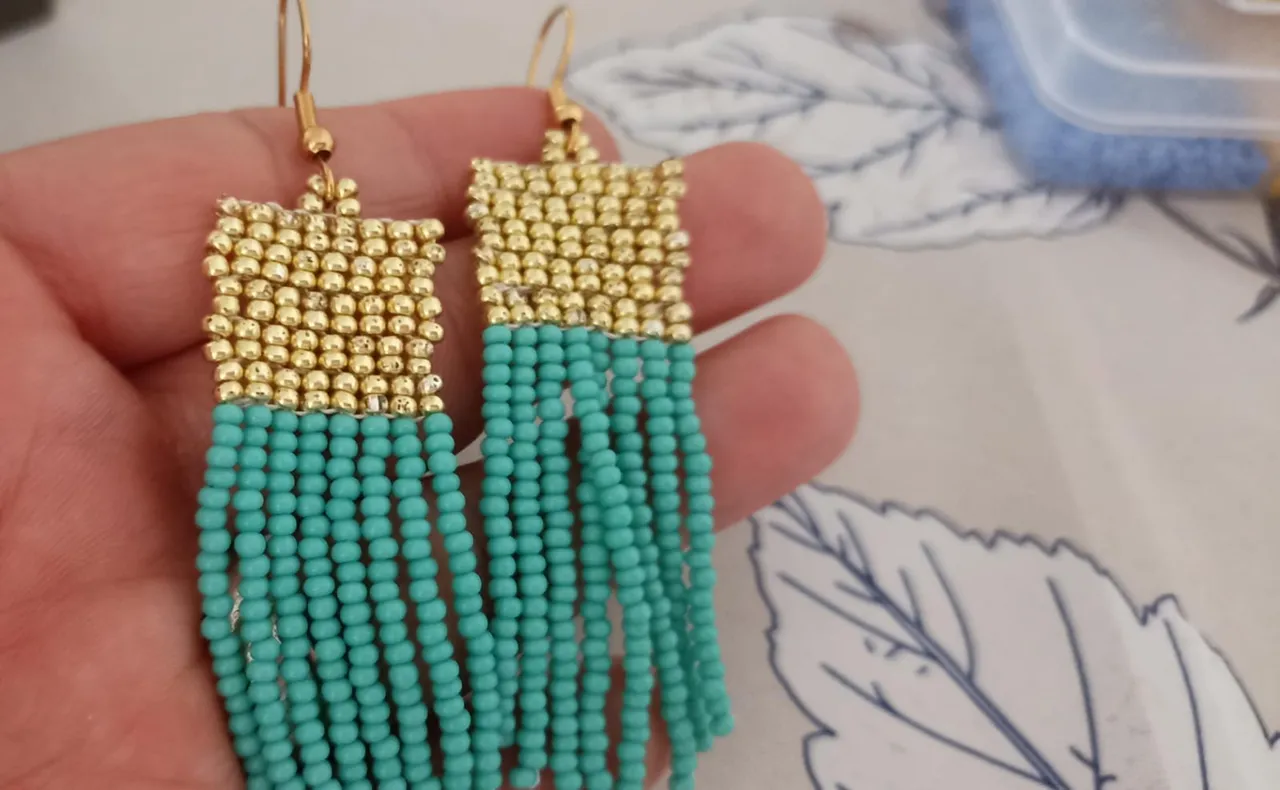
Ya están listos los zarcillos, como puedes ver es sencillo y quedan muy bellos. No son nada pesados y la verdad la combinación del dorado con el turquesa quedó muy linda.
The tendrils are ready, as you can see it is simple and they are very beautiful. They are not heavy at all and the truth is that the combination of gold and turquoise is very nice.
Espero que te hayan gustado mucho y que animes a ponerlos en práctica.
Todas las fotografías son de mi autoría, Redmi10
Traducción con Deepl, versión gratuita
Diseños elaborados en Canva.
I hope you liked them a lot and that you encourage to put them into practice.
All the pictures are by me, Redmi10
Translation with Deepl, free version
Designs made in Canva
