Hola comunidad #diyhub, deseo que tengan un feliz miércoles, hoy comparto con ustedes un #tutorial para hacer dos modelos de bolsas de regalo personalizadas con papel reciclado, son sencillas de hacer y en pocos pasos tendremos lista una bolsa para dar los obsequios a nuestros familiares.
Hello #diyhub community, I wish you a happy Wednesday, today I share with you a #tutorial to make two models of personalized gift bags with recycled paper, they are simple to make and in a few steps we will have ready a bag to give gifts to our relatives.

Papel reutilizable
Pega
Tijera
Regla
Lápiz
Papel de colores
Perforadora
Reusable paper
Glue
Scissors
Ruler
Pencil
Colored paper
Hole punch
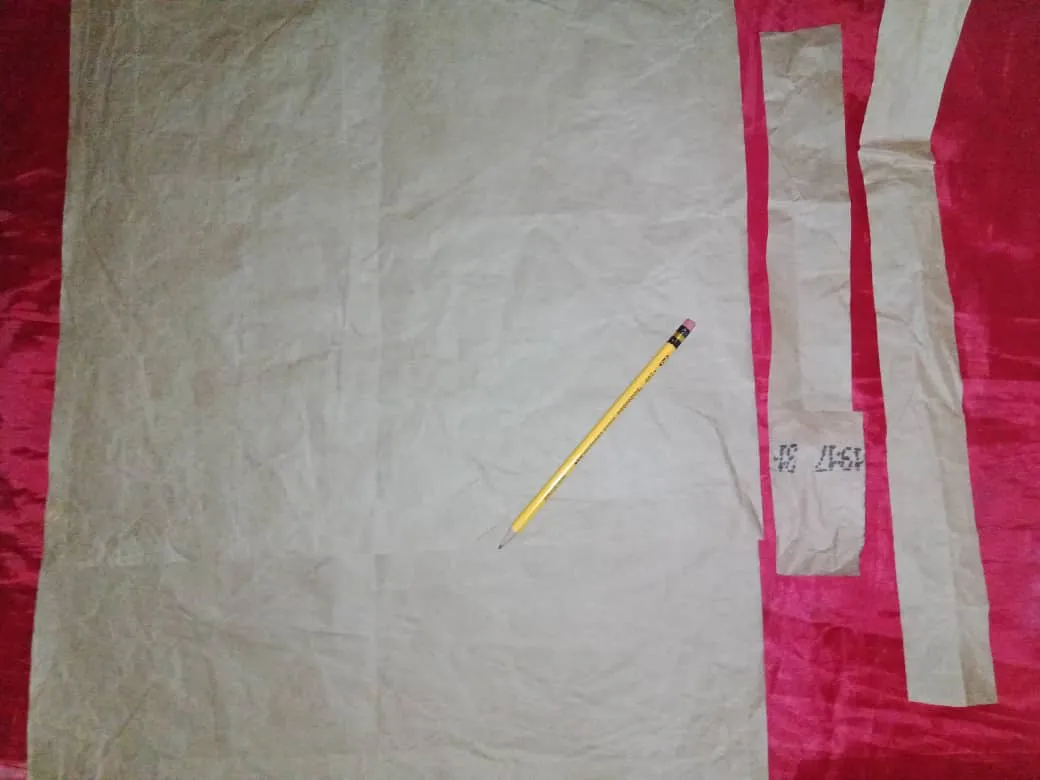
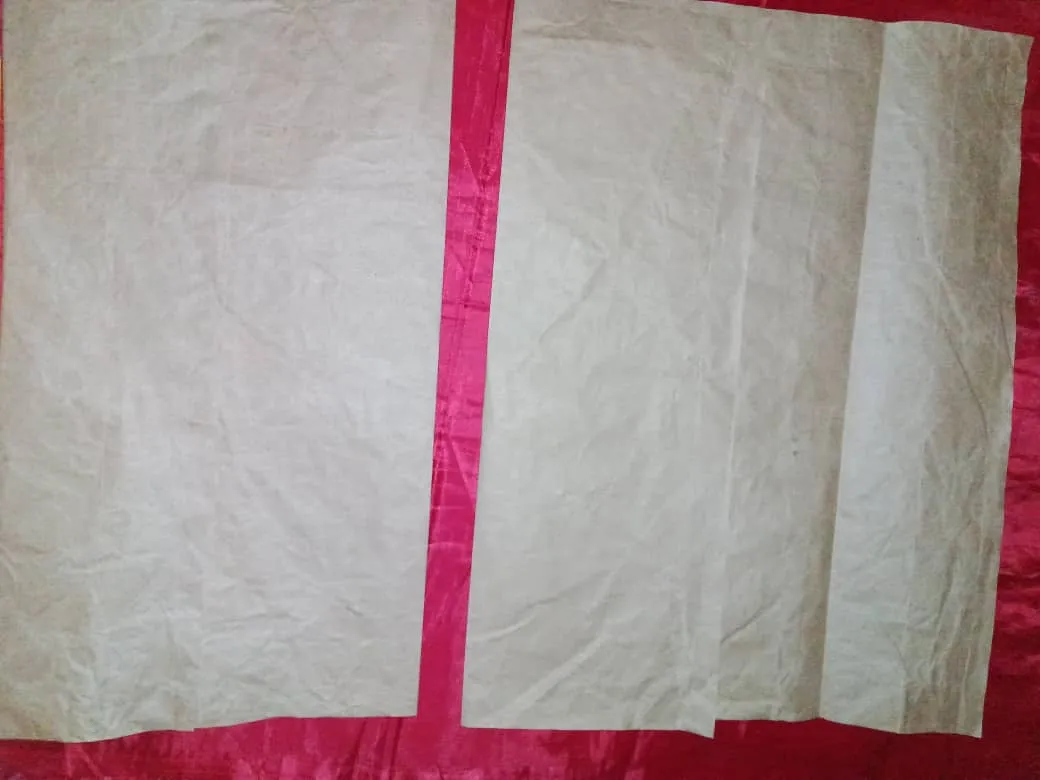
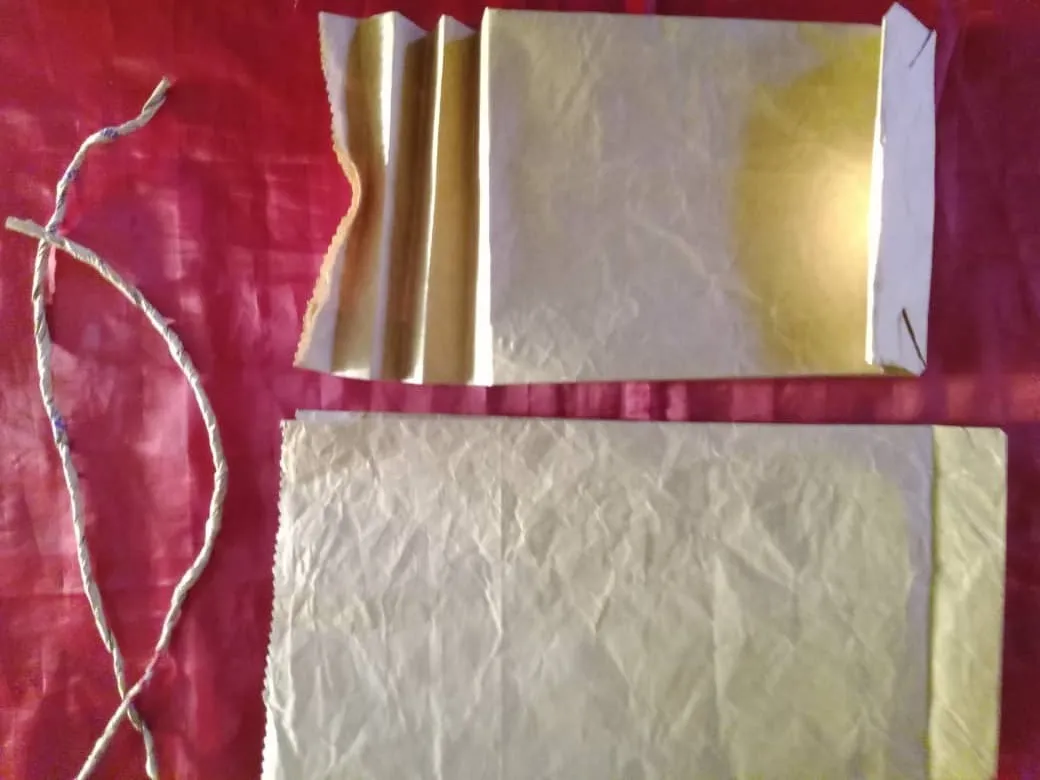
Para hacer las bolsas cortamos dos rectángulos de 40 * 45 cm y 2 tiras de 5 cm de ancho con las que haremos las asas.
To make the bags we cut two rectangles of 40 * 45 cm and 2 strips of 5 cm wide with which we will make the handles.
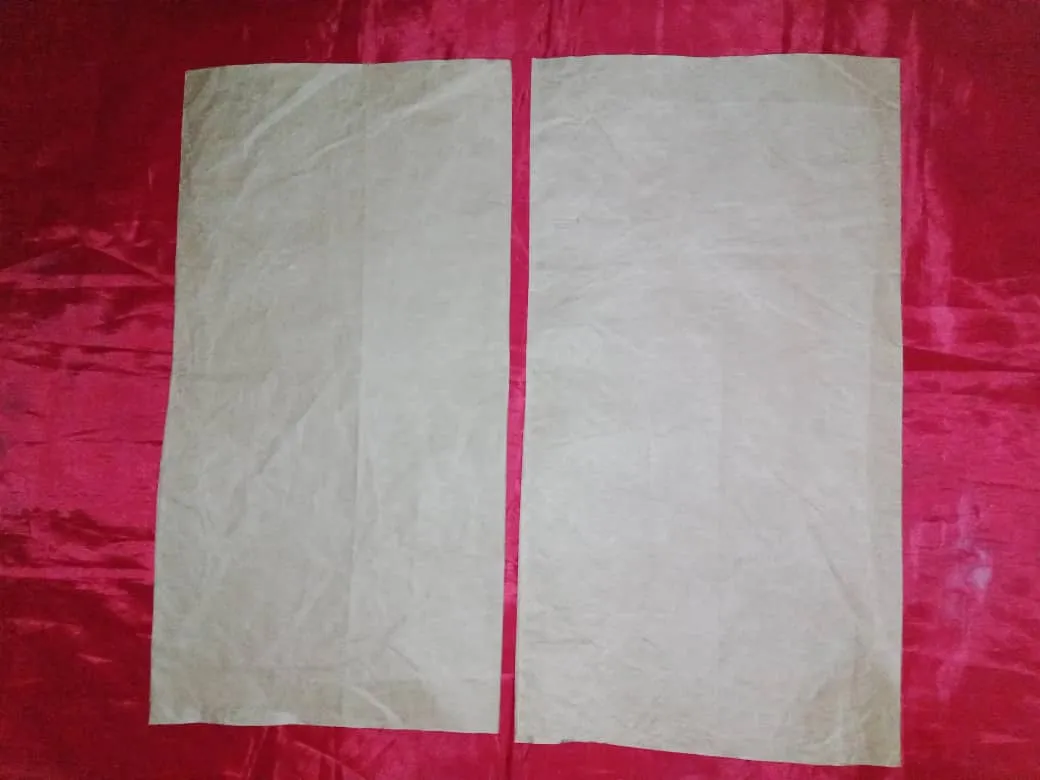
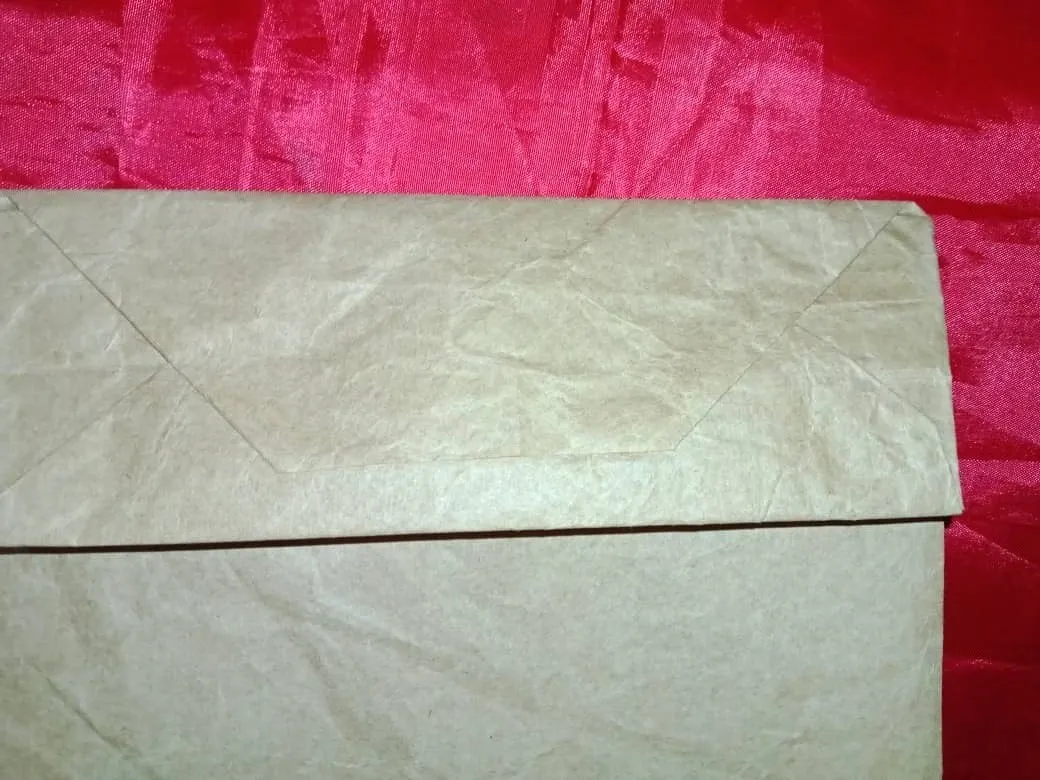
We glue the ends of the paper, one on top of the other, then fold 3 cm on each side vertically and remove the previous fold, marking the sides.
Pegamos los extremos del papel, uno encima del otro, luego doblamos 3 cm en cada lado en sentido vertical y sacamos el doblez anterior, marcando los laterales.
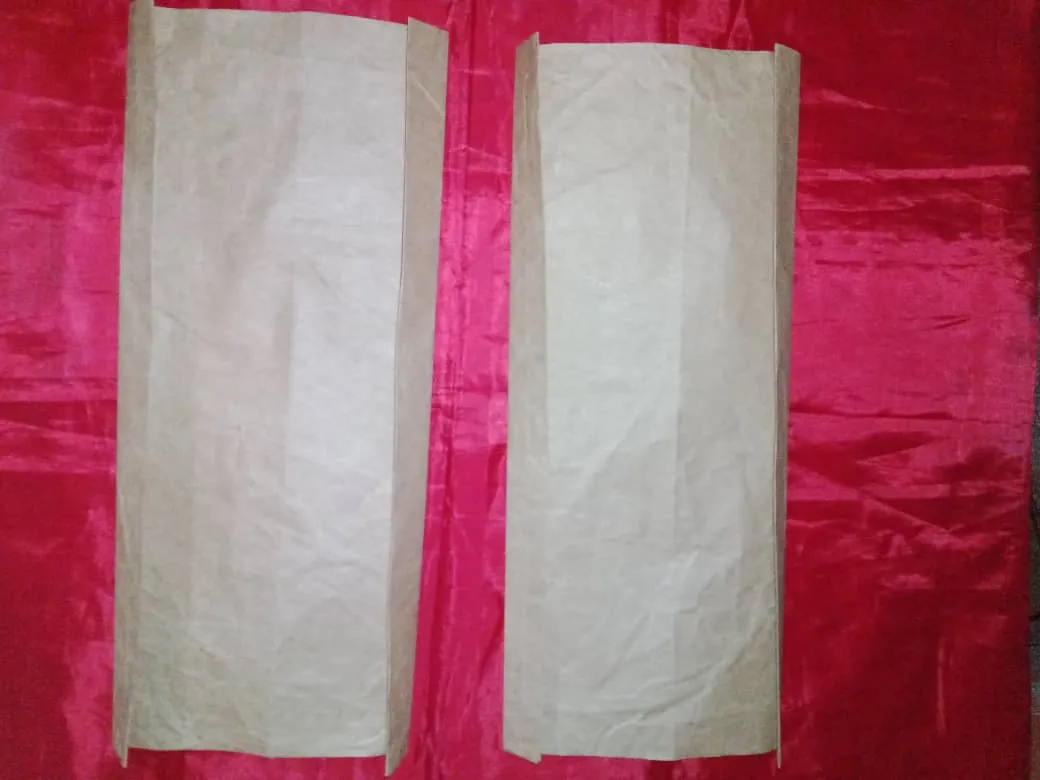

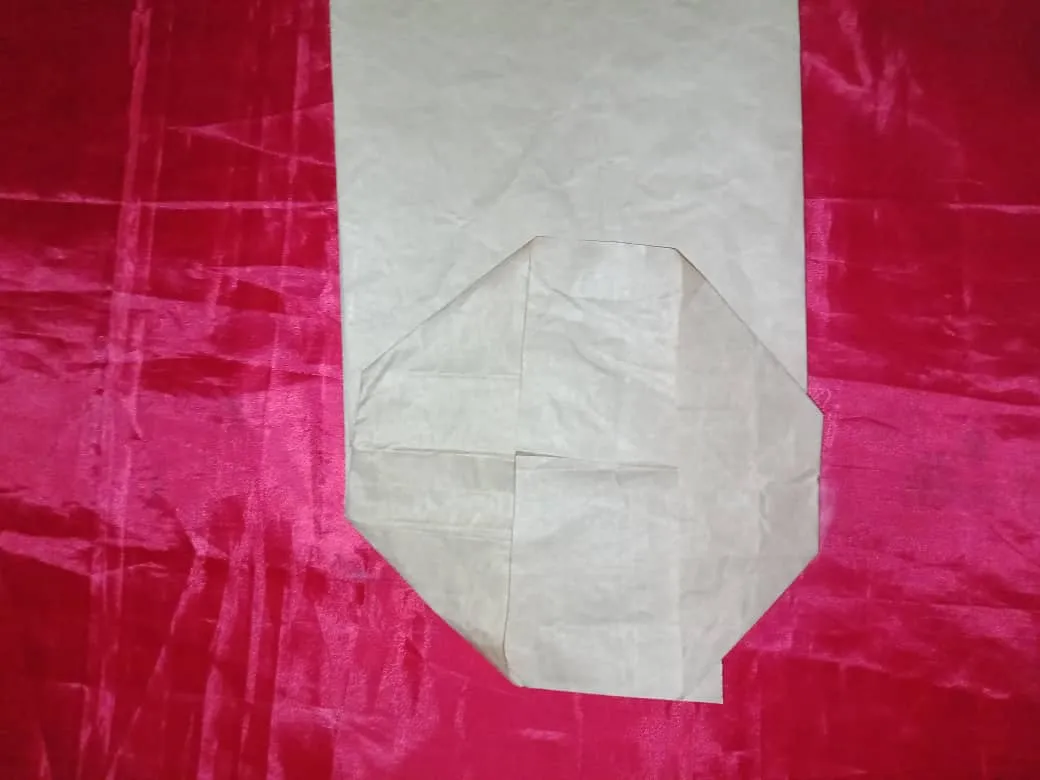
En la base doblamos hacia arriba un rectángulo de 10 cm, luego desdoblamos y llevamos hacia adentro formando un triángulo, hacemos otro doblez en las aristas resultantes y pegamos una arista hasta la marca del doblez , luego la otra encima.
At the base we fold up a 10 cm rectangle, then unfold it and bring it inside forming a triangle, make another fold in the resulting edges and glue one edge up to the mark of the fold, then the other one on top.
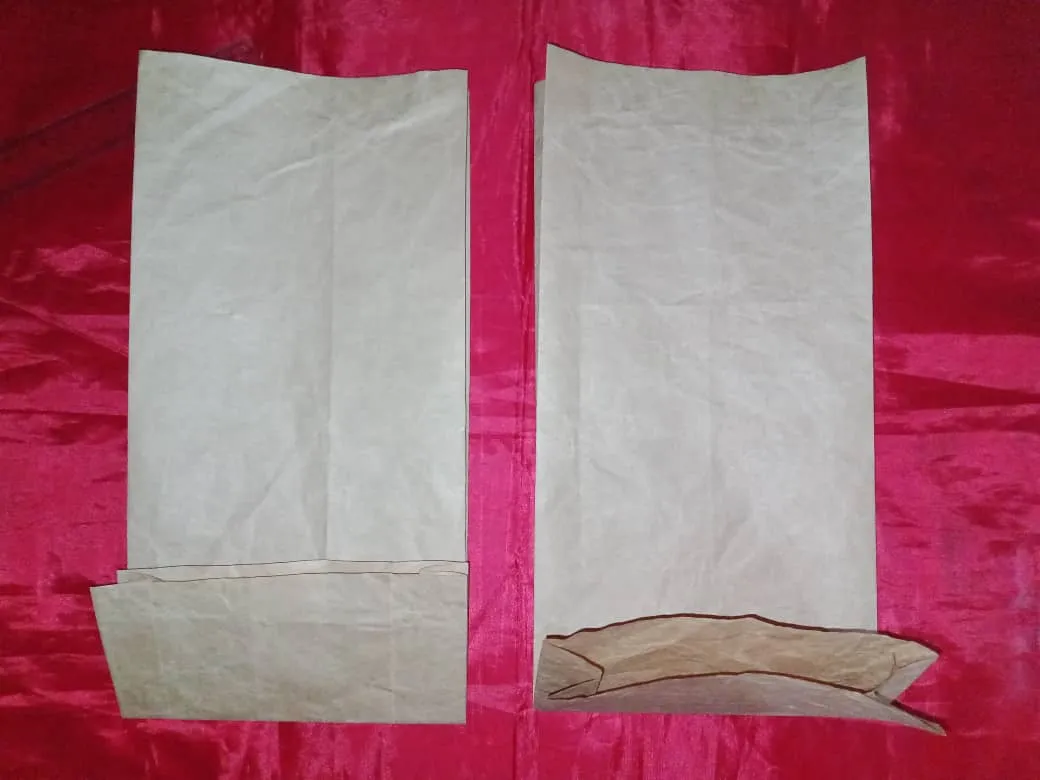
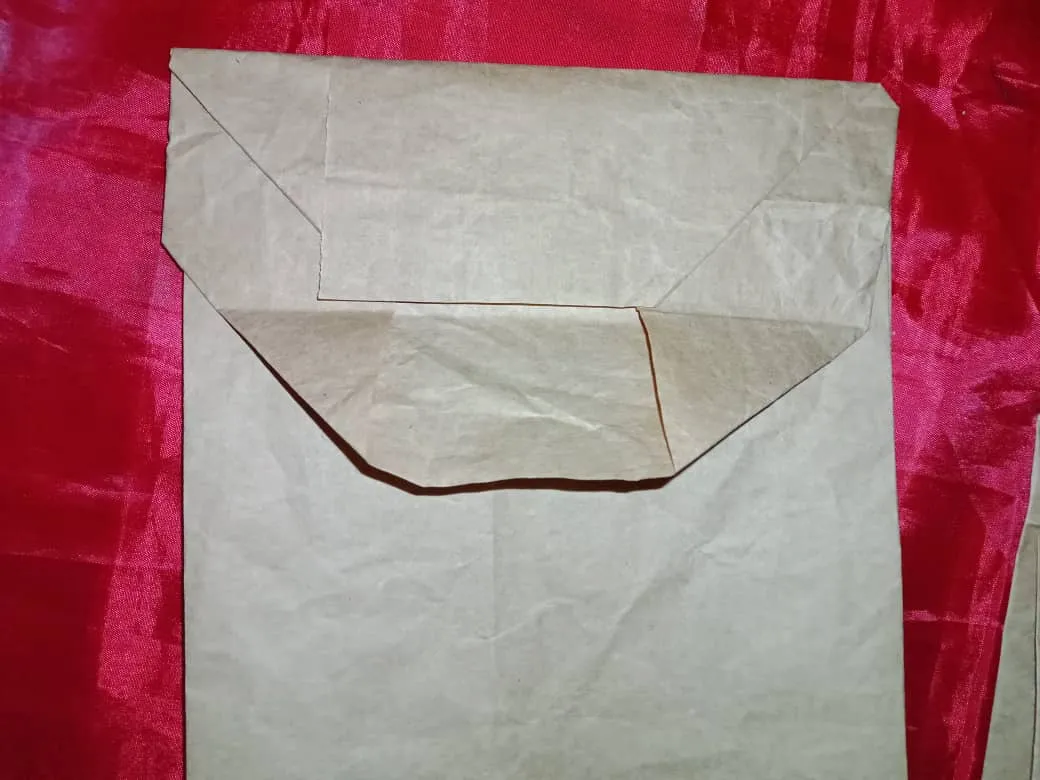
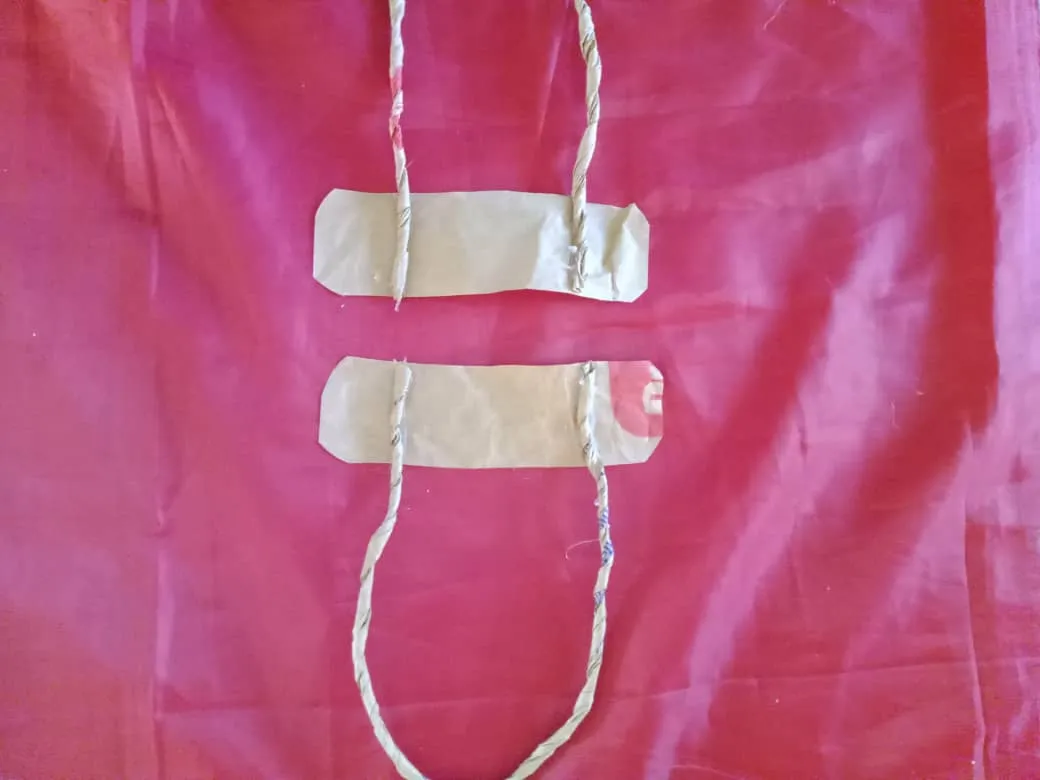
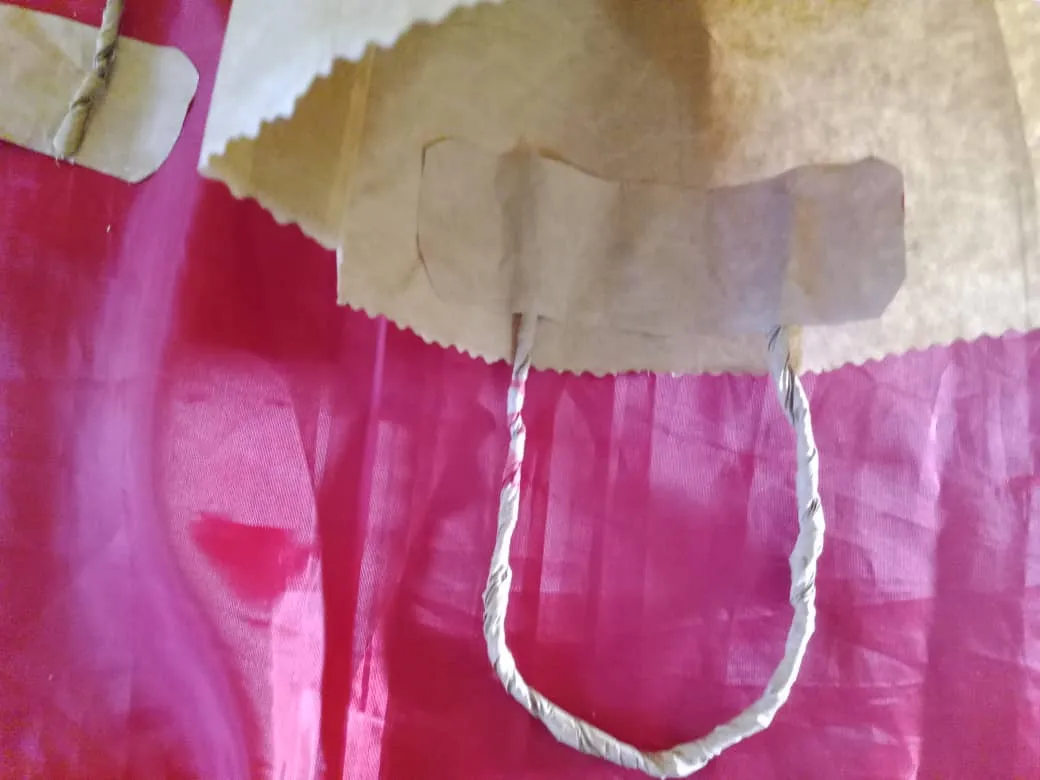
Las asas las hacemos arrugando el papel lo más que se pueda para que sea más fácil manipularlo, luego se enrolla hasta formar una tira. Con una tijera de zig zag cortamos la parte de arriba de las bolsas; En una de las bolsas hacemos 3 doblez y 1 orificio en el centro, pegamos las asas en un rectángulo de papel de 3 * 10 cm.
The handles are made by crumpling the paper as much as possible to make it easier to handle, then roll it up to form a strip. With a zig zag scissors we cut the top of the bags; In one of the bags we make 3 folds and 1 hole in the center, we glue the handles in a rectangle of paper of 3 * 10 cm.
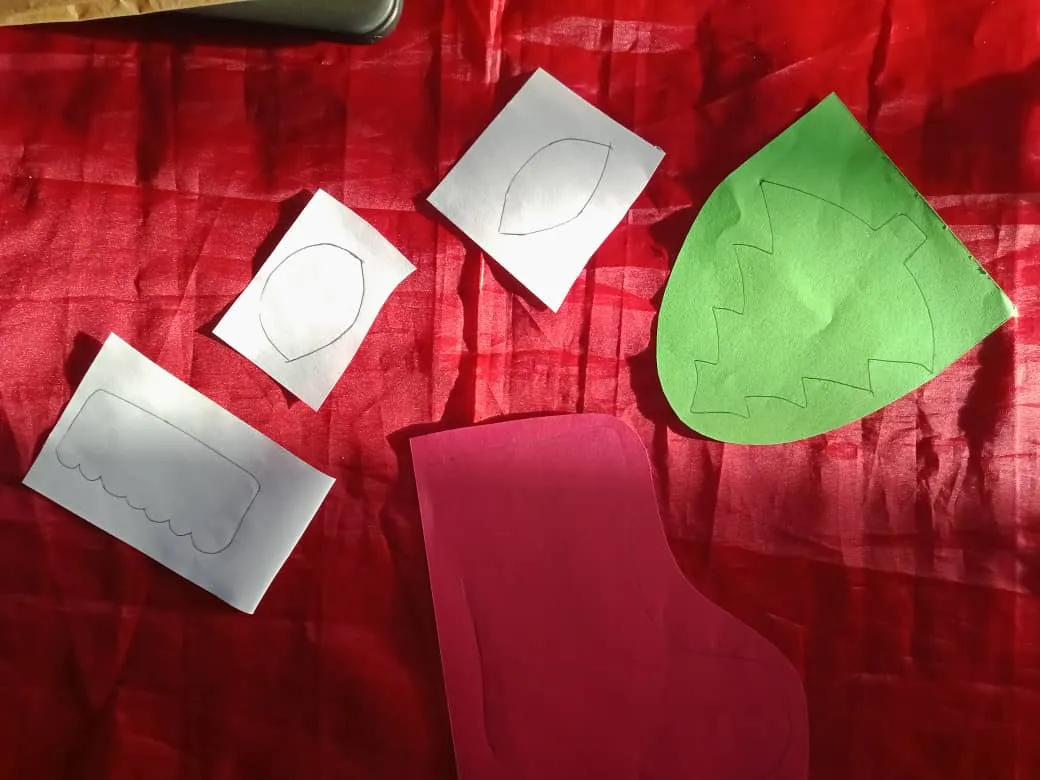
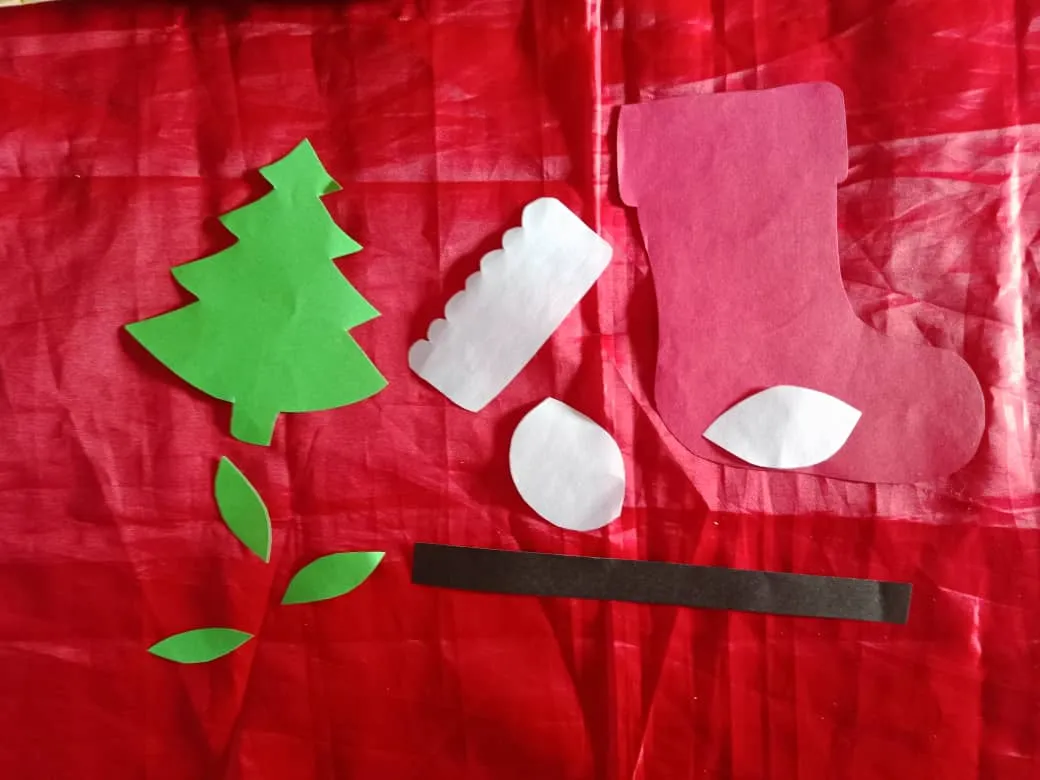
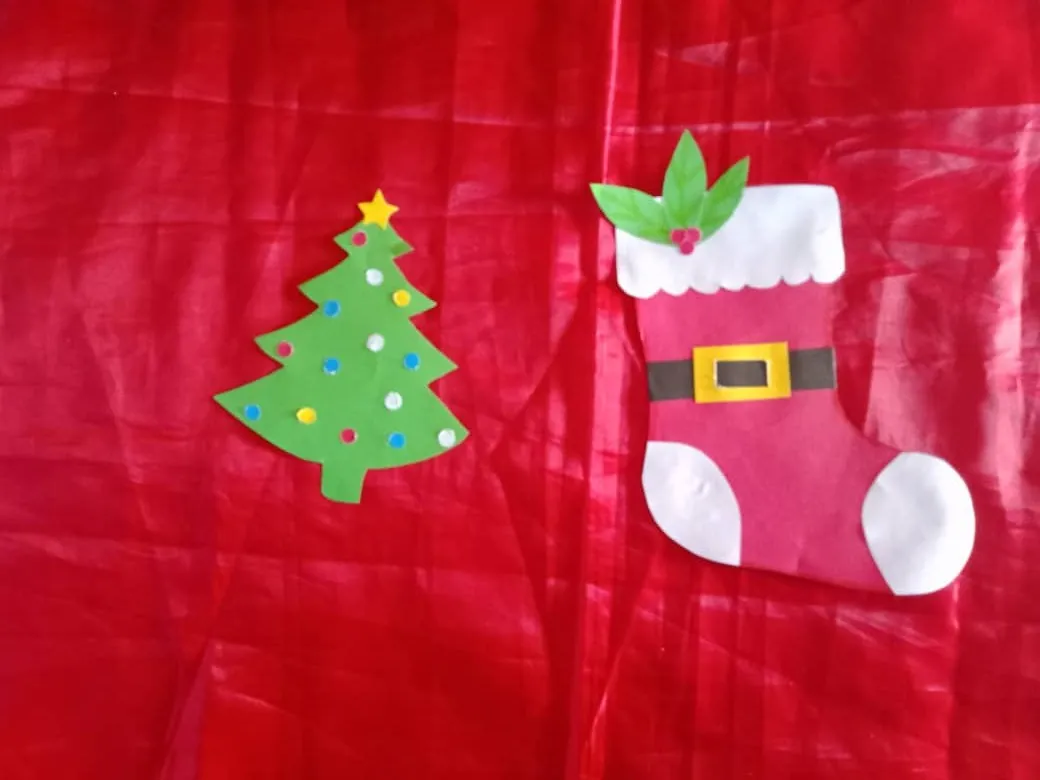
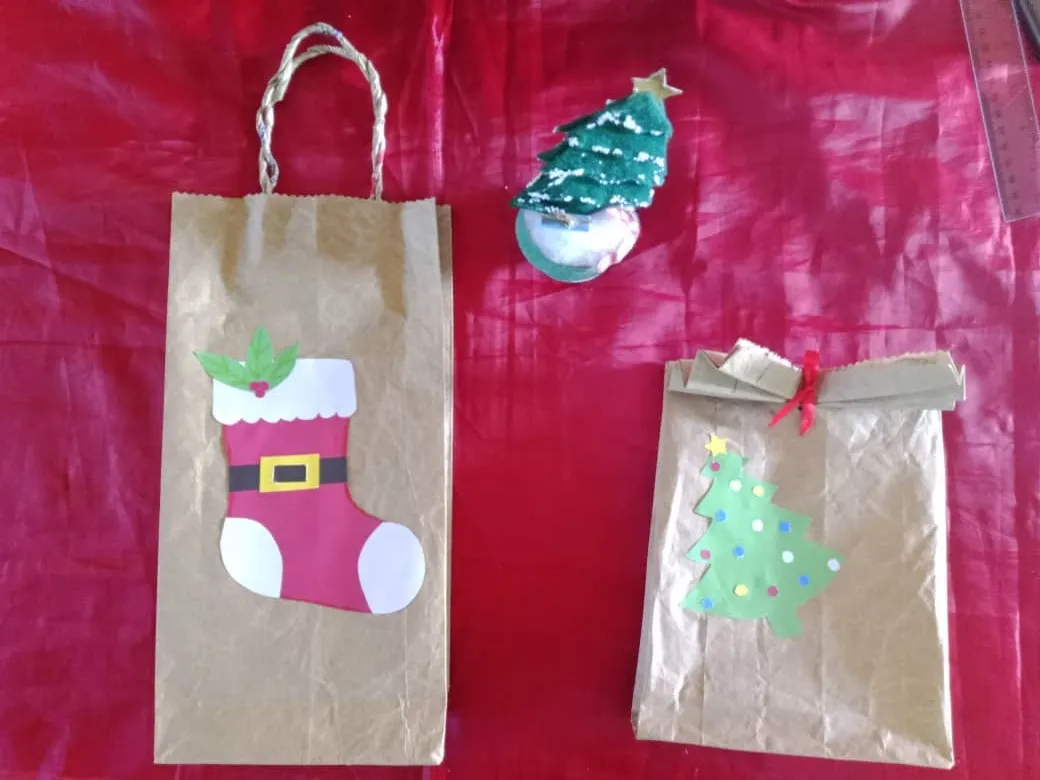
Marcamos y cortamos los adornos que utilizaremos; un arbolito y una bota, los decoramos a nuestro gusto y los pegamos en las bolsas.
We mark and cut out the ornaments we will use, a little tree and a boot, decorate them as we like and glue them on the bags.
Pegamos las asas a la bolsa número 1 y pasamos una cinta roja por el orificio de la bolsa número 2.
Glue the handles to bag number 1 and thread a red ribbon through the hole in bag number 2.
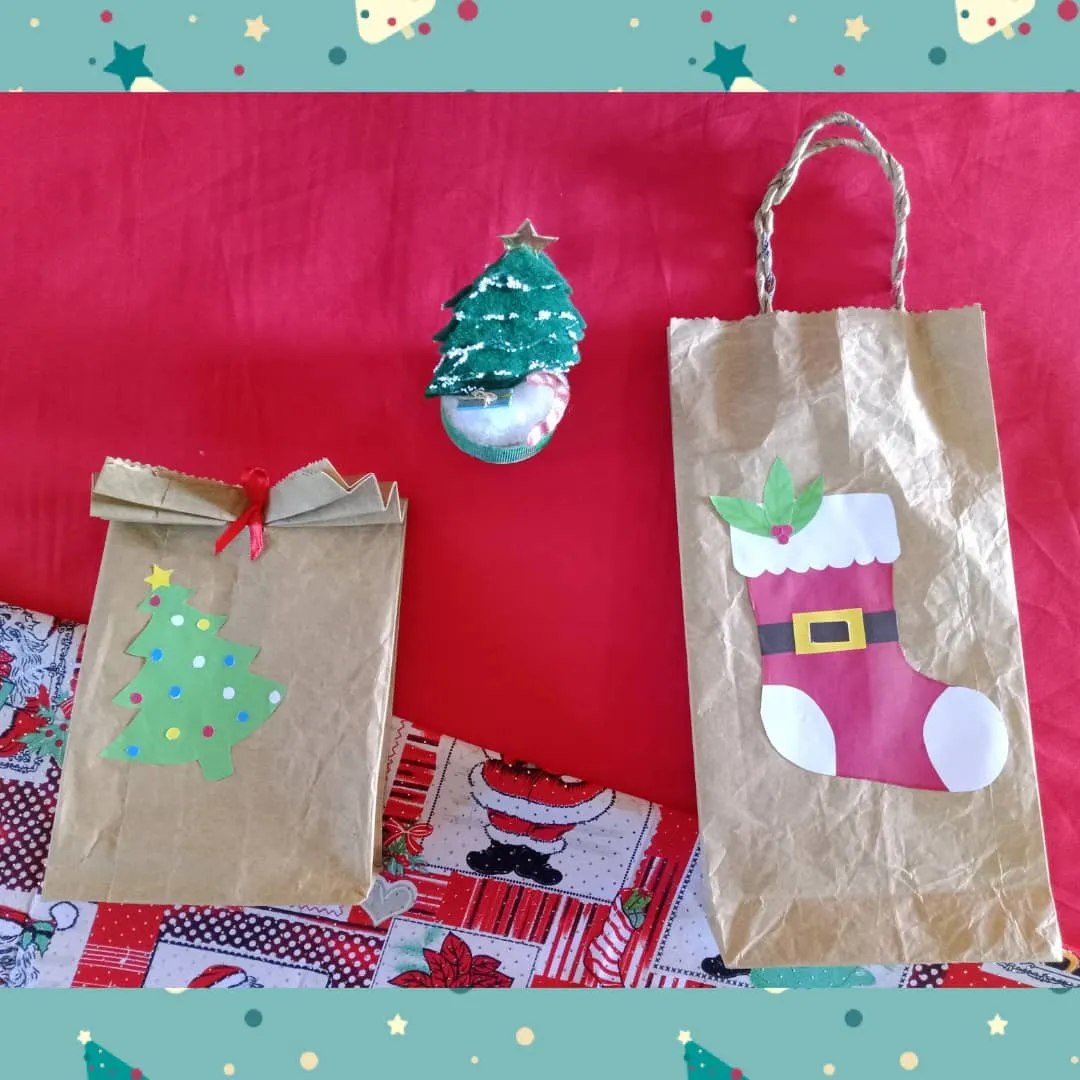
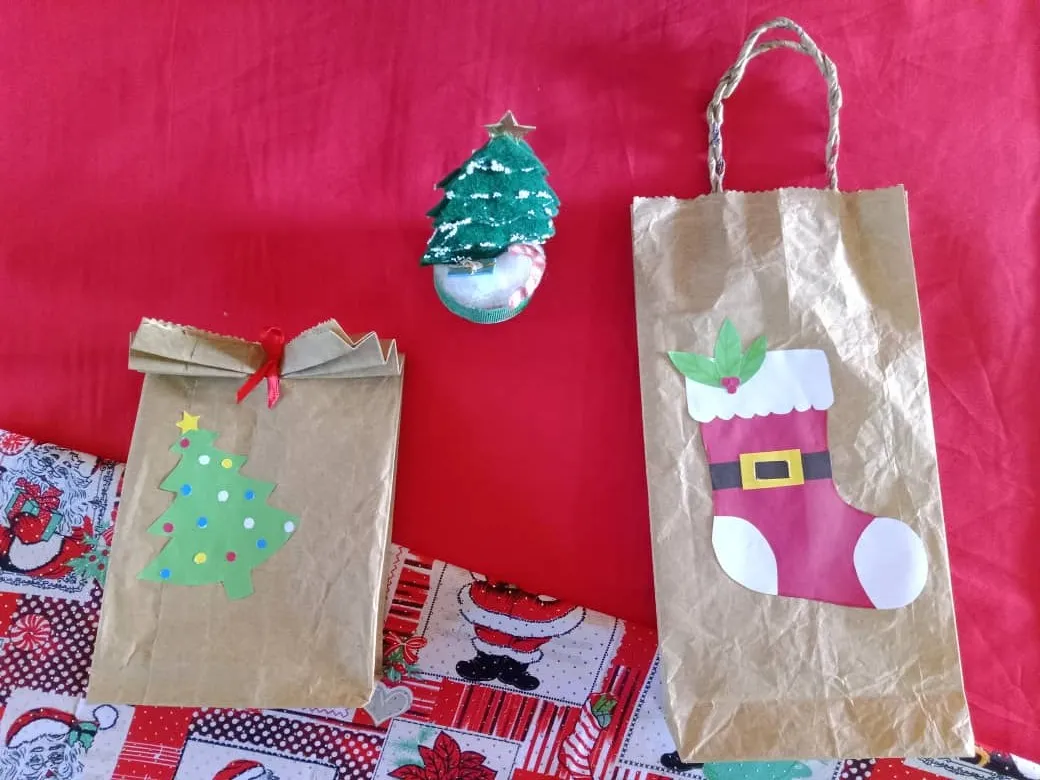
Les muestro el resultado final.
I show you the final result.
Gracias por Leer.
Thank you for reading.
See you later!
Translated with https://www.deepl.com/translator
    All images are of my authorship captured with an Alcatel phone.Separator designed by @emansitticoof.


      Todas las imágenes son de mi autoría capturadas con un teléfono Alcatel. Separador diseñado por @emansitticoof.