Craft is now beyond making items, it has now become a way of expressing yourself and that is why you see an artist telling different stories about his or her artwork.
Today, I will be doing arts and crafts from the normal items we usually see in our house, and what I made is a table frame.
Items used are:
Plastic spoon
Paper gum
Brown gum
Cardboard
Carton
Scissors and wire
Blue pen and peg
Nail polish
Step 1
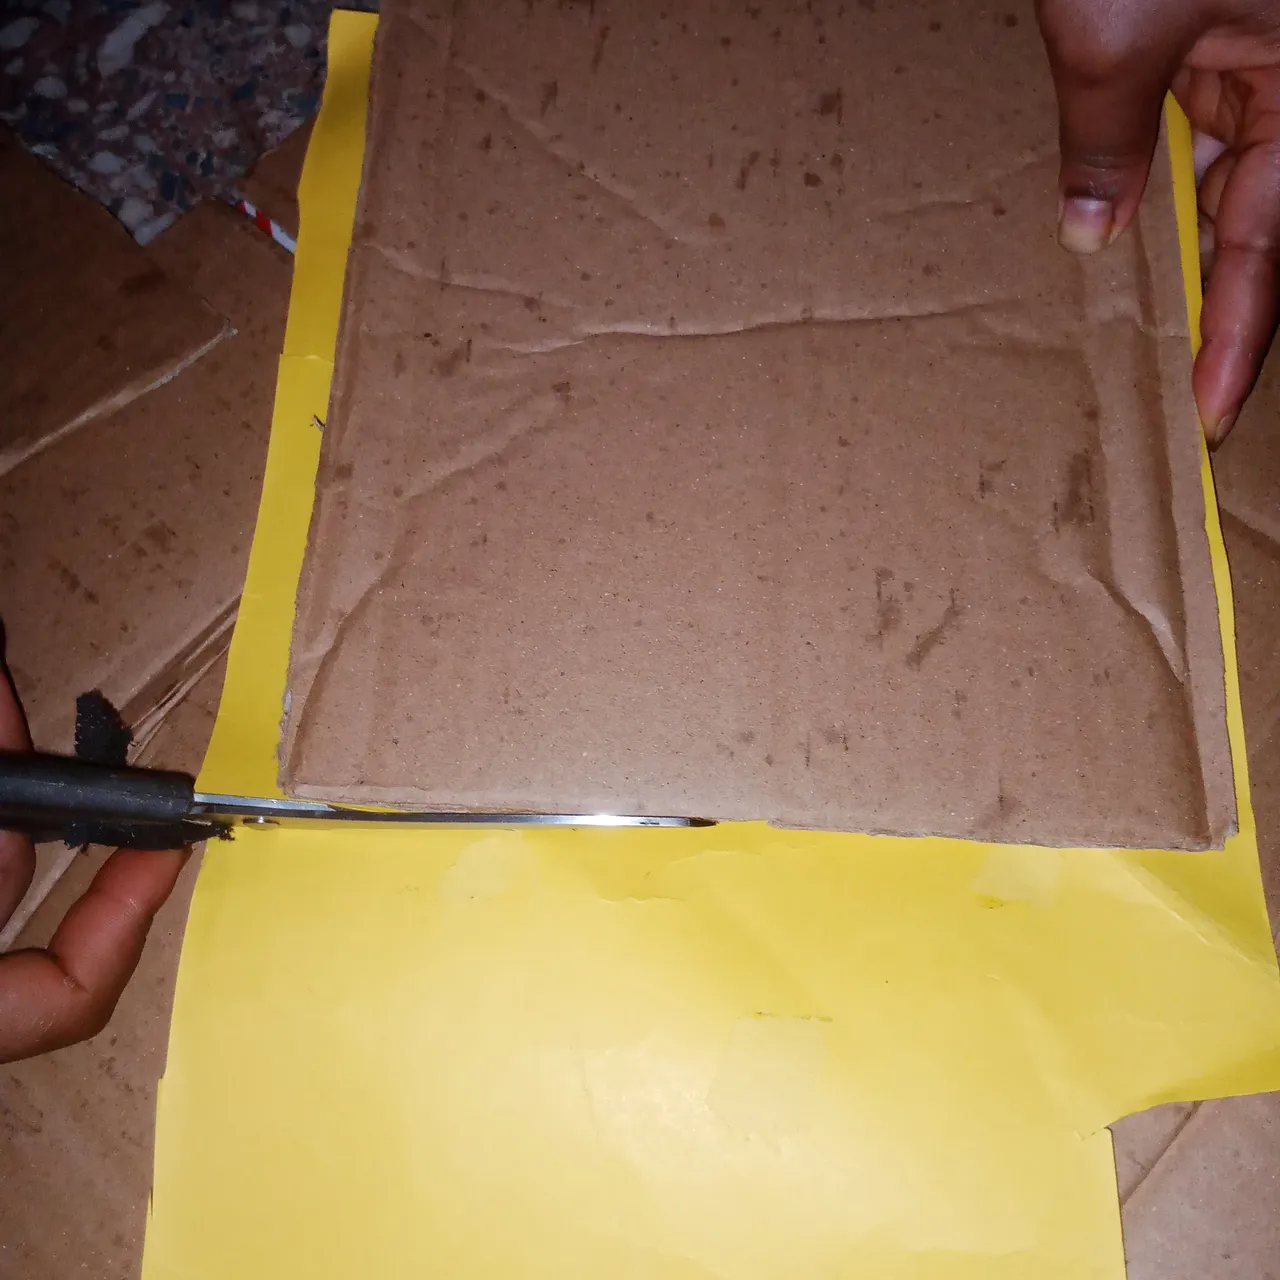
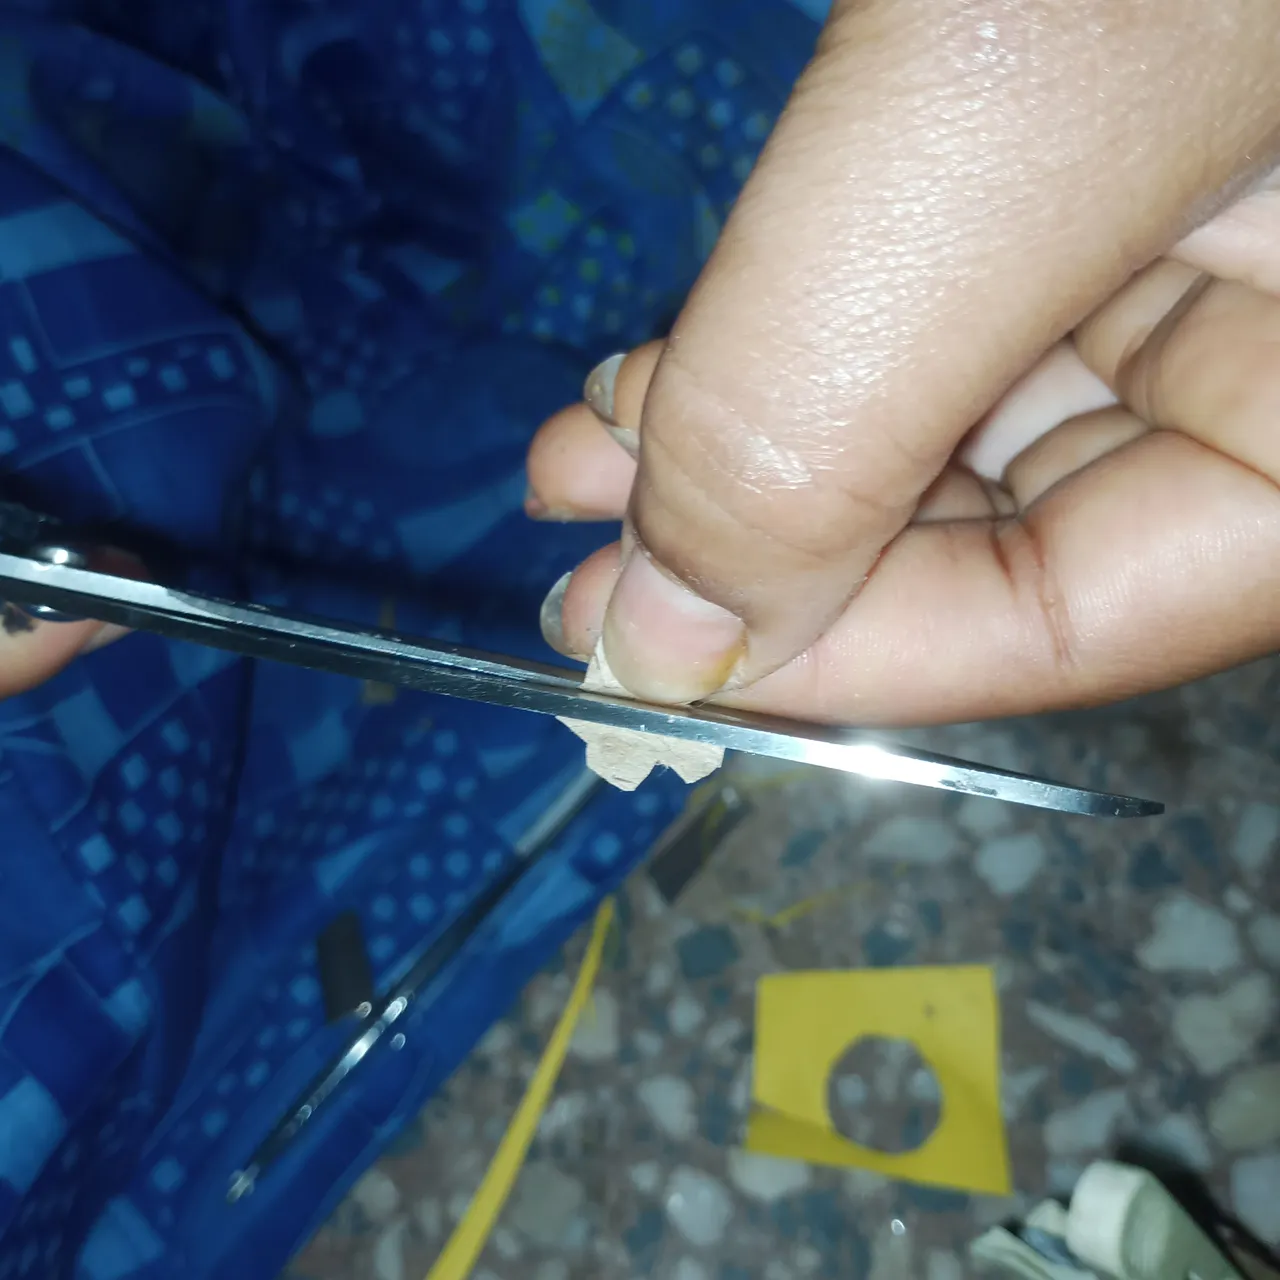
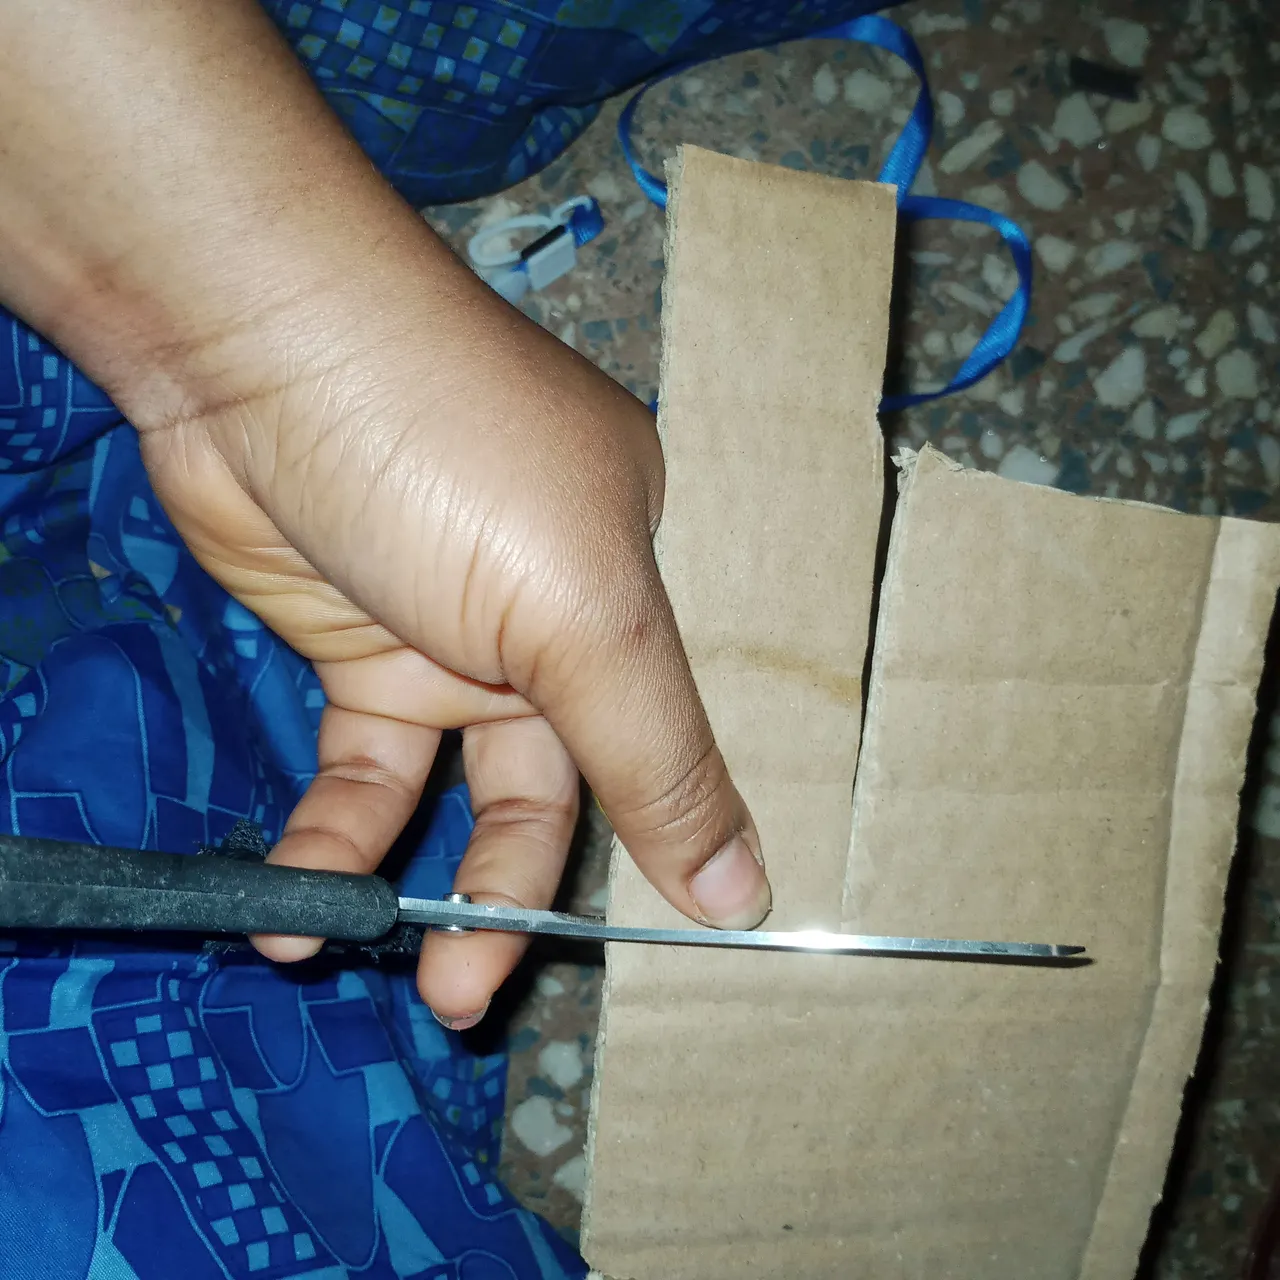
I cut the carton and cardboard into a square shape and then painted the wire with the nail polish. The reason why I painted the wire is because it was yellow and since I will be making use of yellow cardboard for the wire to show I paint it to another color.

Step 2
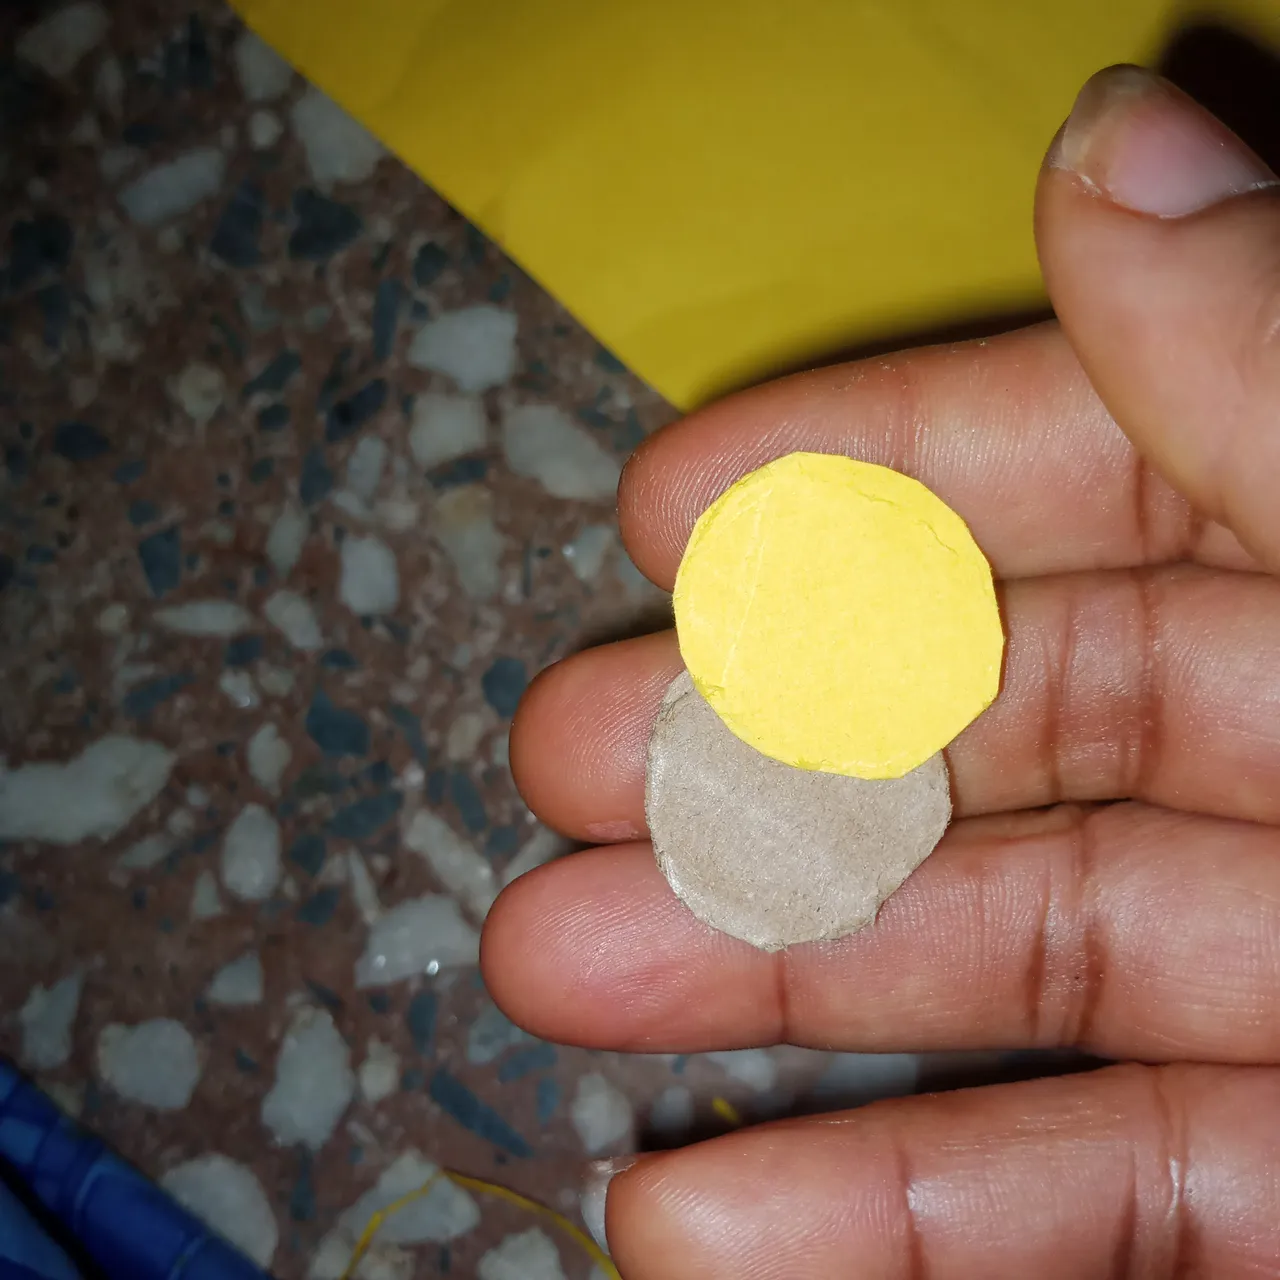
I make use of paper gum to join the cardboard and the carton together then cut the edges to give it a neat shape.
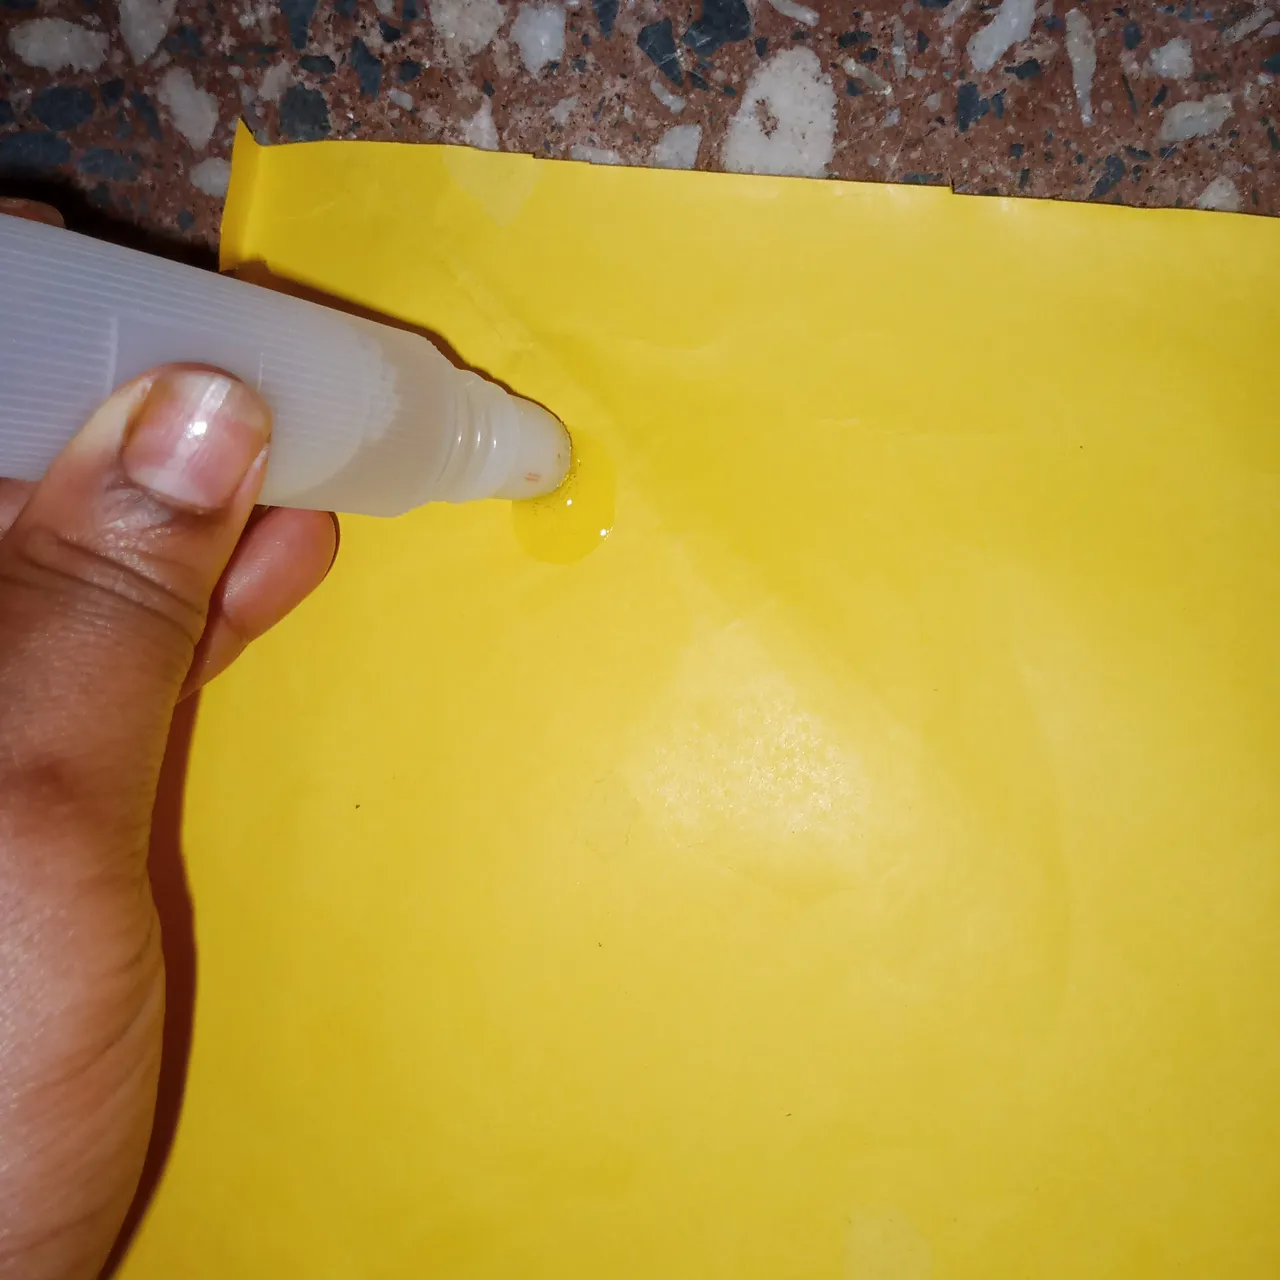

Step 3
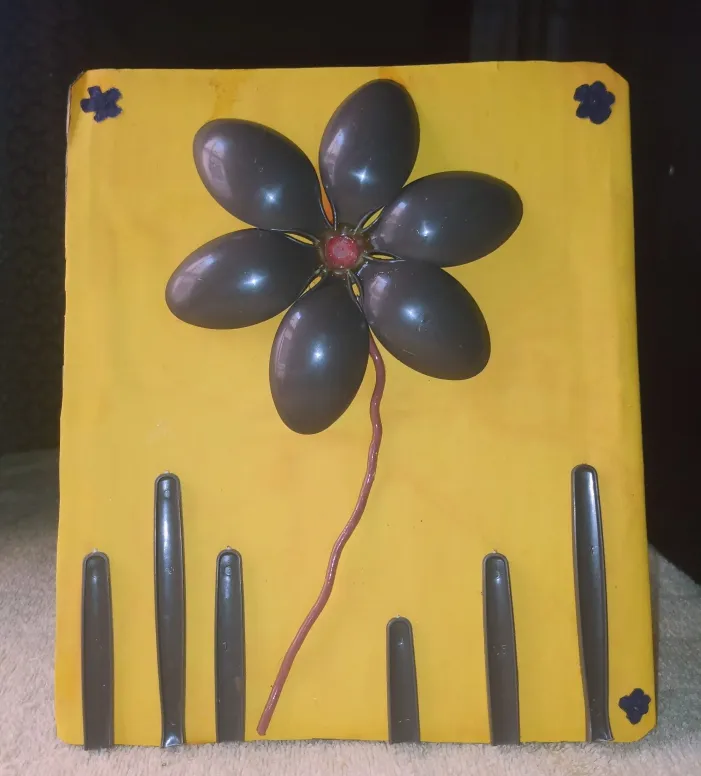
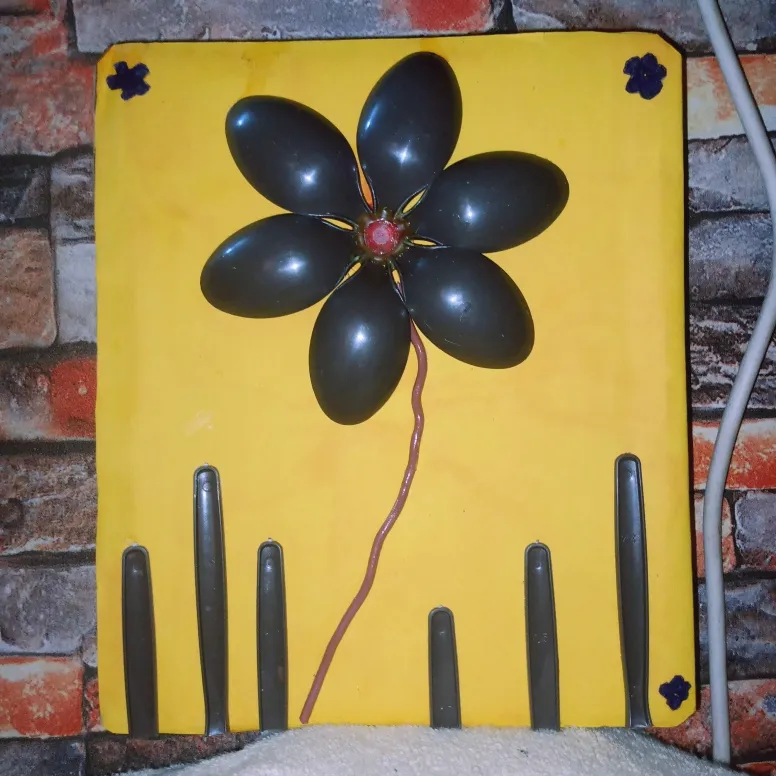
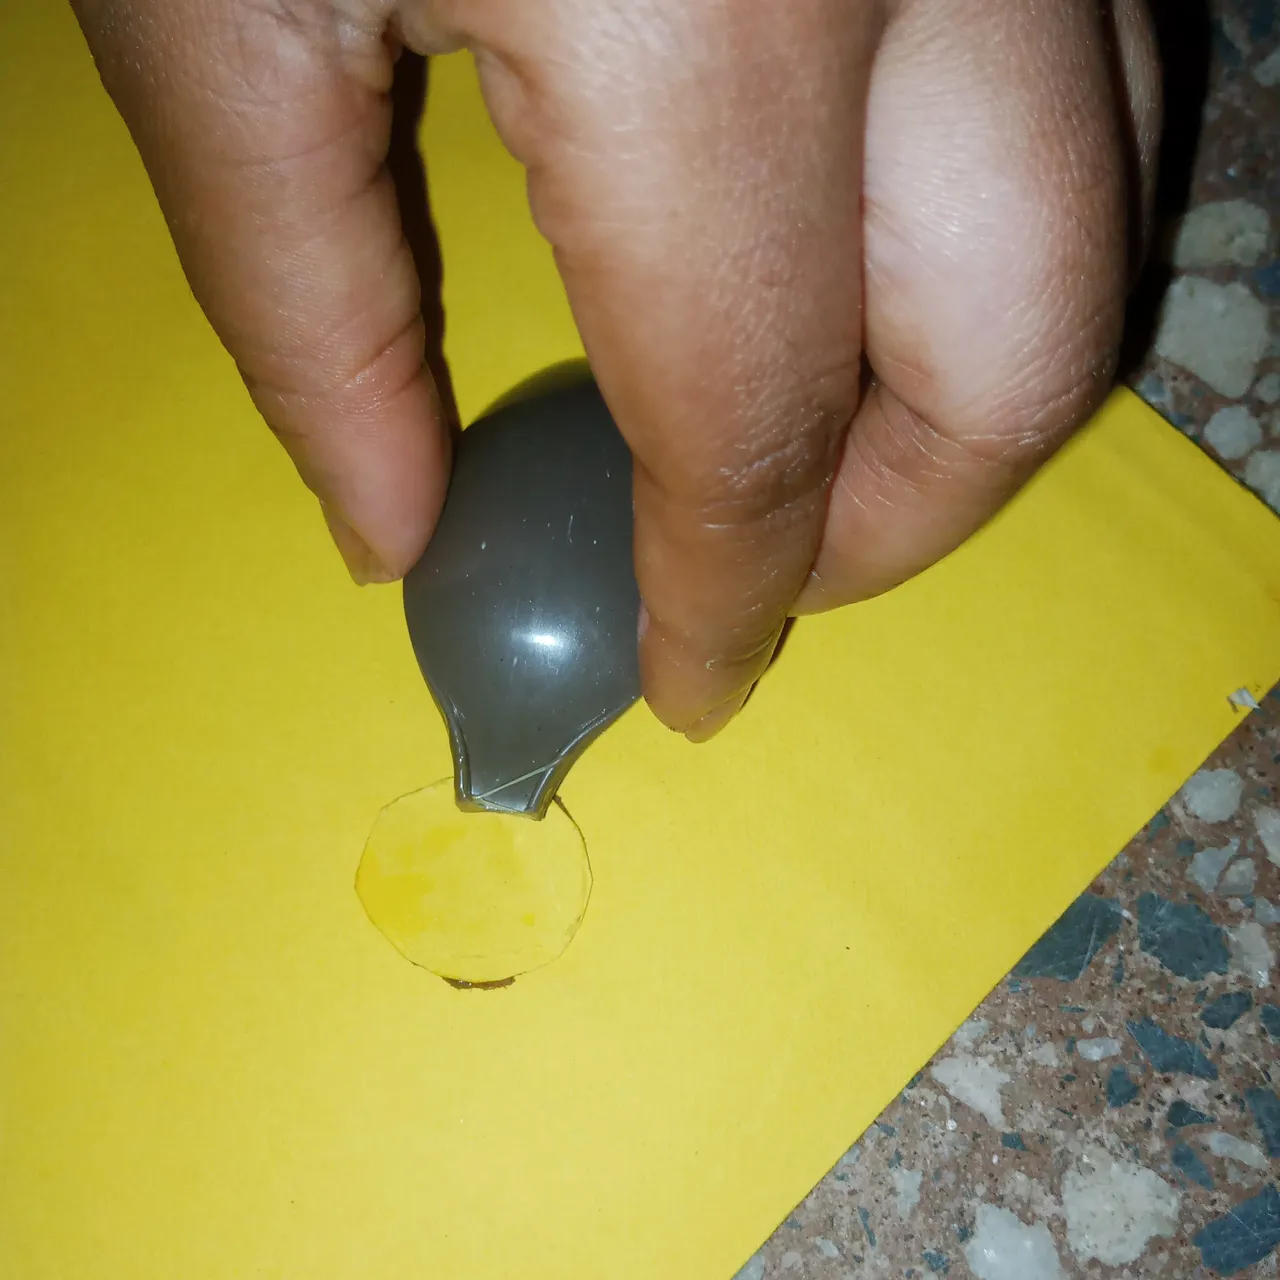
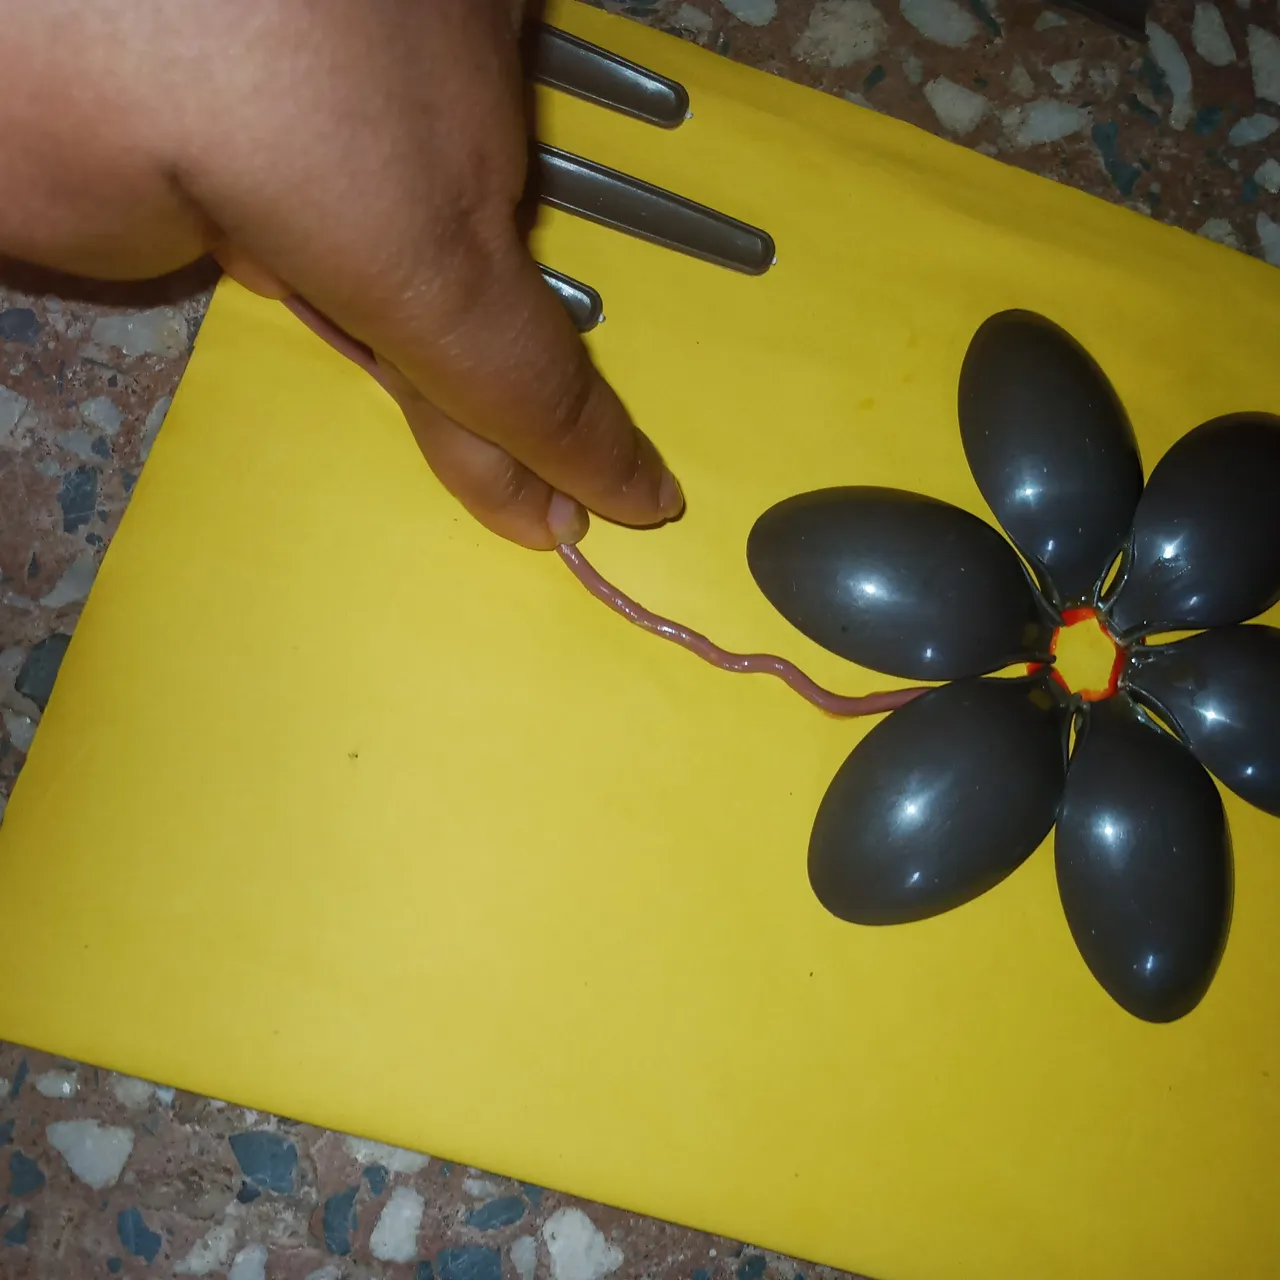
I cut a round shape from the cardboard and the carton then gum it together, and placed it on the square shape. I cut the handle of each spoon and then I started to gum the spoon head at the edge of the circle with brown gum to form a flower shape.


Step 4
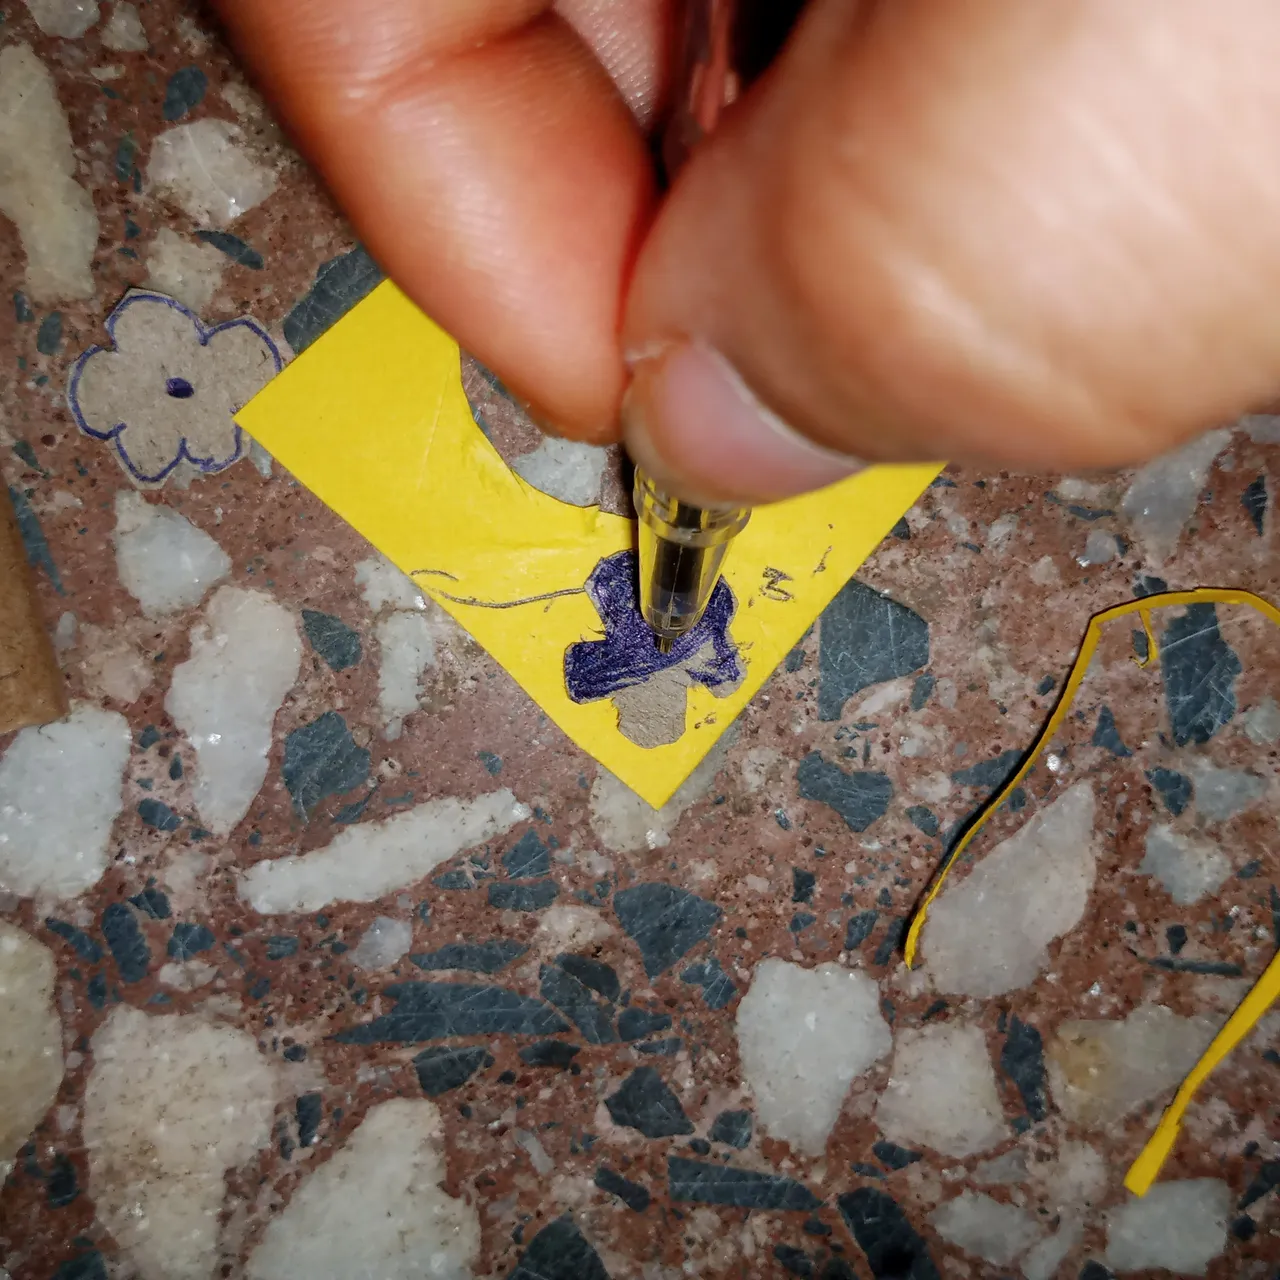
I rub the brown gum on the wire then place it on top of the square shape while the head of the wire goes under the spoon. I made use of the handle of those spoons to do another design at the end of everything and to give it a perfect look I cut out a small flower then painted it with the blue pen and gum it on each edge.

Step 5
After everything was done, I didn't want to leave the middle of the spoon like that so I poured the top bond at the middle and then placed a sequence stone on it.
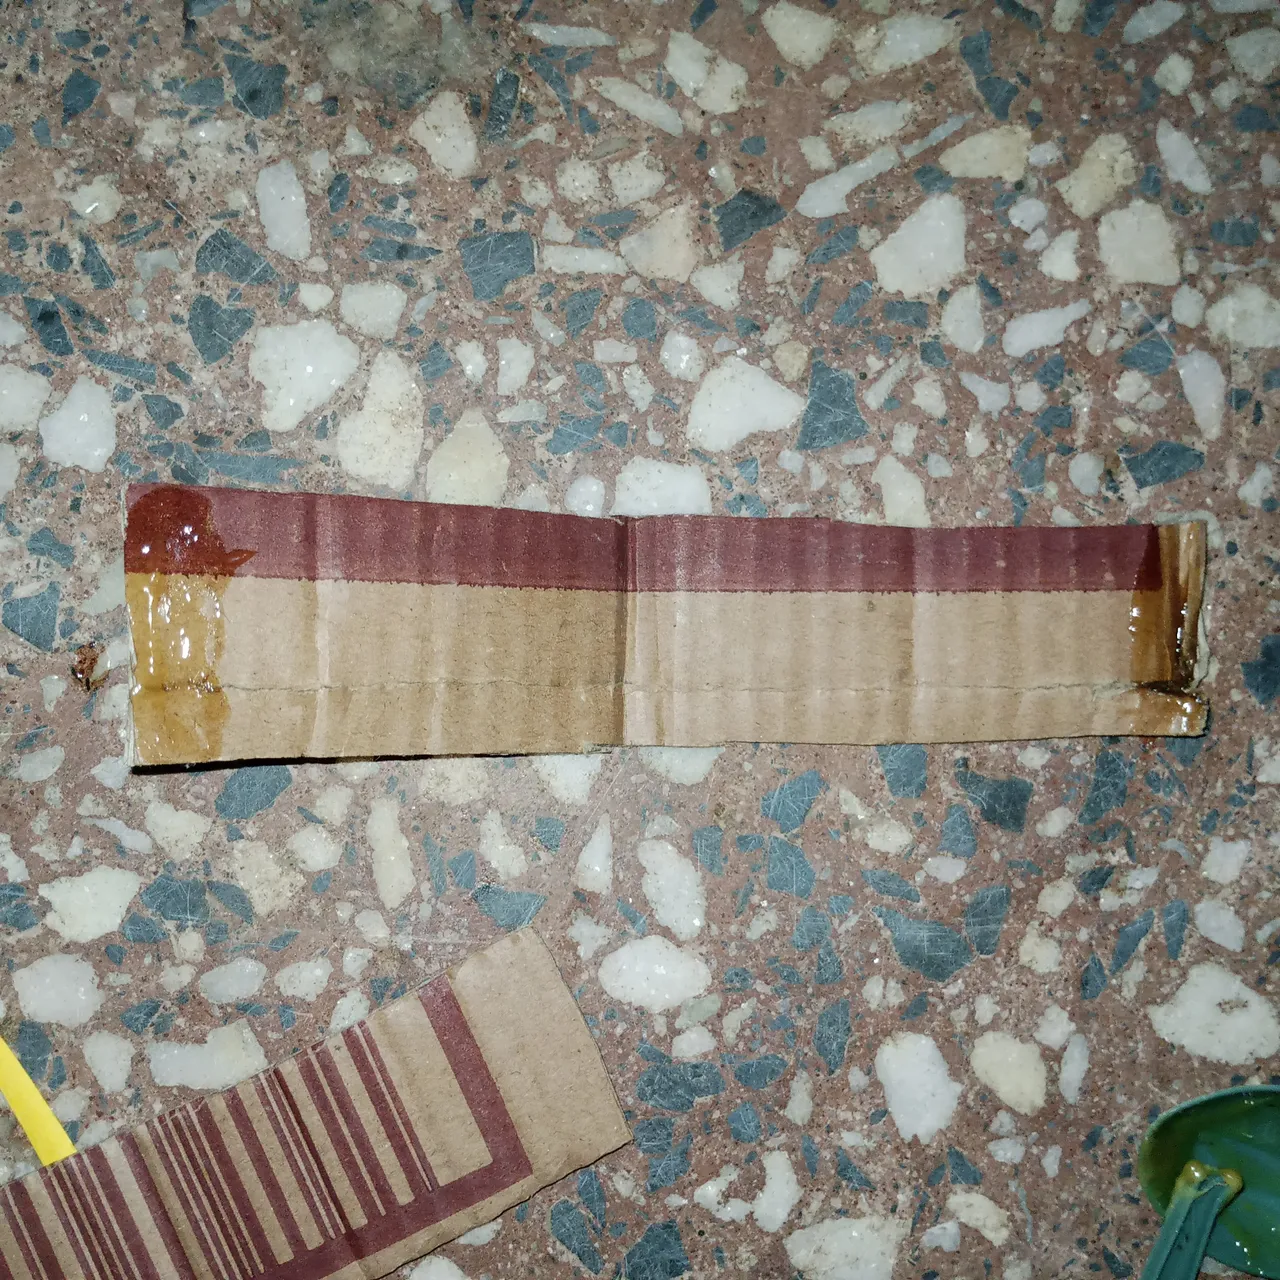
I cut a piece of the carton in two straight lines and then gum it together, It formed a stand for the frame, and I made use to hold it down so that it would stick together when it is dry.


Now my table frame is ready as you can see in the picture.