Hello DIYers! Yesterday I spent some time fixing my vacuum, which had the belt break and also need the cord mended. It's easy enough to do these repairs on your own, and saves you a lot of money. I follow a fellow Hiver on IG (I'm sorry, I am totally blanking on his Hive handle, I haven't seen him post here in a while) who scouts the trash for salvageable stuff, and he's always posting about vacuums that just had minor problems that he was able to fix up and sell, that the original owner threw in the trash. Can you imagine throwing out a vacuum for a broken belt or a clog? Let's fix this ourselves! :)
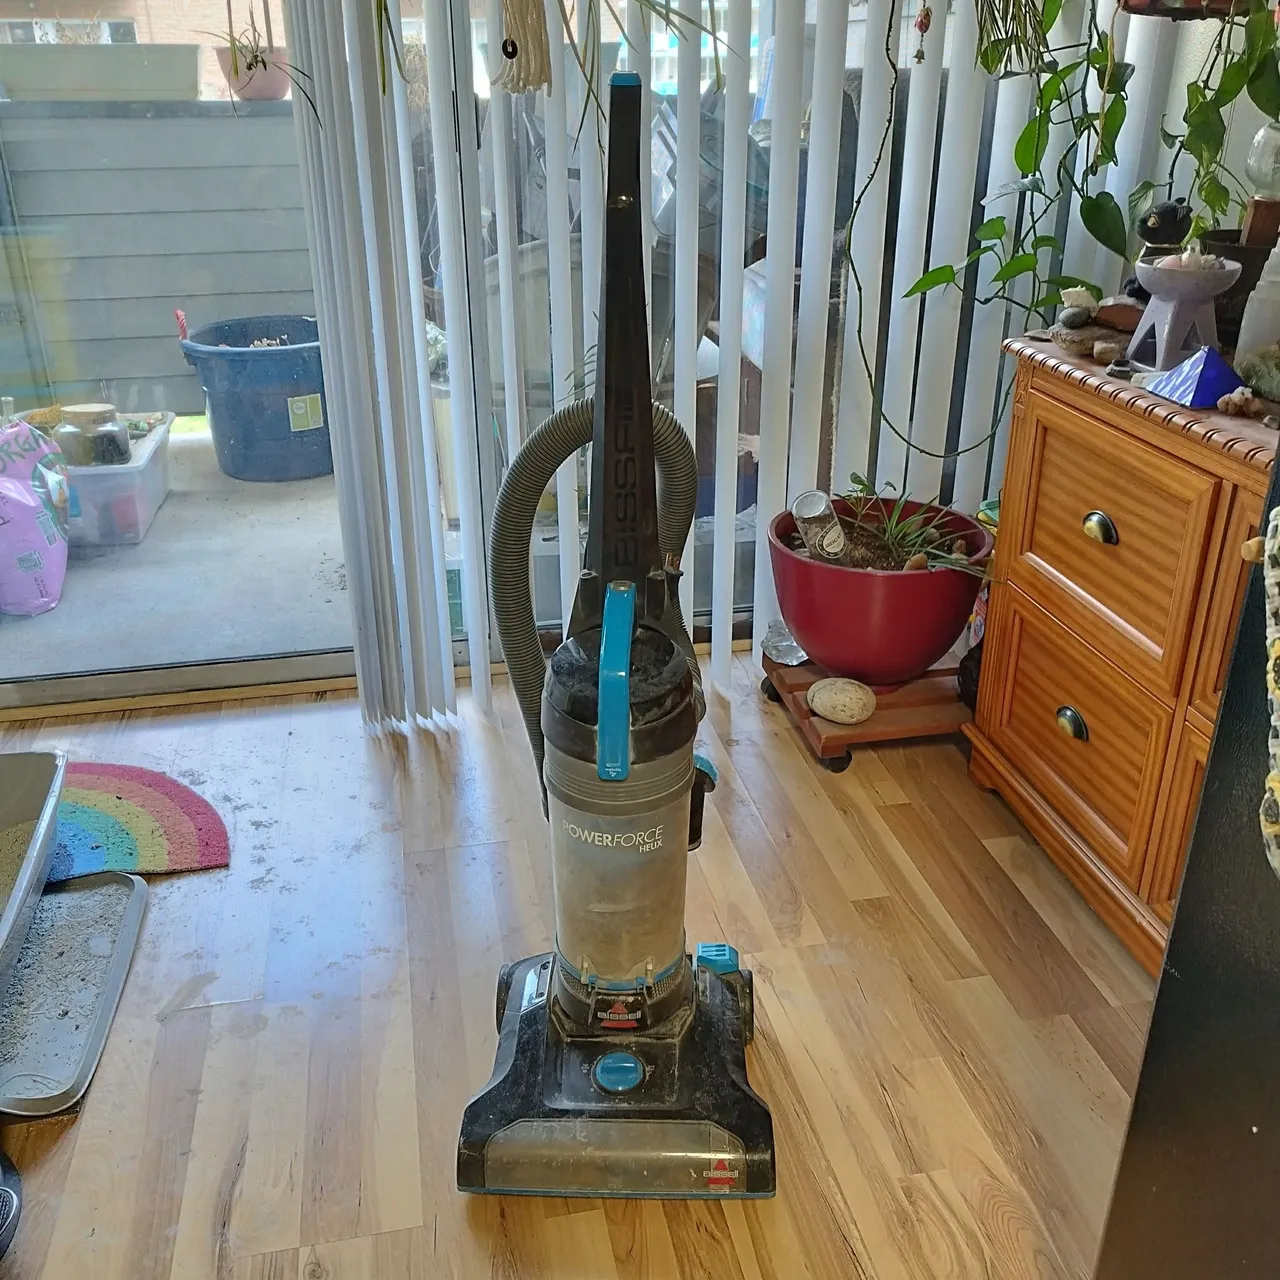
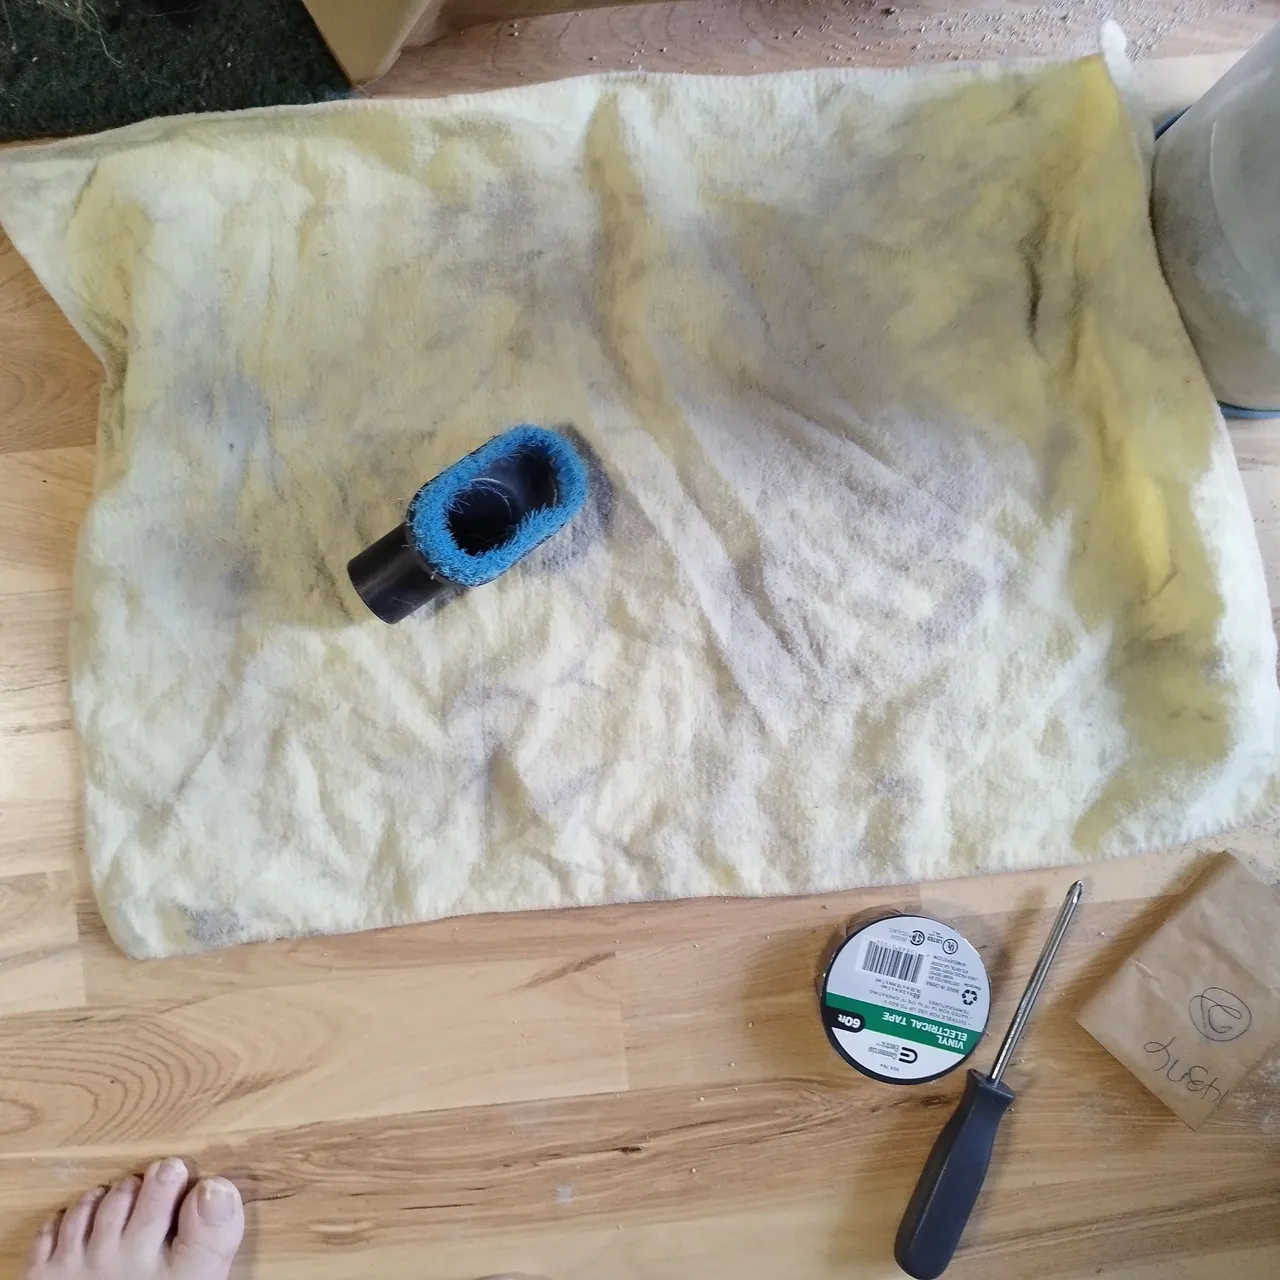
First, I just dusted the outside of my vacuum. I honestly never thought to do this before, then one of the clean with me people I watch on YT did it and I thought ...that's such a good idea? My vacuum was so dusty on the outside (see the dust rag in the second photo, lol), it would make a cloud of dust fly off when I first turned it on all the time. It still never dawned on me to wipe it down. 😅 So maybe I won't have that problem anymore in future.
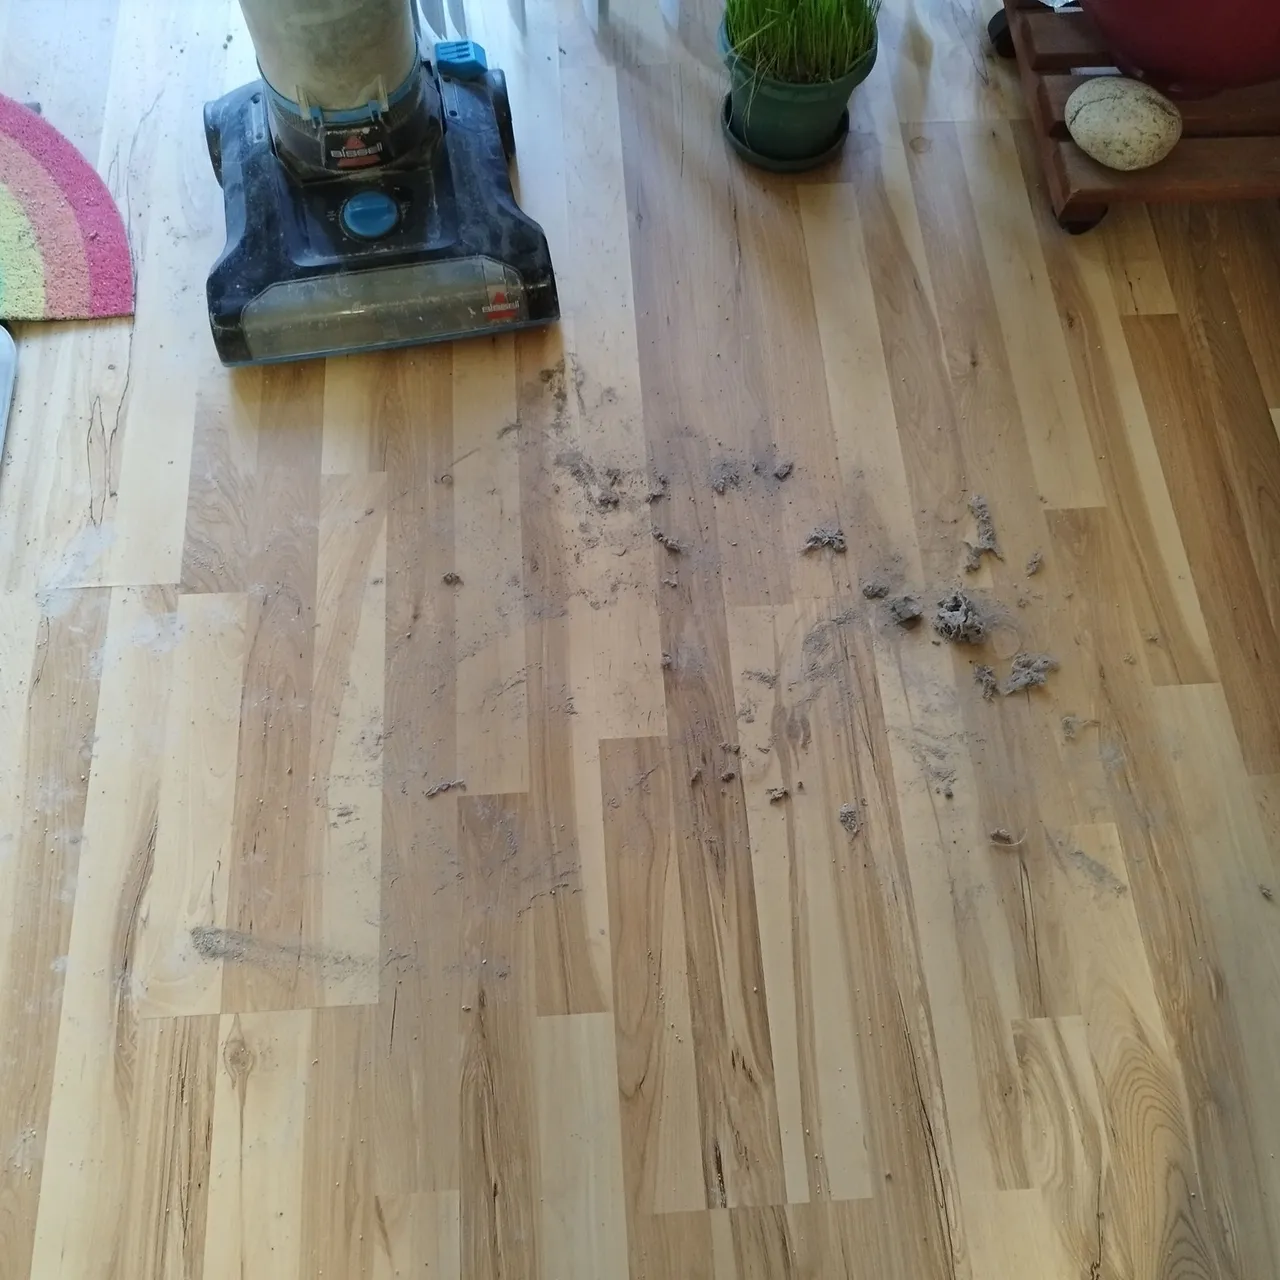
Did I mention that a lot more dust also came off once I started tinkering around? LOL. It sounds funny to clean the cleaning tool, but clean your cleaning tools! Learn from my mistake. Alright, let's open up the bottom to change the belt.
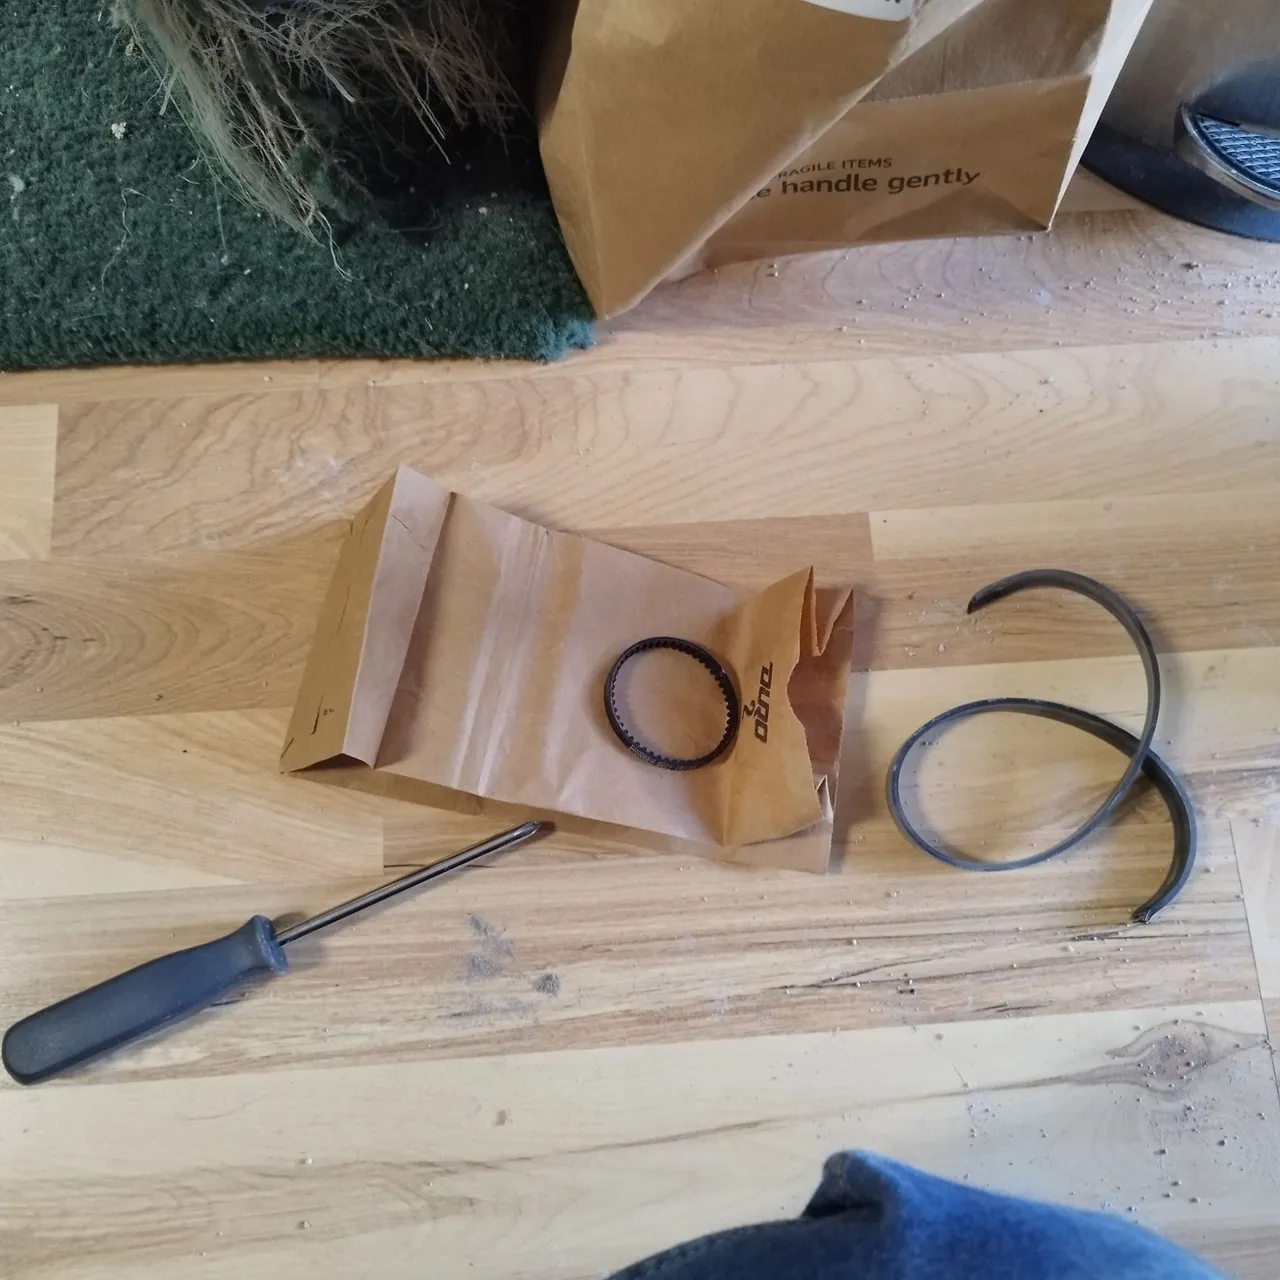
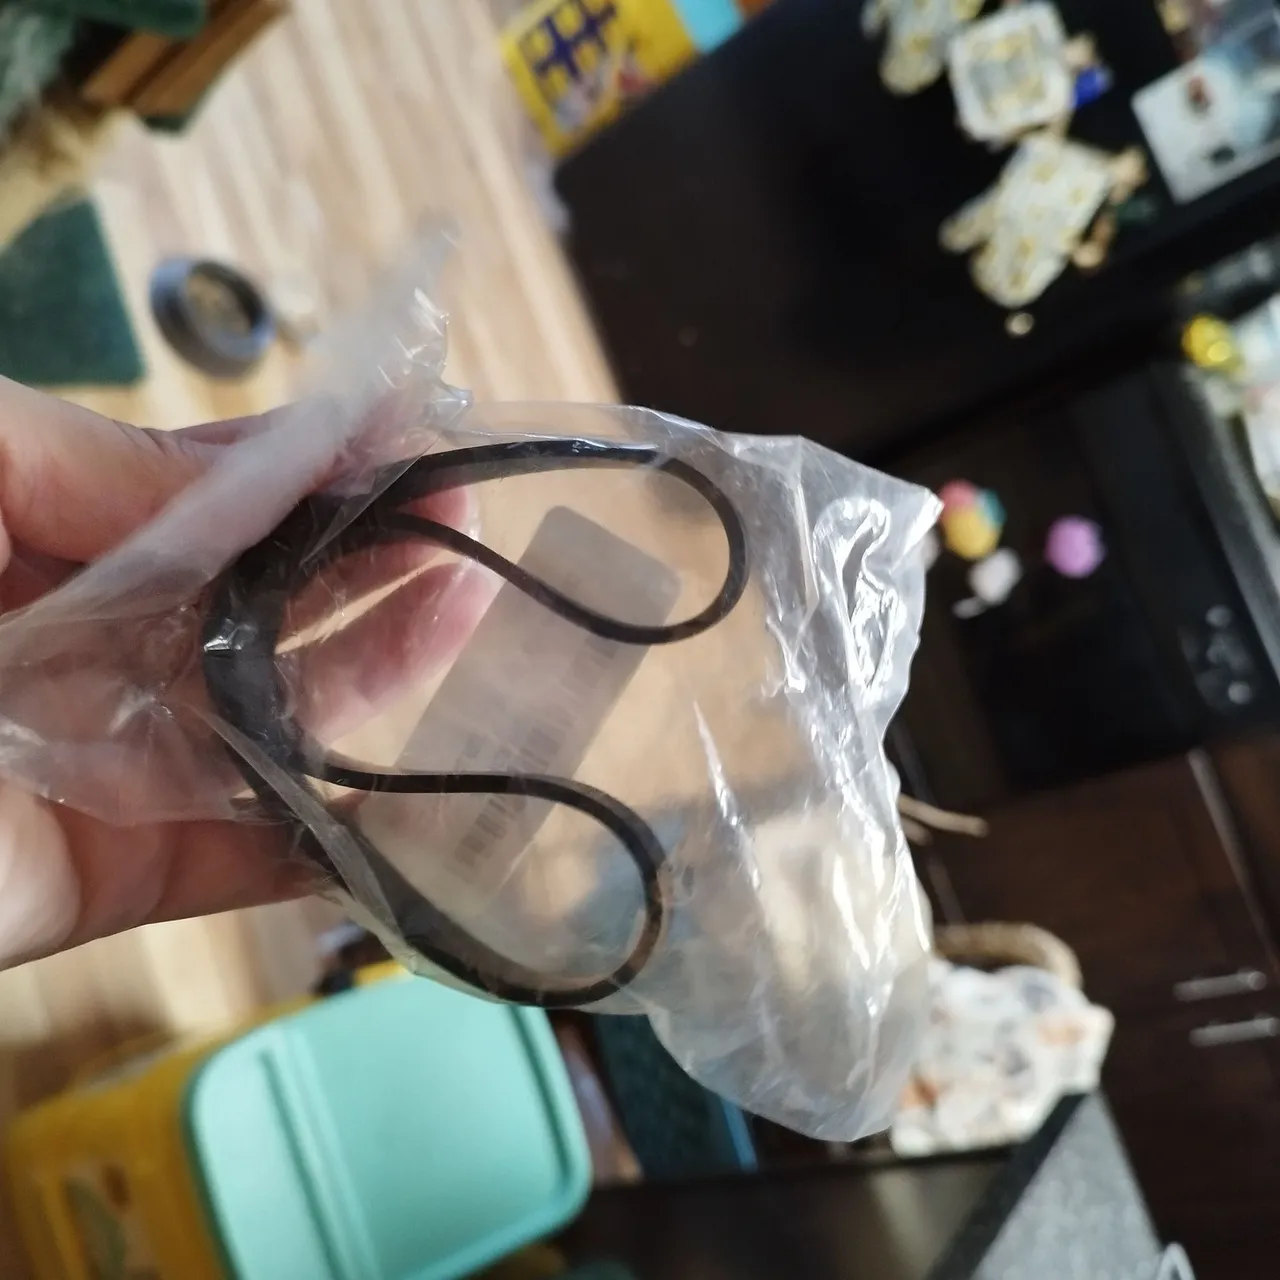
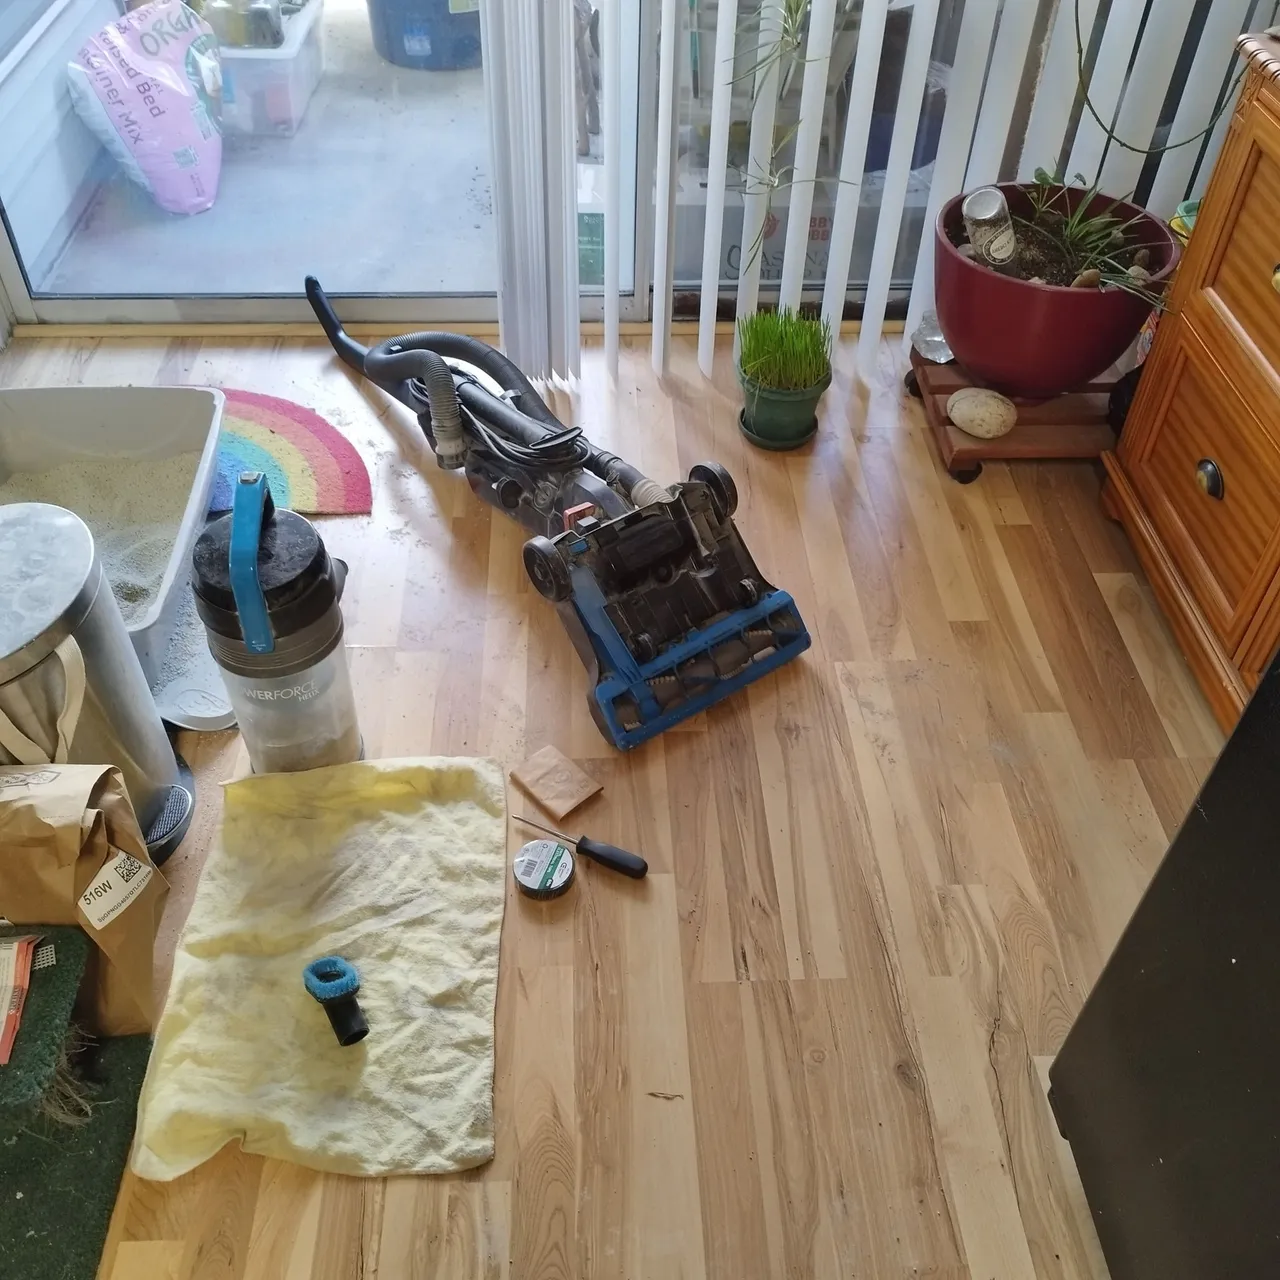
So I had gone looking in my toolbox because I was SURE I had a replacement belt already, because I remembered the last time I had to change one they came in a two-pack. The thing is, I wasn't sure if they were for my old vacuum that I had prior to this one, or my current vacuum. I pulled out the paper bag that I remembered it being in and went ...wait. This is WAY too small. Maybe this is for the little Dirt Devil hand vacuum I received as a gift years ago? But now that I had opened up the bottom of this vacuum, I distinctly remembered taking THIS vacuum apart before, so I HAD to have the correct belt in there somewhere. I went searching again and found it. It was in a clear bag and I somehow totally missed it, lol. But yay! I didn't have to go buy another one.
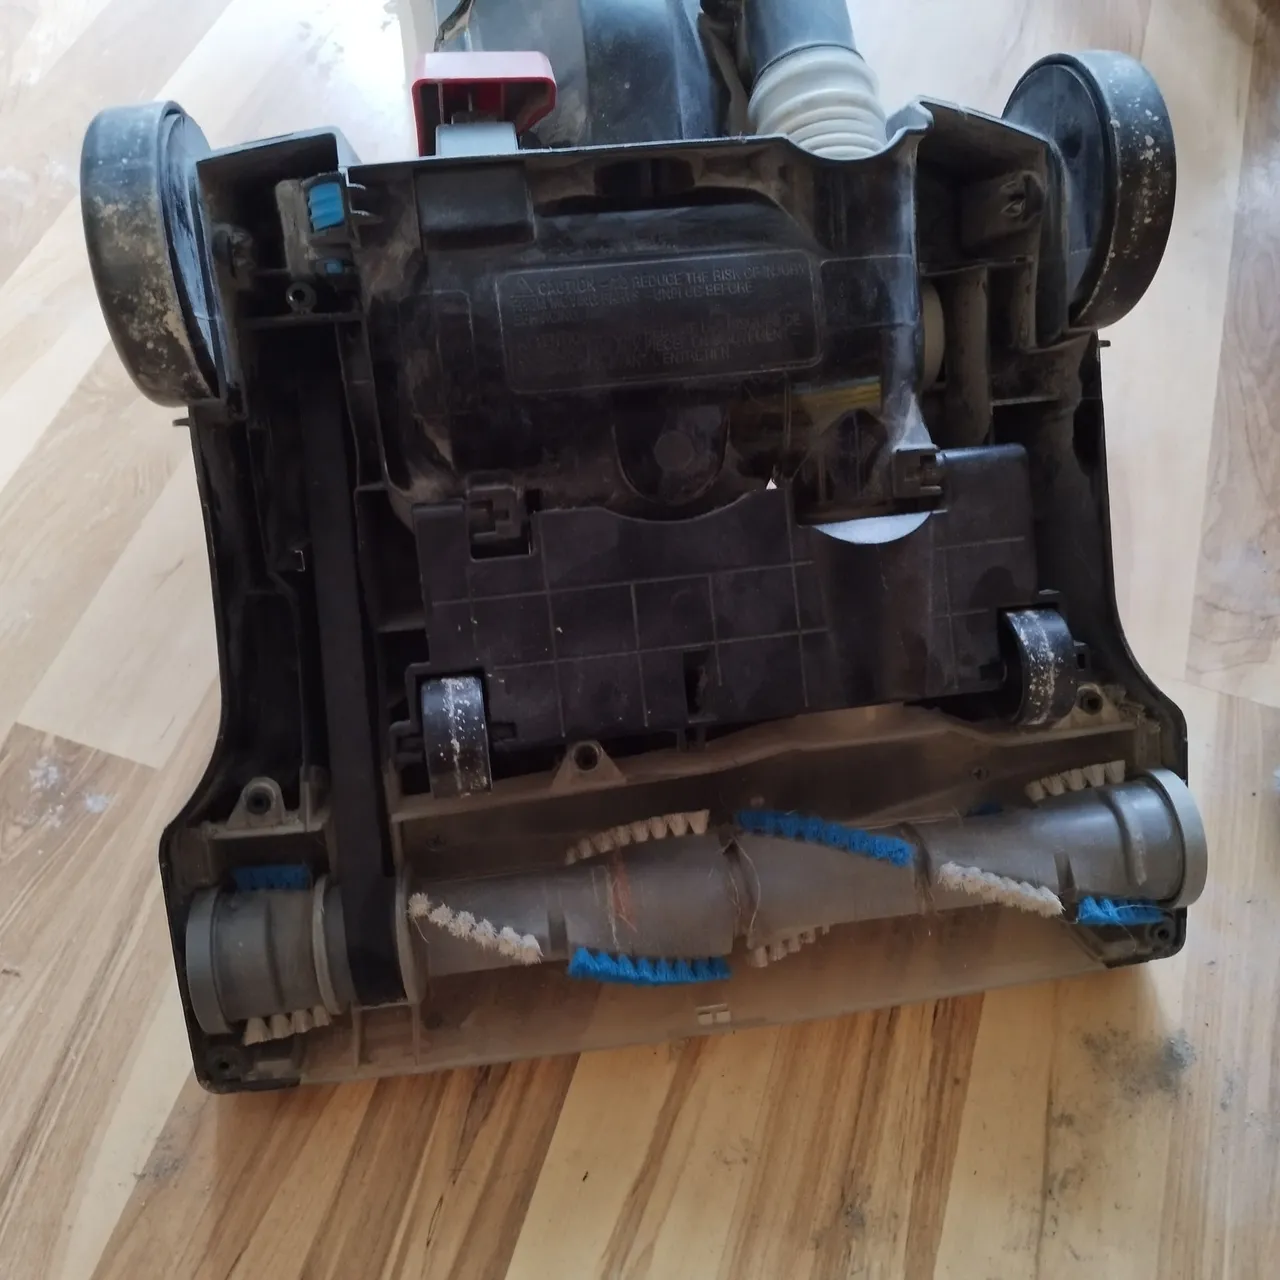
New belt in place! Yes, I didn't have the brush all the way in in the photo, I fixed it after so I could re-attach the bottom, lol.
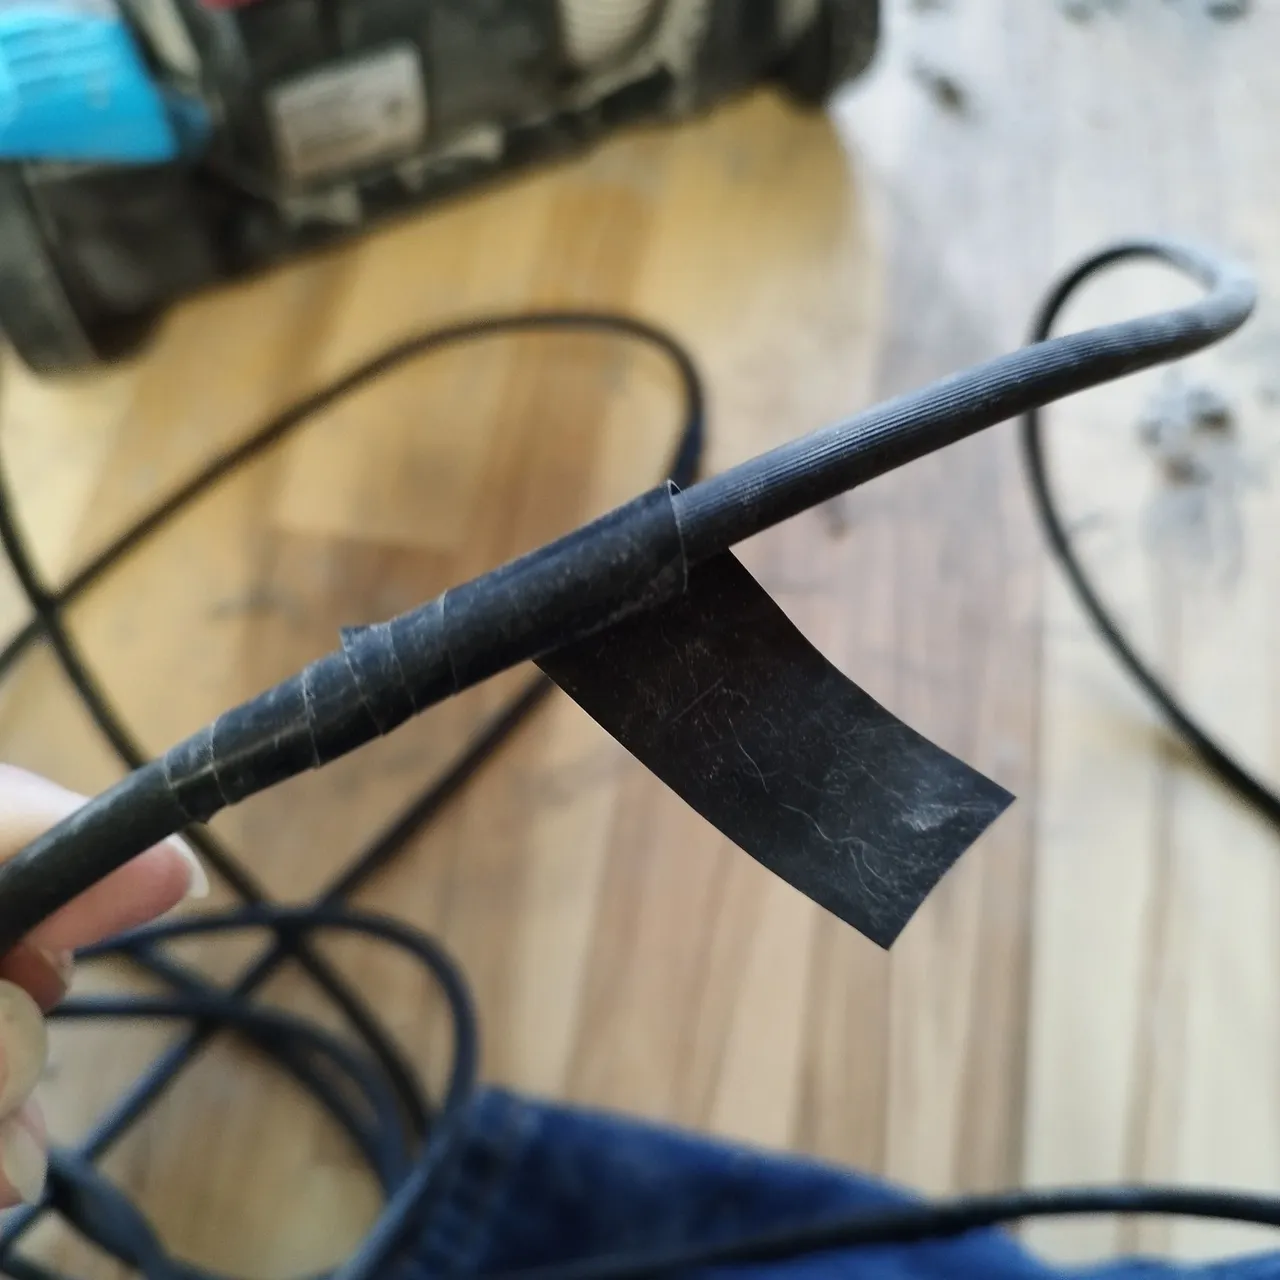
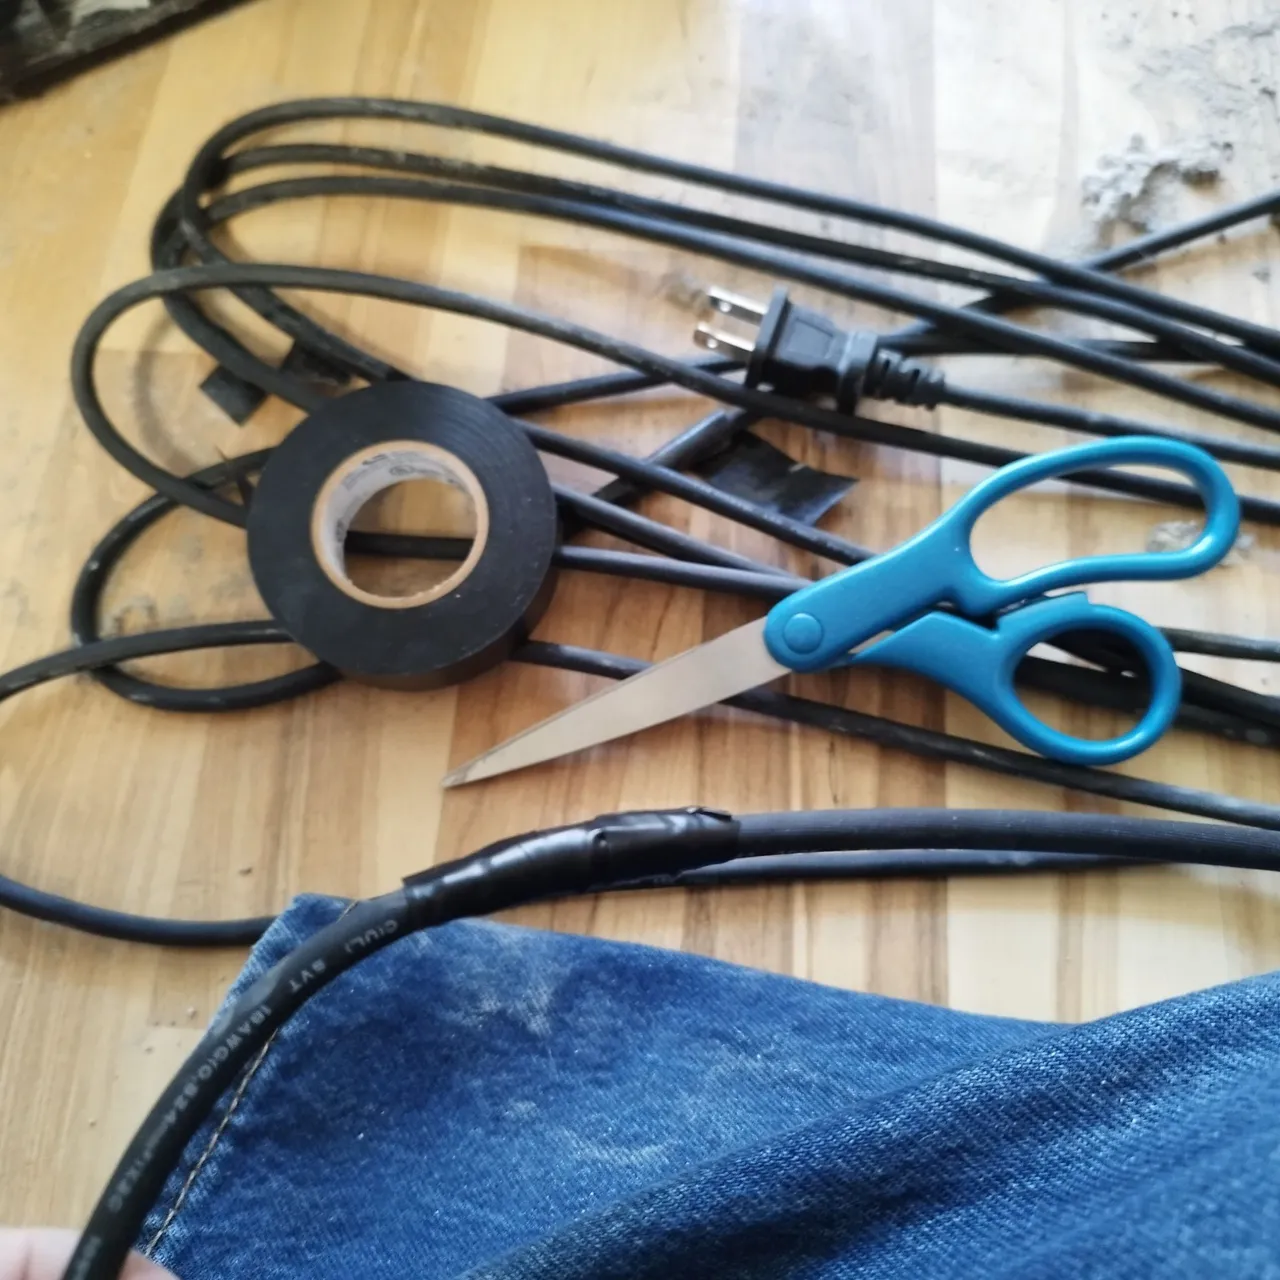
Now let's redo taping up the electric cord. I had tried to do this before, but I was using up the end of a very old roll of tape and it was no longer very sticky, so the ends were all loose like this in the first photo. There were seven places, I think, that needed taping up. Almost every bend in the cord where it normally sits on the holder was wearing out and you could see the wires inside.
All done, and vacuum put away in its new place. Doing this reminded me that I need to change out the pre-filter in there, so I went poking around on Amazon to find one. I didn't order it yet, but I put it in my save list for the next time I place an order there, so I can add it in.
Thanks for reading, and I hope this encourages you to do the minor repairs and maintenance on your vacuum when it needs them! :) Have a great day!