Hello friends! A couple of weeks ago, I wrote about doing some vacuum repair and maintenance, when I repaired the electrical cord and replaced a broken belt. At the time, I was reminded that I was way overdue to change the pre-filter, so I ordered one and did that today.
The pre-filter goes in the canister, so let's take that off.
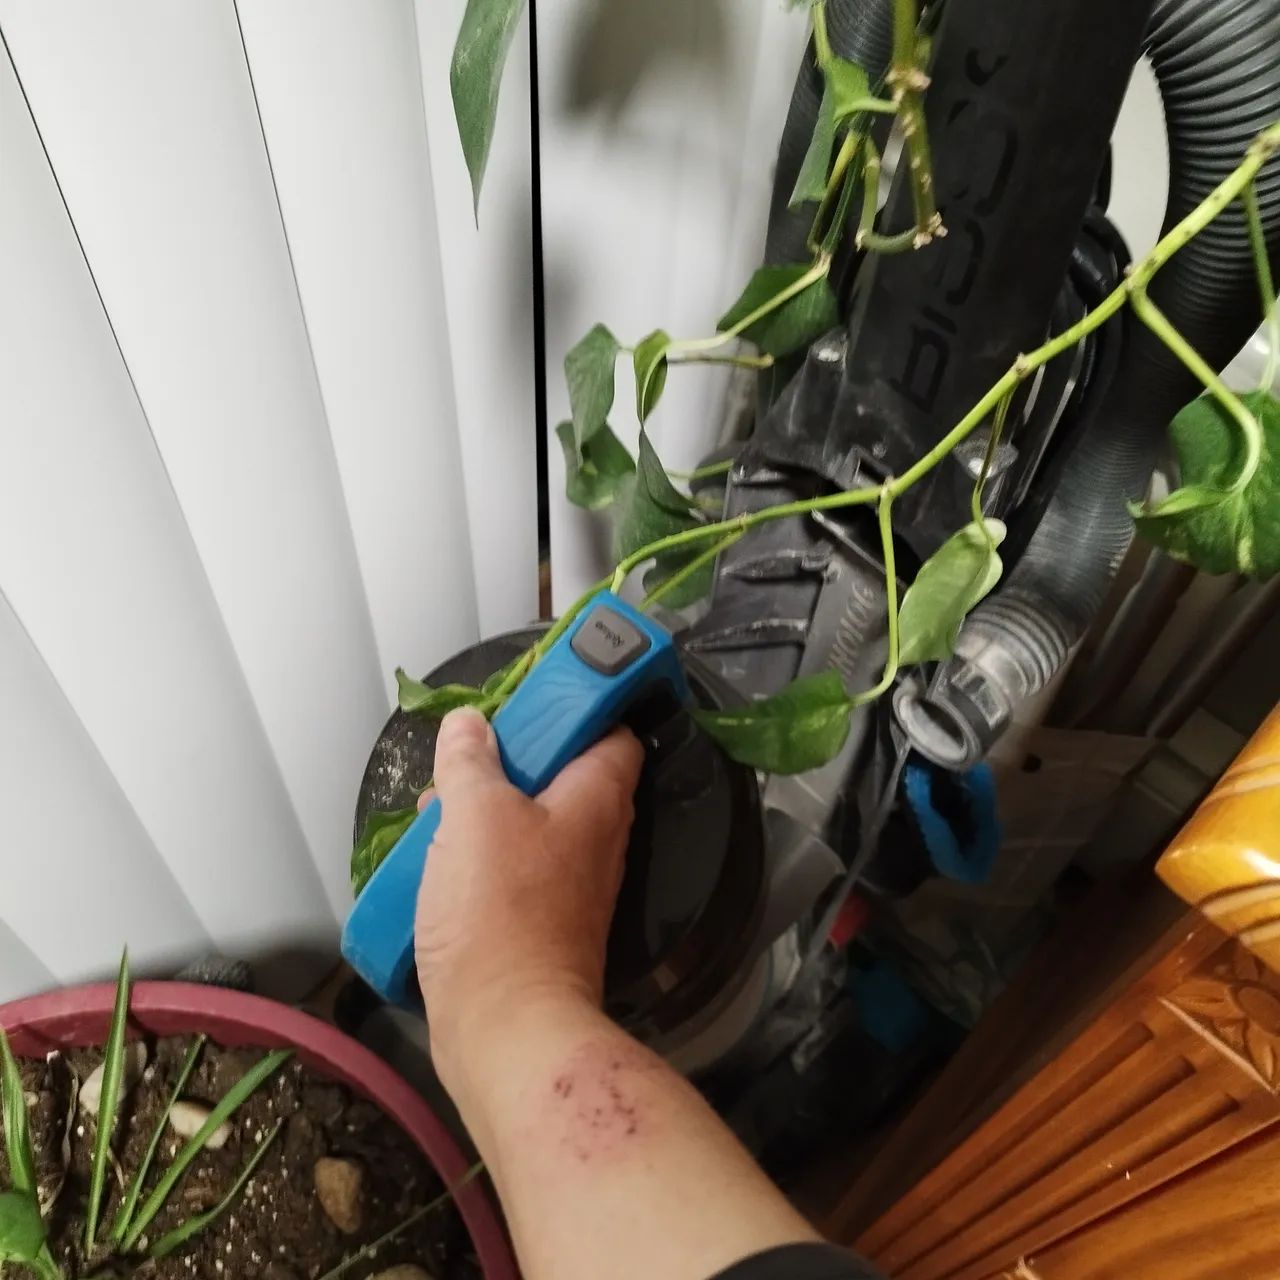
Like most of my projects, it gets a little more involved than initially thought. I started to clean the dust on the canister with a wet paper towel, and quickly realized it was way beyond that:

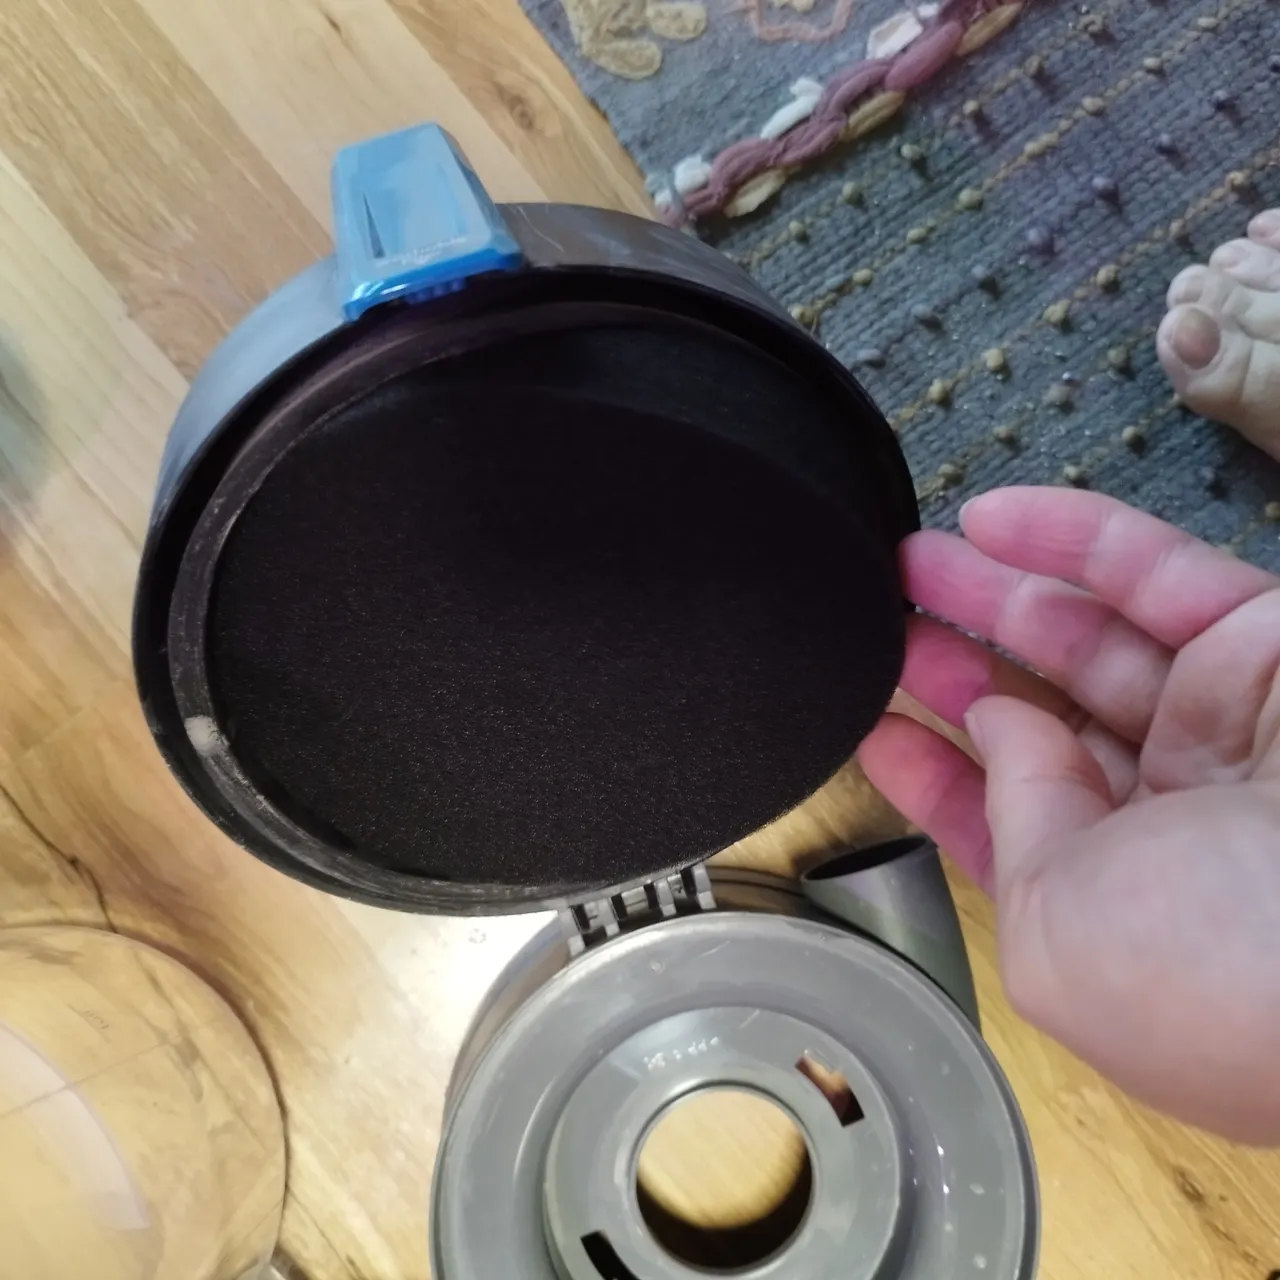
That's the filter in place on the right!
There was a pile of dust accumulating on the floor, and I had barely touched the amount of dust on there. So, I took the old filter out, took the whole thing apart, and washed it off in the kitchen sink.
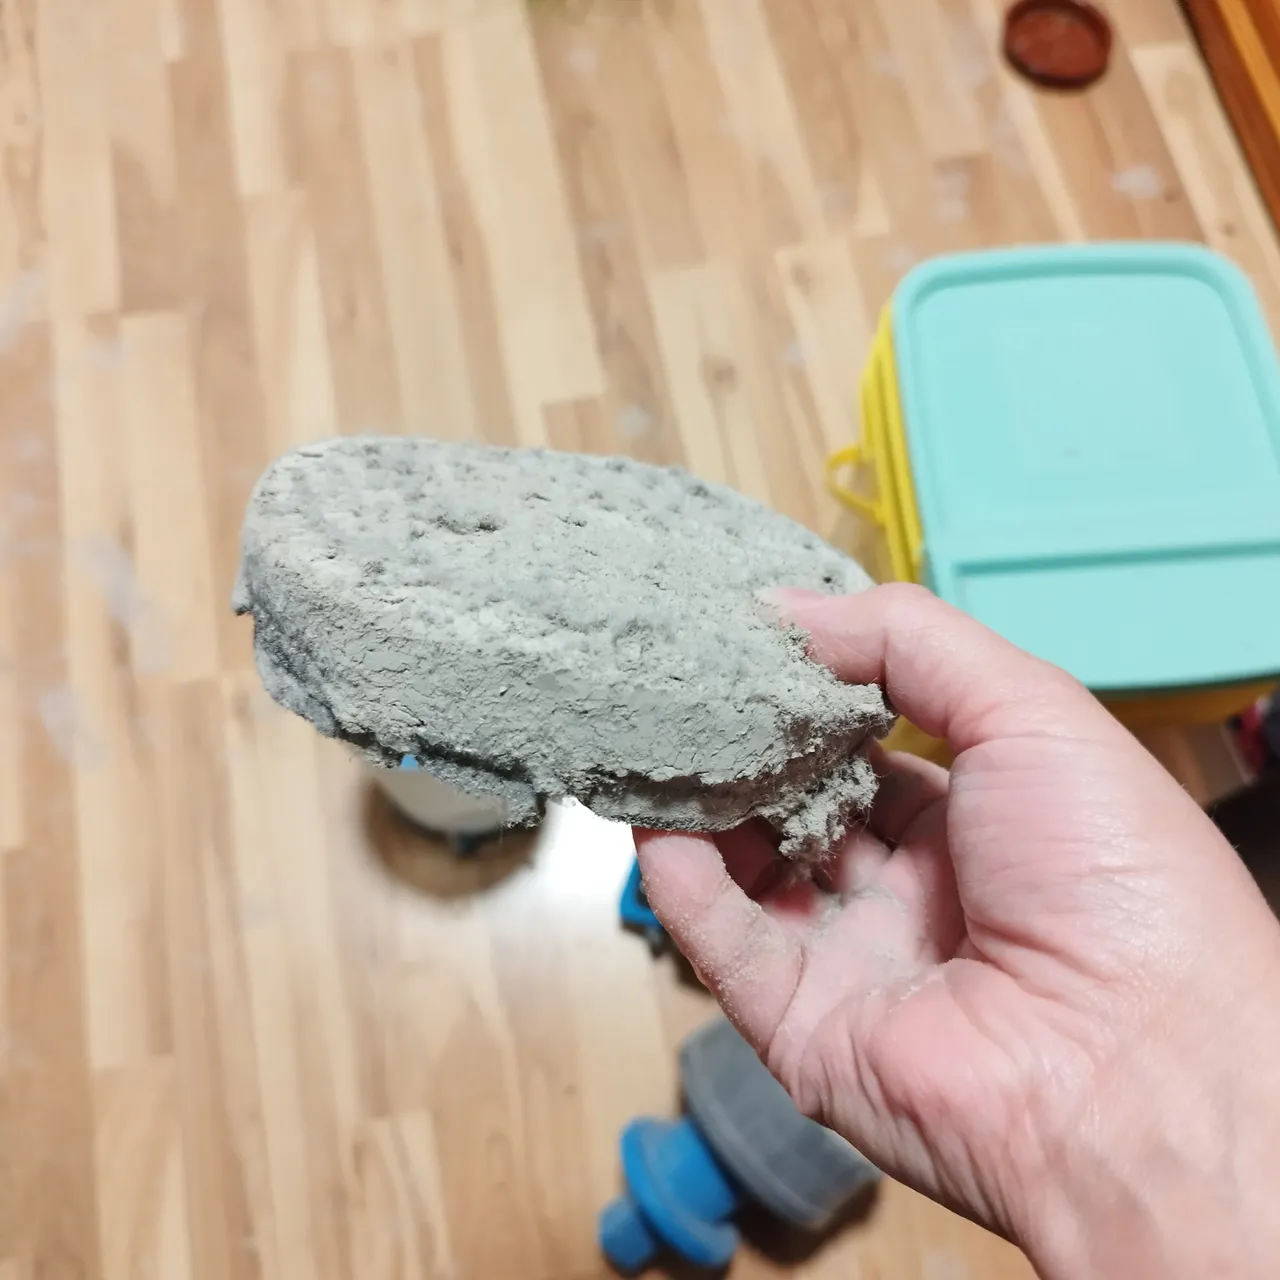
Told ya it was way overdue!
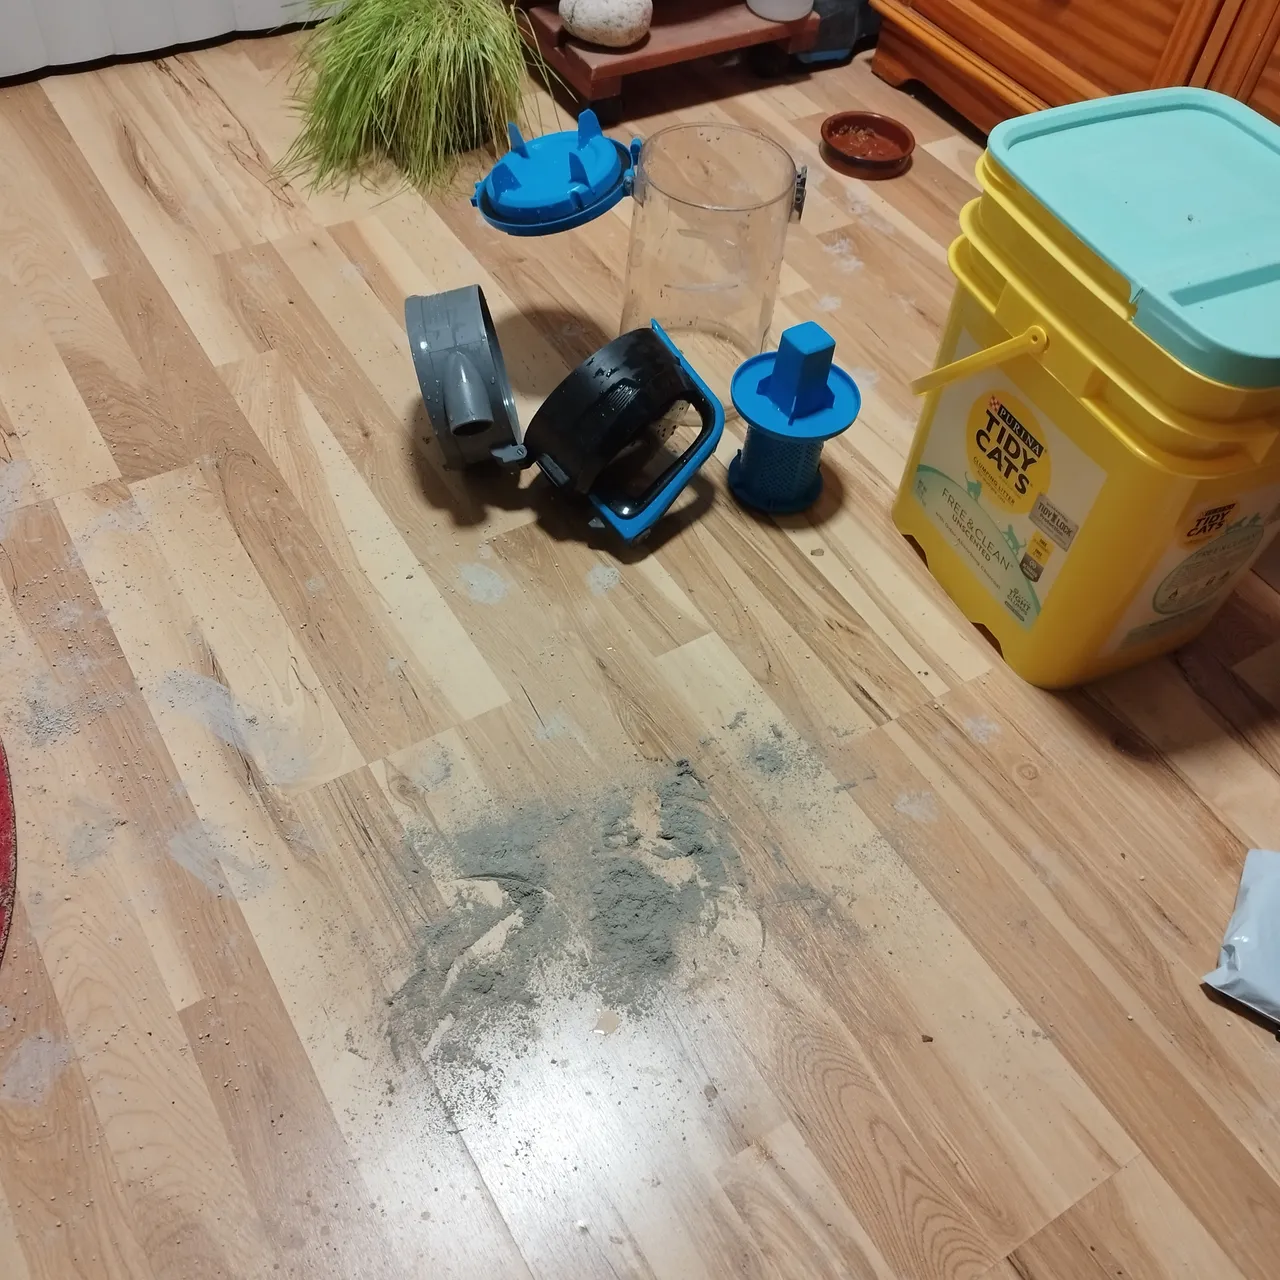
After sweeping up all that dust (and cat litter) on the floor, I let the parts dry and did other things. Finally, it was time to put in the new filter:

See, it's supposed to be black, not gray, lol
Put the new filter in the top

Replace this blue part

Put the top and bottom of the canister back together. This is probably the cleanest this vacuum has been since it was new!
This process is of course going to be different for every vacuum, but if you don't have your manual anymore, you can google for it, or for an instructional online. You should be able to find one! And of course, you can order your filter (and belt, per the previous post) online, too.
Maintenance keeps your machines running well for a long time! I bet the next time I vacuum I will be amazed at how much more powerful it is now that the filter is new and it's all clean inside.
Thanks for reading and have a wonderful week! :)