Good day everyone and welcome to my blog once again. In the spirit of magic and in honour of the September monthly contest I was inspired to make this beautiful magician hat.
I actually was inspired to make this hat because of a hand bag my mum owned. It always reminded me of a magician hat whenever I looked at it. This is because the hand bag as small as it was was always able to contain the biggest of things. Even a house could come out of it.
In this tutorial I will be sharing with you all in eight simple steps how I made this hat.
Let's begin....
MATERIALS NEEDED
- Cardboard paper
- Strong Gum
- Pencil
- Black fabric
- Red fabric
PROCEDURES
1.Cut out a large circle and a smaller inner circle using your pencil on a cardboard.

2.Cut it out using a sharp razor or scissors like this

3.Take a long rectangular peice of the cardboard, fold it, then attach it to the circle you cut out earlier using your gum, like this.

4.Cut another circular peice which you will use to cover the top. Then use your gum to make sure it stays in place.


5.It's wrapping time. Take out your black material and cut out a circle. Rub some gum around the edges of the circle and cover the top of the hat with the black material. Do the same for the body. It should look like this

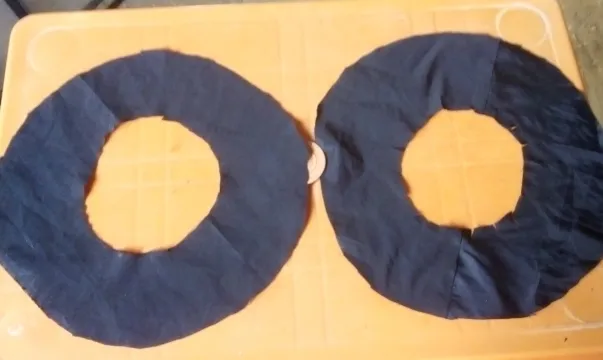
6.After doing that, cut two circles also with the black material. Each circles should have an inner circle already cut out like this
7.Pass one circle through the top of the hat down to the base. Let it sit at the base of the hat. While you glue the other circle at the back such that Both the front and the back is covered. It should look like this

8.Now it's time for the finishing touch. Take a red ribbon and place it round the junction where you glued the rectangle to the circle. Make sure you glue it in place so it doesn't pull out.
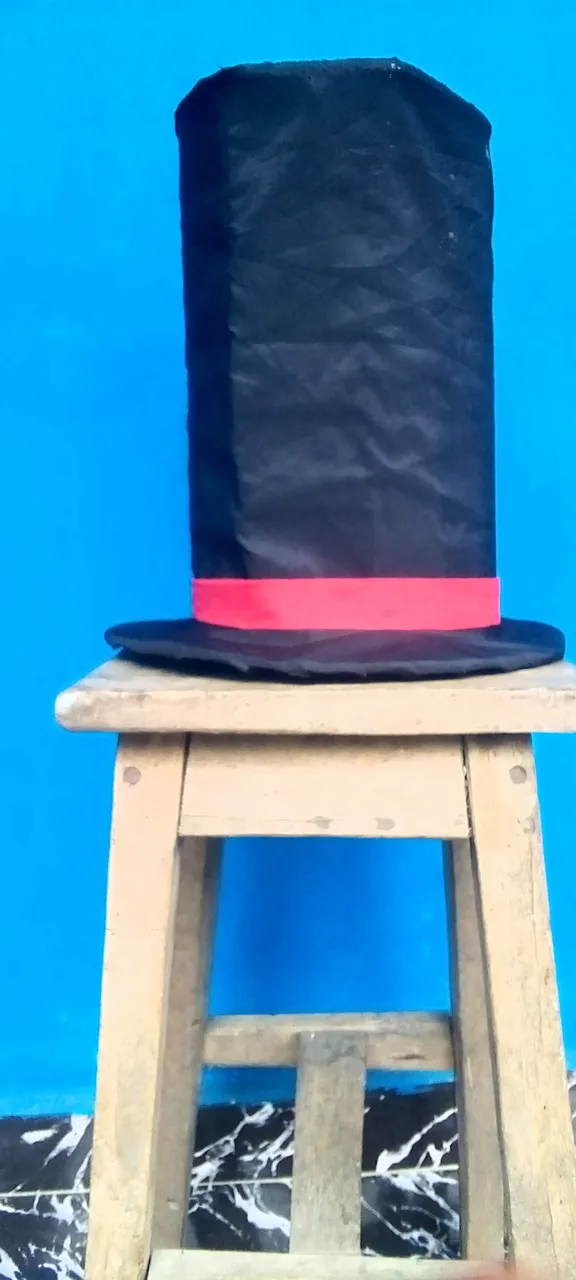
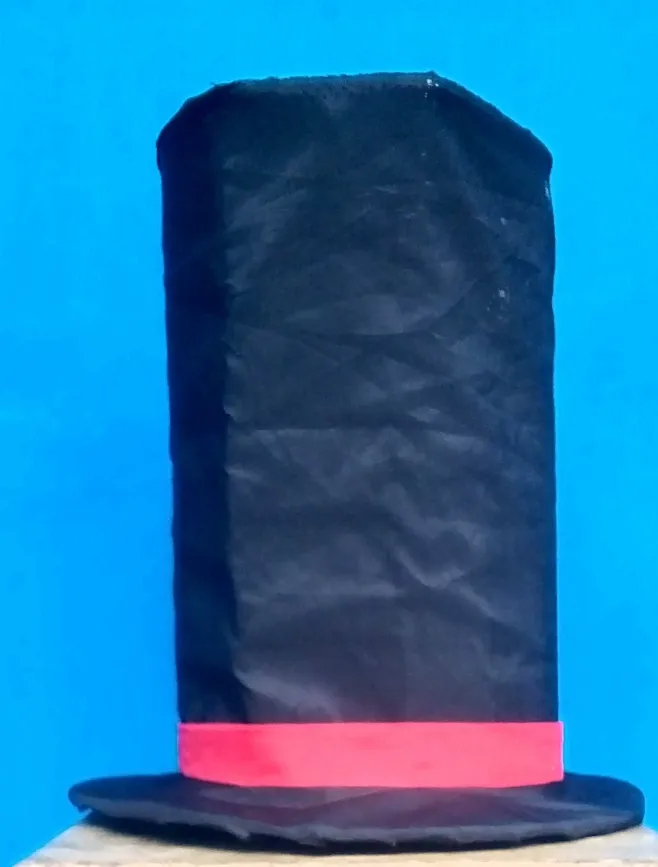
And here is the final result