Hello all art lovers!!
Happy Friday and good afternoon throughout the world, may we all be in good health and protect Allah Almighty.
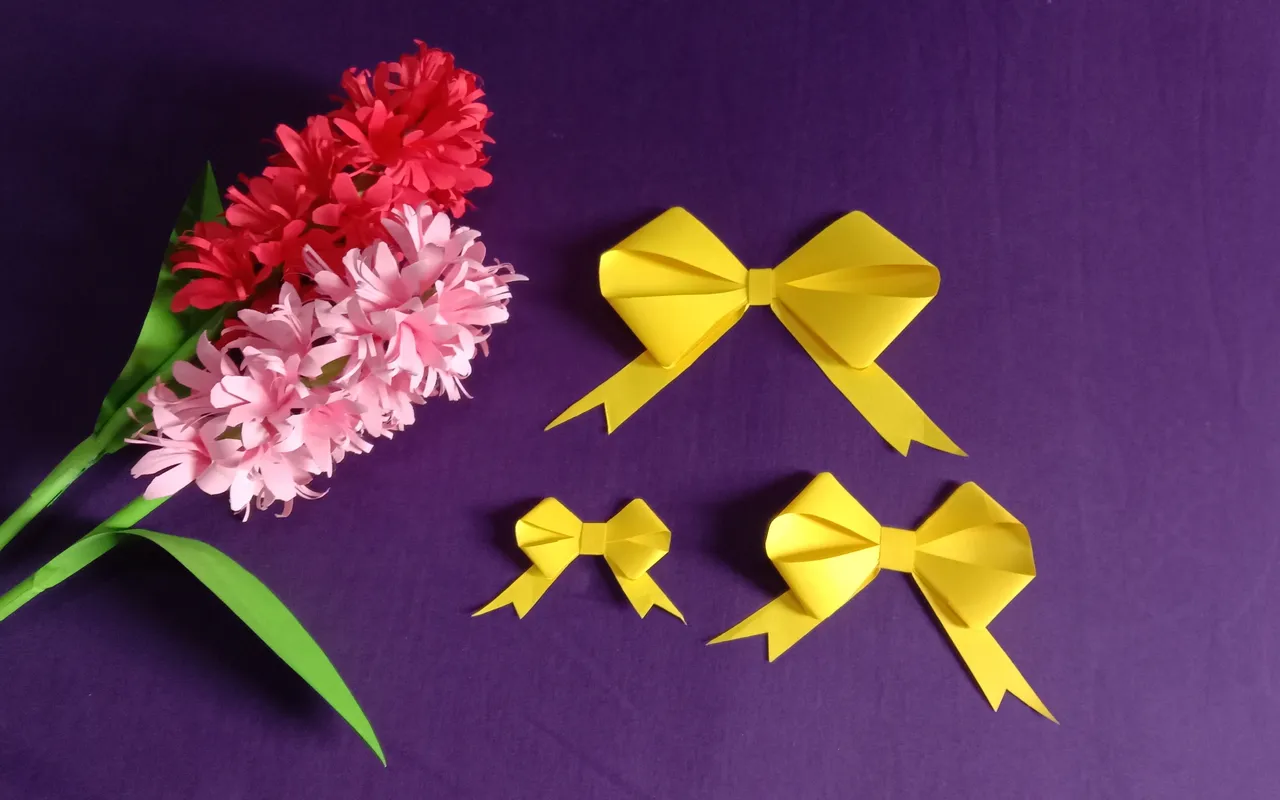
Today I again want to share what I made this time with origami paper, only today I made something very easy and fast.
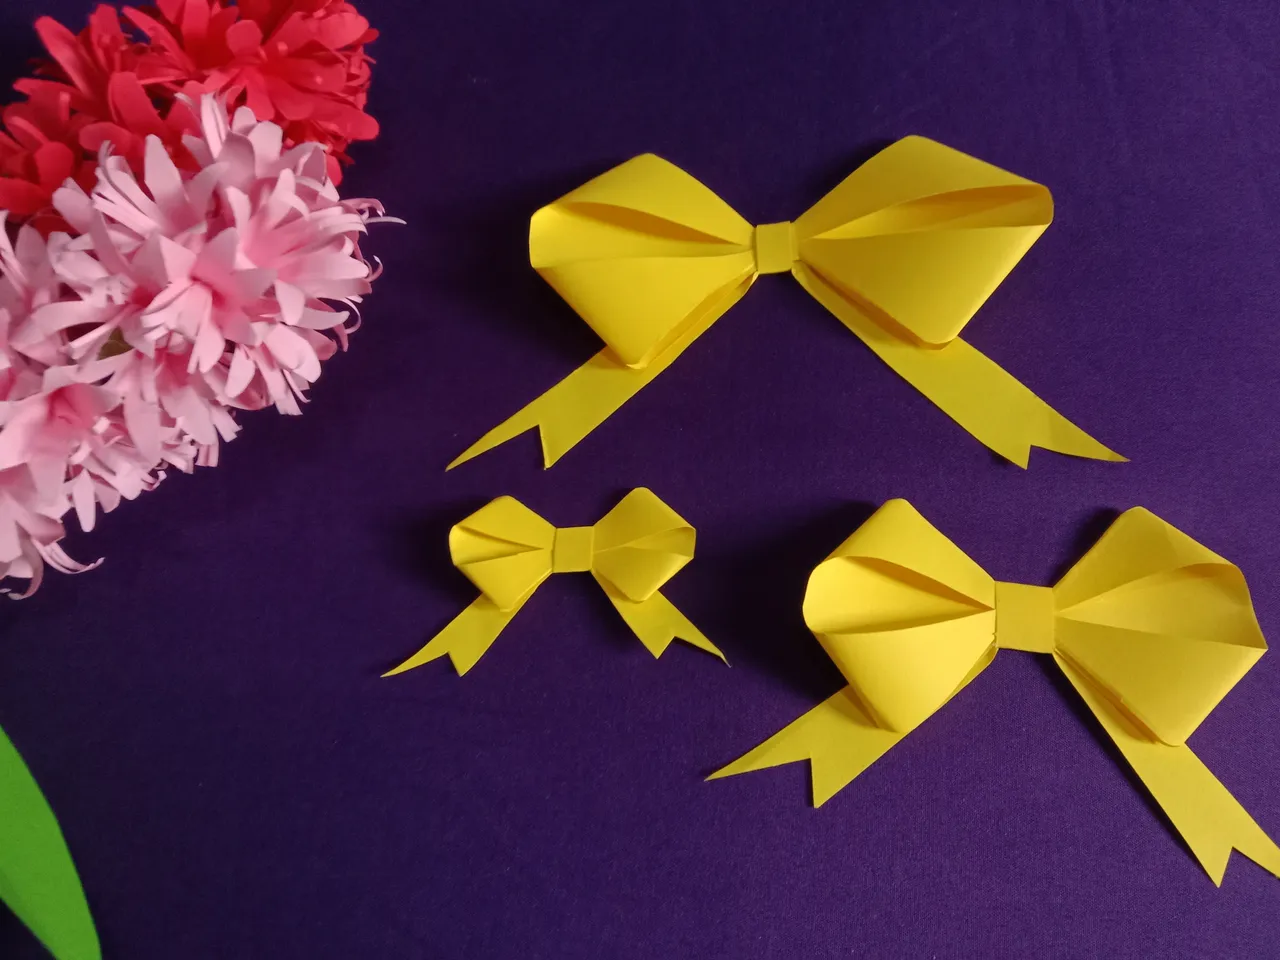
Make an accessory ribbon that can be used anywhere, with this addition it makes something seem to add a beautiful and cute impression, doesn't it?

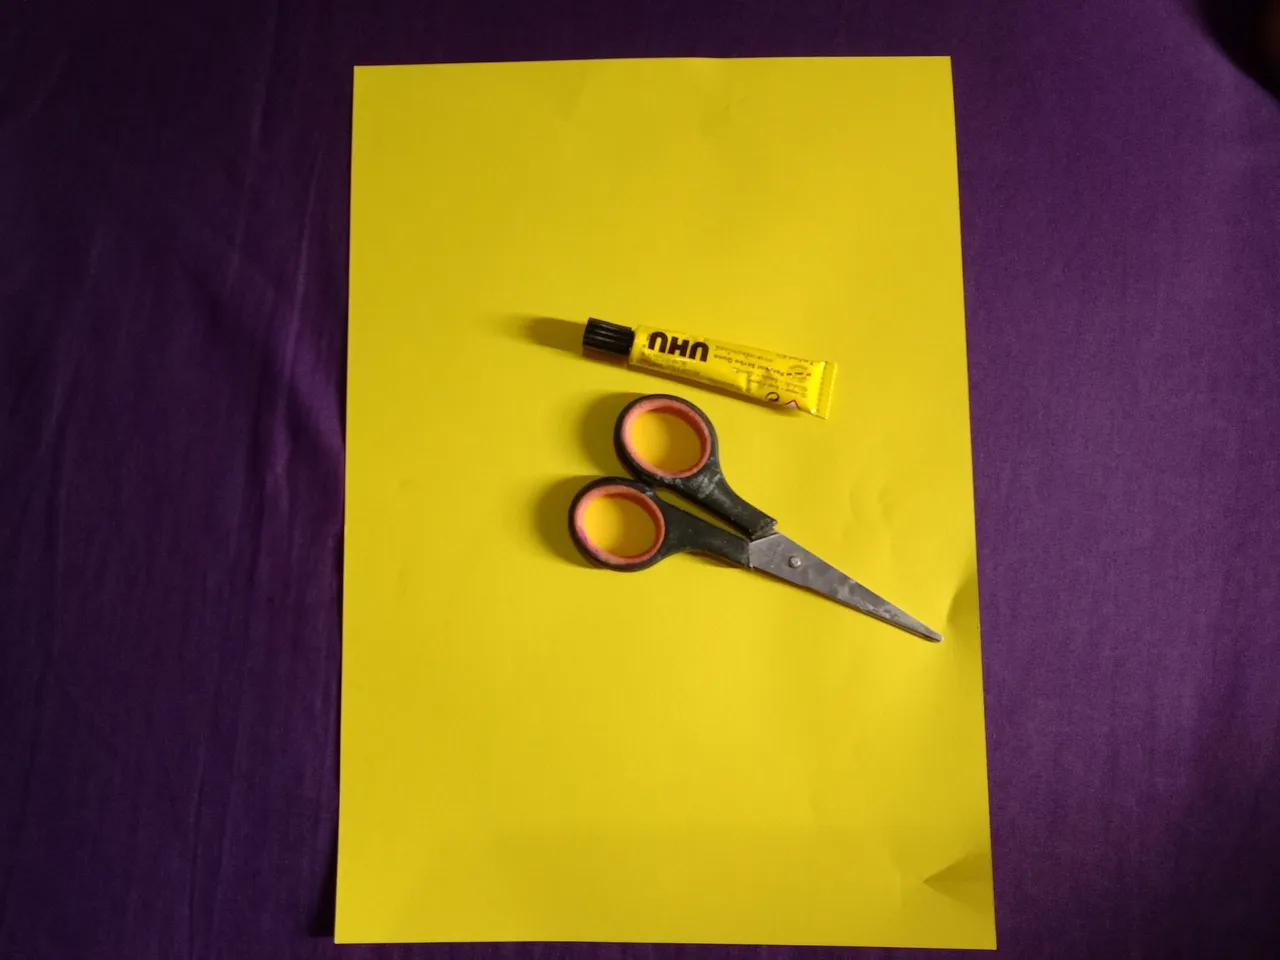
I just used yellow, and the steps are quite simple, I will share how to make it below, friends, let's see the steps to make it.
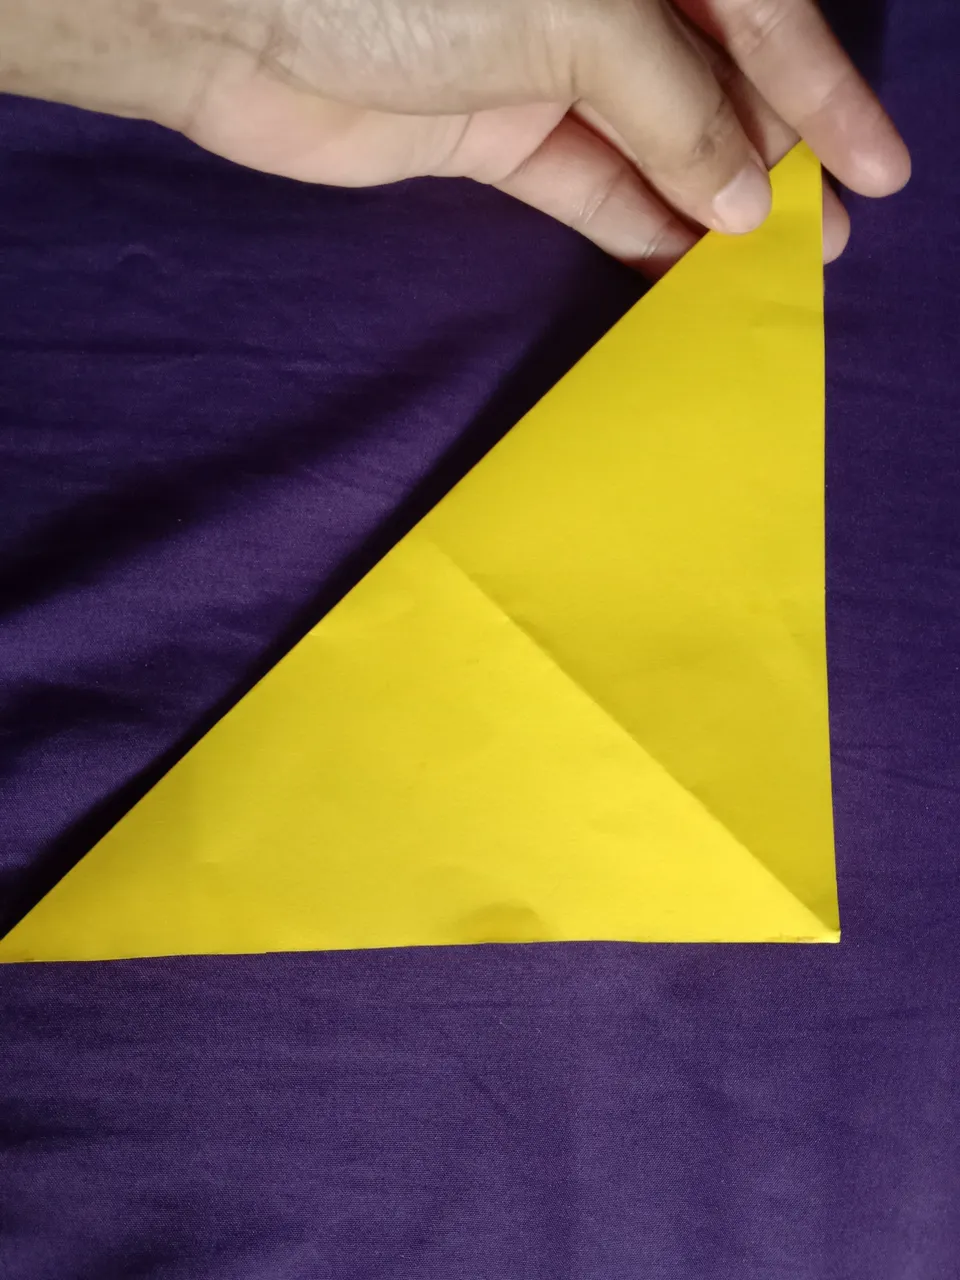
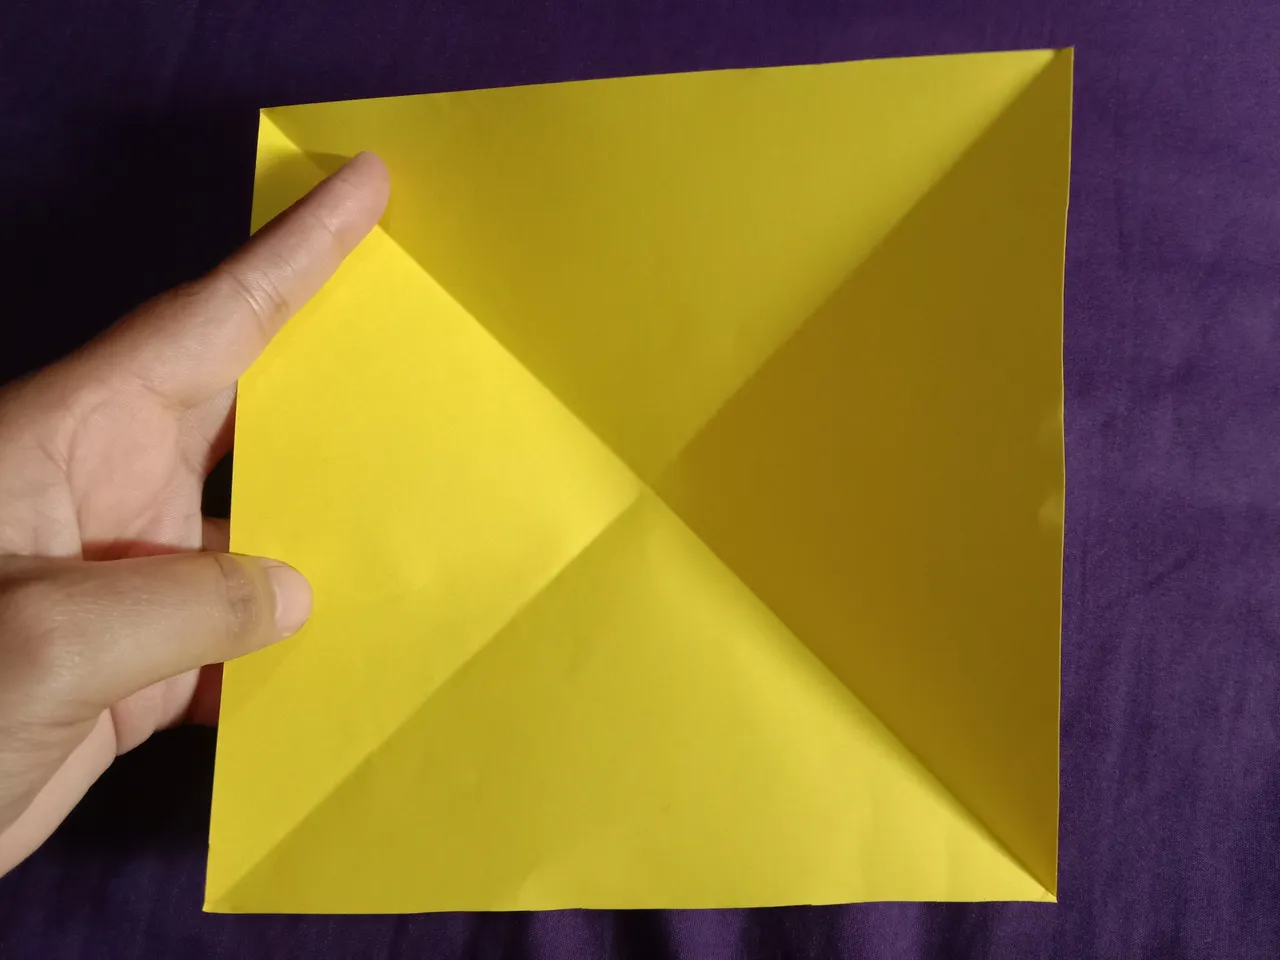
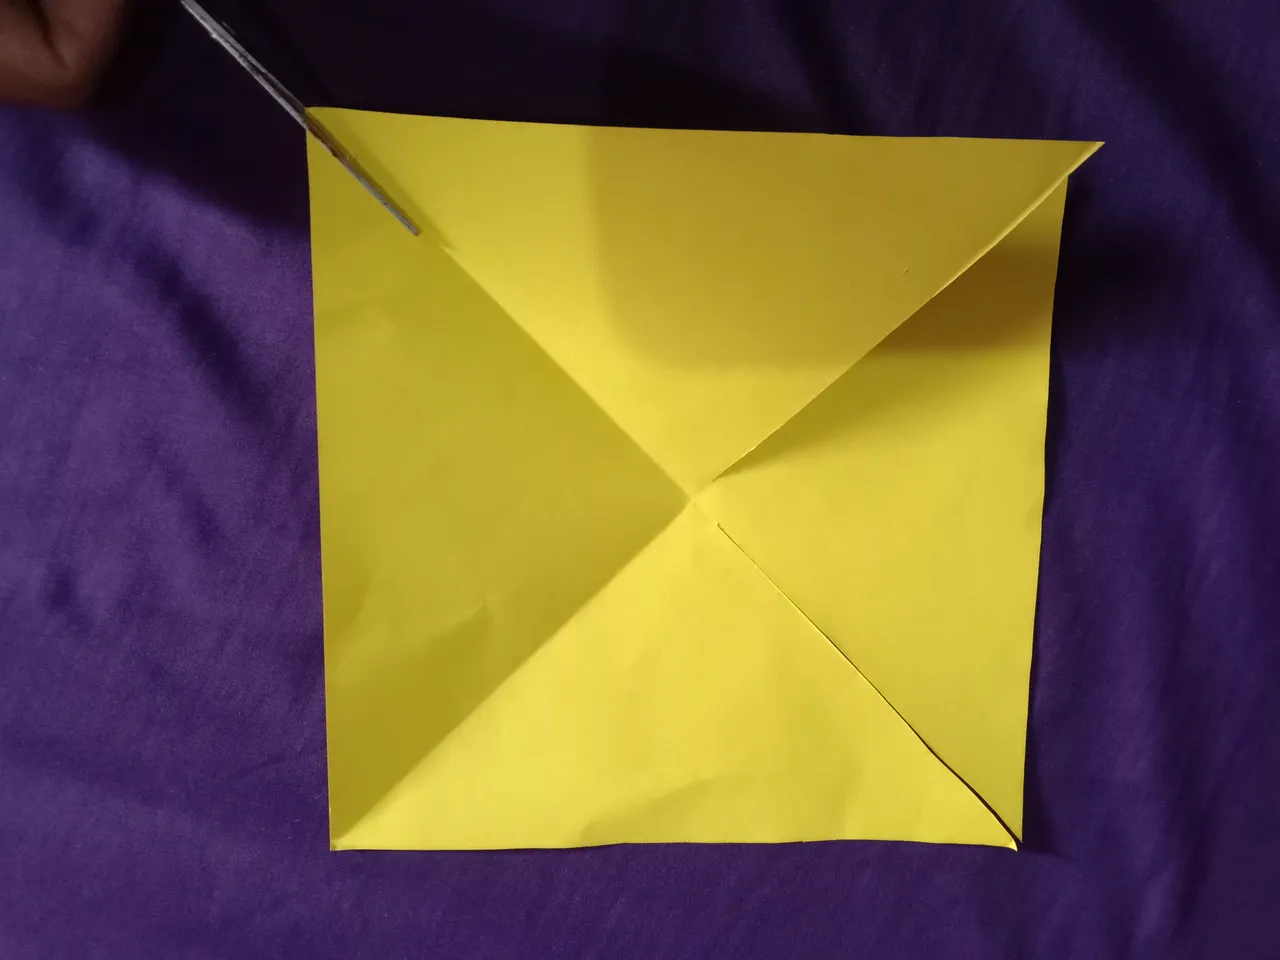
First, I cut out 20x20cm paper, then I folded the triangle and opened it again, and we folded the triangle again on the other side.
![]()
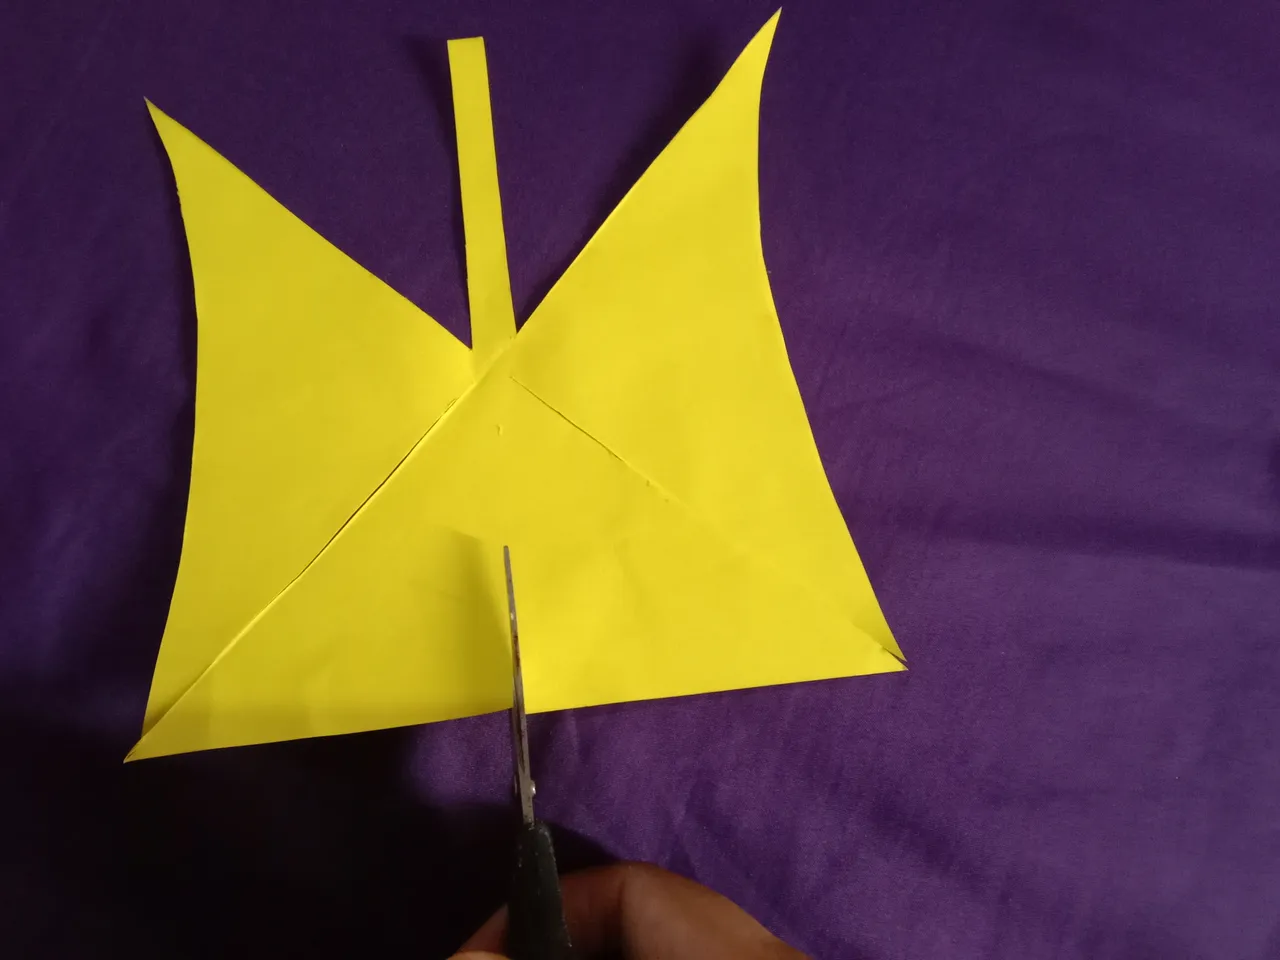
Second,we cut out following the fold line to the middle point and leaving 1 cm, cut out the four corners,Then we cut out a straight shape extending 1 cm at the top.


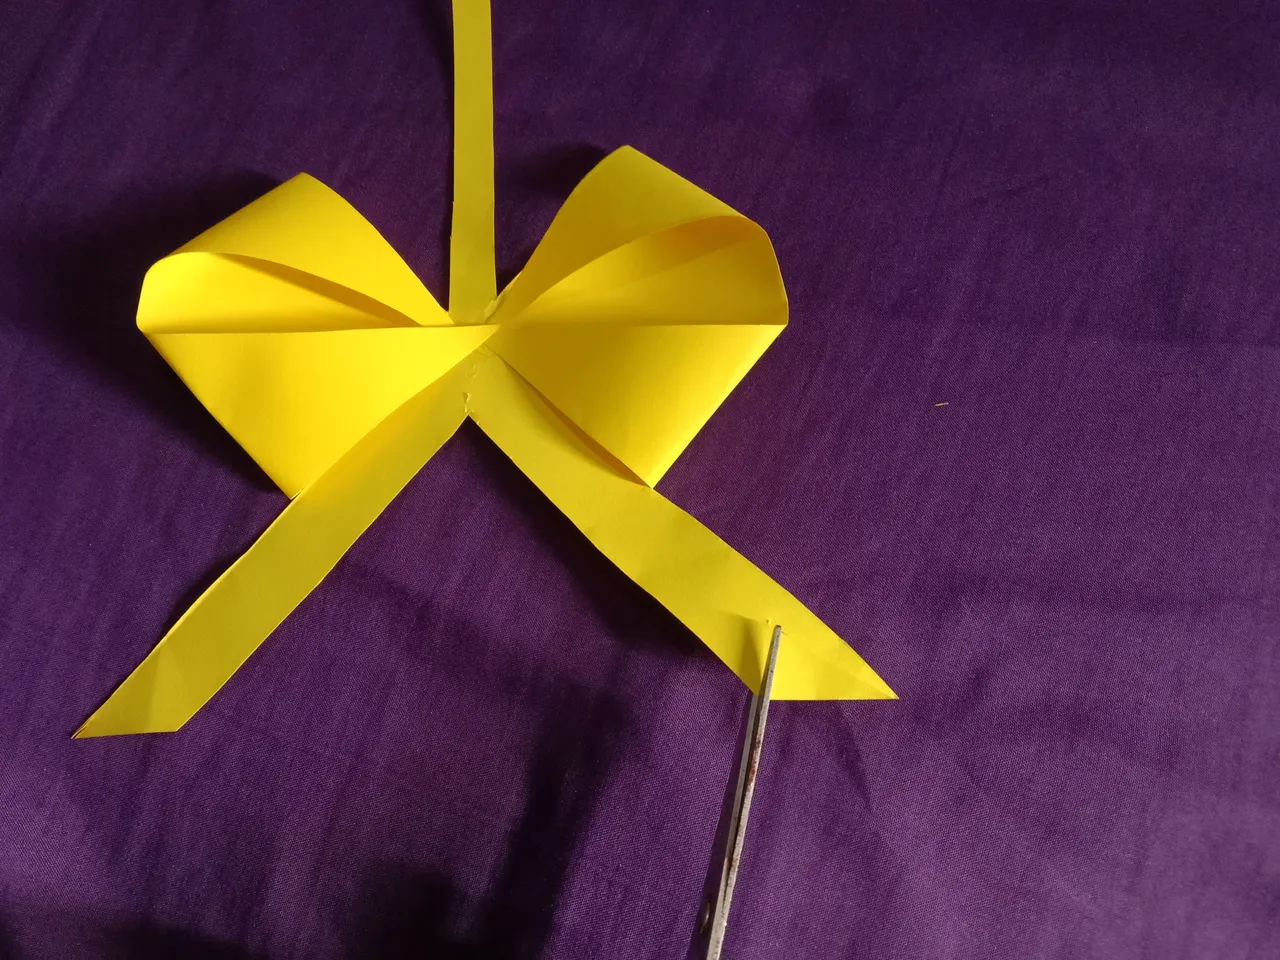
Take the right and left sides, fold them in half and cut them curved and open the paper again, then cut the bottom of the paper until the middle point leaves 1cm, then cut the right and left according to the Limit Middle.

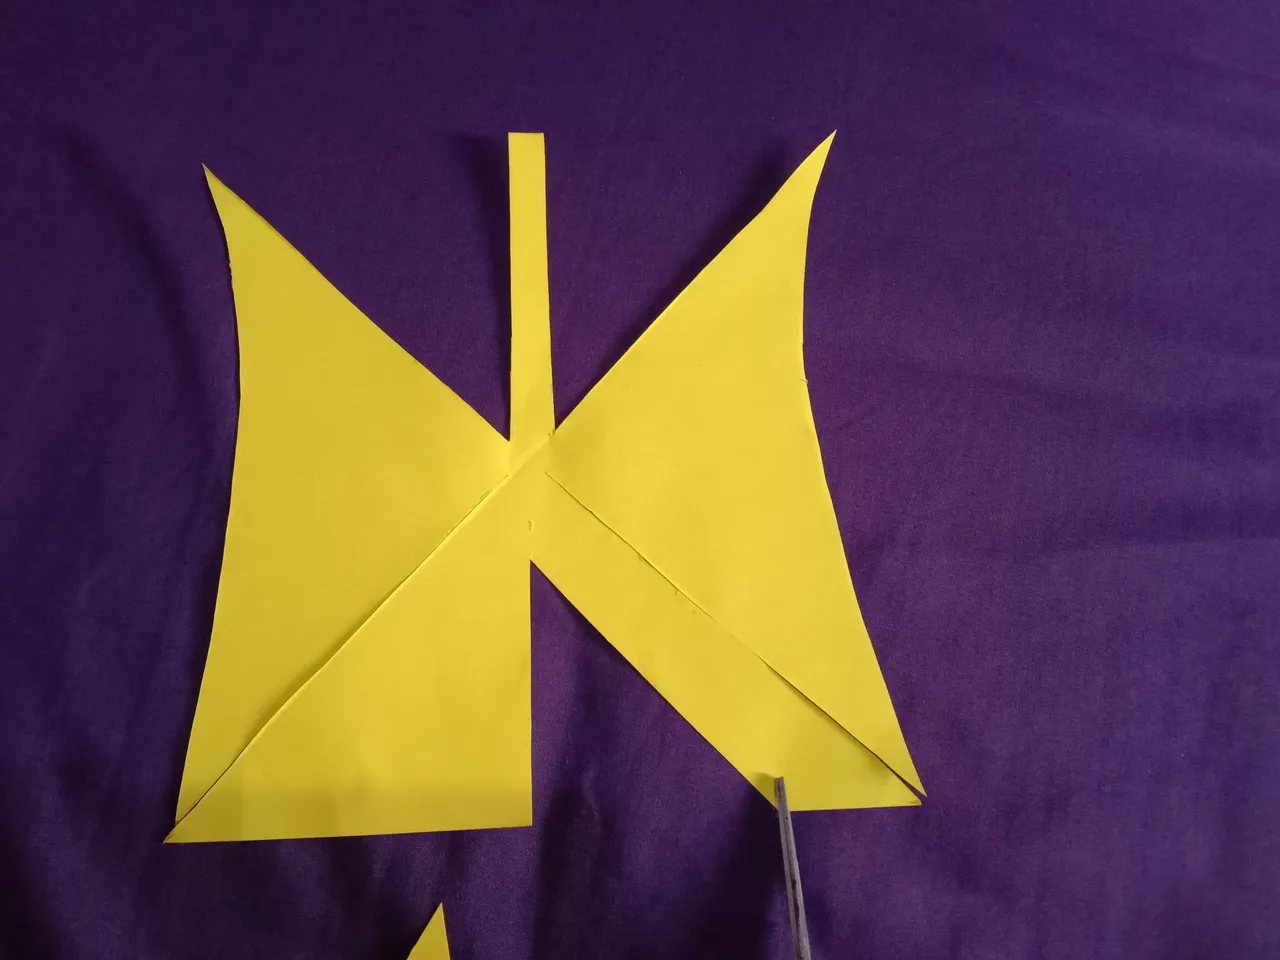
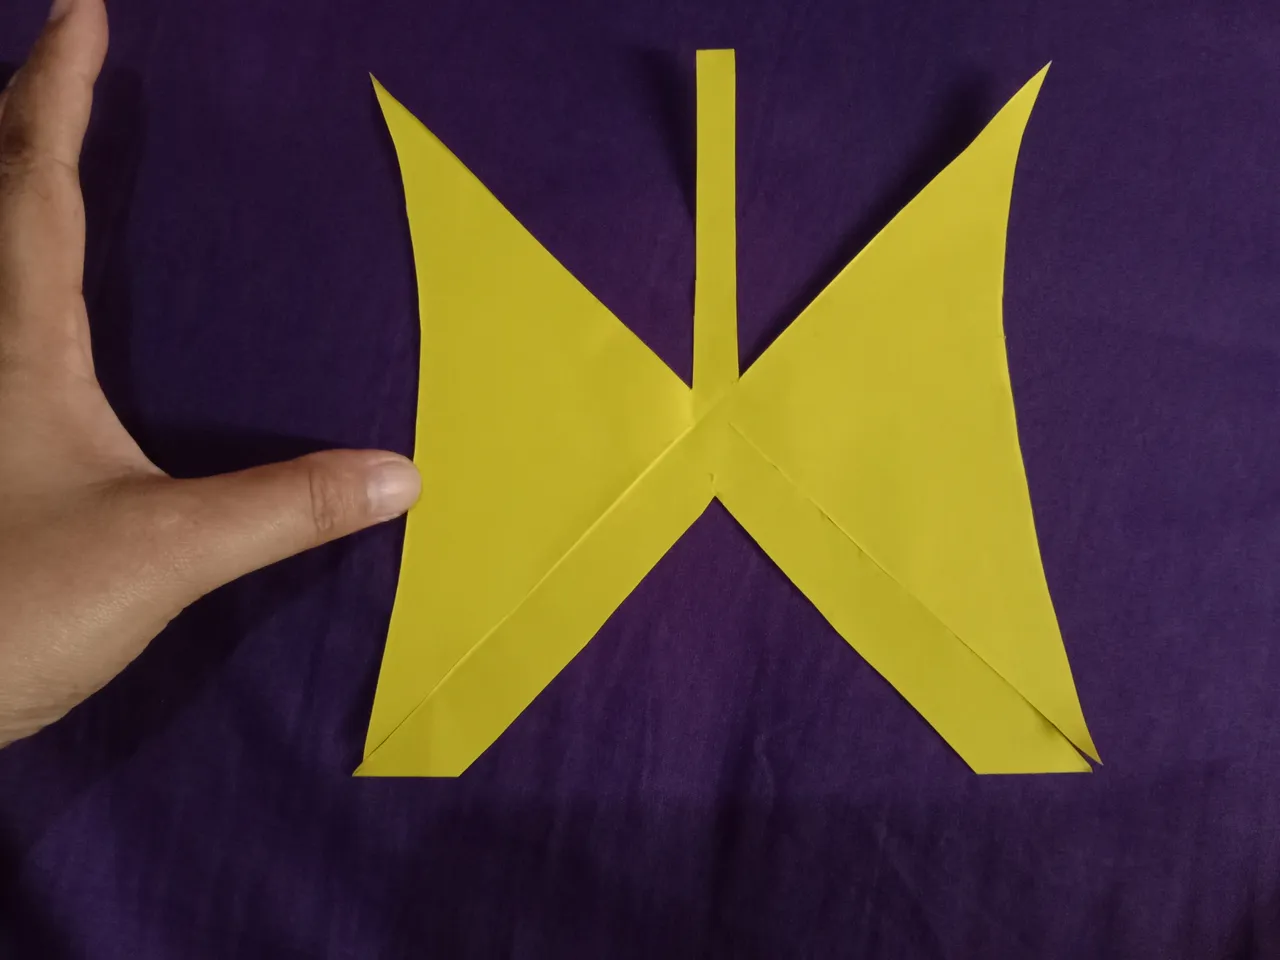
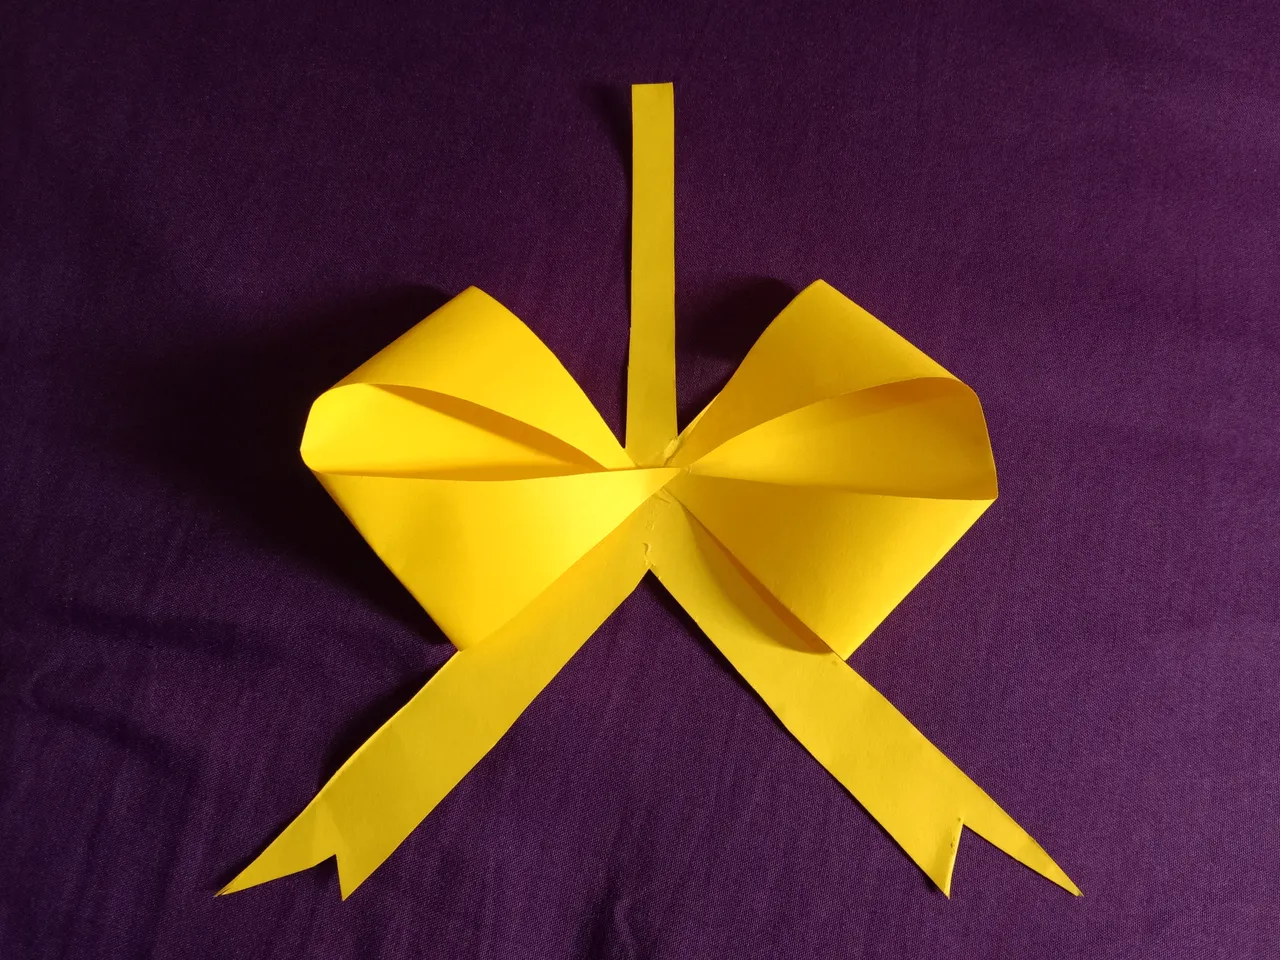
Take the right side bring it to the middle and glue itbdo the same thing on the left side then cut the long bottom part into a slanted shape, and take the top part we fold it down and then fold it again Back and forth.


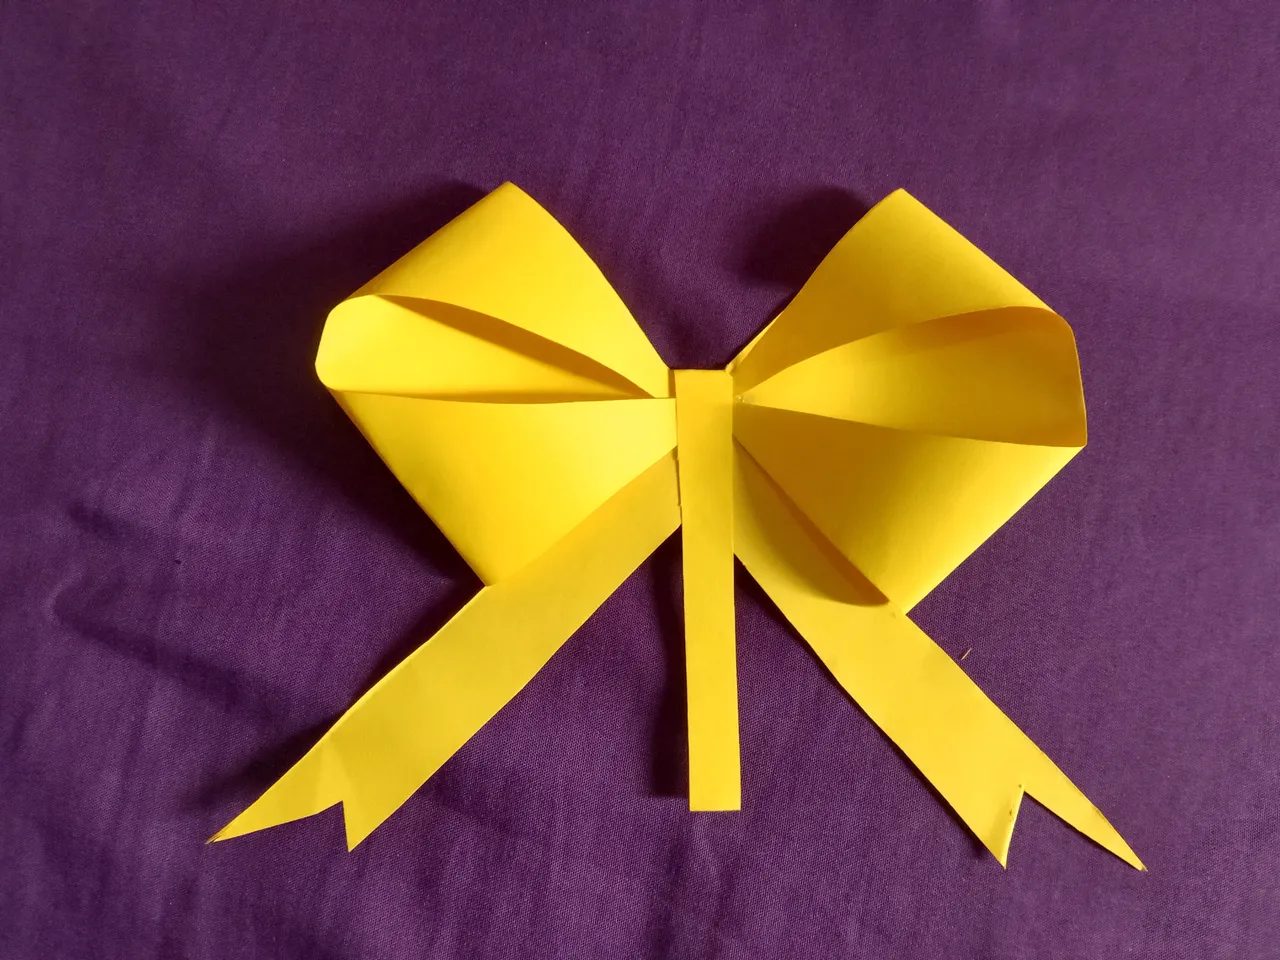
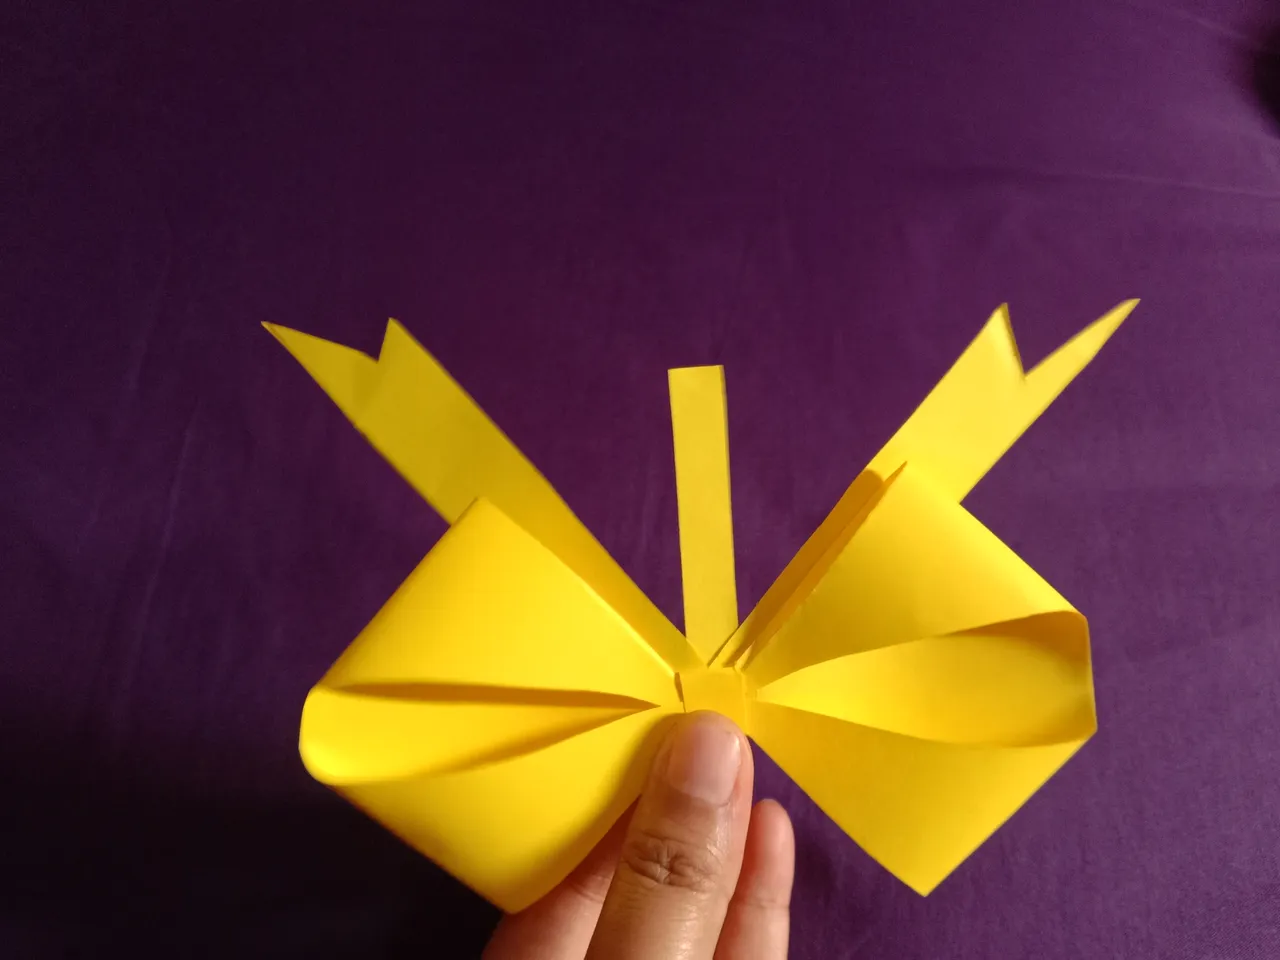
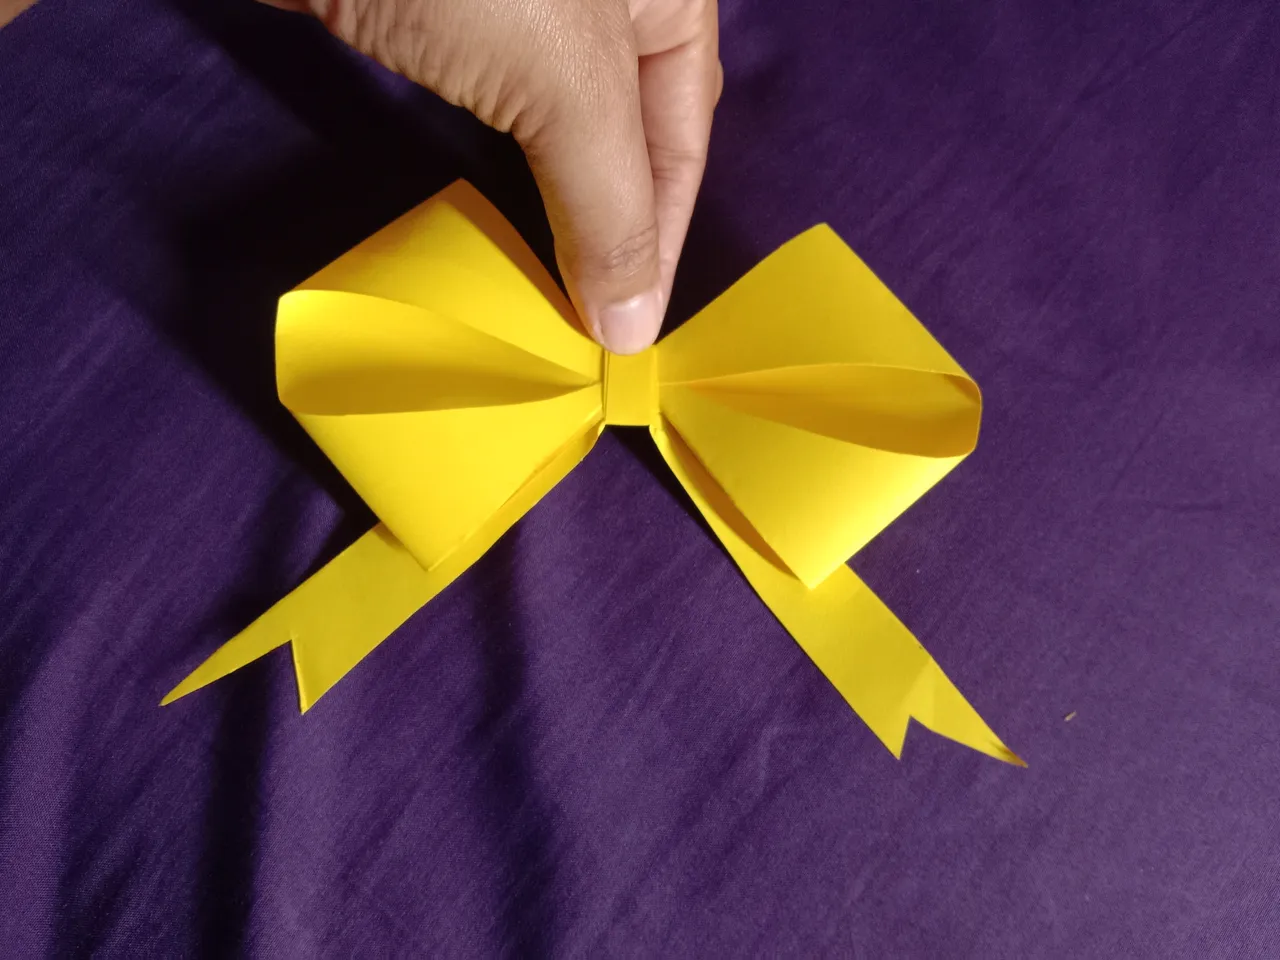
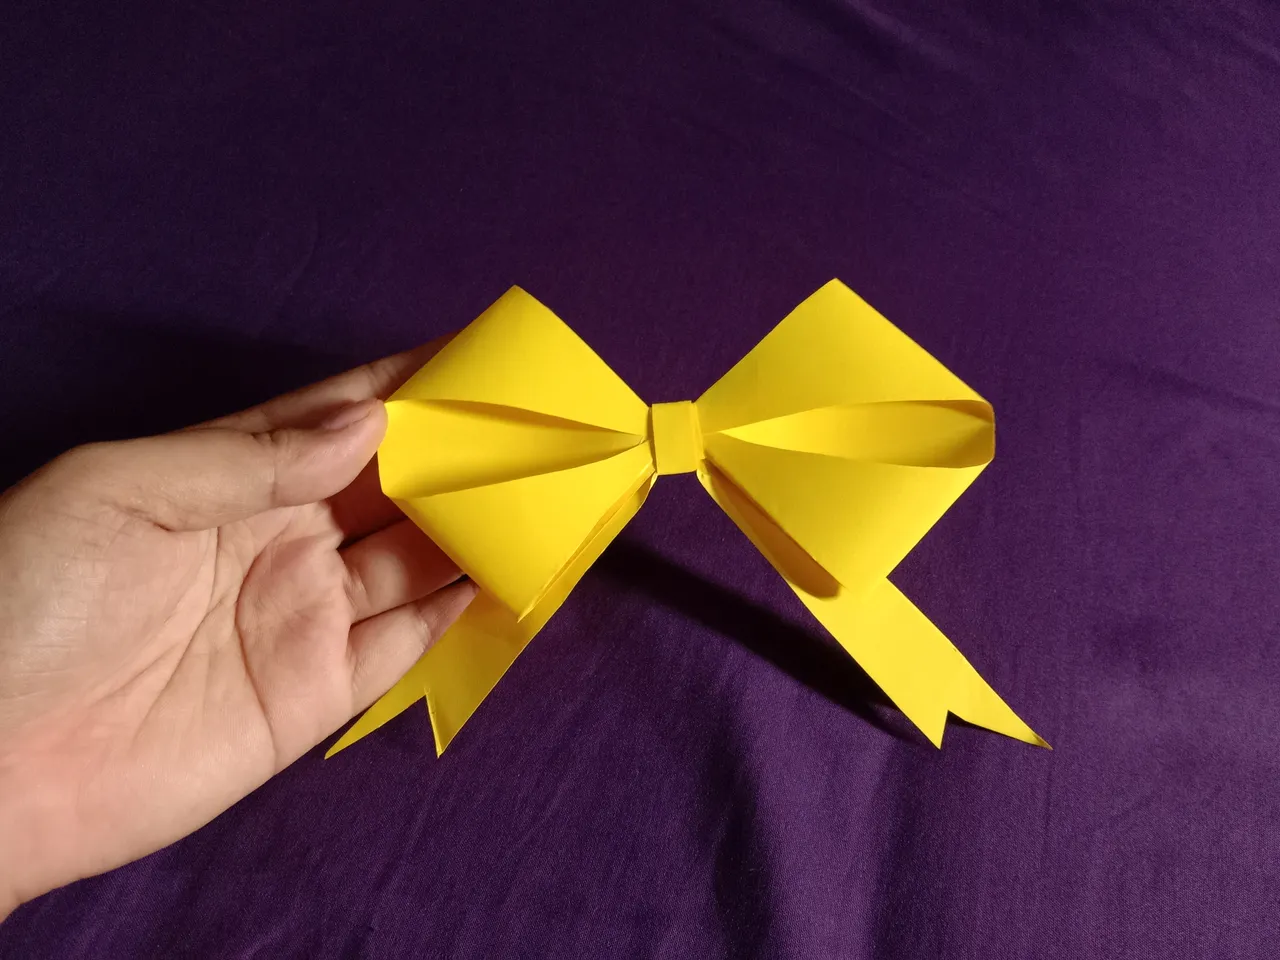


It's very easy, friend, it's an easy way to produce a beautiful ribbon with steps that are very easy to understand, I hope you like it and can make it in your free time too Repeat you.
See you all......