
Hello My Fellow DIYers!
After my last kitchen sink job, today I have moved on to 2 IT jobs that needed doing. The first is a memory upgrade with my desktop computer. I bought this rig a couple of years ago and it had only 8gb of RAM on it which is not enough these days.
The second job is my faulty laptop that I bought a year ago from Lenovo with the design issue with the hinge. Here I remove the faulty hinge and then need to wait to buy a new hinge and then reinstall it.

To purchase new RAM, the first thing I did was to open up the PC and write down the details of the existing RAM so that I could be sure to buy the same type. I also ran my PC through the RAM checking tool that you can use by crucial. It then takes you to amazon to buy their RAM.
Once there, I then checked to see if there were some cheaper modules to buy as the crucial ones cost more than my whole PC! 😅 I then ordered 4x8GB RAM modules for the 4 slots in my PC as the crucial RAM tool told me that I could have a maximum of 32GB
Once the RAM arrived in these nice envelopes, I was ready to start the job.
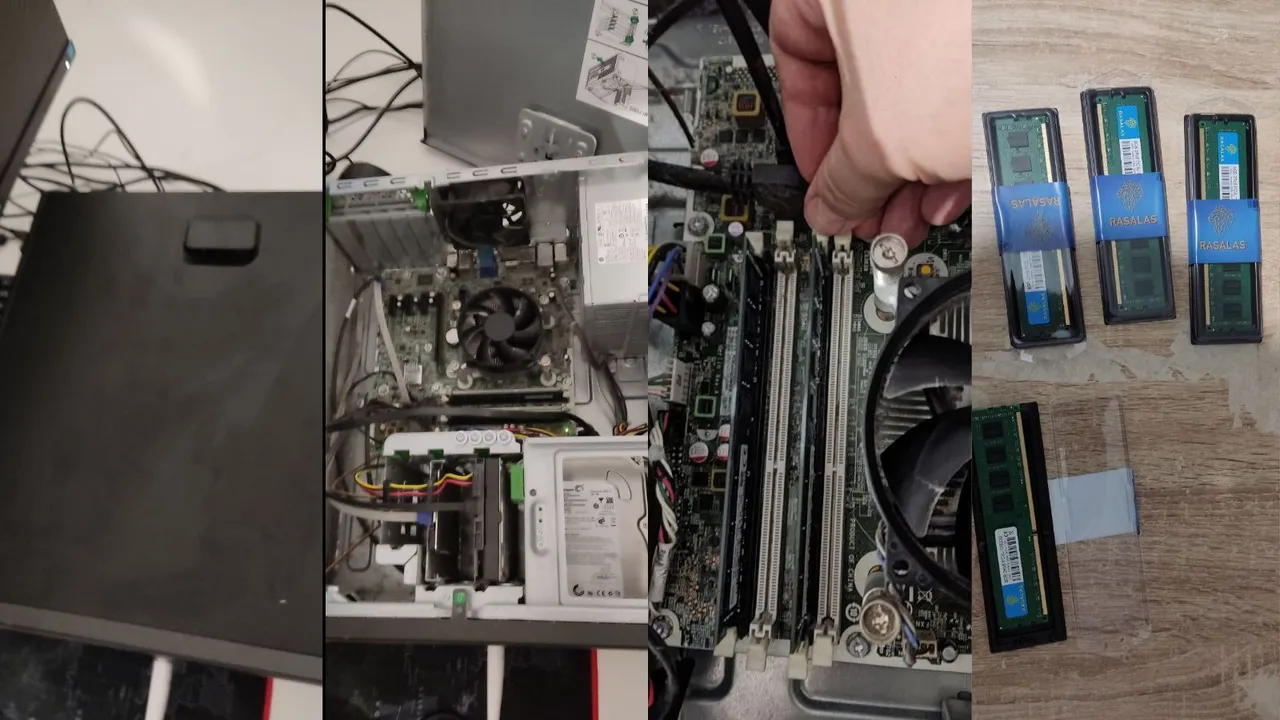
First up, I disconnected all the cables and then slid the PC cover off. Luckily this HP PC has a nice handle for doing this easily. Next, I had a look around for where the RAM chips are located. Currently, I have 2 x 4GB RAM chips and I then removed them by pressing the white buttons either side and releasing the chips.
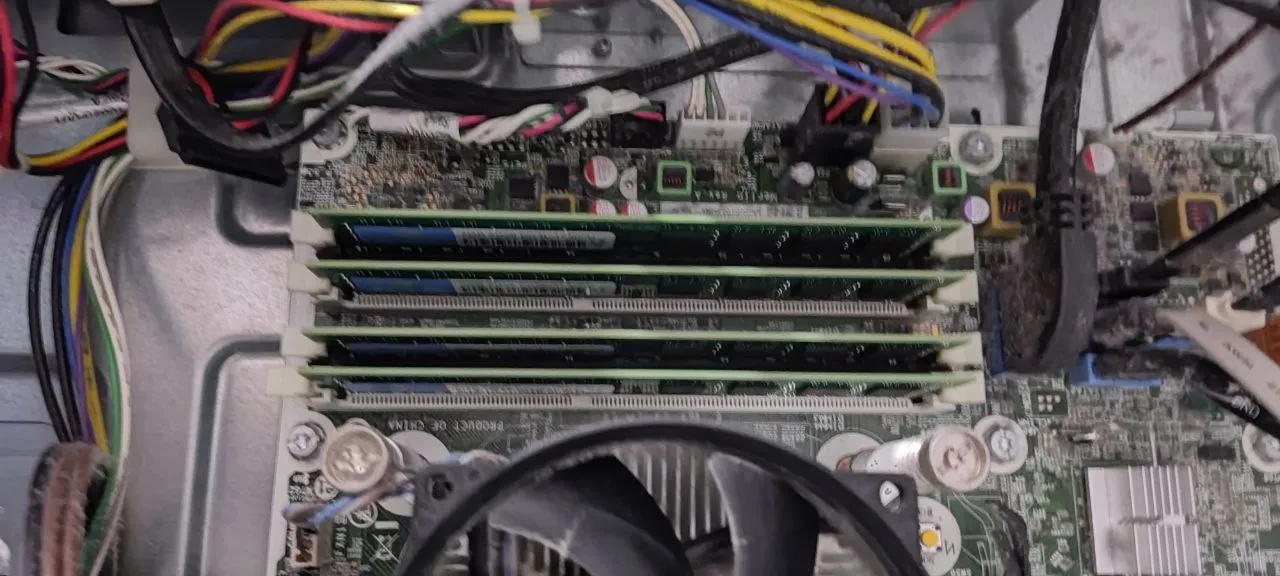
Once removed, I could slot in my new chips one by one. I needed to press down very firmly to make sure they were properly in. I was careful not to press to only touch the edges of the RAM chips and make sure to discharge any static on my hands by touching the metal frame beforehand.
Once in, as these are plug and play, I should be able to just run them without any configuration of the BIOS. But you never know, the last PC I upgraded needed extra configuration there.
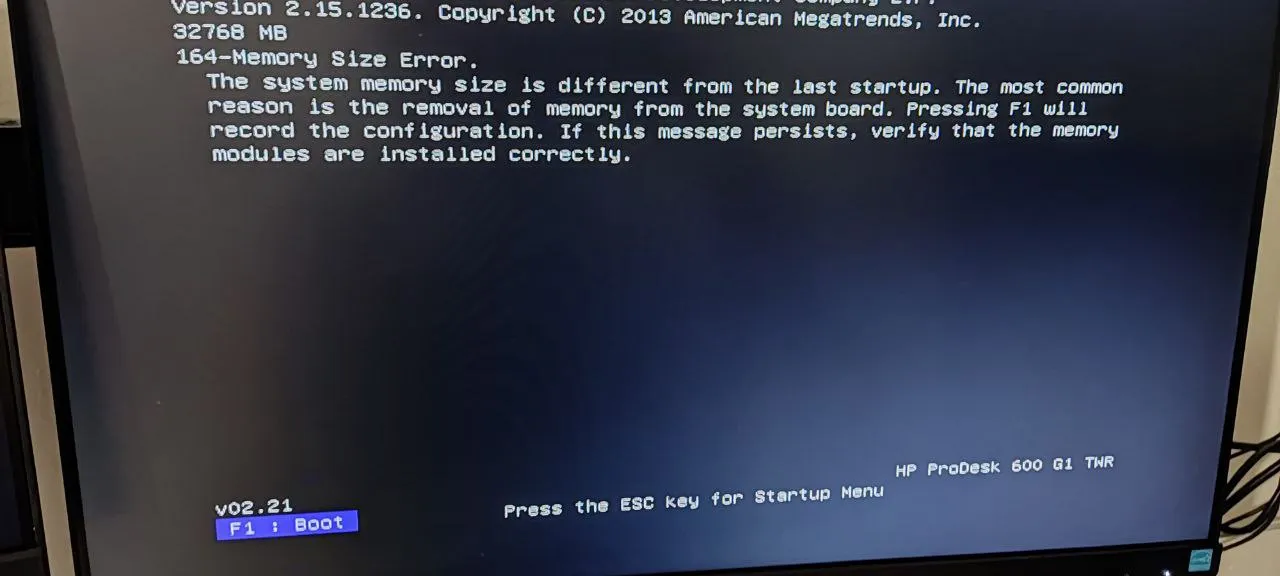
When I booted up for the first time, I got the memory size error but continued to boot and things worked fine. When you have not installed the chips properly, you would not get this far, so it was a good sign. Once booted I then went to the settings of windows and it showed me now 32GB of available RAM. The upgrade was successful.
Now my web browsing and general PC usage has speeded up immensely. Before it was crashing often and giving me lots of lag, especially if you use a few programs at the same time or browse with many tabs open with videos etc.
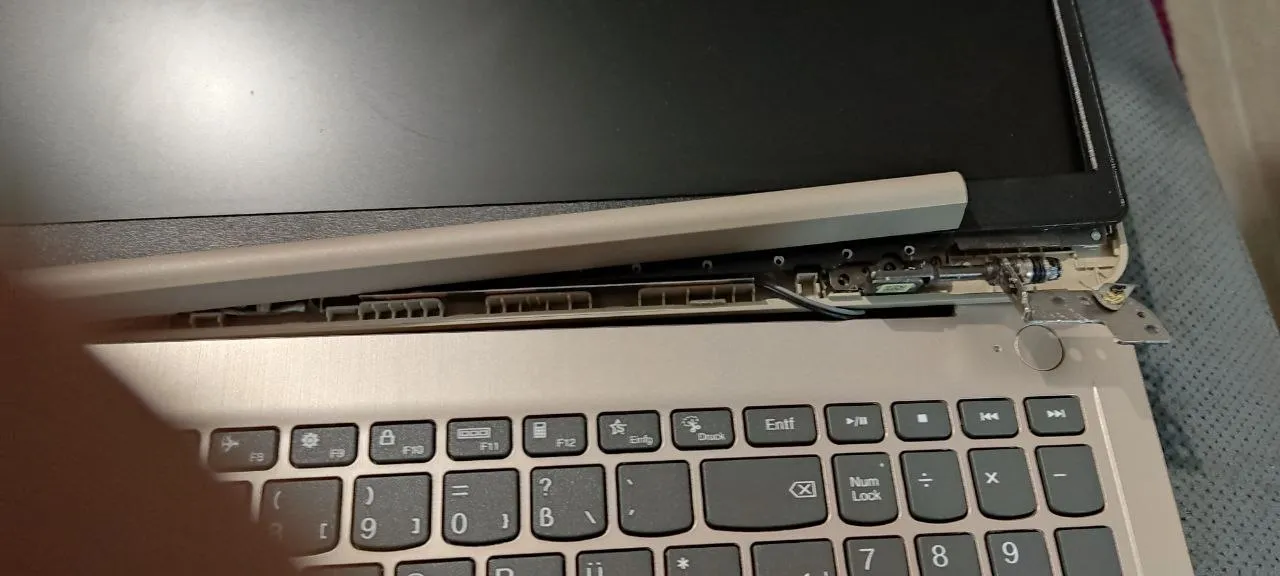
The second job I did today was to remove the faulty hinge from my Lenovo Ideapad 3 as it was starting to cause even more damage. To do this, I didn't do this the correct way as I would need to remove the whole screen and it would take a long time. At the moment I don't have a replacement hinge so it made no sense.
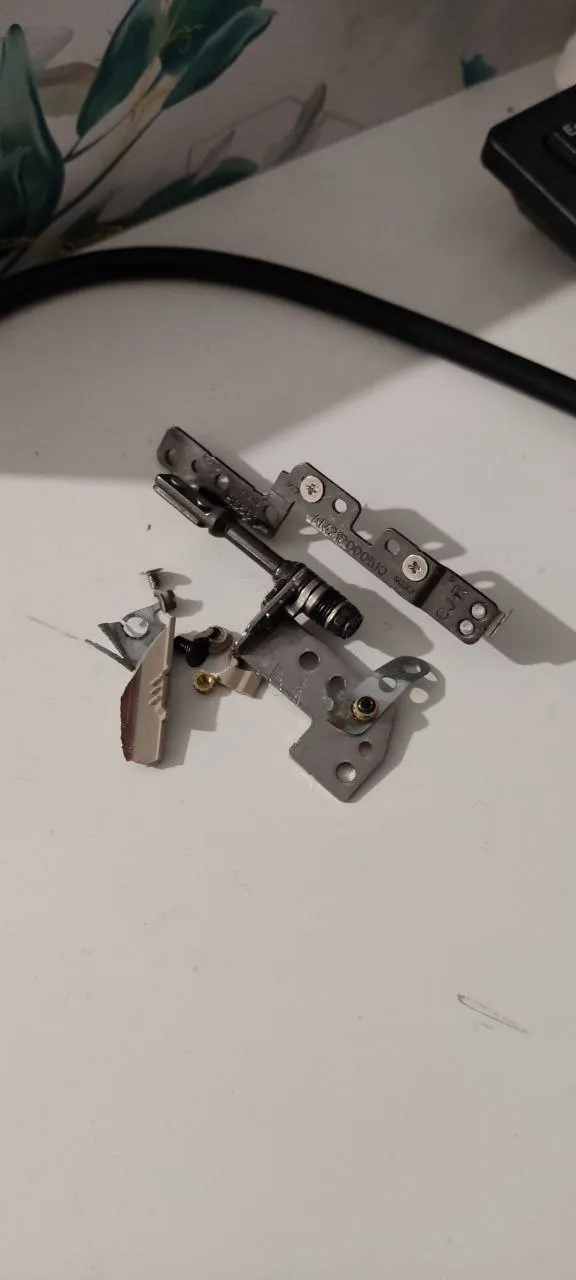
First of all I unscrewed the back of the laptop so I could get to the part of the hinge there that was broken. I then managed to cut some of this off with wire cutters but some of the metal was quite thick.
I proceeded to detach the screen frame a little and could access the required screws to unscrew the hinge from the middle point connecting the screen and keyboard and also the part by the screen.
There was part of the hinge going all up around the screen but I left that and only cut a part of it off with the wire cutters. I didn't want to take the whole thing out when I am not replacing it yet.
Once that was removed, I reattached the screen frame and screwed the back of the laptop back on. It only has 1 hinge now, but at least it is not damaging the laptop further and is foldable. Never again Lenovo.
Thanks for reading.

Credits:
All images are my own.
Let's connect : mypathtofire