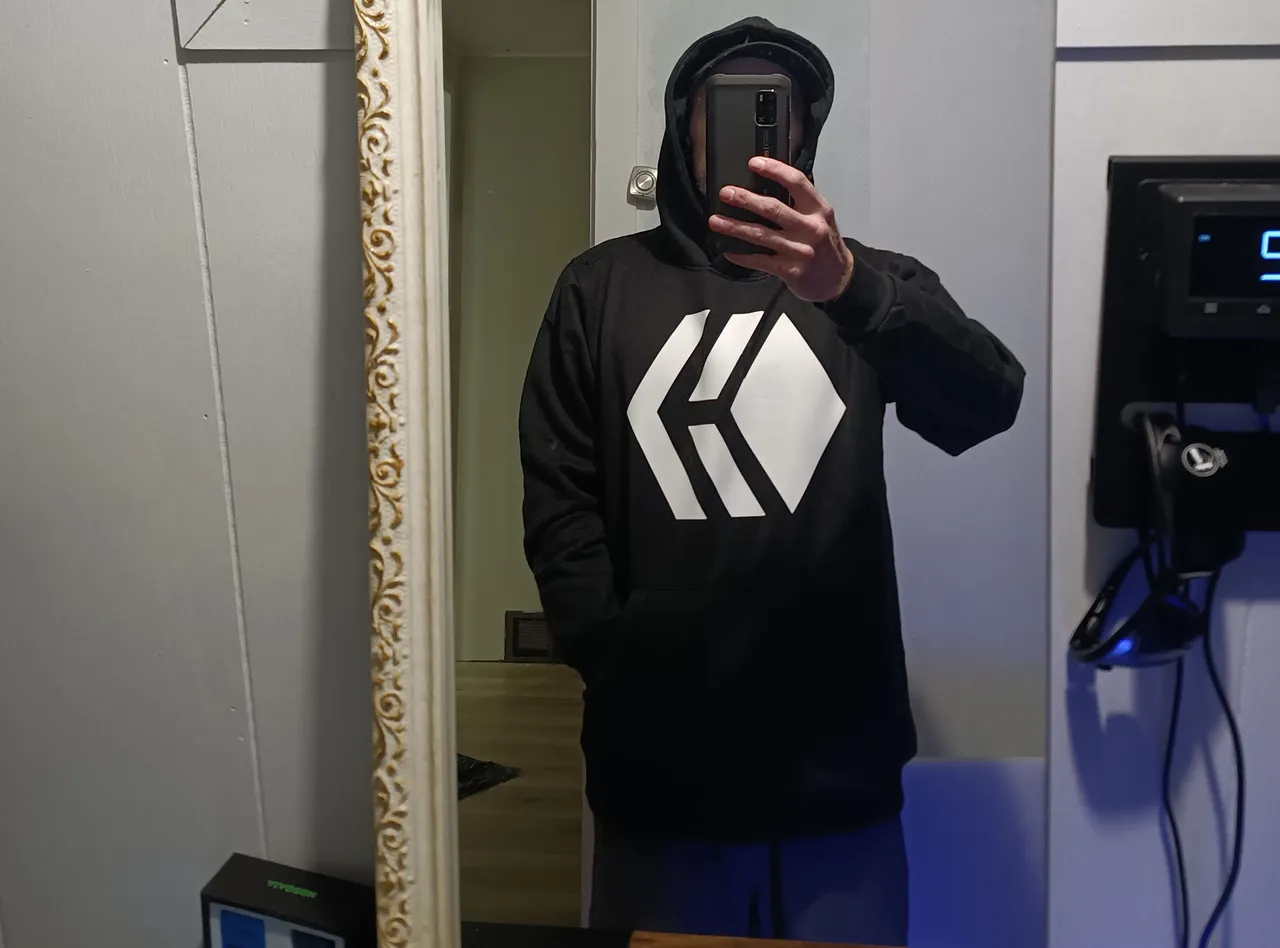
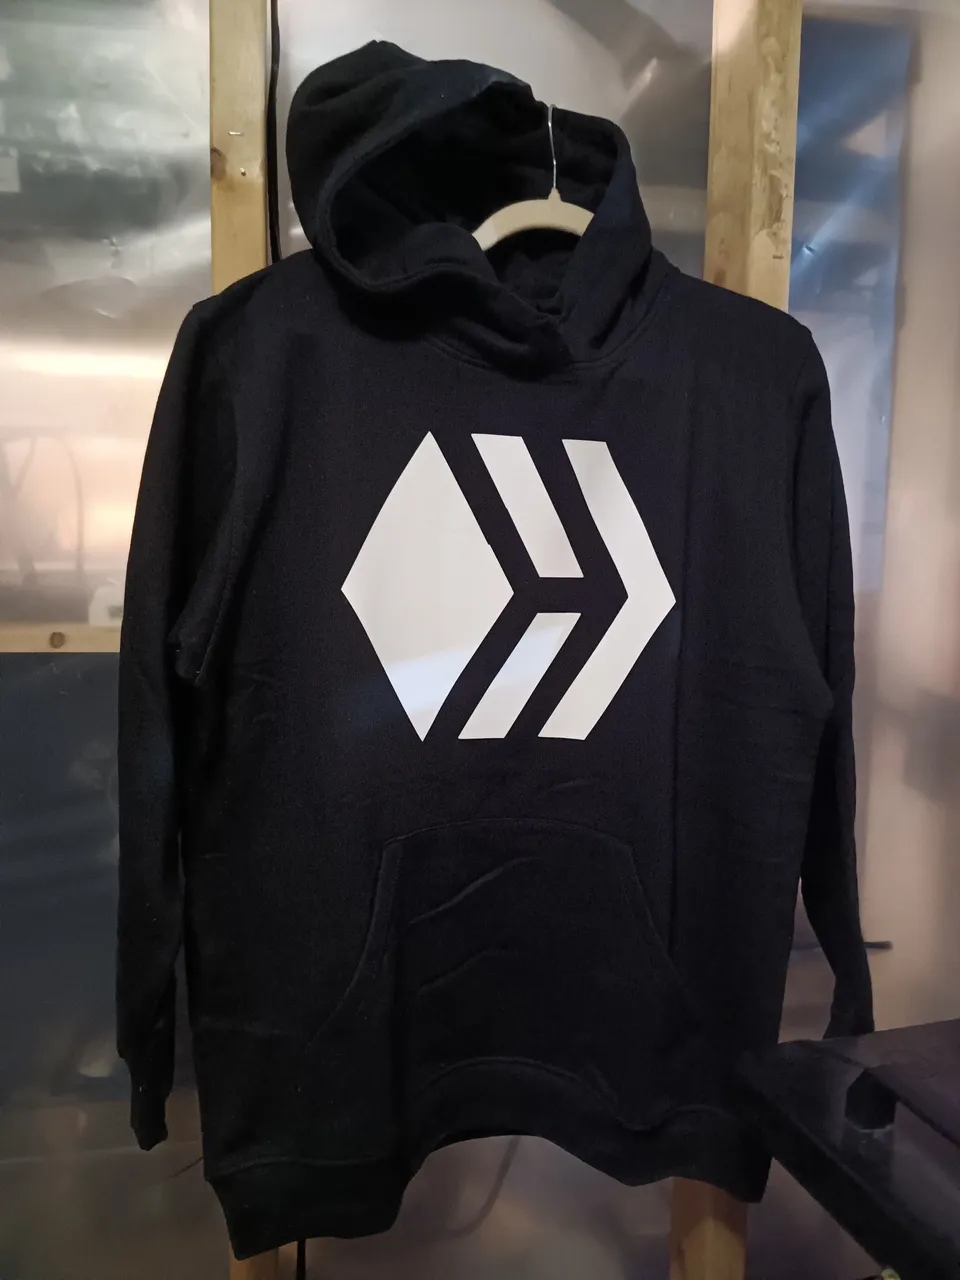
We just went through a cold snap this winter - I'm bundling up in a custom hoodie with a conversation starting Hive logo.
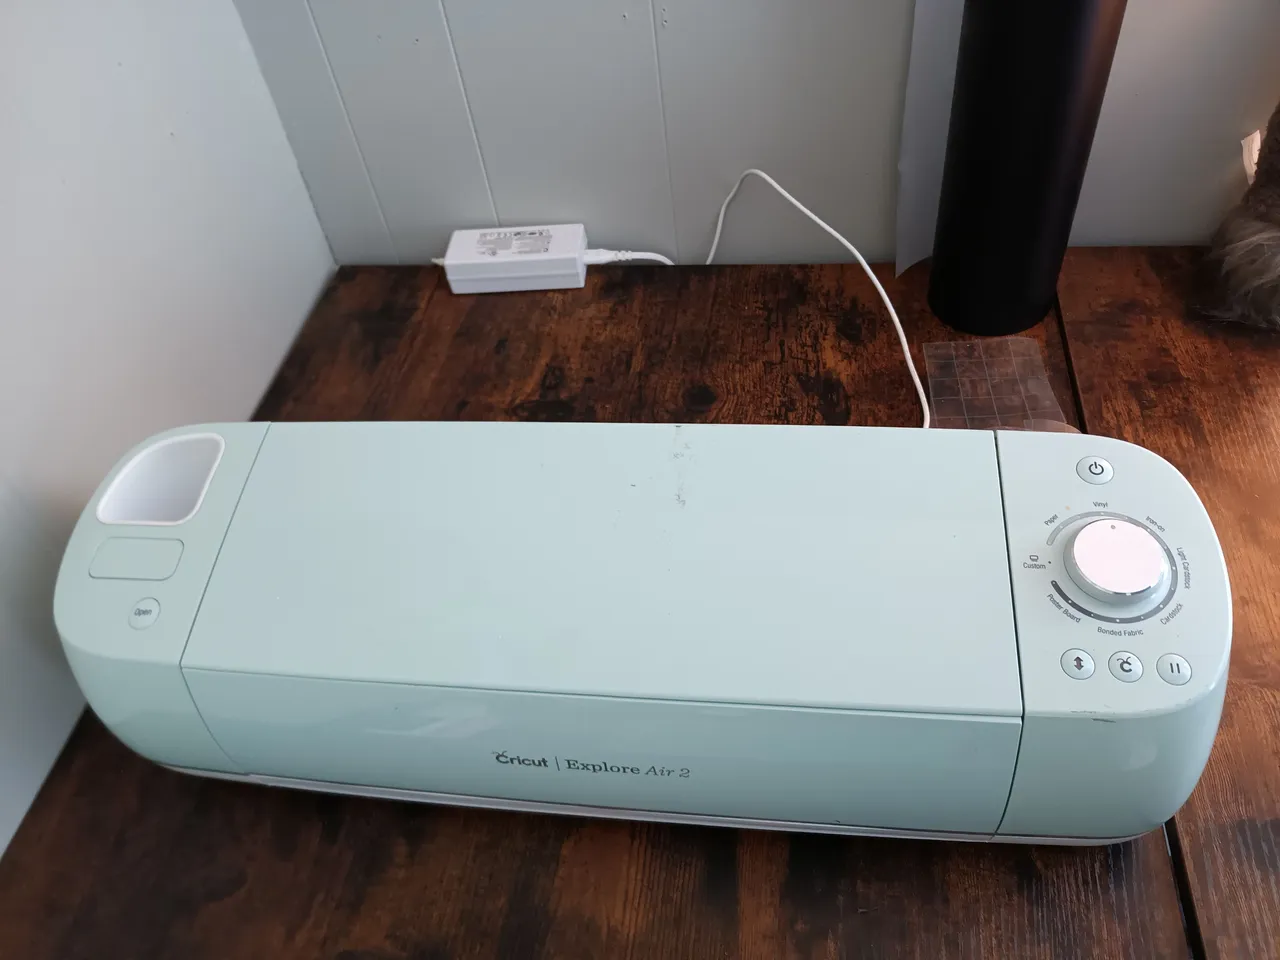
Cricut Vinyl Cutter
The Cricut CNC Vinyl cutting machine cuts vinyl as requested by the layout designed in the Cricut software on phone or PC. The phone or PC connects, like a printer, to the Cricut with a USB, Bluetooth, or WiFi connection.
 |  |
|---|
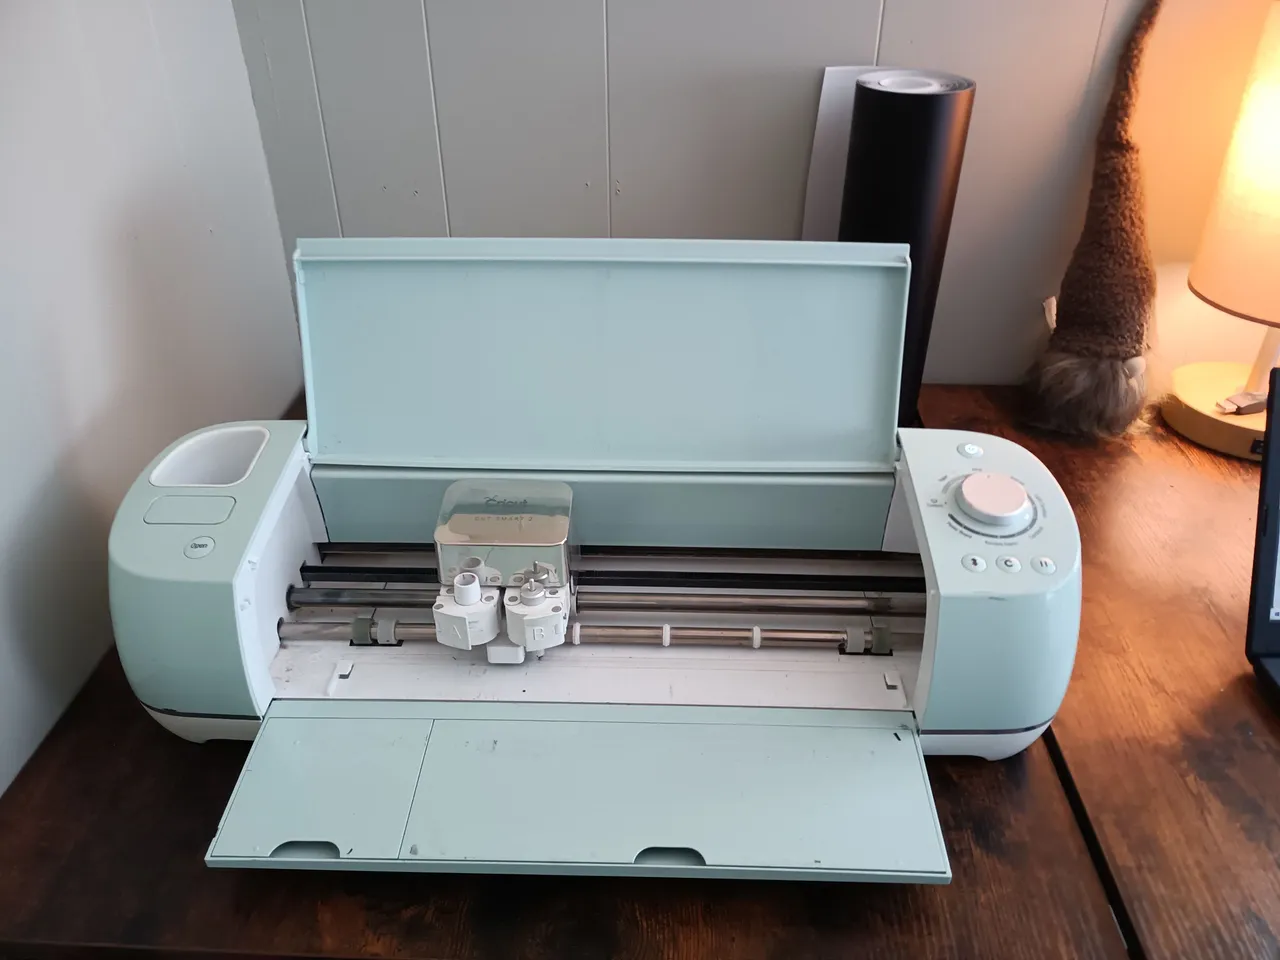
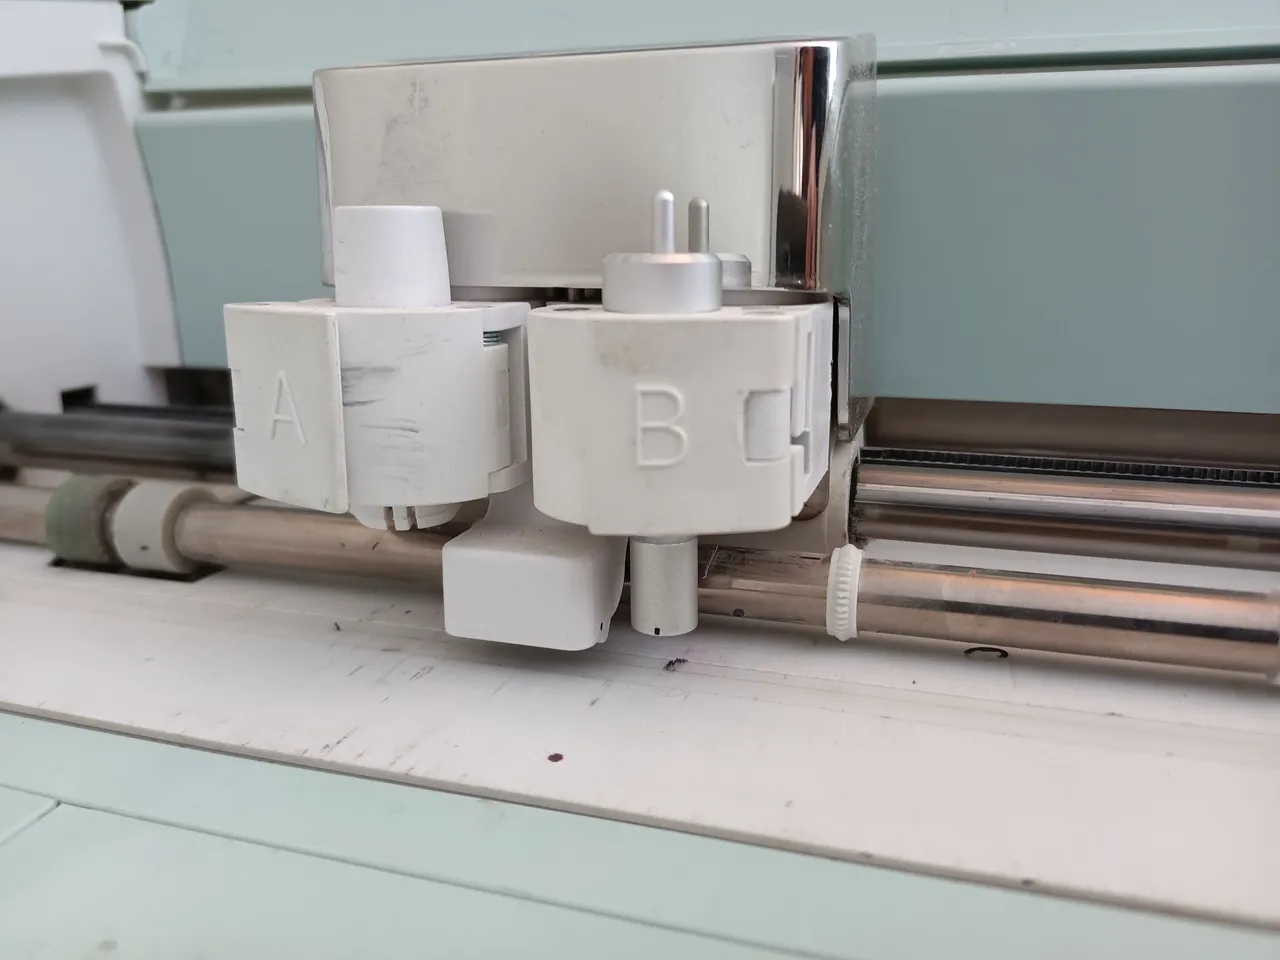
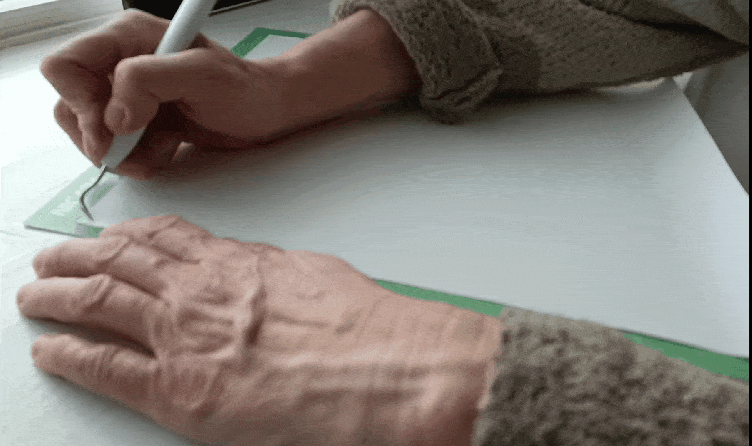
Below on the left you can see the two heads of the Cricut, the one on the left can hold a pen or marker for CNC (Computer Number Controlled) calligraphy onto paper - the head on the right has the knife for custom cutting vinyl. Each head can go up and down, they can both go side to side, the rollers can move the vinyl or paper holding mat forward and backward.
 |  |
|---|
After the custom vinyl design has been cut, it is transfered onto the desired surface with the help of a thin film of transfer paper.
Iron On Vinyl for Clothing
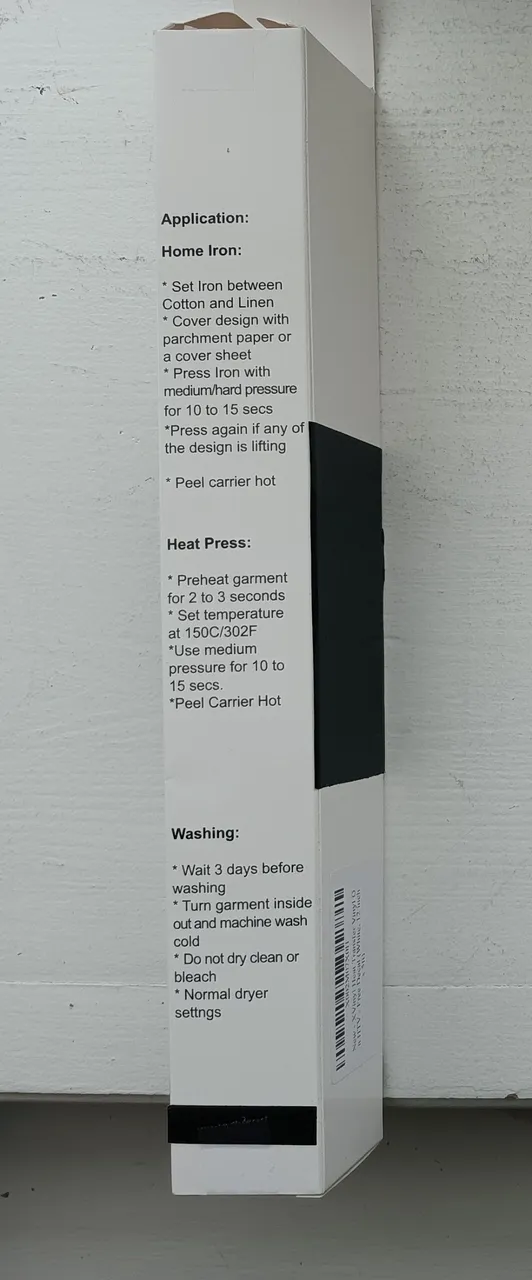
Specialized vinyl is required for heat transferring a vinyl design onto clothing.

This 12" x 5ft roll of 'XVinyl heat transfer vinyl' for clothing - works best with cotton and other natural fibers or blends. It comes in multiple colors, for this project I'm going with white vinyl for the black hoodie.
 |  |
|---|
The transfer paper comes already attached to the iron-on vinyl, it's on the presentation glossy side of the vinyl. The glossy side goes face down on the cutting mat before loading it into the Cricut.
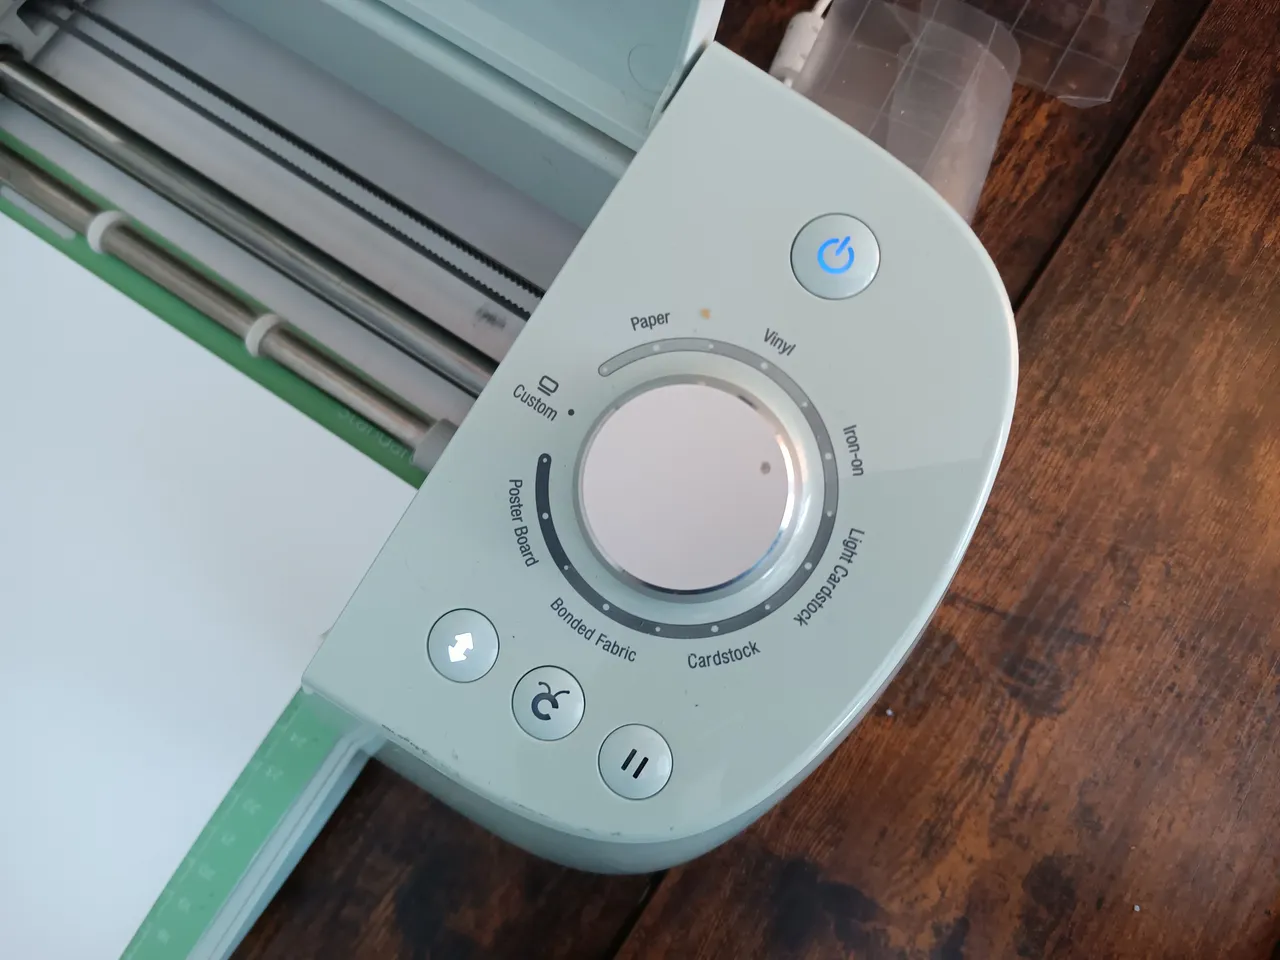
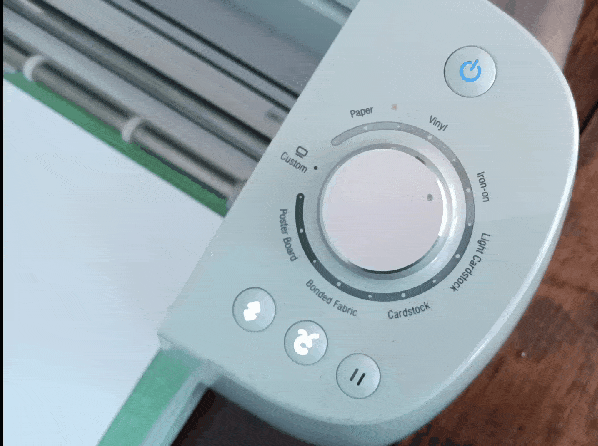
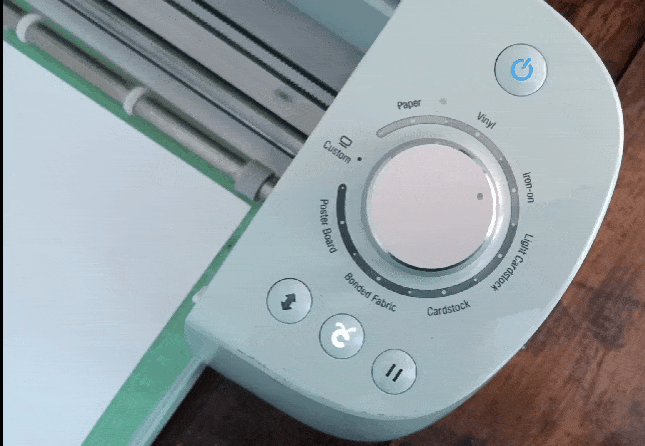
The dial on the Cricut (see above) needs to be set to 'Iron-on' so it knows not to cut all the way through the included transfer paper, it only cuts the vinyl
Cricut Software Design
The Cricut design software for PC is available on their Web Site - their phone design apps are available on the Google Play and Apple app stores.
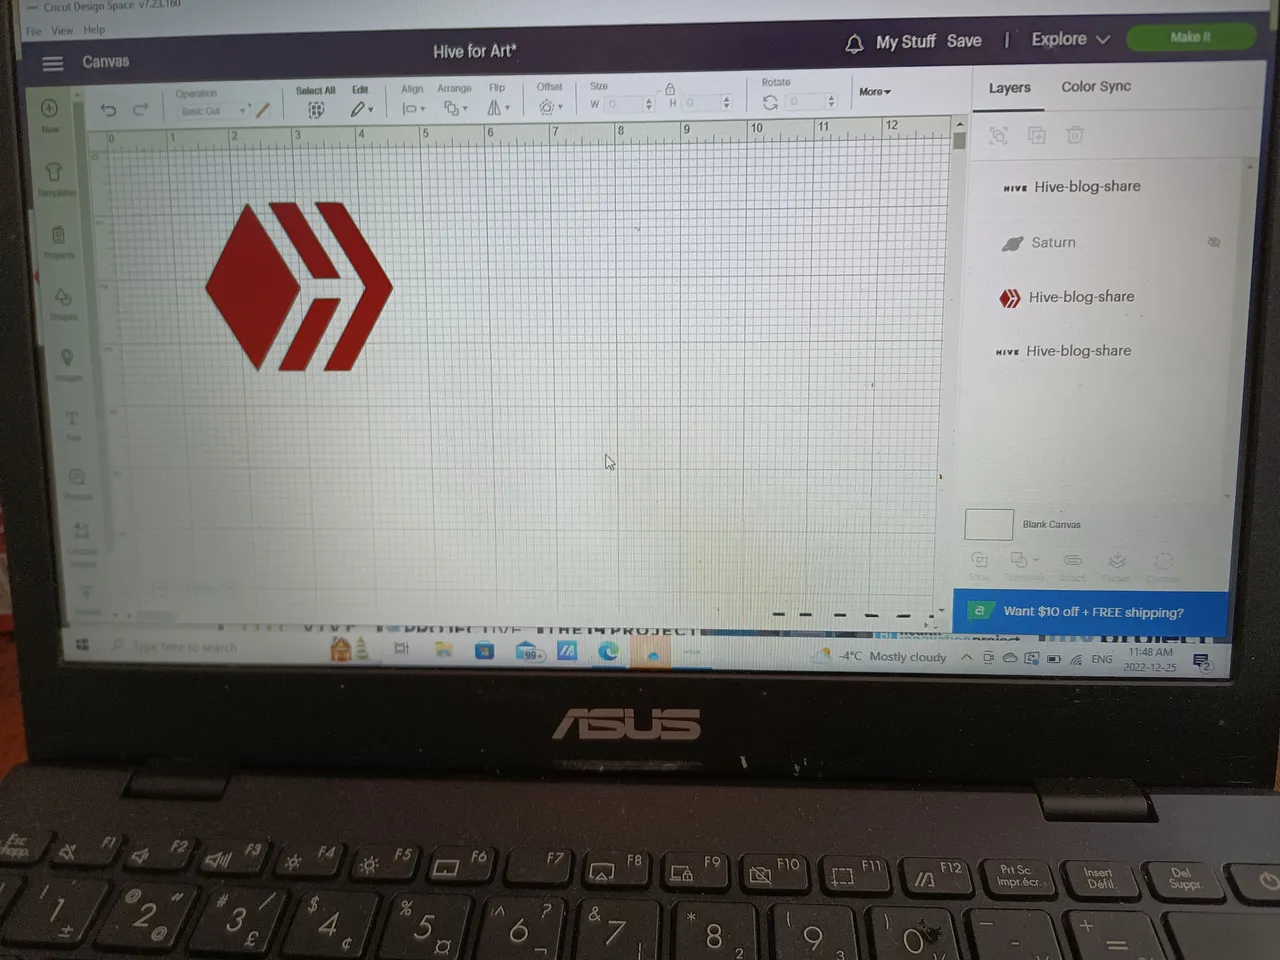
Designs can be drawn from scratch or graphics can be imported, and text can be added. Transparent background .PNG graphics files are the easiest to work with, but other graphic files can be used with a few more steps. Each color requires an additional color of vinyl to to used and cut.
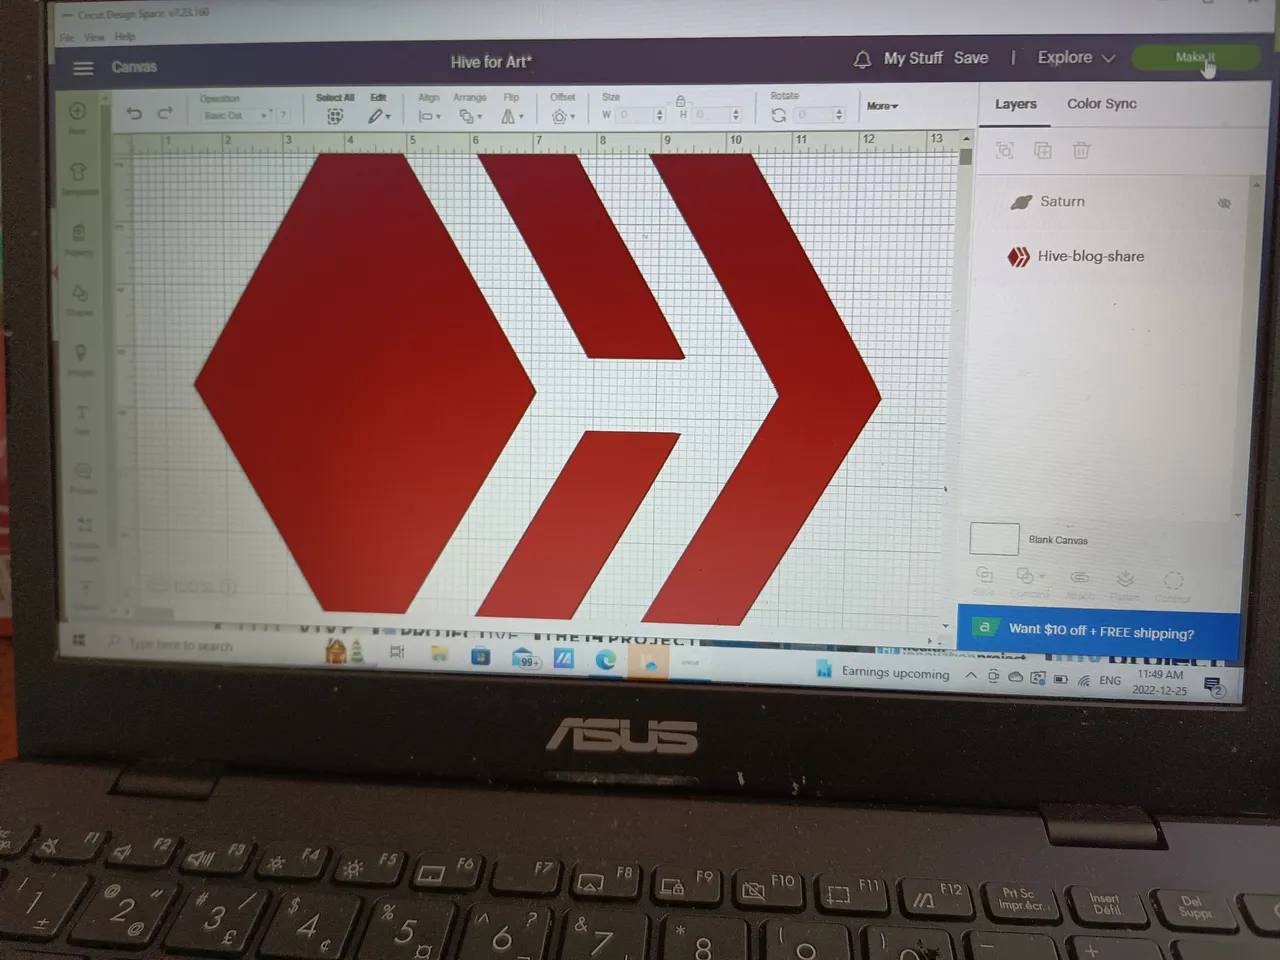
After downloading and importing the Hive .PNG logo file, it was stretched to approximately a 12"x12" size for the black hoodie. I then saved the file to my Cricut user personal cloud storage.
Phone App
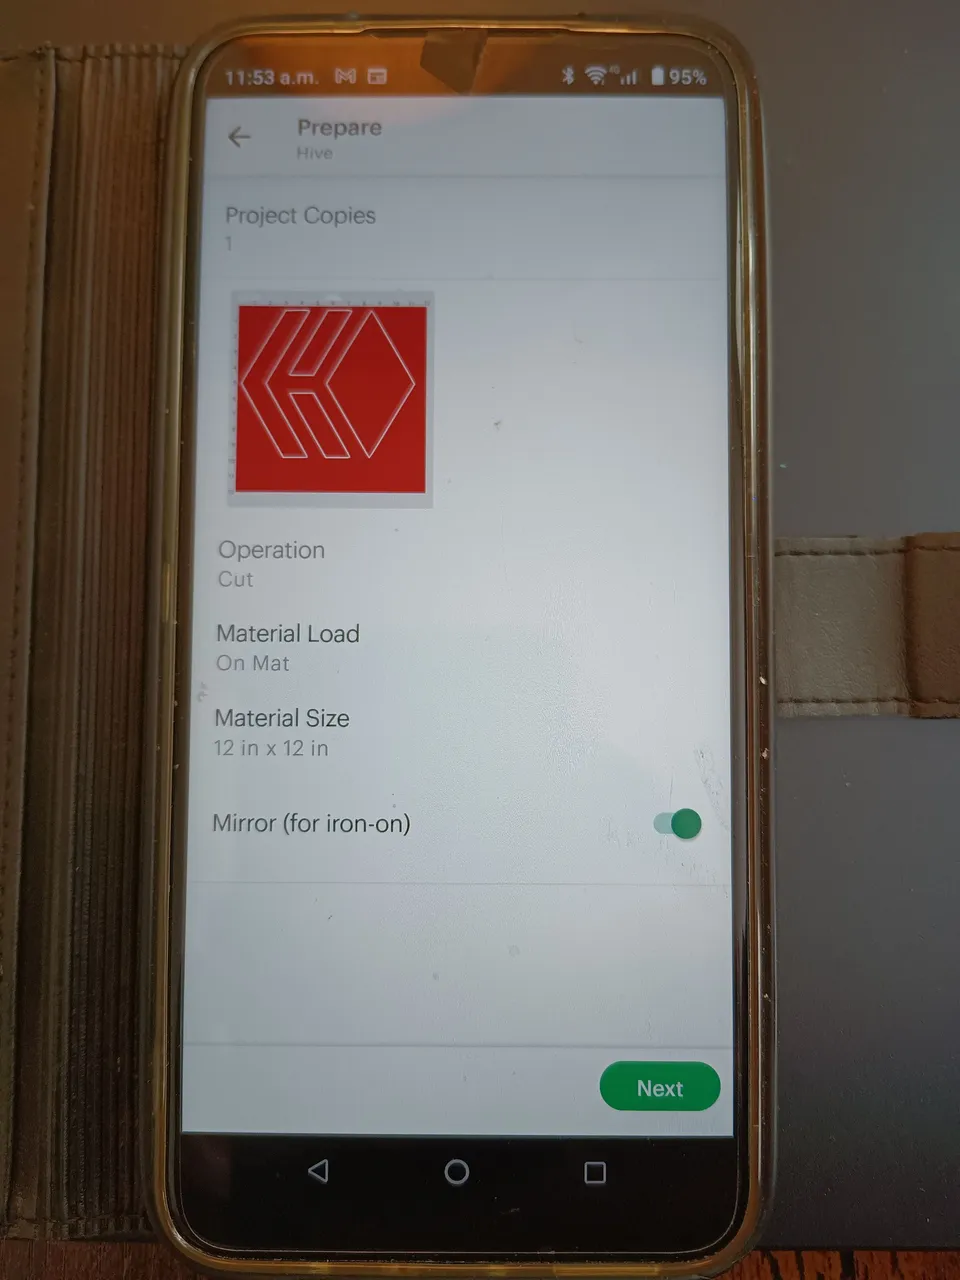
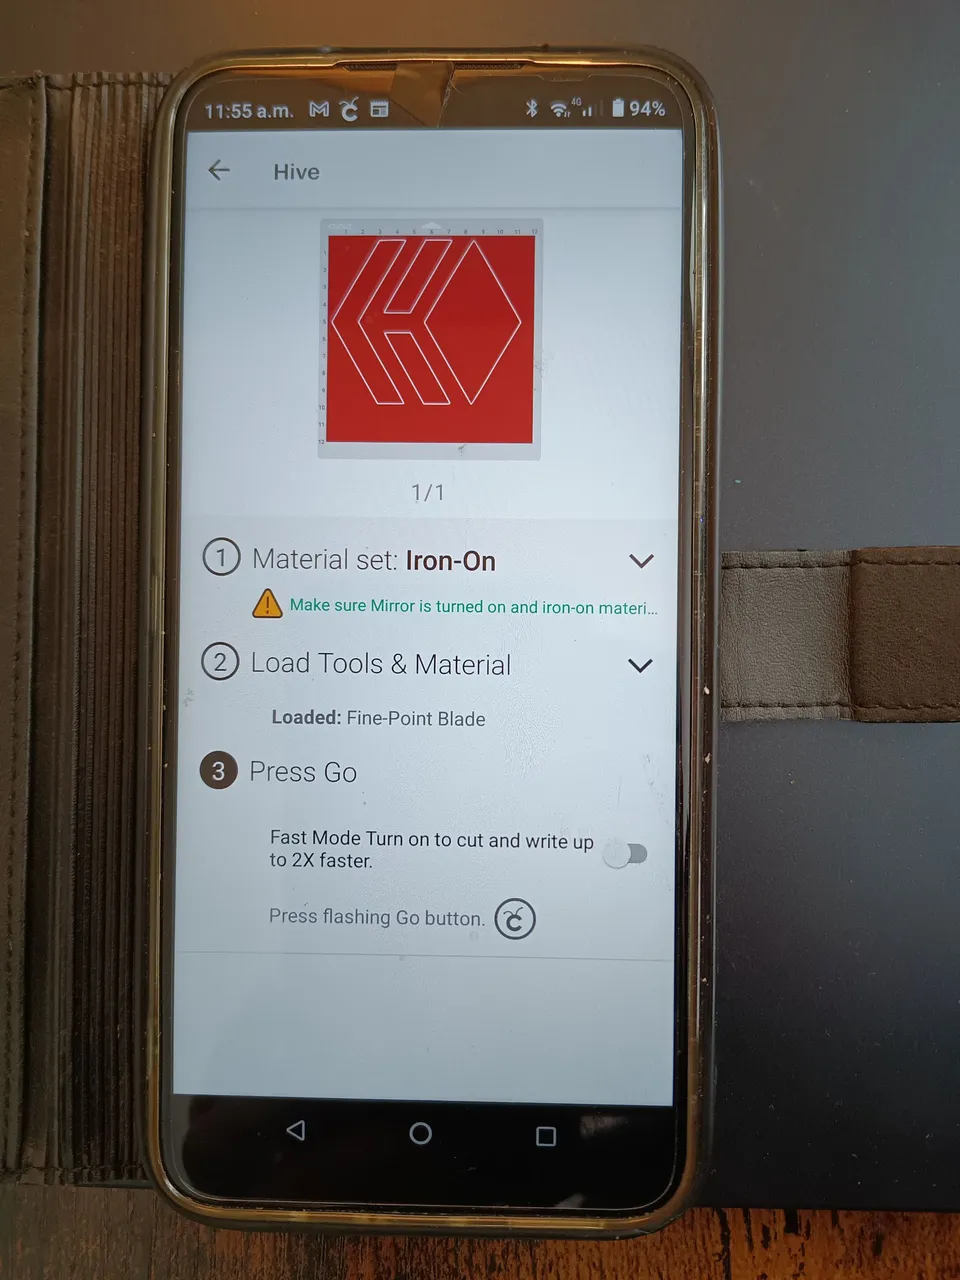
I opened the phone app for easy direct Bluetooth connection to the Cricut, went to 'My Projects' and opened the saved Hive logo design.
 |  |
|---|
Notice in the vinyl cut job preferences in the pic above-right, the 'Mirror (for iron-on)' toggle option is switched on.
 |  |
|---|
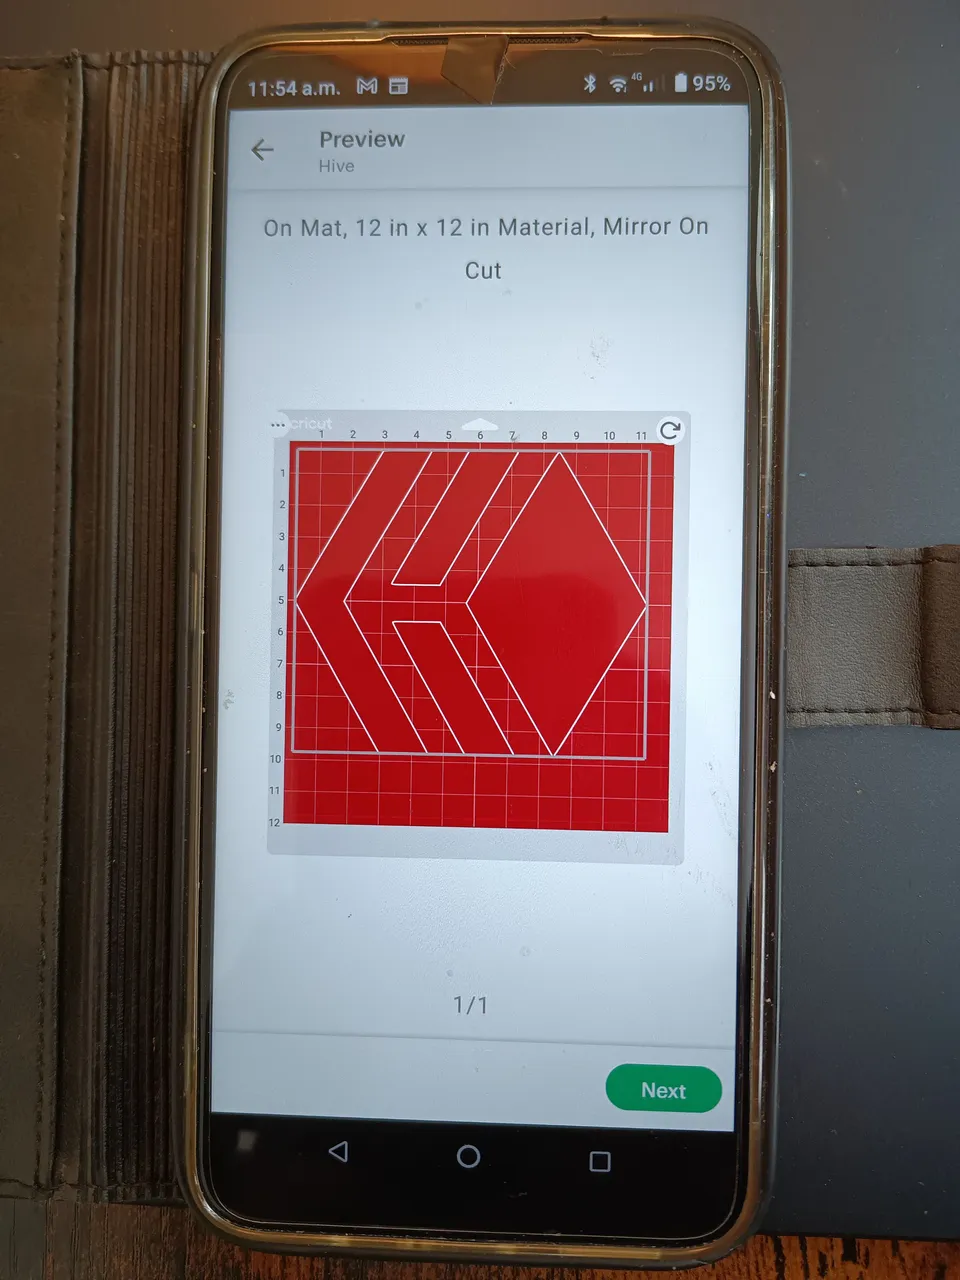
Above-left you can see the print settings confirmation - after the 'Next' button is clicked the cut job is sent to the Cricut.
Cricut Start
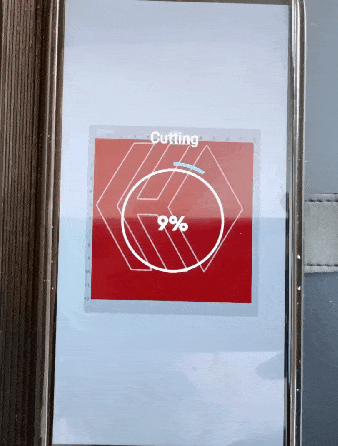
Below and to the left you can see the flashing start cut button, press this to start the job - as described in the phone app message you can see above and to the right.
 |  |
|---|
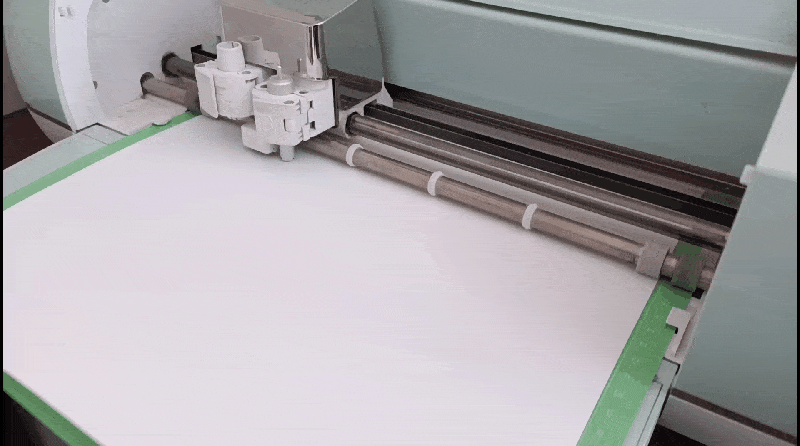
The phone app displays the progress of the job, you can see the Cricut cutting the iron-on Vinyl. After the job has finished you can see the blinking eject button to release the cutting mat and vinyl.
 |  |
|---|
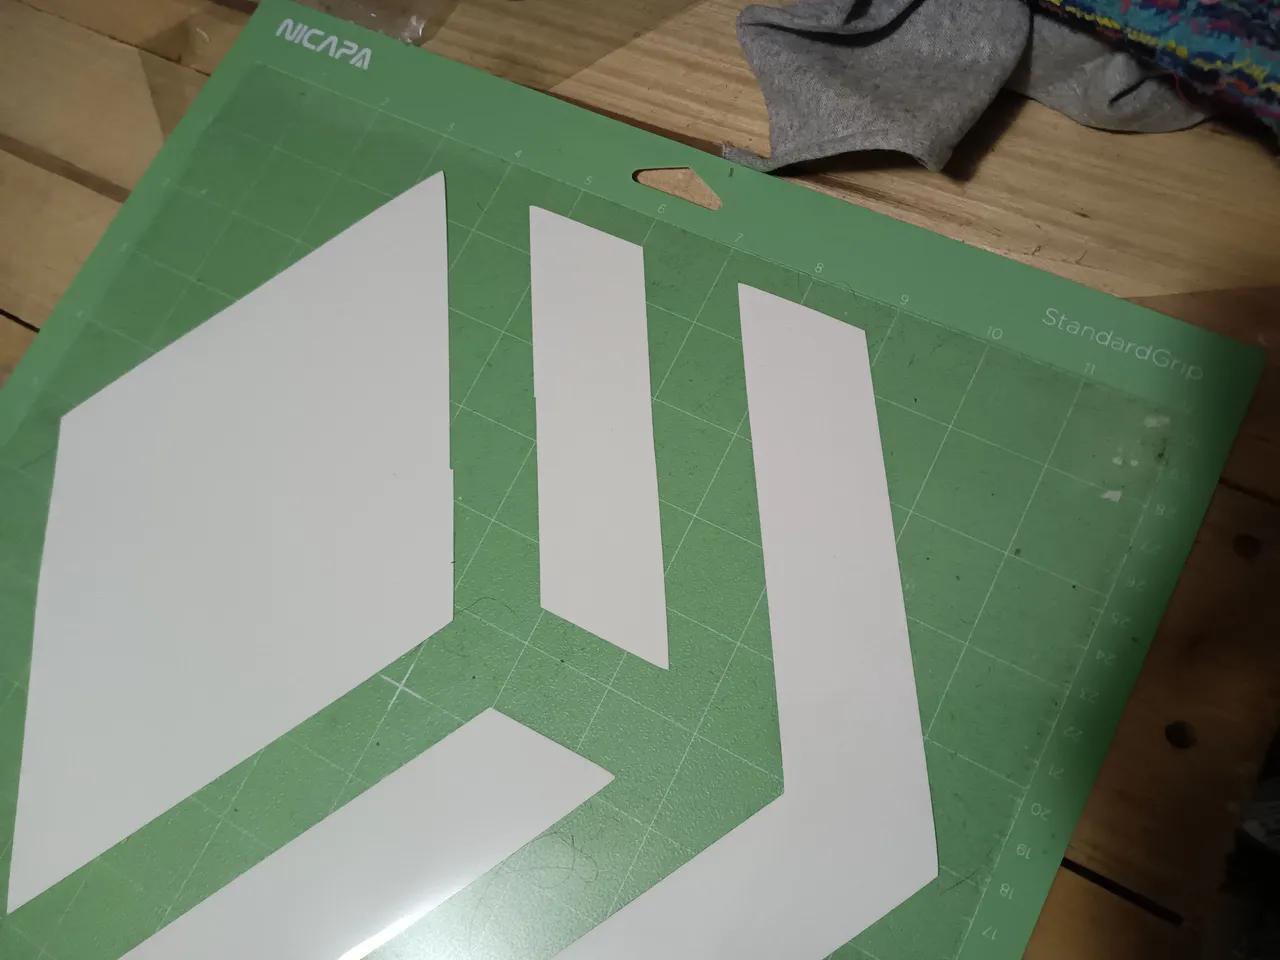
Weeding the Vinyl
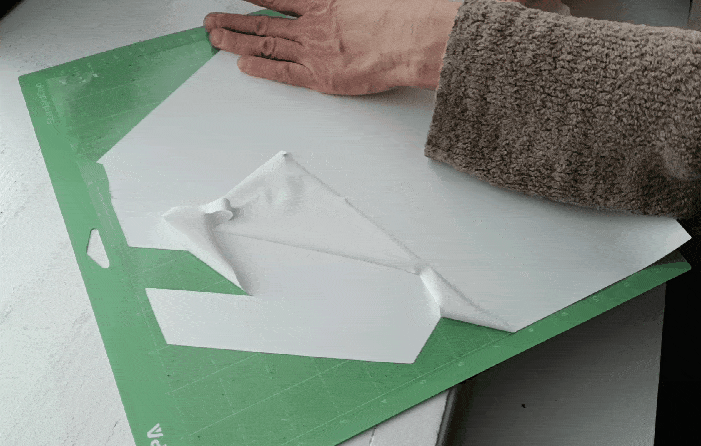
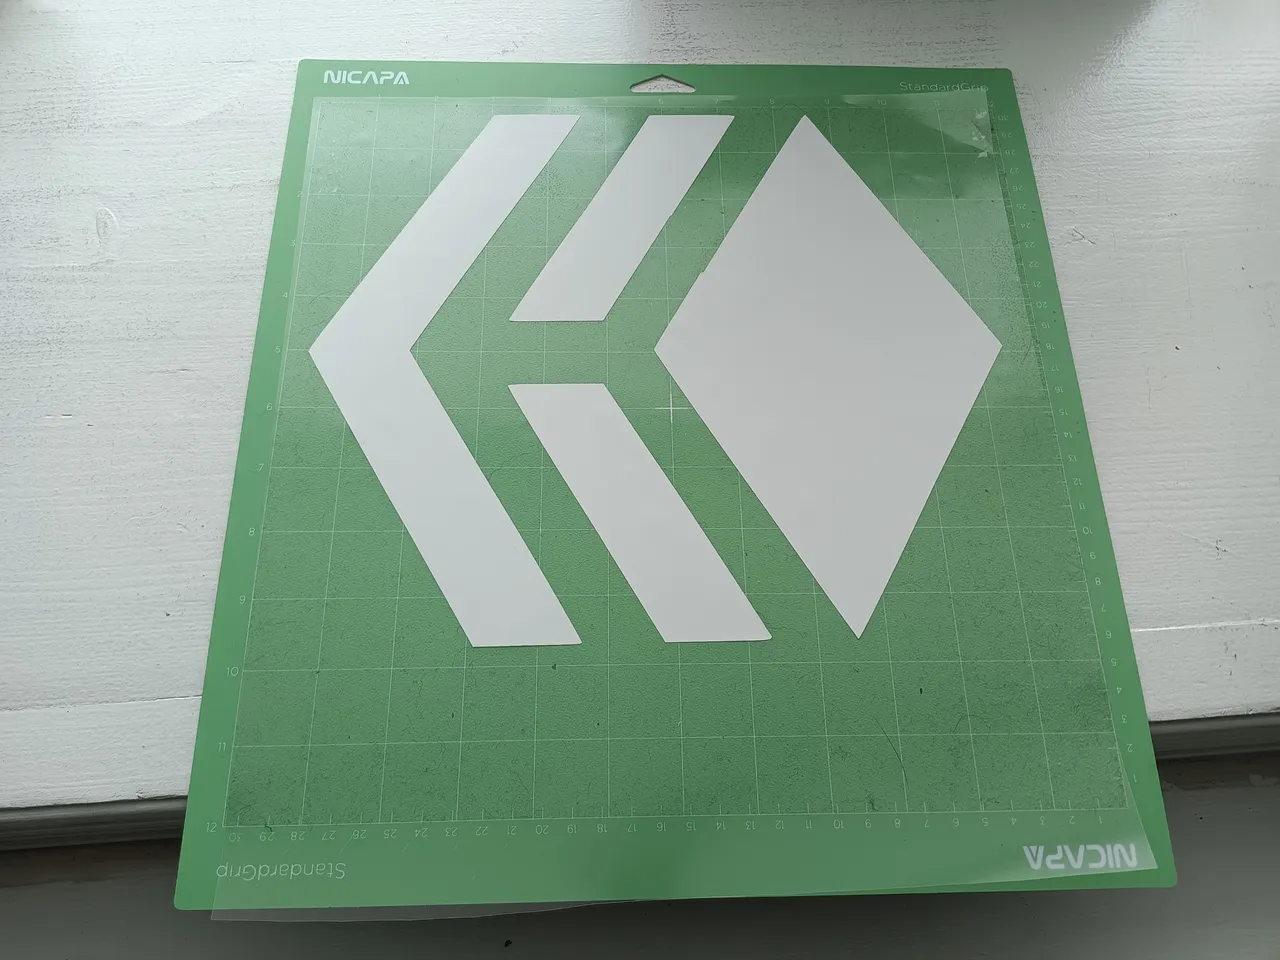
After the vinyl has been cut, the unwanted white pieces of vinyl are removed - this process is known as weeding.
 |  |
|---|
You can see the thin transfer film between the white vinyl and green cutting mat.
 |  |
|---|
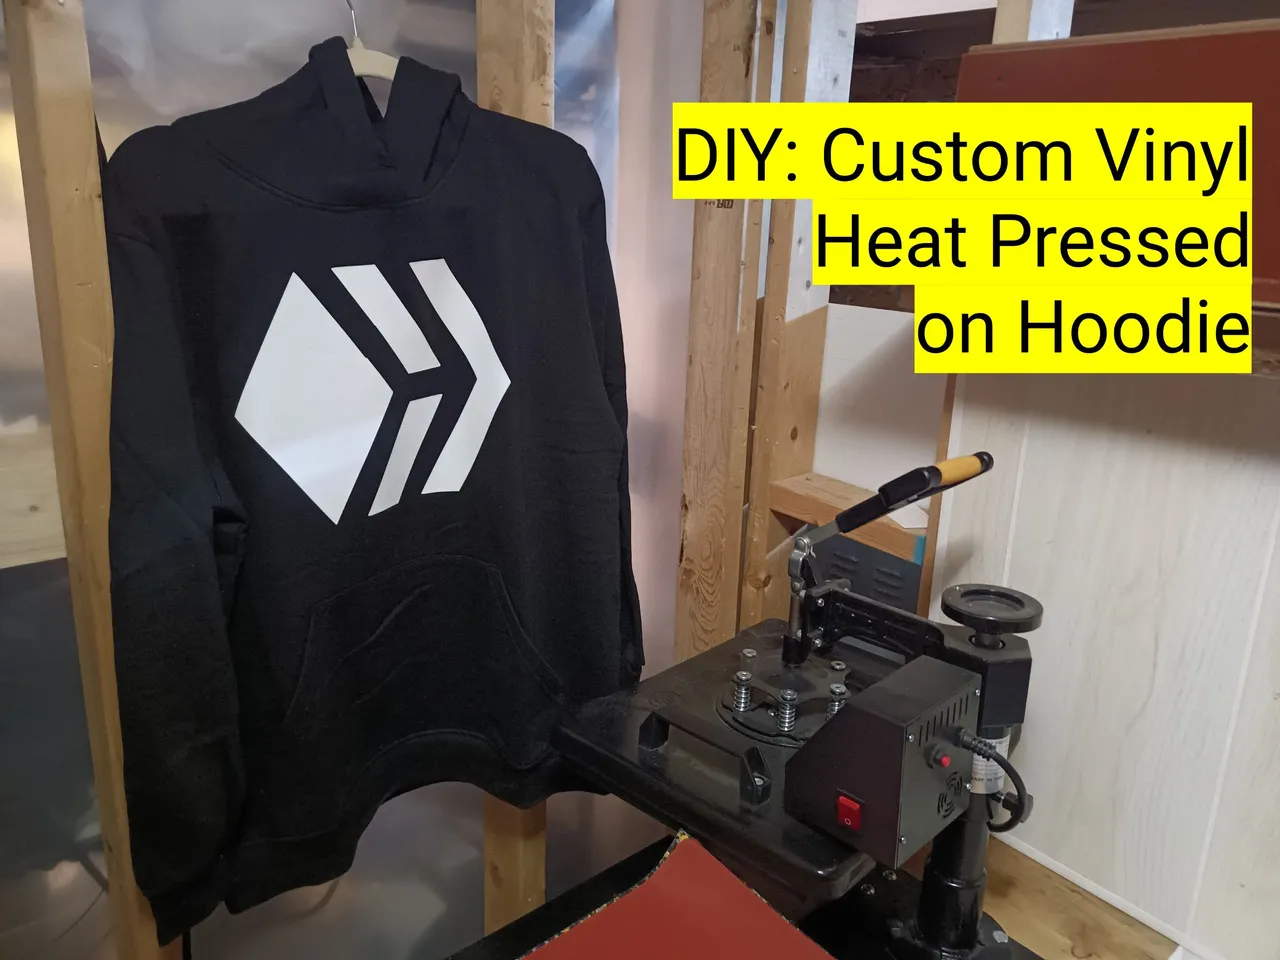
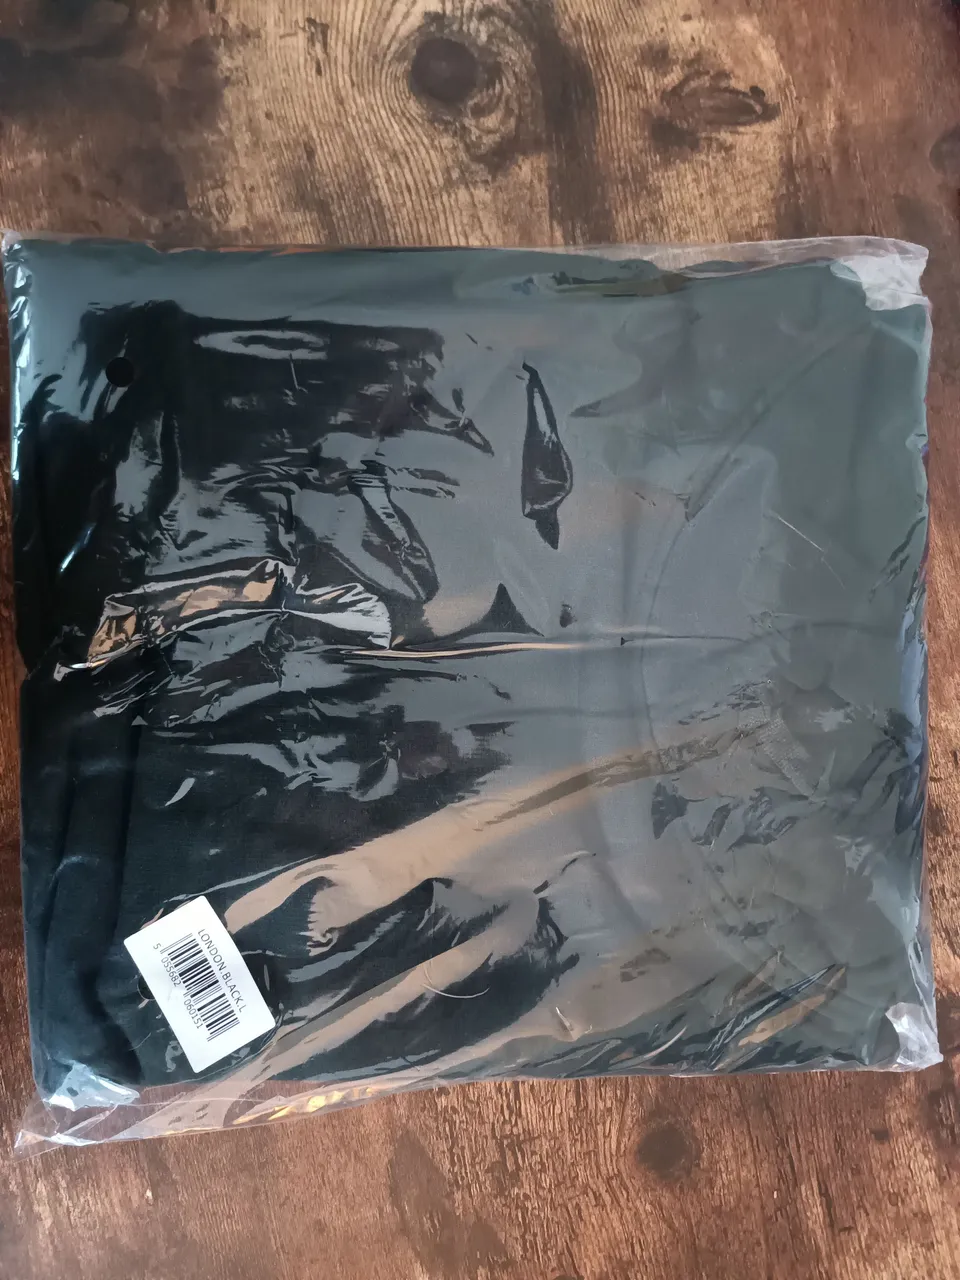
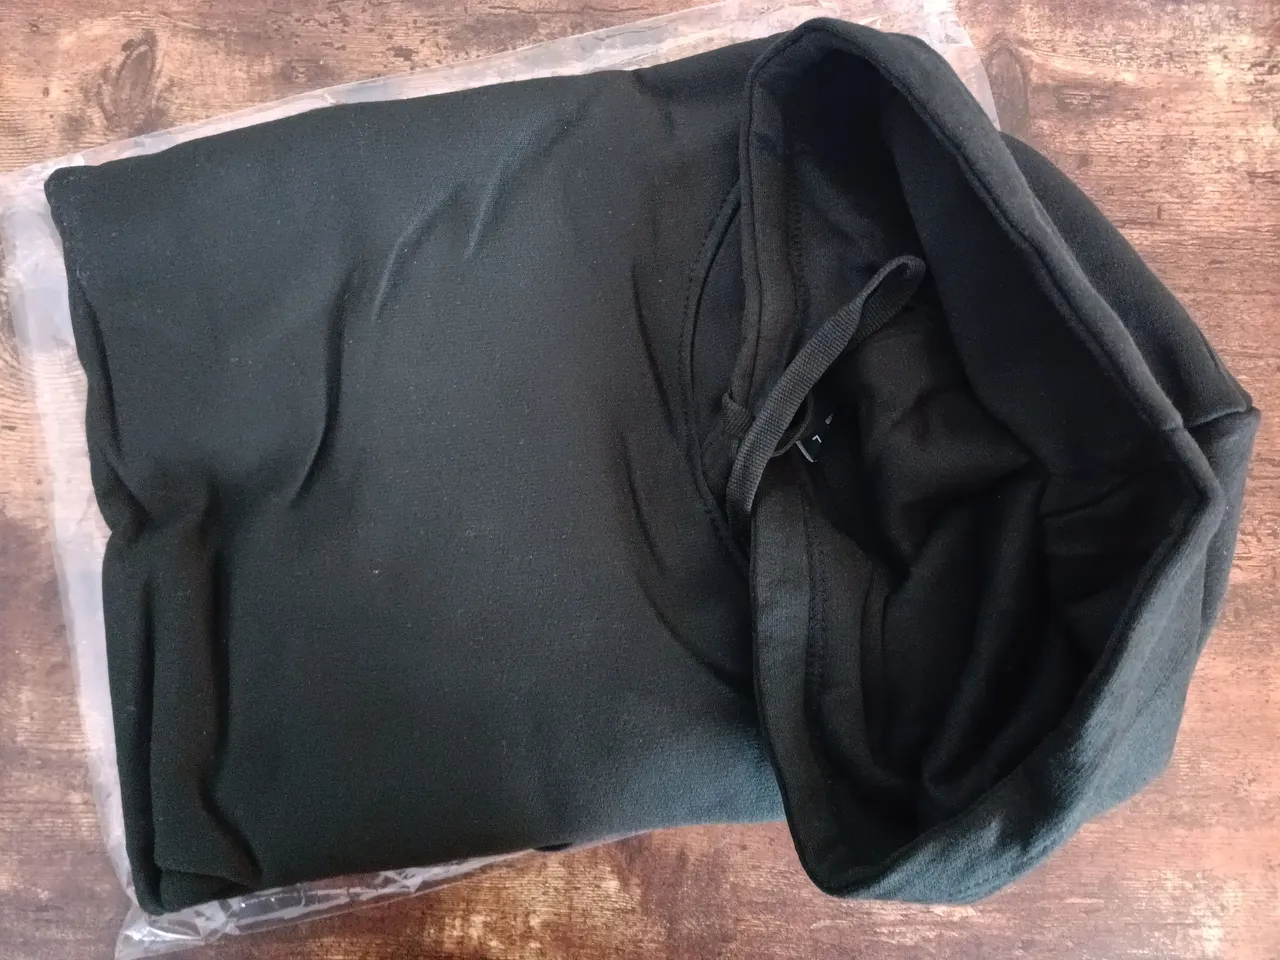
The Hoodie
This large black hoodie is a 50/50 cotton and polyester blend - could have gone with a medium but I'm layering so I want to leave a little extra room.
 |  |
|---|
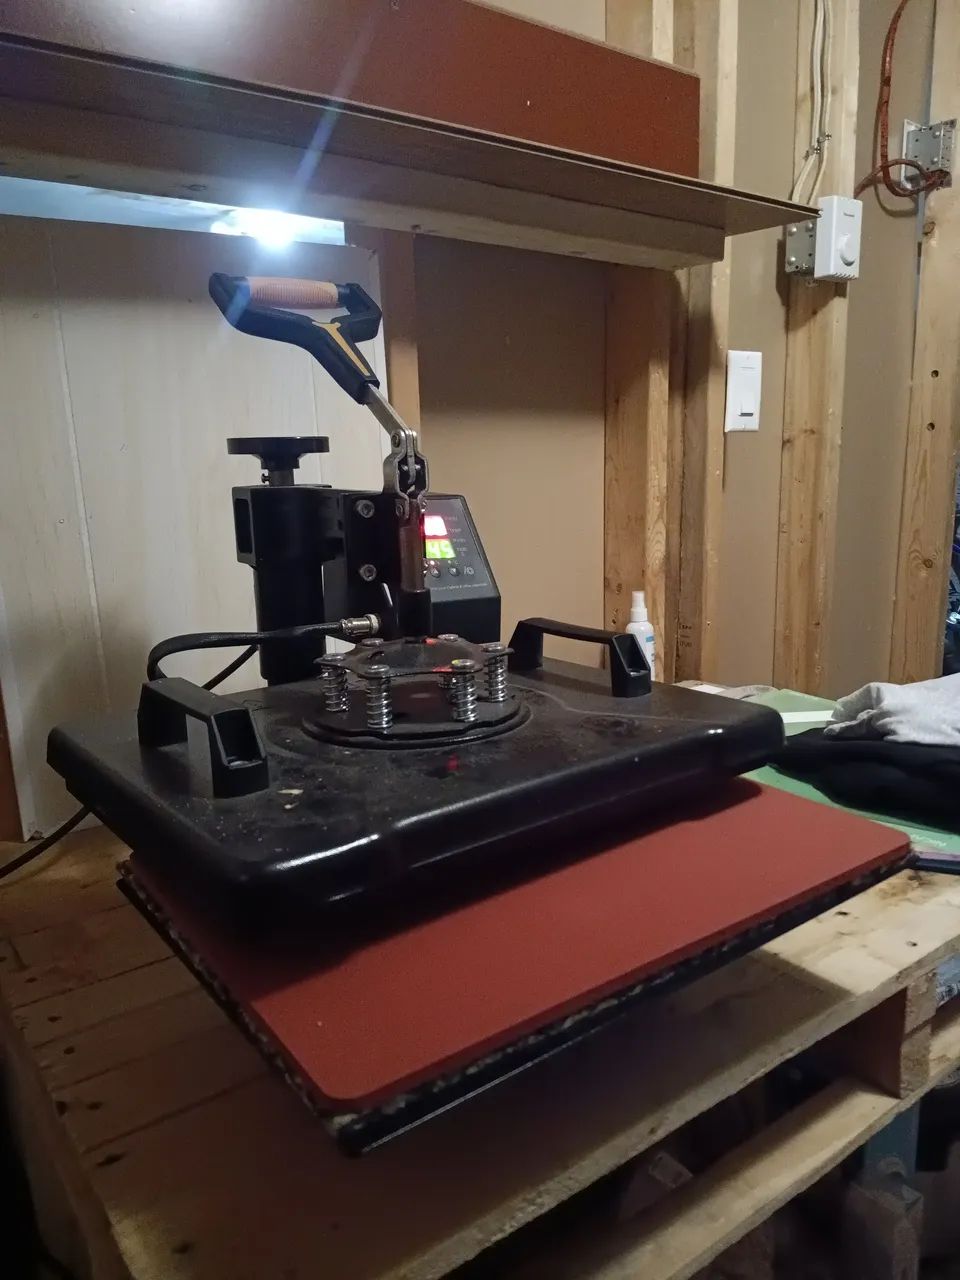
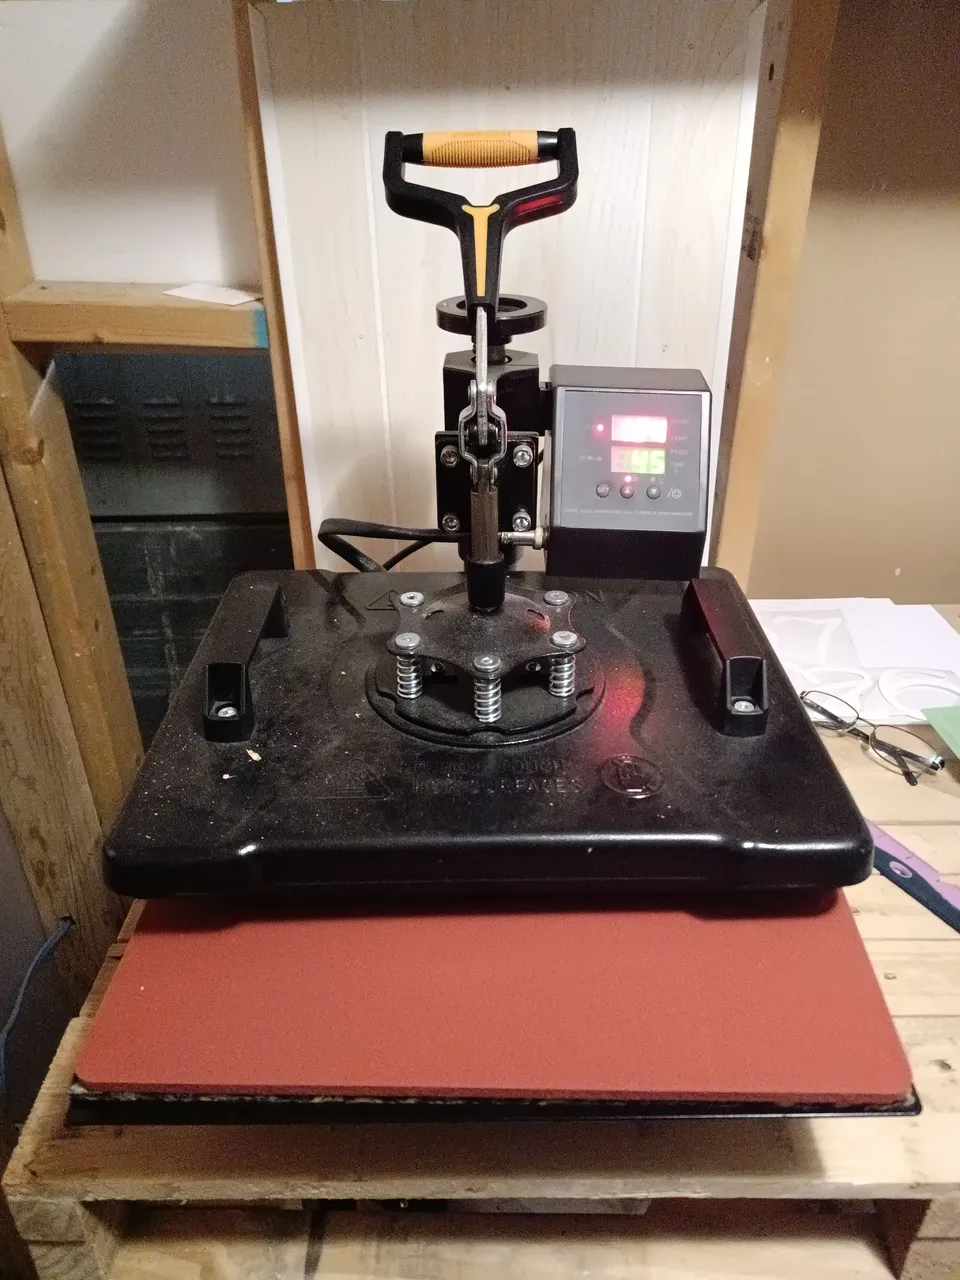
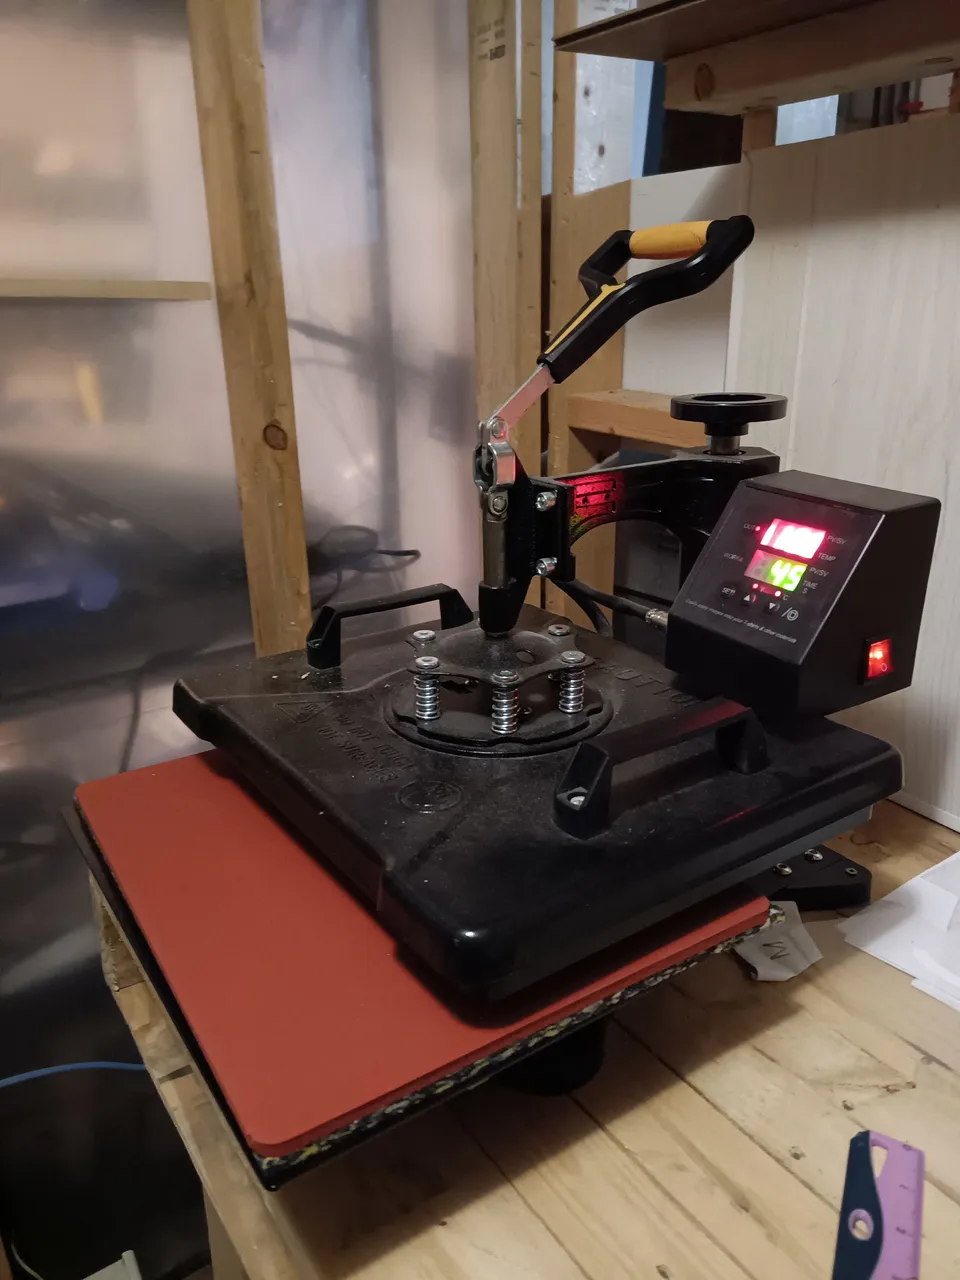
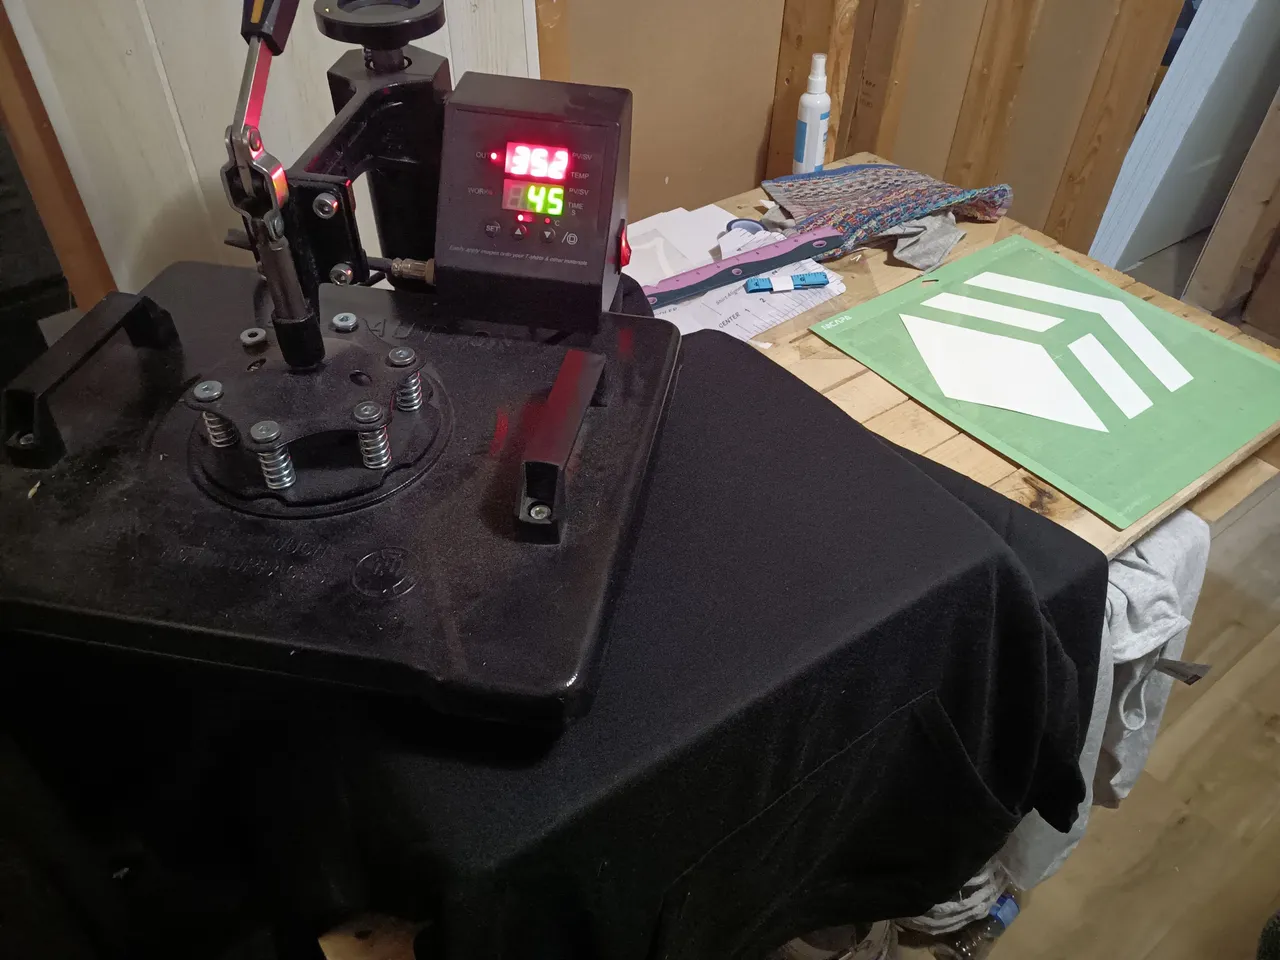
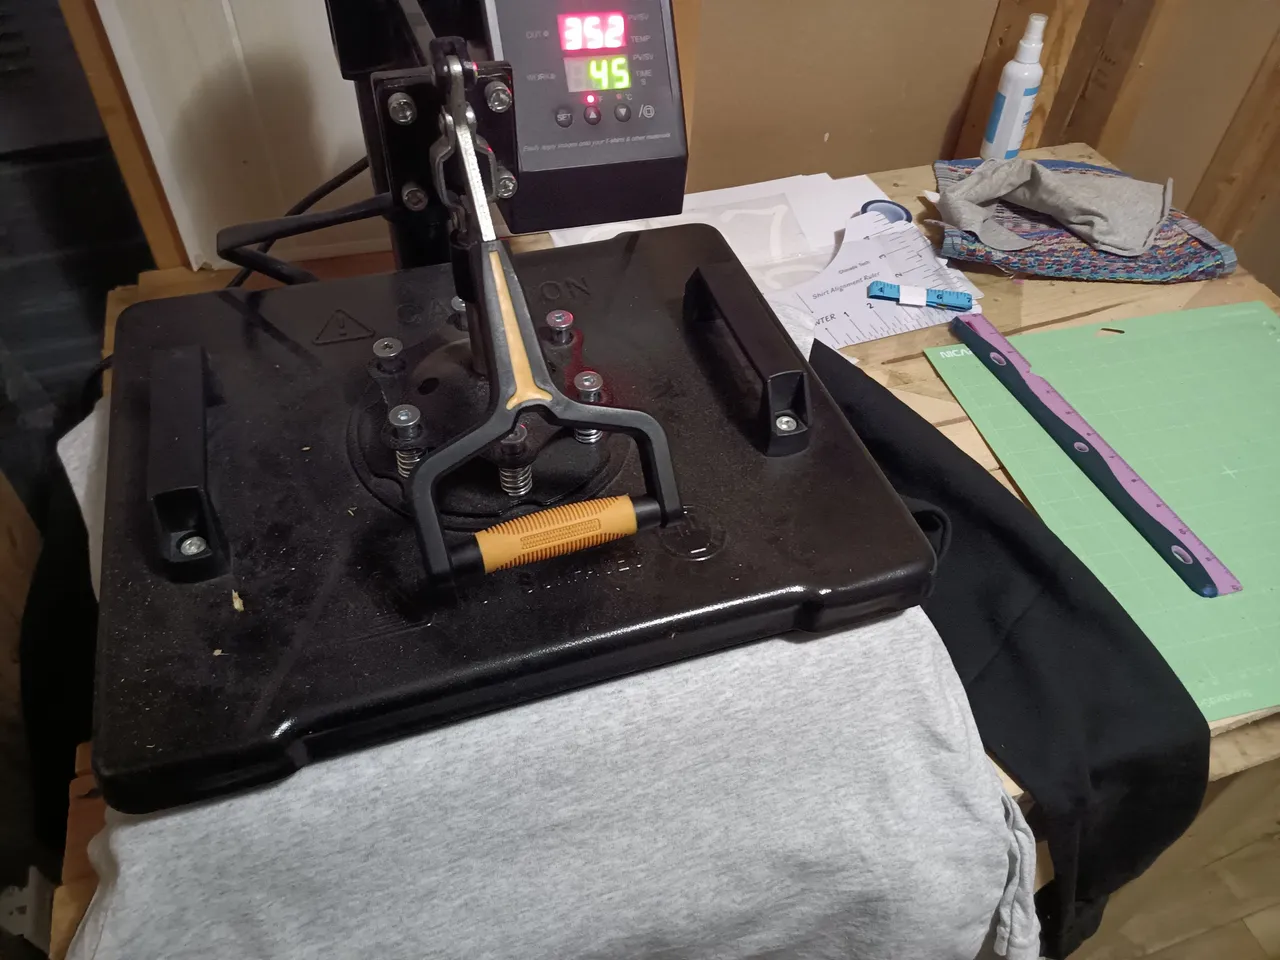
The Heat Press
 |  |  |
|---|
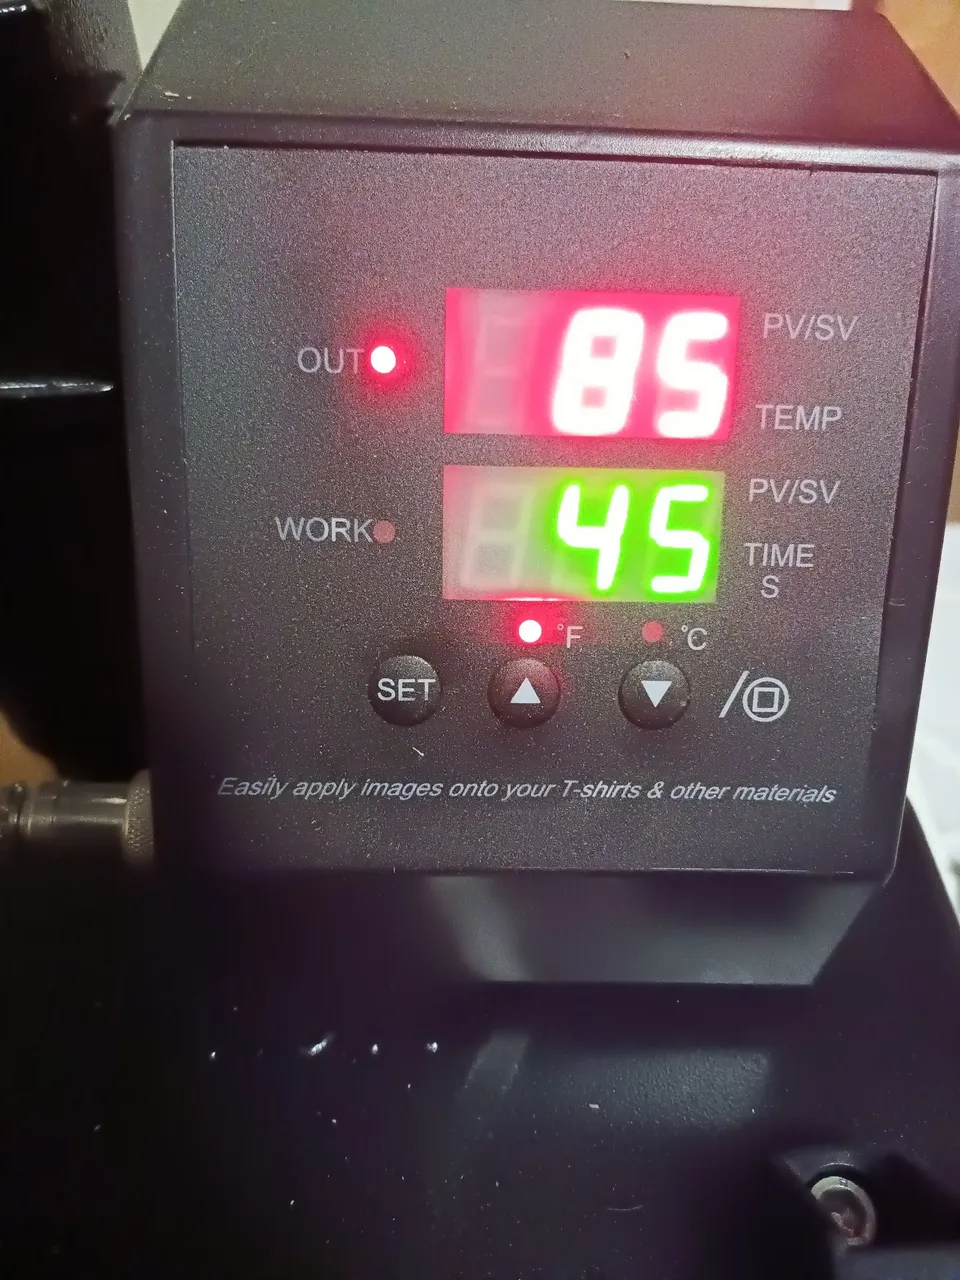
The vinyl box may say different, but for this job I'm going with 360 degrees Fahrenheit for 45 seconds. Three days later I'll heat press it for another 45 seconds.
 |  |
|---|
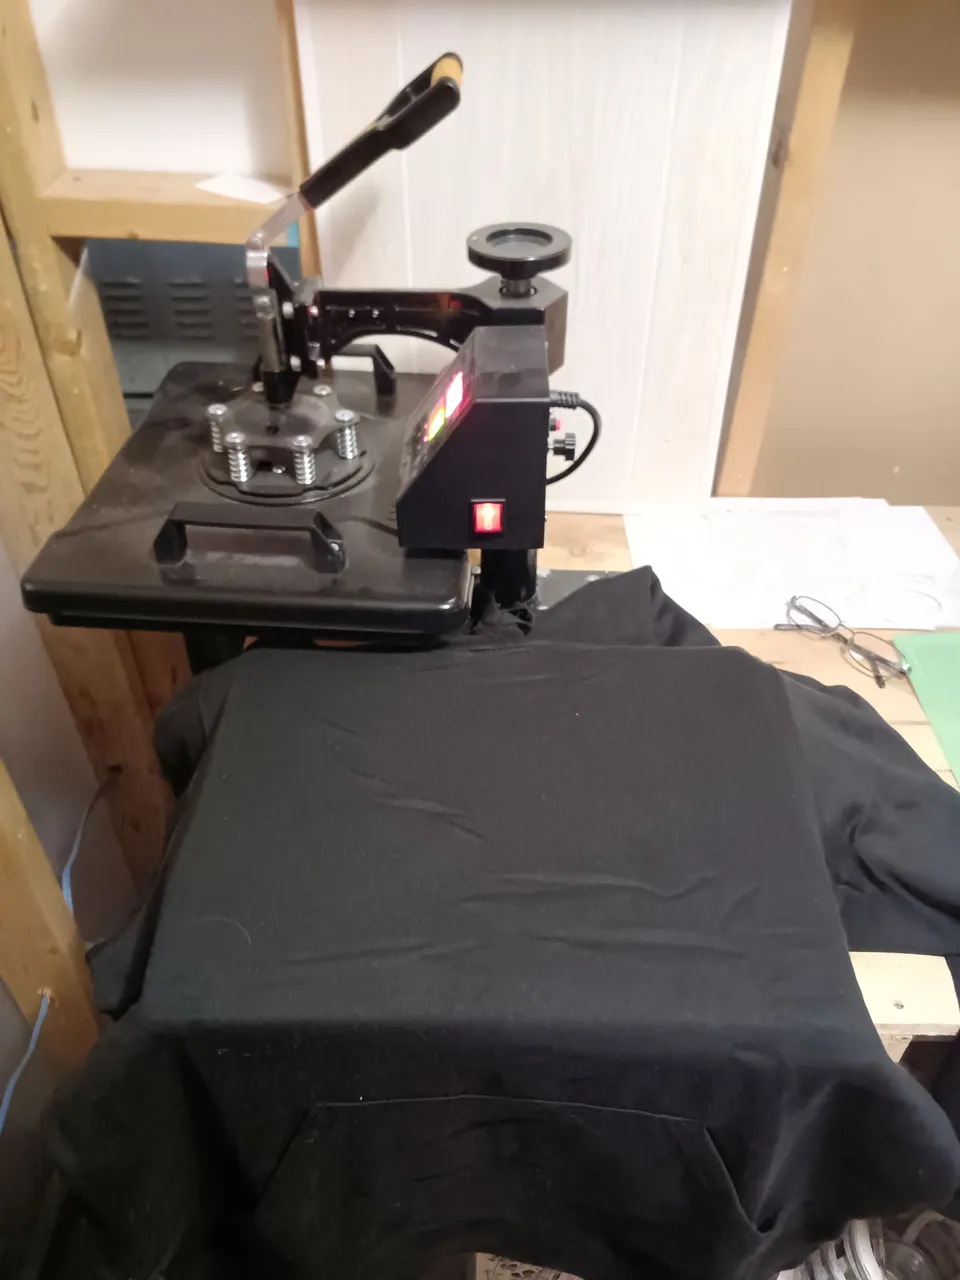
The Hoodie is positioned on the heat press to where the vinyl design is going (on the chest). After Preheating to 360 F, the hoodie is first pressed to remove wrinkles - any other debris should also be brushed aside.
 |  |
|---|
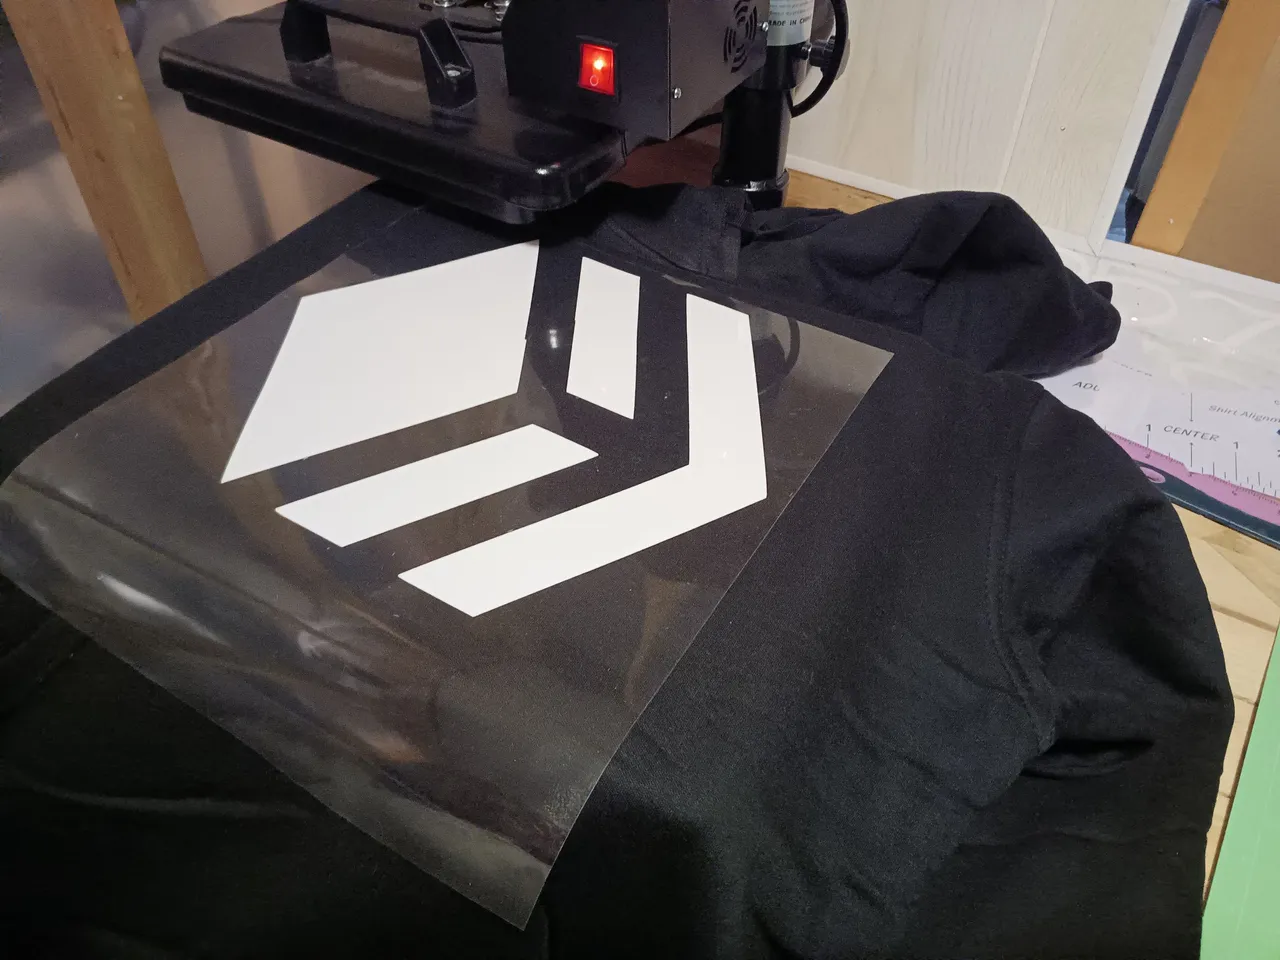
The design is moved into position with the vinyl side down and the clear transfer paper side up.
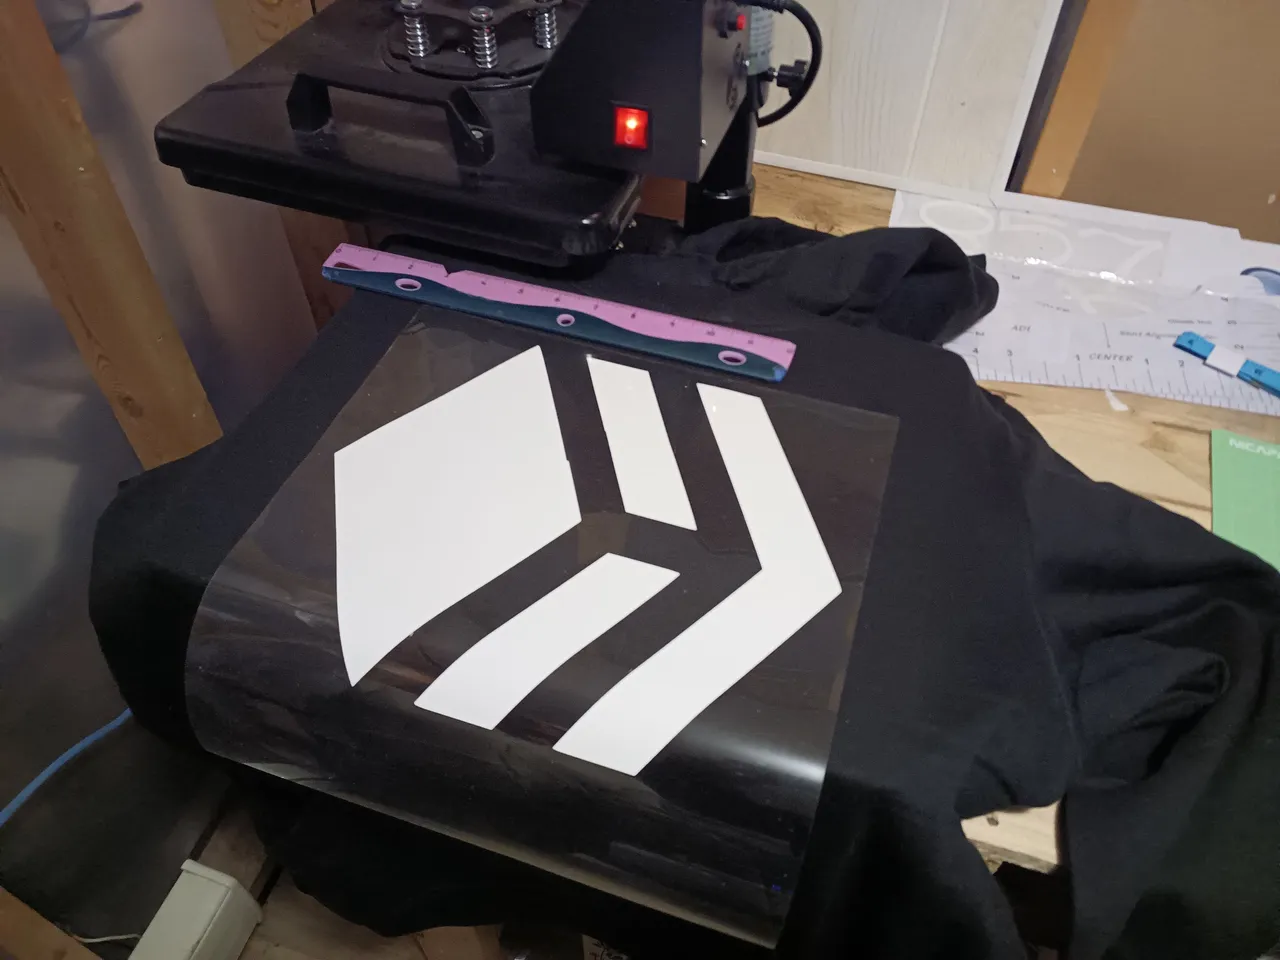
With the design and hoodie moved into position, a plain t-shirt is laid on top of the vinyl and hoodie to prevent overheating - then the heat press is firmly pulled down into position for 45 seconds.
 |  |
|---|
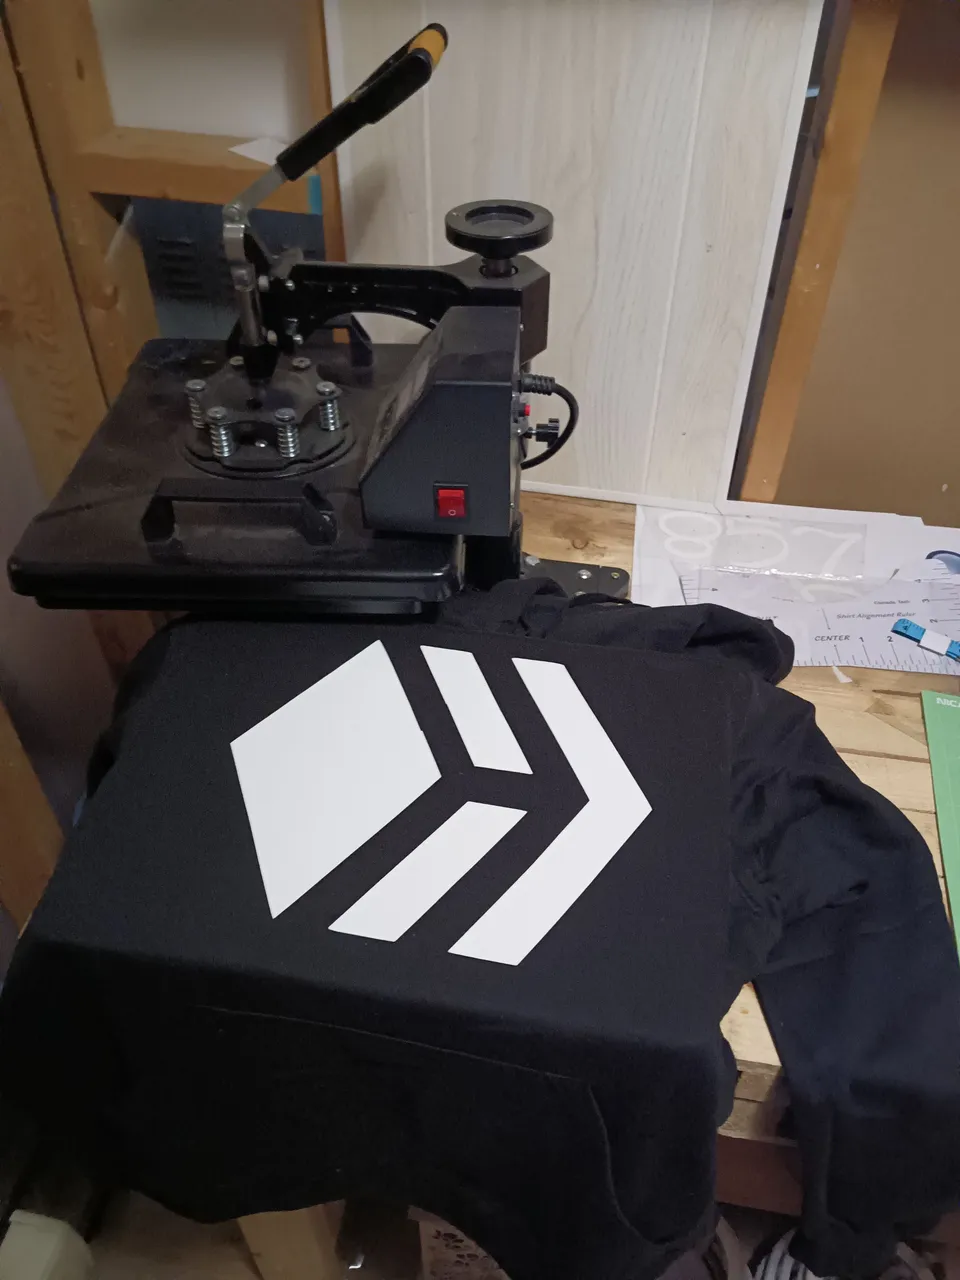
After 45 seconds the press is released, the plain t-shirt is removed.
After peeling off the clear transfer paper, the vinyl remains attached to the hoodie.
 |  |
|---|
Nice looking warm hoodie with the Hive logo.