Greetings everyone
How are you all doing today? I hope you all are doing pretty well and if you care about me I am doing good. I am very happy to share a blog with you guys today. Today I come with a very interesting DIY post. If you go through it you will learn new things. Today I am sharing with you guys how to replace an Android phone screen and I will try my best to break down the process with photos.
Android phone is something everyone makes use of and the problem with the phone most of the time is the screen, because if the phone falls down the screen will not survive and when it happens you do not have to throw it away, you have to fix it and it will work perfectly as before. Going through this post I will show you how to replace the screen by yourself without talking to anyone.
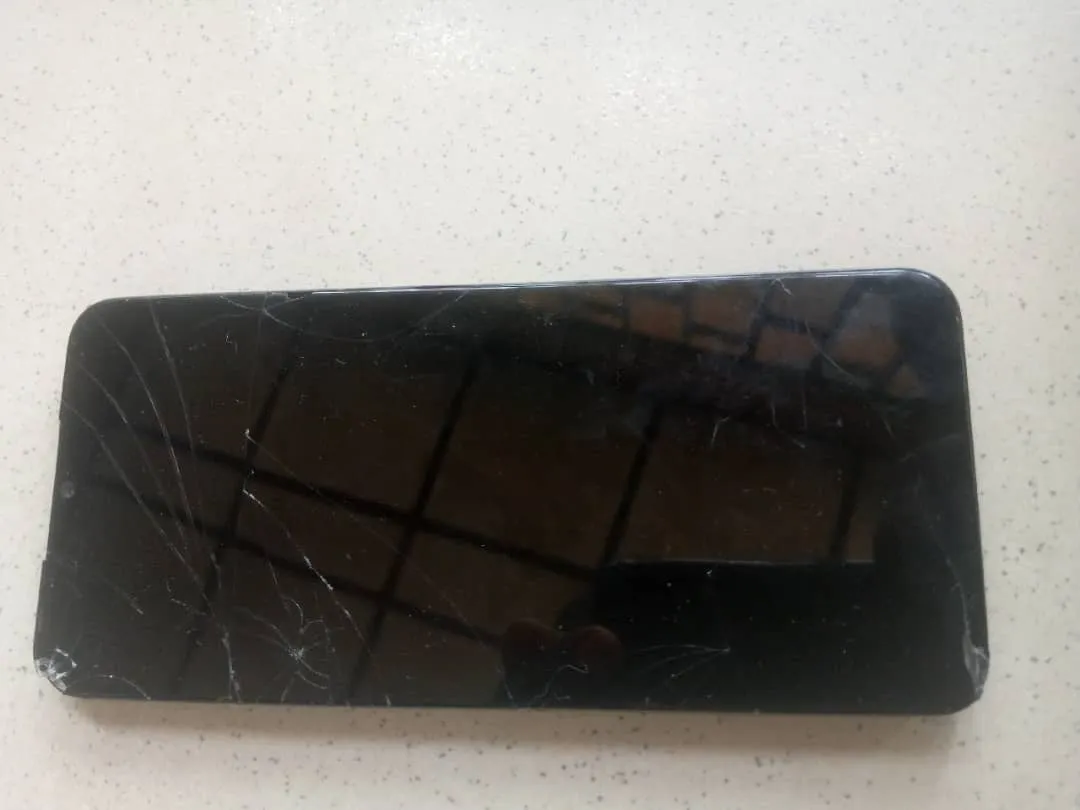
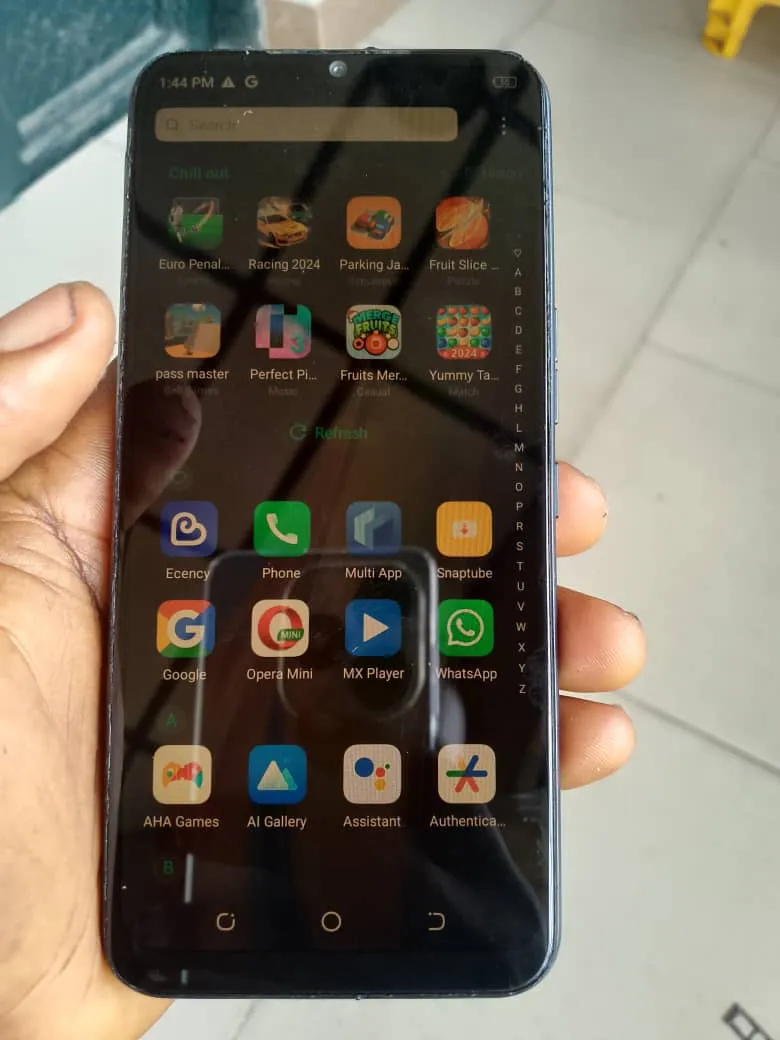
This phone you are seeing here is my phone, last week was our convention in church and during the process of working in the church, I mistakenly fell down my phone and the screen broke, so ask someone to take it to the engineer so that he can fix it for me, but the price He calls was too much. So I have to wait till after the convention so that I can work it myself since is something I can do very well.
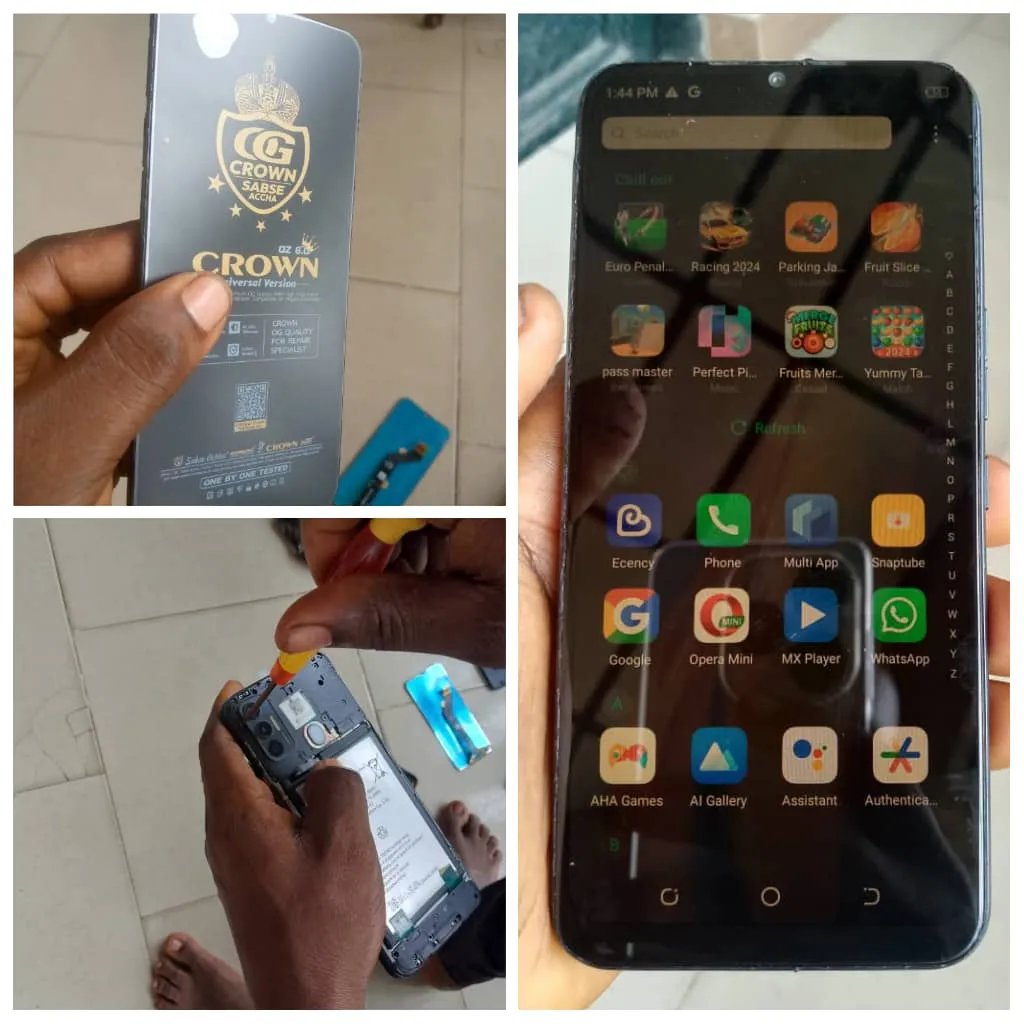
I visited where they sell phone accessories and got a new screen, and other things needed to work the phone successfully. I have worked the phone and it is working perfectly.
Material needed
- star screwdriver
- phone screen gum
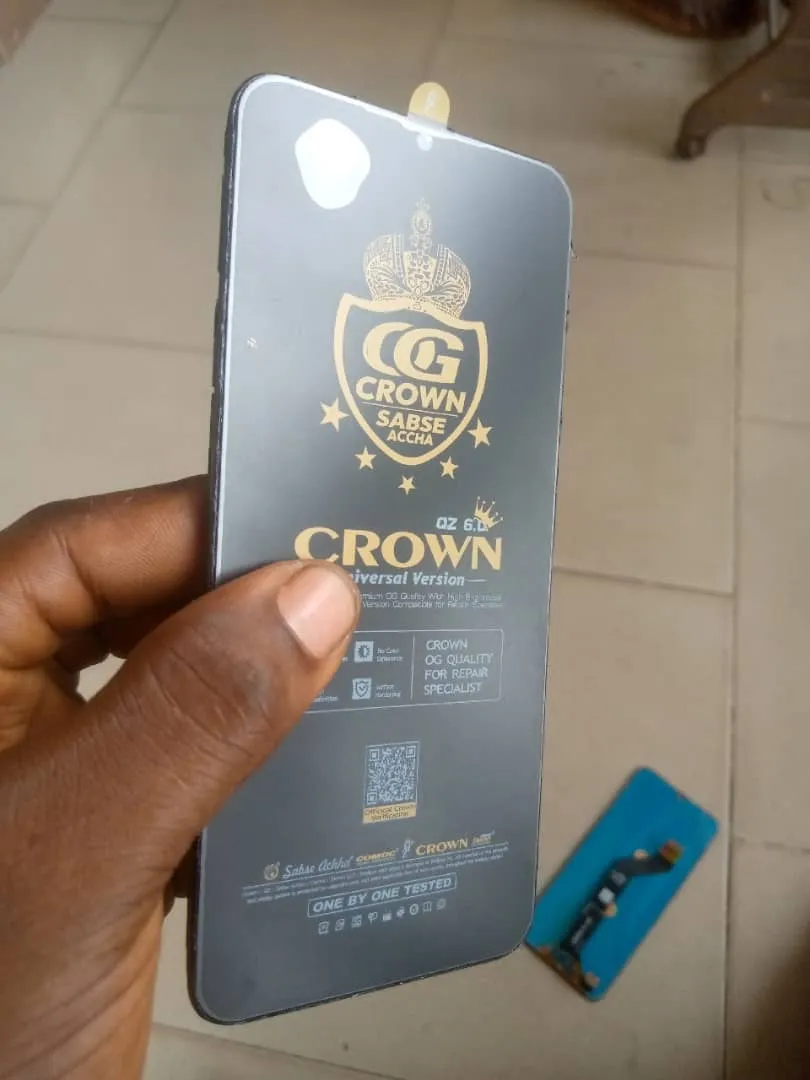
- new screen

Let's get down to work
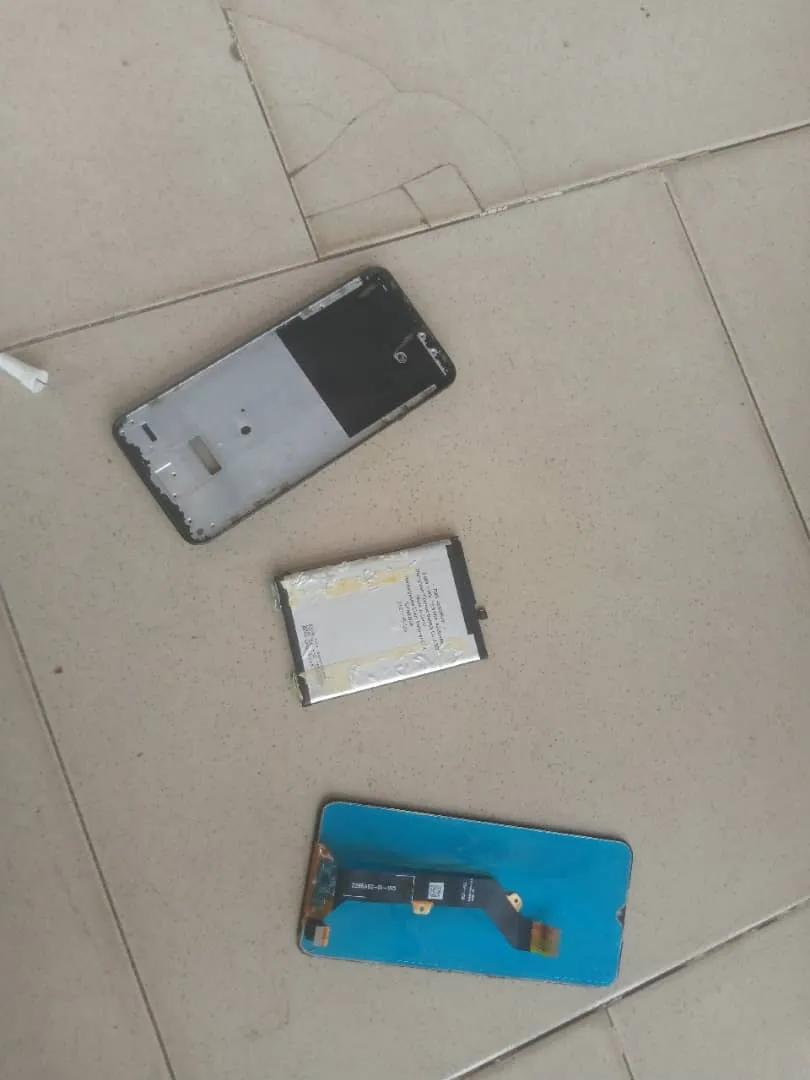
To proceed, with the help of a star screw, I loose the phone and remove the cover.
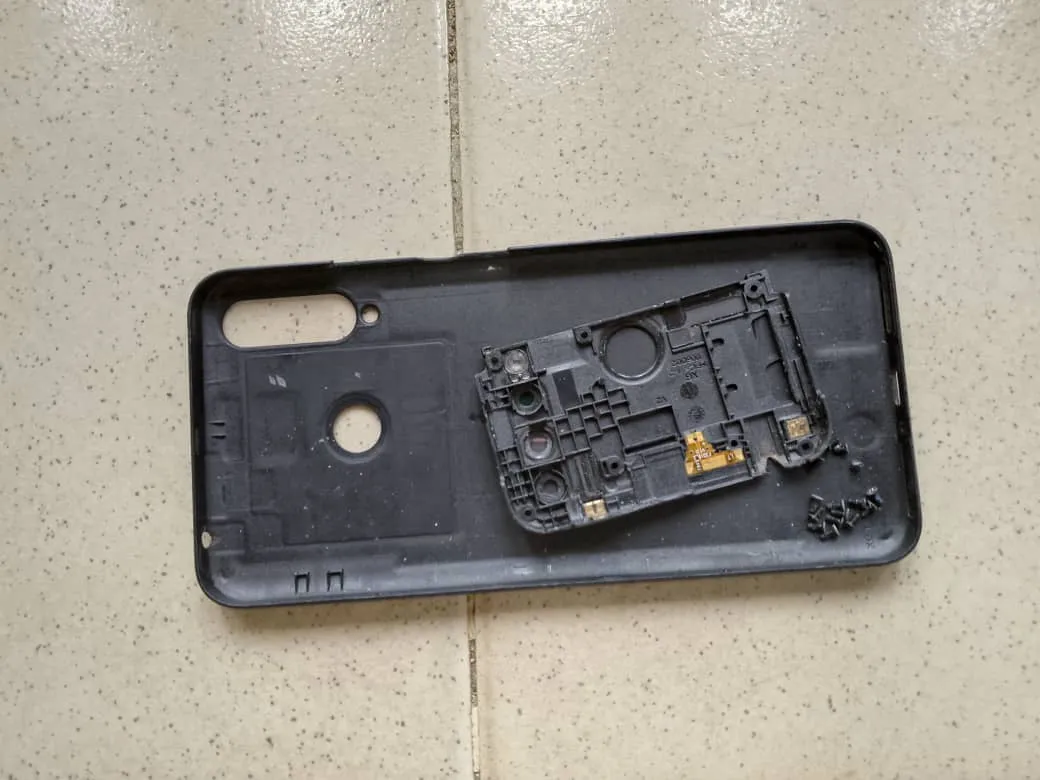
I then removed the old screen, and the battery so that I could replace the new screen.
The next thing I do after removing the old screen, I make sure the old gum in the screen is removed completely. I then apply gum where the screen will be gum to the phone. Note I only apply gum to the phone side where the phone screen will sleep on not on the new screen.
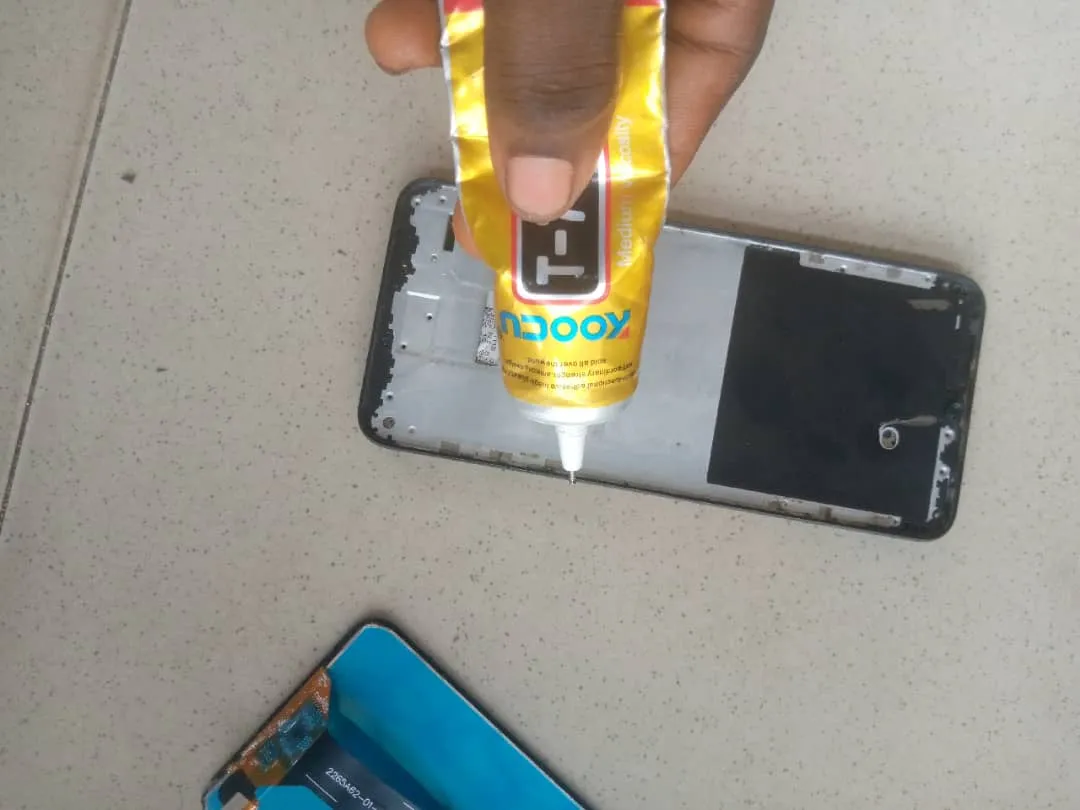
I waited for 5 minutes after applying the gum, I then passed the screen flex at a panel of the phone and carefully gum the screen the panel of the phone. I make sure the screen is level.
I then plugged the screen flex where he was supposed to be plugged.
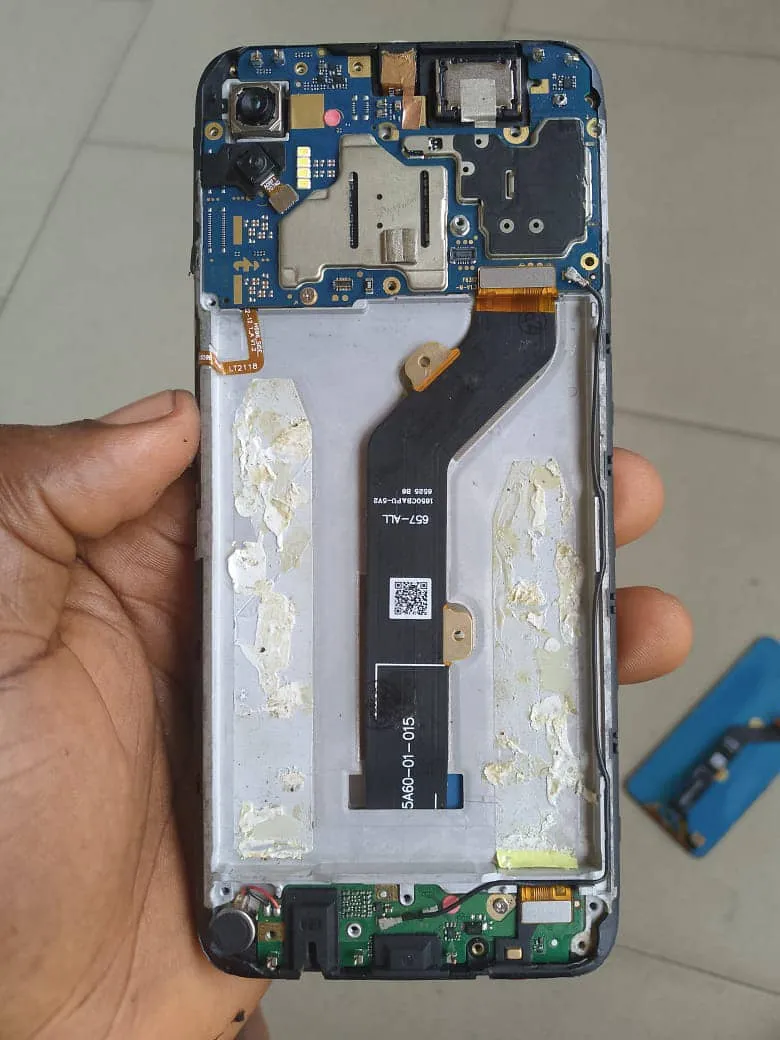
I then plug the battery into its position.

I then tight back the cover of the phone with the help of a star screwdriver.


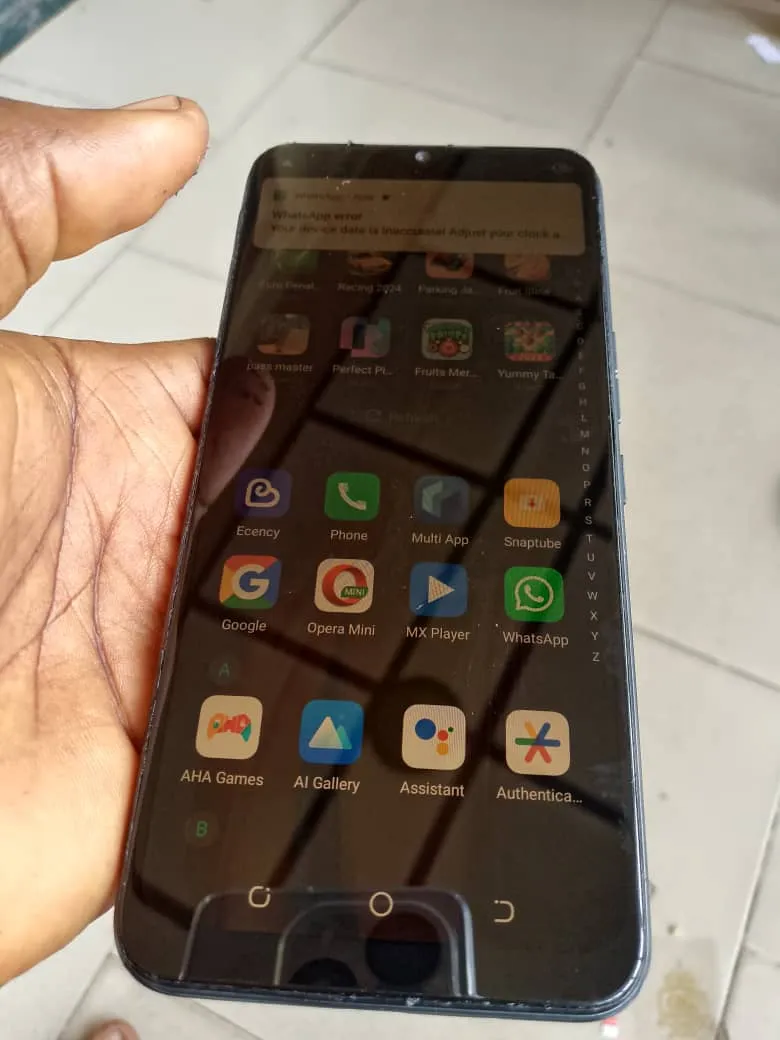
After everything, I am on the phone and the phone is on very well, I then remove the screen cover so that it can touch very well

I then insect the pattern of the phone for the phone to boost, and to God be the Glory everything works perfectly.
Going through the process, it is not simple enough to do it by yourself. Just give it a try and you will find it simple to do it
Thanks for your time.