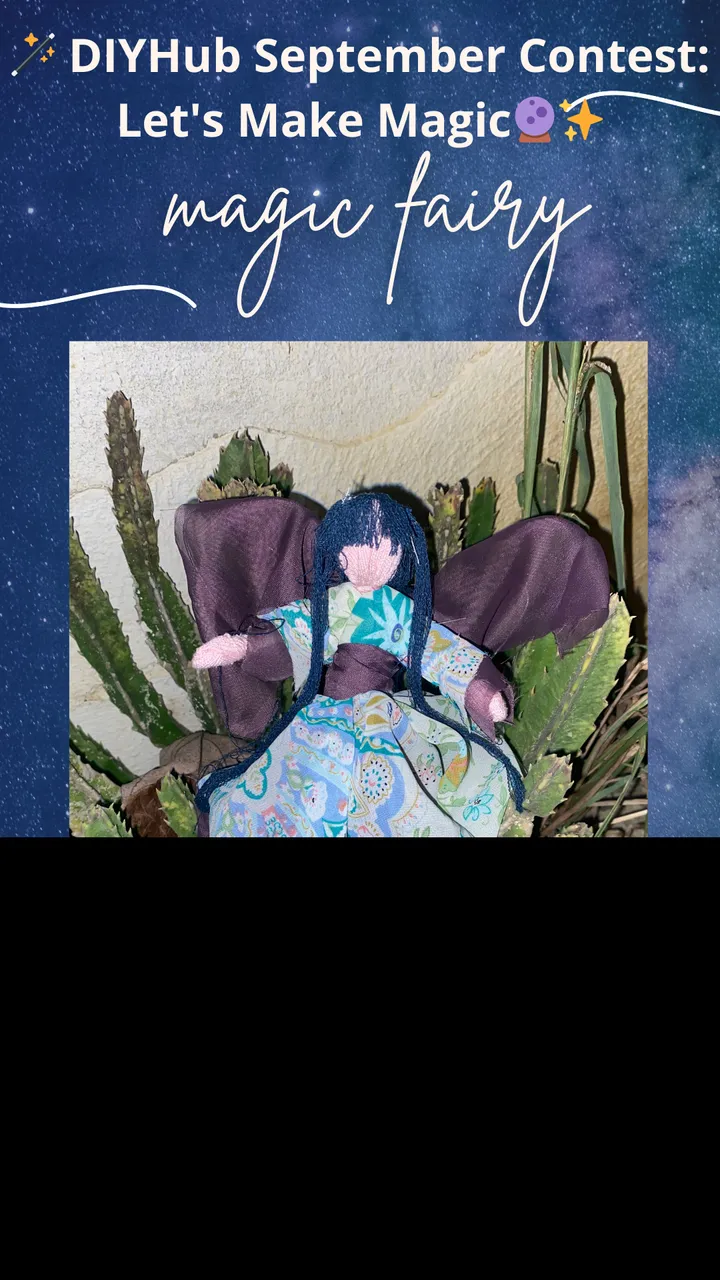
Greetings dear friends of DIYHUB, today I want to make my first participation in the September contest “🪄 DIYHub September Contest: Let's Make Magic🔮✨”
When I read the Contest guidelines, it came to mind to try to make a cute magical fairy, I love these types of characters, since they enclose that touch of fantasy that we once dreamed of, apart from the fact that they are very pretty and hide that magic that makes them achieve incredible things, it is a small comparison with all of us who do incredible craft work, this is why today I come to show you an idea to make a cute magical fairy 🪄
Saludos queridos amigos de DIYHUB, hoy quiero hacer mi primera participación en el concurso del mes de septiembre “🪄 DIYHub September Contest: Let's Make Magic🔮✨”
Cuando leí las pautas del Concurso se me vino a la mente intentar hacer una linda hada mágica, este tipo de personajes me encantan, ya que ellas encierran ese toque de fantasía que soñamos alguna vez, aparte de qué son muy lindas y esconden esa magia que las hace lograr cosas increíbles, es una pequeña comparación con todos los que realizamos increíbles trabajos de manualidades, es por esto que hoy vengo a mostrarles una idea para hacer una linda hada mágica 🪄
MATERIALS
MATERIALES
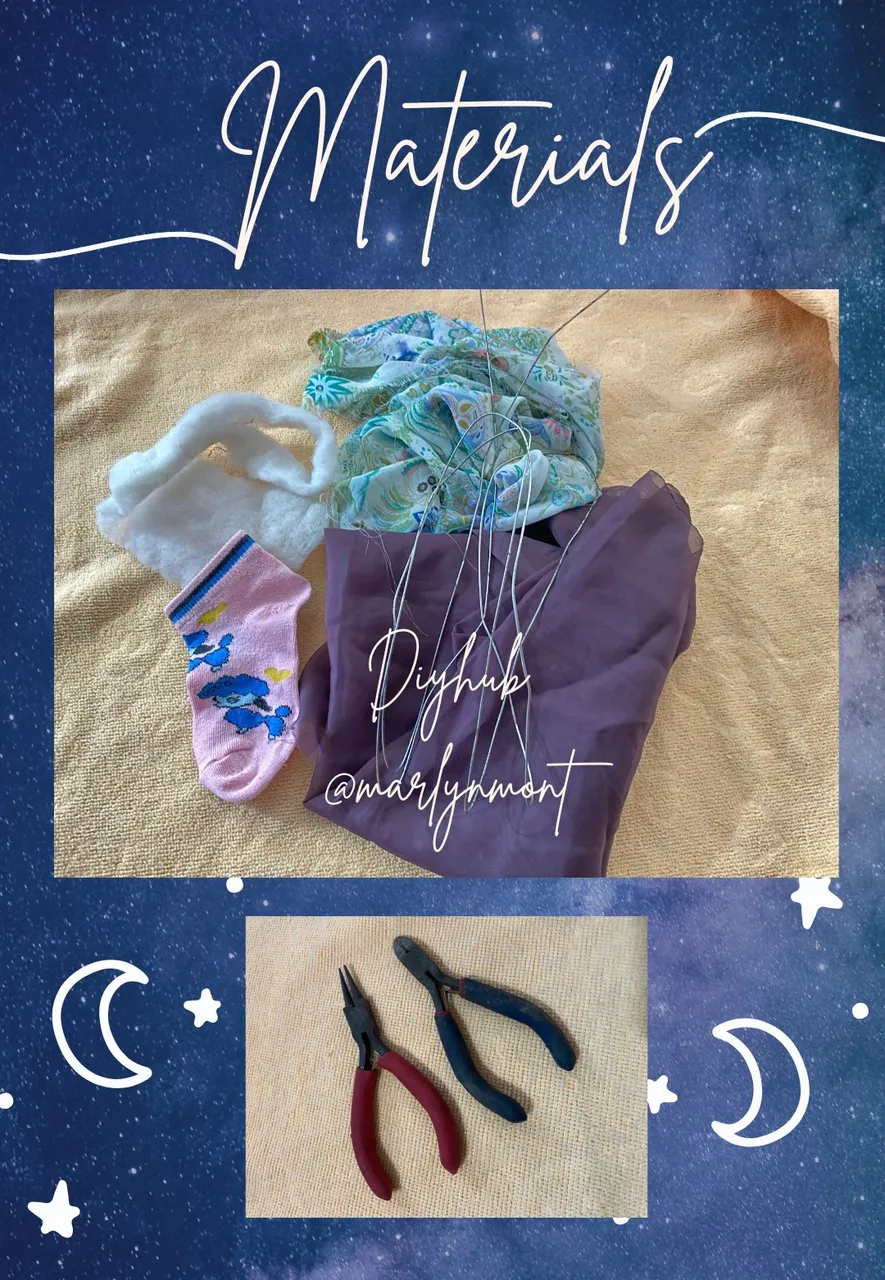
This cute magical fairy is very easy to make, we can get most of the materials at home, and the best thing of all is that you can make them only with recycled materials, here is the list of materials that I used:
- 1 m of wire
- scraps of fabric
- 1 stocking of those that we never get the pair 😂
- needle 🪡
- Thread 🧵
- pliers and tweezers
- scissors
- cotton or wadding
Esta linda hada mágica es muy sencilla de realizar, la gran mayoría de materiales los podemos conseguir en nuestro hogar, y lo mejor de todo es que los puedes hacer sólo con materiales de reciclaje, aquí te dejo la lista de materiales que utilicé:
- 1 m de alambre
- retazos de telas
- 1 media de esas que nunca les conseguimos el par 😂
- aguja 🪡
- Hilo 🧵
- tenaza y pinza
- tijeras
- algodón o guata
STEP BY STEP
PASO A PASO
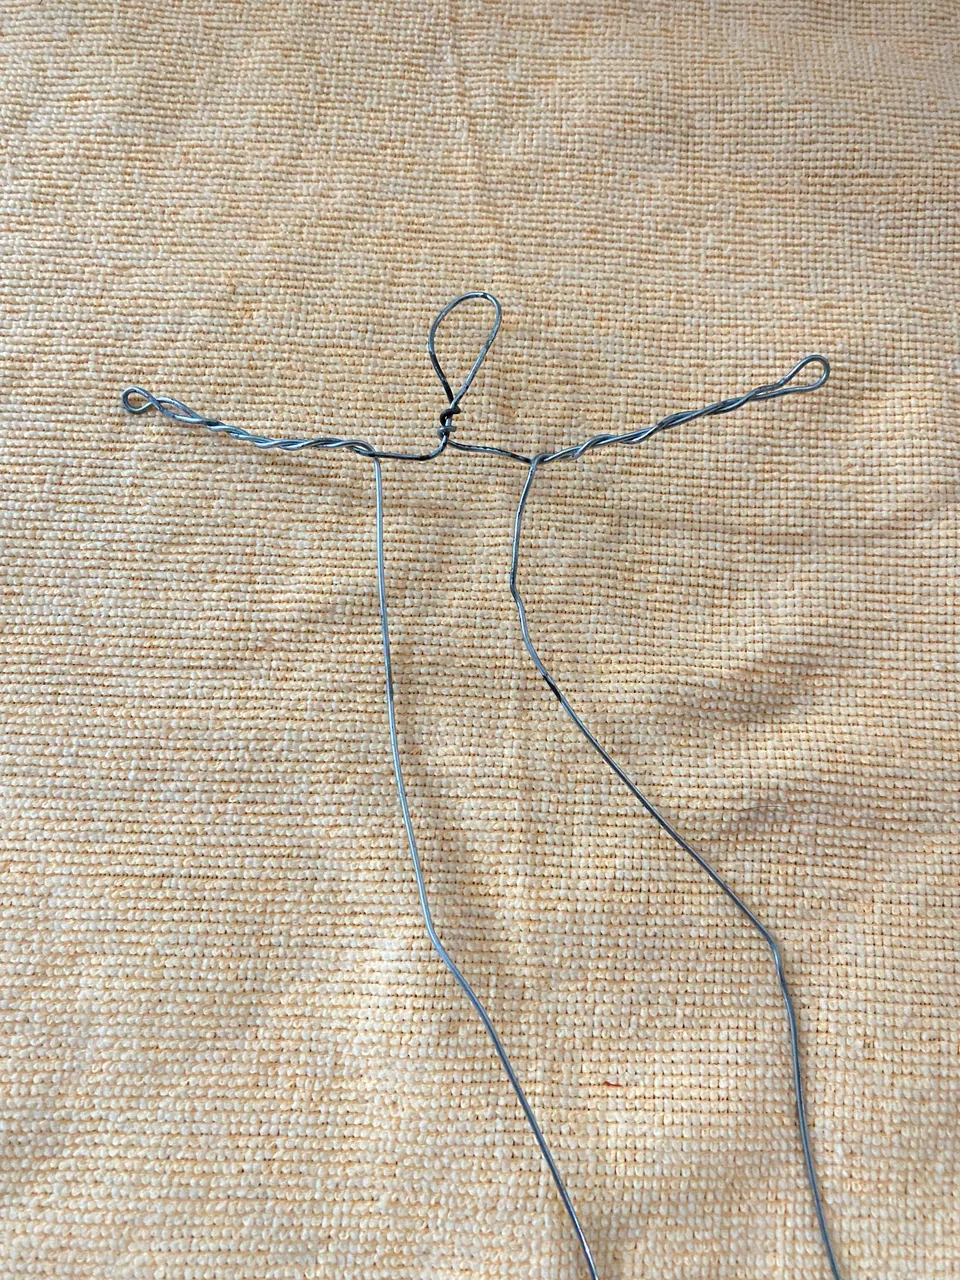
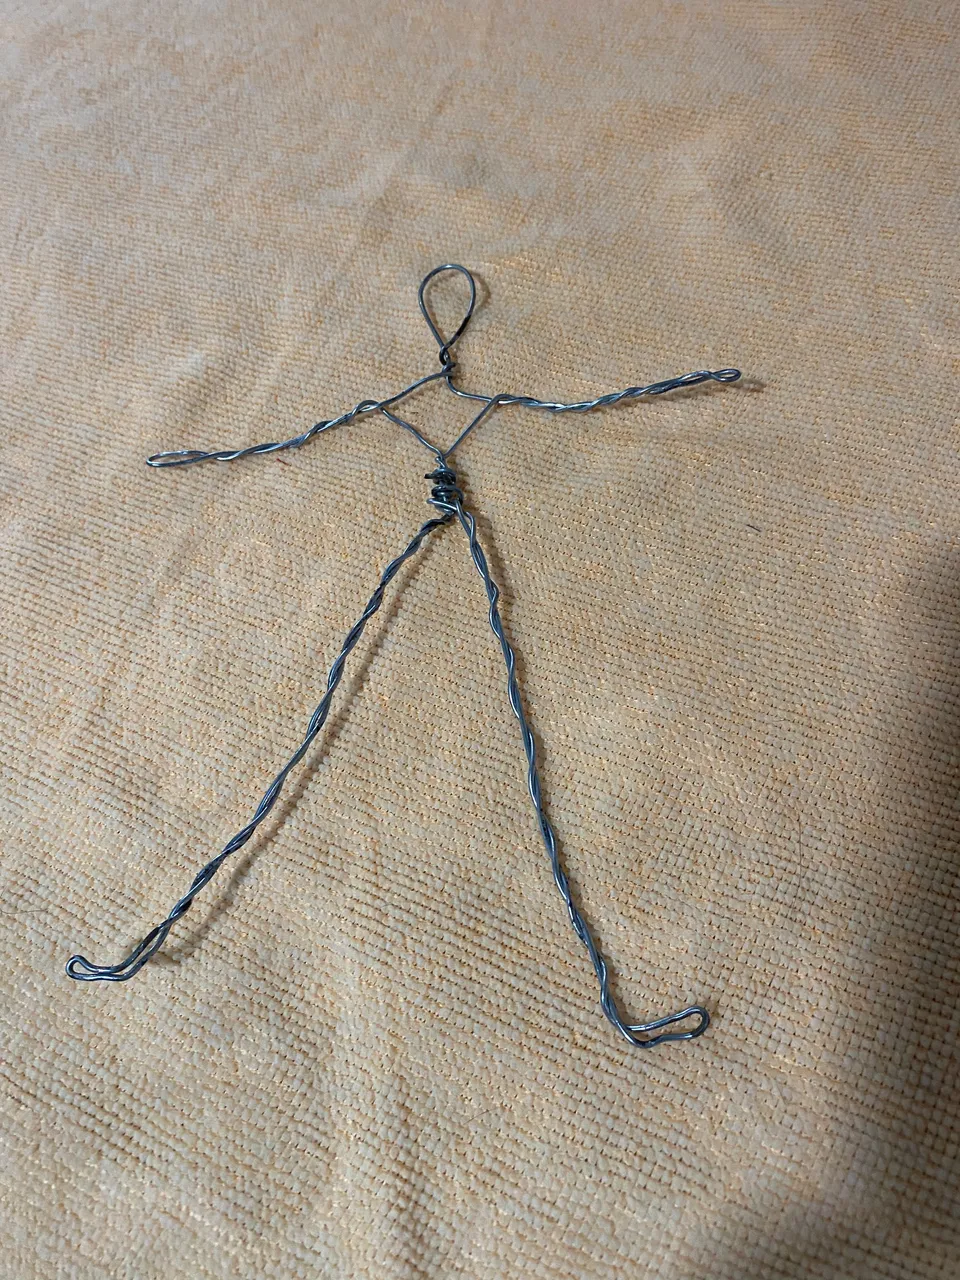
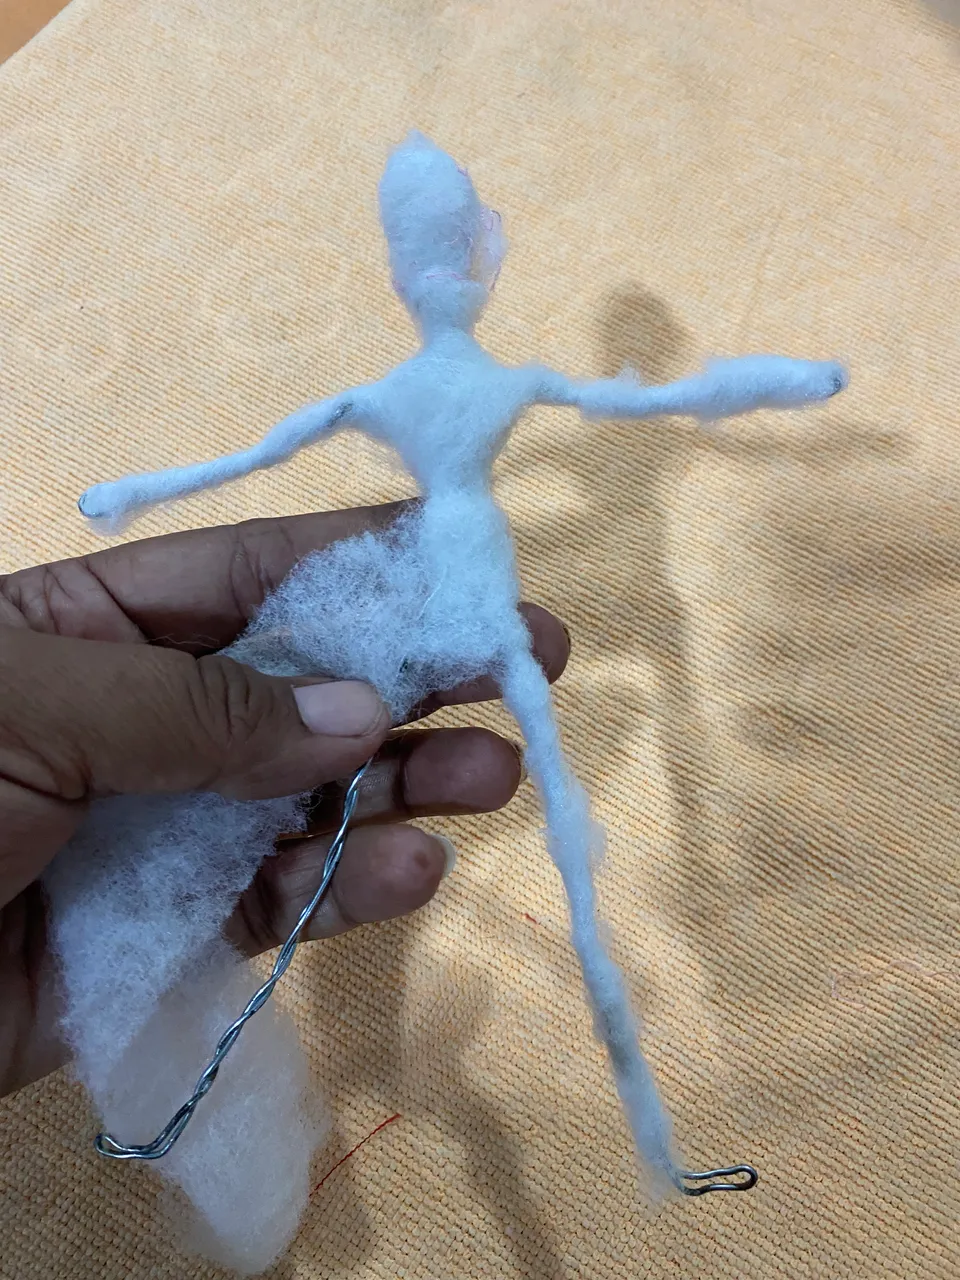
Our first step will be to make the doll figure with the wire, for this I will use approximately 1 meter of wire, bend it in half and begin to shape it, we make like an oval to shape what will be the head, we leave approximately 2.5 cm in the center to give shape to the trunk of the body of our doll, then we bend approximately 8 cm for the arms, we make the waist and then the legs that will be approximately 10 cm with the surplus of the wire we shape the feet and coil as far as it reaches us.
Nuestro primer paso será hacer la figura de muñeca con el alambre, para esto utilizaré aproximadamente 1 metro de alambre, dóblanos a la mitad y comenzamos a darle forma, hacemos como un óvalo pata darle forma a lo que será la cabeza, dejamos un aproximado de 2, 5 cm en el centro para que le de forma al tronco del cuerpo de nuestra muñeca , luego doblamos aproximadamente a 8 cm para los brazos, hacemos la cintura y luego las piernas que serán de aproximadamente 10 cm con el excedente de la alambre le damos forma a los pies y enroscamos hasta donde nos llegue
 |  |
|---|---|
 |
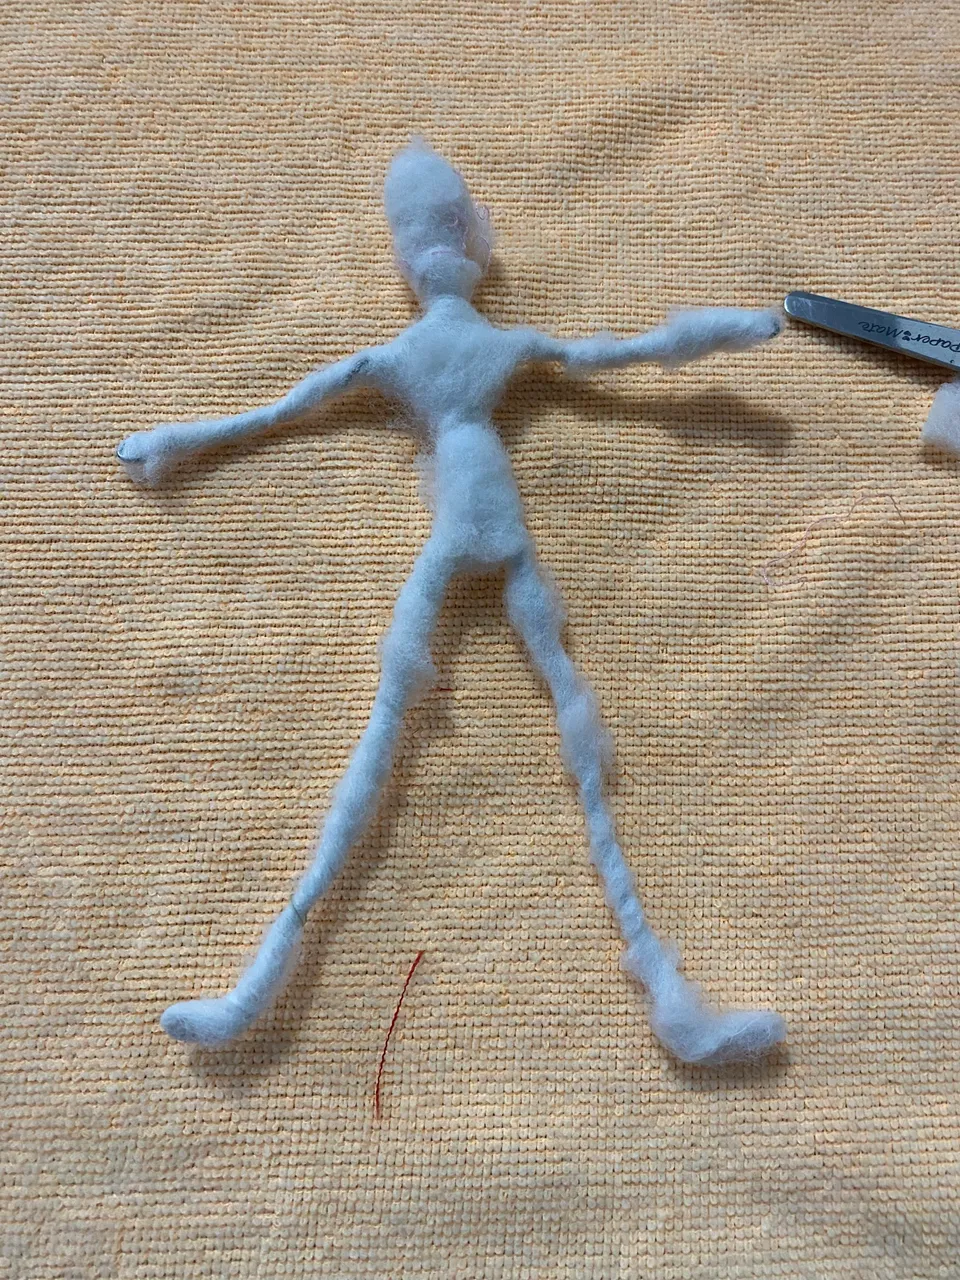
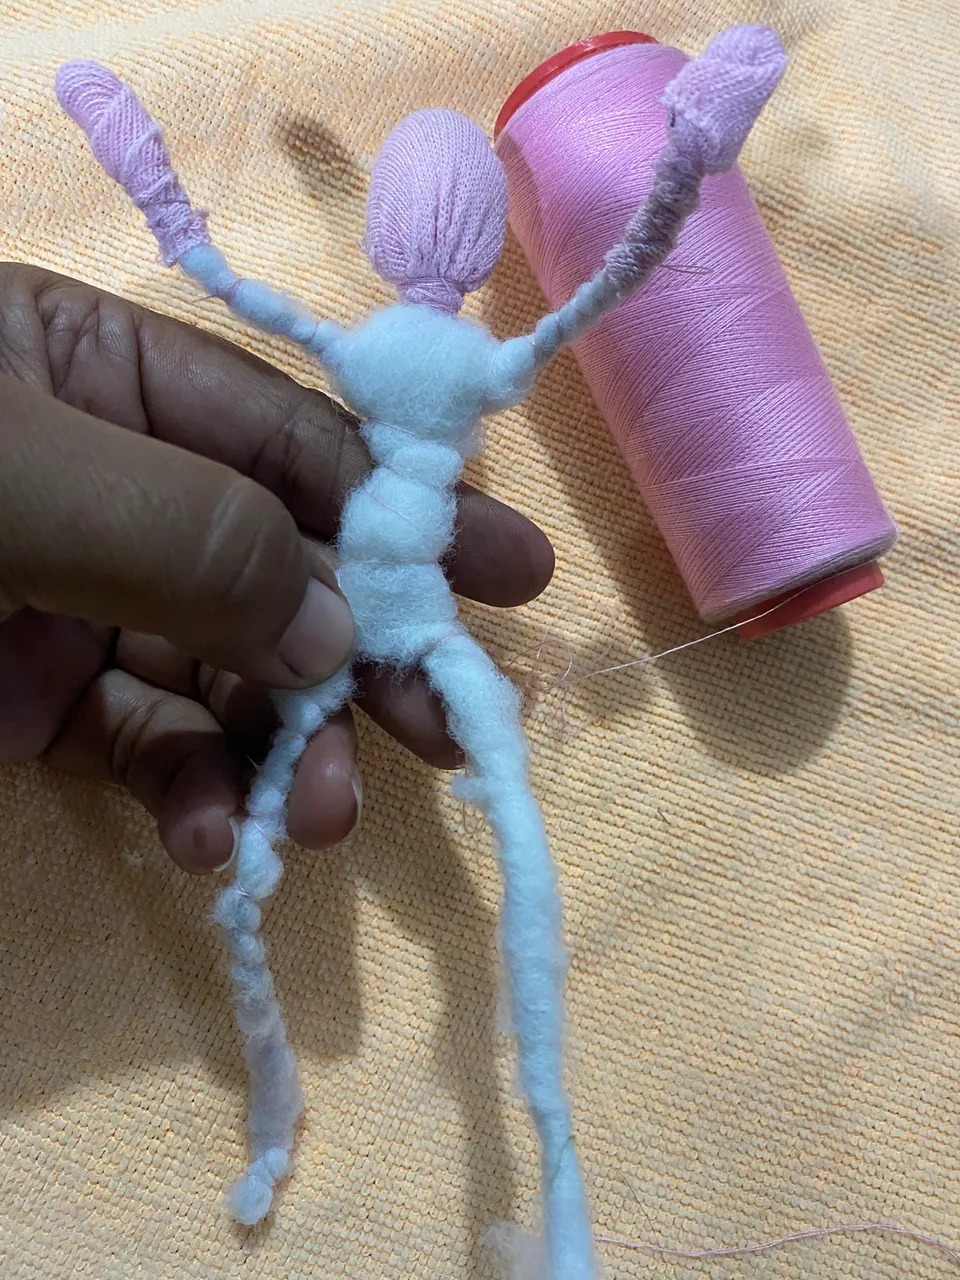
For the next step we will cover the wire with cotton or wadding, then we will secure it with sewing thread all around it.
Para el siguiente paso vamos a forrar el alambre con algodón o guata, luego lo fijamos enrollándole por todo el alrededor hilo de coser
 |  |
|---|
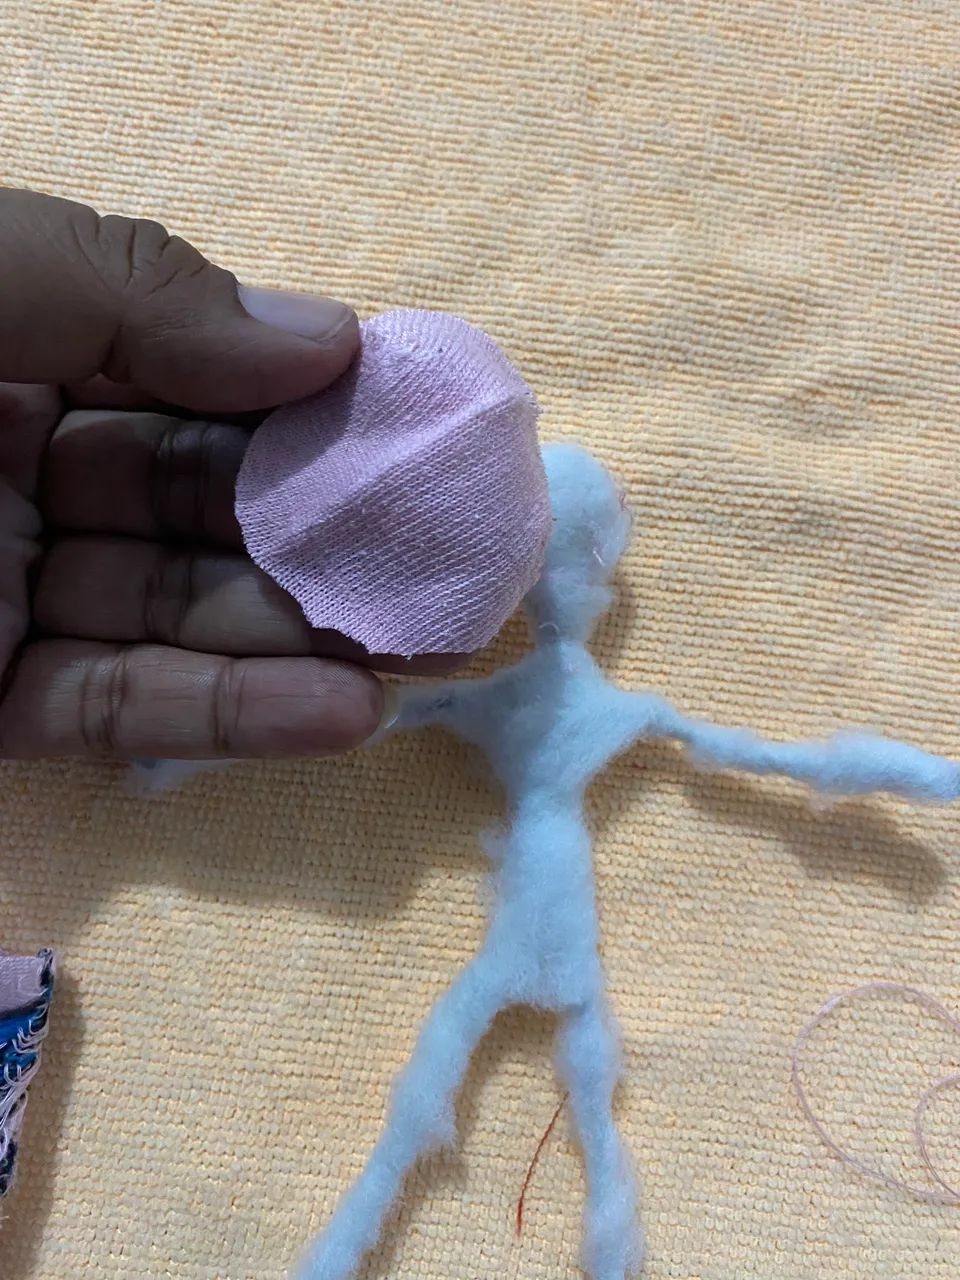
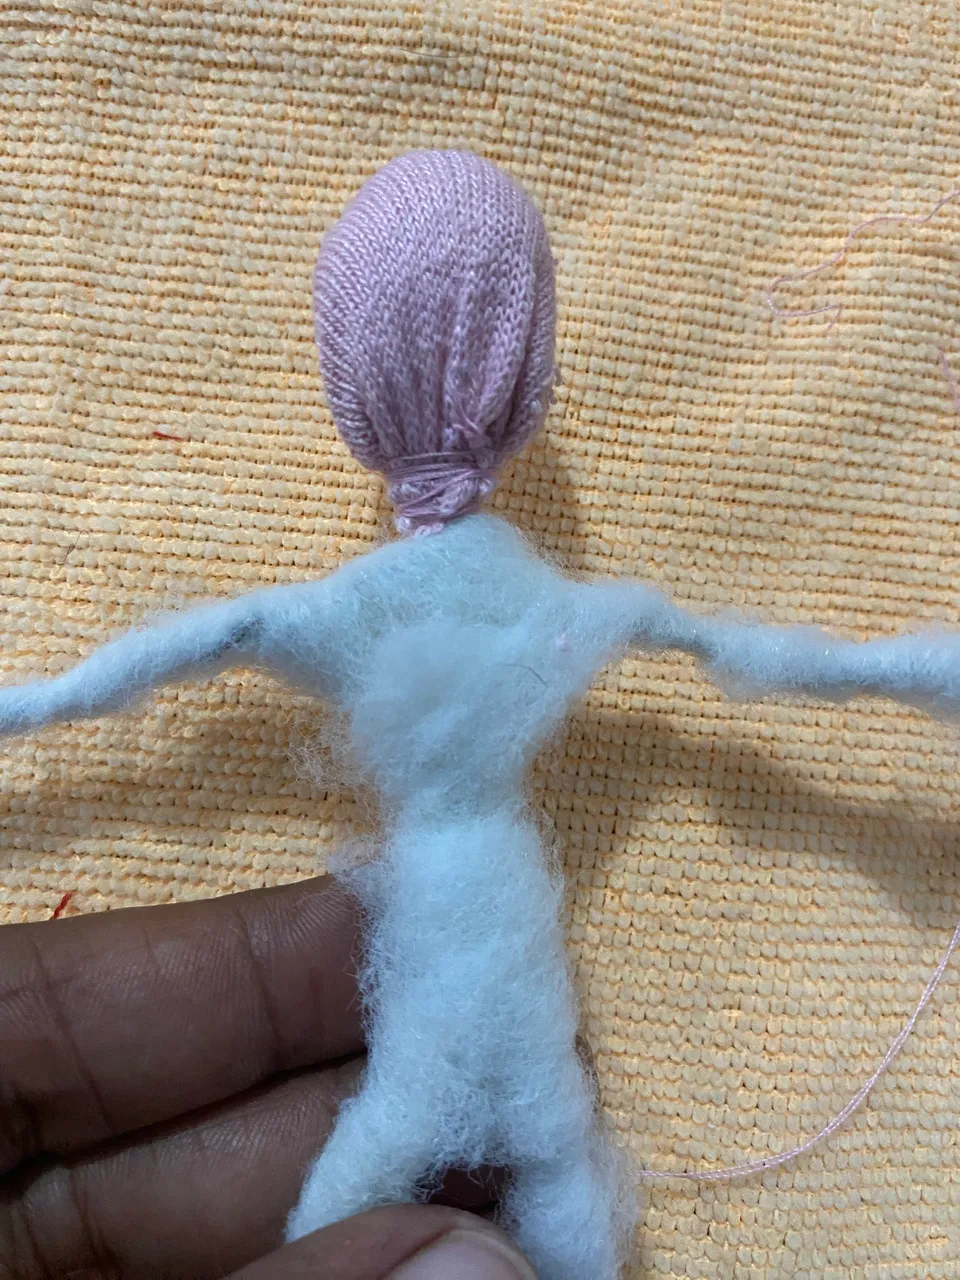
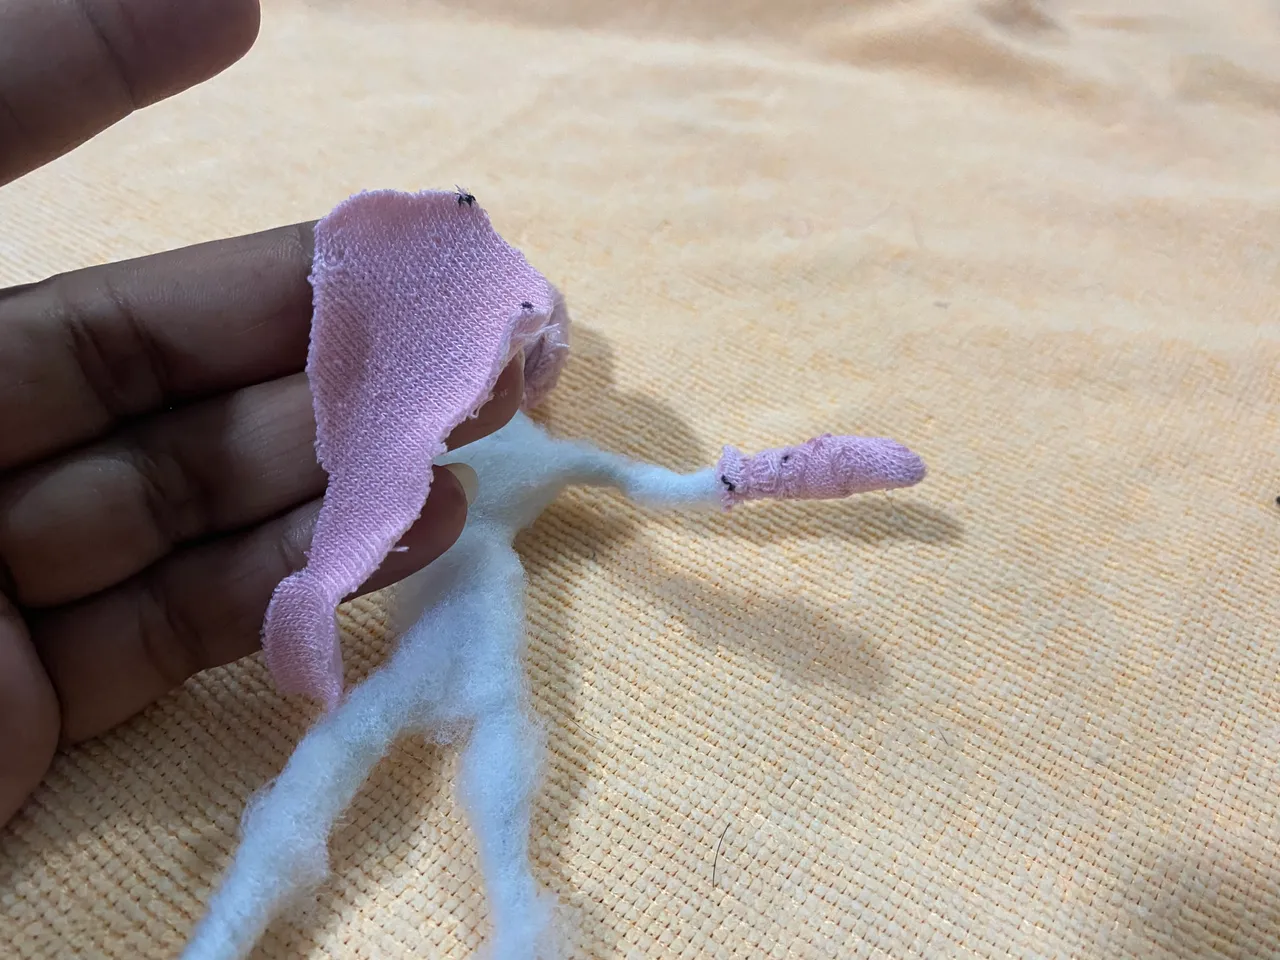
With a stocking I'm going to cut a wheel to make the lining for the head, I'll also put it on the hands. We attach them to our doll by hand sewing.
Con una media voy a cortar una rueda para hacerle el forro a la cabecita, también le pondré en las manos, Las fijamos a nuestra muñeca pasándole una costura a mano.
 |  |
|---|---|
 |  |
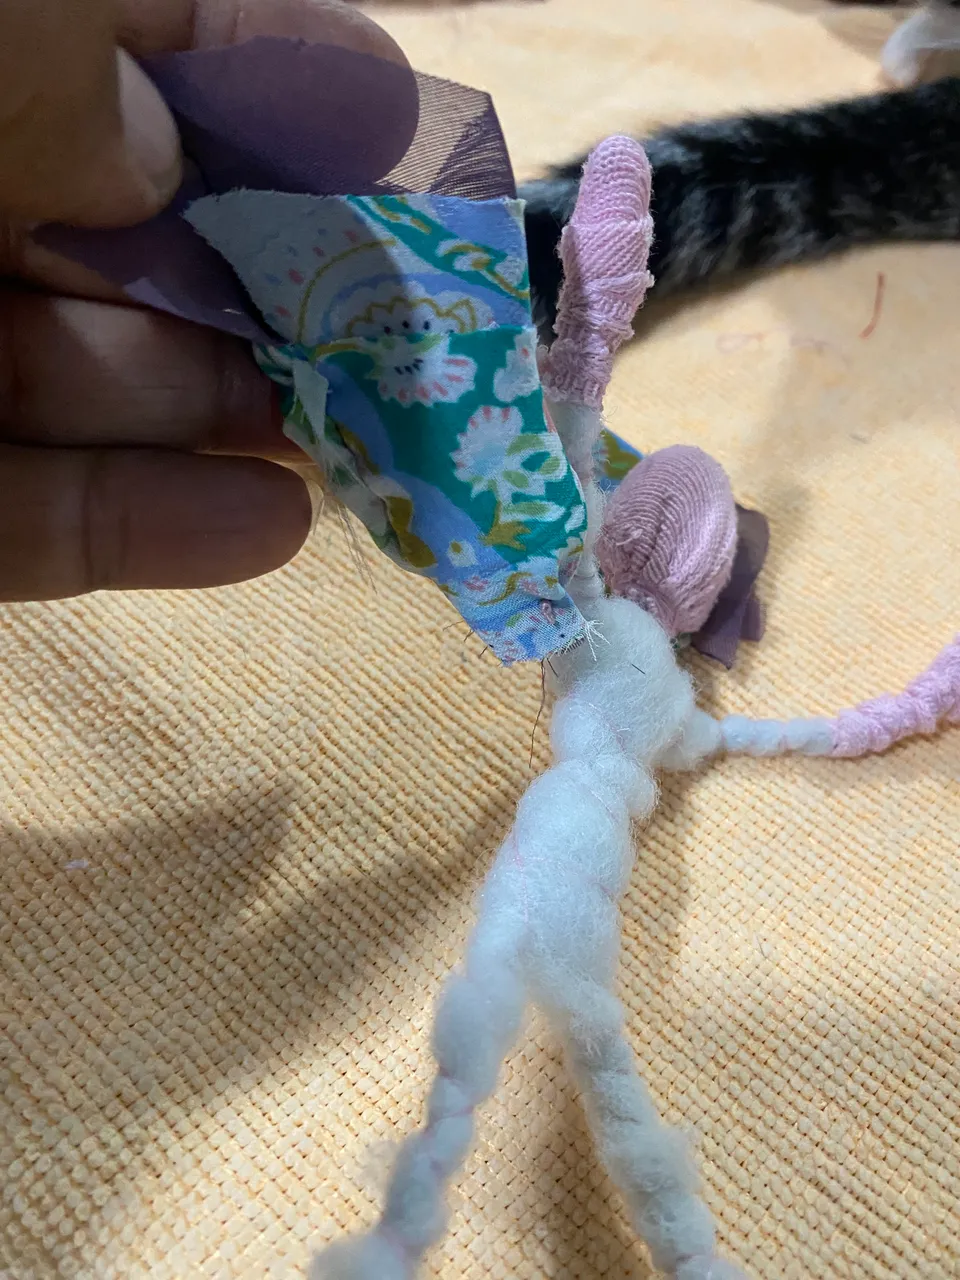
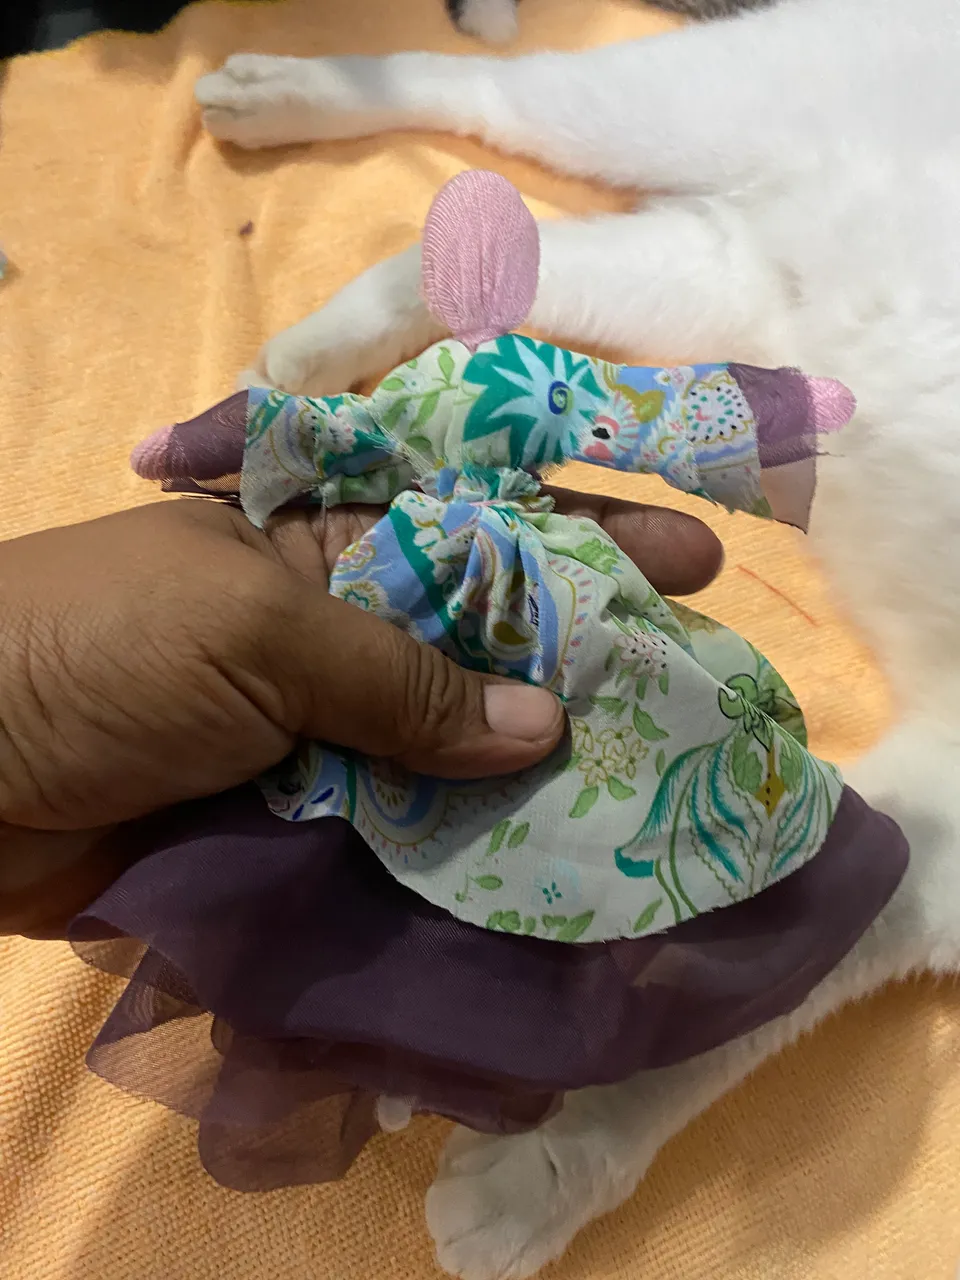
For the next step we are going to make the dress, I cut several scraps from the printed one and the single color one and joined them together making the sleeves, then I cut some scraps and passed them through the doll's torso up to the waist and tied them with thread, for the skirt I made two circles, one with a print smaller than the second, with single-color fabric, I sewed these to my doll's waist.
Para el siguiente paso vamos a confeccionarle el vestido, corté varios retazos desde el estampada y te la único color y los uní haciéndole las mangas, luego corté unos retazos y se los pasé por el tronco de la muñeca hasta la cintura y amarre con hilo, para la falda hice dos círculos Uno con estampada más pequeño que el segundo con tela Unicolor estos se los cosí a la cintura de mi muñeca.
 |  |
|---|
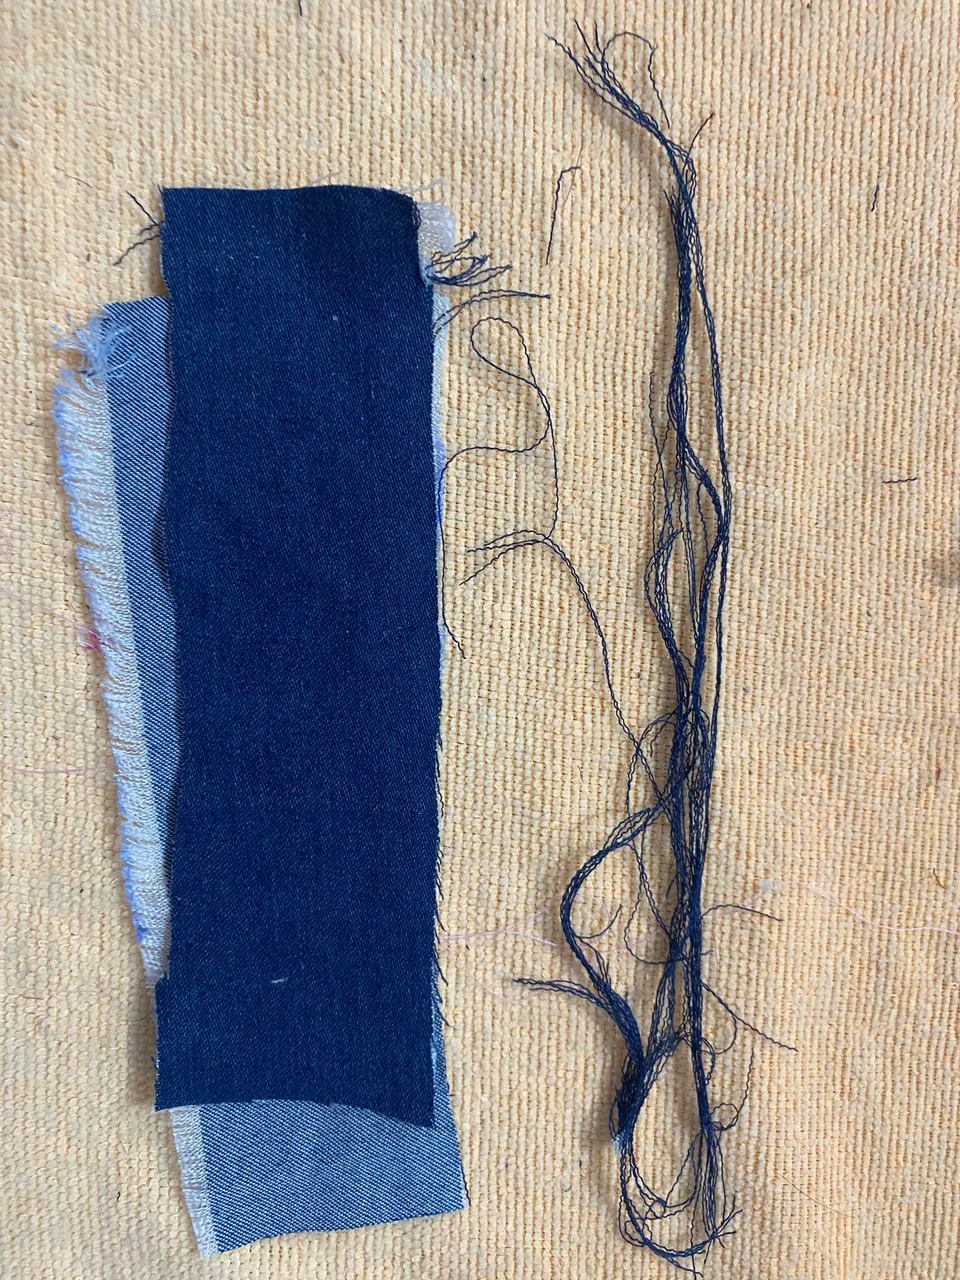
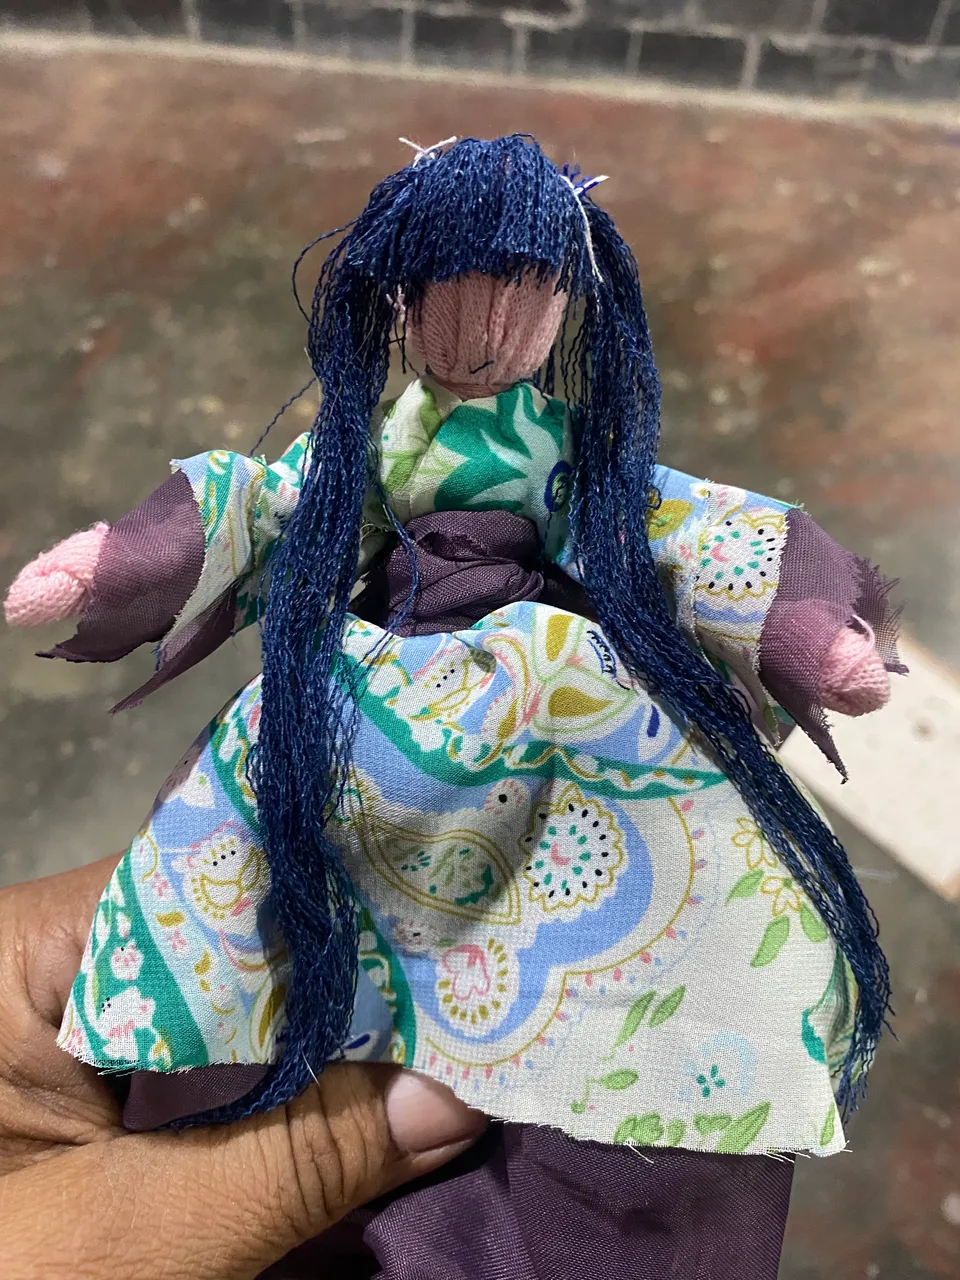
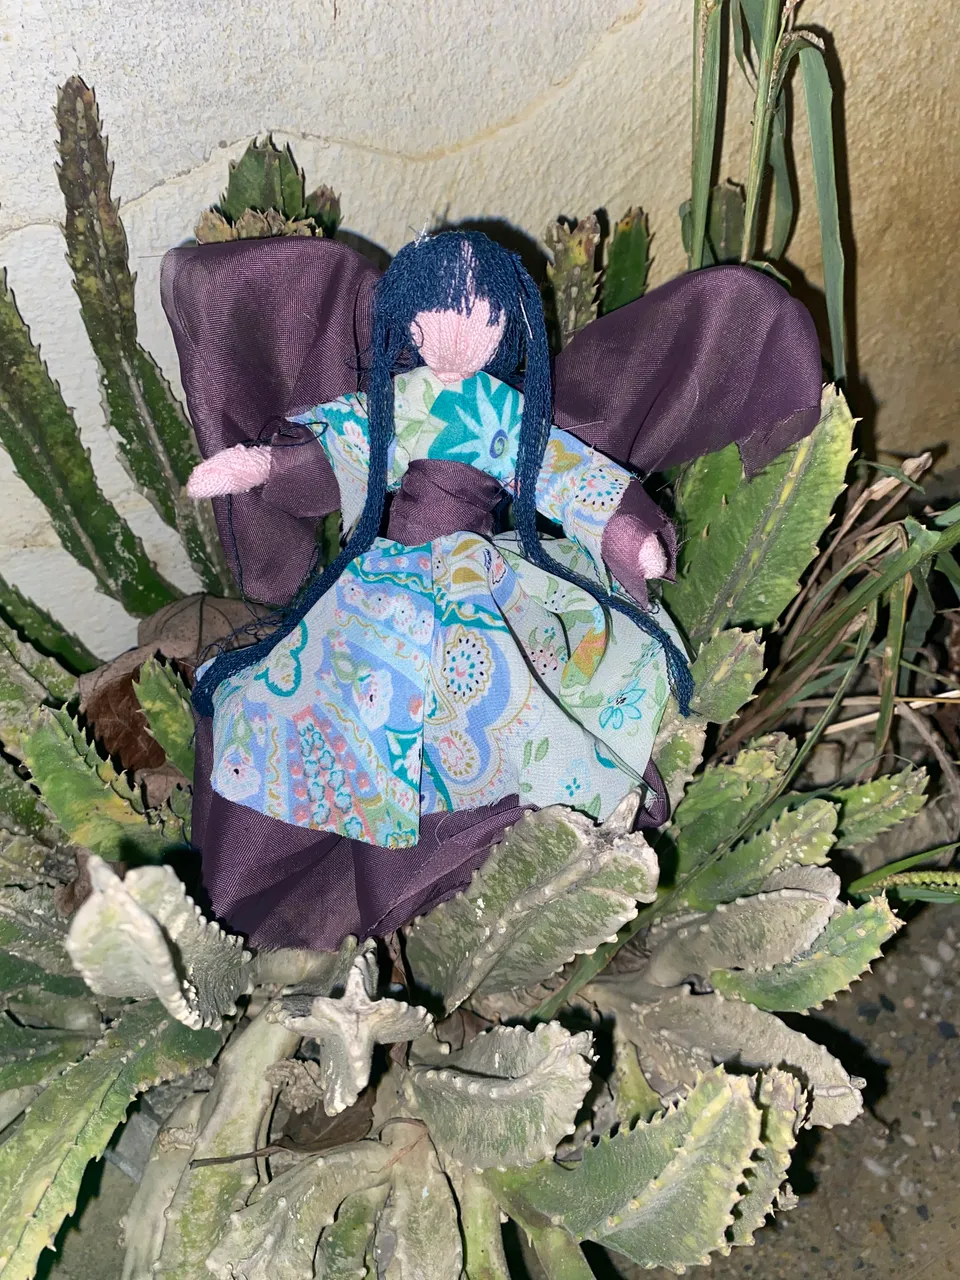
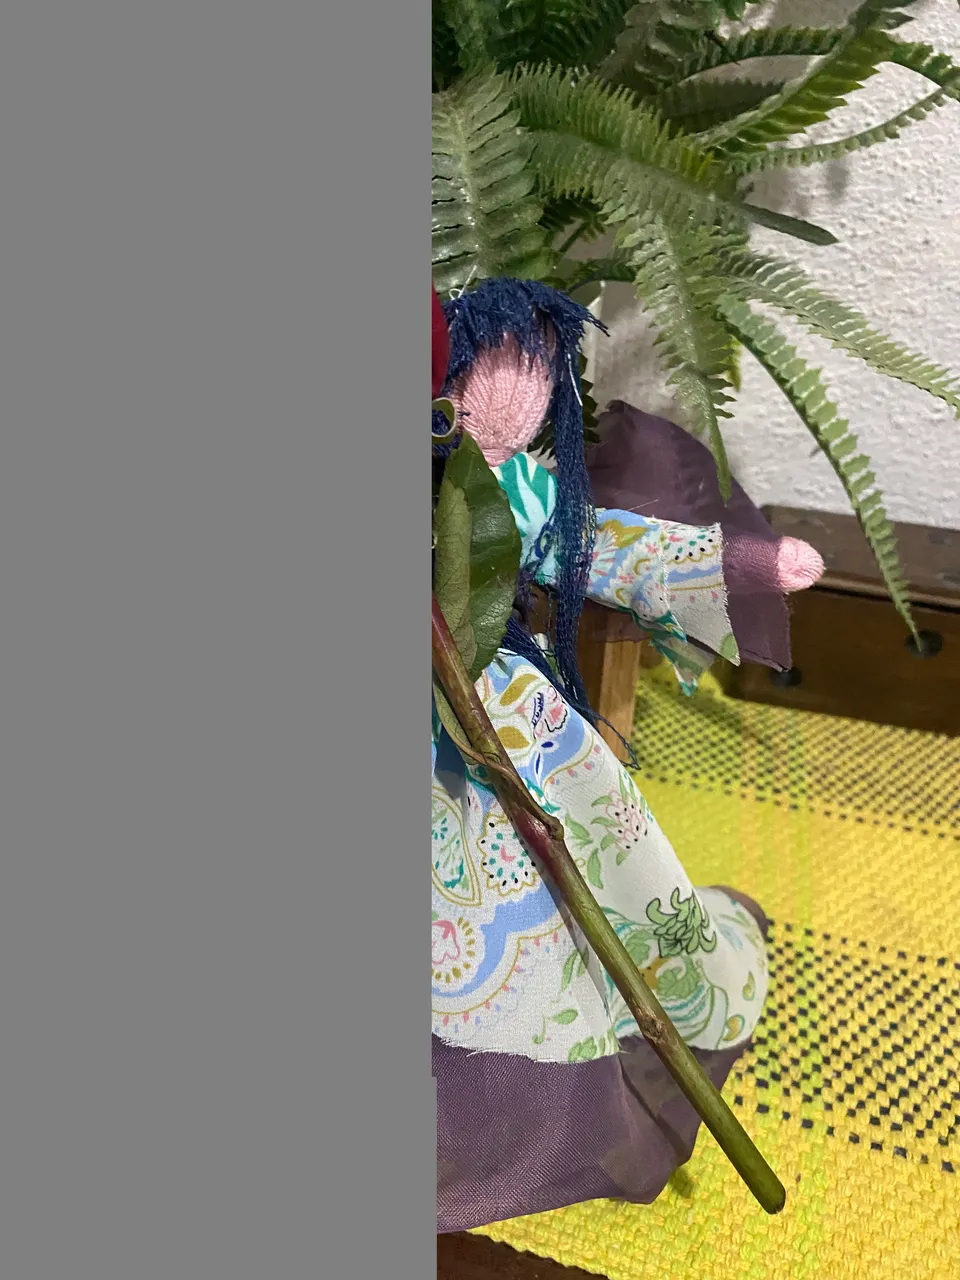
Now we will do the detail of the wings, I passed a wire around the waist of about 20cm and cut a long strip in unicolor fabric, I tied it to the waist and passed it through the wire to simulate the wings of this magical fairy, for the hair I took some threads from a scrap of jean fabric, then I hand sewed it to the doll's head, I trimmed the bangs and this cute magical fairy was ready, here I show you the final result
Ahora haremos el detalle de las alas, pasé un alambre en la cintura de unos 20cm y corté una tira larga en tela Unicolor, se la amarre a la cintura y la pasé por el alambre para simular las alas de esta hada mágica, para el cabello saqué algunos hilos de un retazo de tela de Jean, luego cosi a mano a la cabeza de la muñeca, le recorté el flequillo y así quedó lista esta linda hada mágica, aquí les muestro el resultado final
 |  |
|---|---|
 |  |
I hope you liked this idea to make a cute magical fairy, that's all for today, I say goodbye wishing you many successes and blessings, until another opportunity
Espero les haya gustado esta idea para hacer una linda hada mágica, es todo por hoy, me despido deseándoles muchos éxitos y bendiciones, hasta otra oportunidad
Las fotos aquí compartidas son de mi propiedad tomadas con mi teléfono iPhone 11, la edición fue hecha en Canva