¡Saludos Comunidad Creativa! | ¡Greetings Creative Community!
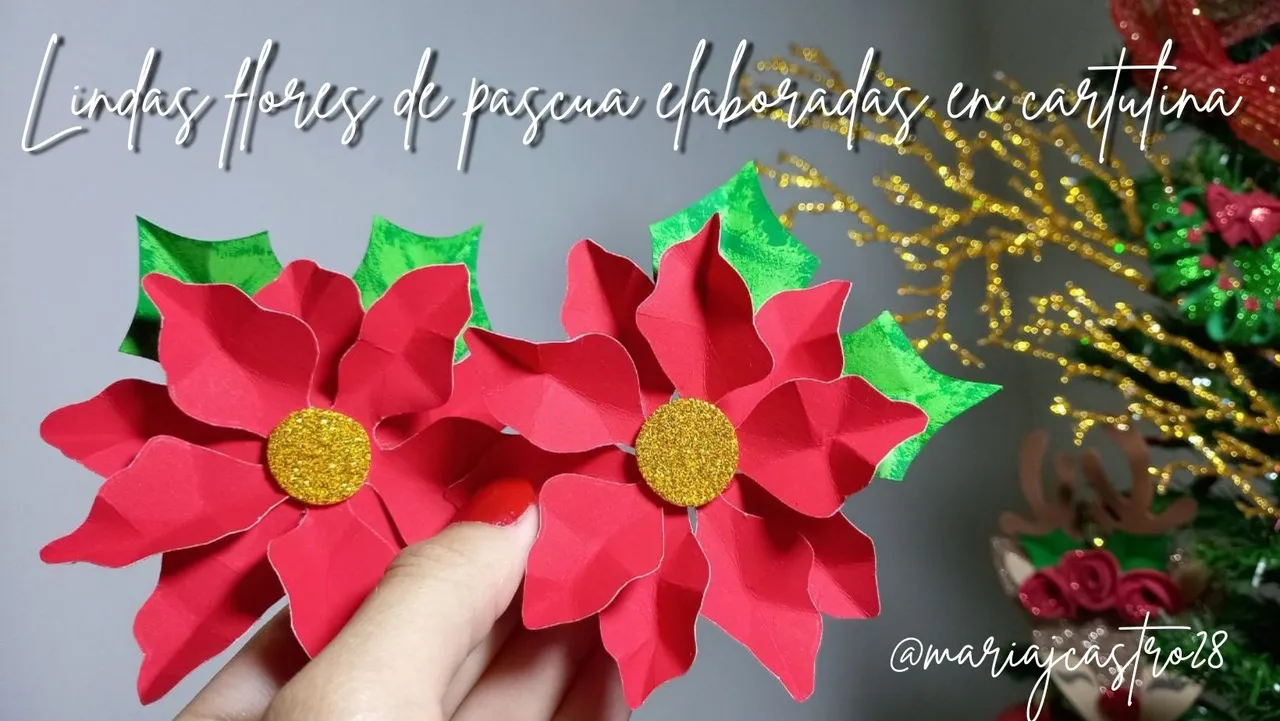
¡Bonito día! Espero que se encuentren muy bien, hoy en el Día del Espíritu de la Navidad les quiero compartir un tutorial de una manualidad navideña muy linda, se trata de unas flores de pascua elaboradas en cartulina, muy fáciles de hacer e ideales para decorar tanto el arbolito así como también complementar decoraciones, espero que les guste, sin más, ¡vamos a crear!
¡Nice day! I hope you are very well, today on Christmas Spirit Day I want to share a tutorial of a very cute Christmas craft, it is about poinsettias made of cardboard, very easy to make and ideal for decorate both the tree as well as complement decorations, I hope you like it, without further ado, ¡let's create!

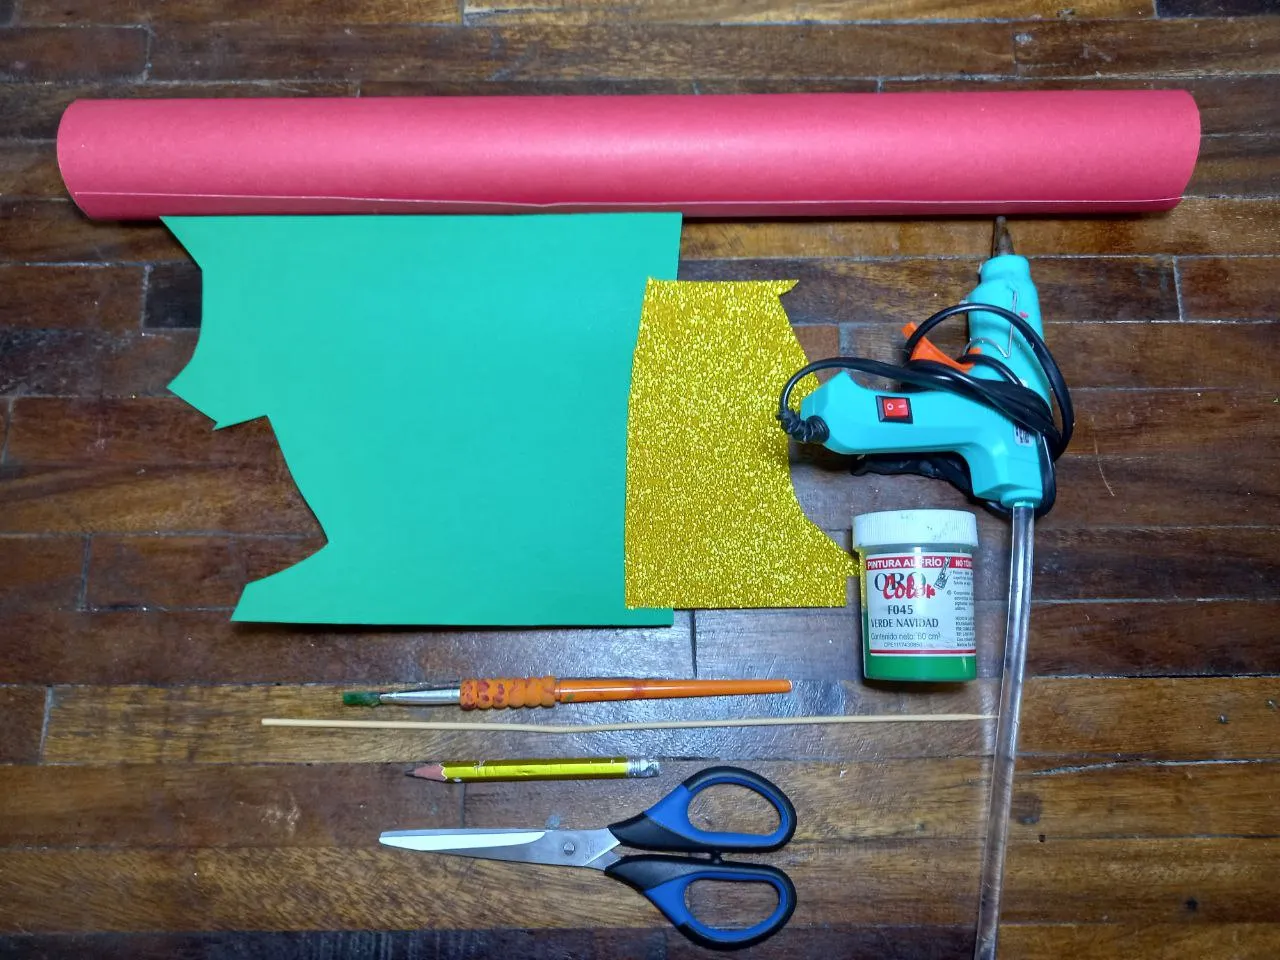
🍁 Foami escarchado dorado.
🍁 Pintura verde.
🍁 Silicón caliente.
🍁 Palito de altura.
🍁 Hoja de papel.
🍁 Tijera.
🍁 Pincel.
🍁 Lápiz.
🍁 Golden frosty foami.
🍁 Green paint.
🍁 Hot silicone.
🍁 Height stick.
🍁 Sheet of paper.
🍁 Scissors.
🍁 Brush.
🍁 Pencil.

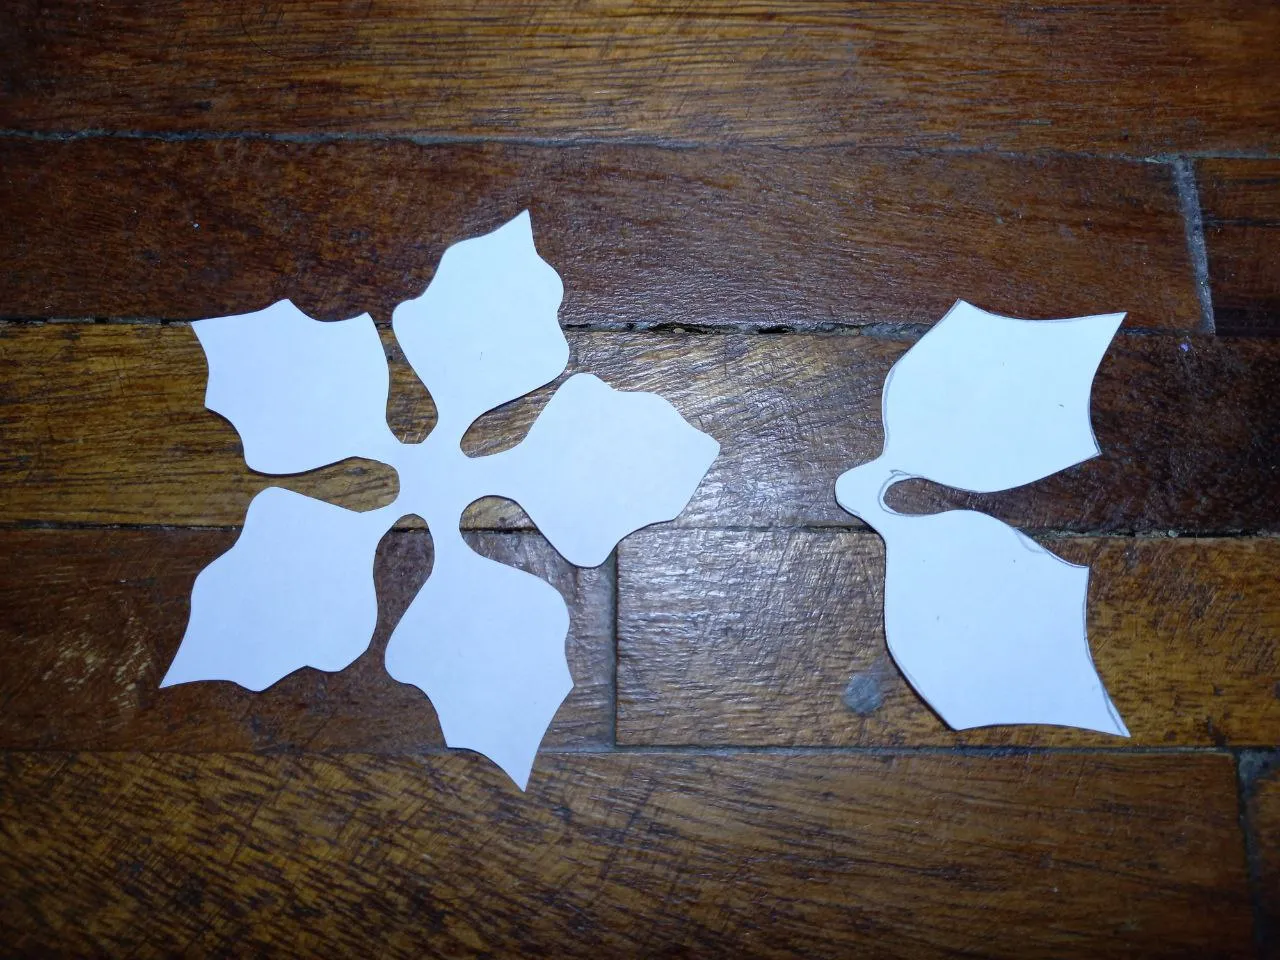
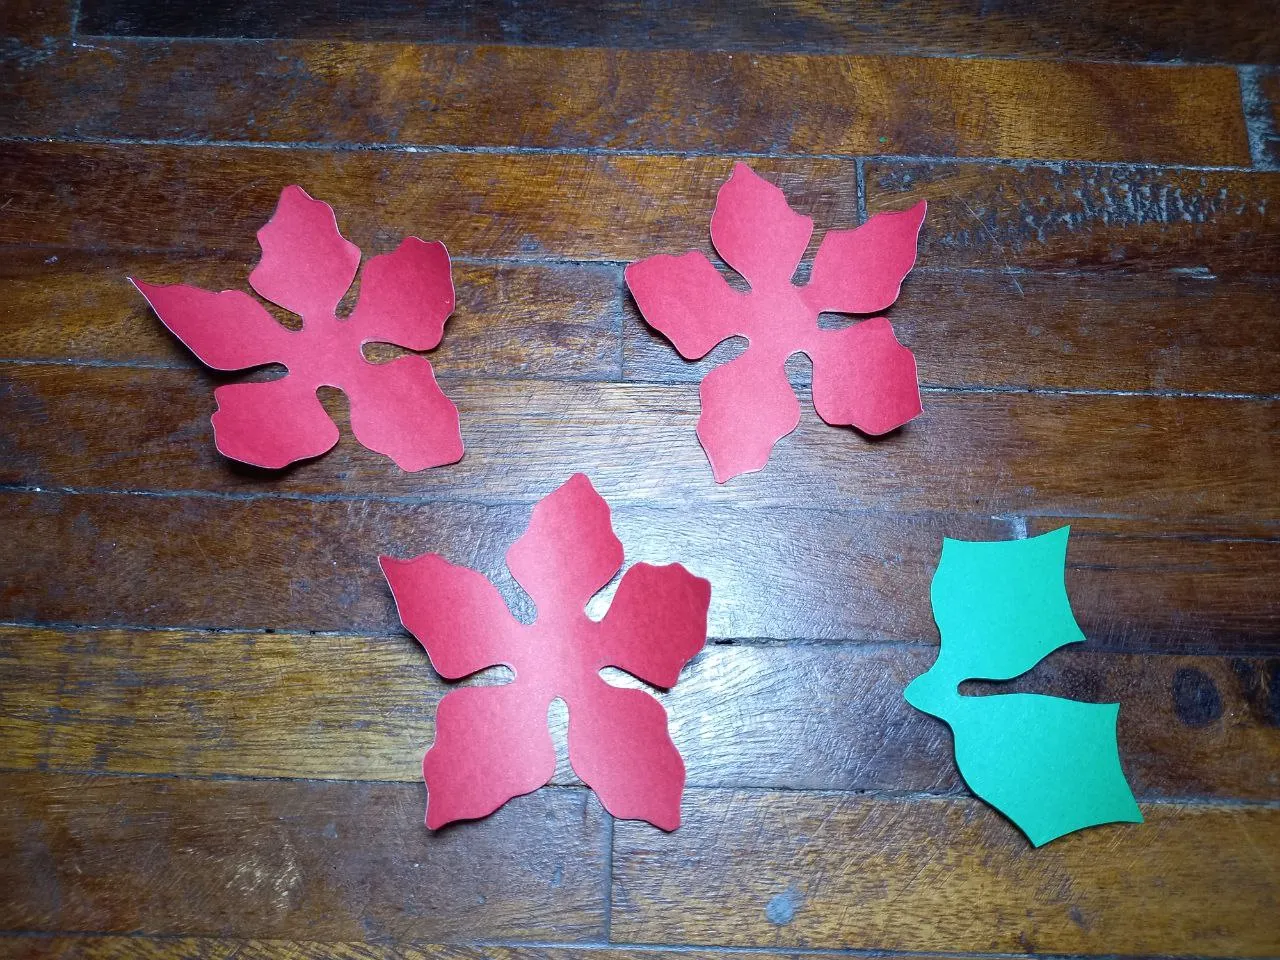
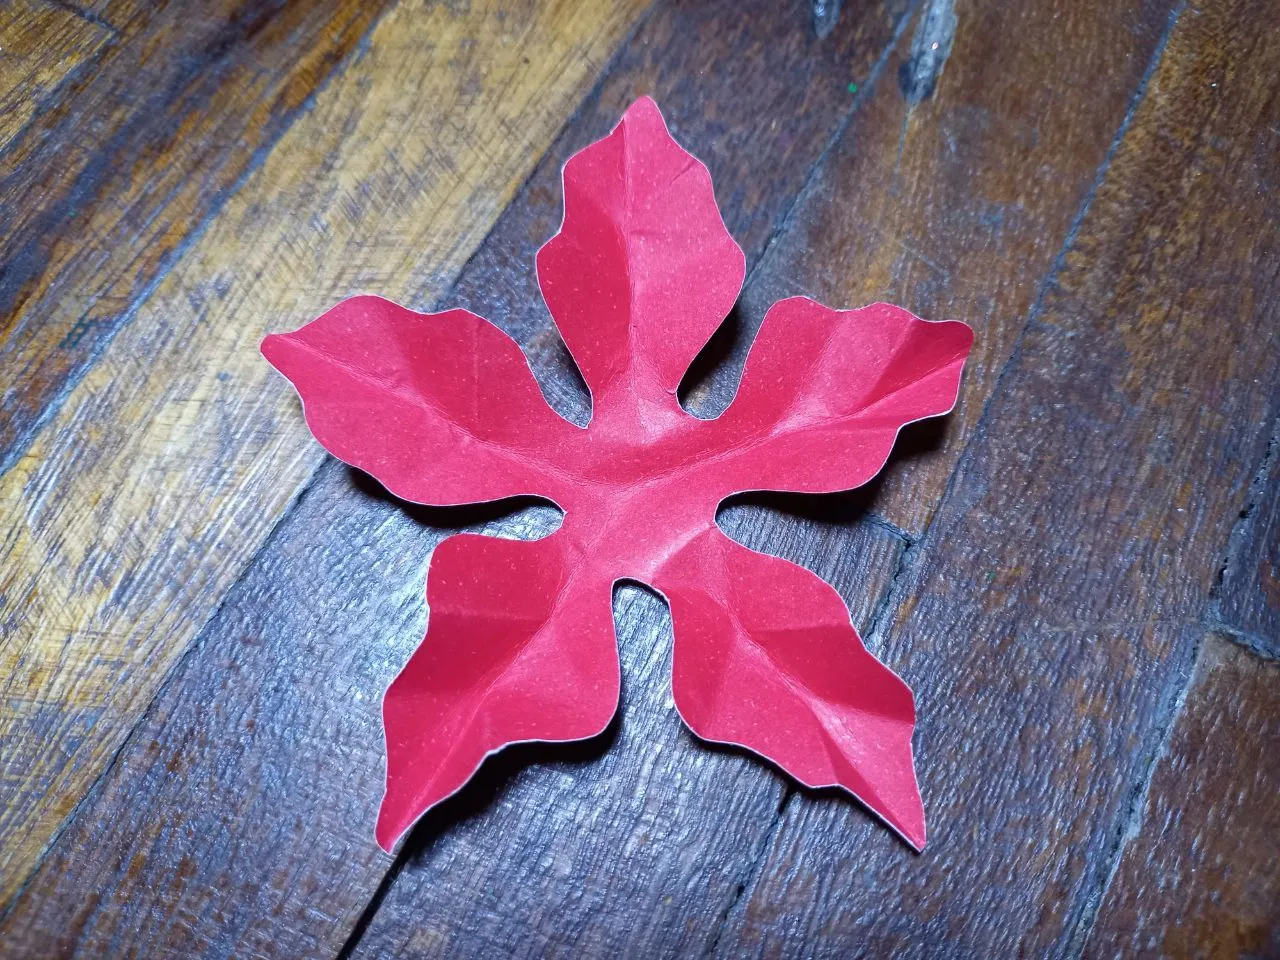
🍁 PASO 1. En la hoja de papel haremos la forma típica de la flor de pascua y las hojas, estos serán nuestros patrones, luego los transferimos a la cartulina, las hojas en verde y la flor en rojo, para cada flor necesitaremos 3 piezas de 5 pétalos aunque también pueden hacerse con 2, luego recortamos.
🍁 STEP 1. On the sheet of paper we will make the typical shape of the poinsettia flower and the leaves, these will be our patterns, then we transfer them to the cardboard, the leaves in green and the flower in red, for each flower we will need 3 pieces of 5 petals although they can also be made with 2, then we cut.

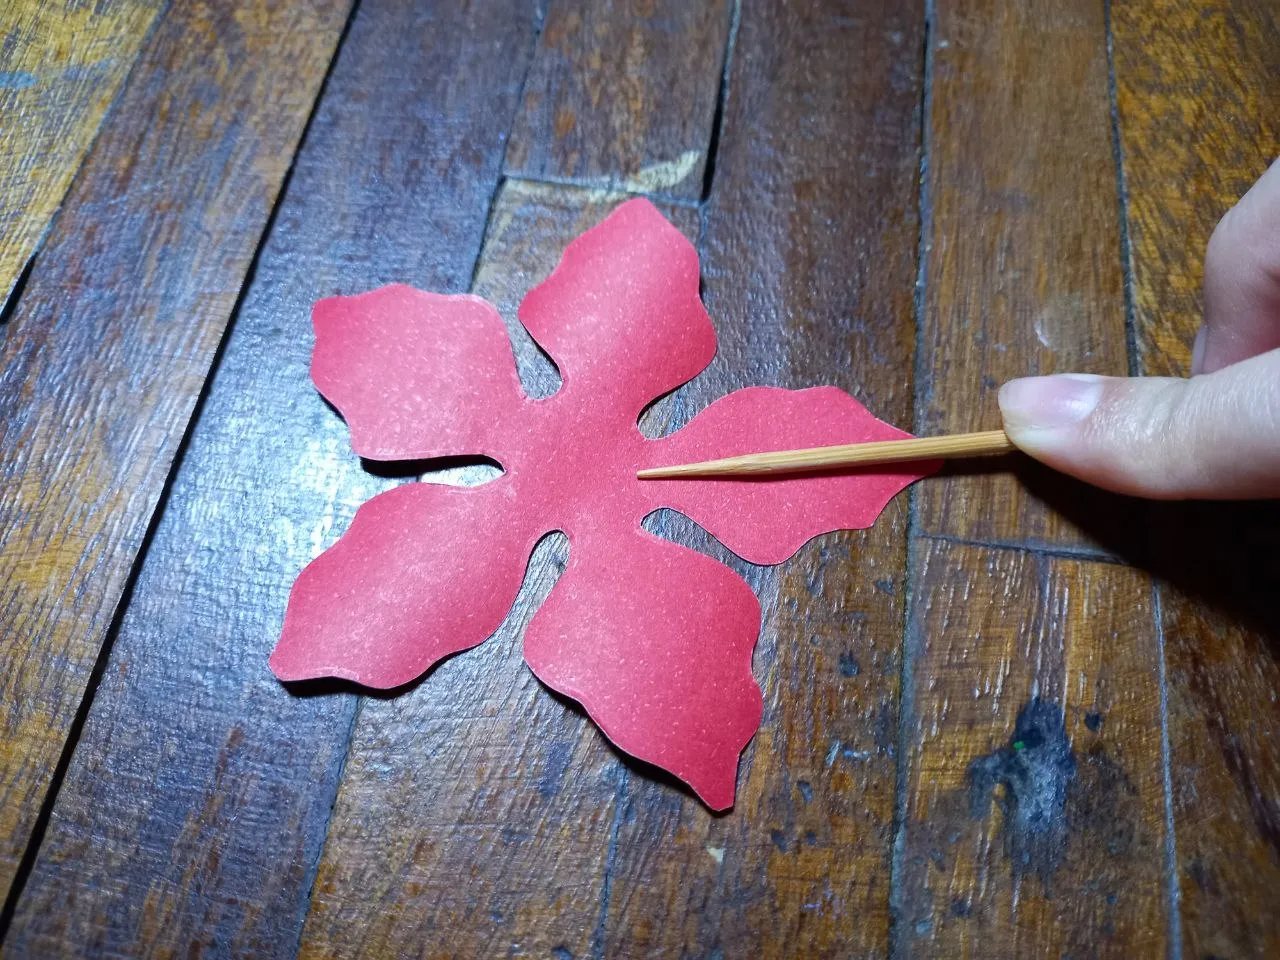
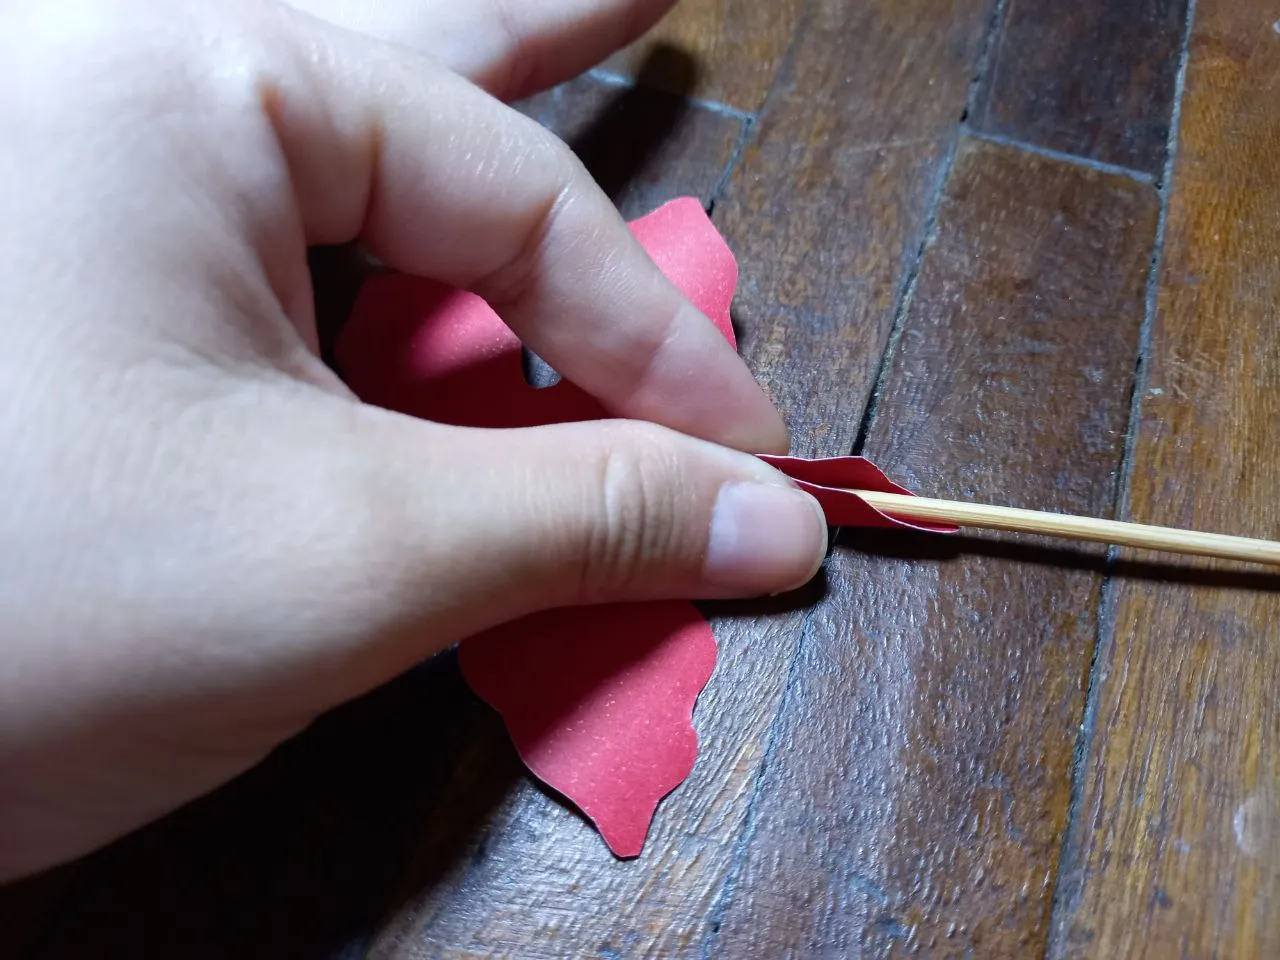
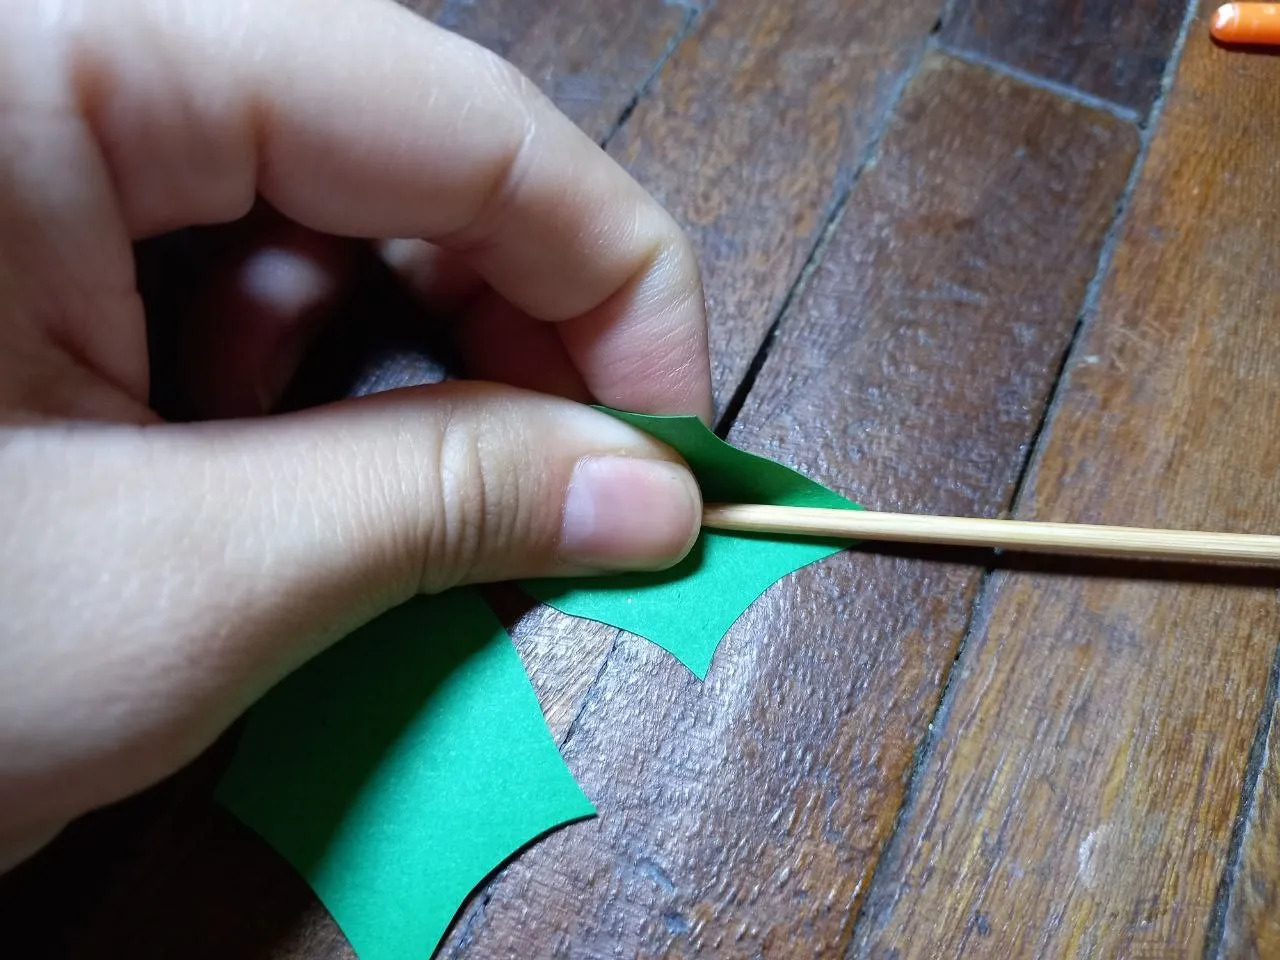
🍁 PASO 2. Con el palito de altura vamos a doblar cada uno de los pétalos de las flores situándolo justo en el centro y doblando los lados hacia adentro.
🍁 STEP 2. With the height stick we are going to fold each one of the flower petals, placing it right in the center and folding the sides inward.

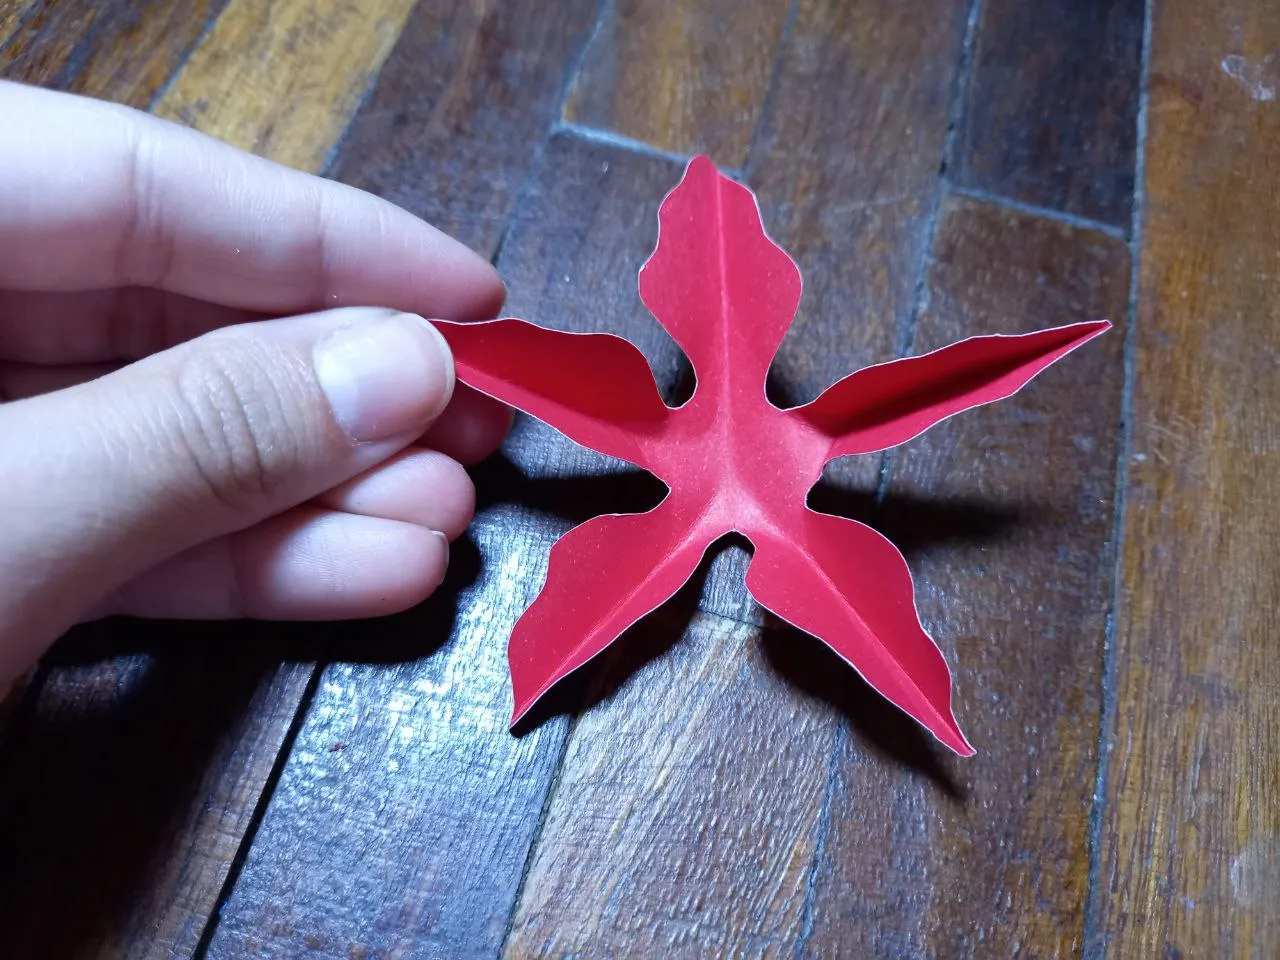
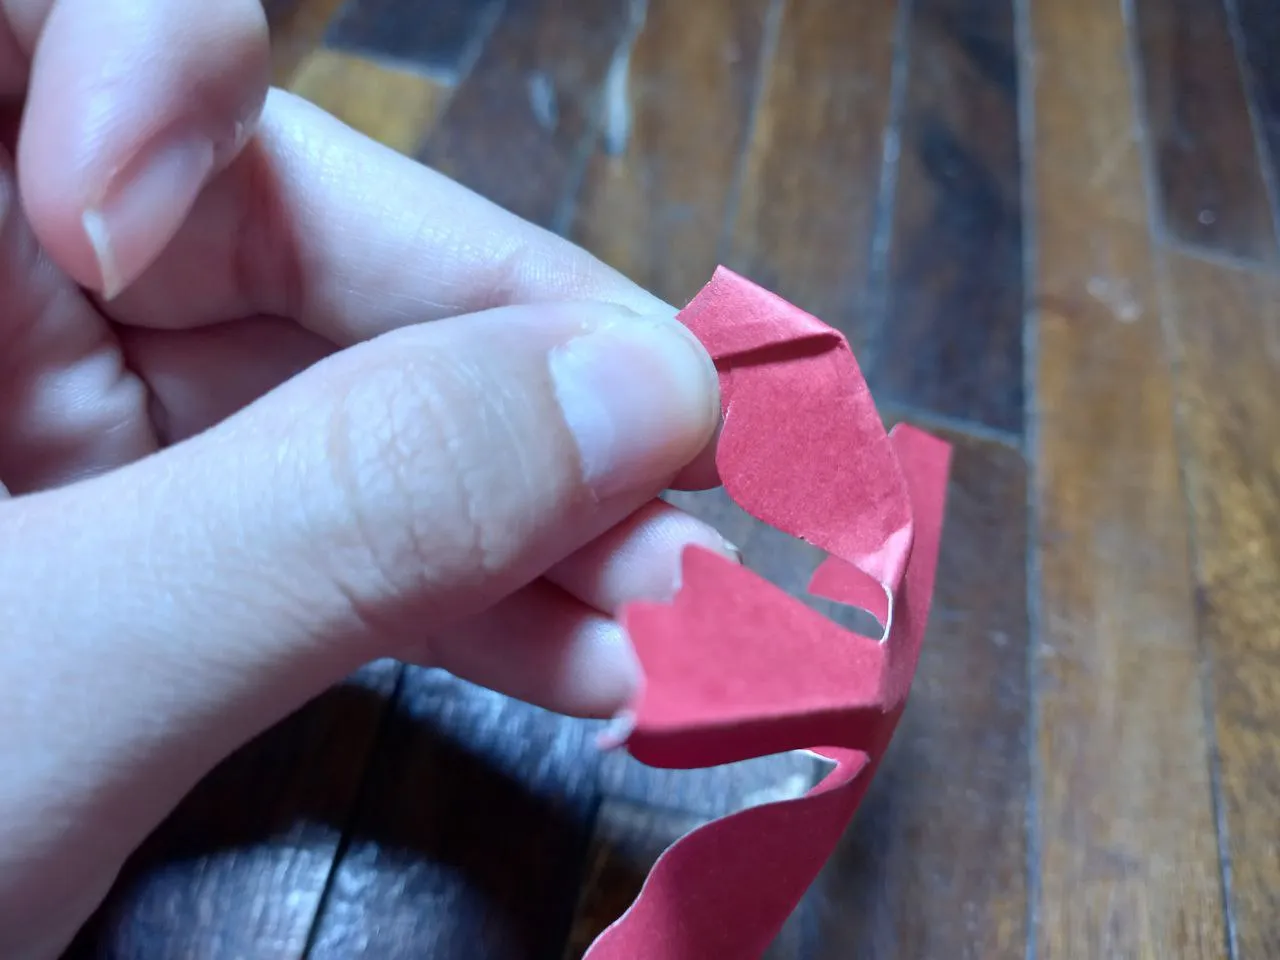
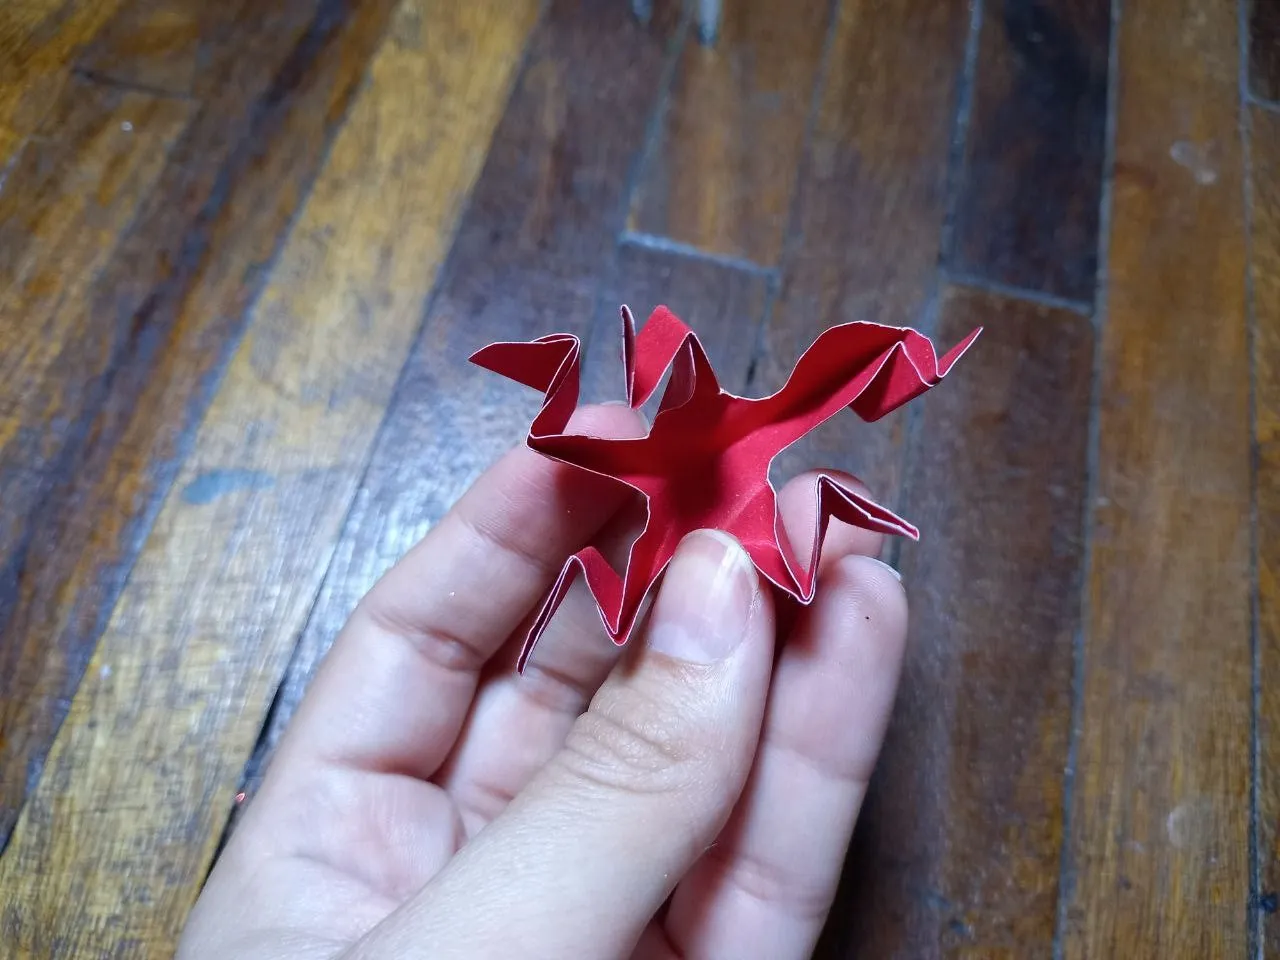
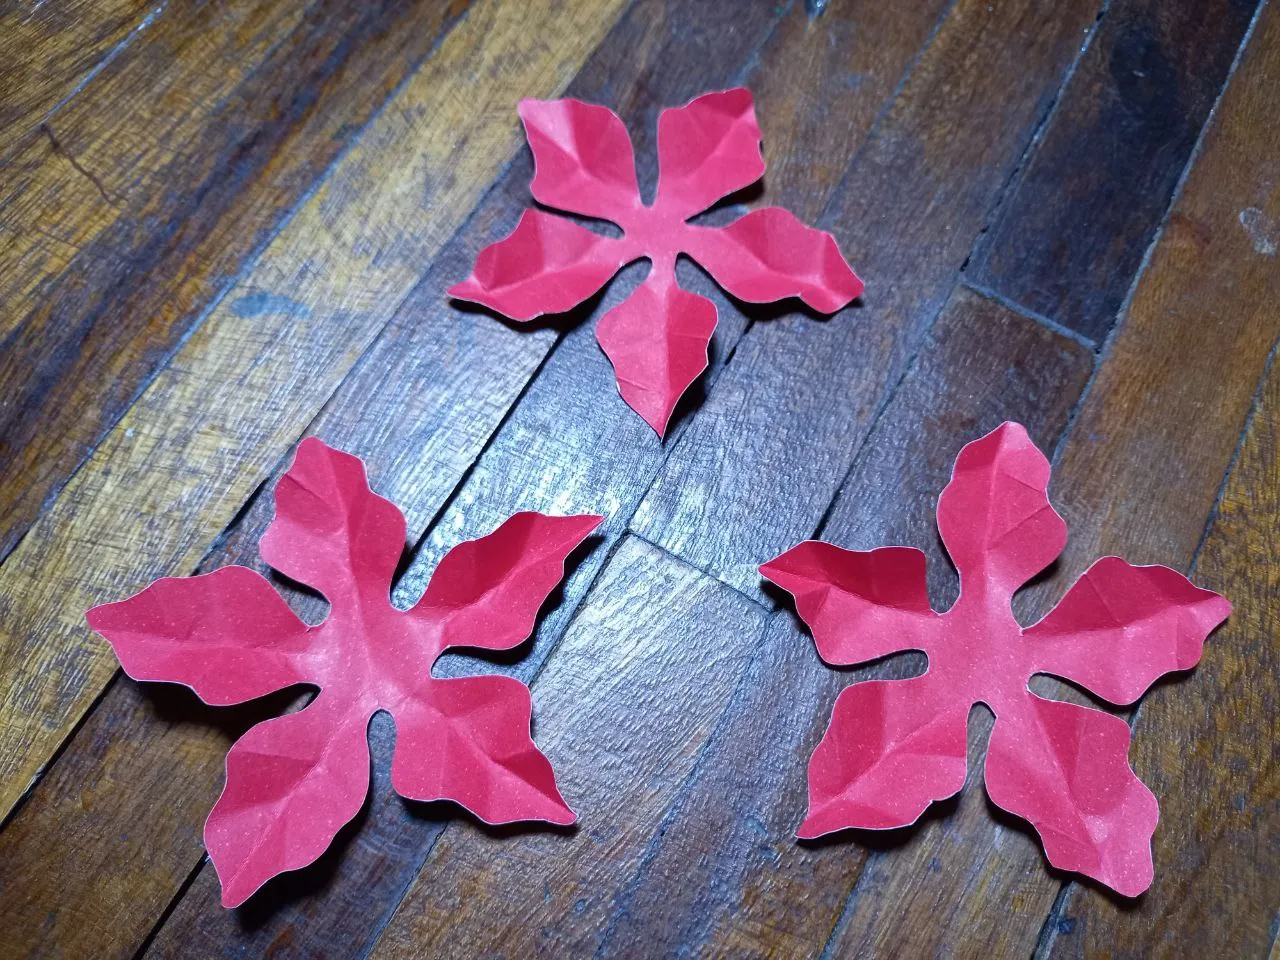
🍁 PASO 3. Luego de doblar todos los pétalos por la mitad procedemos a hacerles 2 dobleces más a cada pétalo pero esta vez uno hacia cada lado, luego abrimos los pétalos deshaciendo los dobleces y el resultado será que ahora los pétalos tienen una mejor forma y textura.
🍁 STEP 3. After folding all the petals in half we proceed to make 2 more folds on each petal but this time one to each side, then we open the petals undoing the folds and the result will be that now the petals have a better shape and texture.
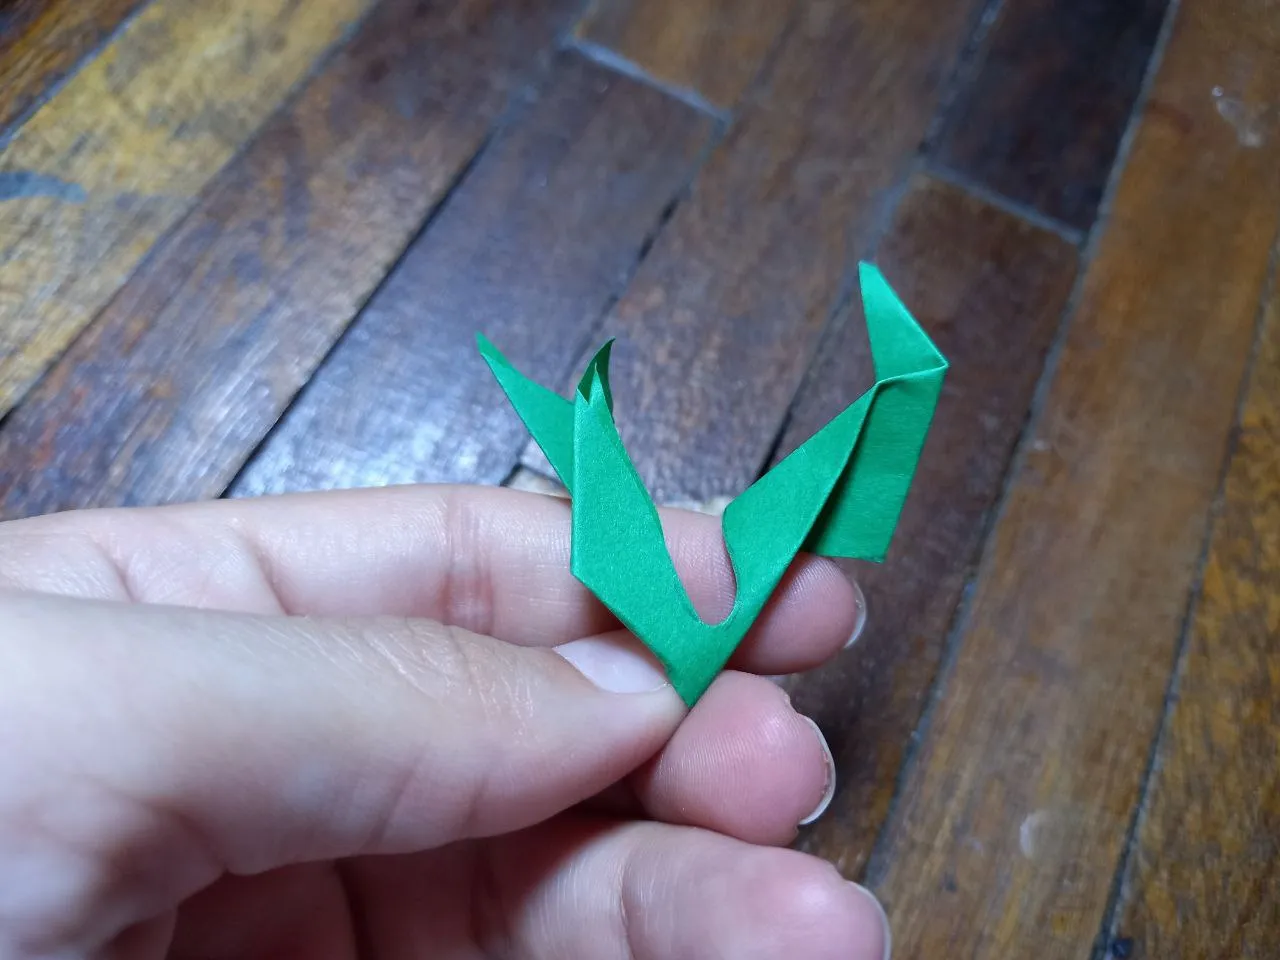
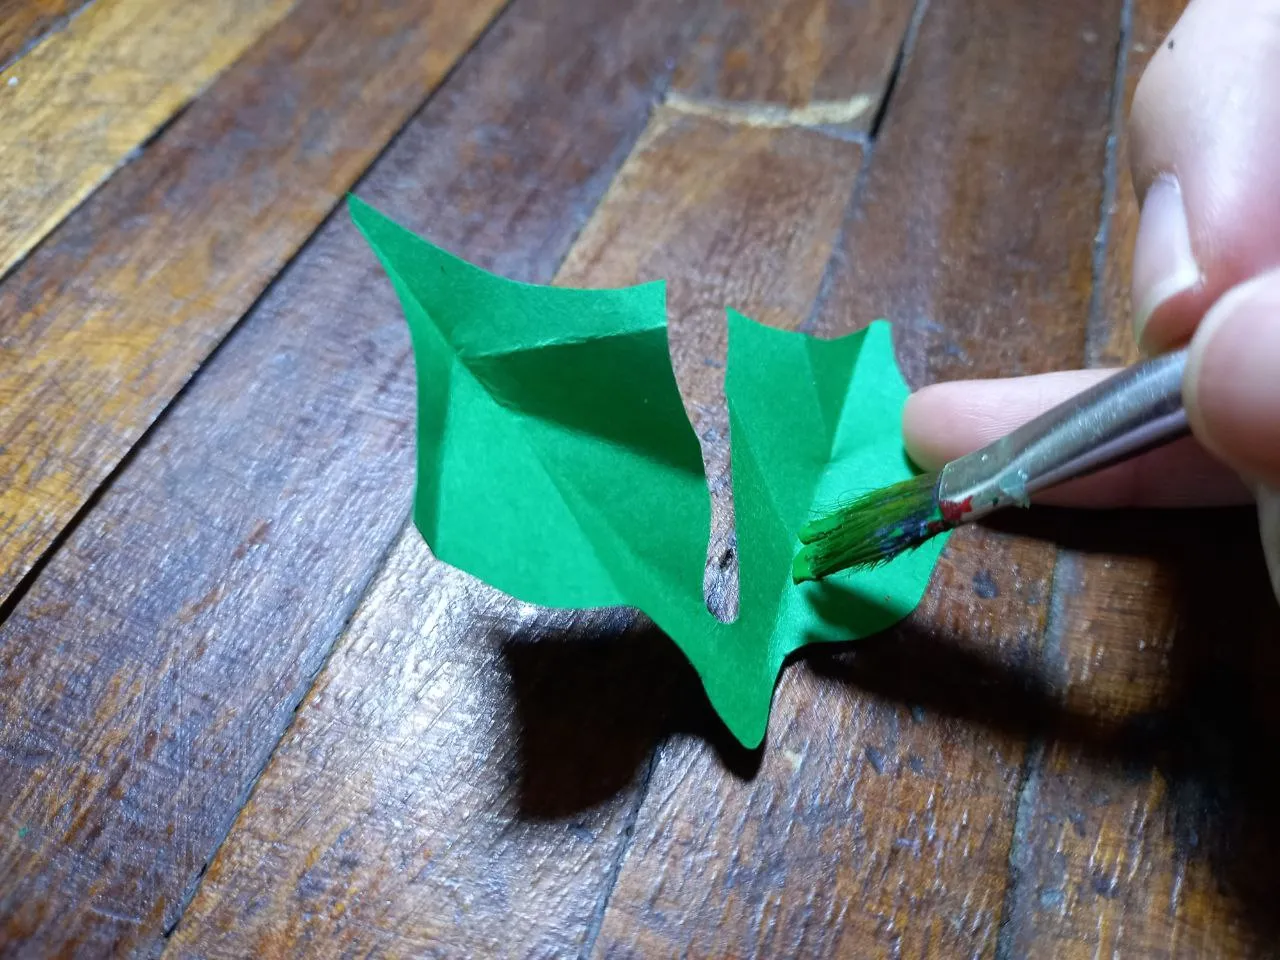
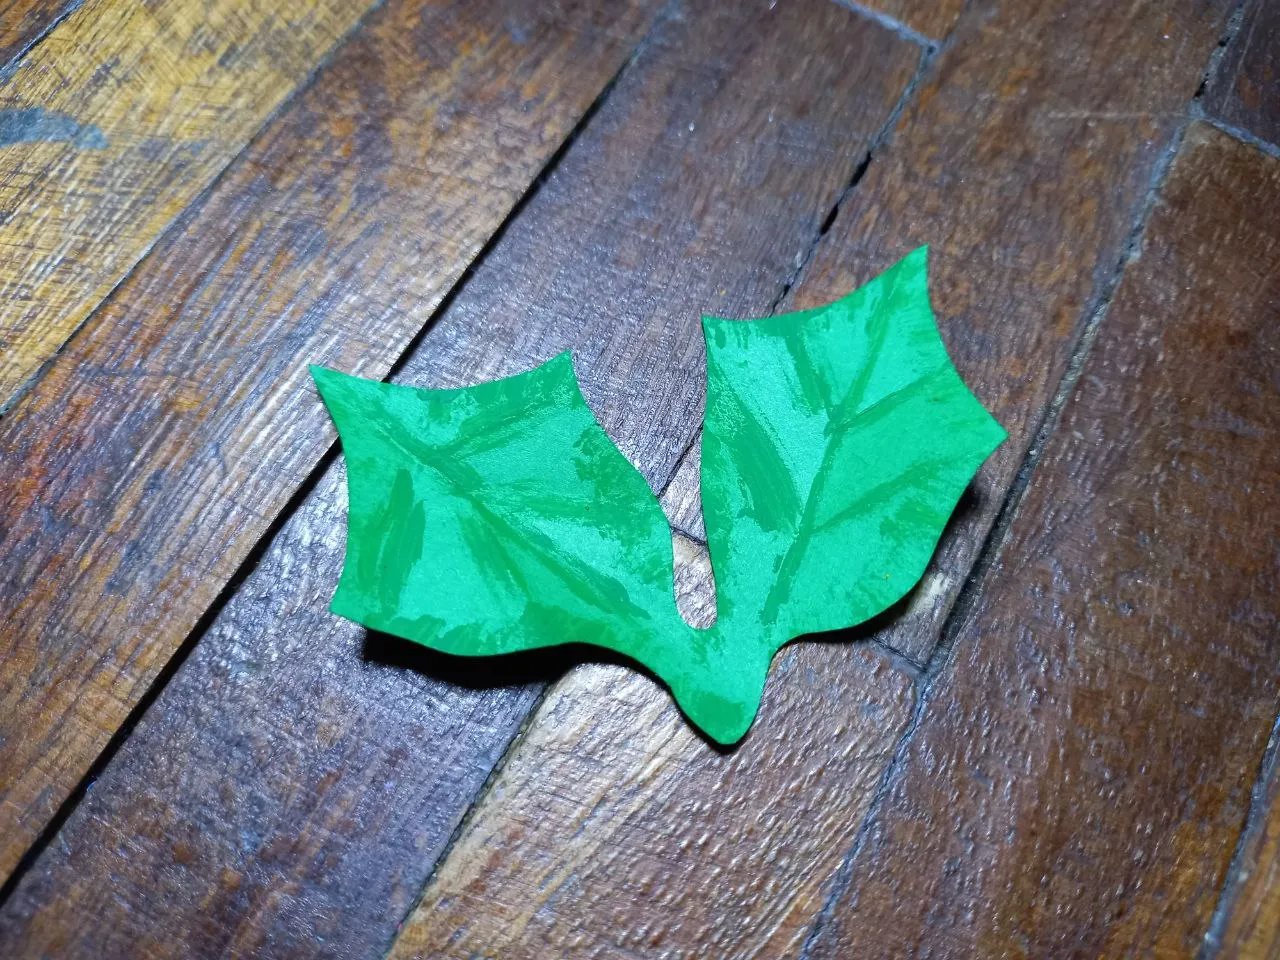
🍁 PASO 4. Repetimos el mismo procedimiento con las hojas para darles también una mejor forma y textura, la diferencia es que tomaremos un poquito de pintura verde con el pincel y remarcaremos las líneas de los dobleces y dejamos secar, esto le dará un mejor aspecto a las hojas.
🍁 STEP 4. We repeat the same procedure with the leaves to also give them a better shape and texture, the difference is that we will take a little bit of green paint with the brush and we will highlight the lines of the folds and let it dry, this will give a better appearance to the leaves.

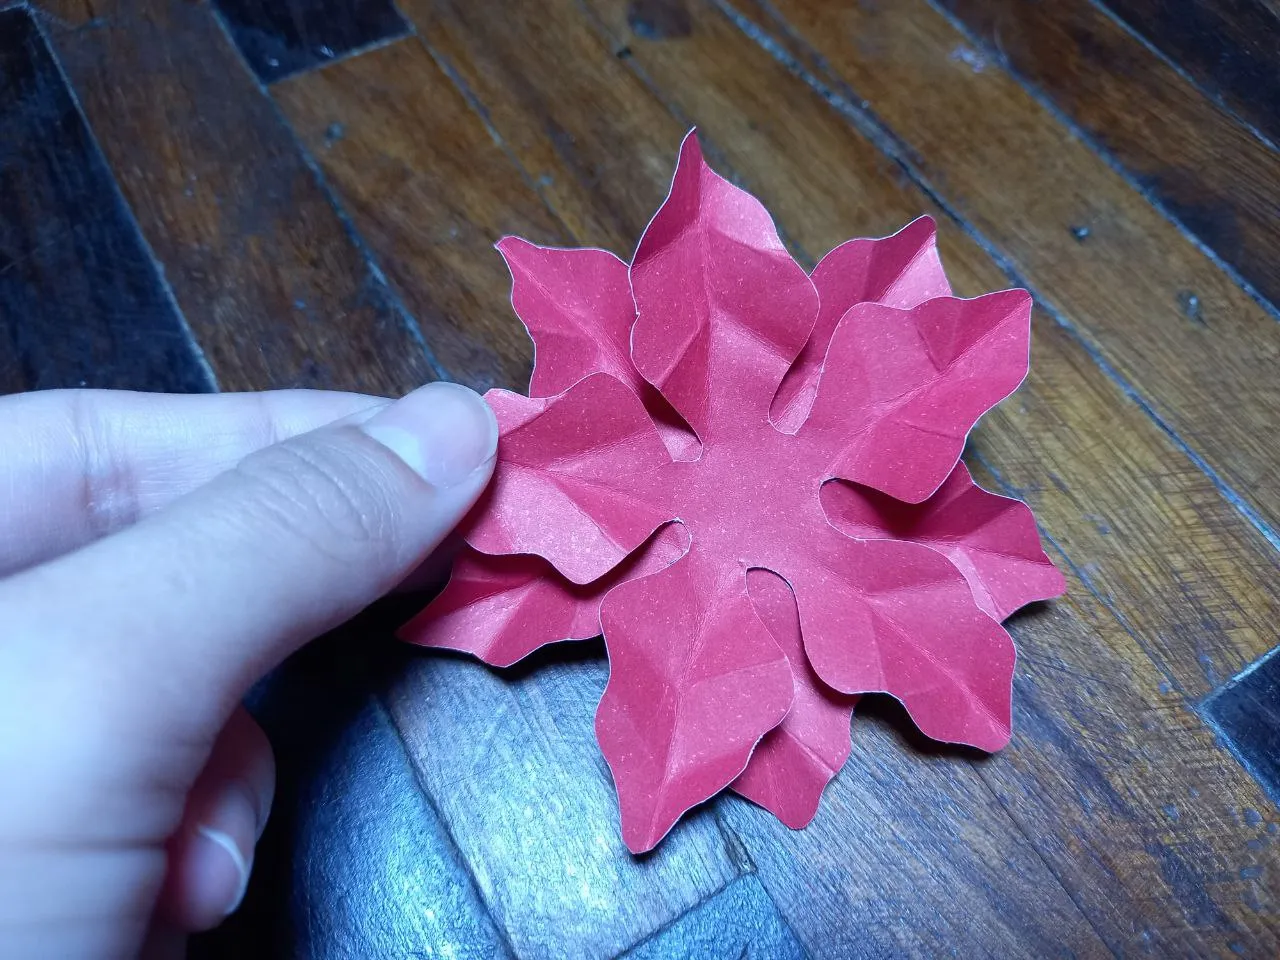
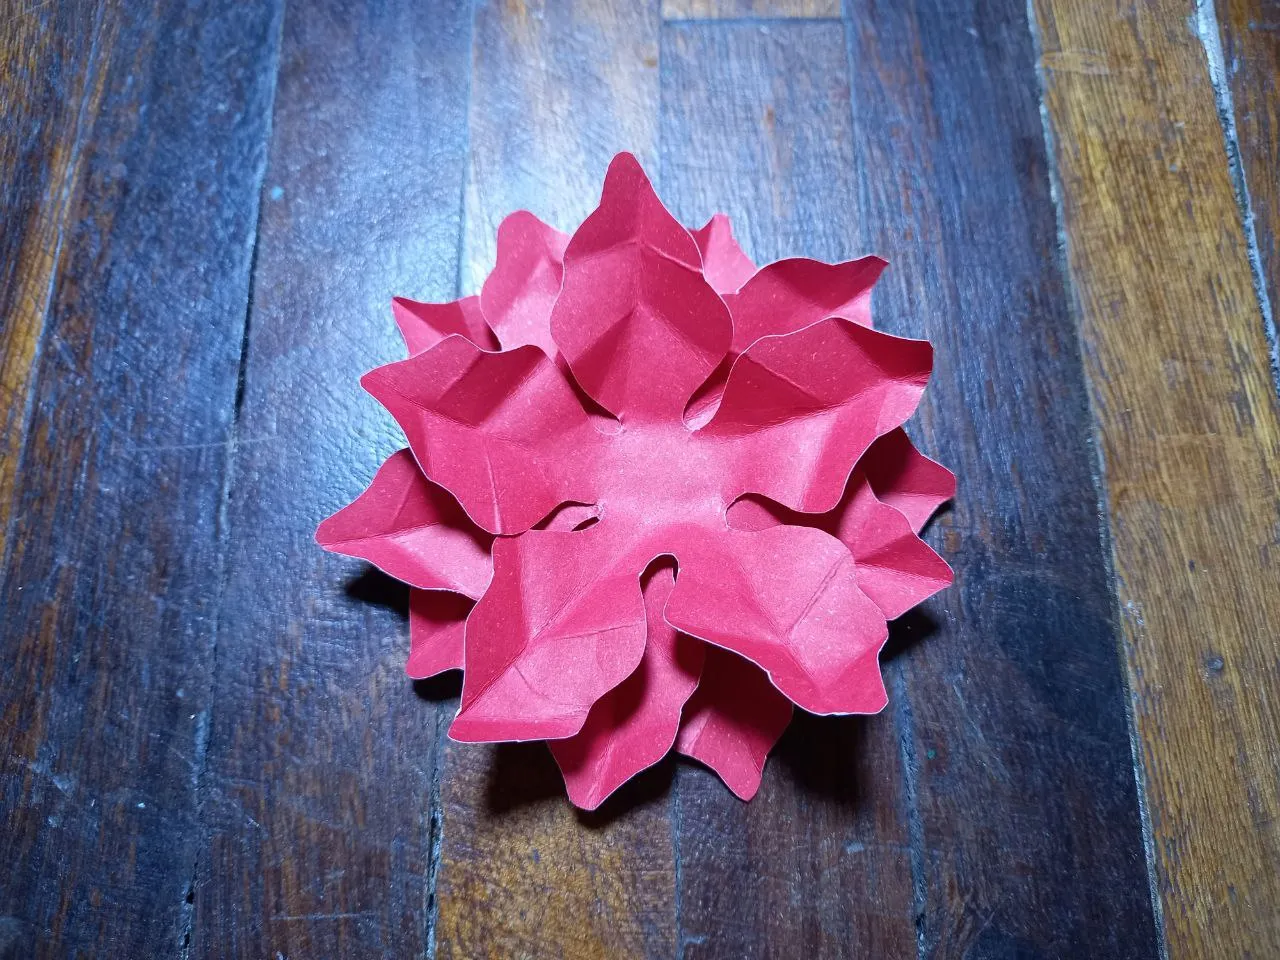
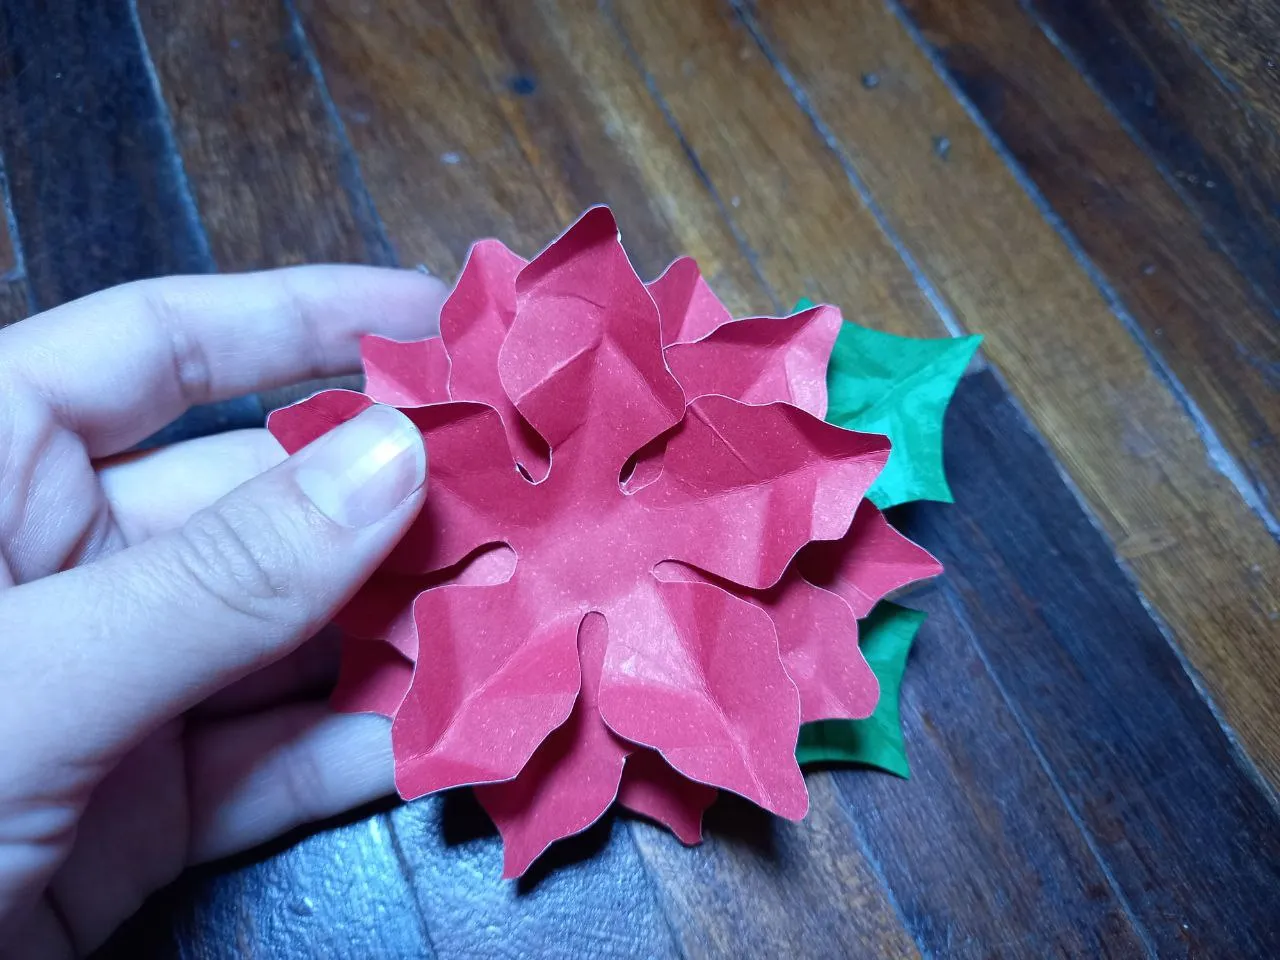
🍁 PASO 5. Comenzamos a formar la flor de pascua uniendo las piezas una sobre otra aplicando silicón en el centro y procurando que los pétalos de cada pieza queden en sentidos contrarios cada uno.
🍁 STEP 5. We begin to form the poinsettia by joining the pieces one on top of the other applying silicone in the center and making sure that the petals of each piece are in opposite directions each one.
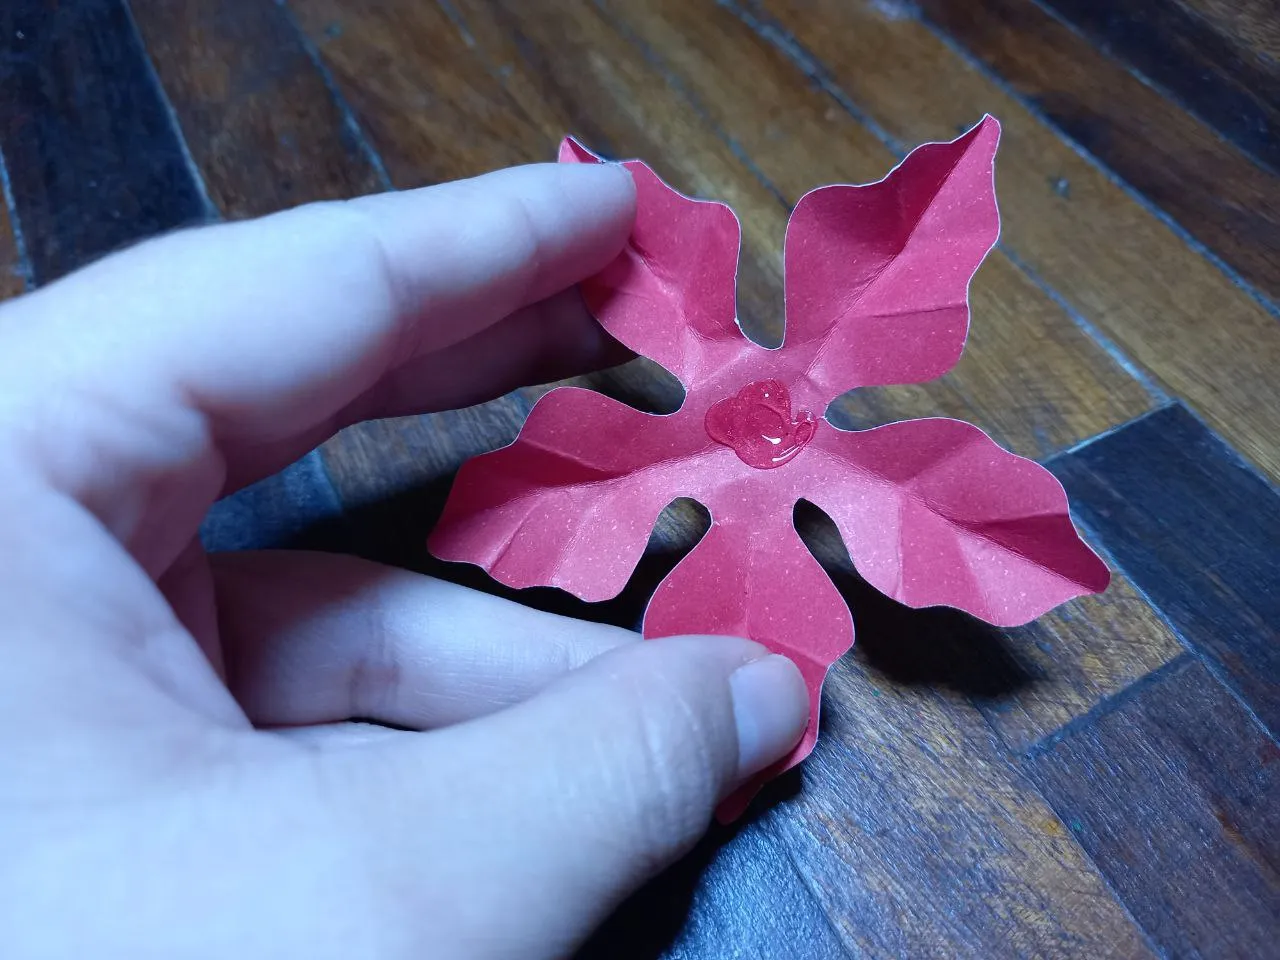
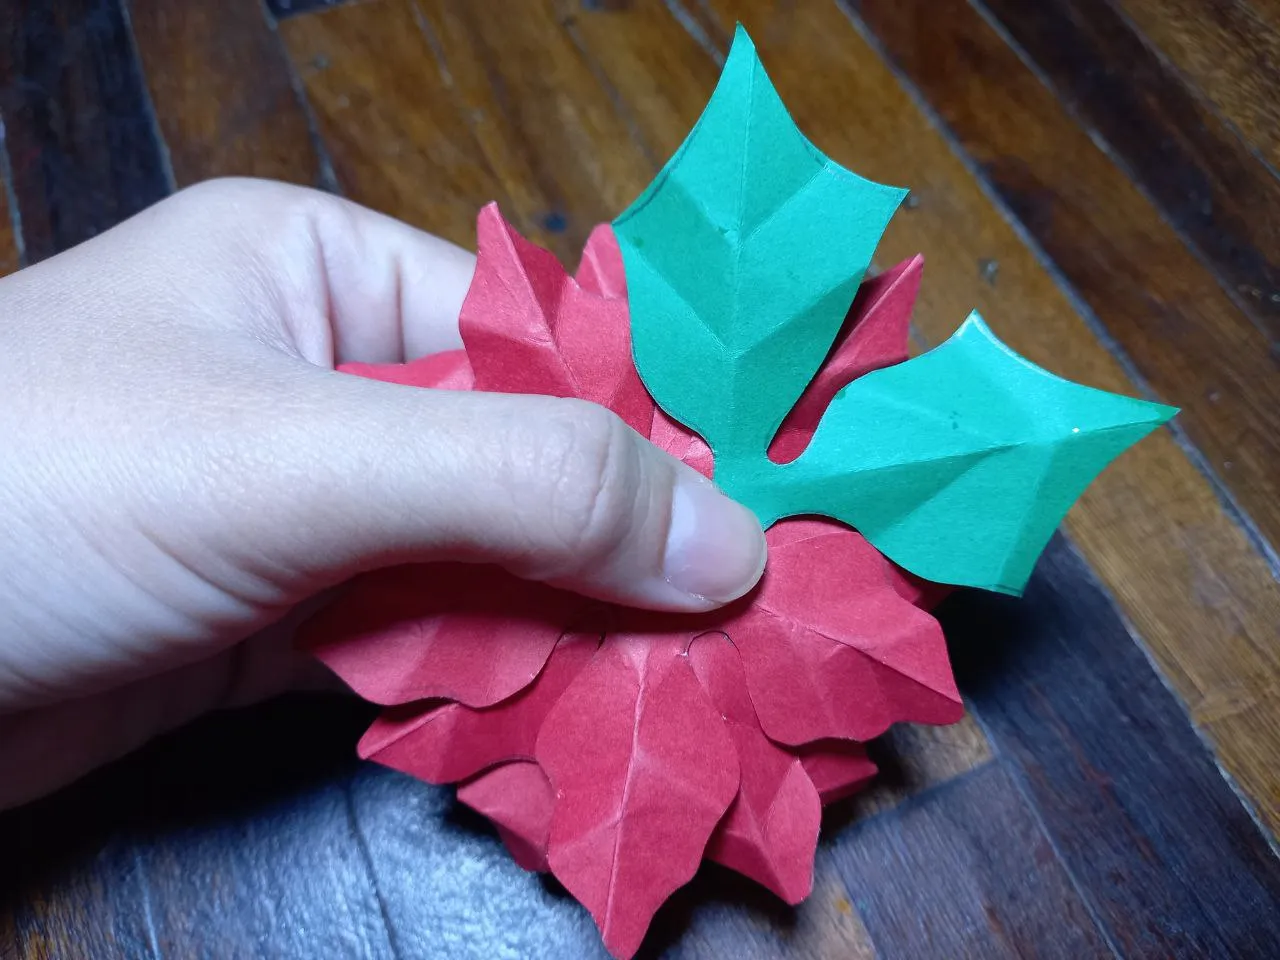
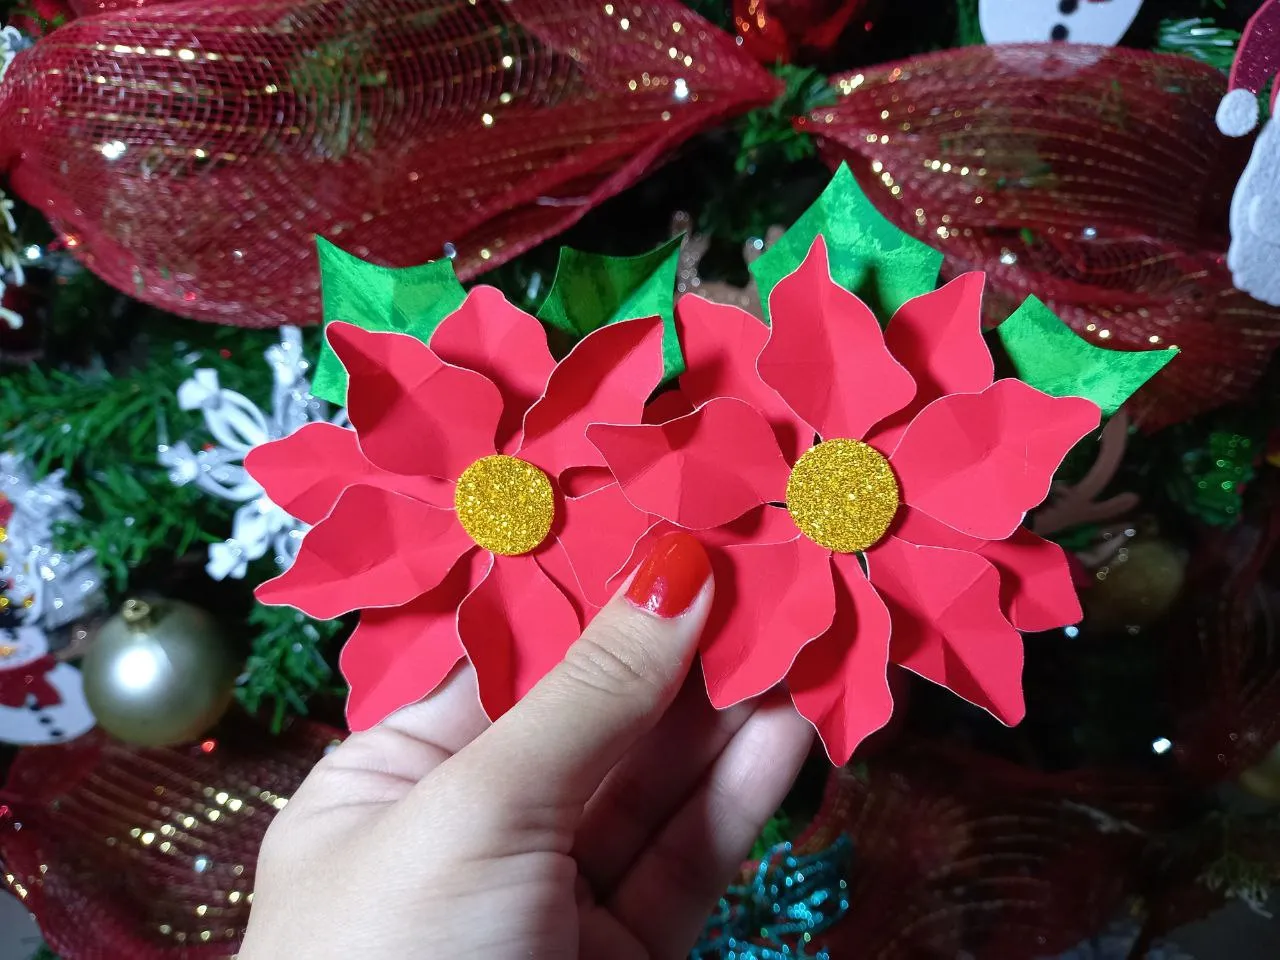
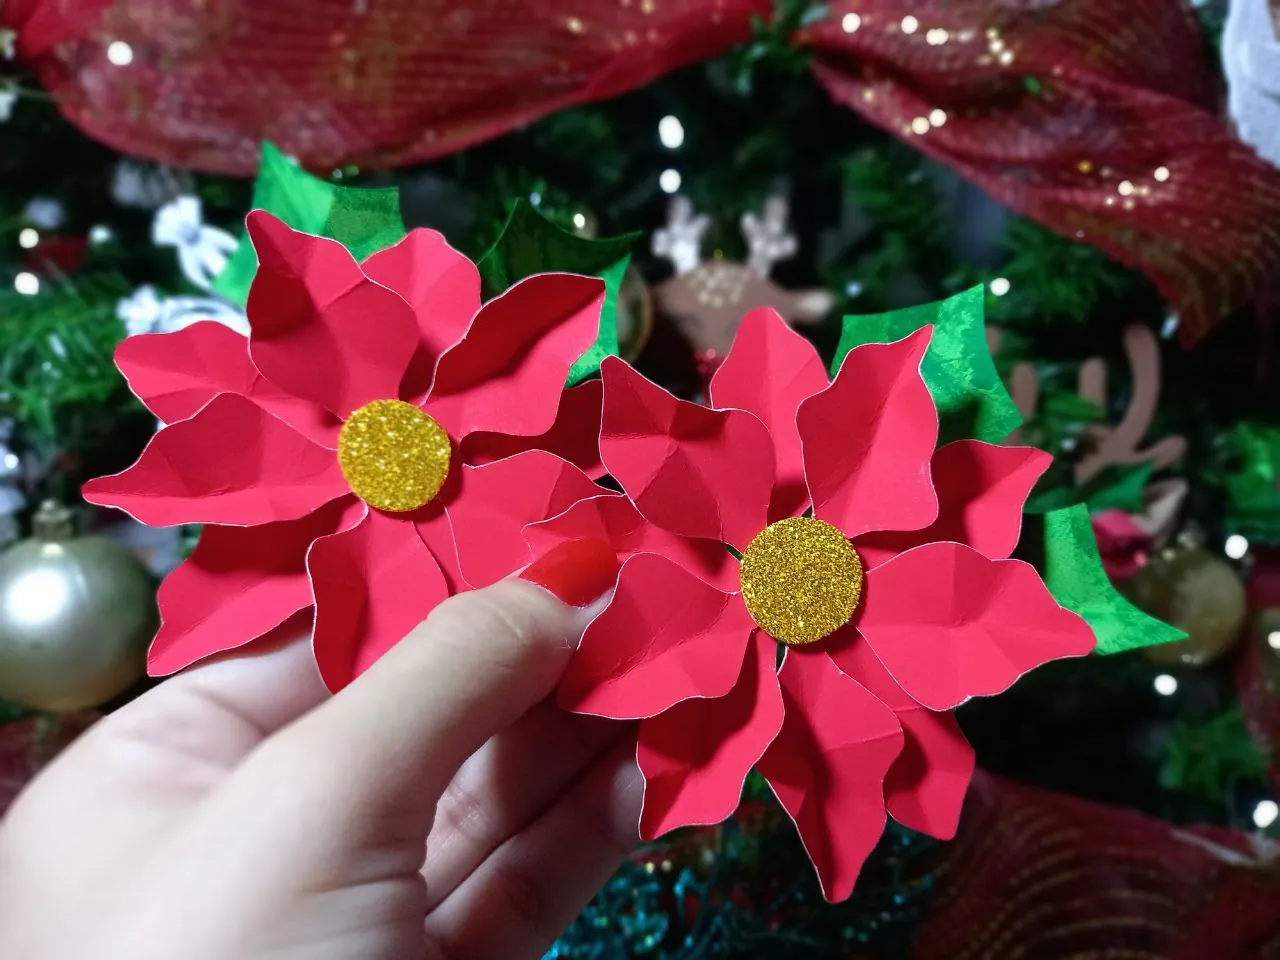
🍁 PASO 6. Pegamos las hojas en la parte trasera de la flor, luego hacemos un circulo mediano de foami escarchado dorado y lo pegamos en el centro de la parte frontal de la flor.
🍁 STEP 6. We glue the leaves on the back of the flower, then we make a medium circle of golden frosted foami and we glue it in the center of the front part of the flower.
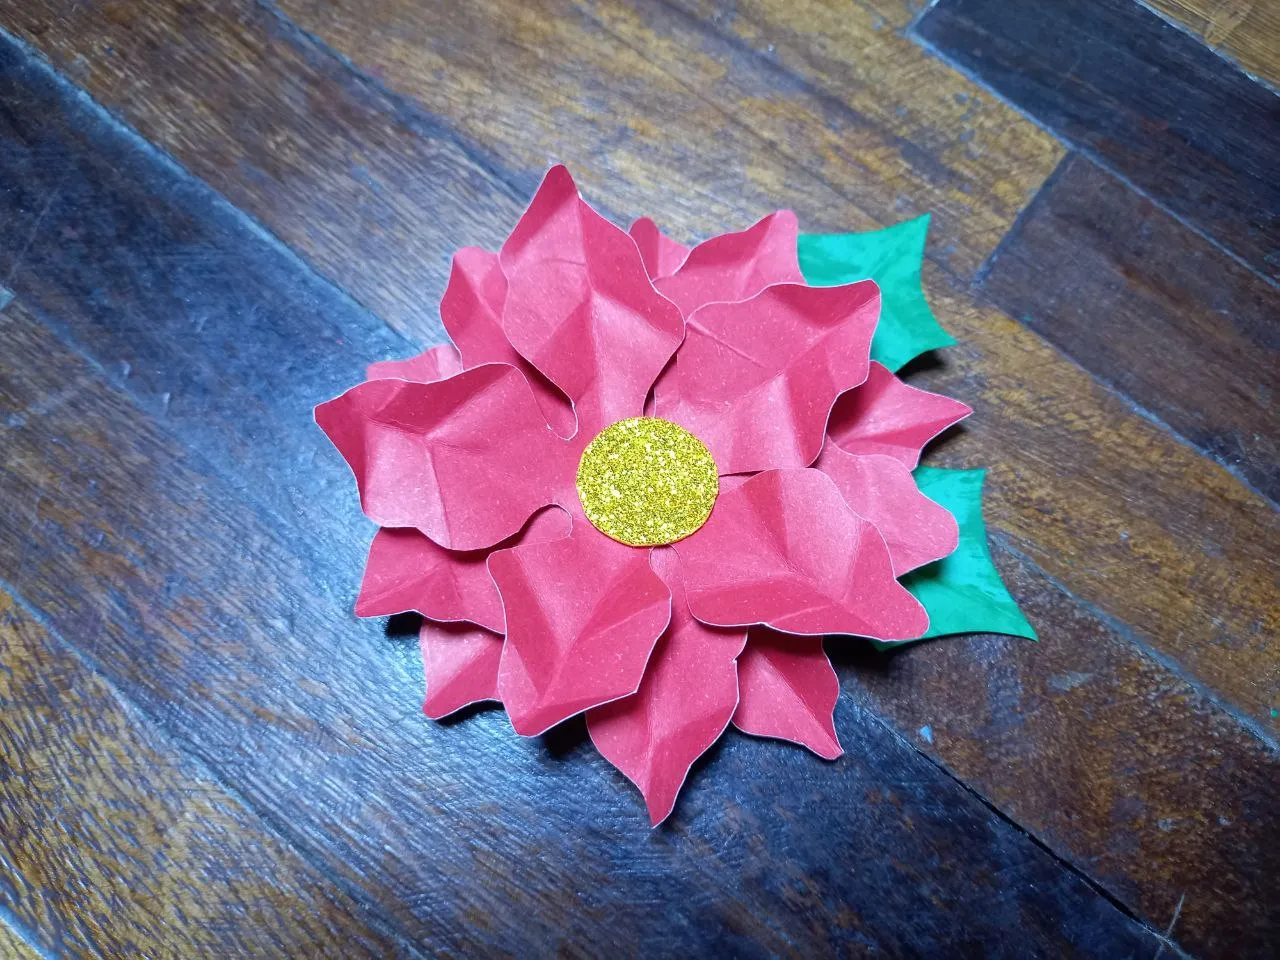
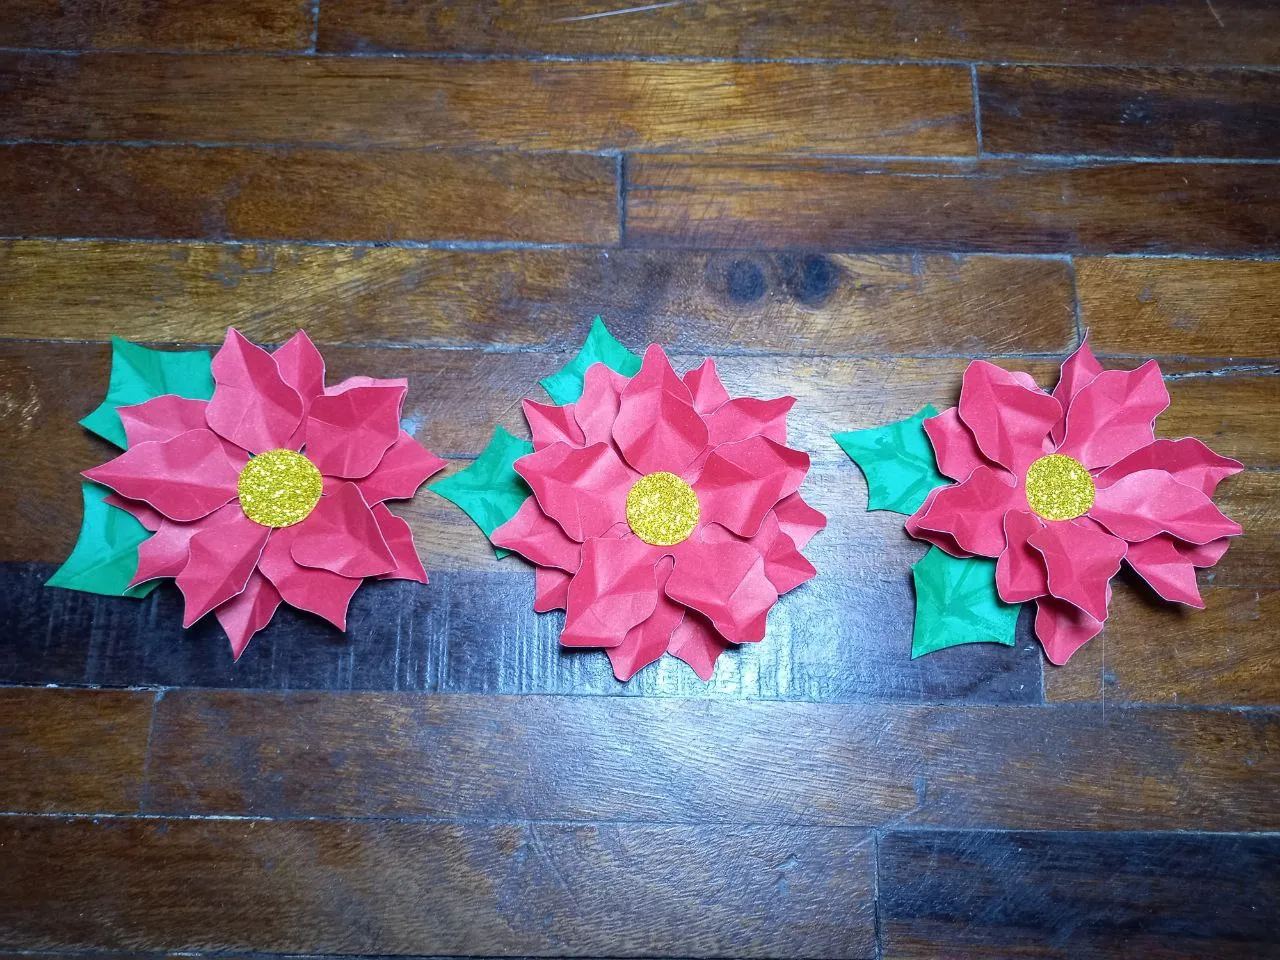
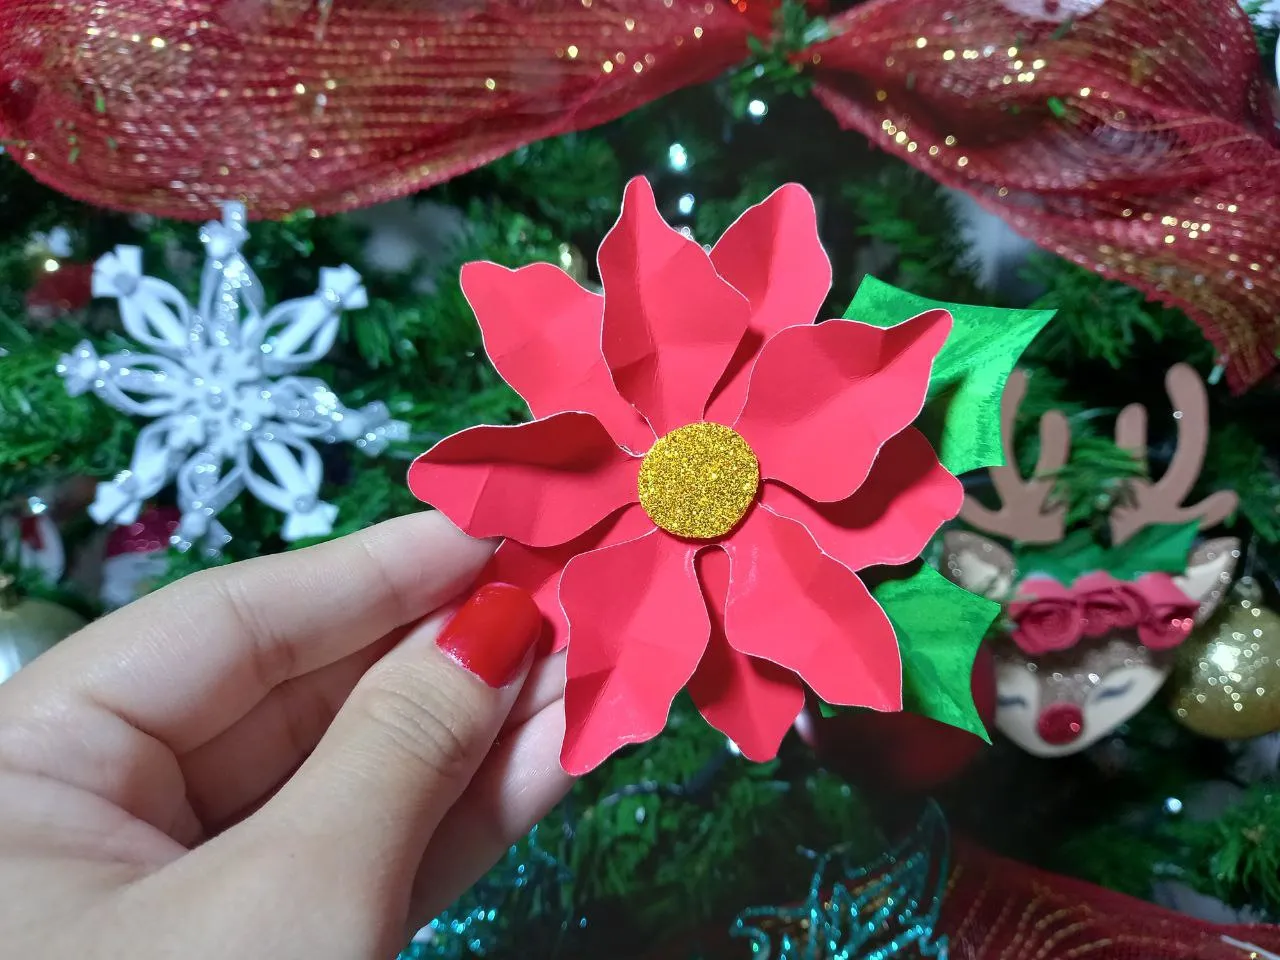
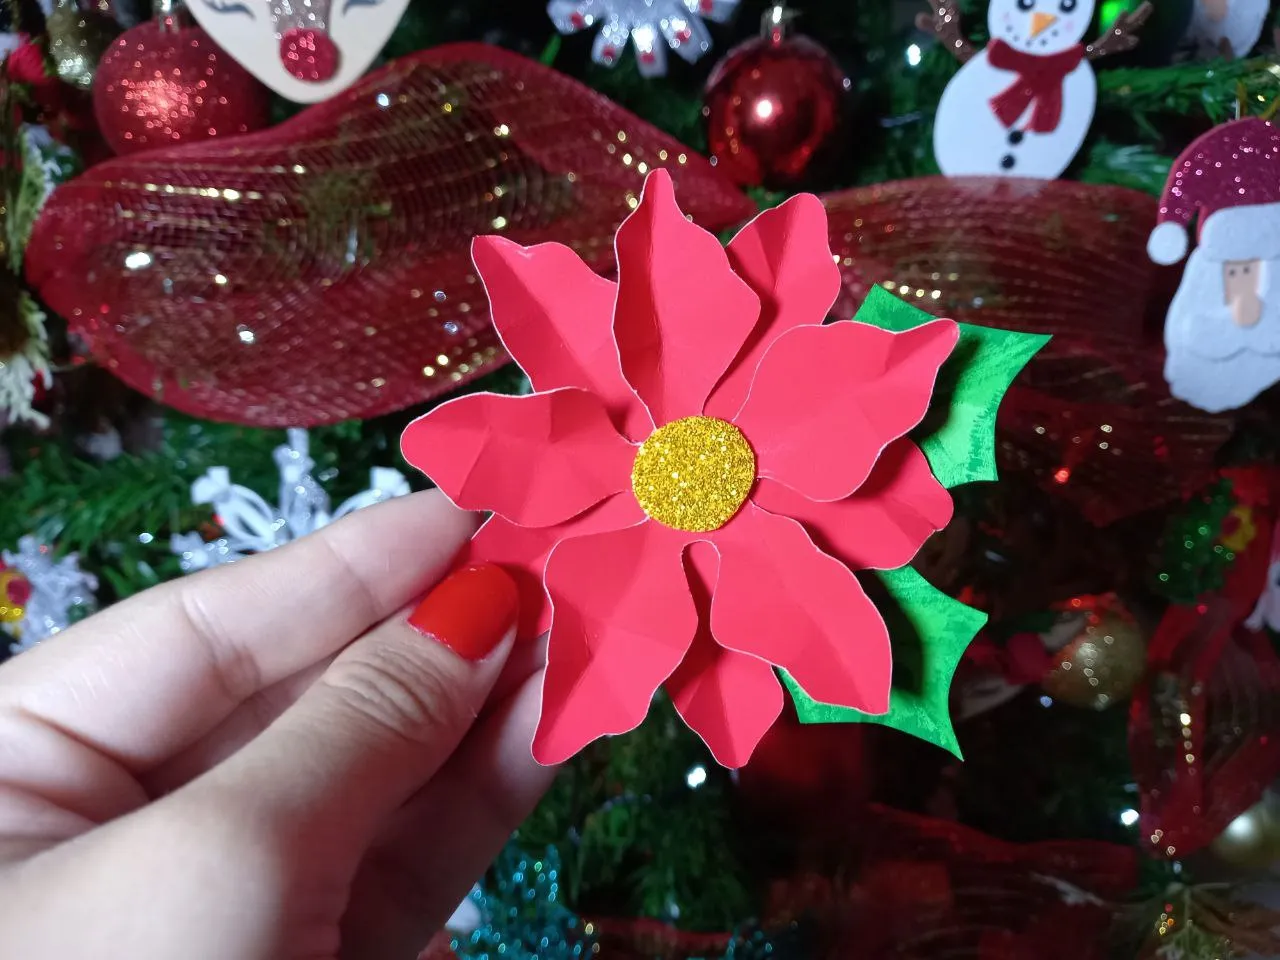
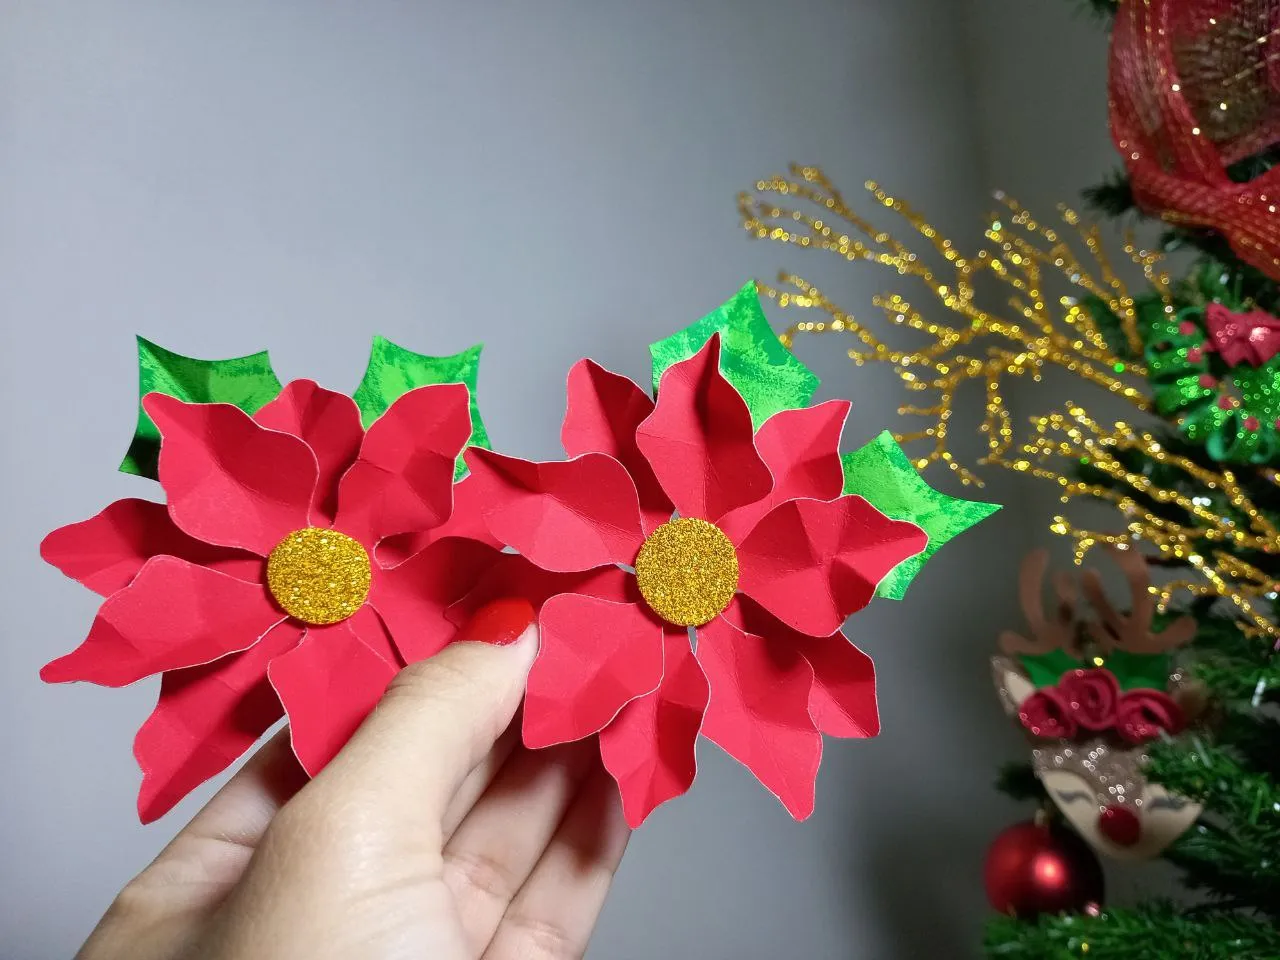
¡Y listo! Así de sencillo es como elaboré estas lindas flores de pascua en cartulina, son muy decorativas y las podemos usar de muchísimas formas, pronto les mostraré el uso que yo les di, por ahora les dejo el tutorial y espero que les haya gustado, gracias por visitar mi blog, nos vemos pronto con un nuevo tutorial navideño.
And ready! It is that simple how I made these beautiful cardboard poinsettias, they are very decorative and we can use them in many ways, soon I will show you how I used them, for now I leave you the tutorial and I hope you liked it, thanks for visit my blog, see you soon with a new Christmas tutorial.


Todas las fotografías son de mi propiedad.
Fotografías capturadas con mi Samsung Galaxy A12
Separador de texto elaborado en Canva.
Nos vemos en mi próxima publicación.
¡Tengan un feliz día!
All photographs are my property.
Photos captured with my Samsung Galaxy A12
Text separator made in Canva.
See you in my next post.
¡Have a happy day!