Hola mis queridos amigos ,feliz día para todos ,espero que se encuentren bien , hoy les quiero compartir un hermoso multifuncional con temática de el sol ,en honor al nuevo concurso de el mes de nuestra bella comunidad , agradezco a la amiga @katiuskamata por hacerme la invitación y darme a conocer esta maravillosa experiencia
Hello my dear friends ,happy day to all ,I hope you are well , today I want to share with you a beautiful multifunctional with the theme of the sun ,in honor of the new contest of the month of our beautiful community , I thank the friend @katiuskamata for making me the invitation and let me know this wonderful experience.
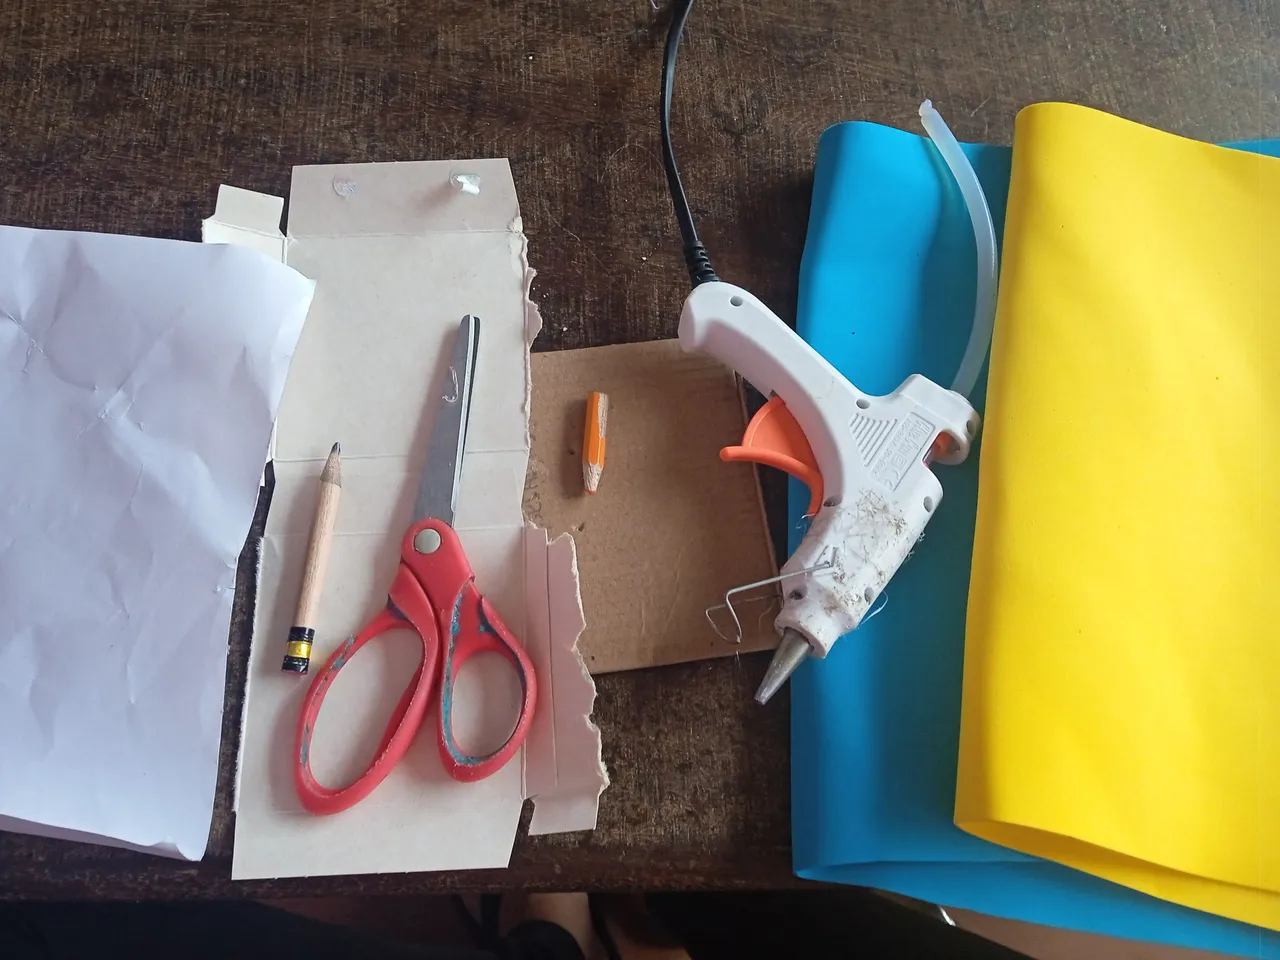
Materiales que utilice :
-Foamis
-Carton
-Tijera
-Silicon
-Papel reciclado
-Lapices
Materials I used :
-Foamis
-Carton
-Scissors
-Silicon
-Recycled paper
-Pencils
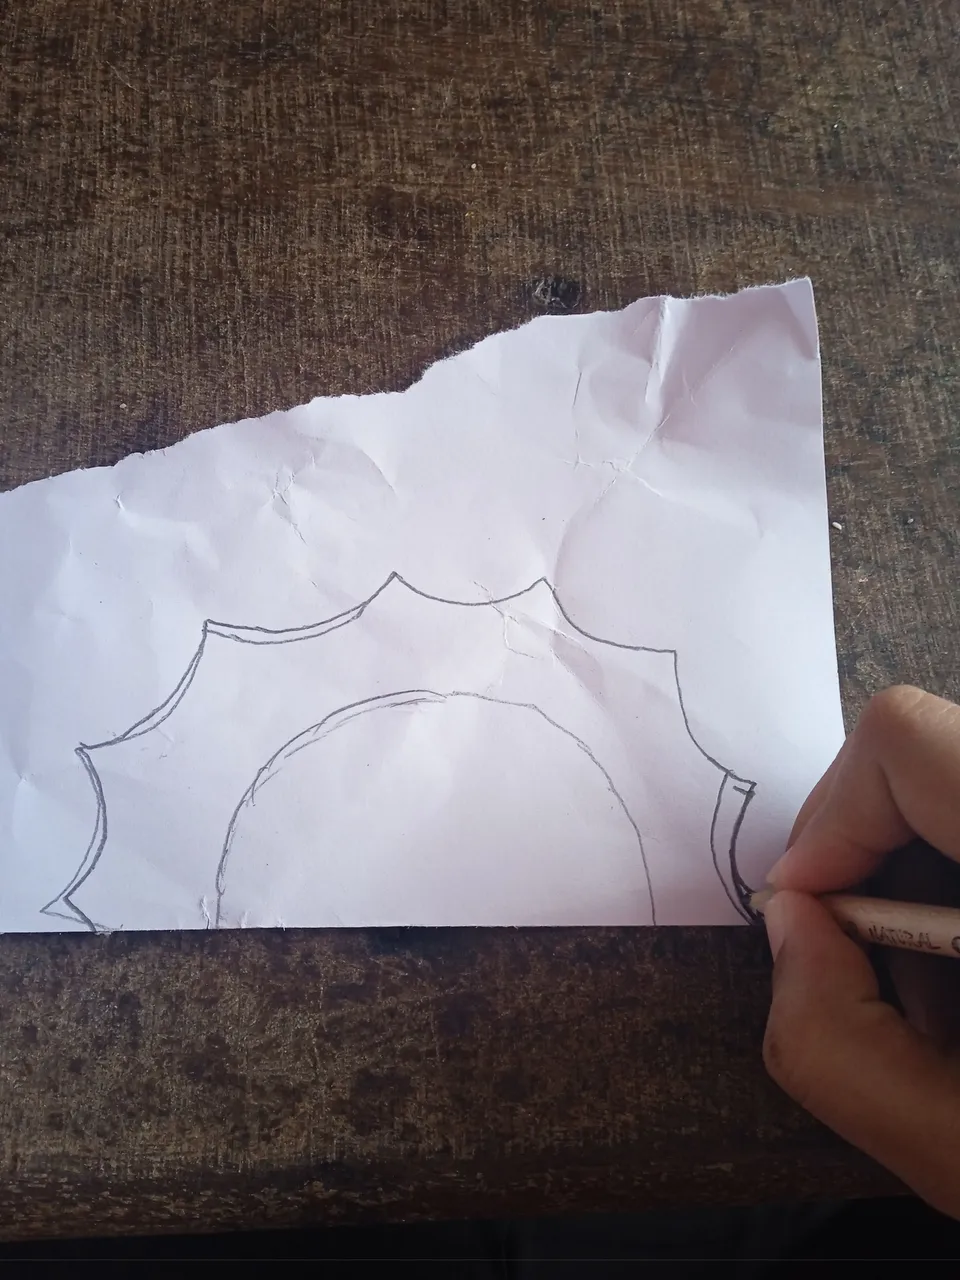
A continuación los pasos a seguir :
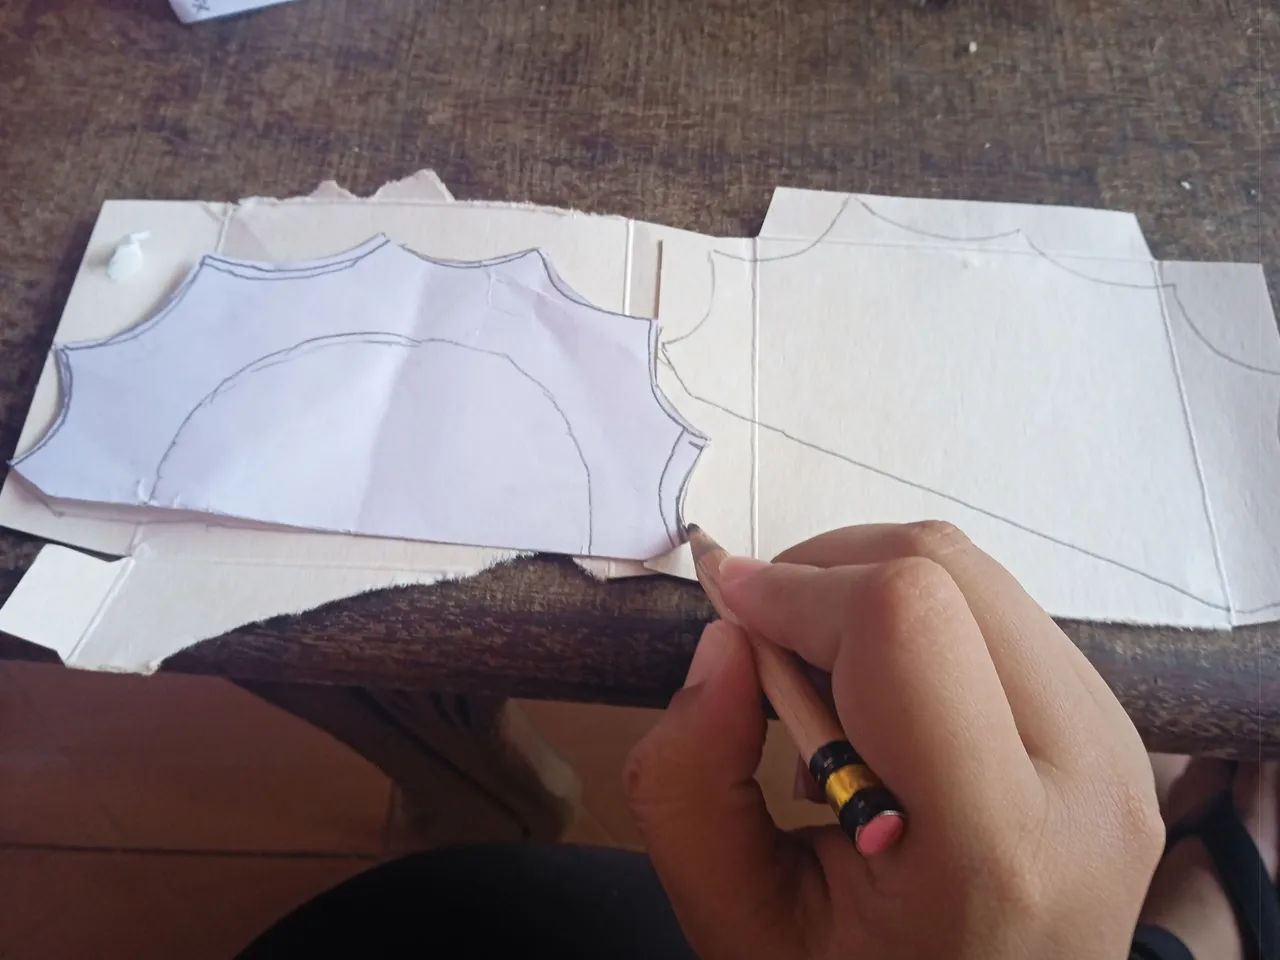
Iniciaremos dibujando un patrón en nuestra hoja reciclada ,en este patrón va a ir la temática de nuestro diseño la cual será la mitad de un sol
Here are the steps to follow:
We will start by drawing a pattern on our recycled paper, in this pattern will go the theme of our design which will be half of a sun
Luego continuaremos marcando en nuestros cartones dos soles los cuales serán por la mitad , estos será para realizar el multifuncional y que quede fuerte ,de modo que soporte los objetos que guardemos en el
Then we will continue marking on our cardboard two suns which will be in half, these will be to make the multifunctional and that is strong, so that it supports the objects that we keep in it
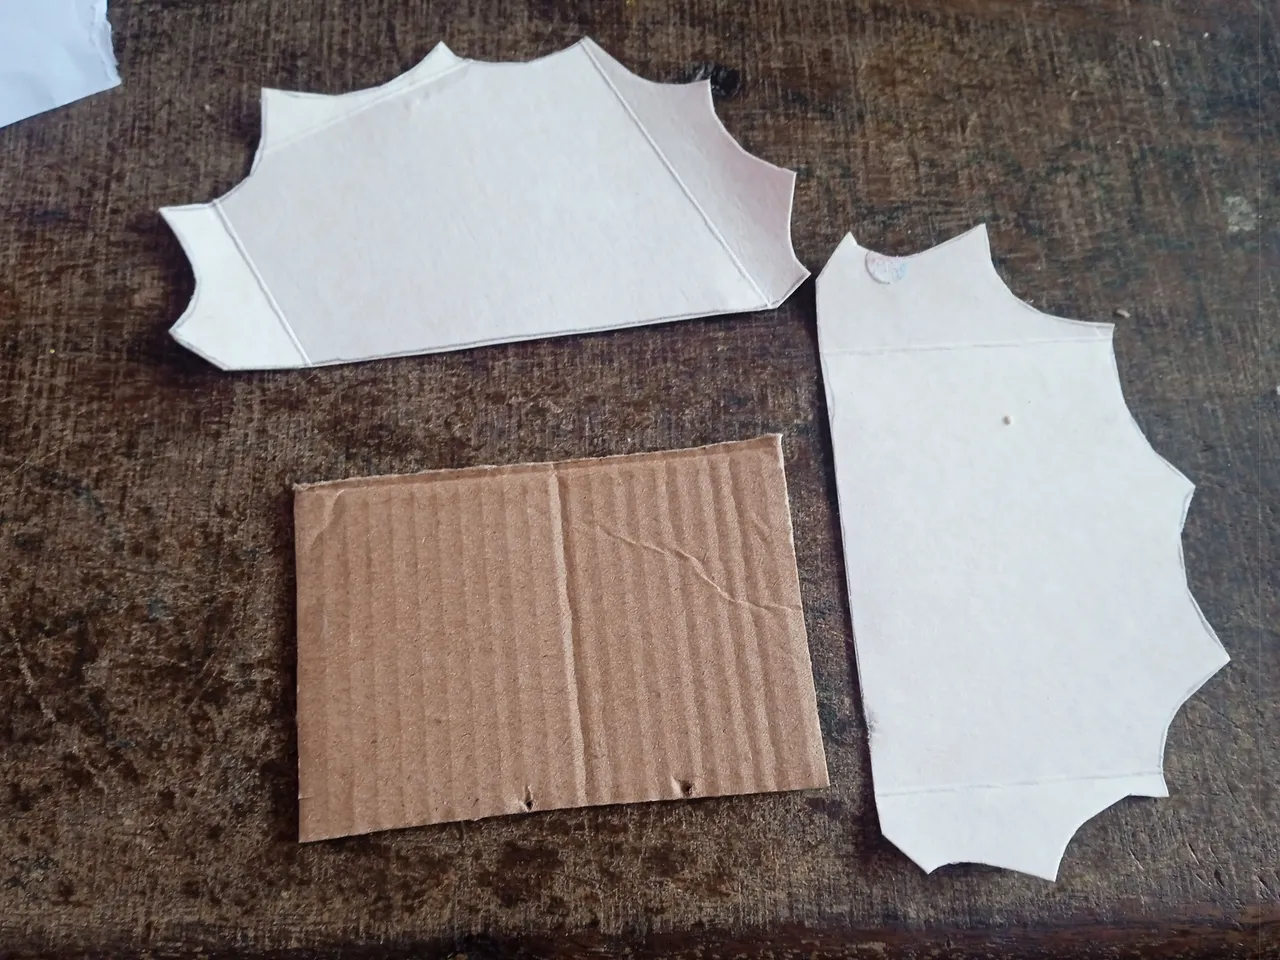
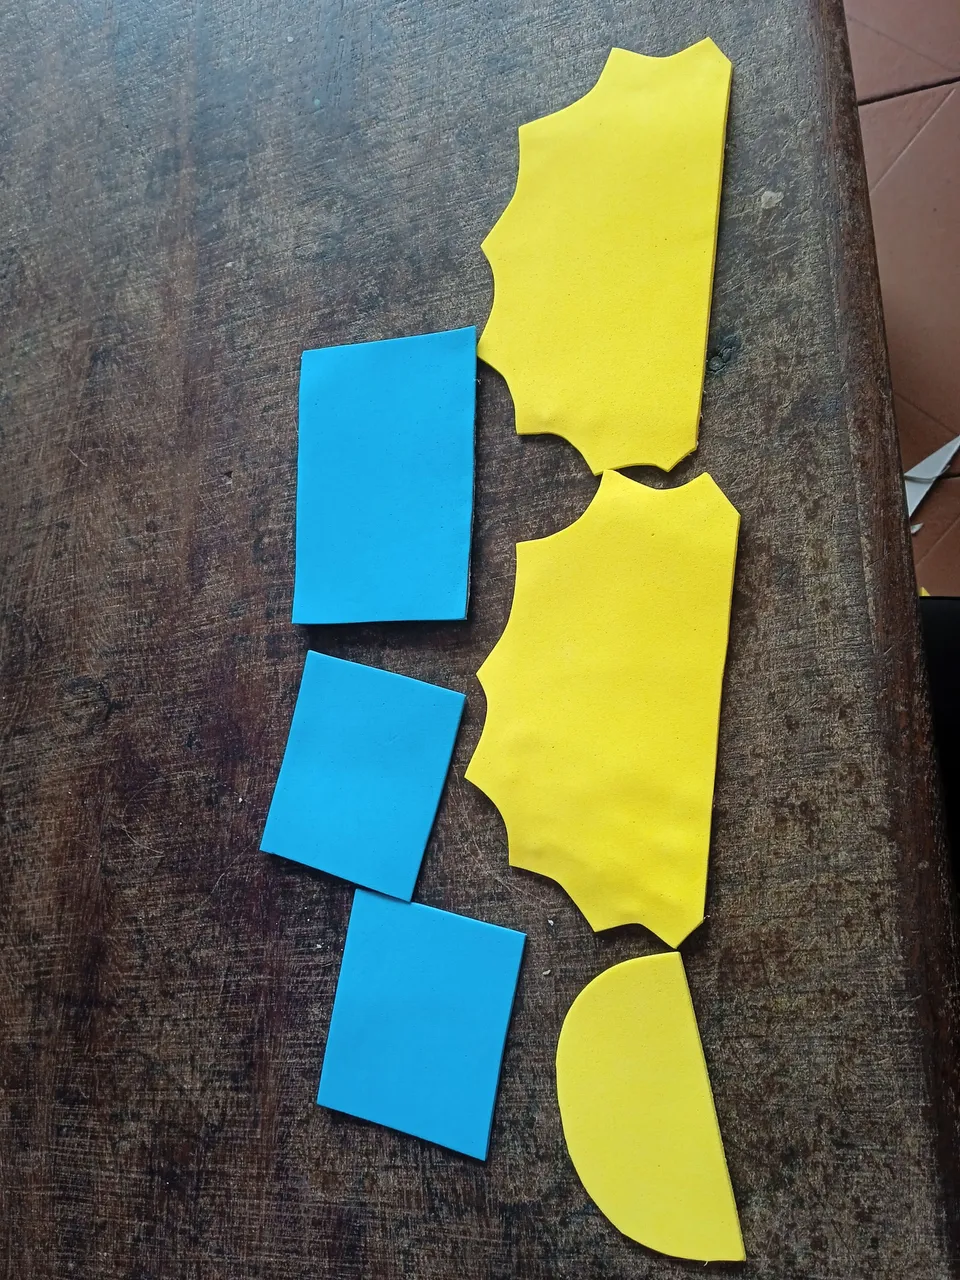
A continuación procederemos a recortar nuestros dos soles y un cuadro la cual será la base de nuestro multifuncional ,cómo pueden ver la base de el cartón es más gruesa para que esté soporte más
Next we will proceed to cut out our two suns and a square which will be the base of our multifunctional, as you can see the base of the cardboard is thicker so that it will support the objects we keep in it.
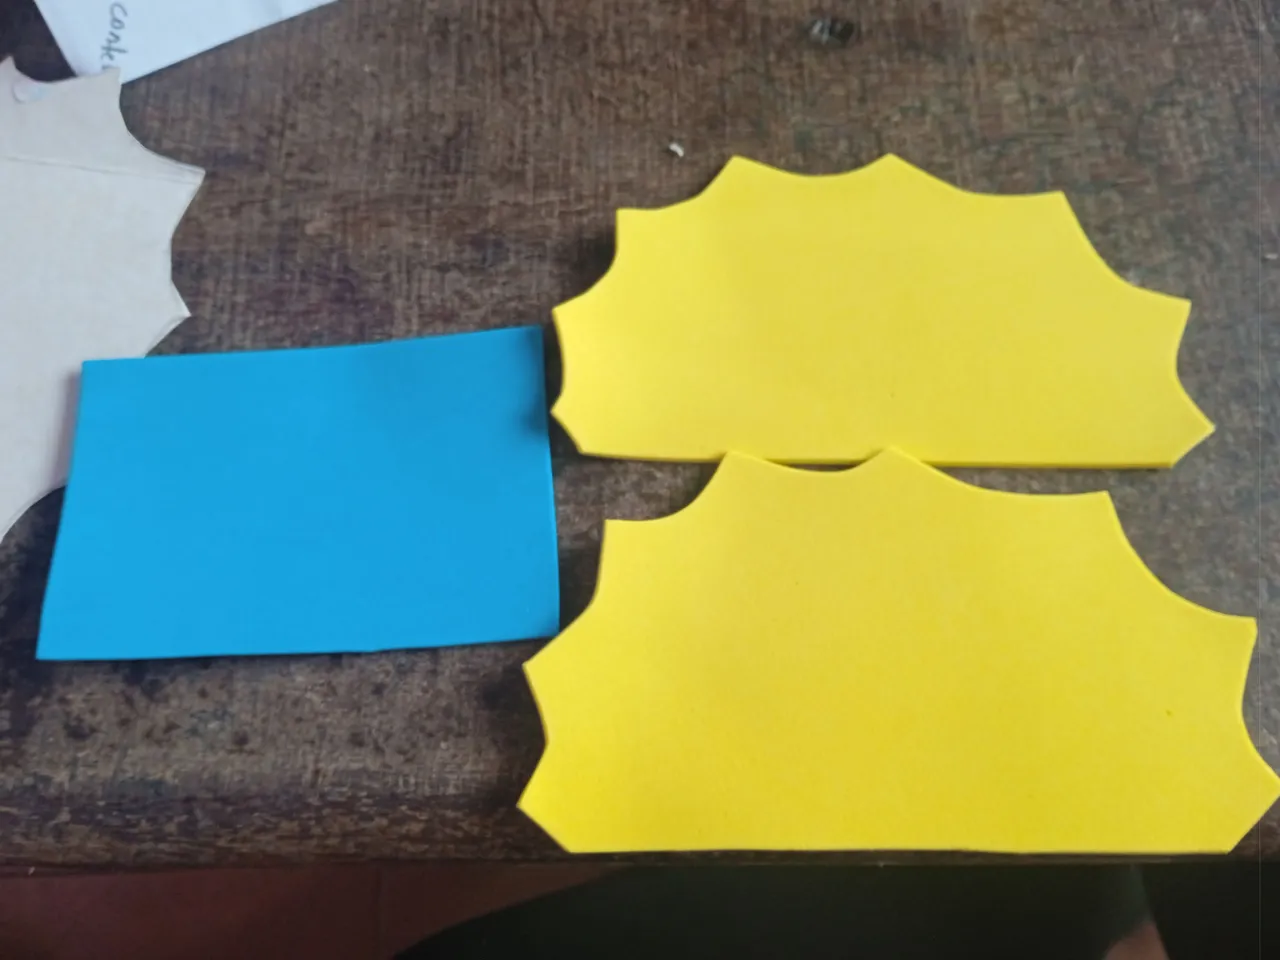
Seguidamente vamos a proceder recortando las mismas piezas pero en foamis para decorar la fachada de el cartón , la parte de abajo la recortarlos color azul para que haga una linda combinación y no todo quede amarillo
Next we will proceed to cut out the same pieces but in foamis to decorate the front of the cardboard, the bottom part we will cut out the blue color to make a nice combination and not everything will be yellow
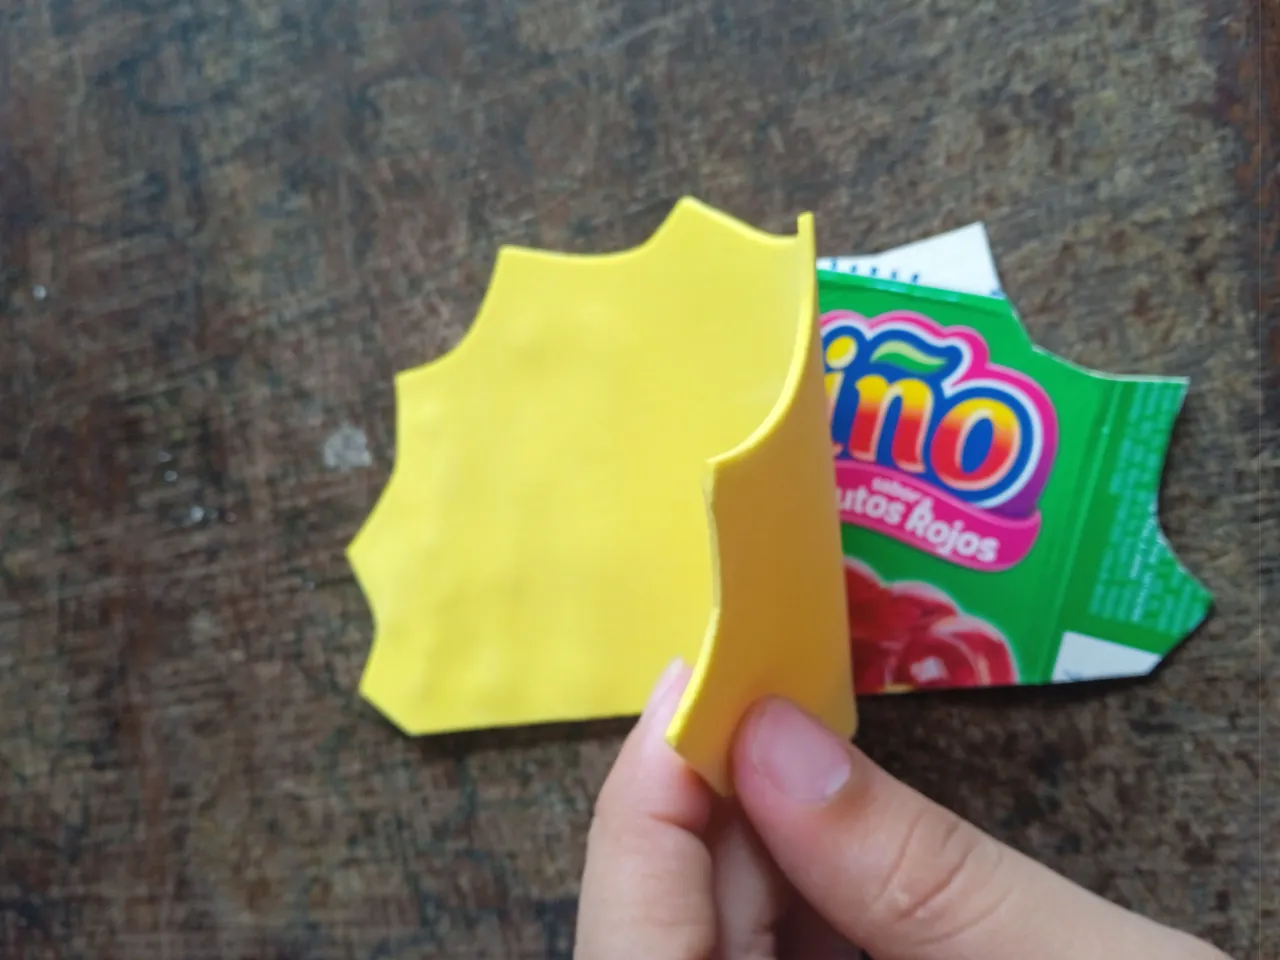
A continuación vamos a proceder a pegar nuestros foamis en las piezas de cartones para poder continuar armando nuestro multifuncional
Then we will proceed to glue our foamis on the cardboard pieces to continue assembling our multifunctional.
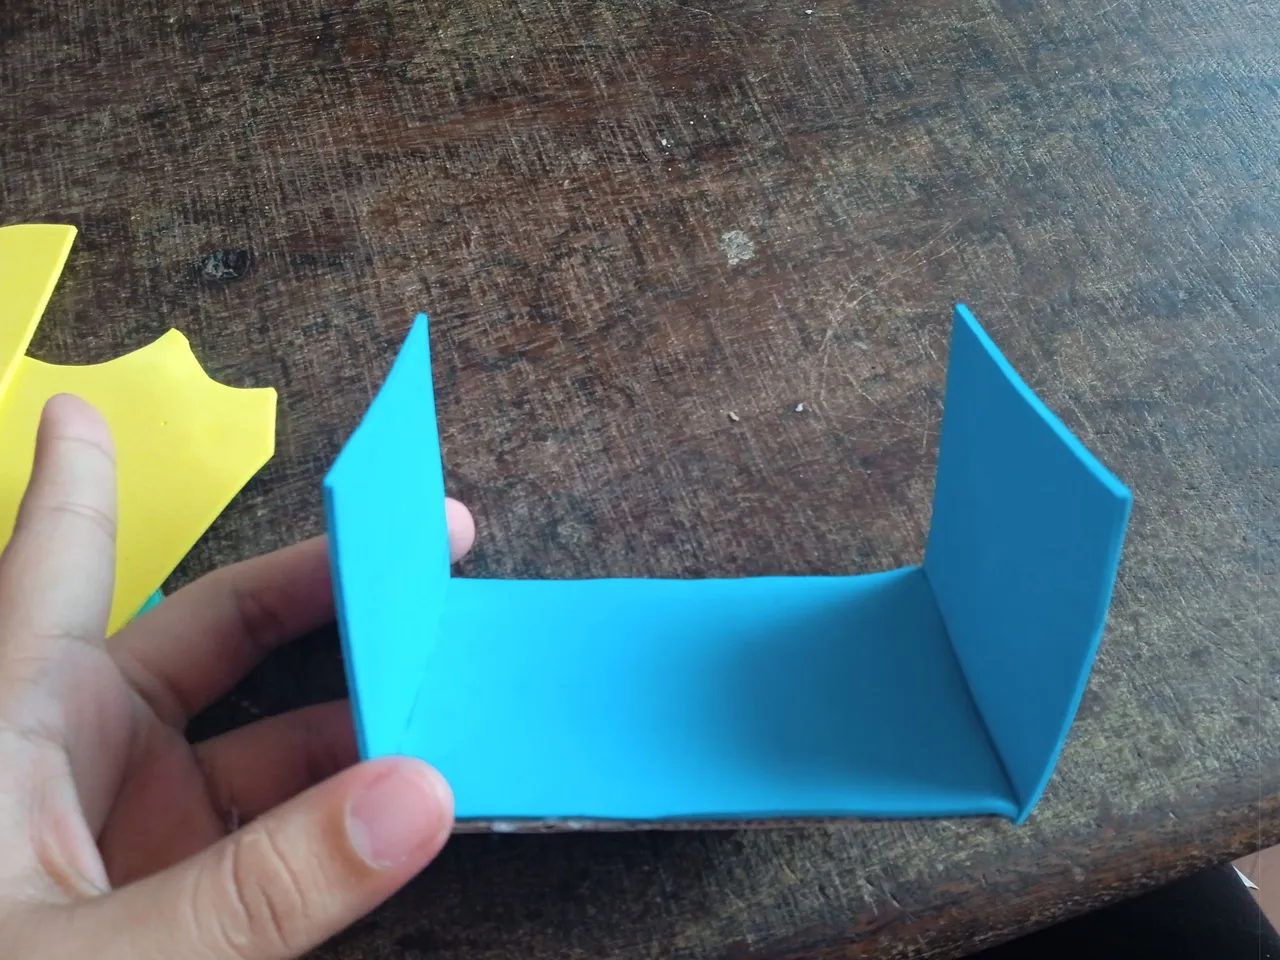
Seguidamente una vez que tengamos listas nuestras piezas ,vamos a continuar pegando los cuadros uno al lado de la otro hasta formar una pequeña caja que será la base de nuestro multifuncional
Next, once we have our pieces ready, we will continue gluing the squares side by side to form a small box that will be the base of our multifunctional
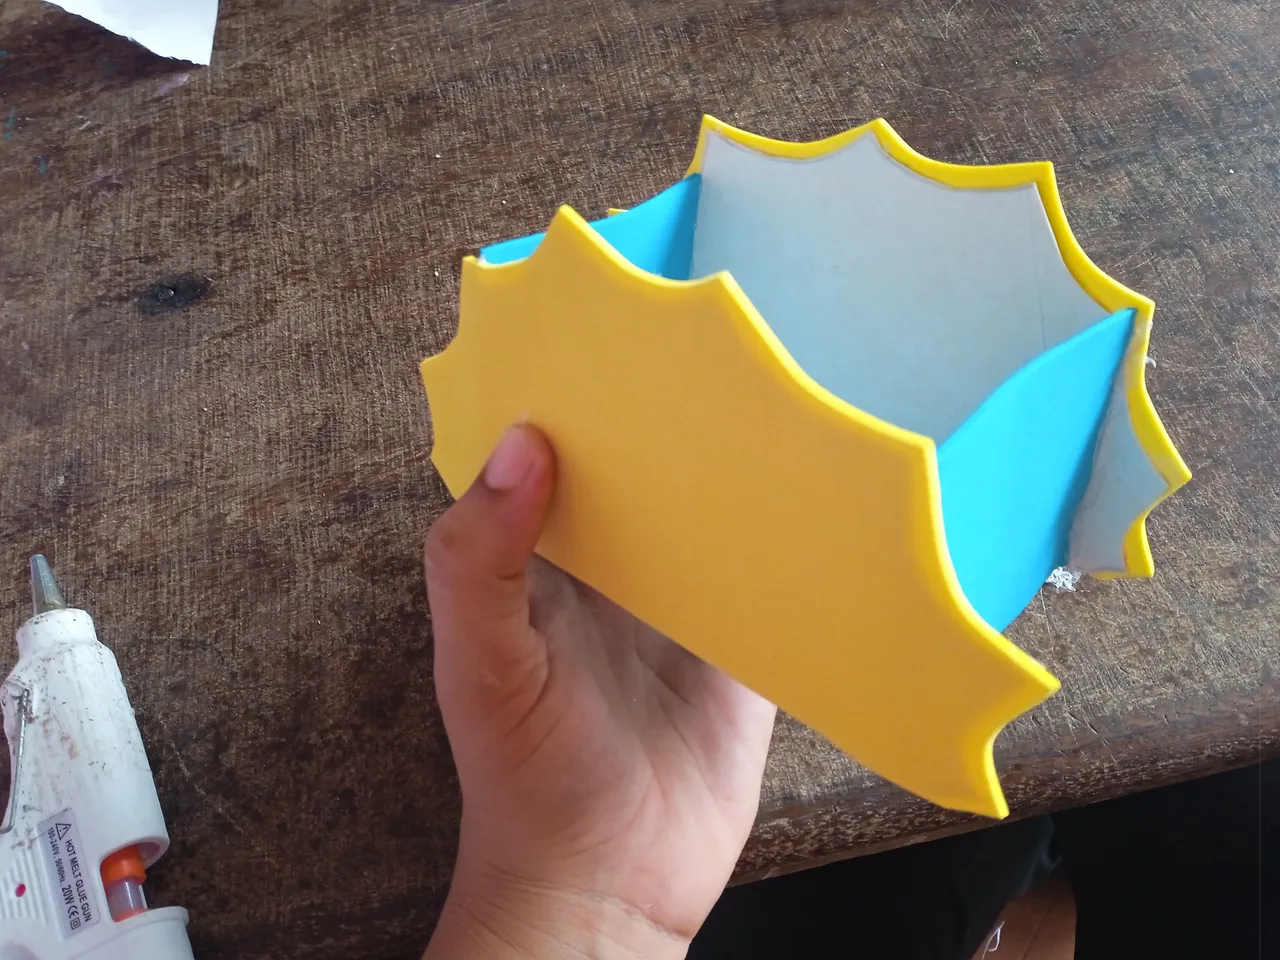
Por último continuaremos pegando los soles en foamis en la parte de adelante de nuestra caja ya que es la temática de nuestra decoración
Finally, we will continue gluing the foam suns on the front of our box since it is the theme of our decoration.
A continuación tomaremos un lápiz color naranja y retocamos todos los bordes de nuestro sol , en la parte de adelante circulas y sus flecos ,que resalte y haga una excelente combinación ya que el sol es ardiente ,por último realizaremos el rostro de nuestro sol , con un lápiz vamos a pintar sus pestañas y boca y con lápiz rojo pintaremos sus mejillas sonrojadas
Next we will take an orange pencil and touch up all the edges of our sun, in the front part we will circle and its bangs, to highlight and make an excellent combination since the sun is hot, finally we will make the face of our sun, with a pencil we will paint its eyelashes and mouth and with a red pencil we will paint its blushing cheeks.

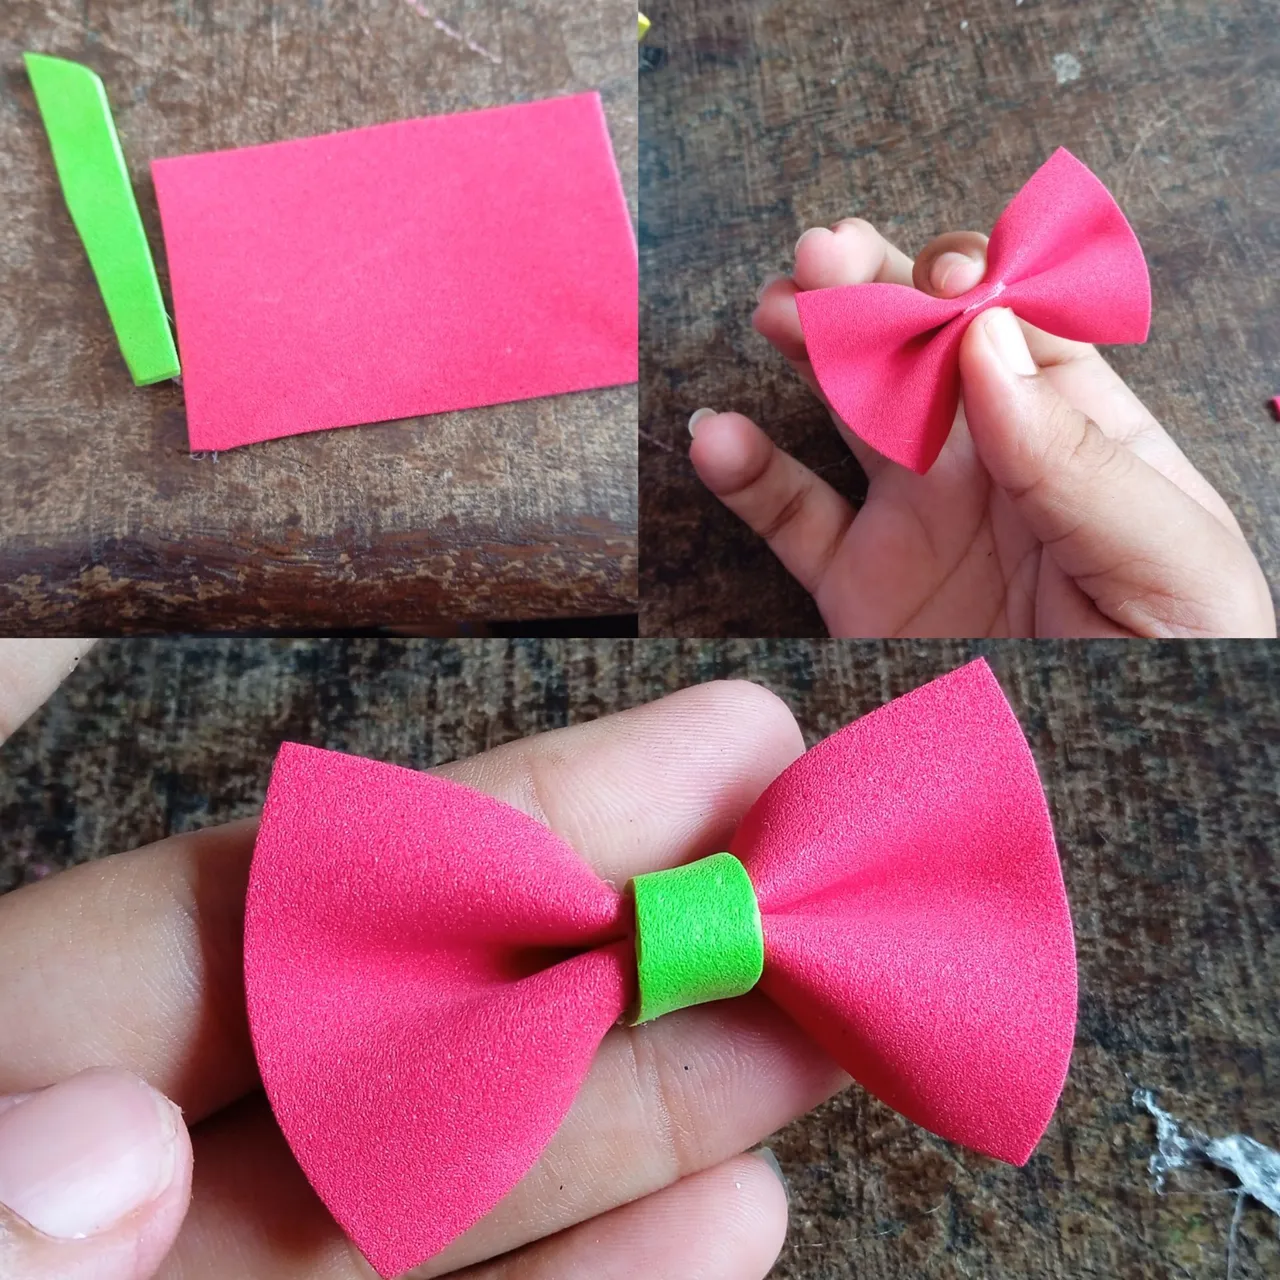
Para finalizar con la decoración vamos a realizar un pequeño lazo ,para esto recortaremos un cuadro de foamis de el color que nos guste y una tira , vamos a doblar muestro foamis de forma horizontal dos dobles exactamente y le pegaremos una cinta en todo el medio hasta formar nuestro lazo
To finish with the decoration we will make a small bow, for this we will cut a square of foamis of the color that we like and a strip, we will fold our foamis horizontally two doubles exactly and we will stick a ribbon in the middle to form our bow.
Una vez listo nuestro lazo vamos a proceder a pegar en una esquina semi de lado nuestro hermoso lazo ,para decorar nuestra decoración
Once our ribbon is ready, we will proceed to glue our beautiful ribbon in a corner to decorate our decoration.

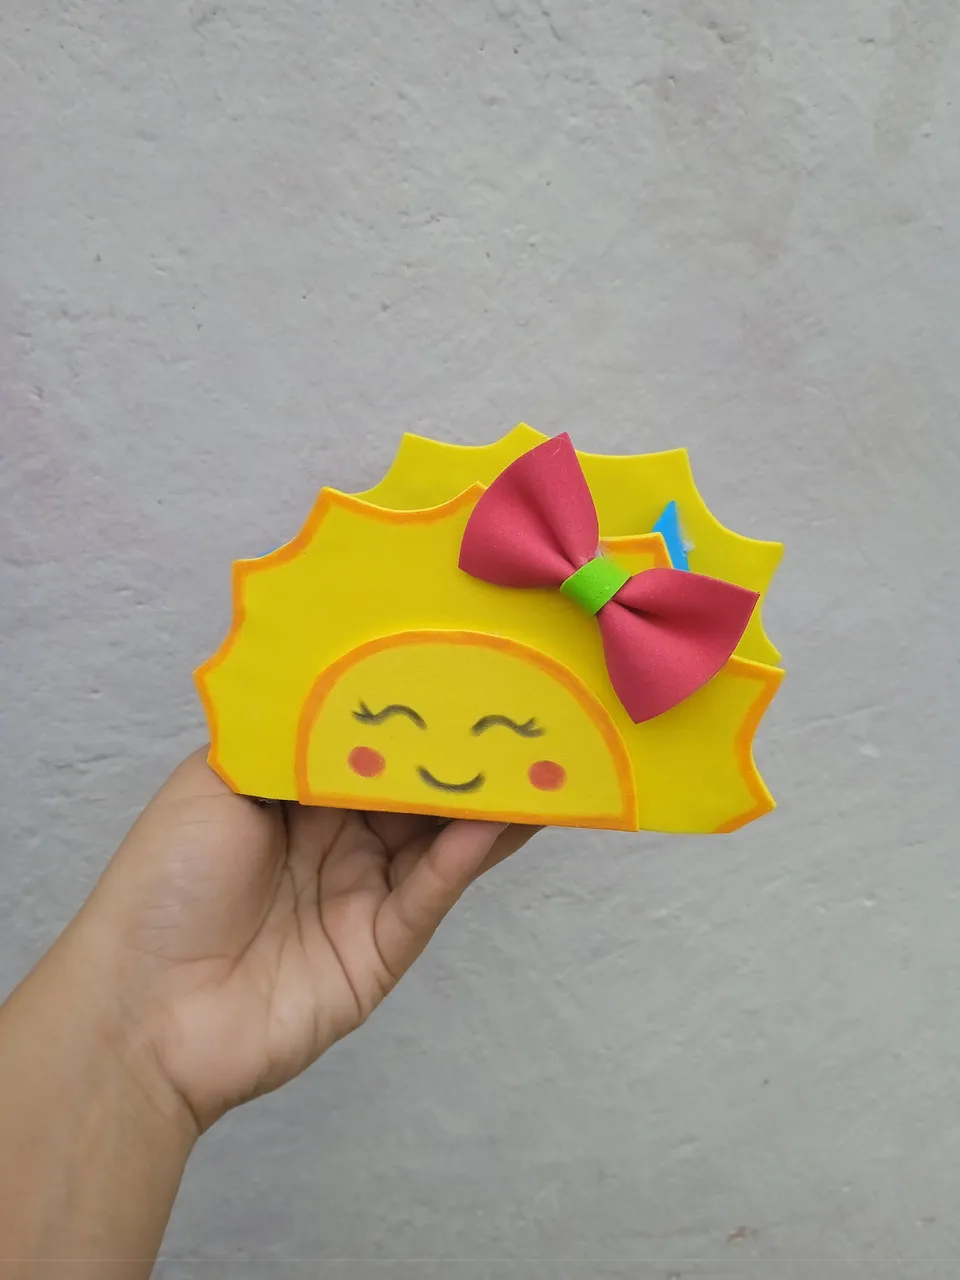
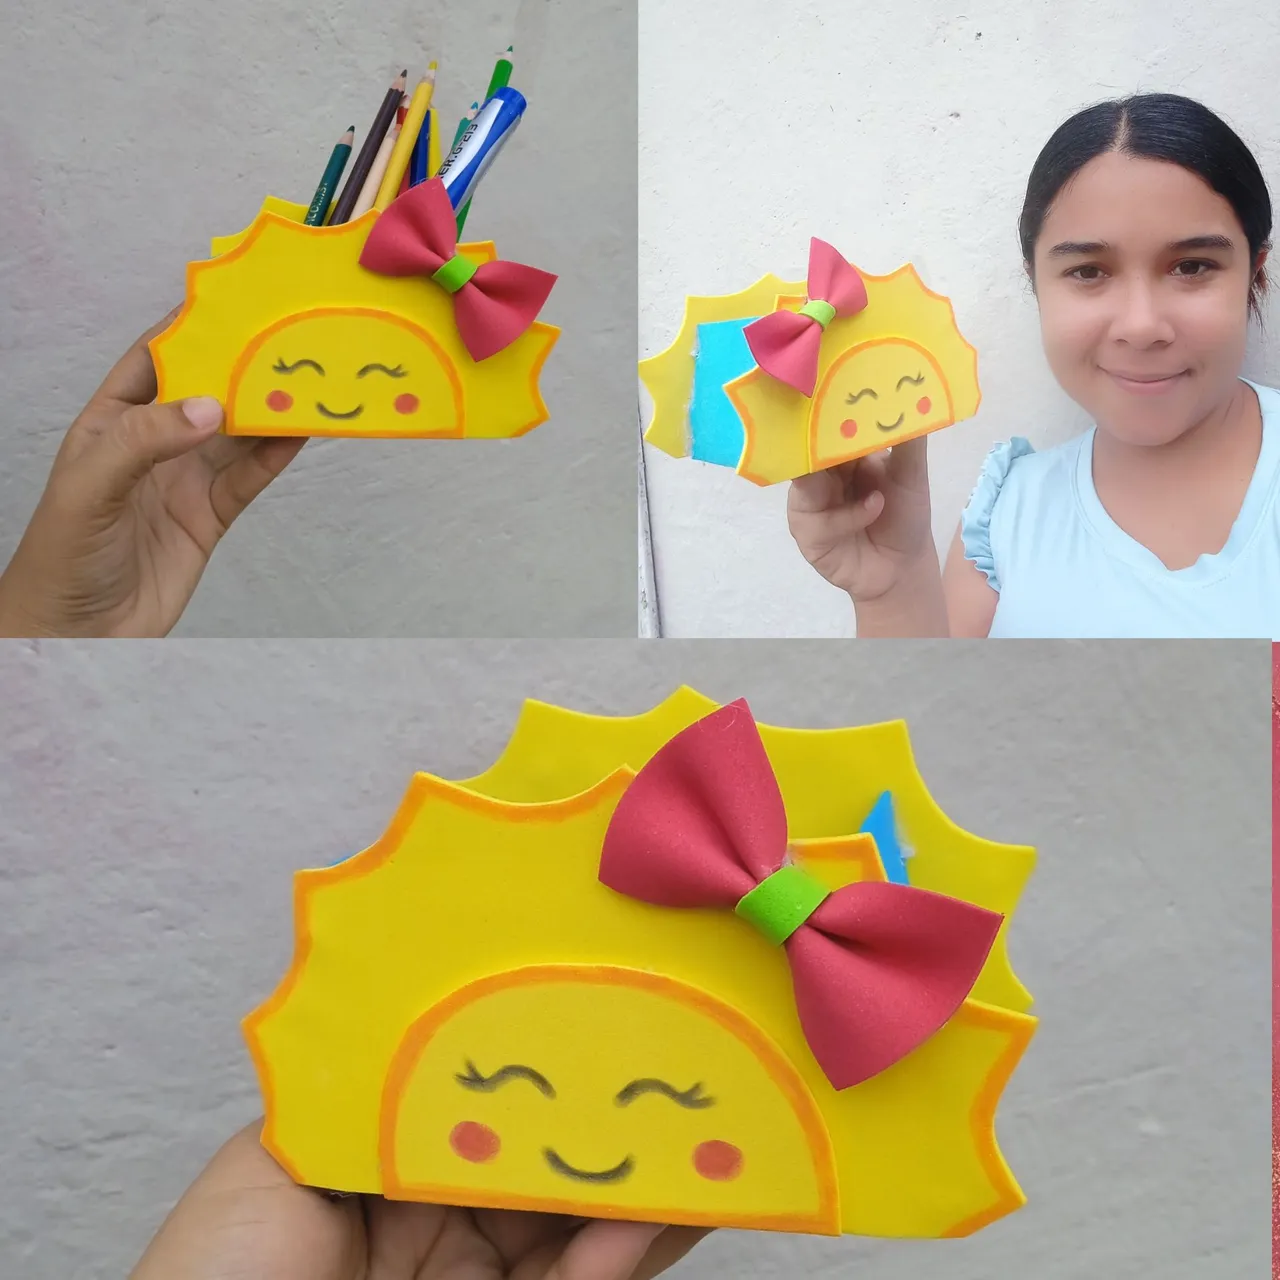
Este es el resultado final de mi hermosa decoración un multifuncional con temática de sol , hermoso para decorar habitaciones y oficinas ,antes de finalizar le hago la invitación a mis amigas @ramueris @josdelmin @mili2088 que formen parte de esta maravillosa iniciativa , las fotos las tomé con mi teléfono Redmi 9C y los textos los traduje con el traductor DeepL ,feliz día
This is the final result of my beautiful decoration a multifunctional with sun theme, beautiful to decorate rooms and offices, before finishing I invite my friends @ramueris @josdelmin @mili2088 to be part of this wonderful initiative, the photos were taken with my phone Redmi 9C and the texts were translated with the translator DeepL, happy day.