Sewing batik clothes is a new challenge for me, why? Because sewing batik clothes must be very careful and requires maximum concentration, one incorrect pattern measurement can have fatal consequences, you have to be very careful. And you have to know where the bottom is and where the top is, you have to be able to unite the motifs of the clothes and also be creative about how to place the fabric so that it can become a good shirt. Why do I say this? Because I'm still a beginner! Yes, I've only been in the sewing profession for about a year. So, there is a sense of hesitation and fear of being wrong.
Ok, to sew batik clothes also requires a lot of cloth, unlike other ordinary fabrics that only spend a few meters. Also, ordinary cloth has a wide area of cloth, for example, 2 meters long, up to 1.5 meters wide. But for batik cloth not that long. But only 20 cm or 30 cm difference. For example, the cloth that you want to buy is 2 meters long, automatically the width of the cloth is 1 meter 20 cm or 1 meter 25 cm more or less. In my experience, buying cloth is like that.
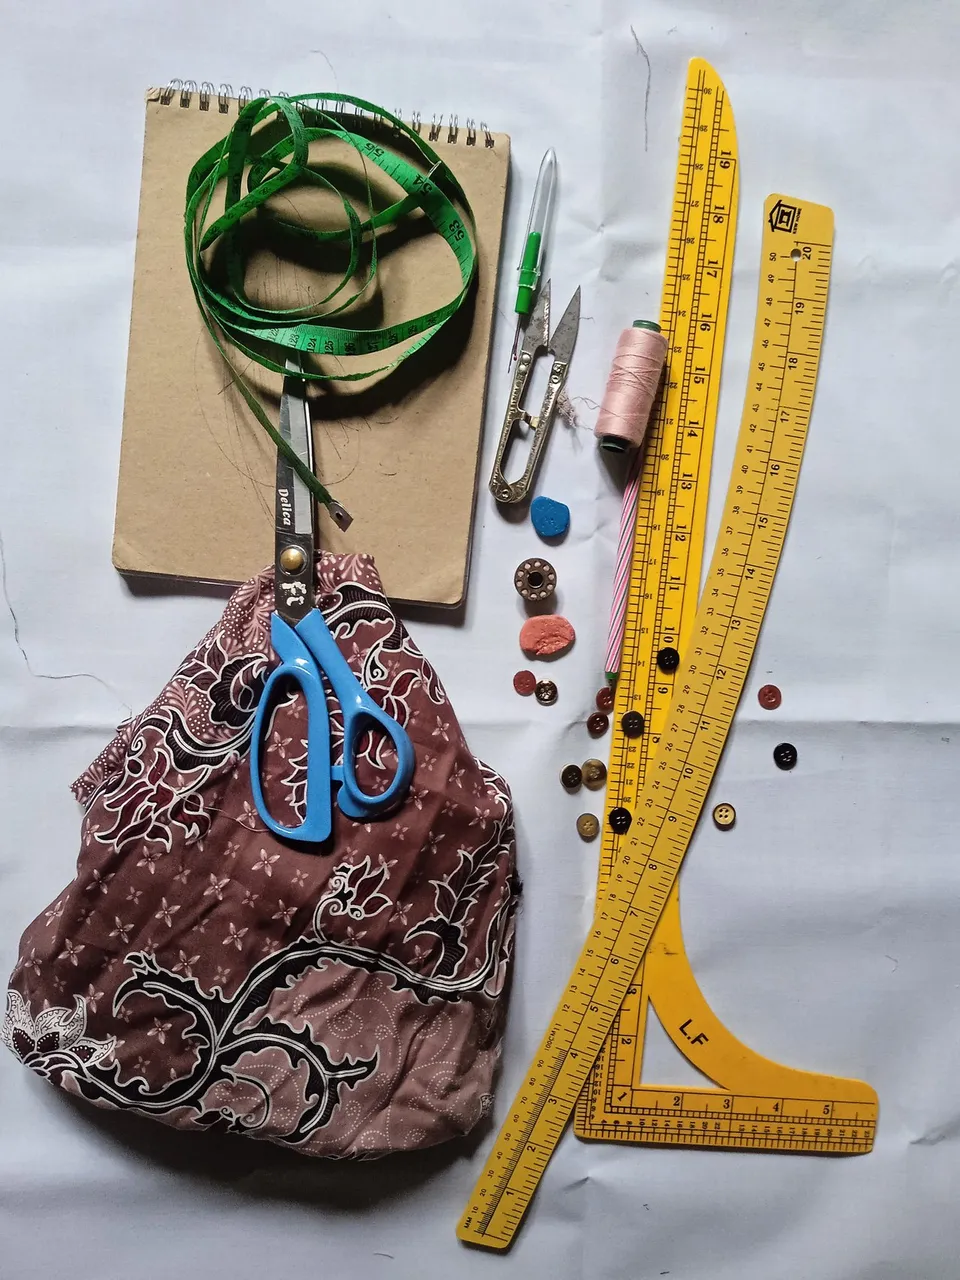
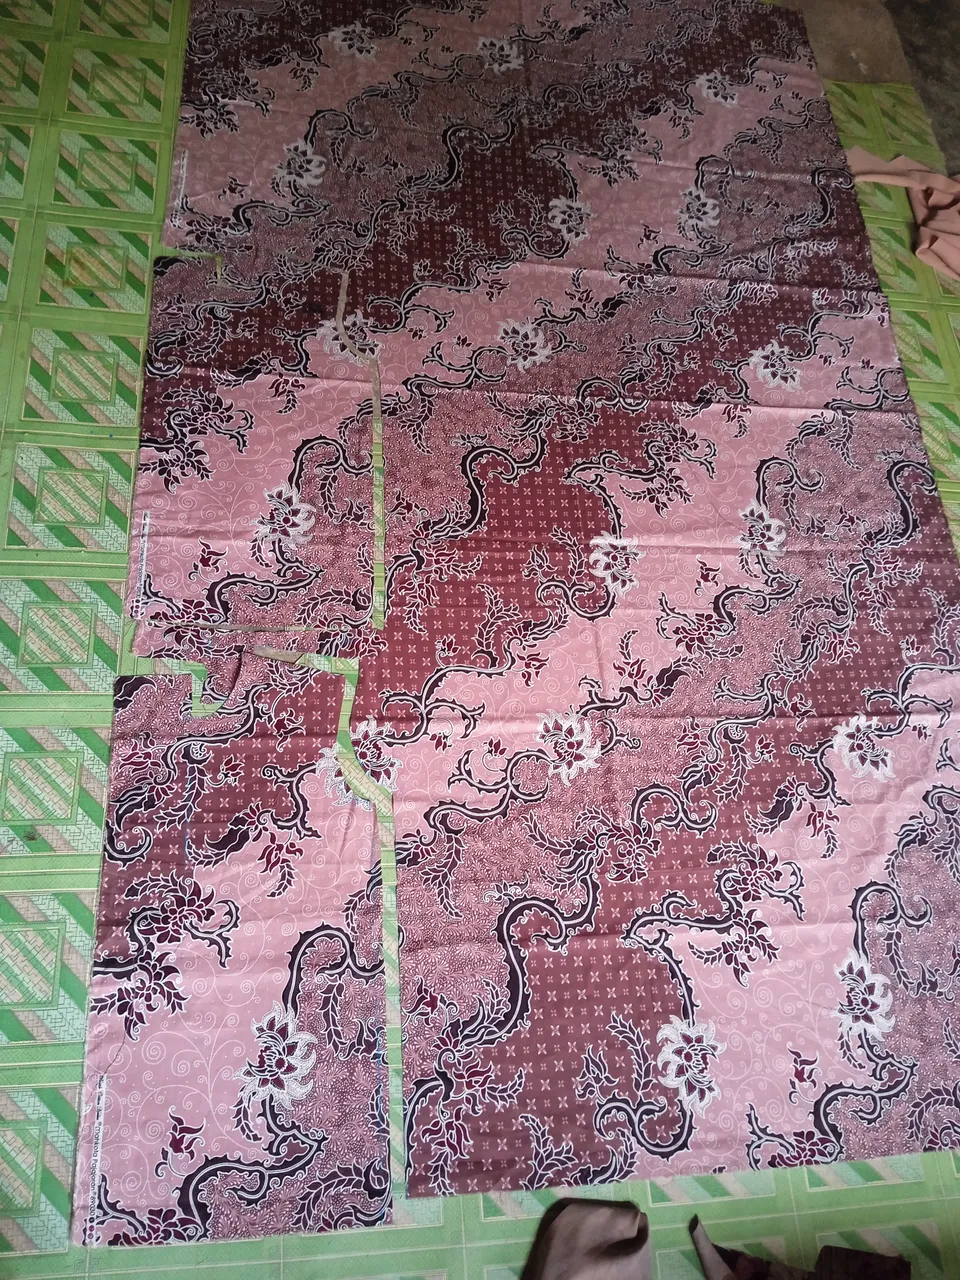
Here I have 2 meters of batik cloth with a width of 1 meter 25 cm. These 2 meters are for clothes for children aged 11 years and 5 years. So, these 2 meters are for two long-sleeved shirts. For adults, just one shirt can spend 2 meters 30 cm for long sleeves. For short sleeves, just 2 meters. Well, here I have put the cloth for me to cut. So, I have to know first which cloth on top and which bottom is more suitable for making dress patterns.
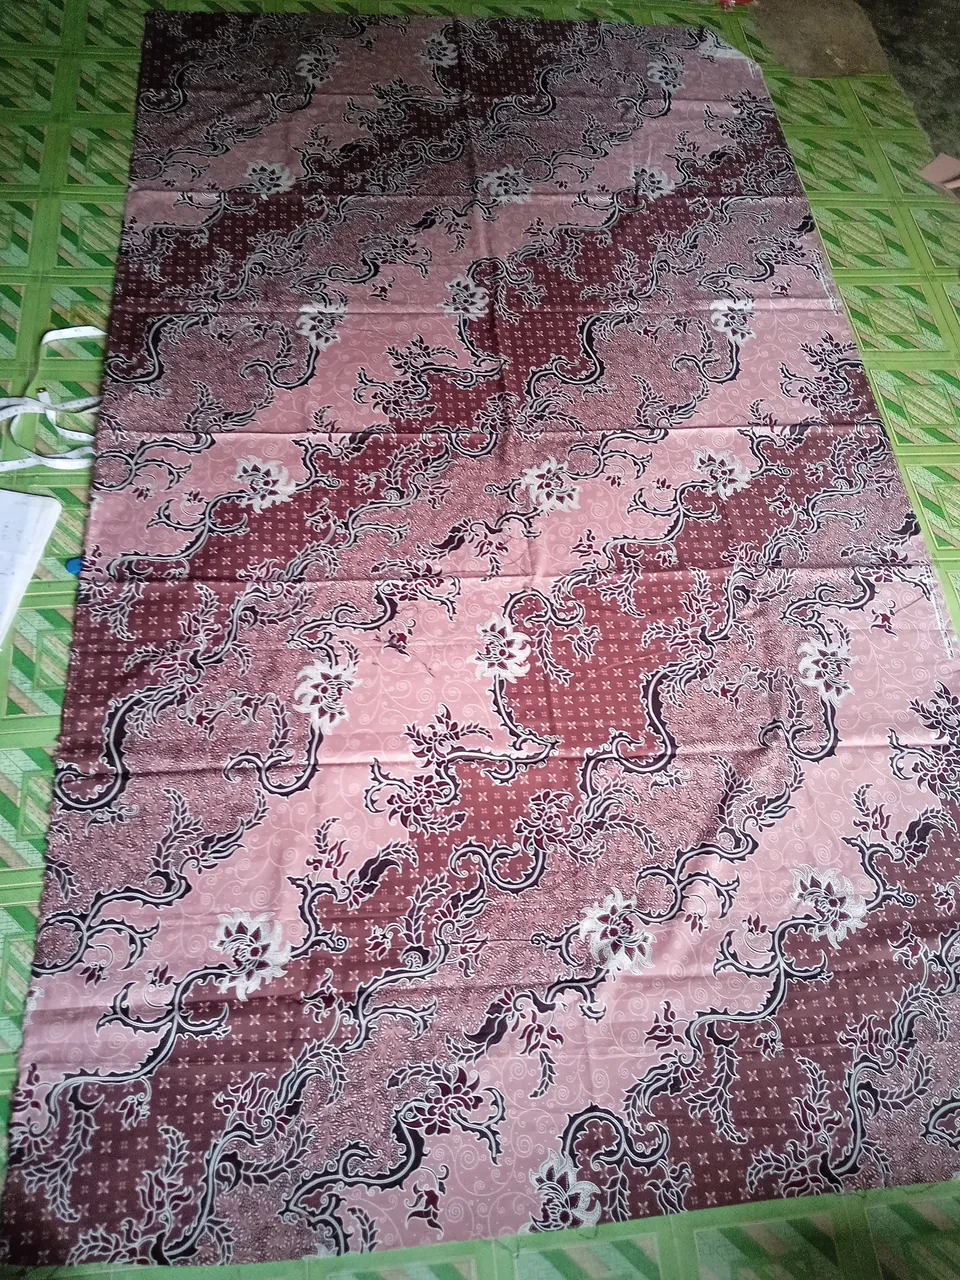
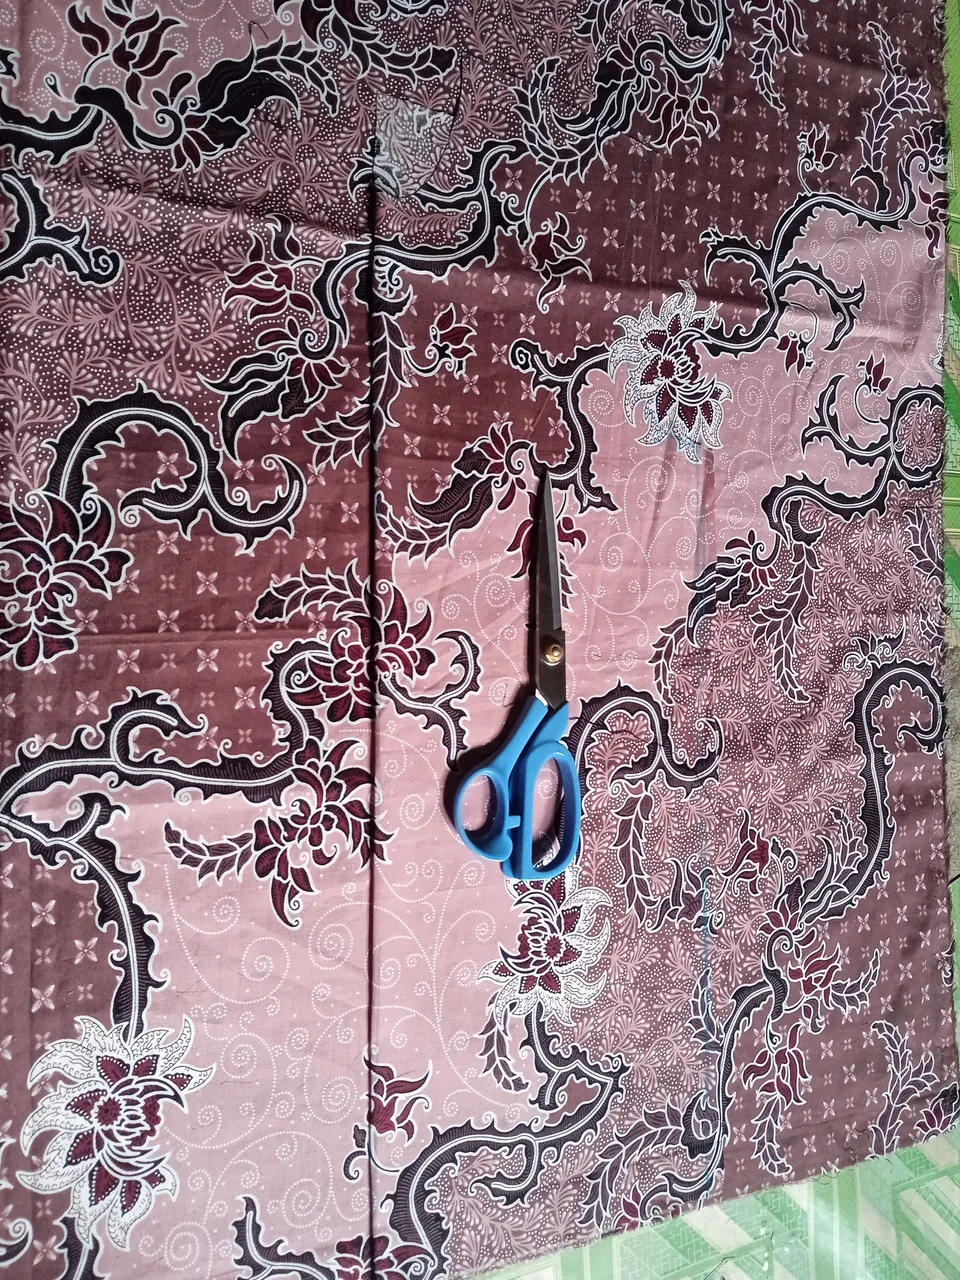
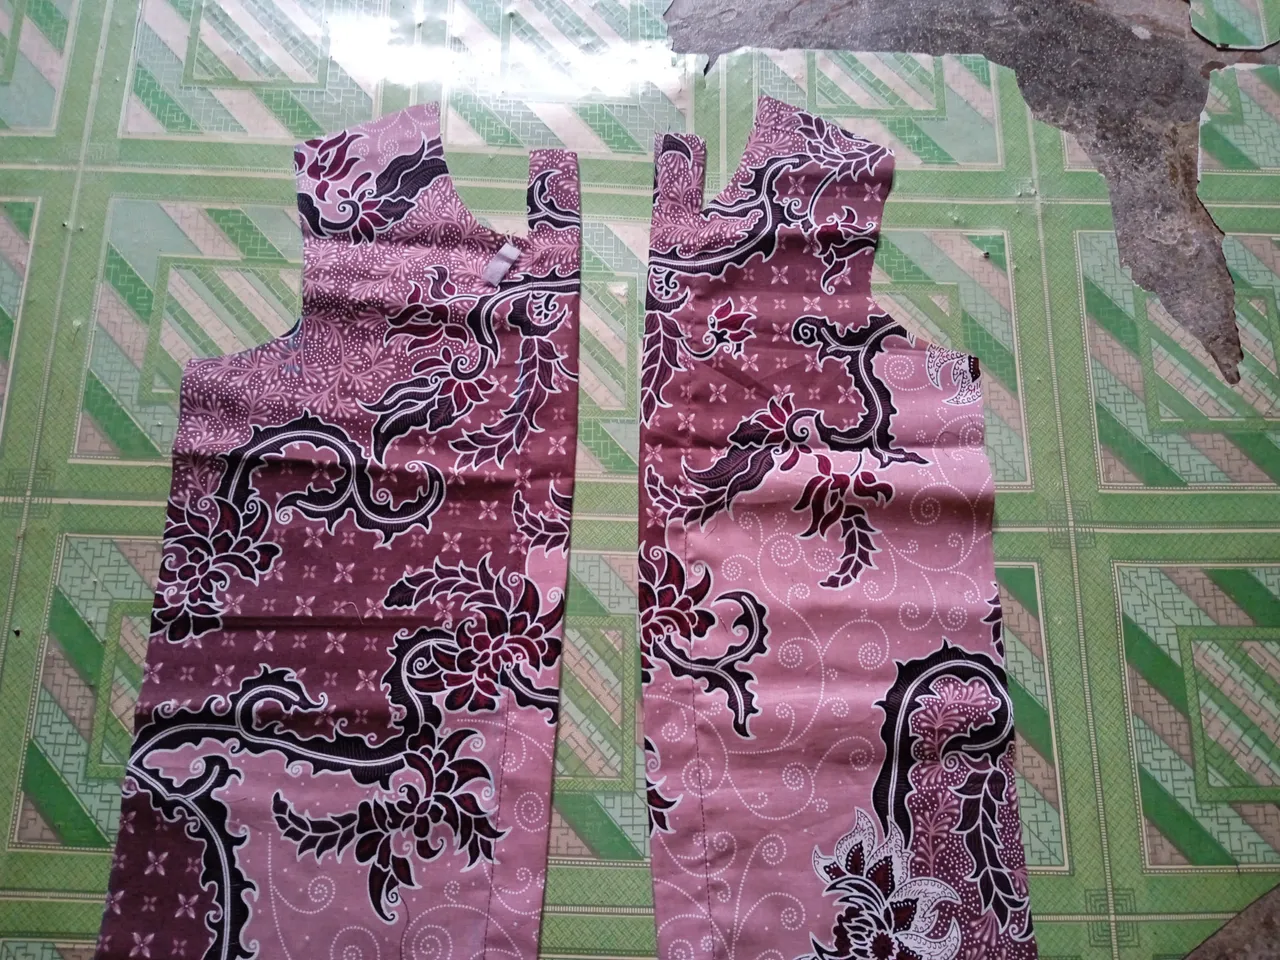
Well, I started making the pattern from the right side and the placement was right. Why do I put batik cloth like this? Unlike other ordinary fabrics? Yes, that is the difference between batik cloth and other patterned fabrics. Because if I place it like any other cloth that is usually folded before cutting it, then the batik motifs won't meet/not as smooth. So, I put the cloth like this, it doesn't need to be folded. The way to cut it will be one side later so you can get it all the way.
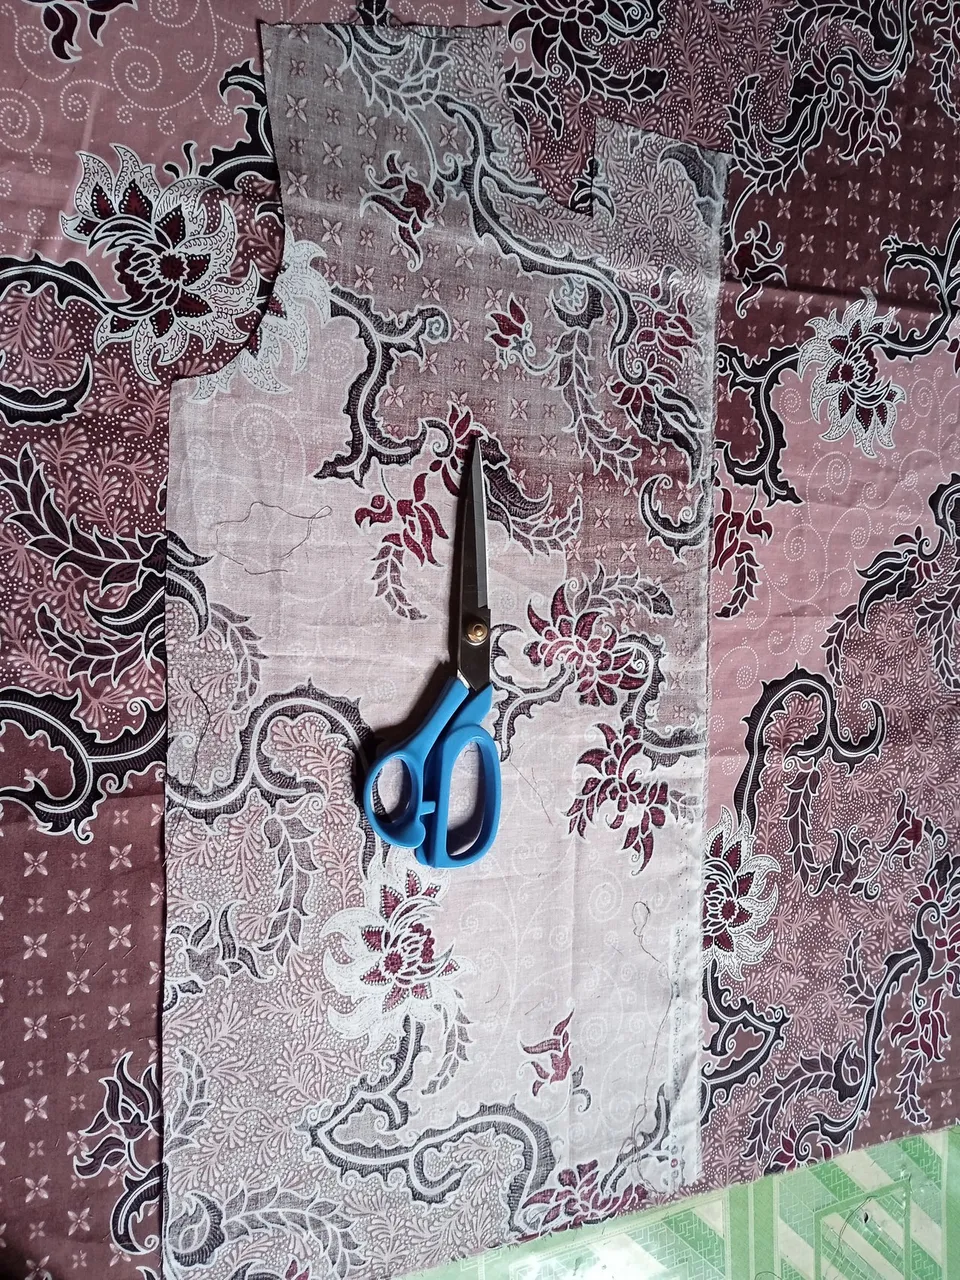
I've made a pattern for the shirt by exaggerating the tray for the 3 inch buttons and I cut it right away. This is for the front pattern, OK? Children's clothes are different in size from adults' clothes. As in the front neck collar, for children the neckline drops 2.5 inches or 2 inches. For flat necklines with a 2 inch shoulder joint. But if an adult drops the front neck collar 3 inches, for flat 2 inches too. Not much difference, only a few inches, not too much.
So, above is the left front pattern making. Well, now is making the pattern on the right. For the placement, namely, the first cloth to make the front pattern on the left side that was placed earlier, don't change it again, leave it as before. Then take the left pattern part of the shirt, put it upside down. that is, the outside of the left pattern shirt must face the outside of the right pattern shirt. So that later after being cut, don't make the pattern on the left side the same.
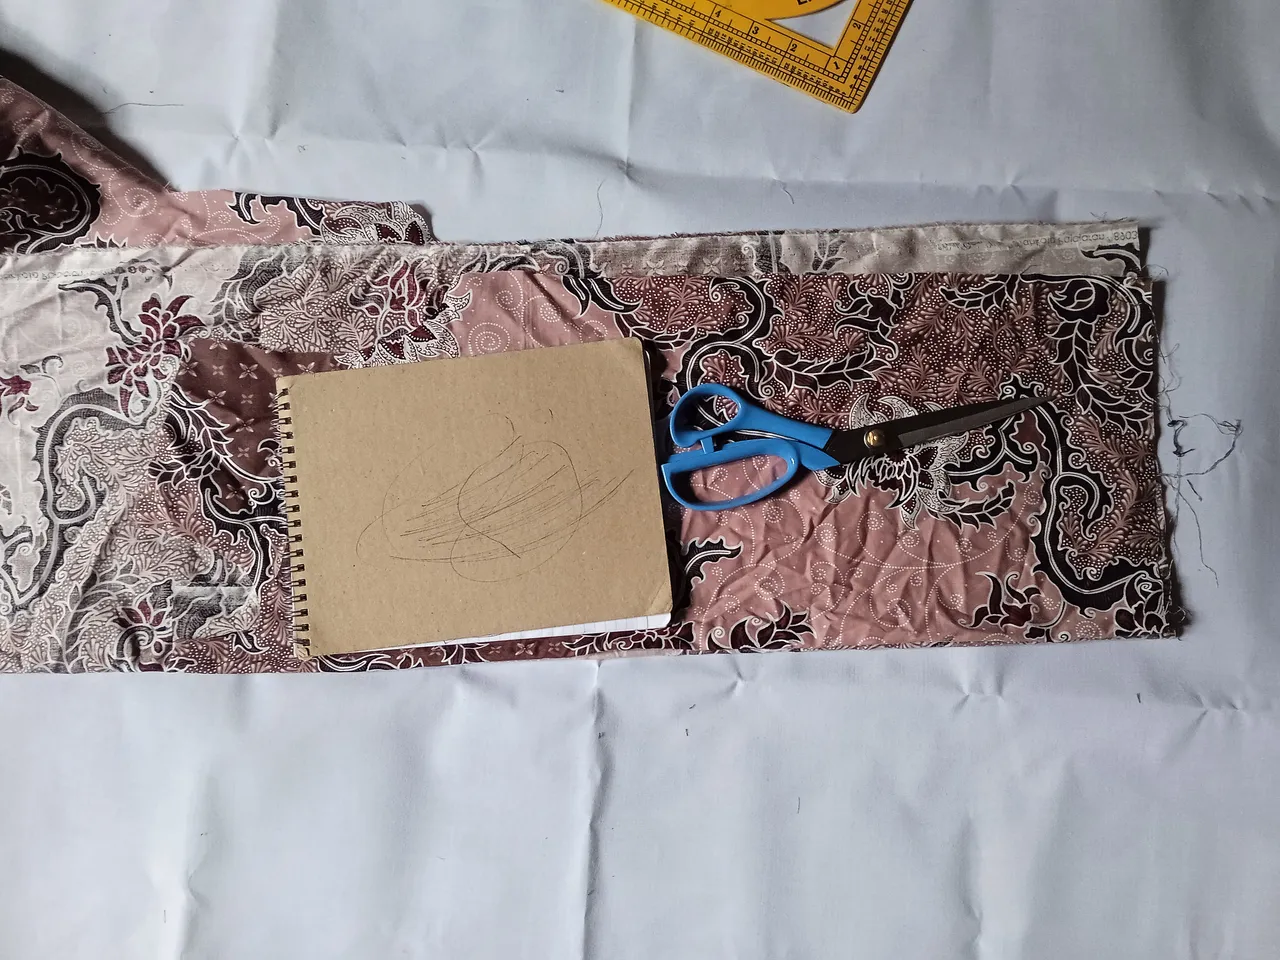
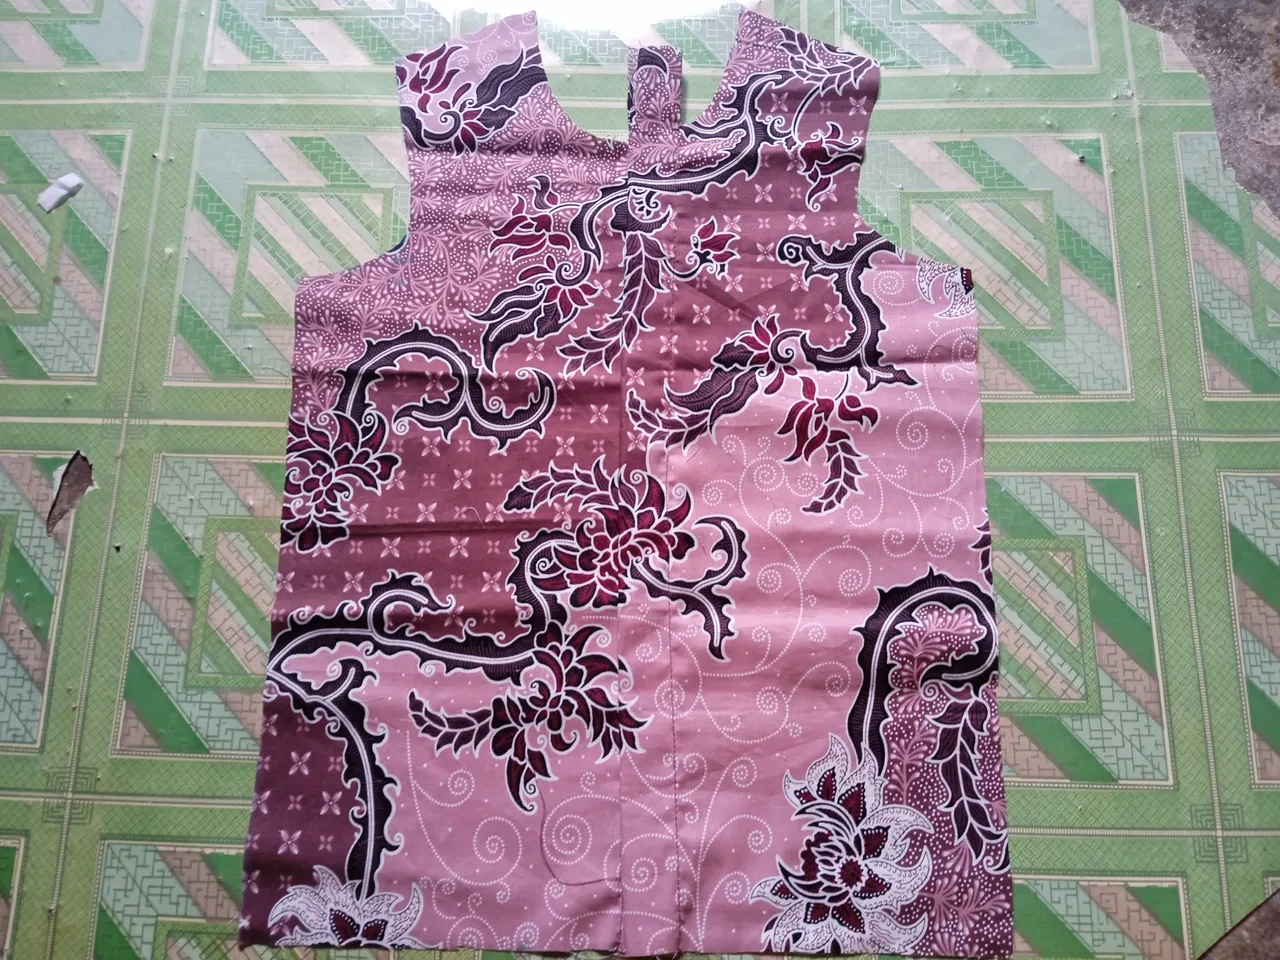
Then, just stick the pattern on the back of the shirt on the front pattern that was cut earlier and fold the button tray on the front pattern. Back pattern Only adds 2 inches of shoulder length, 1/2 inch of sleeve seams and 1 inch of back neckline.
After pattern making and cutting is complete, now we move on to sewing mode. So, I first sewed up the buttons and eyelets, right and left. And unite it with the back pattern. This is how it looks.
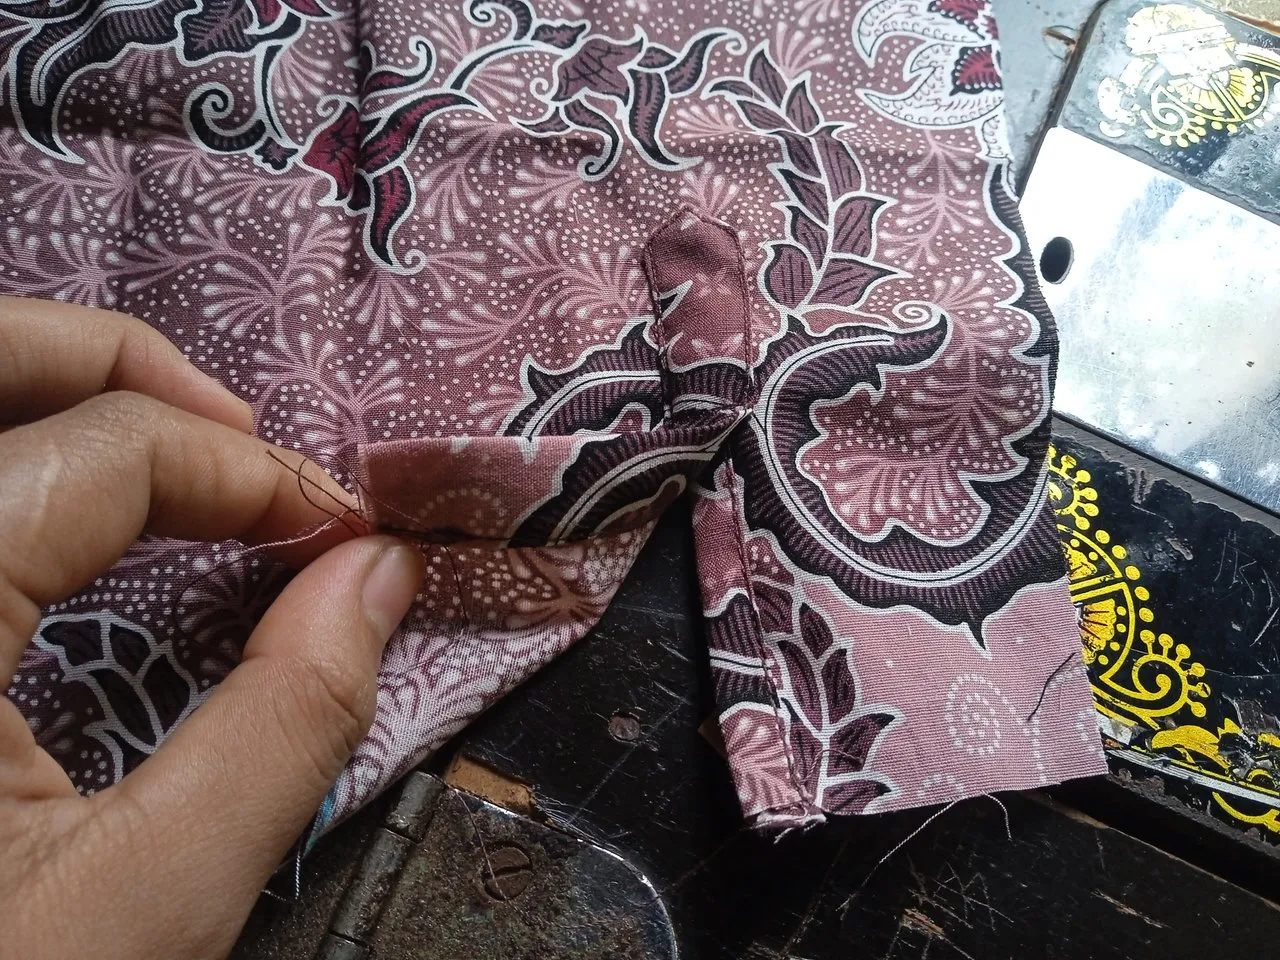
Since the shirt has long sleeves, I made the ends of the sleeves like this.
When ready, then I combine the front and back patterns with the arms. Yes, it looks roughly like this.
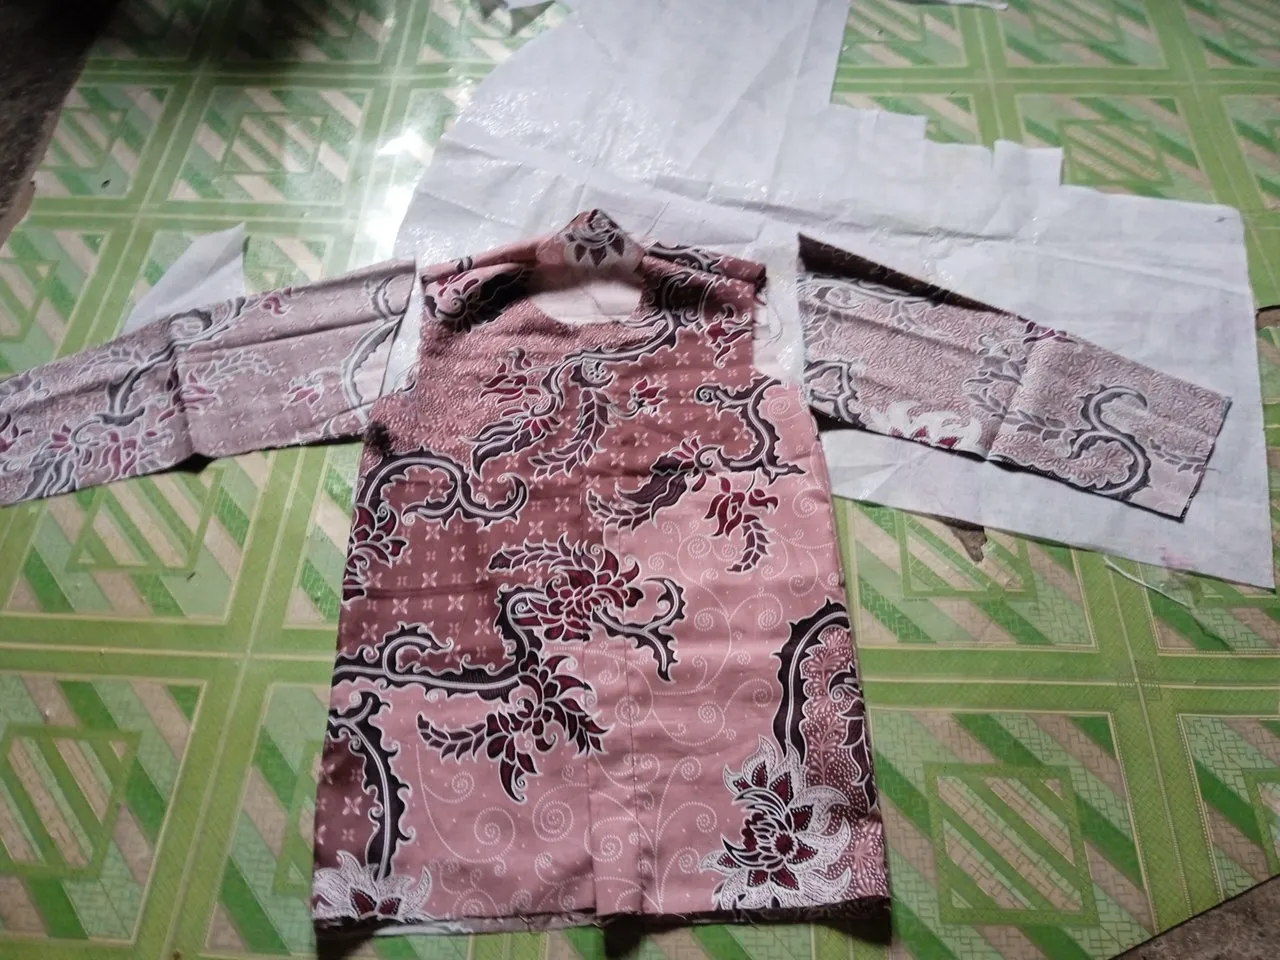
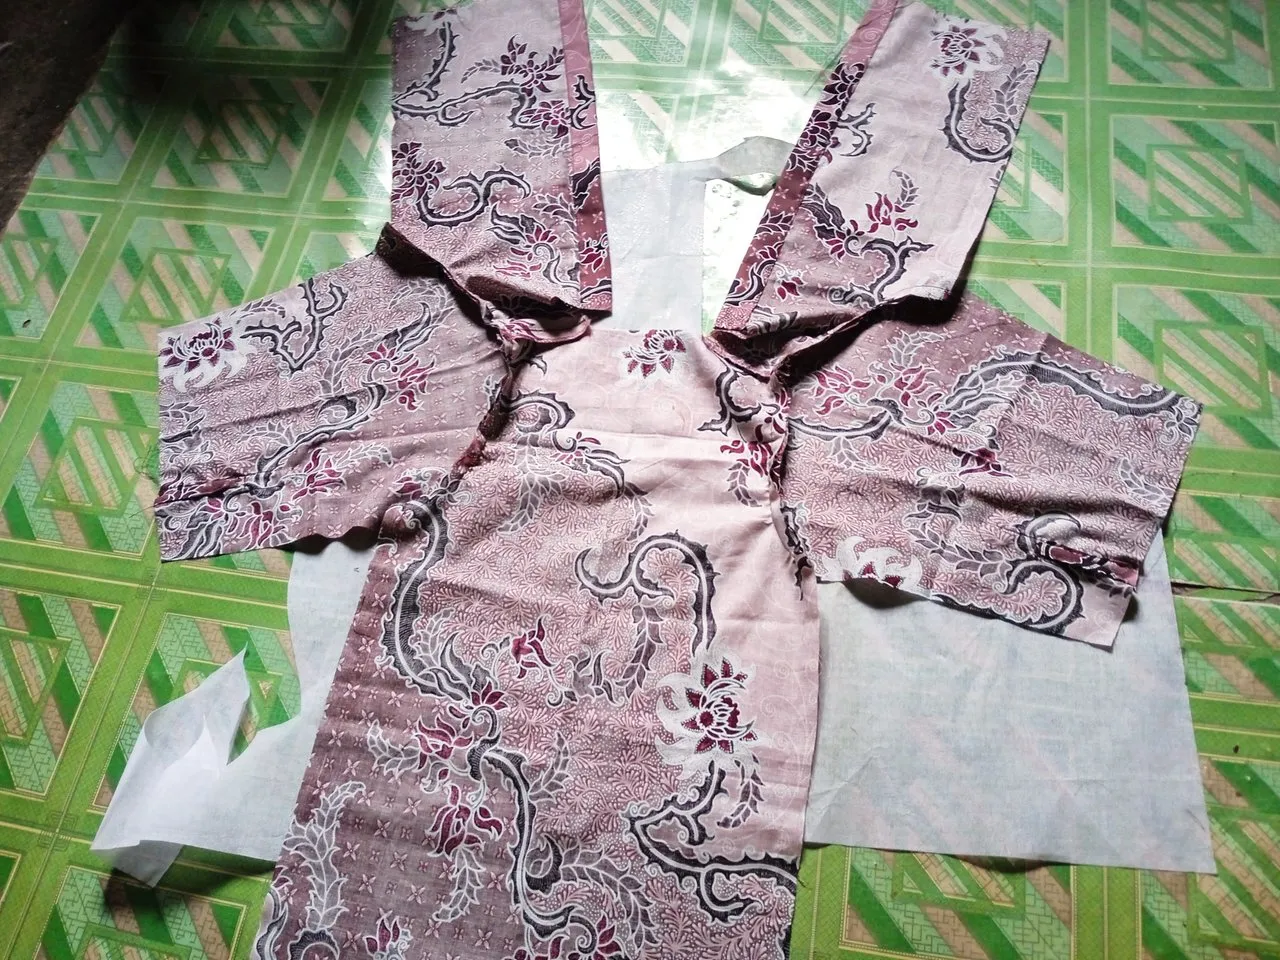
Once put together, then all the sides are sewn. Finally, just add the collar and the ends of the sleeves.
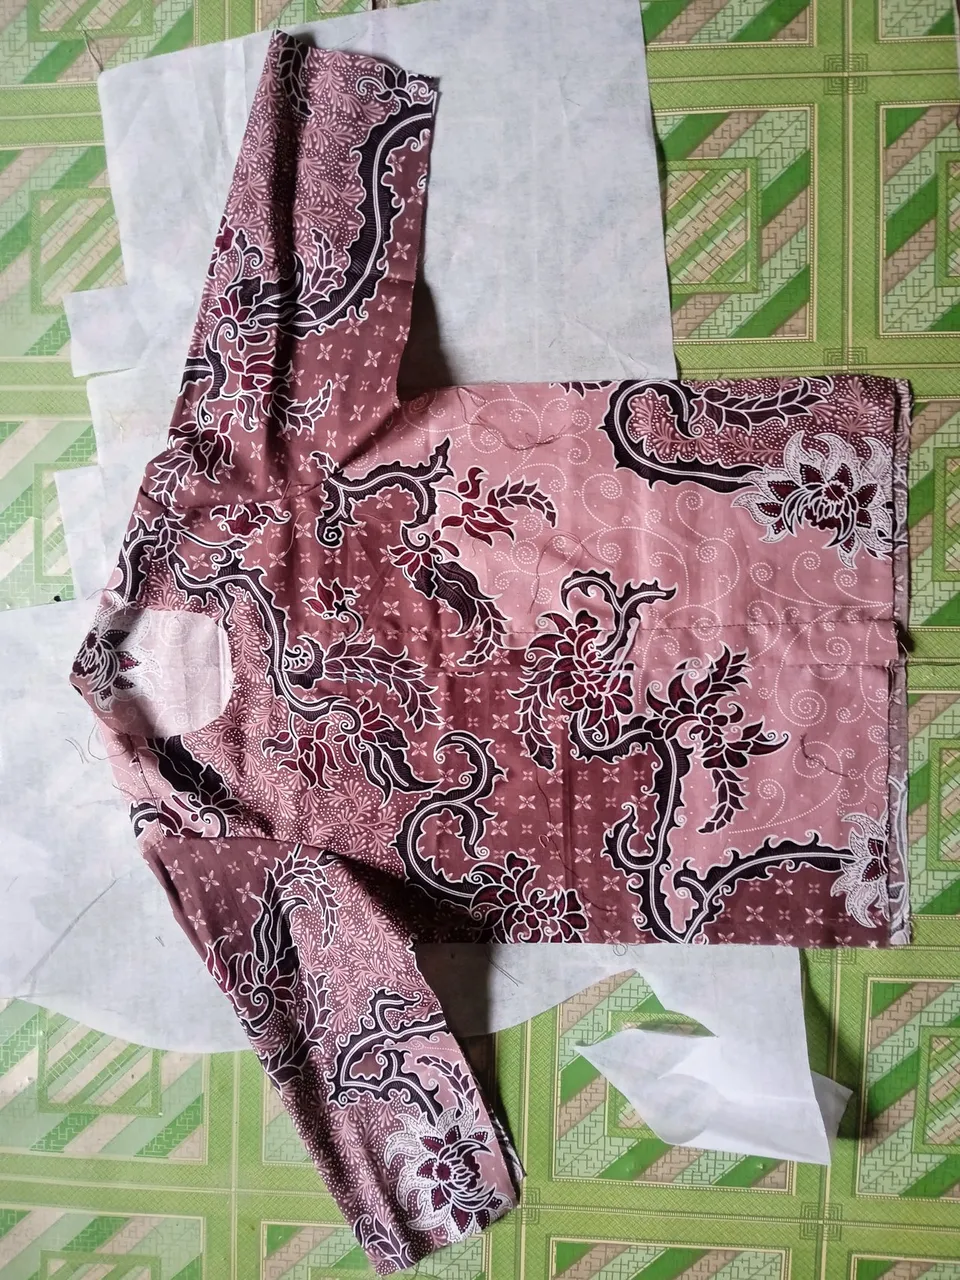
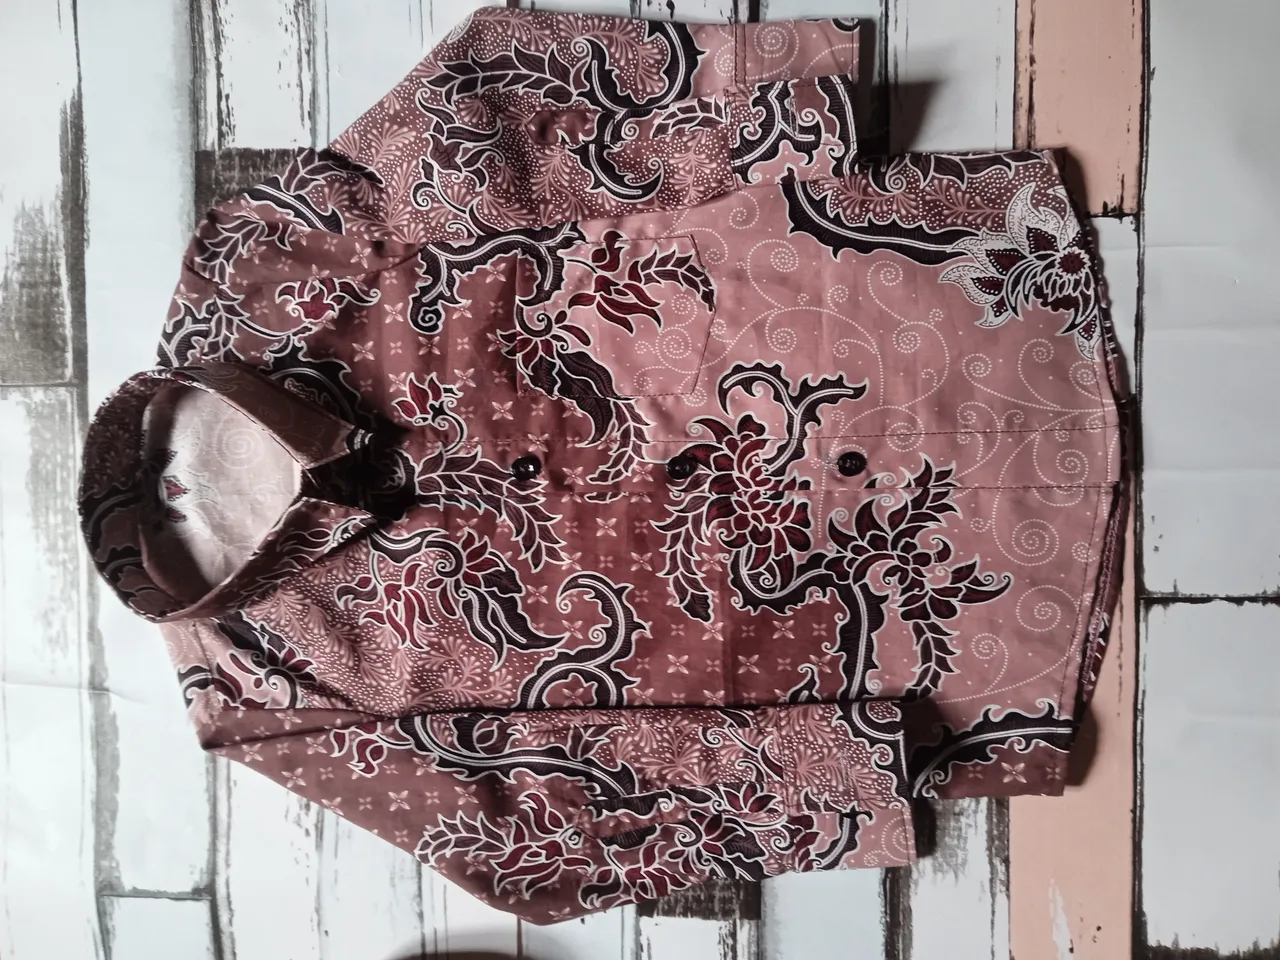
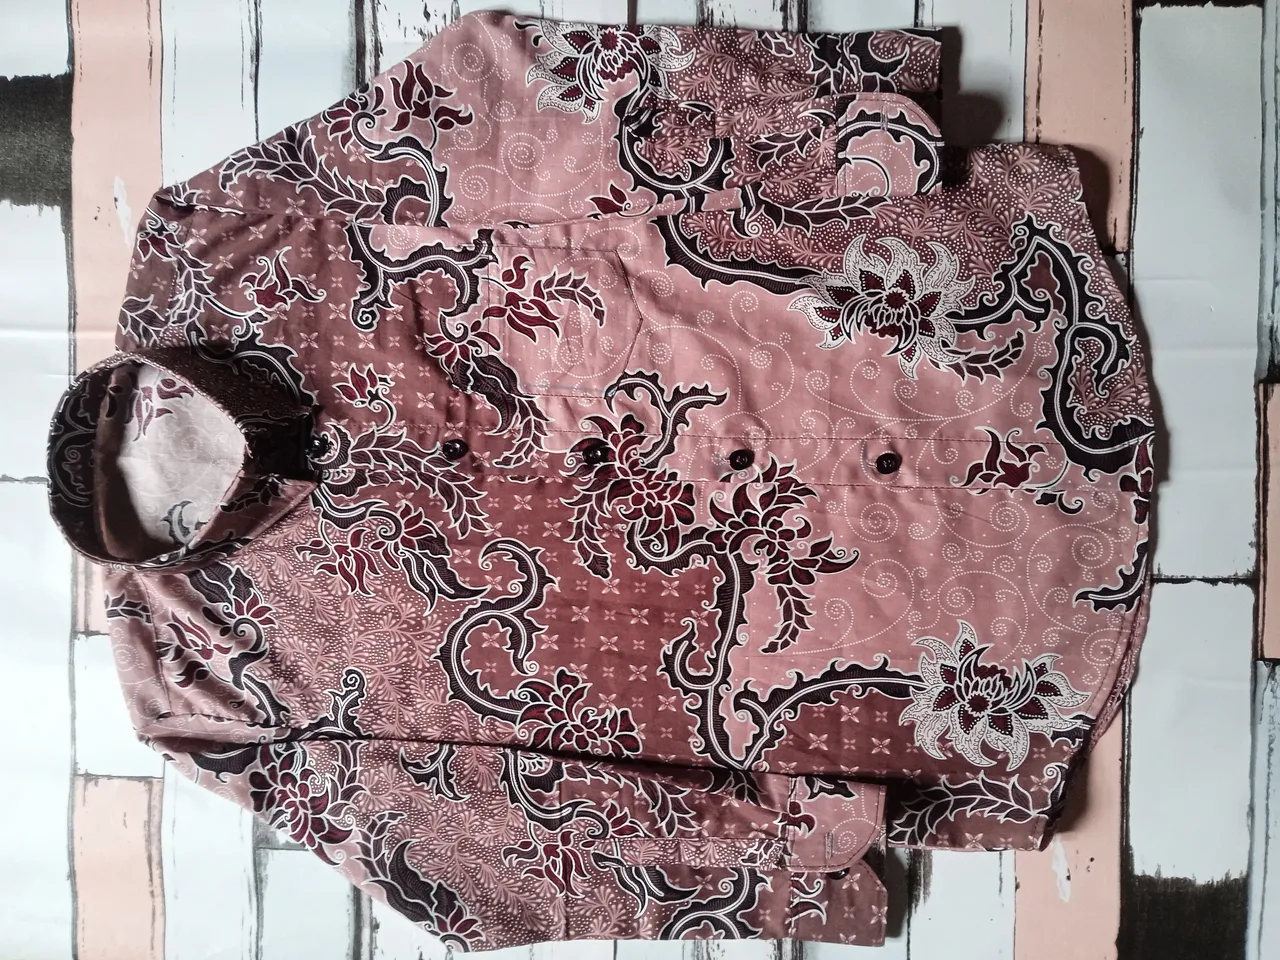
And it's finished, this is the result of a simple batik shirt with a perfect blend of batik motifs that looks very cute, but very pleasing to the eye. Suitable for formal occasions.