Hello, dear creative Hivers, welcome to my blog, I hope you are all having a good day, wishing you the best the day has to offer.
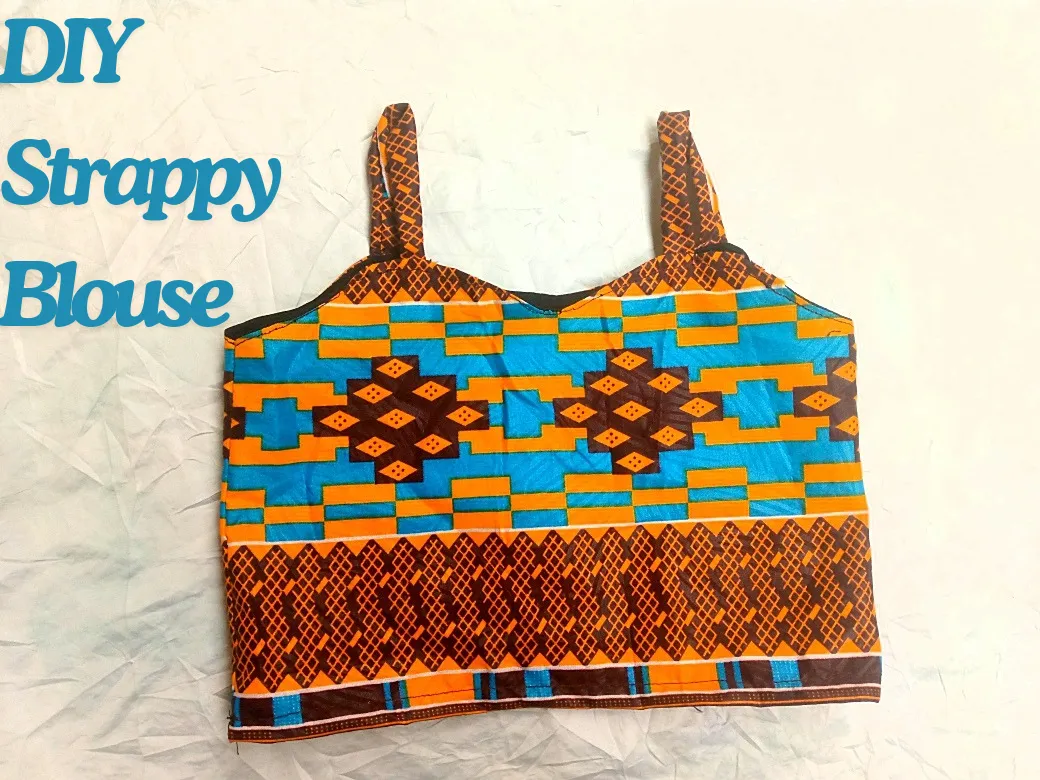
Today, I would love to share with you an easy DIY strappy blouse-making process, do you have leftover fabrics from previous dresses, or an outfit you just grew bored of and would love to upcycle into something more comfy and very easy to do yourself, then you are at the right place.
Strappy blouses are the best wearable options during the summer, especially if you live in a country like mine where the weather is always hot most of the season, these strappy blouses provide us with comfort, making us feel cool and refreshed and also prevent our skin from getting rashes or other skin allergy due to heat.
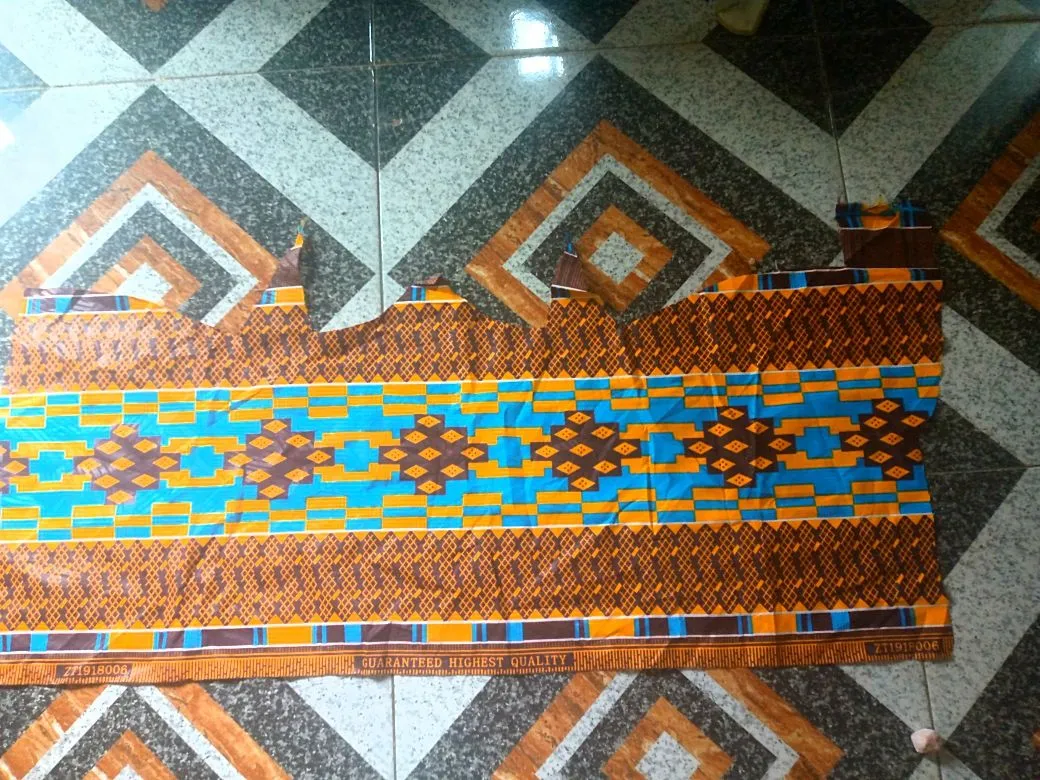
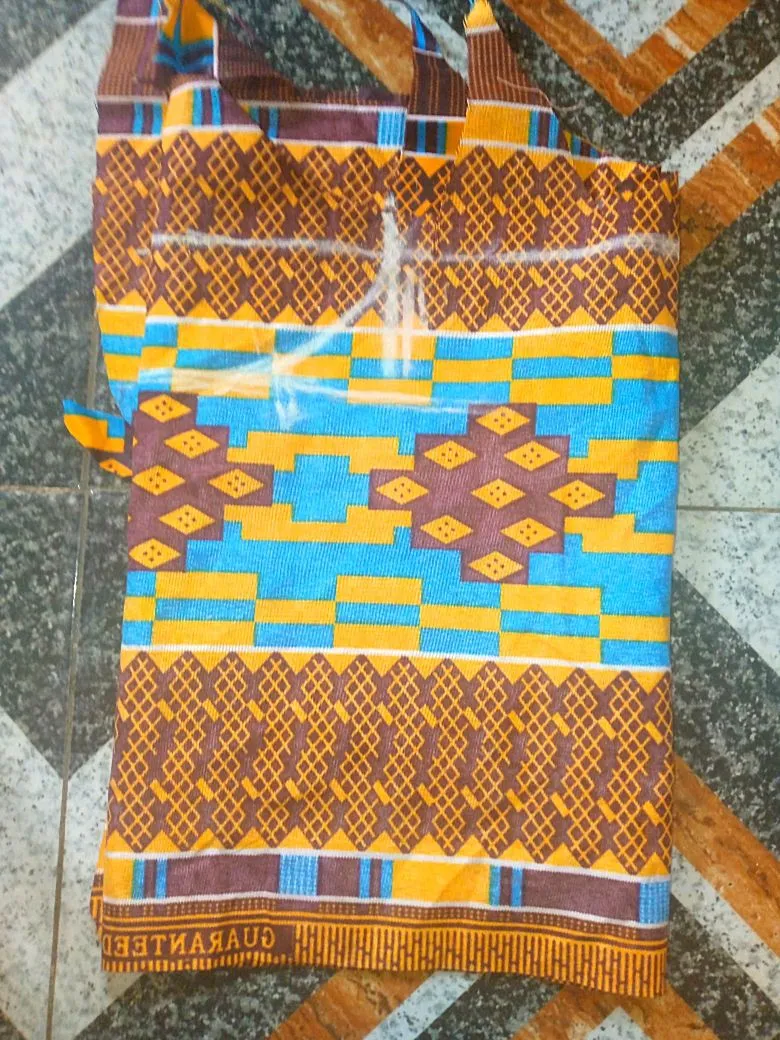
I made this mini strappy blouse for my youngest daughter, she easily gets sweaty and uncomfortable during the hot afternoon and always wants to pull her clothes off even after taking a shower, rather than allow that, these strappy blouse has helped me make her still stay clothed and feel cool irrespective of the hot weather condition. It's important to choose the best fabric if you aim to make a strap blouse for the same aim as mine, the fabric should be lightweight, and even preferably have a cotton feel so it feels soothing on the skin, and of course, strappy clothes are fashionable too. Here, I made use of a beautiful leftover African print also known as ankara, I've made several outfits from this same fabric in the past such as shorts, a gown, etc and this is the very last of what is left, still, I couldn't bring myself to trash it, because I can still make something useful out of it, and this strappy blouse fits perfectly.
Without further ado, let's get right into the making process.
Materials used
- Ankara fabric
- Thread
- Bias strip
Step 1
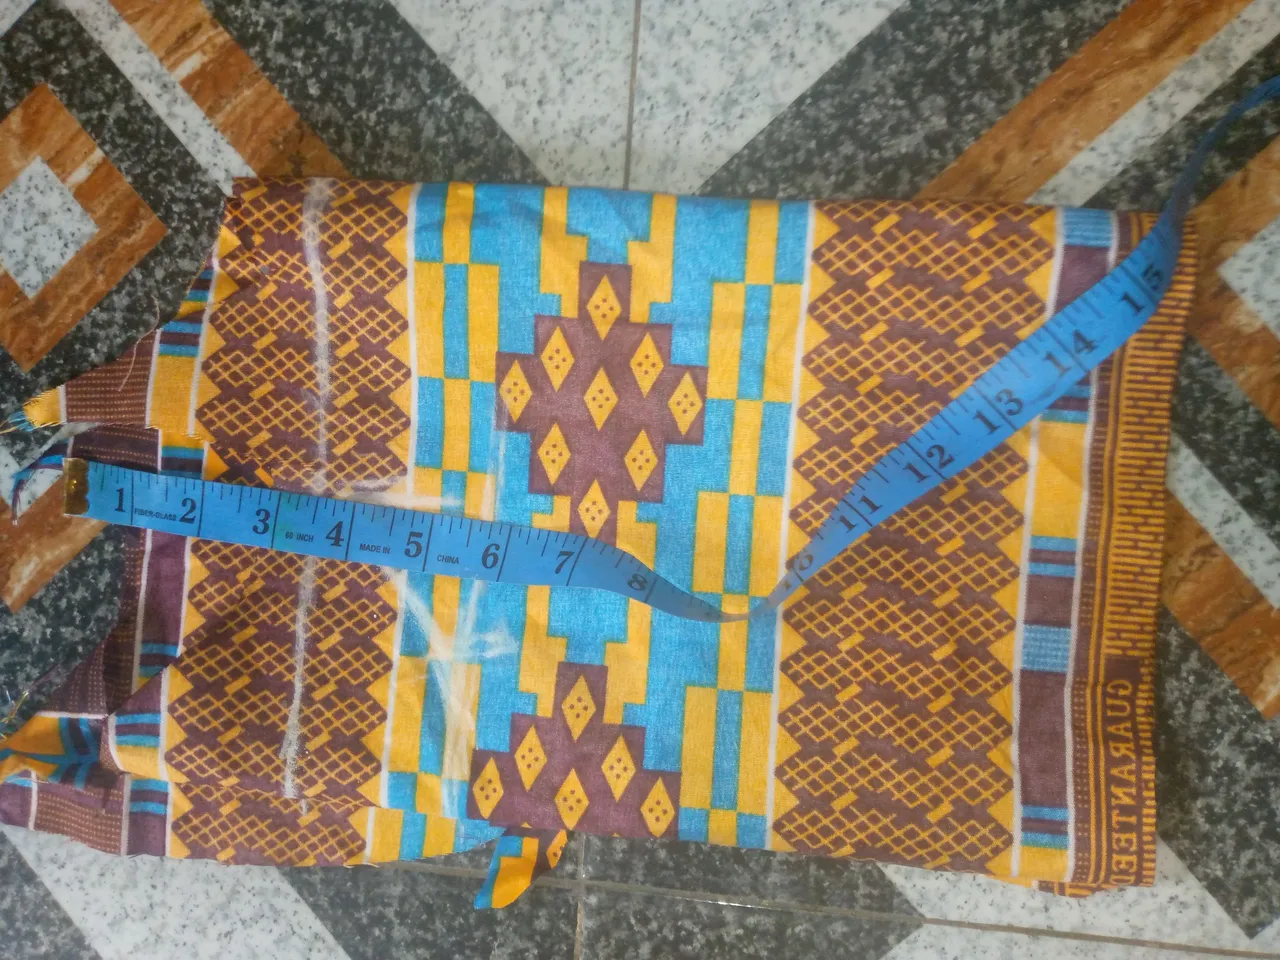
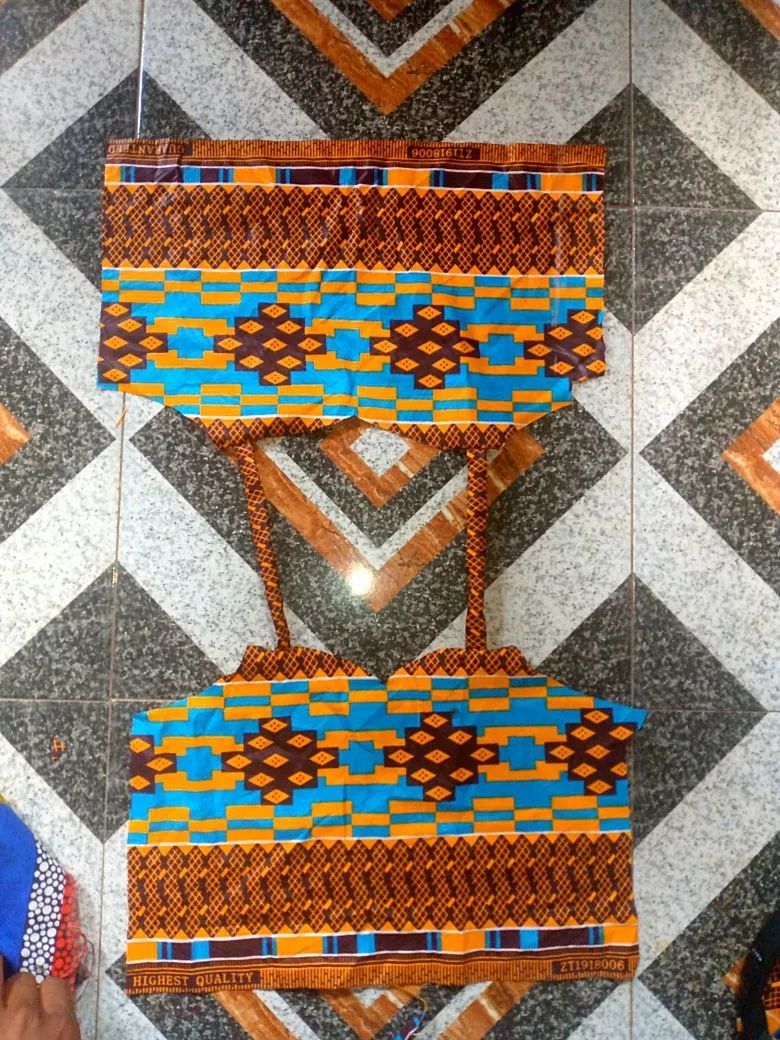
I started by placing the fabric into a fold of four, then deducted how low I want the off shoulder should be, for mine I used 3.5 inches for my 3-year-old daughter,
 front
front
Step 2
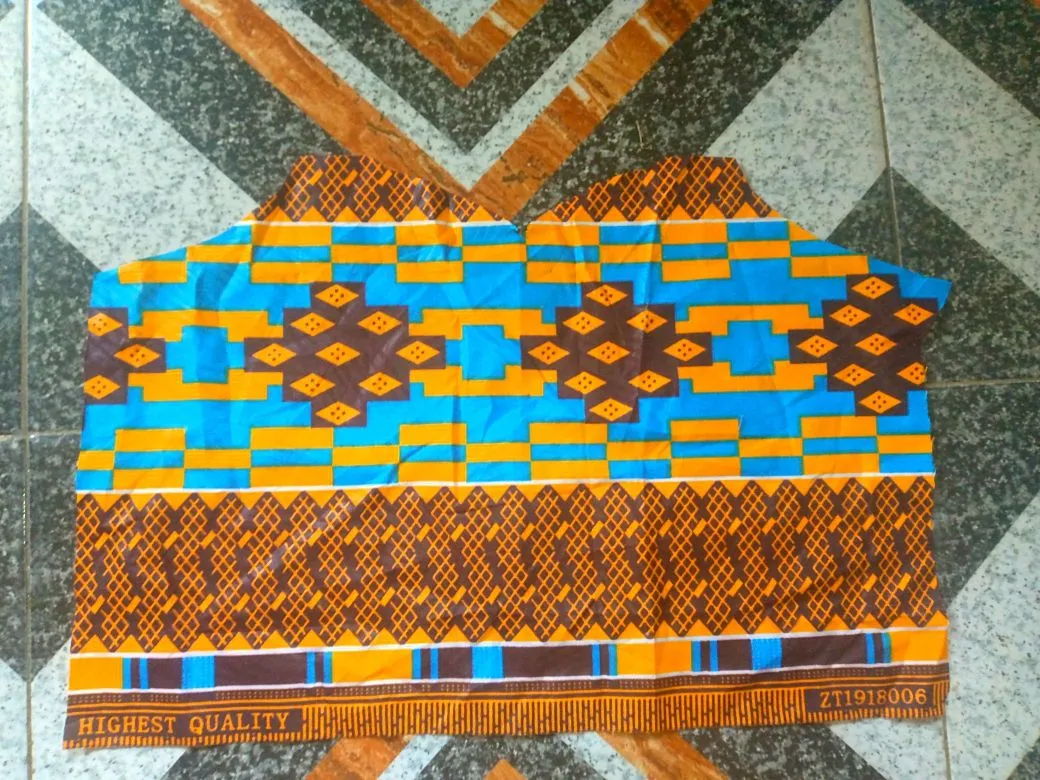
I also measured out her armhole, and the chest and waist circumference before cutting them out
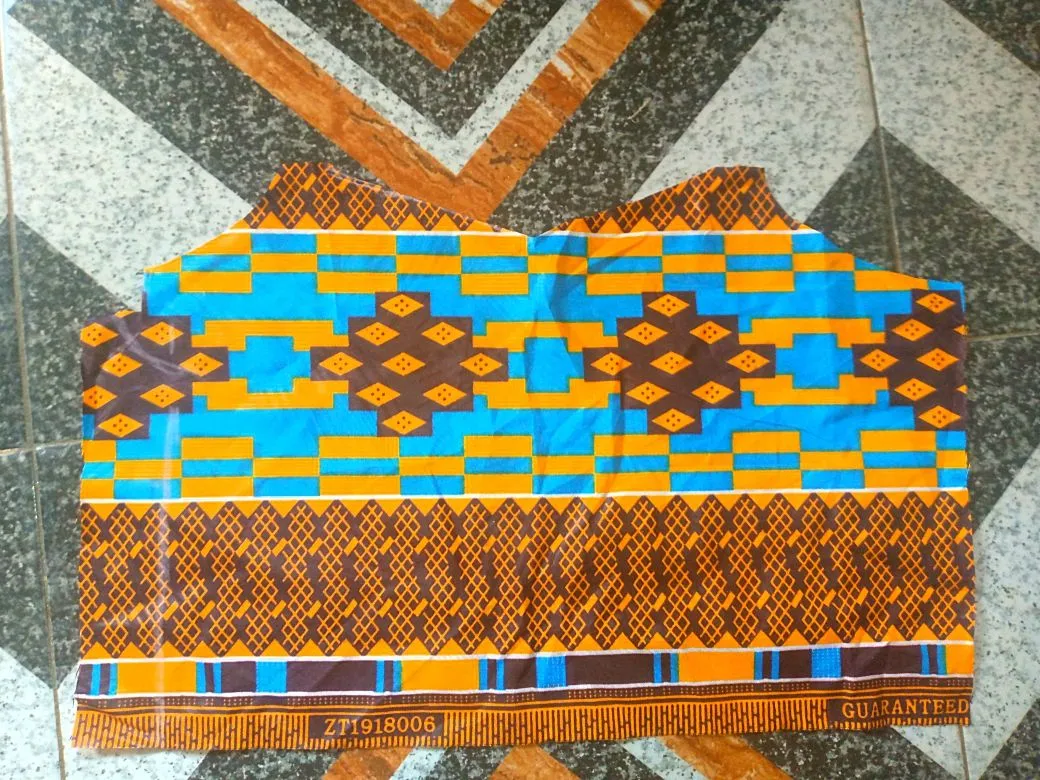
- Here is the back pattern
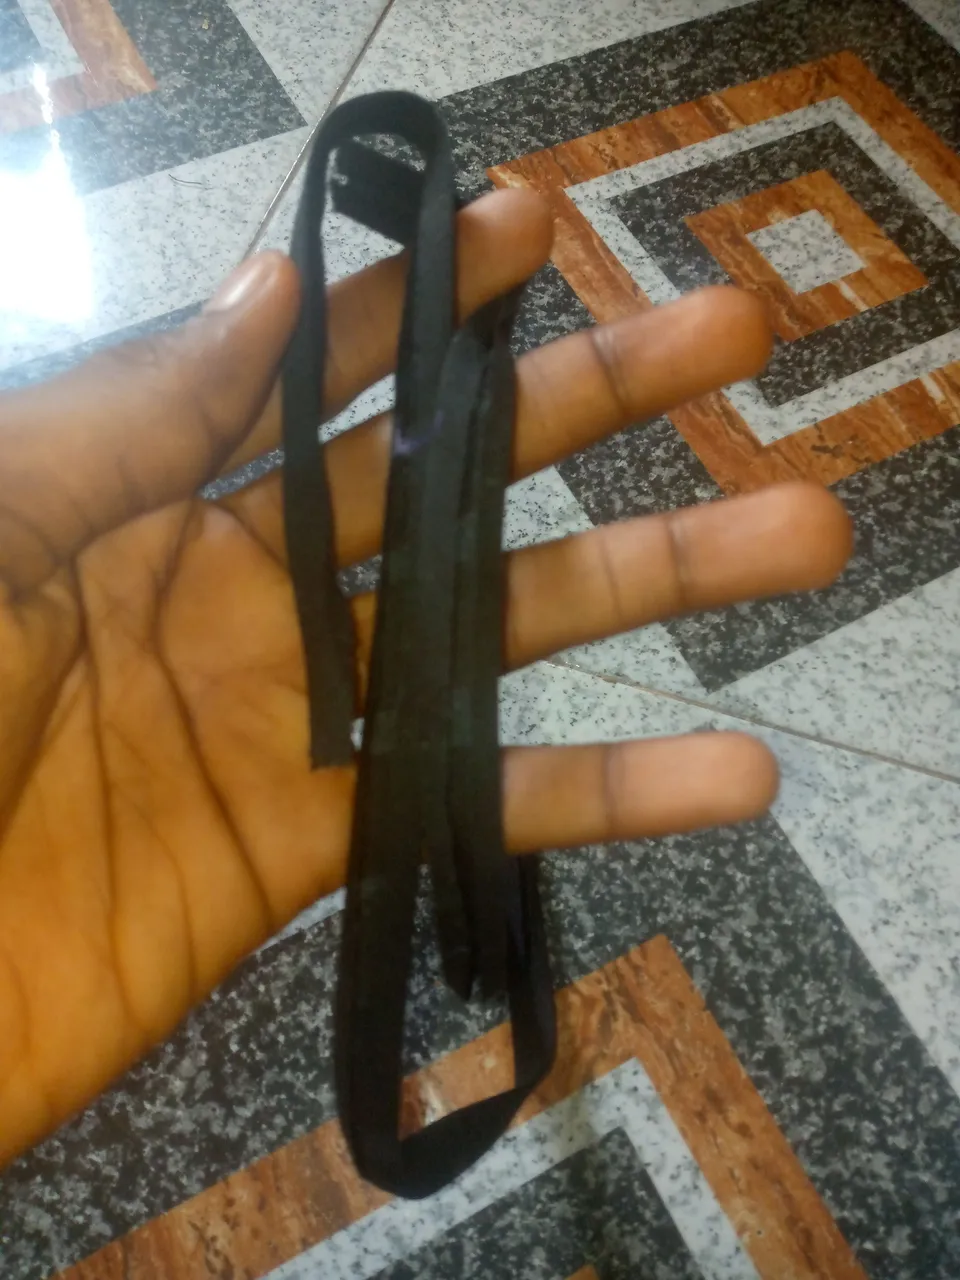
Step3
- To make the straps, I cut out a length of 7 inches, which is the deducted off-shoulder length of 3.5 inches multiplied by 2 for both front and back, the width is 1.5 inches, which I sewed and turned out.
- I attached the turned straps to both armholes of the front and back
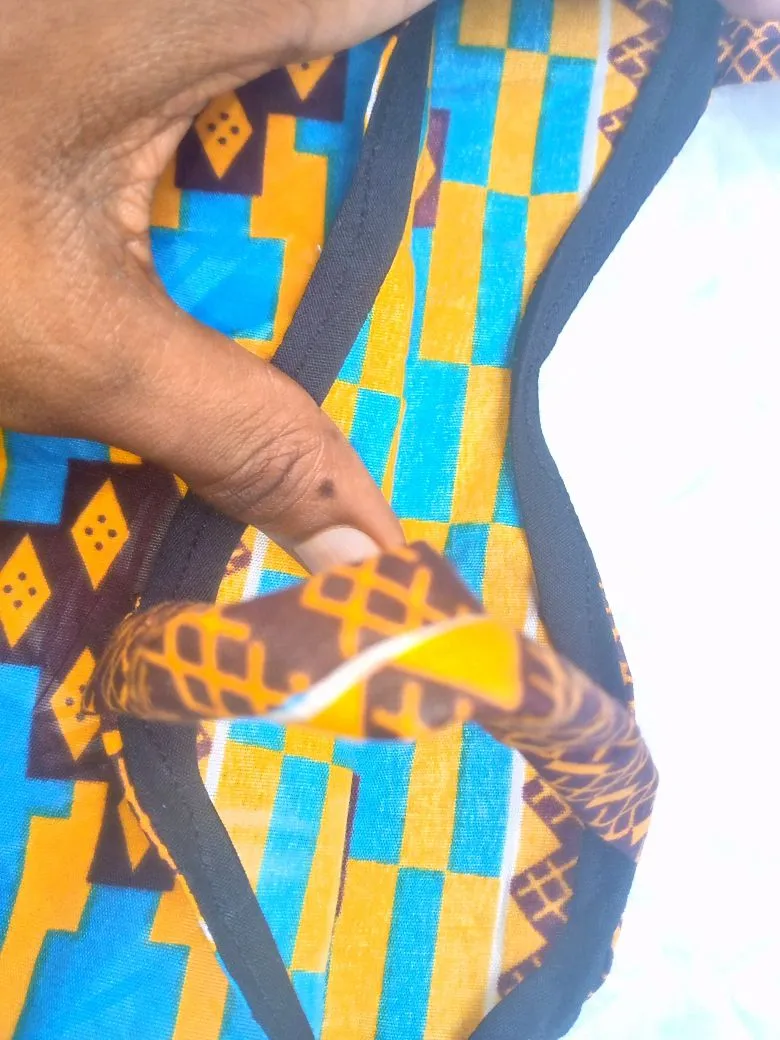
- To finish it neatly, I used the bias strip to pipe the armhole and neckline.
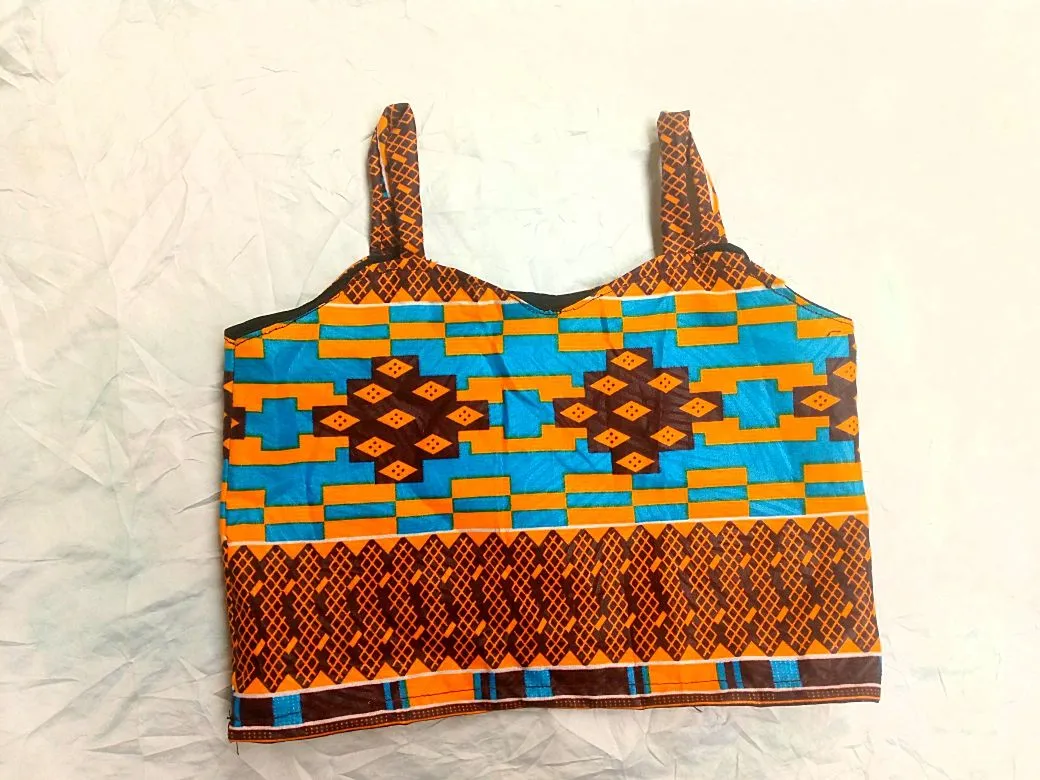
- Finally, I joined the blouse by the sides and hemmed the base.
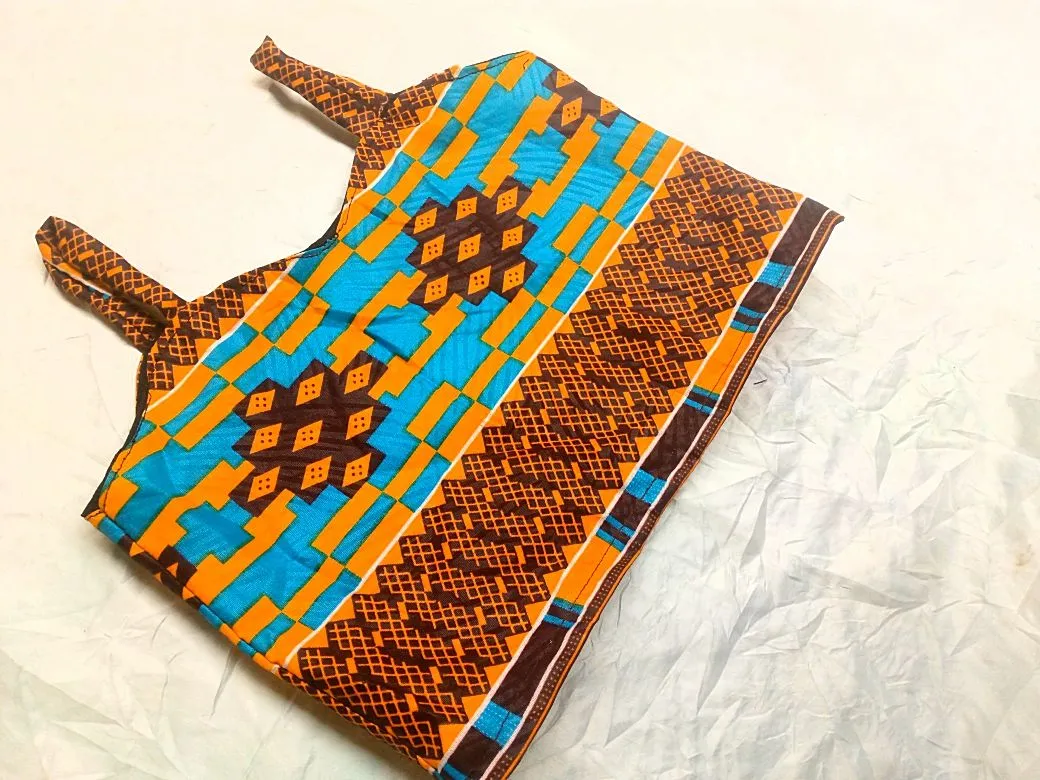
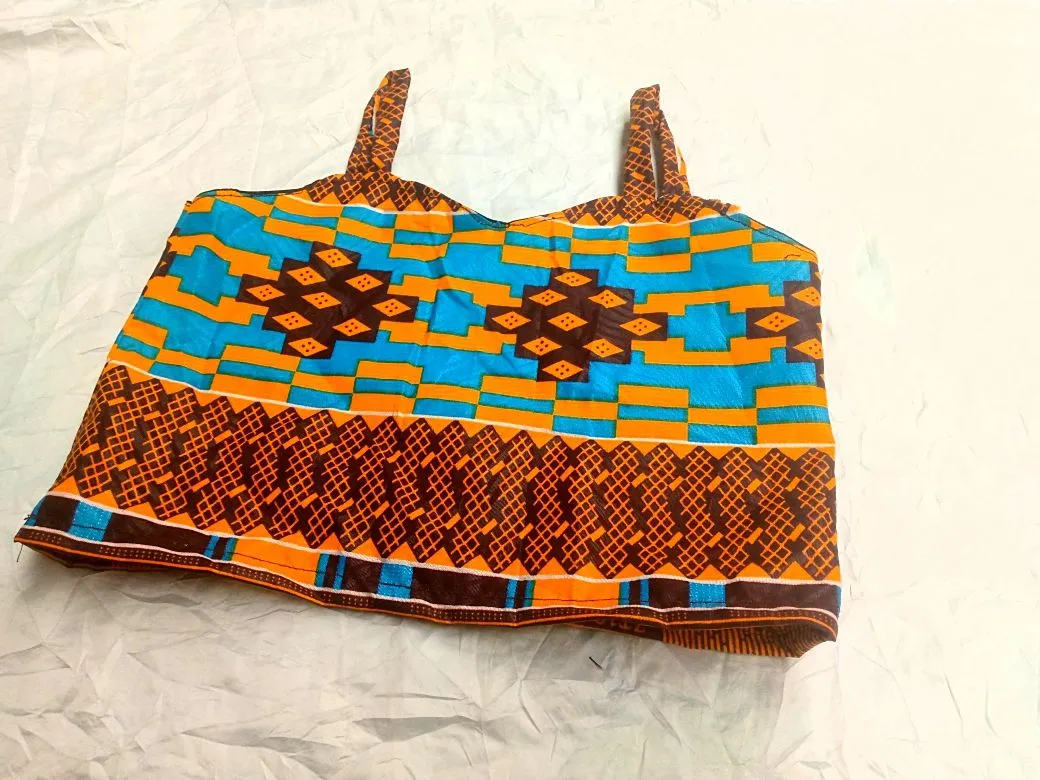
Here is the beautiful final result. So easy, will you be recreating yours? If you find any step confusing, let me know, and I'll be glad to explain further.
All images used in this post are mine, image 1 Is edited with canva