Greetings to you friends! Welcome 🤗 and follow me as I share with you a step-by-step process of my latest DIY design.
I decided to create alphabetic letters for my two-year-old son since he likes to play with my beads while I'm doing beadwork. I might end up creating the whole 26 alphabets for him, so he can be using them to learn and play word puzzle games, but I'm still not certain, depending on how the first few ones go. So, yesterday I ended up creating my first letter using beads.
I wanted to start with letter A then continue alphabetically, but I started with S instead. My son has a special connection with letter S, a story I might tell you some other day😊
 So come along while I show you the making of my letter S with pearl beads and thread.
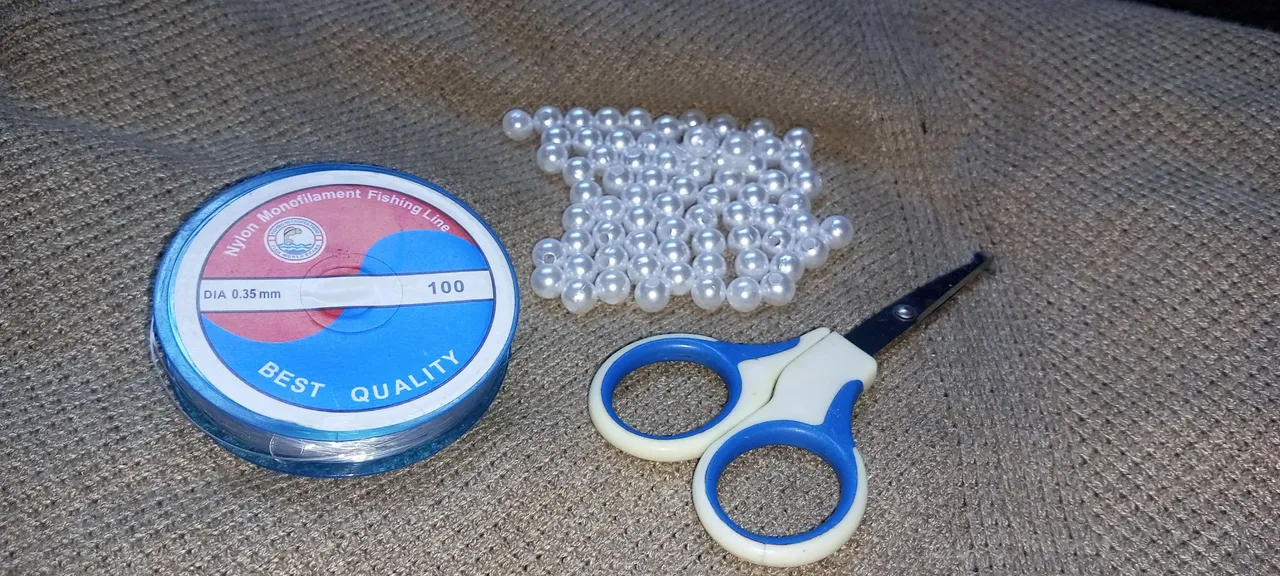
Material used:
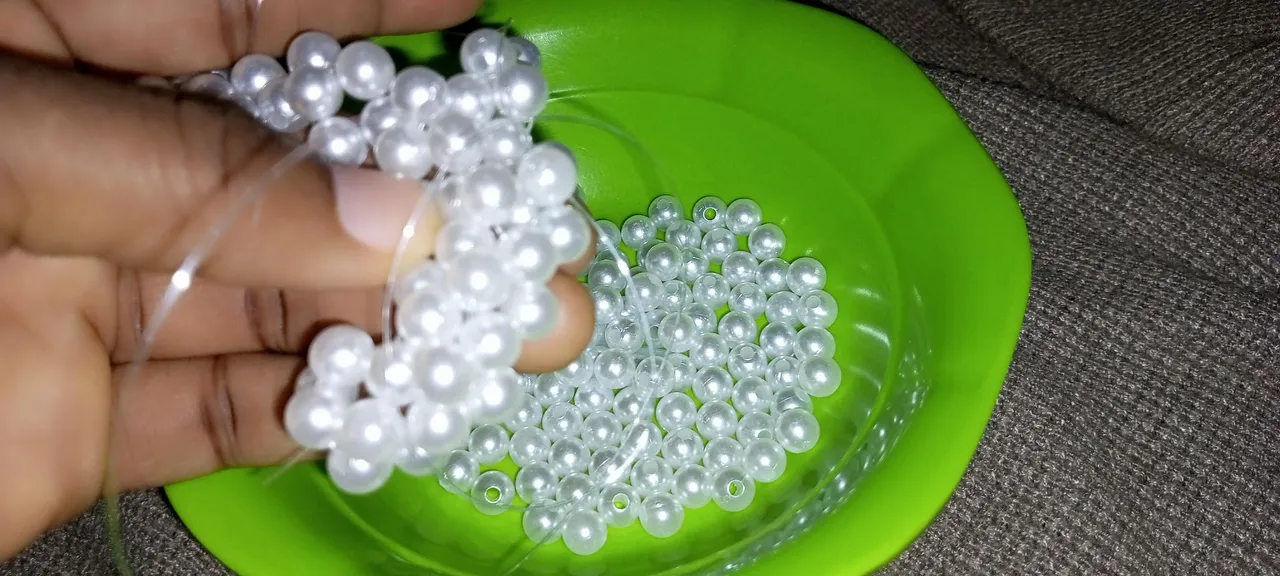
✓I used 4mm pearl beads,130 in numbers
✓Beading thread 0.5mm
✓Scissors
Step-by-step process
Step 1:
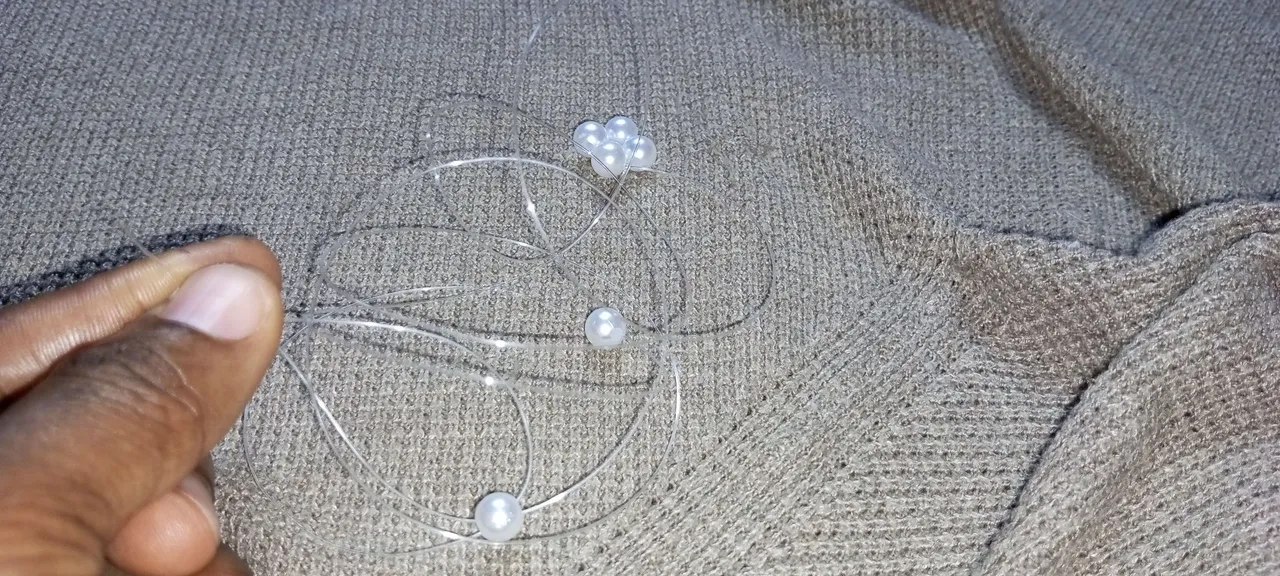
I Cut a beading thread of size 0.5mm; make sure it's long enough and, at the same time, a size my hands can handle. I passed 4 beads through the thread and cross it with the 4th one.
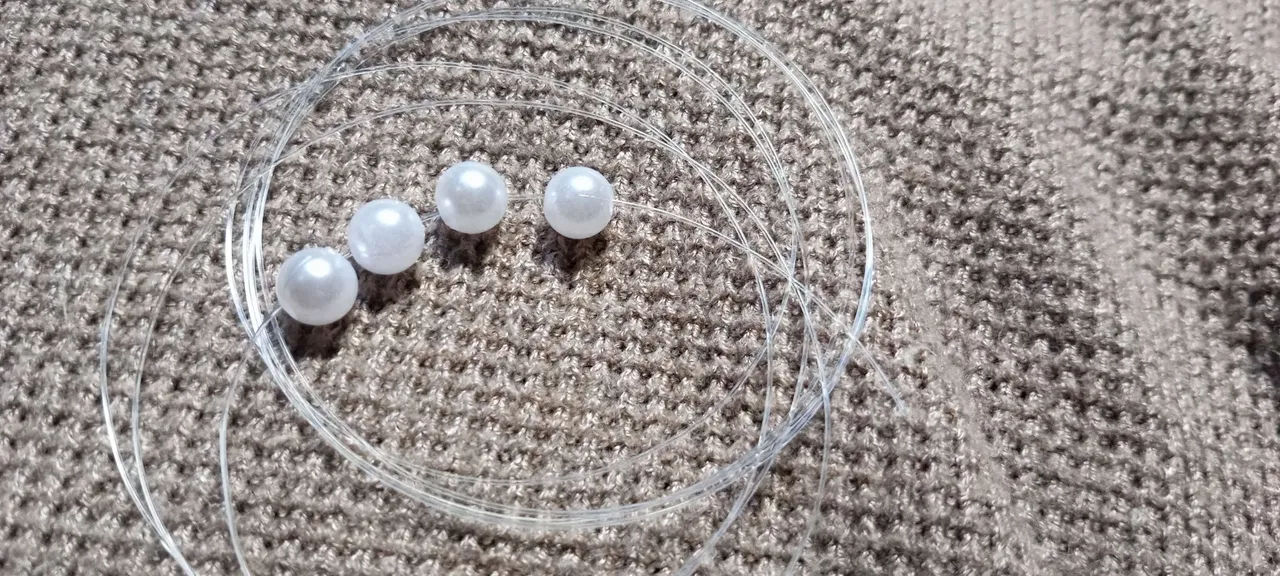
I then tied the knot to make the beads stay put.
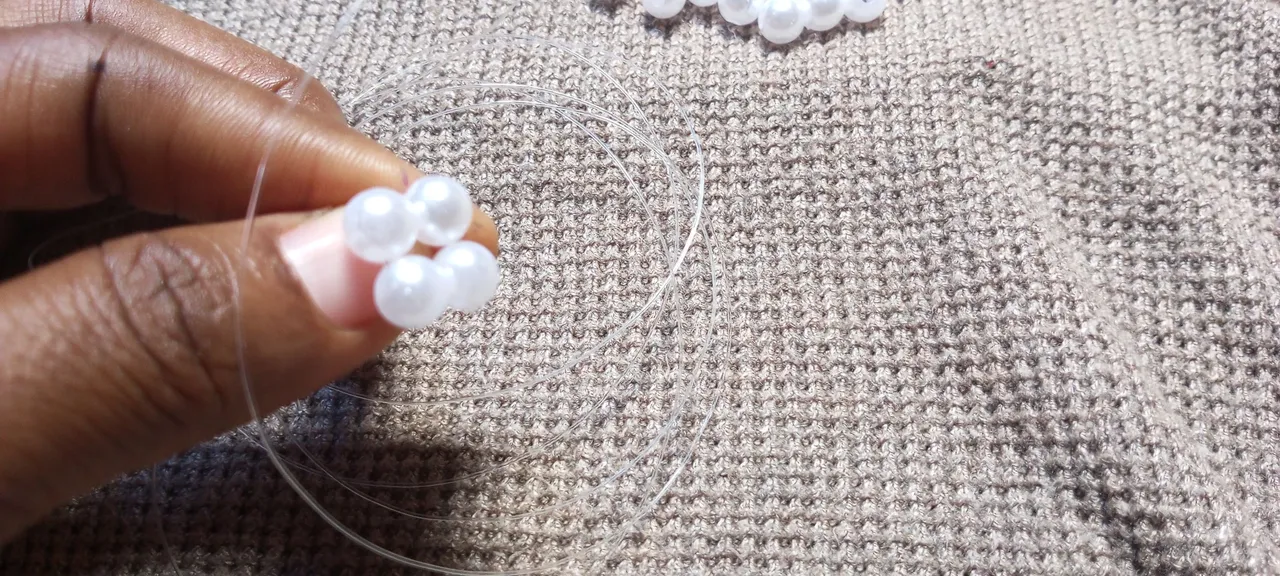
Step 2:
I put 1 bead to the right hand side of the thread, and then 1 bead to cross the two threads
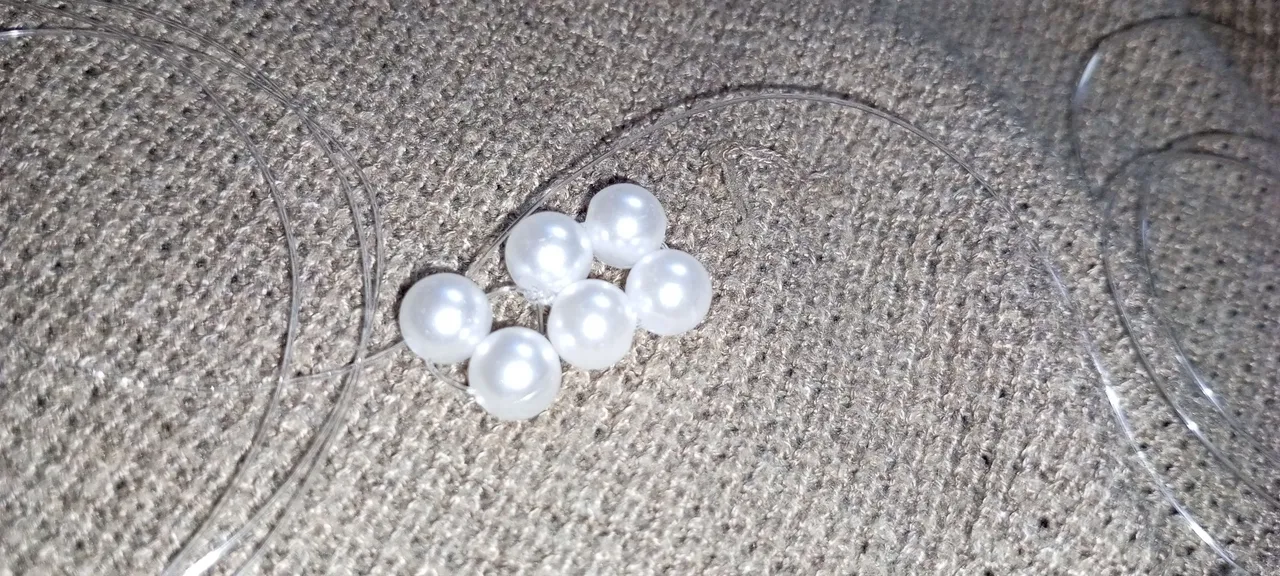
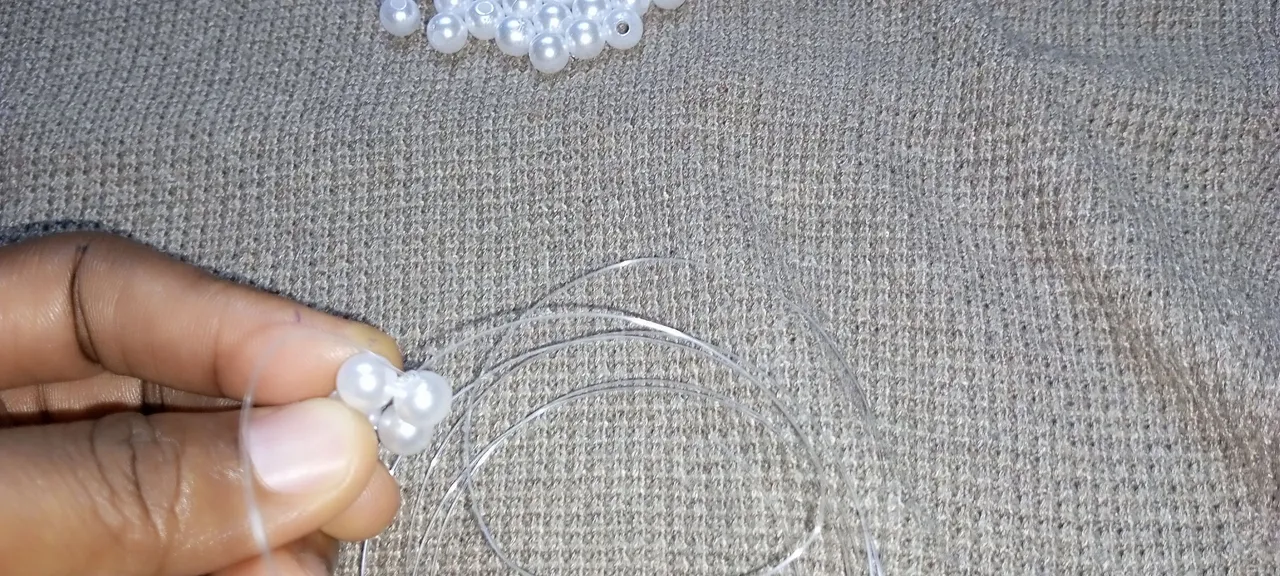
Step 3:
1 bead to the left
1 bead to the right
1 bead to cross both line
Step 4:
1 bead to the right
1 bead to cross both line
Step 5:
1 bead to left
1 bead to the right
1 bead to cross both line
Step 6:
1 bead to the right
1 bead to cross both line
Step 7:
1 bead to the left
1 bead to the right
1 bead to cross both line
Step 8:
1 bead to the right
1 bead to cross both line
Step 9:
1 bead to the left
1 bead to the right
1 bead to cross both line
Step 10:
1 bead to the left
1 bead to cross both line
Step 11:
1 bead to the left
1 bead to the right
1 bead to cross both line

Step 12:
1 bead to the Left
1 bead to cross both line
Step 13:
1 bead to the left
1 bead to the right
1 bead to cross both line
Step 14:
1 bead to the left
1 bead to cross both line
Step 15:
1 bead to the left
1 bead to the right
1 bead to cross both line
Step 16:
1 bead to the left
1 bead to cross both line
Step 17:
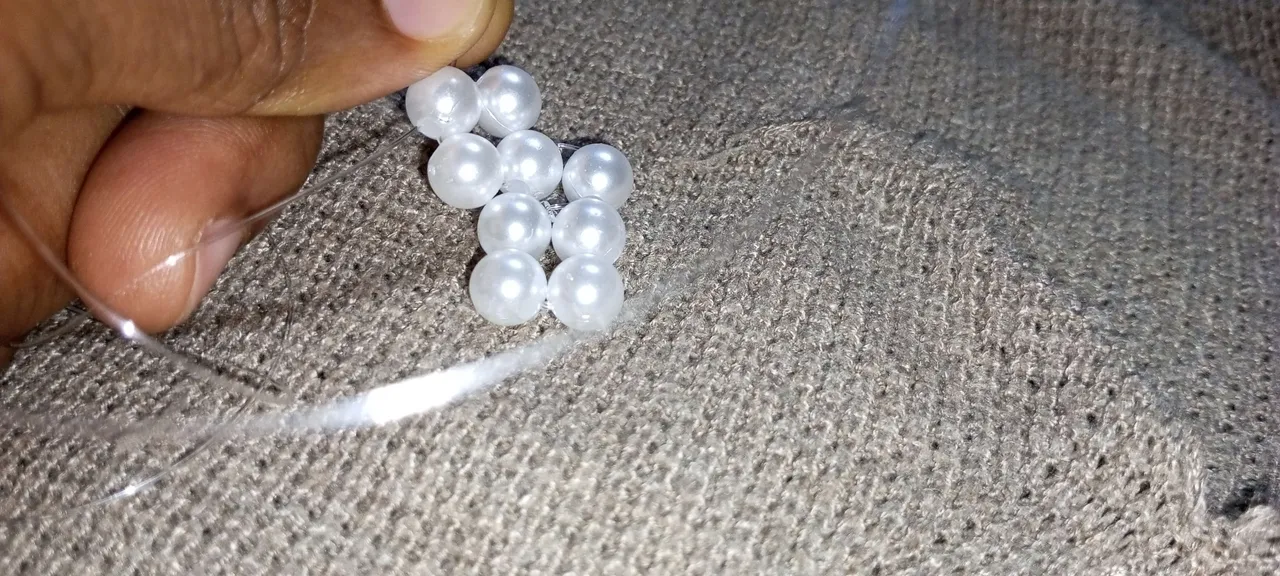
2 beads to the right
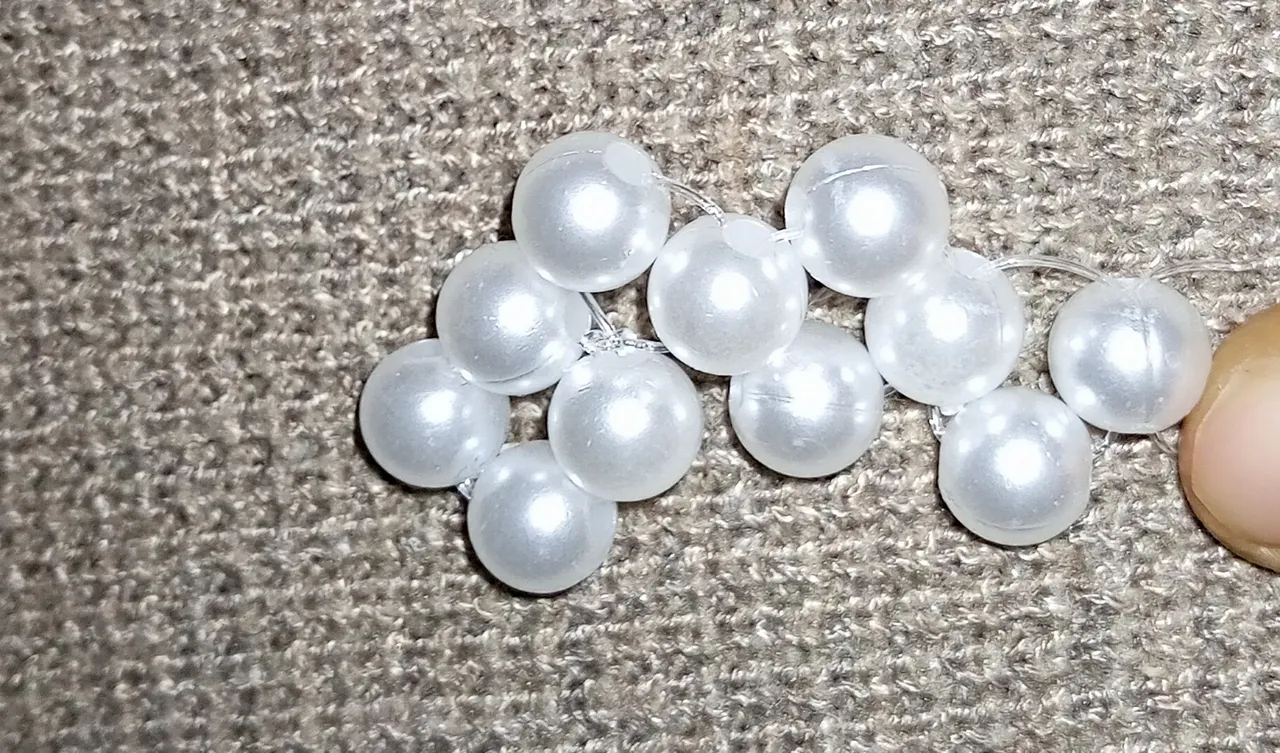
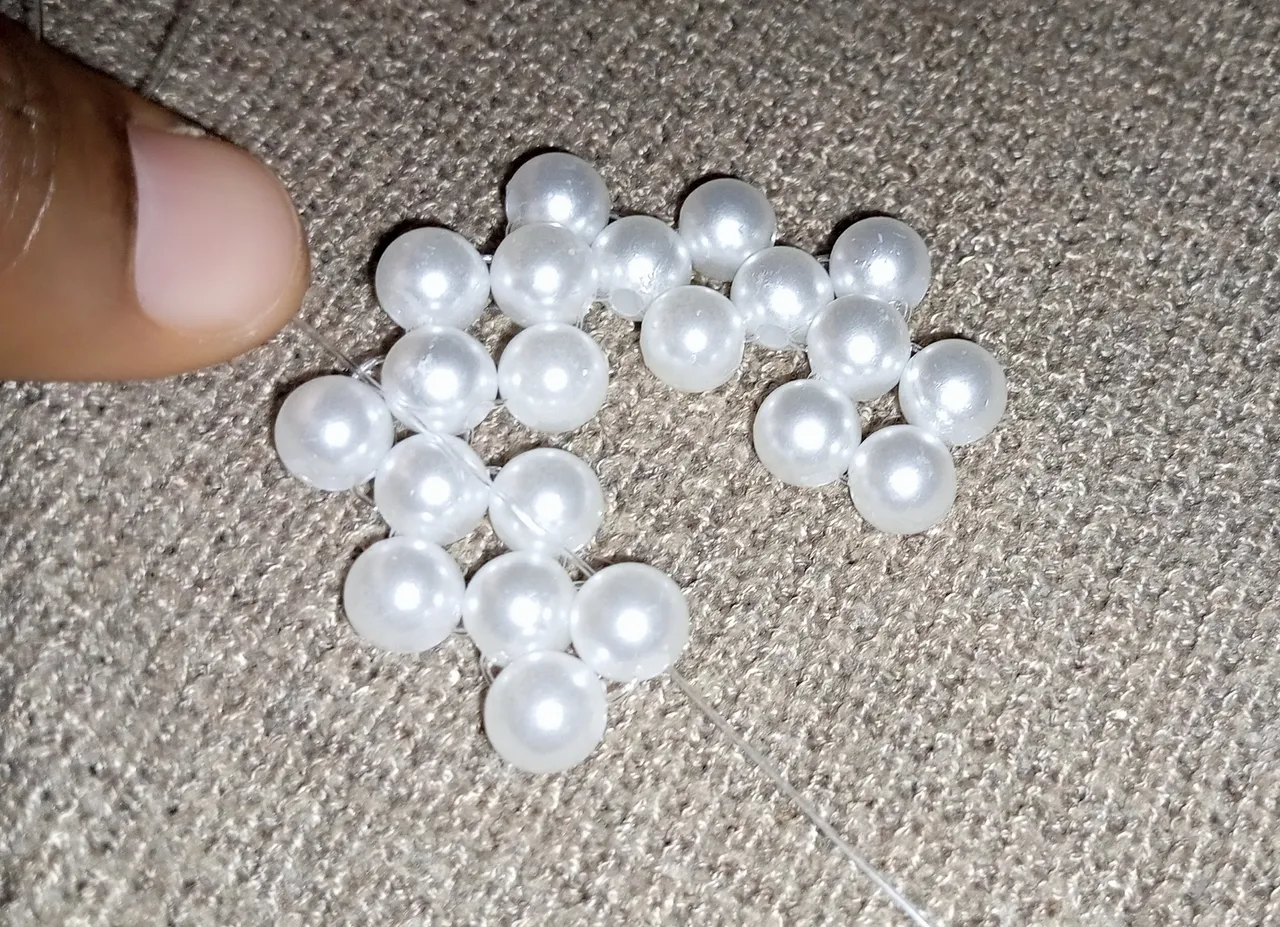
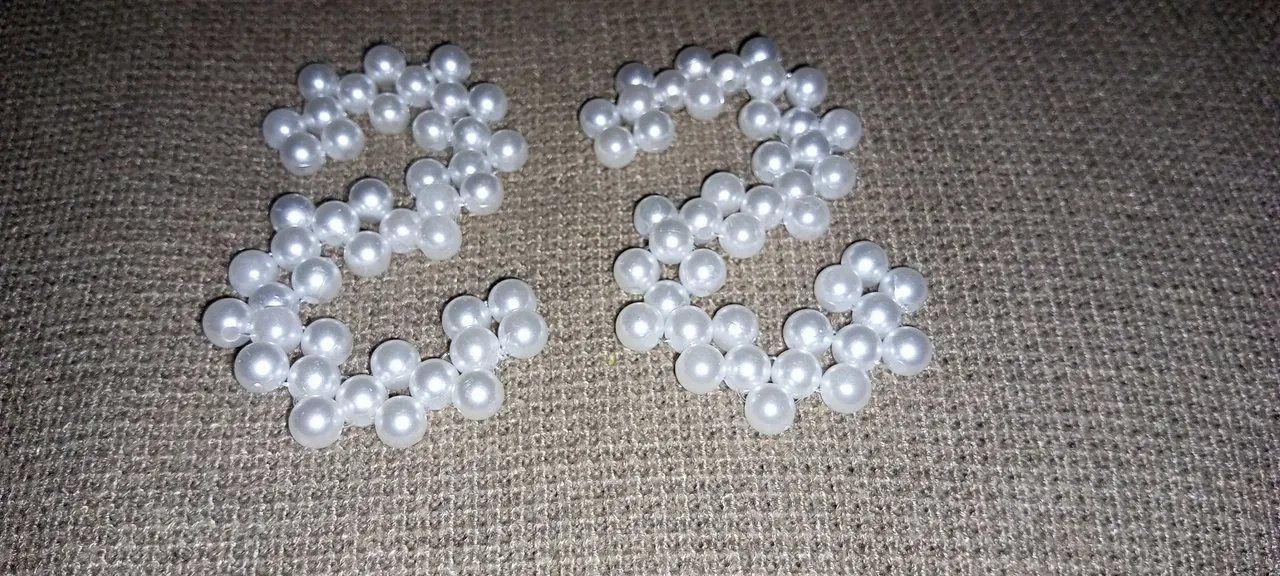
1 bead to the left, I then tied the knot and trimmed the excess thread with my scissors. Half part of the S is ready
Step 18:
I repeated steps 1 to step 17 above to make the other half of the S.
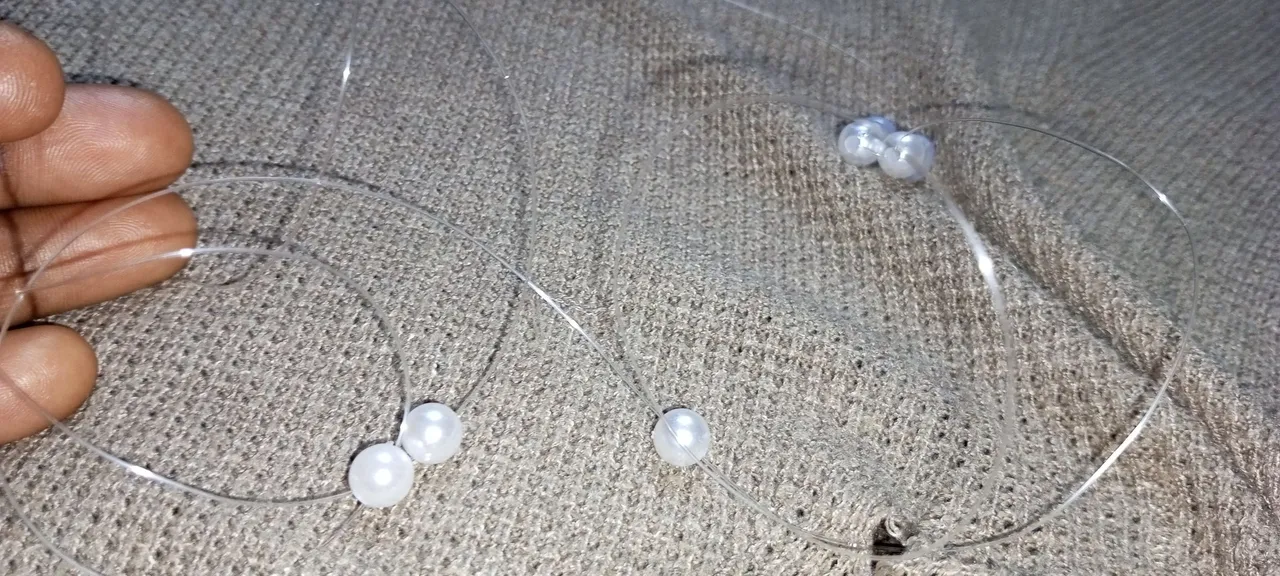
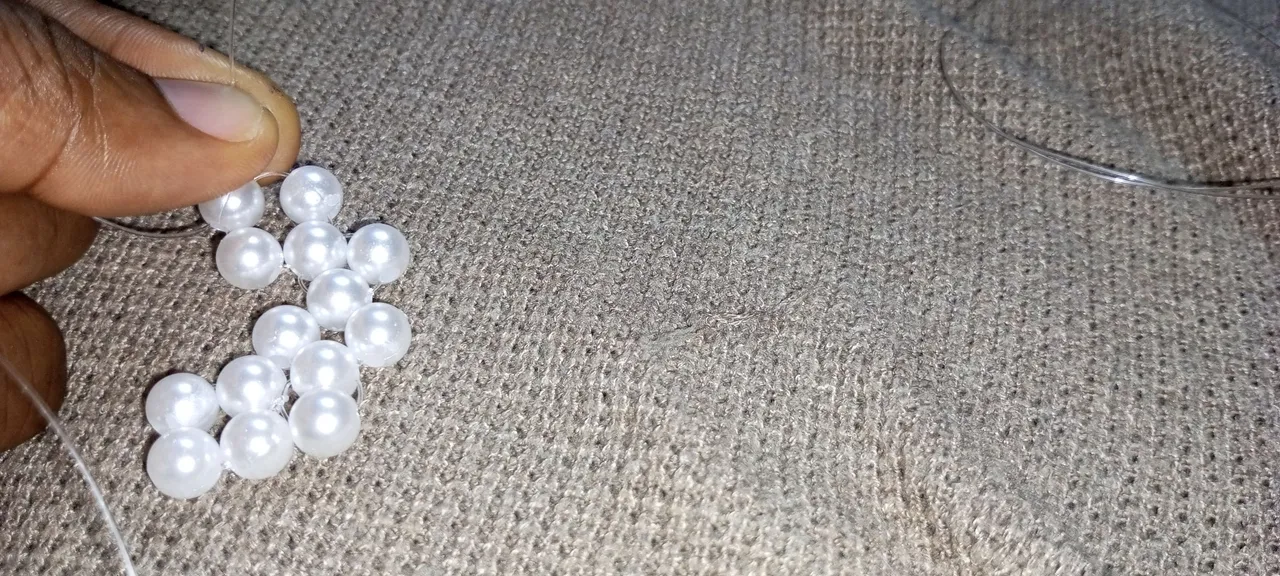
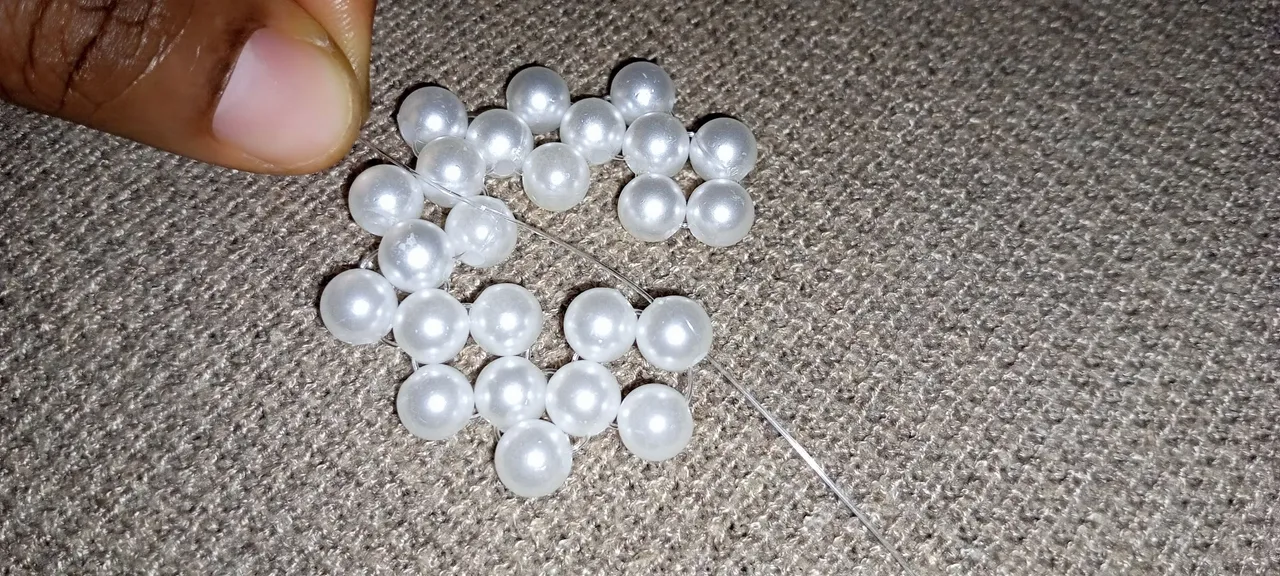
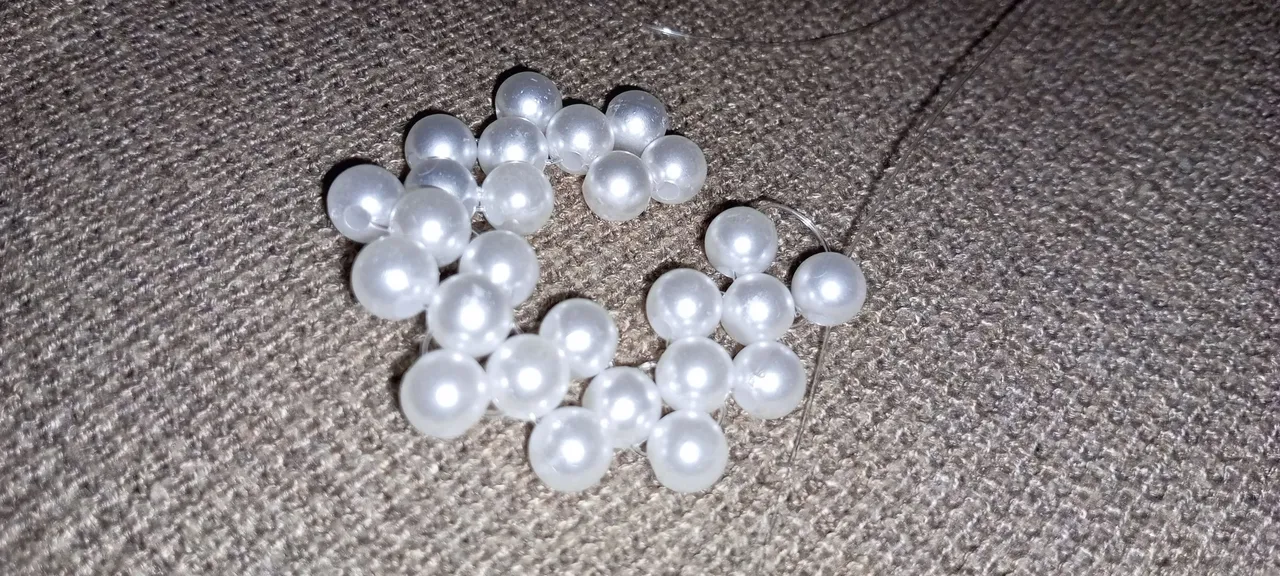
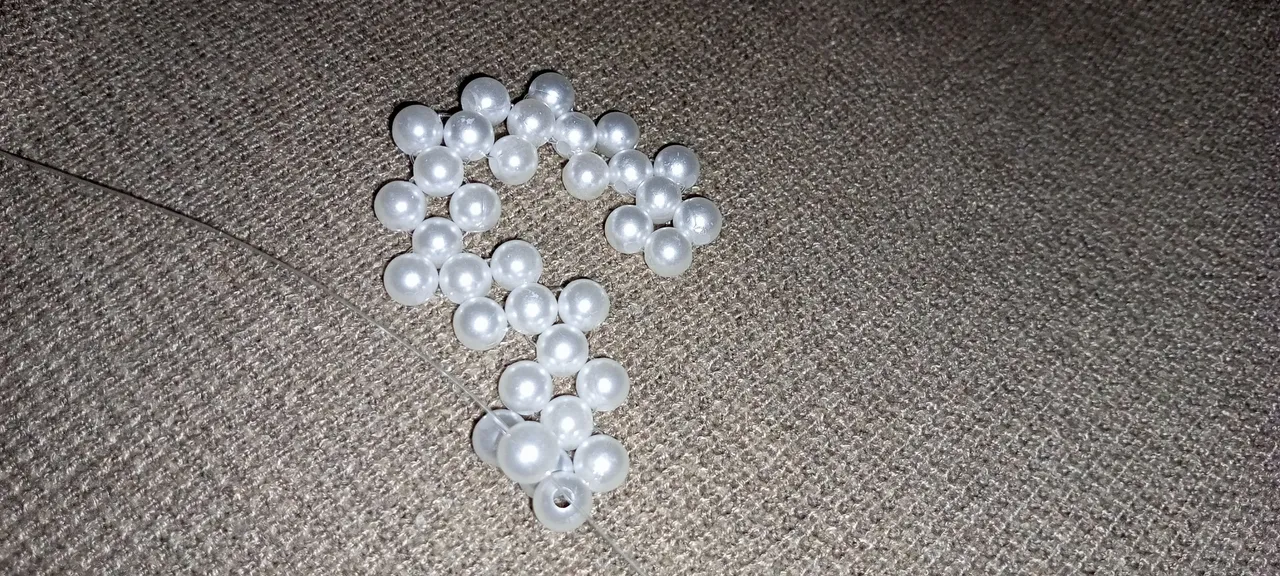
Step 19: I brought the two halves of the S and join them together. By cutting a long thread, put 1 bead at the middle and pass it through one bead by the right and another bead on the left.
Step 20:
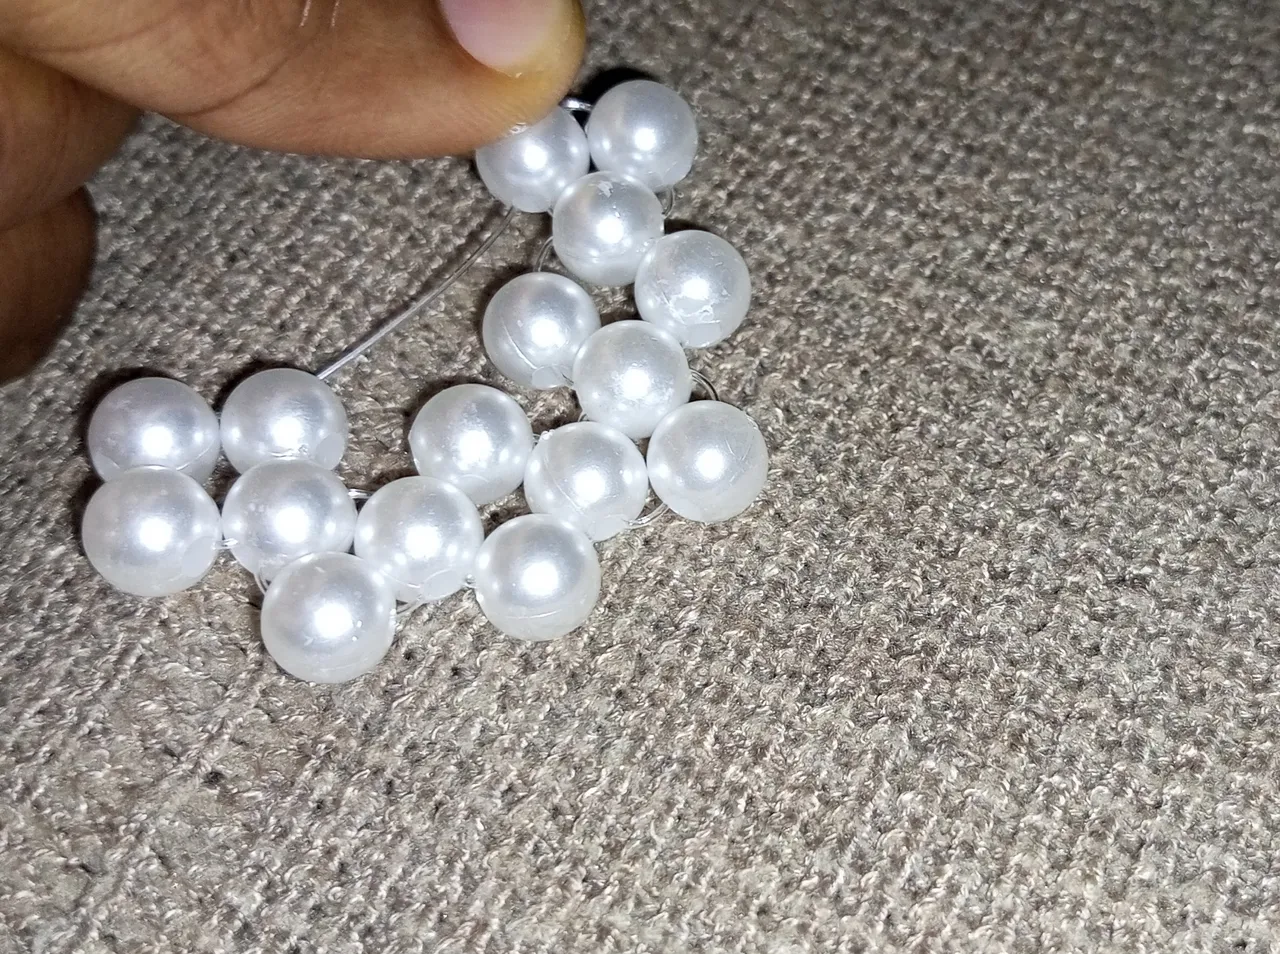
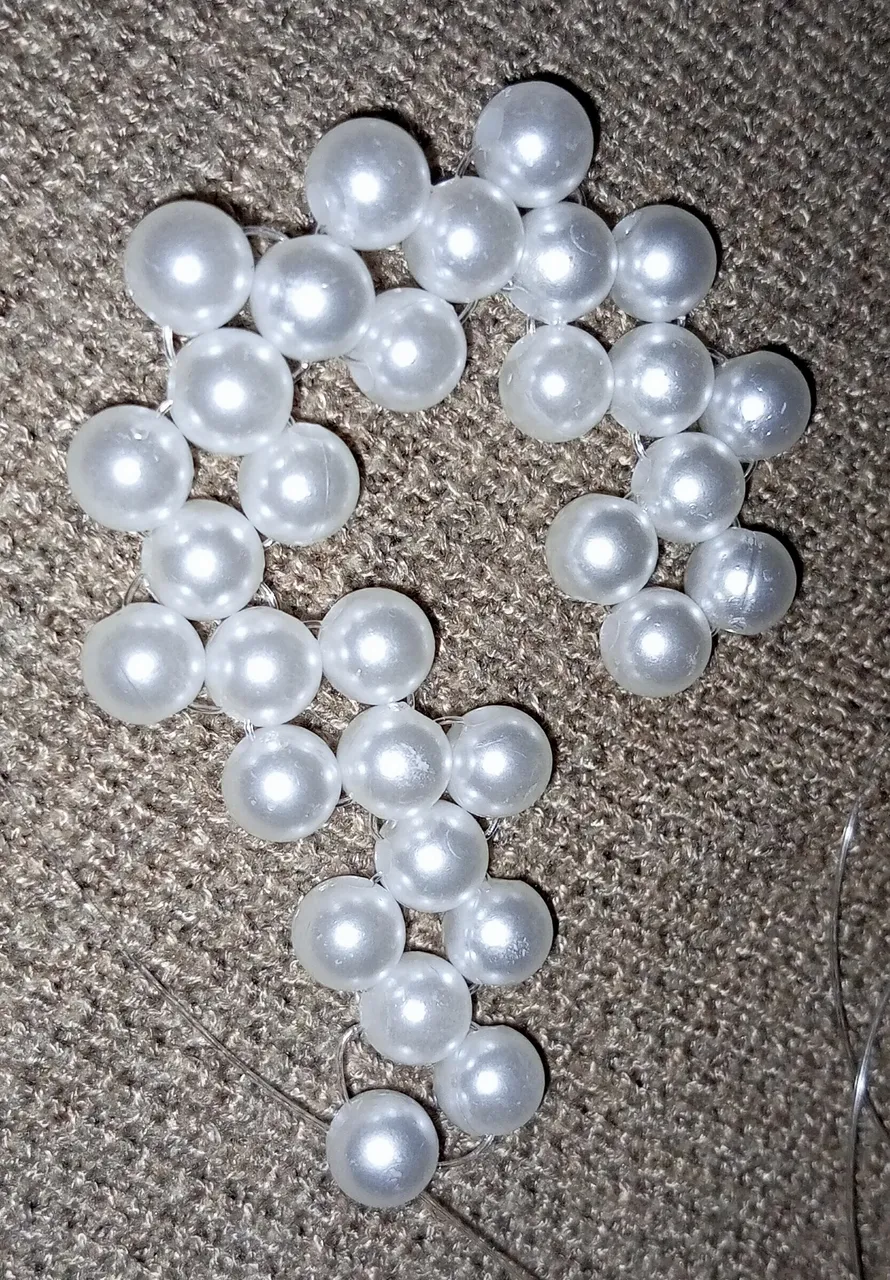
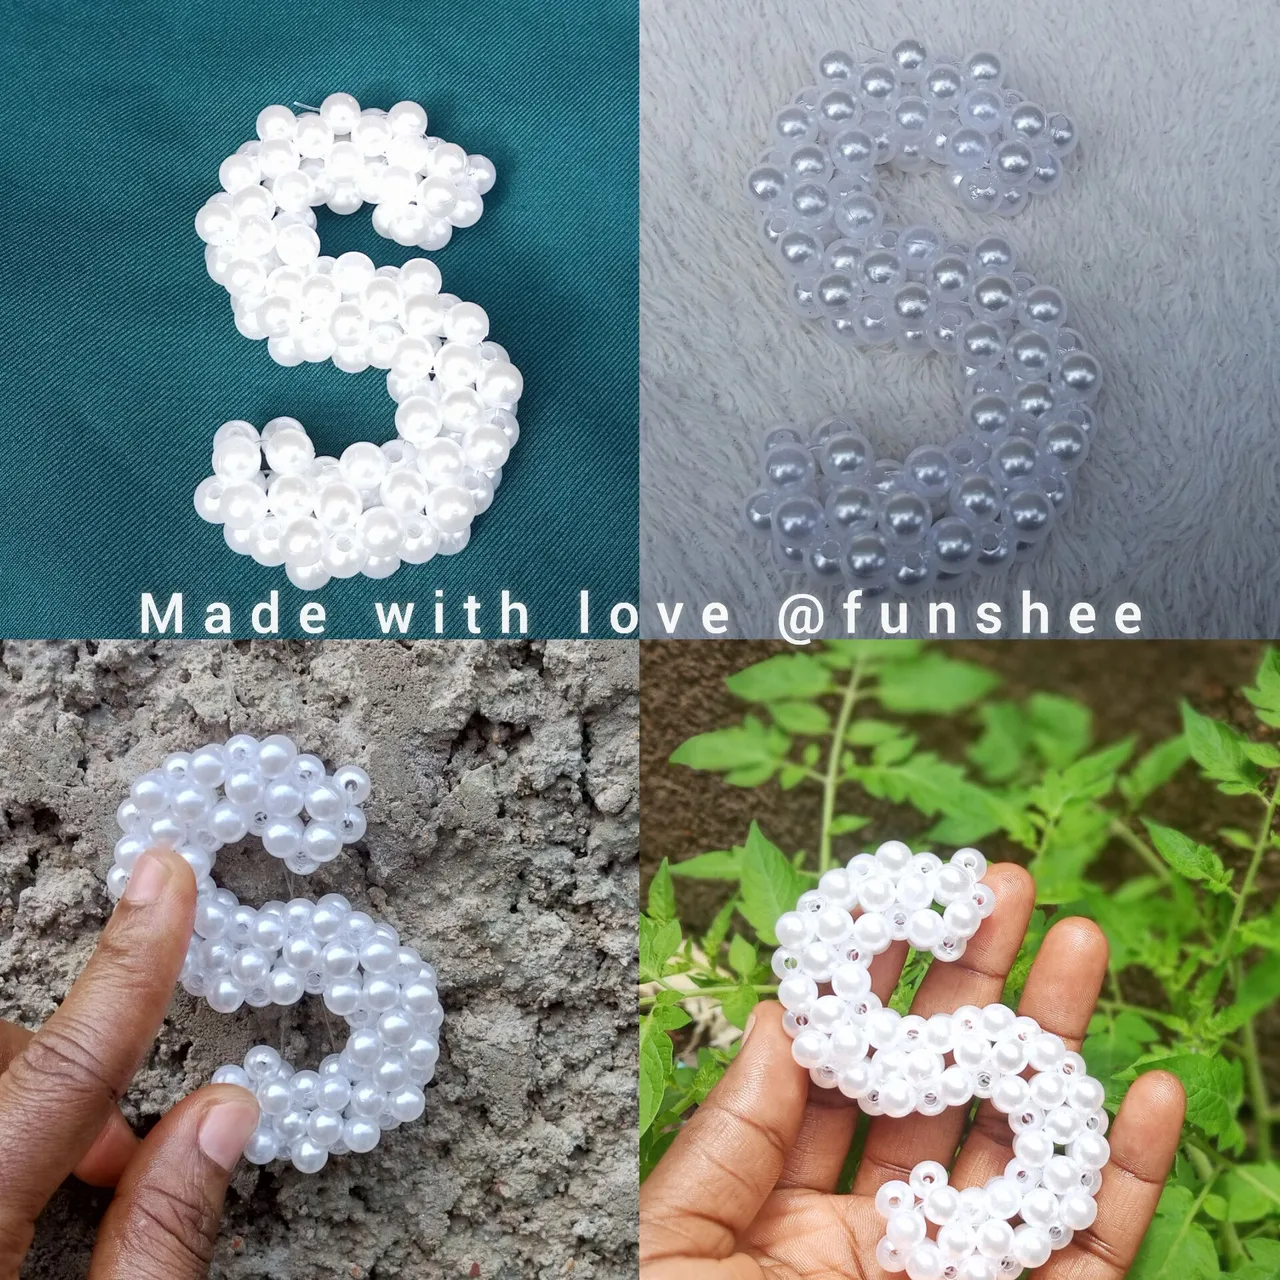
I continue to cross with bead in order to close the gaps with one bead round the two half S and I got my S
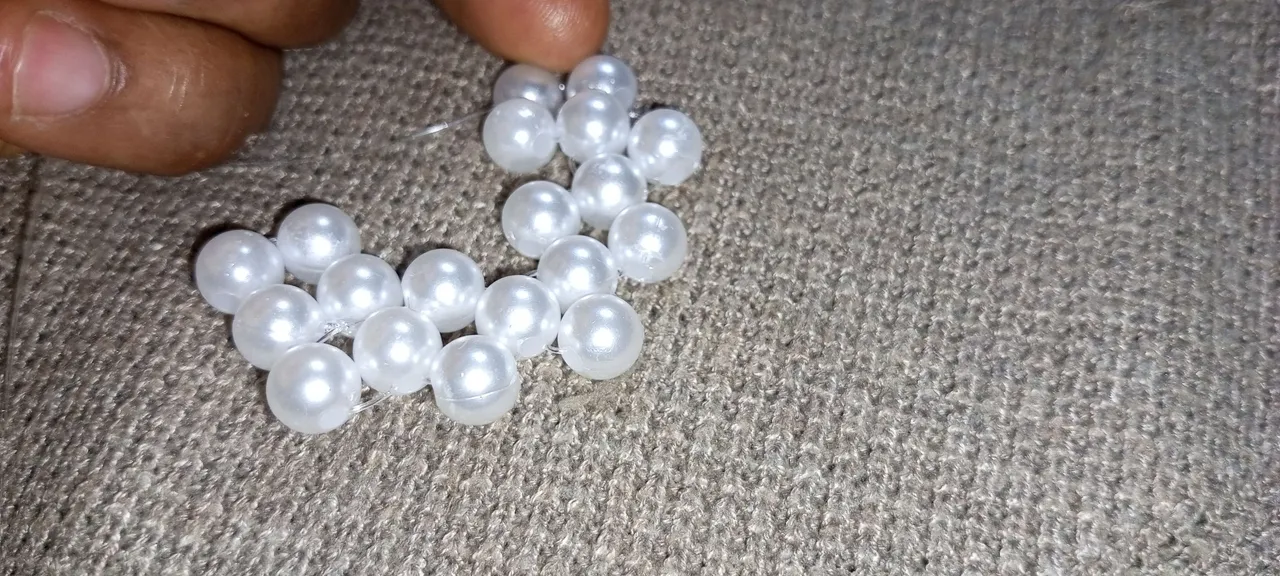
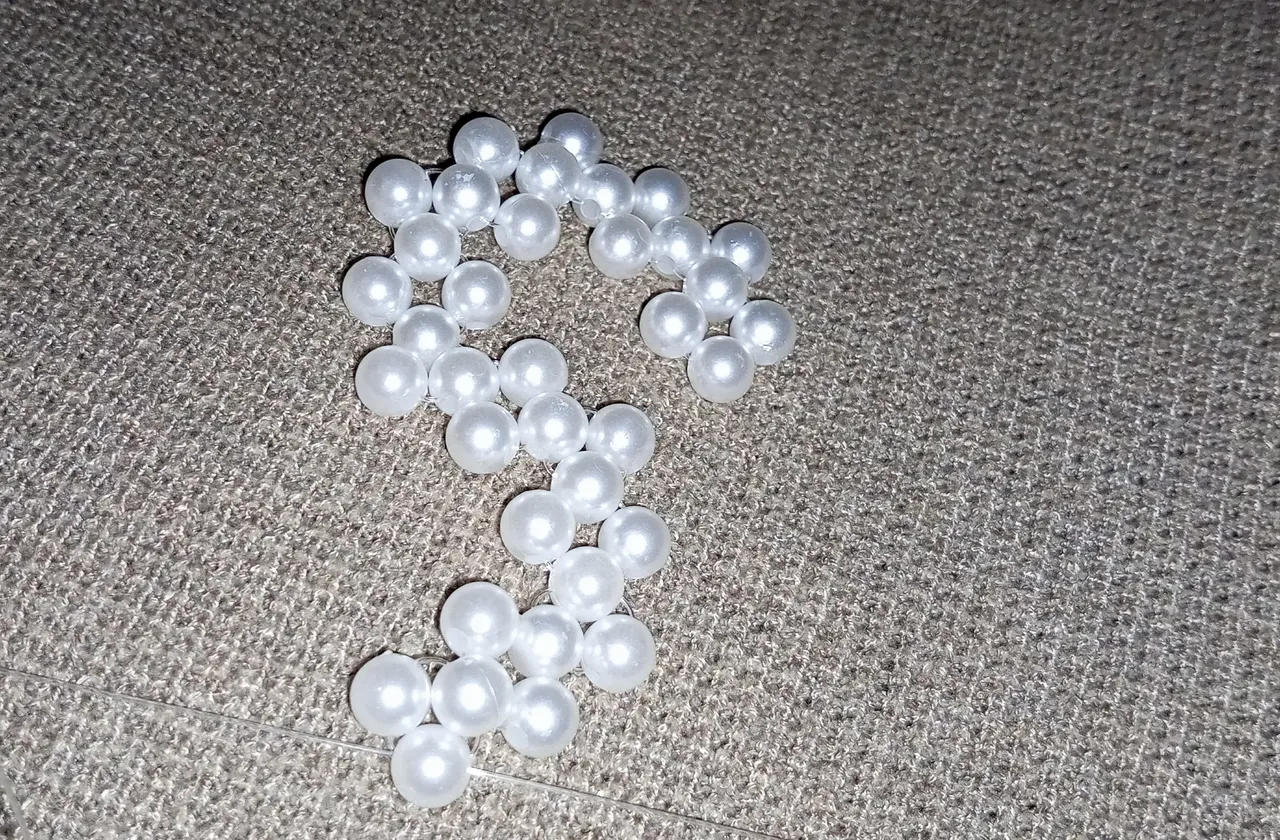
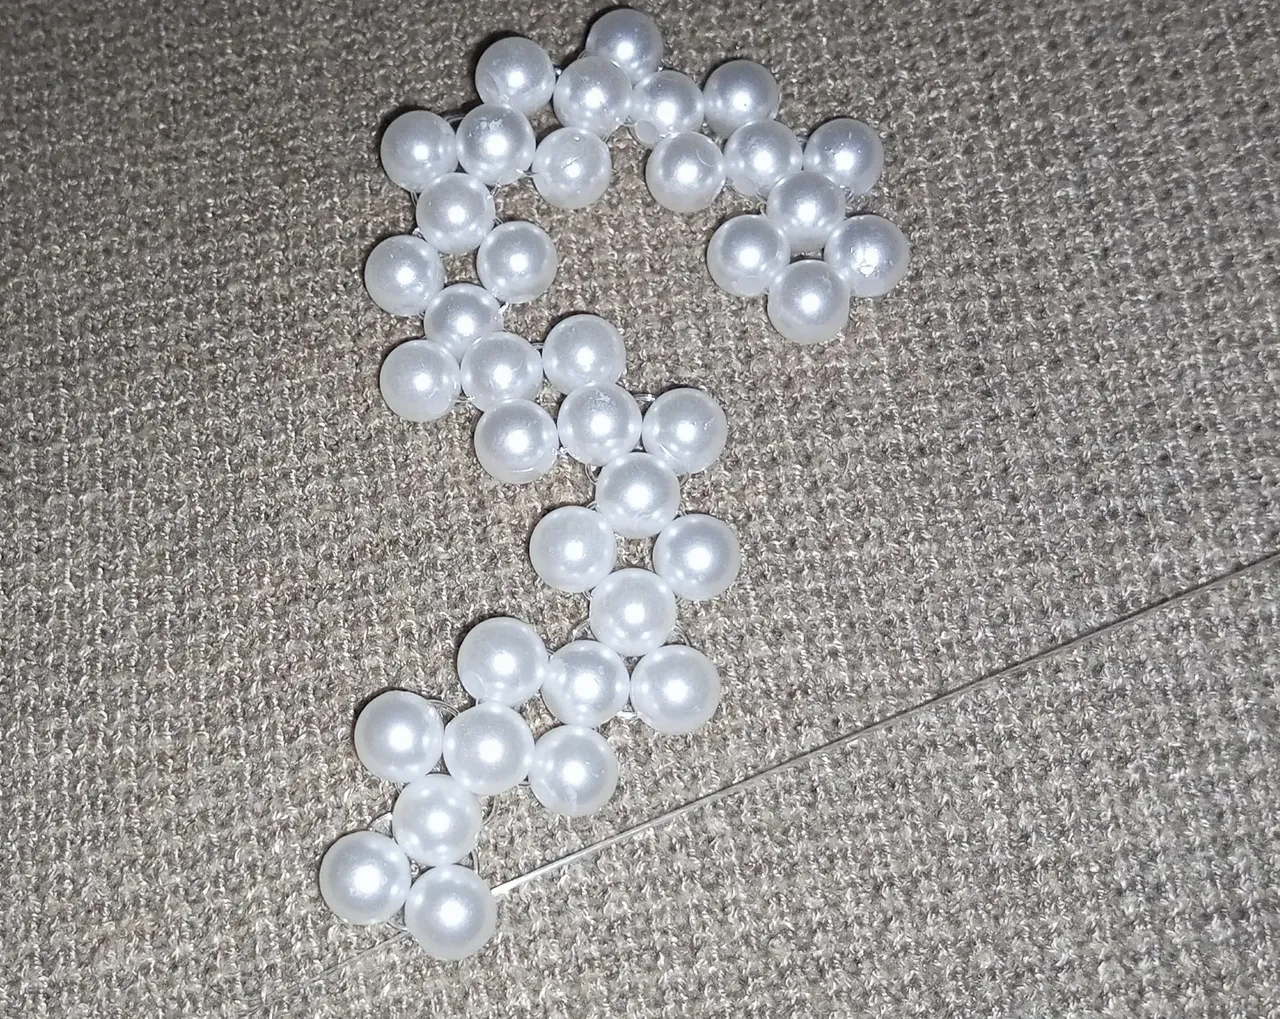
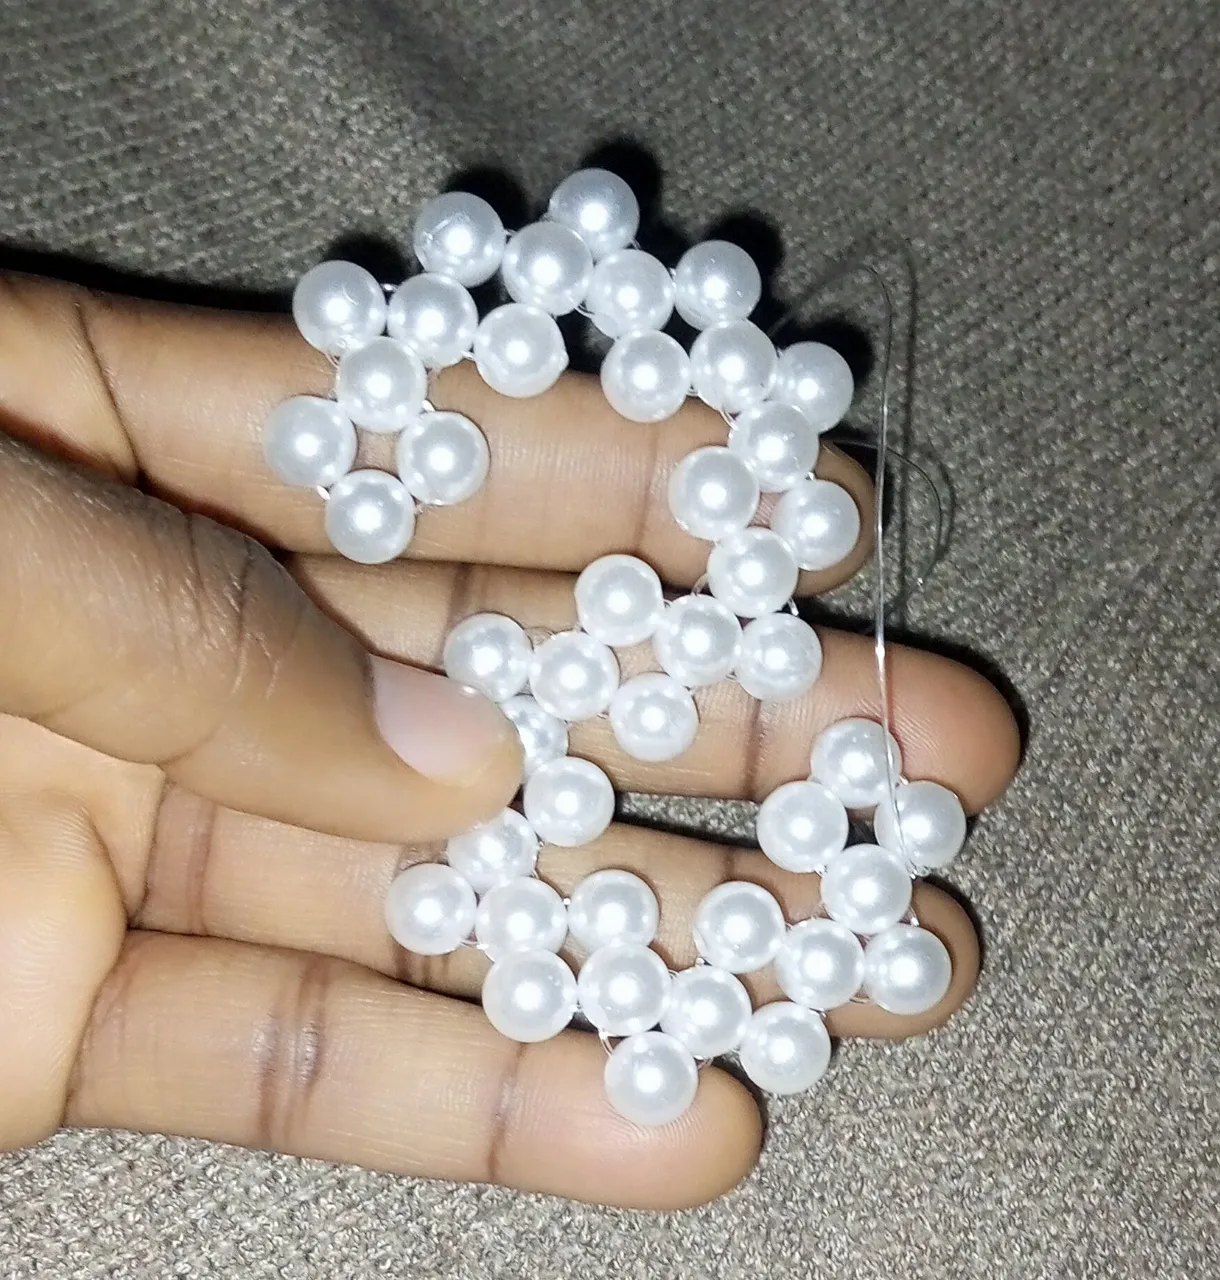
Below are beautiful photos of the S, taking in different backgrounds, for your pleasure view😍
Making this was fun and exciting. In the coming days, I will continue to make more letters, and if you like this follow me so you don't miss out in my tutorial.
Kindly note that all Images are mine, taken with my Tecno Spark 8 plus. Photo collage made with Inshot App.
Thank you very much, have a beautiful day at your end.❤️🙏🥰
@funshee ✍️