
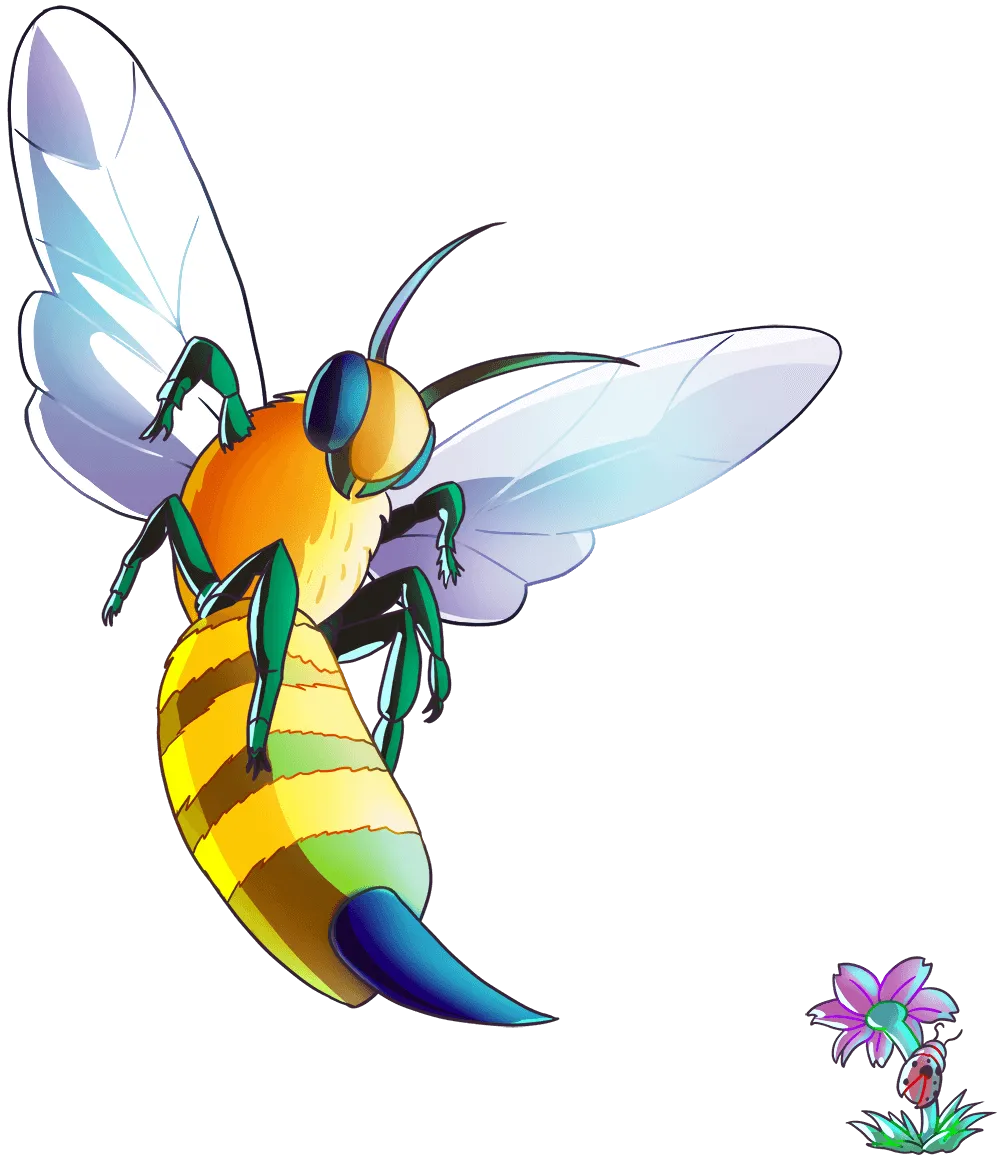
Hello dear friends, I hope you are well, last week I was not able to participate in the Splinterlands contest, due to some inconveniences, one of them being that my PC burned haha, but I am already in the process of getting a new one. For this opportunity I want to compete with a sculpture made from a piece of a dry branch, I really liked the style of this wood because it was very soft, the character I chose for this sculpture is Nectar Queen, inspired by the work of my dear @dayadam who also made a wonderful sculpture of this character. Here I tell you step by step how I did it and where I also show the tools I used, I hope you like it.
Hola queridos amigos, espero que se encuentren muy bien, la semana pasada no pude participar en el concurso de Splinterlands, debido a algunos inconvenientes, uno de ellos es que se quemó mi pc jaja, pero ya estoy en proceso de hacerme con una nueva. Para esta oportunidad quiero concursar con una escultura realizada en un trozo de una rama seca, me gustó mucho el estilo de esta madera pues era muy suave, el personaje que escogí para esta escultura es Nectar Queen, inspirado en el trabajo de mi querida @dayadam quien también hizo una maravillosa escultura de este personaje. Aquí les comento paso a paso como lo hice y donde también muestro las herramientas que utilicé, espero que les guste.

 |  | |
|---|---|---|
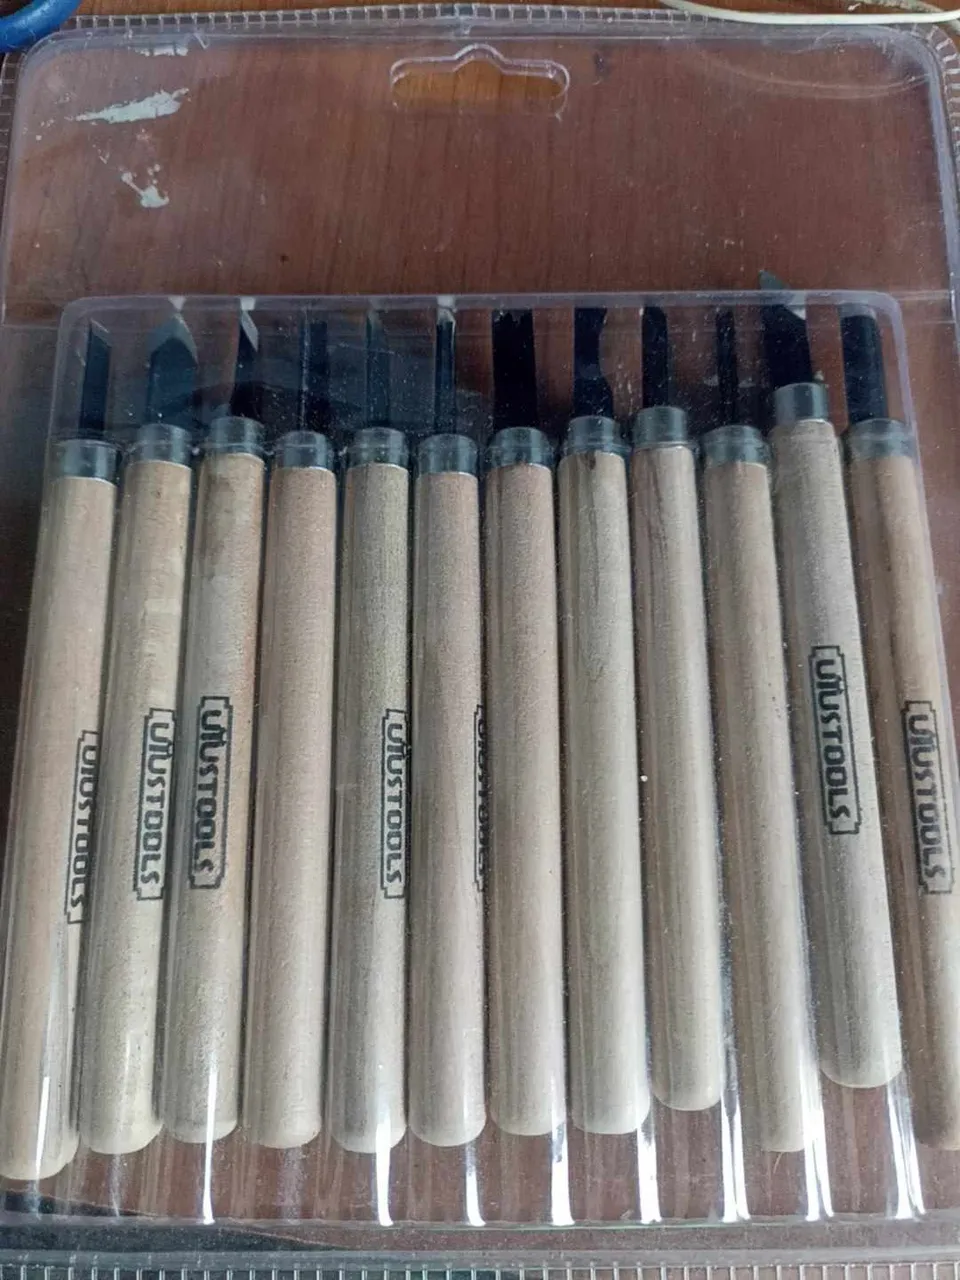 | 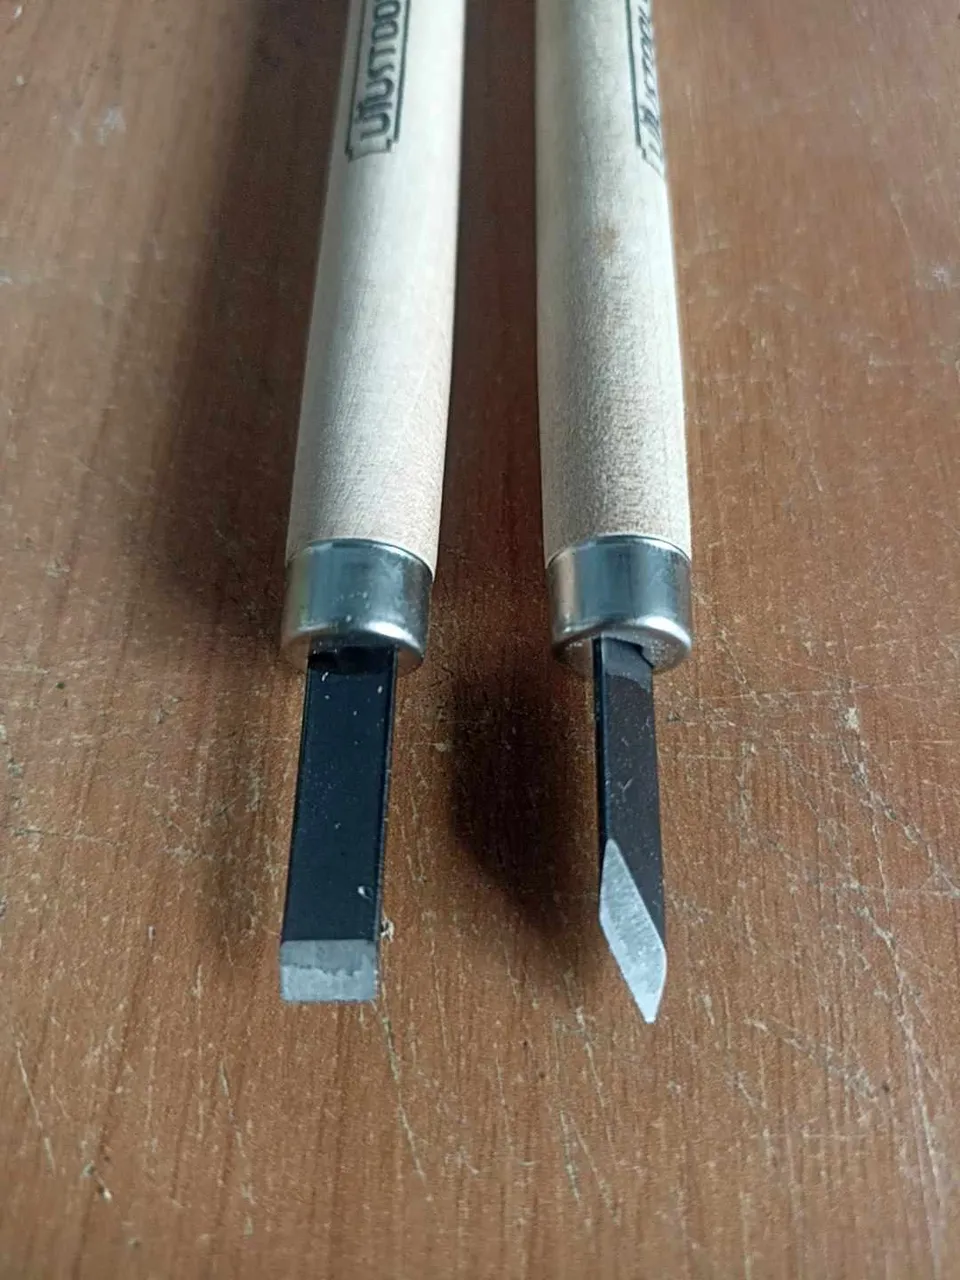 |
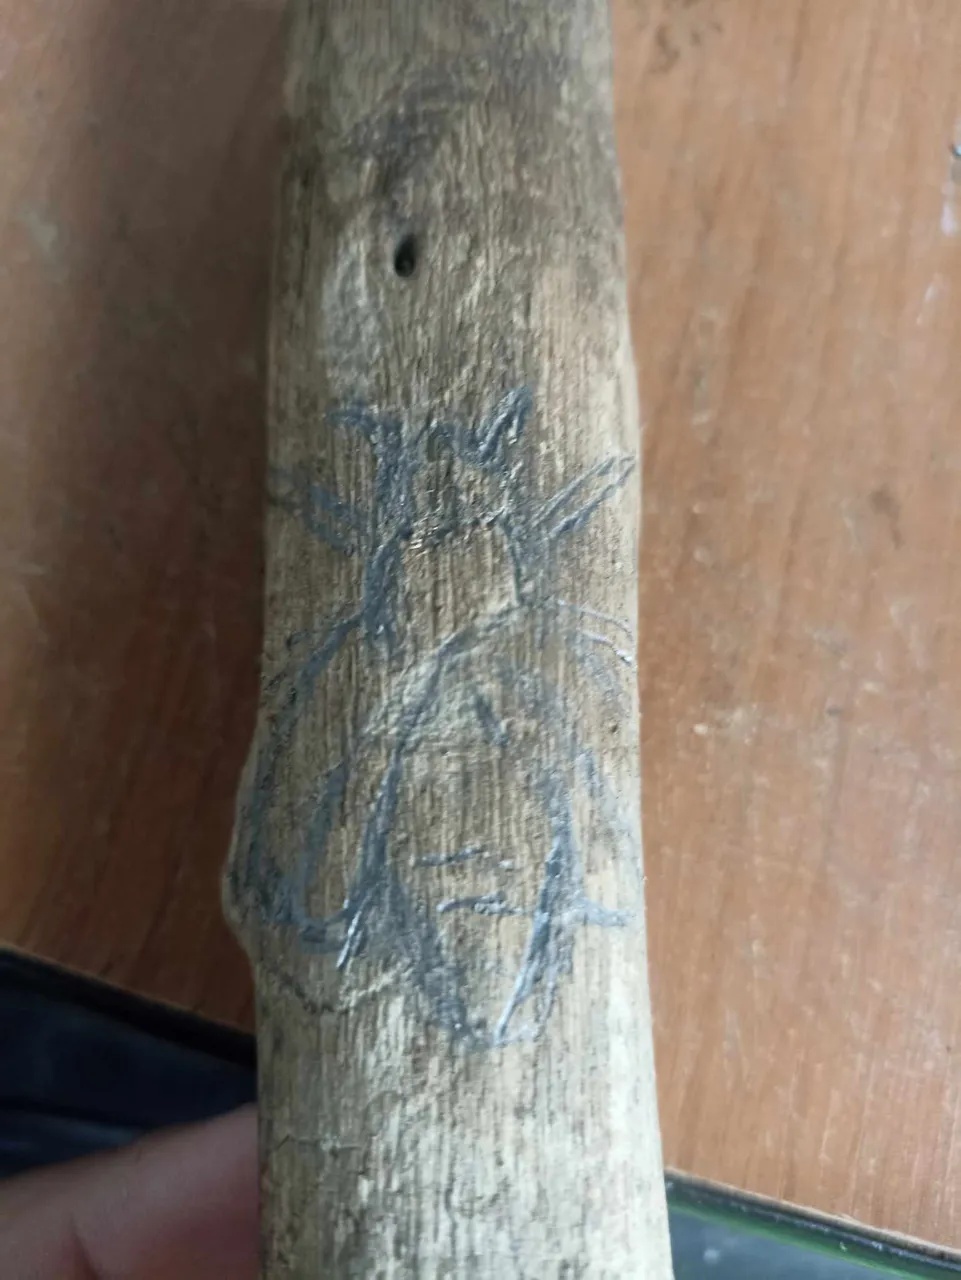
I did not use so to speak "processed" wood but rather I used a piece of a branch that I found, the wood seemed very soft and useful for what I wanted to do. My idea is to make a bee which is on the branch, so I made the drawing and my job will be to shape it without removing it from the branch. I also bought a set of tools to make small figures. I found this set of gouges in a store. hardware store at a good price, and do not hesitate to buy them, they will help me a lot when working on wood sculptures.
No utilicé madera por así decirlo "procesada" sino que utilicé un trozo de una rama que encontré, se me hizo muy suave la madera y útil para lo que quería hacer. Mi idea es hacer una abeja la cual este sobre la rama, por lo cual hice el dibujo y mi trabajo será darle forma sin sacarla de la rama, compré también un juego de herramientas para hacer figuras pequeñas, este set de gubias lo encontré en una ferretería a un buen precio, y no dudé en comprarlas, me ayudarán mucho para trabajar las esculturas en madera.
 |  | |
|---|---|---|
 |  |
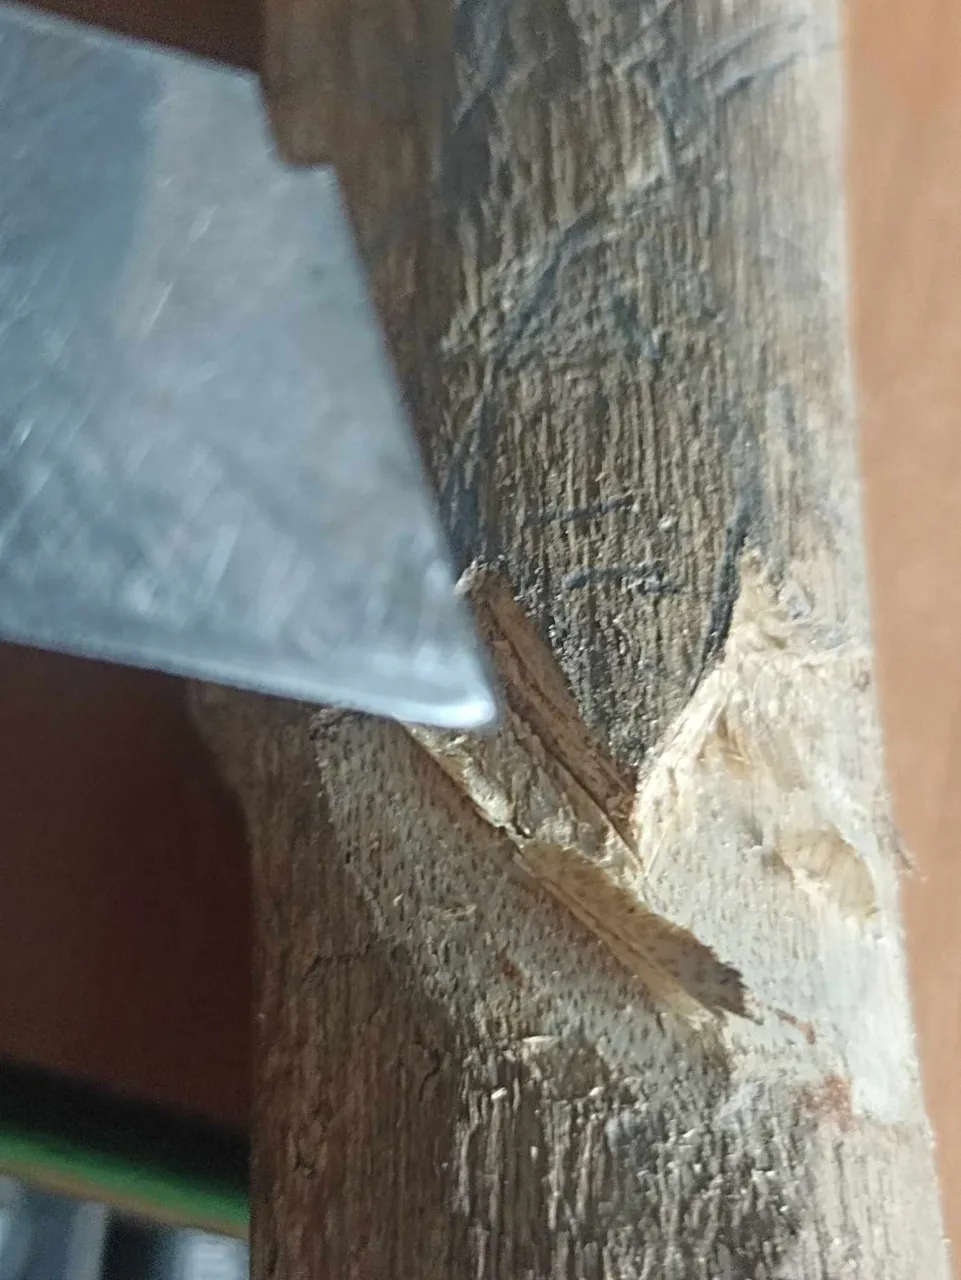
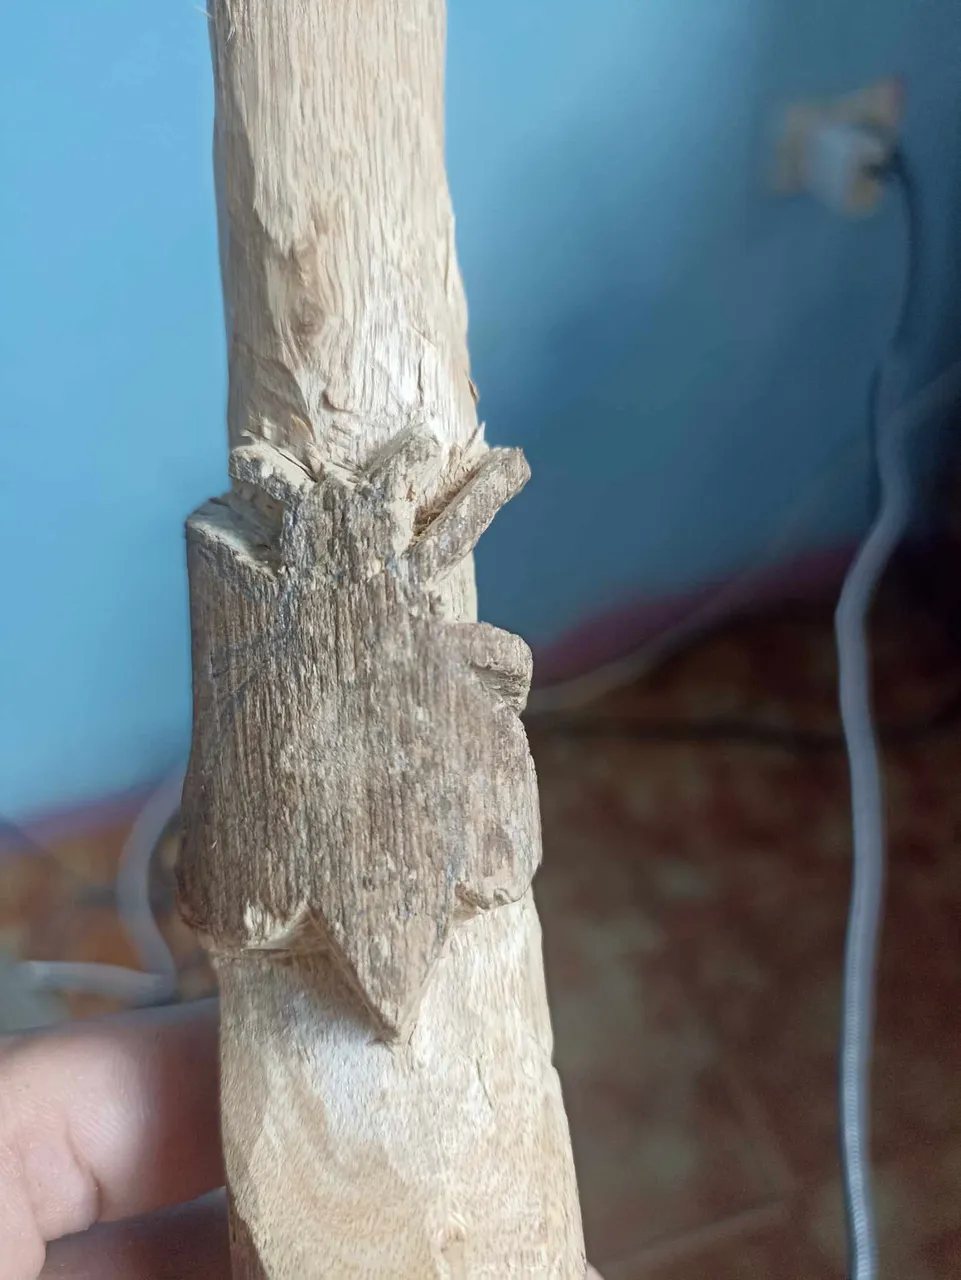
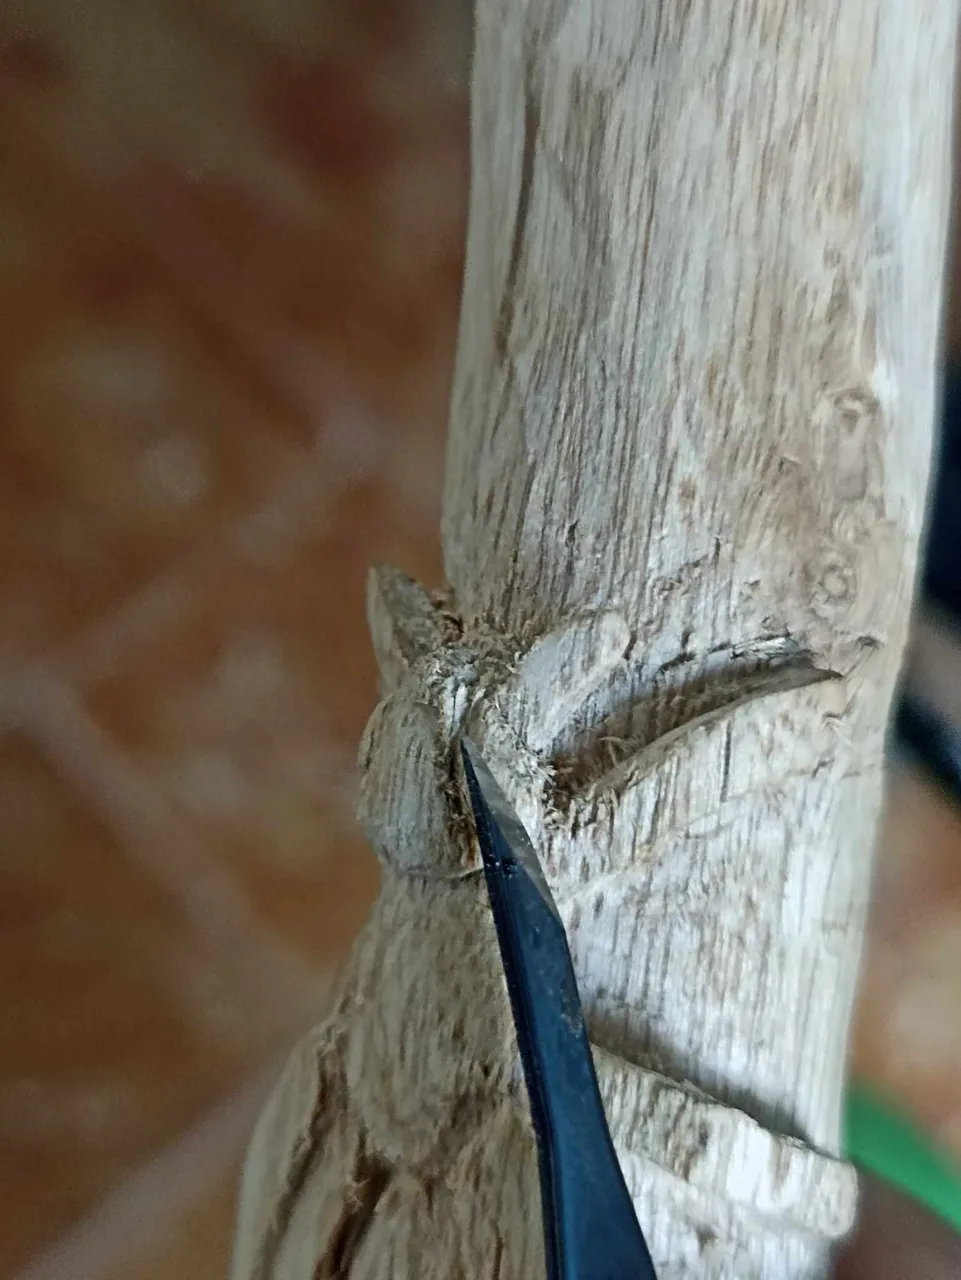
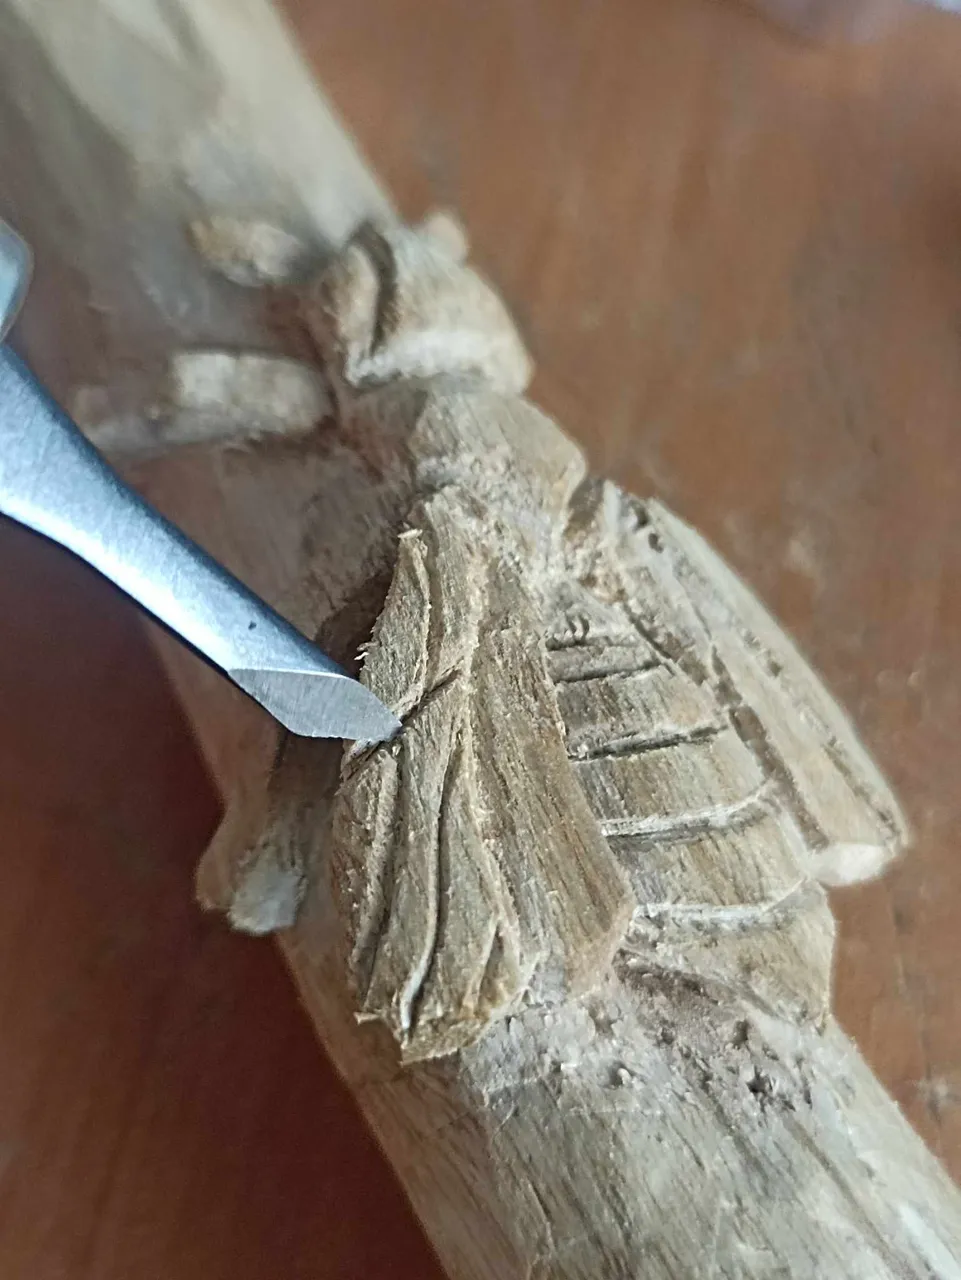
After making the drawing on the wood, the first step is to take the knife and sink the tip into the wood along the entire line of the pencil. After this, take one of the gouges to extract the wood, when the deeper you can sink the knife more wood can be removed and thus the shape can be finished faster. However, since it is a small piece, you have to remove the wood carefully so that it is not damaged.
Después de hacer el dibujo sobre la madera, el primer paso es tomar la navaja y la punta hundirla en la madera por todo el trazo del lápiz, después de esto tomar una de las gubias para ir extrayendo la madera, cuando más se pueda hundir la navaja más madera podrá ser retirada y así la forma podrá estar terminada más rápido. Sin embargo al ser una pieza pequeña, hay que sacar la madera con cuidado para que no se dañe.
 |  | |
|---|---|---|
 |  |
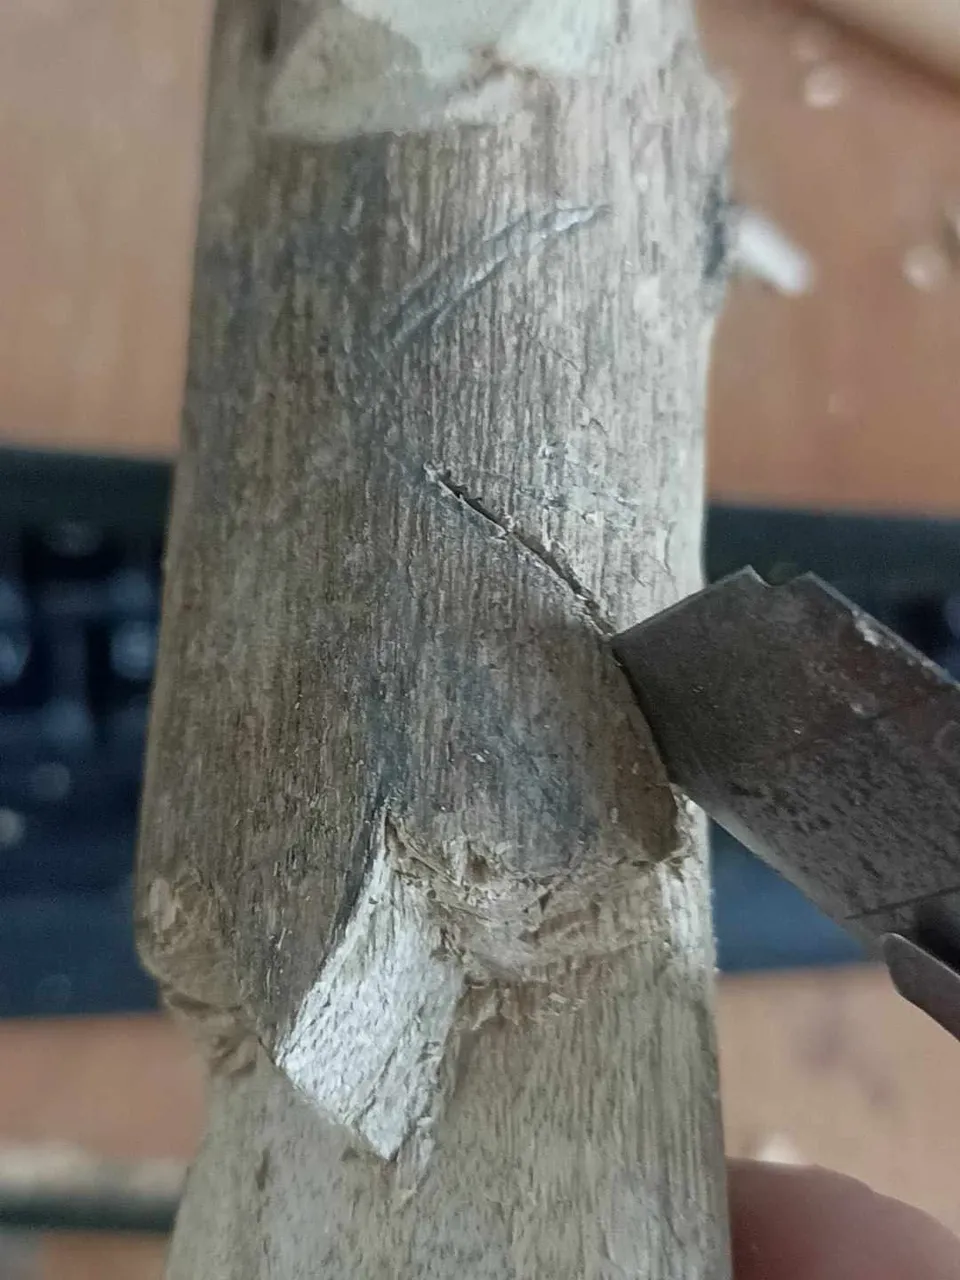
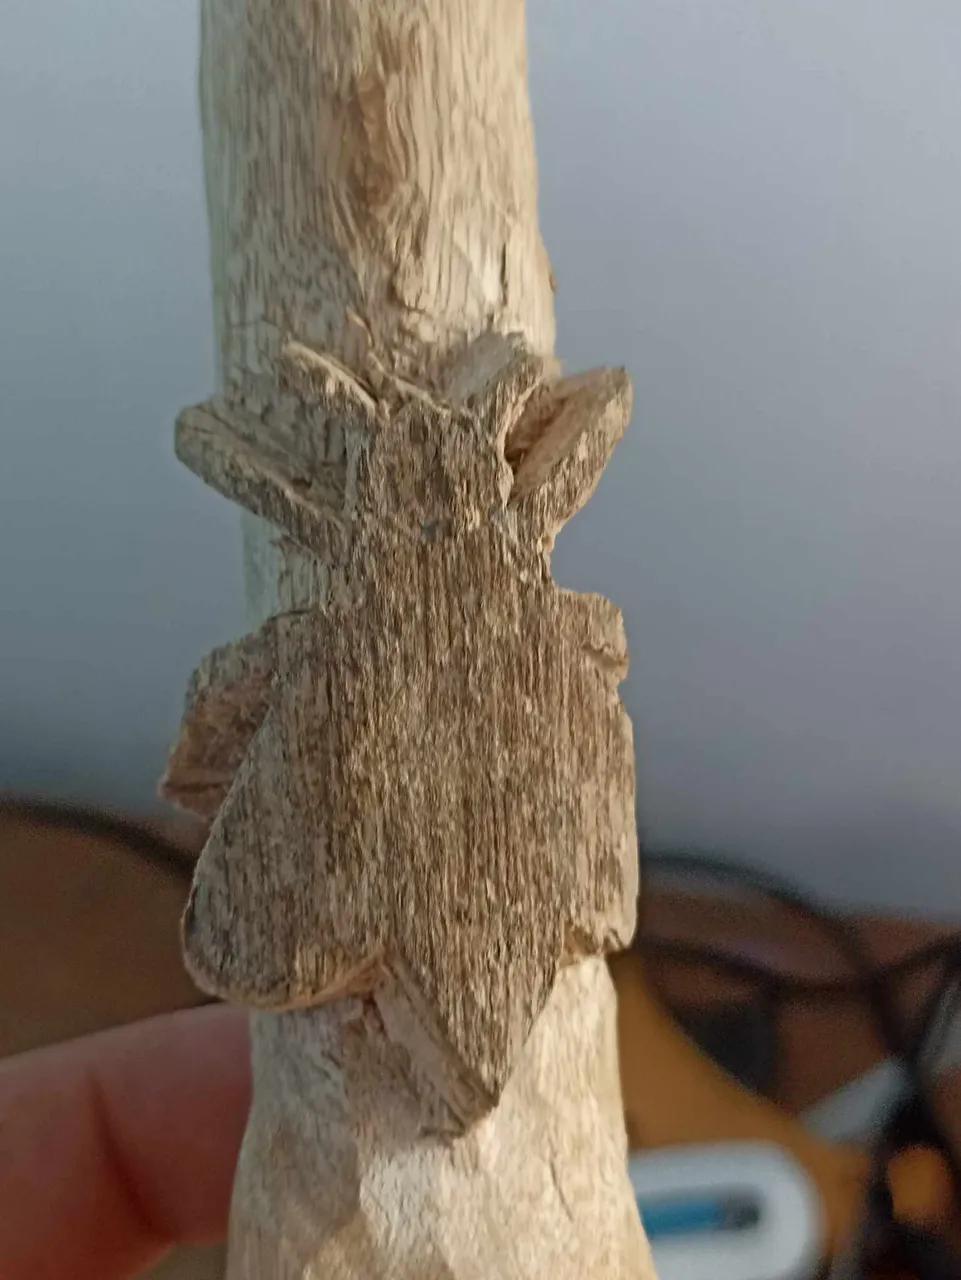
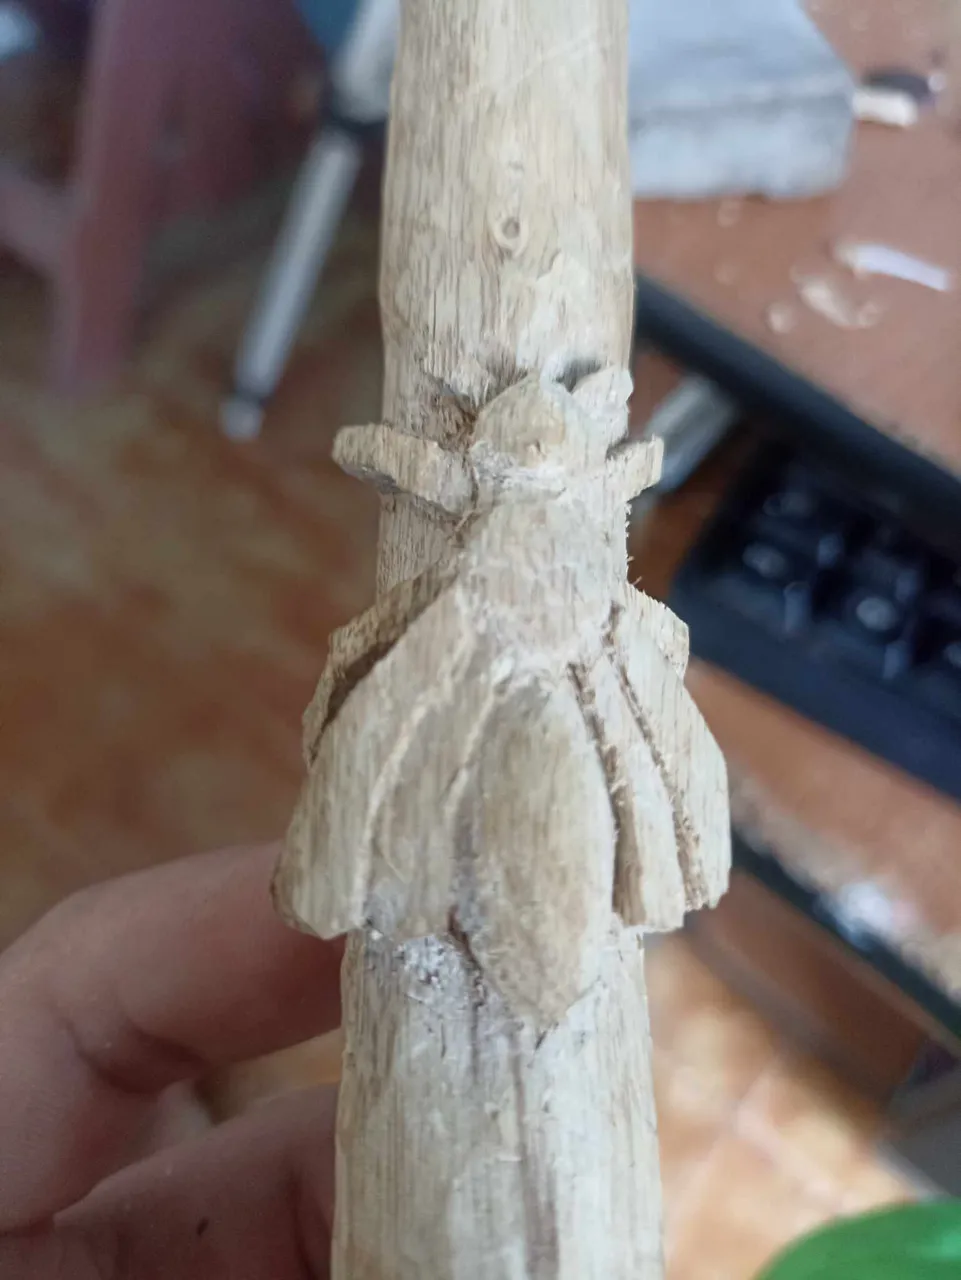
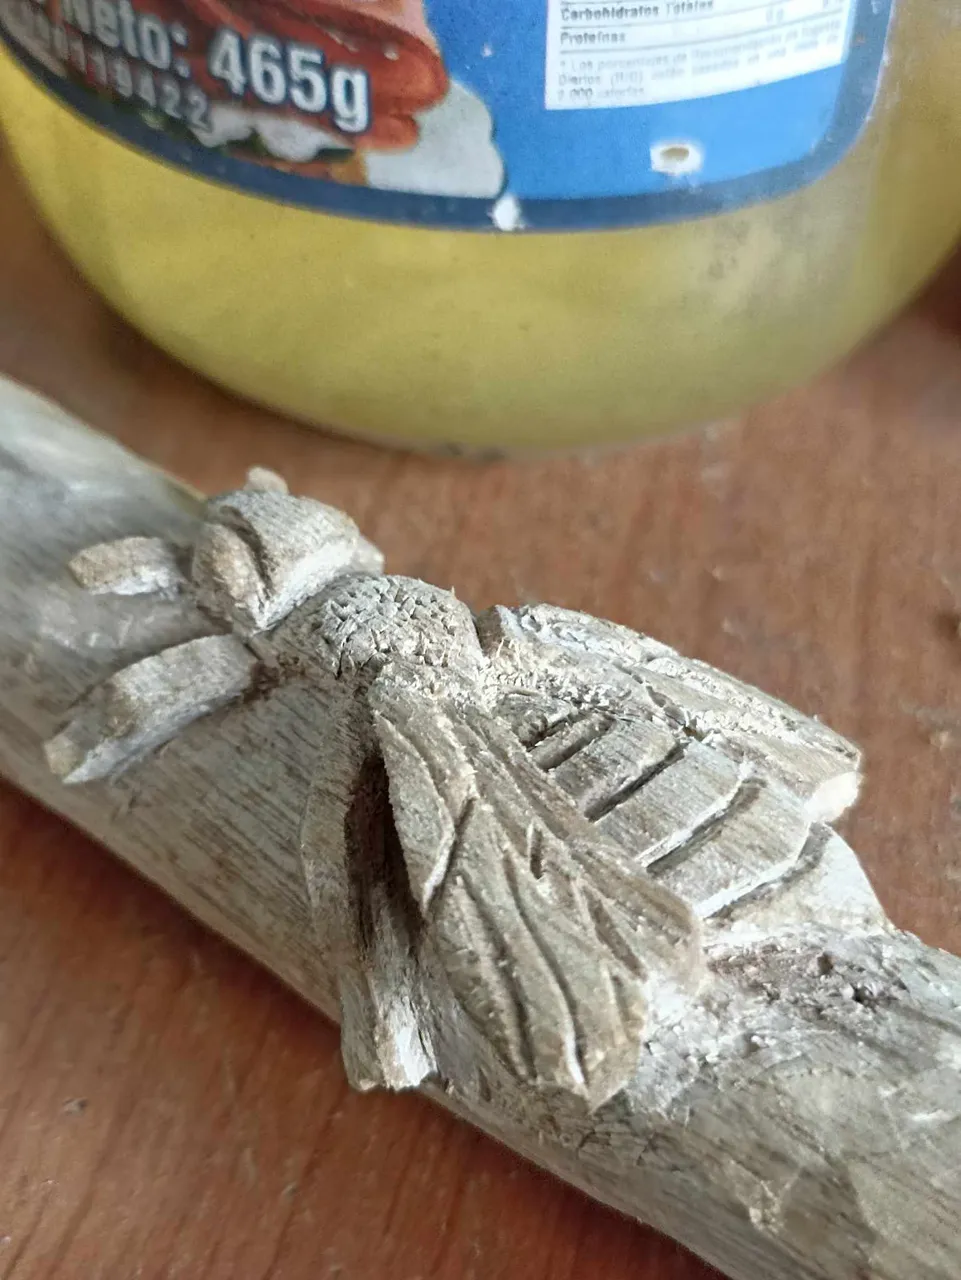
You can see how I shaped the entire drawing that I had made on the wood, the line was now removed little by little with the cutting tools. Then it's about shaping the wings, limbs, head and the rest of the body in detail.
Pueden observar como le di forma a todo el dibujo que había hecho en la madera, el trazo ahora fue retirado poco a poco con las herramientas de corte. Luego se trata de darle forma en detalle a las alas, las extremidades, la cabeza y el resto del cuerpo.
 |  | |
|---|---|---|
 | 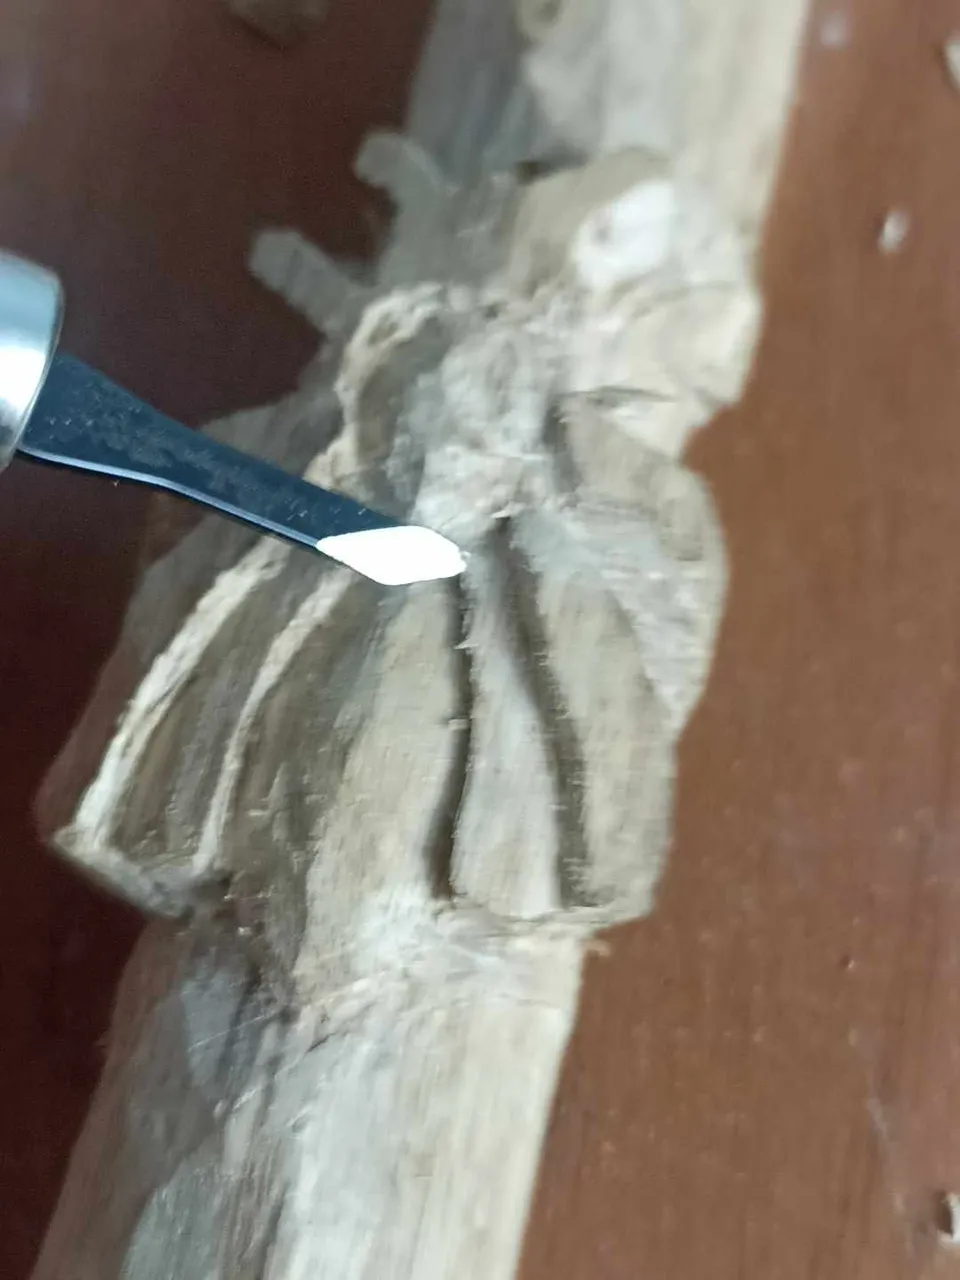 |
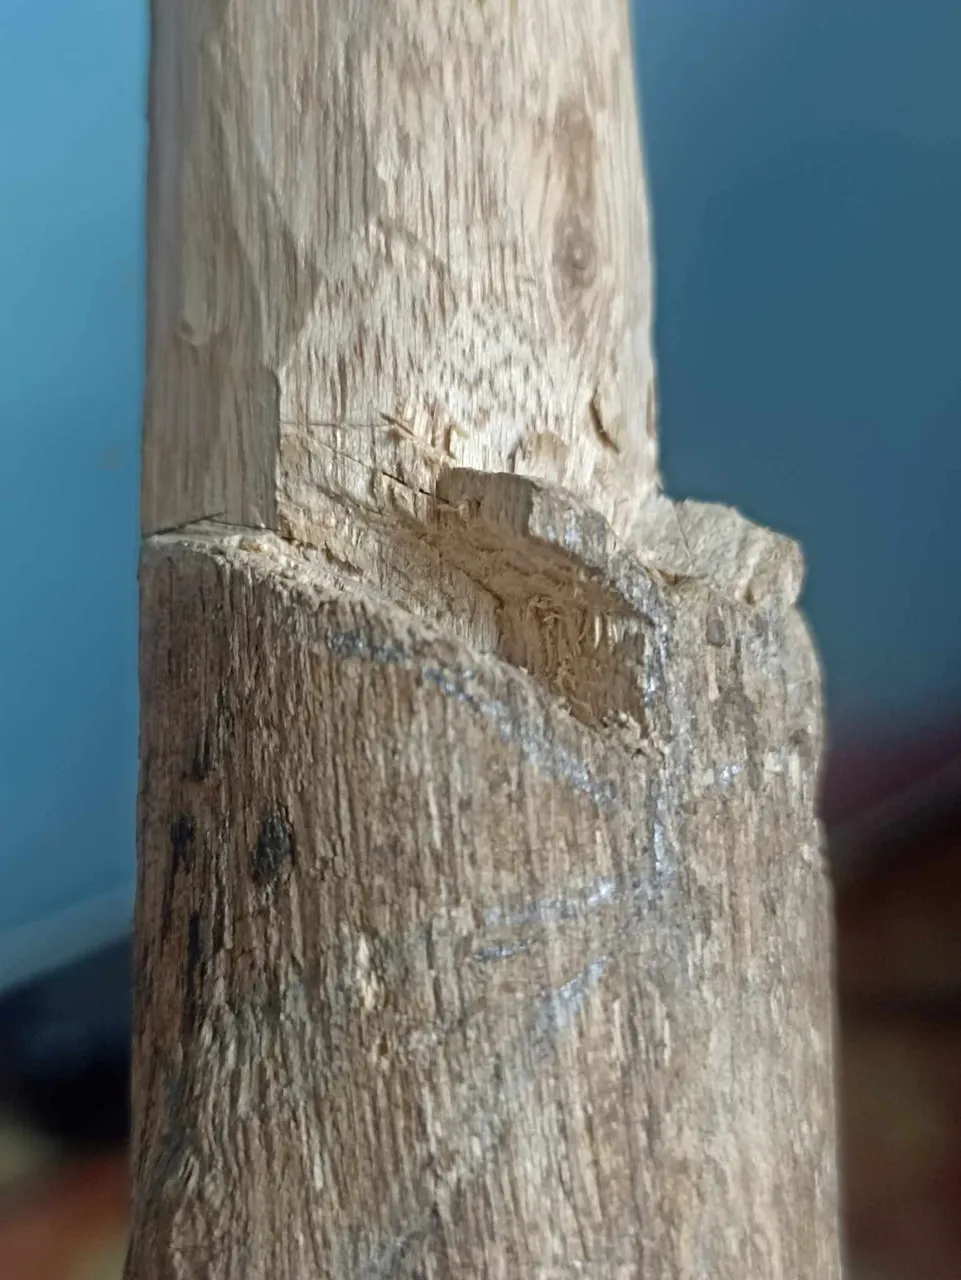
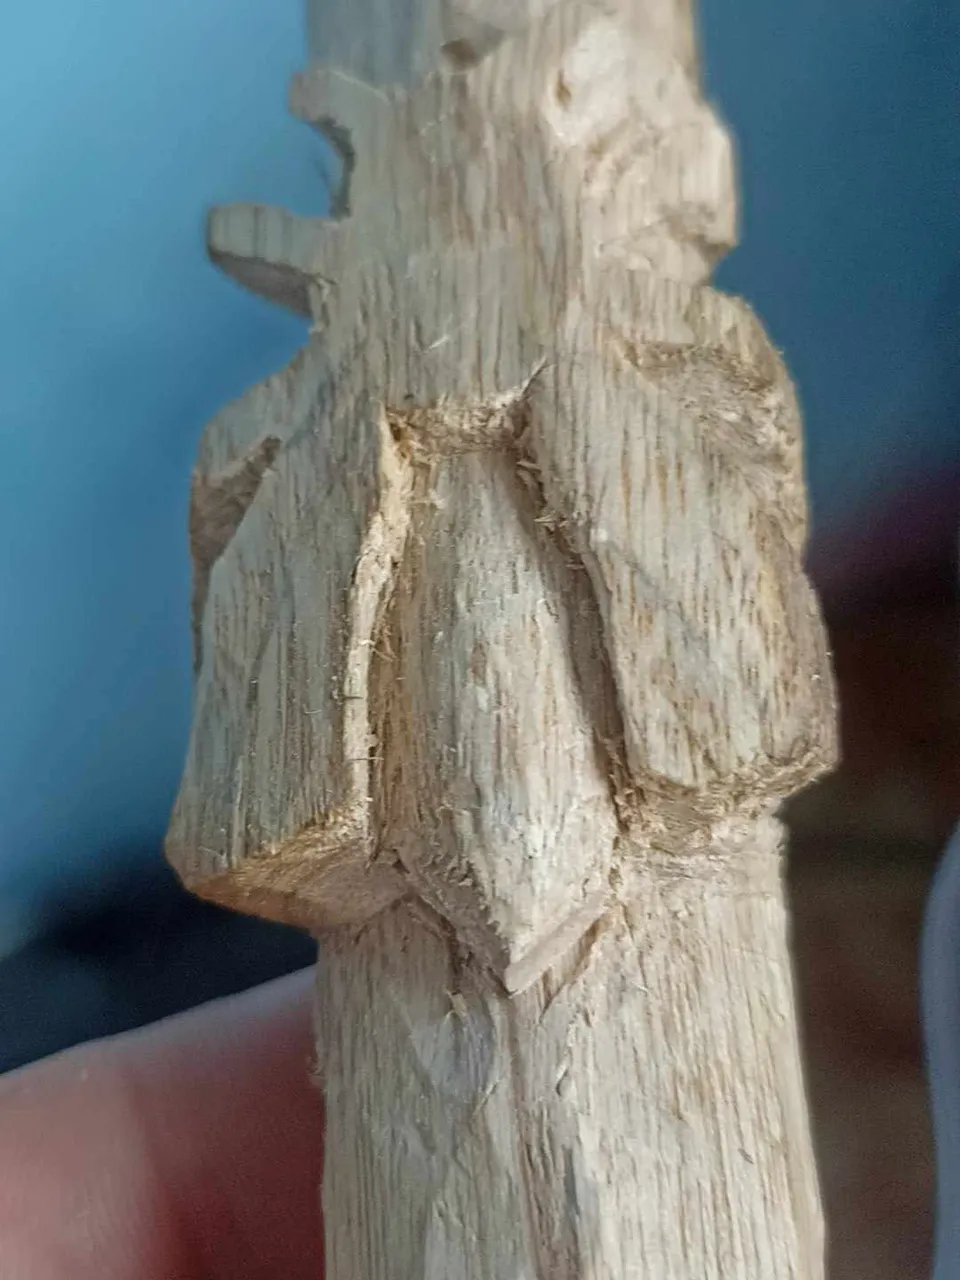
With the smallest gouges, I begin to shape the wings and the tail, as well as the head, this is the part that I like the most, since it is about going little by little without rushing so that the details flow and remain consistent. the best way.
Con las gubias más pequeñas, comienzo a darle forma a las alas y la cola, también la cabeza, esta es la aprte que mas me gusta, ya que se trata de ir poco a poco sin prisa para que los detalles vayan fluyendo y queden de la mejor forma.
 |  | |
|---|---|---|
 | 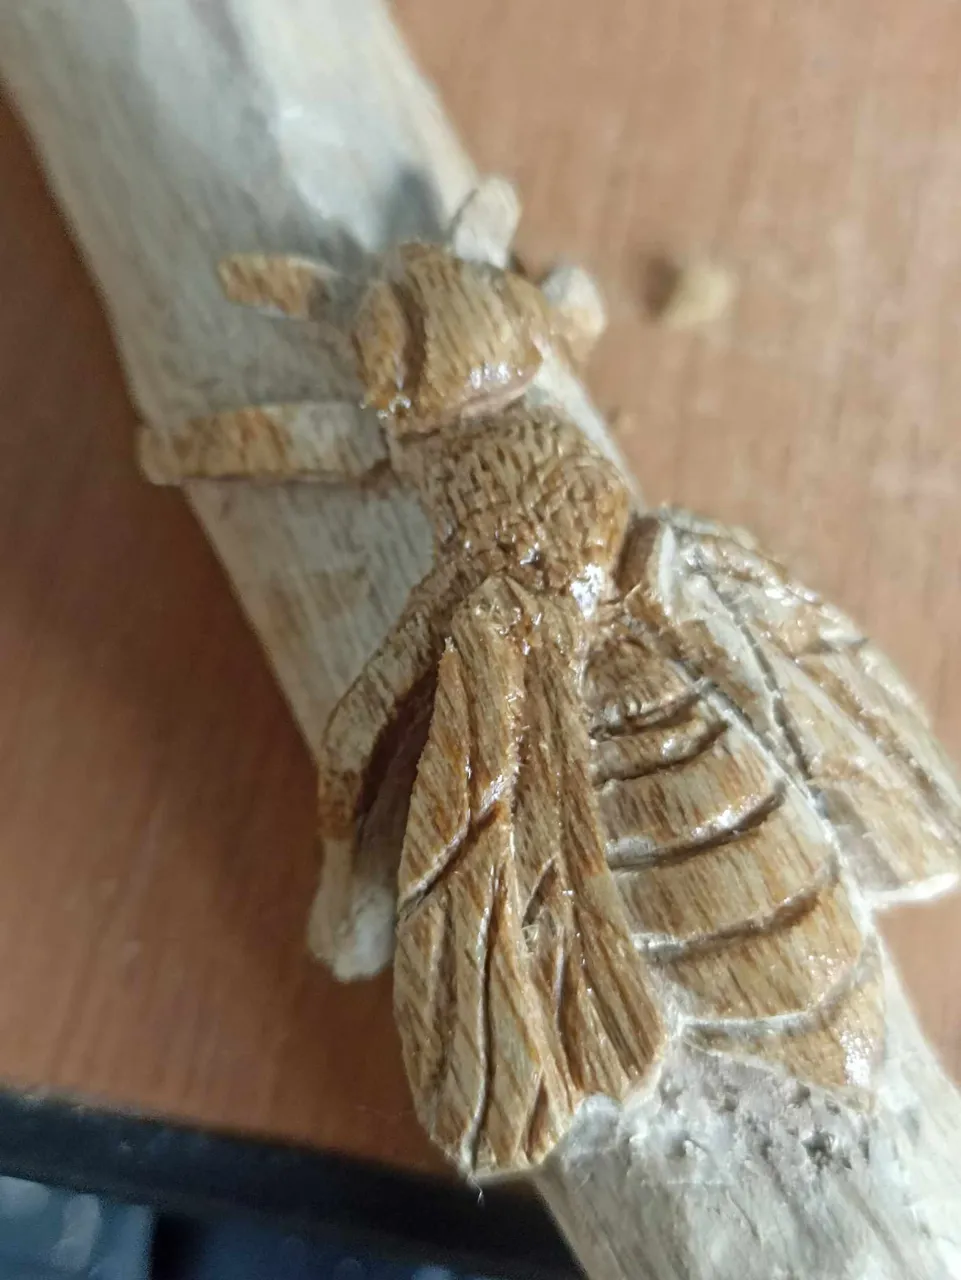 |
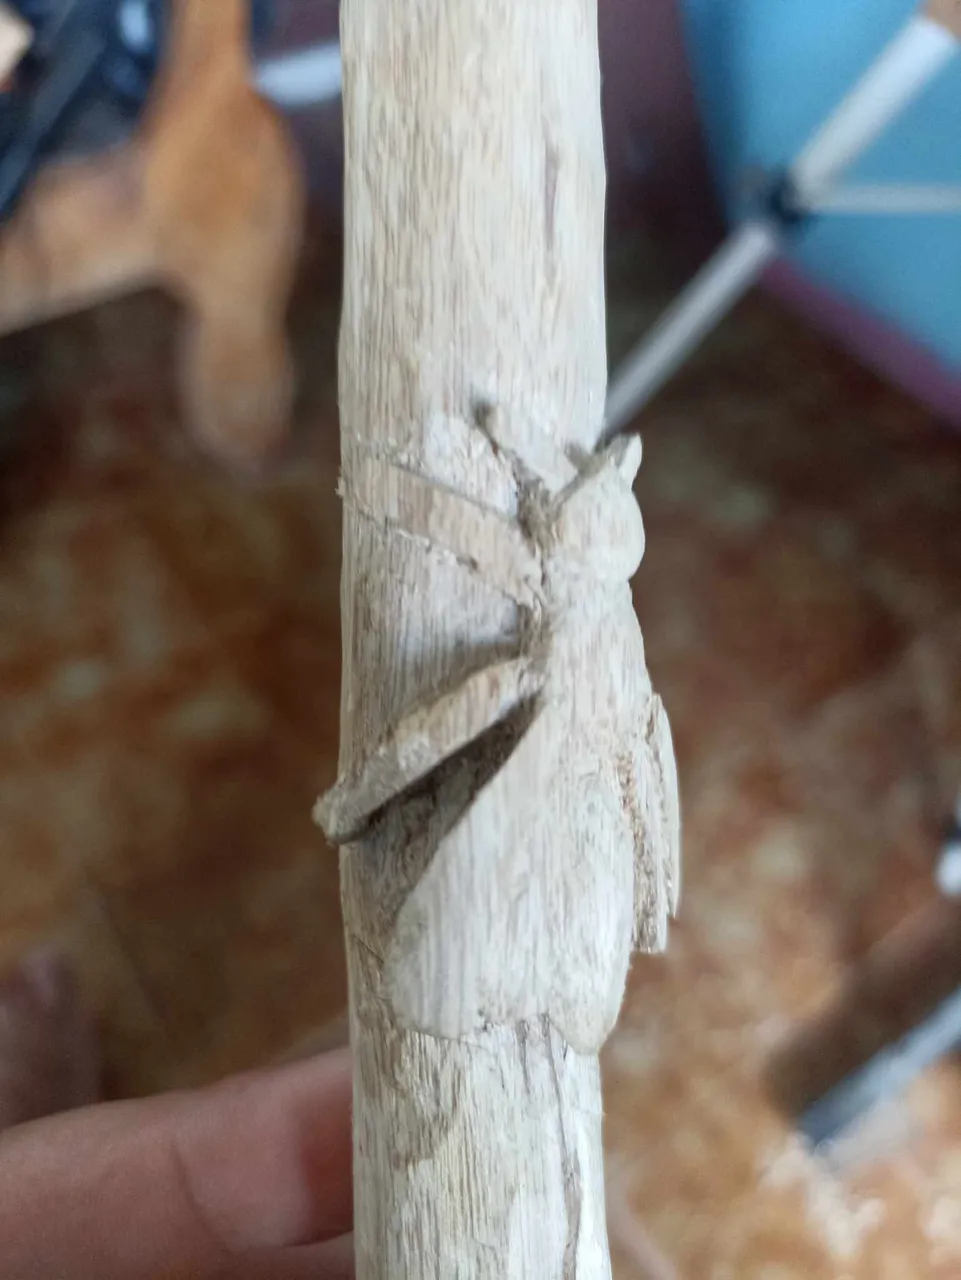
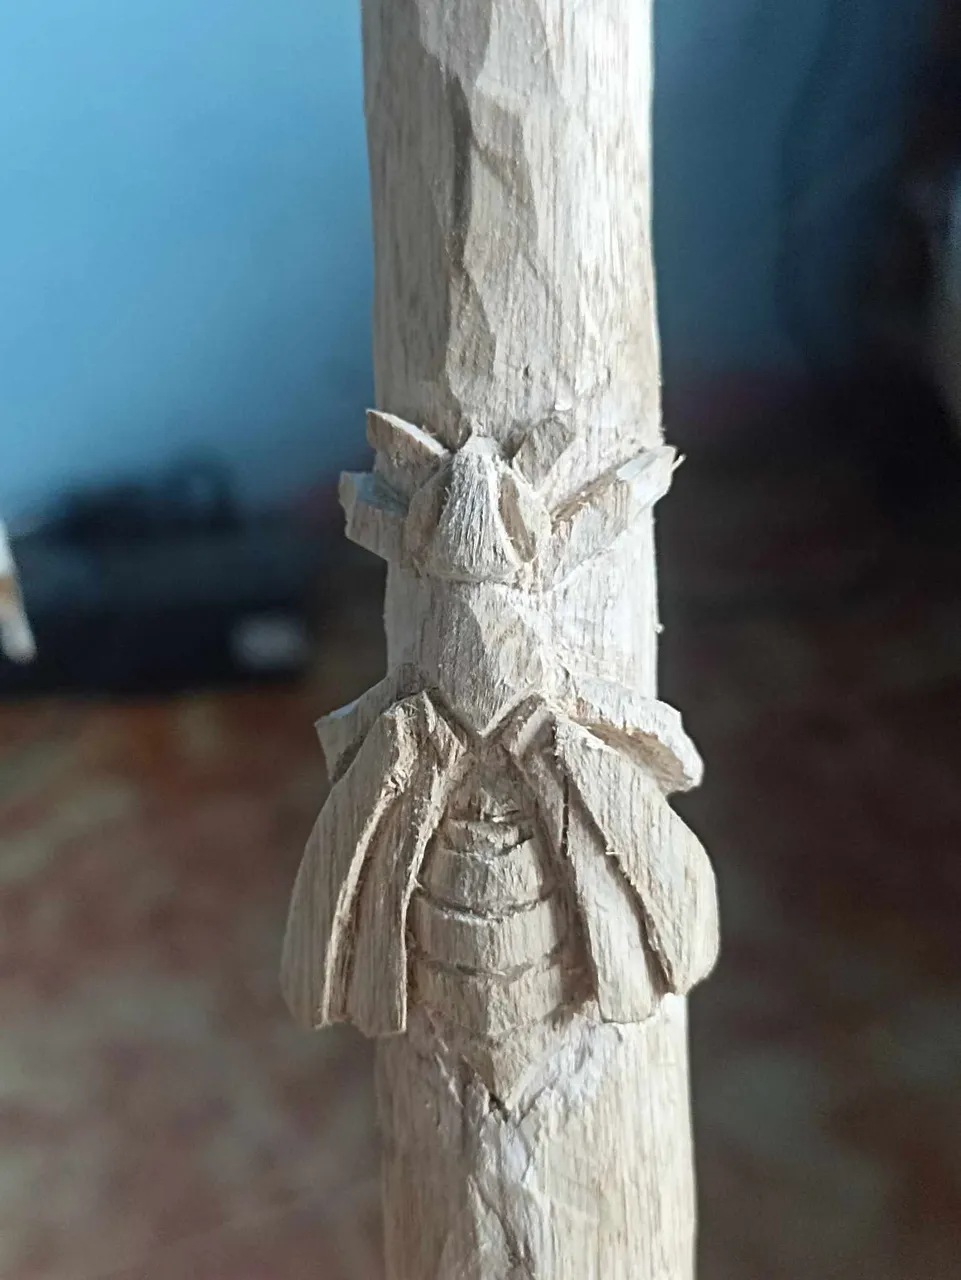
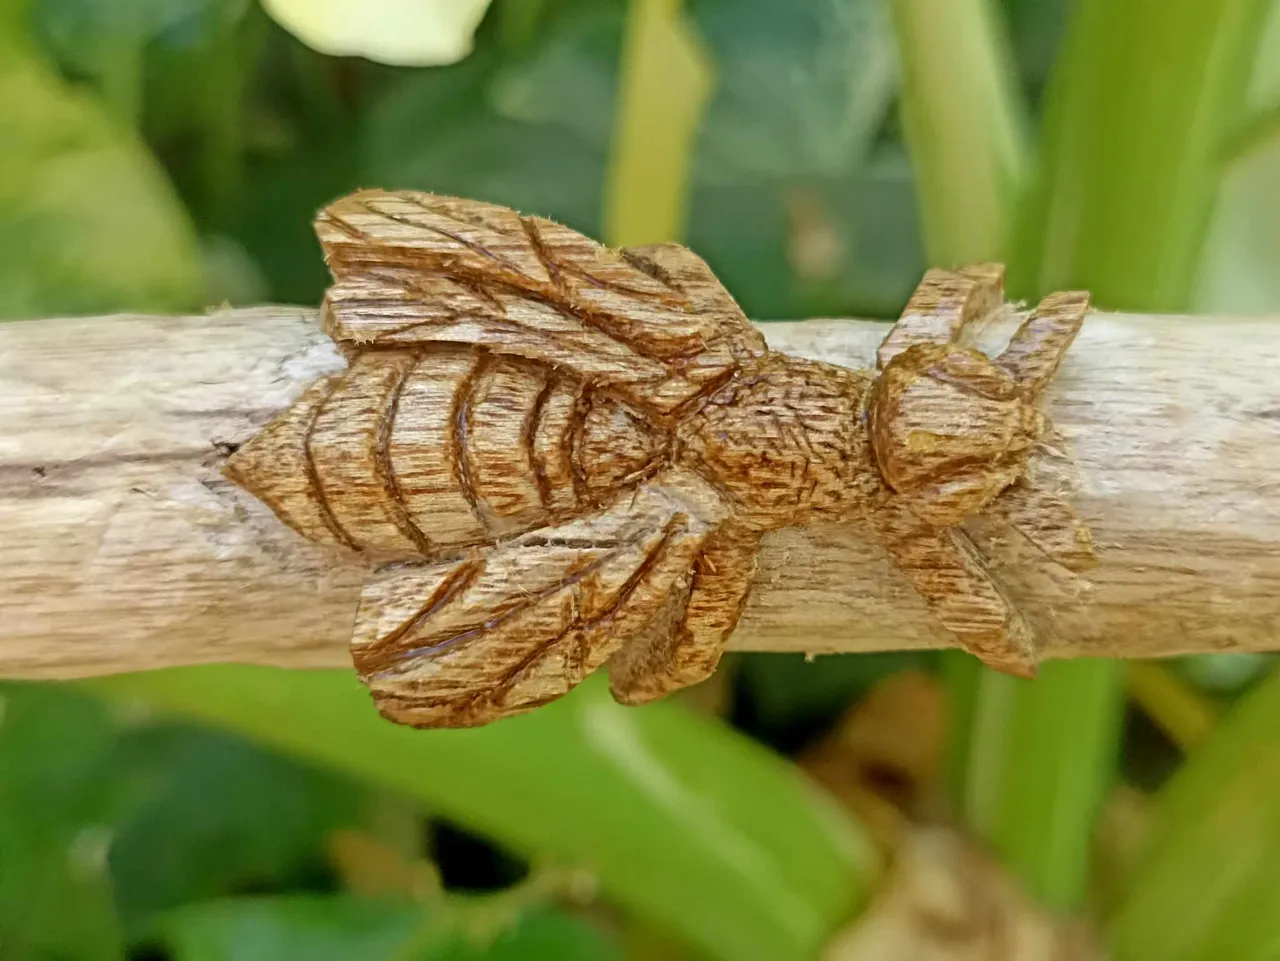
Next I shape the wings, in this case I make very fine cuts similar to lines that run through the entire area of the wings, so you can see the divisions. Also on the limbs I make some details, including the head, especially the antennae, this was the smallest I could do and it was a miracle that the wood didn't split. Finally I gave it a bath of varnish and sanding so that it was smooth and soft.
Seguidamente le voy dando forma a las alas, en este caso realizo unos cortes muy finos semejantes a líneas que recorran toda la zona de las alas, así se podrá ver las divisiones. También en las extremidades hago algunos detalles, incluyendo la cabeza, especialmente las antenas, esto fue lo más pequeño que pude hacer y fue un milagro que no se partiera la madera. Por último le di un baño de barniz y lijé para que quede liso y suave.

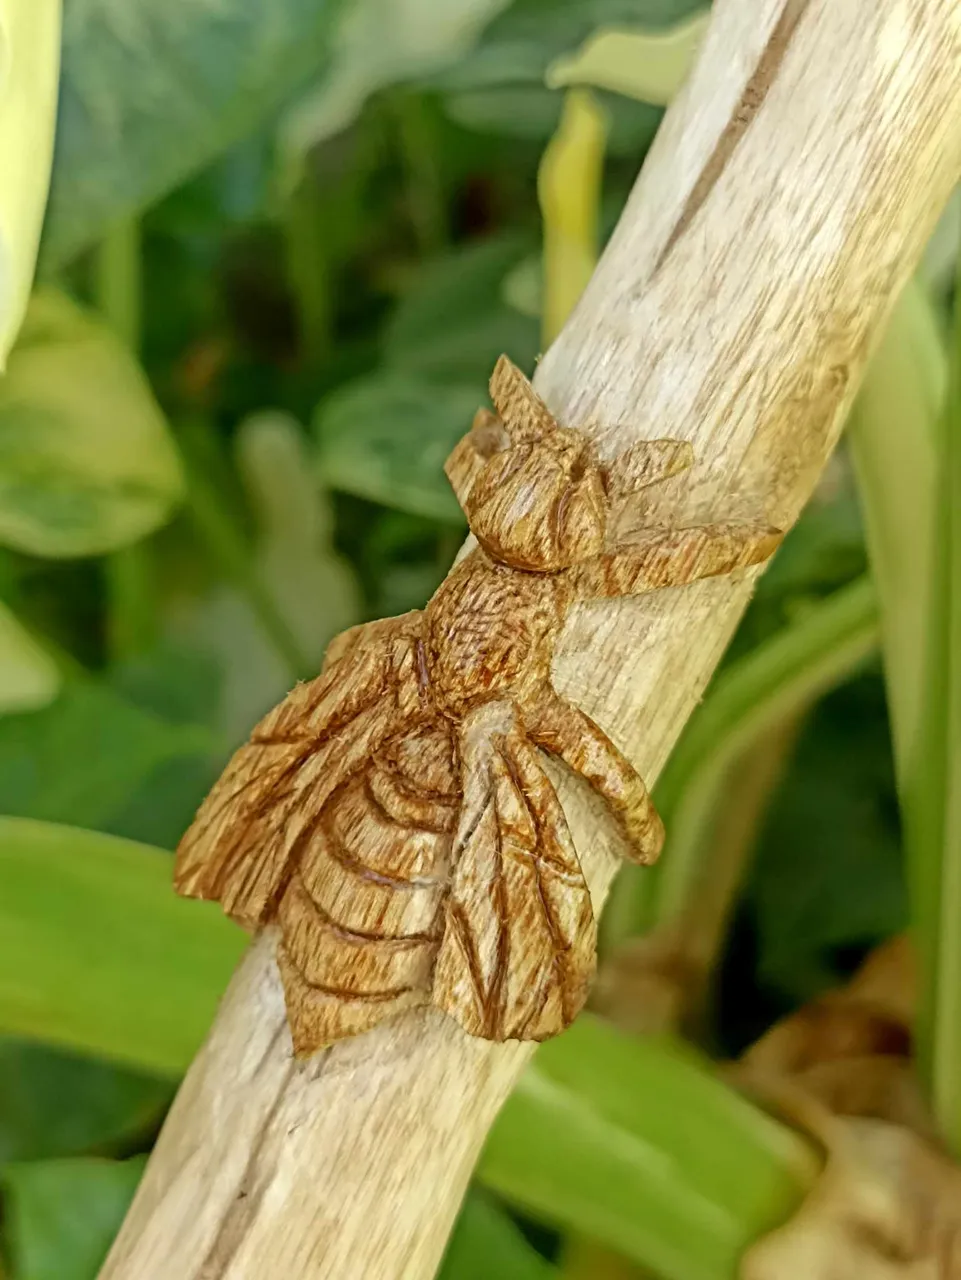
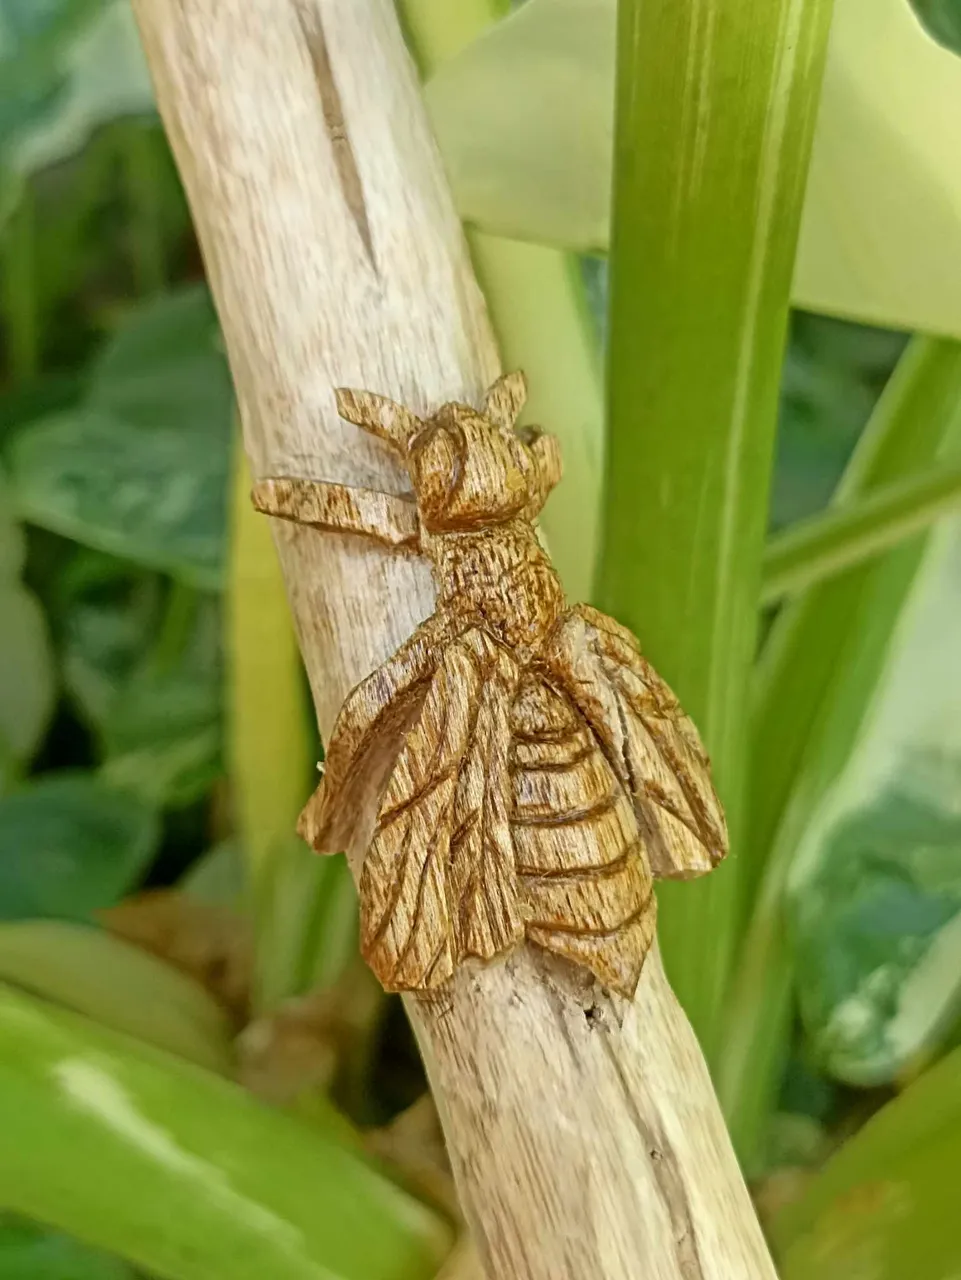
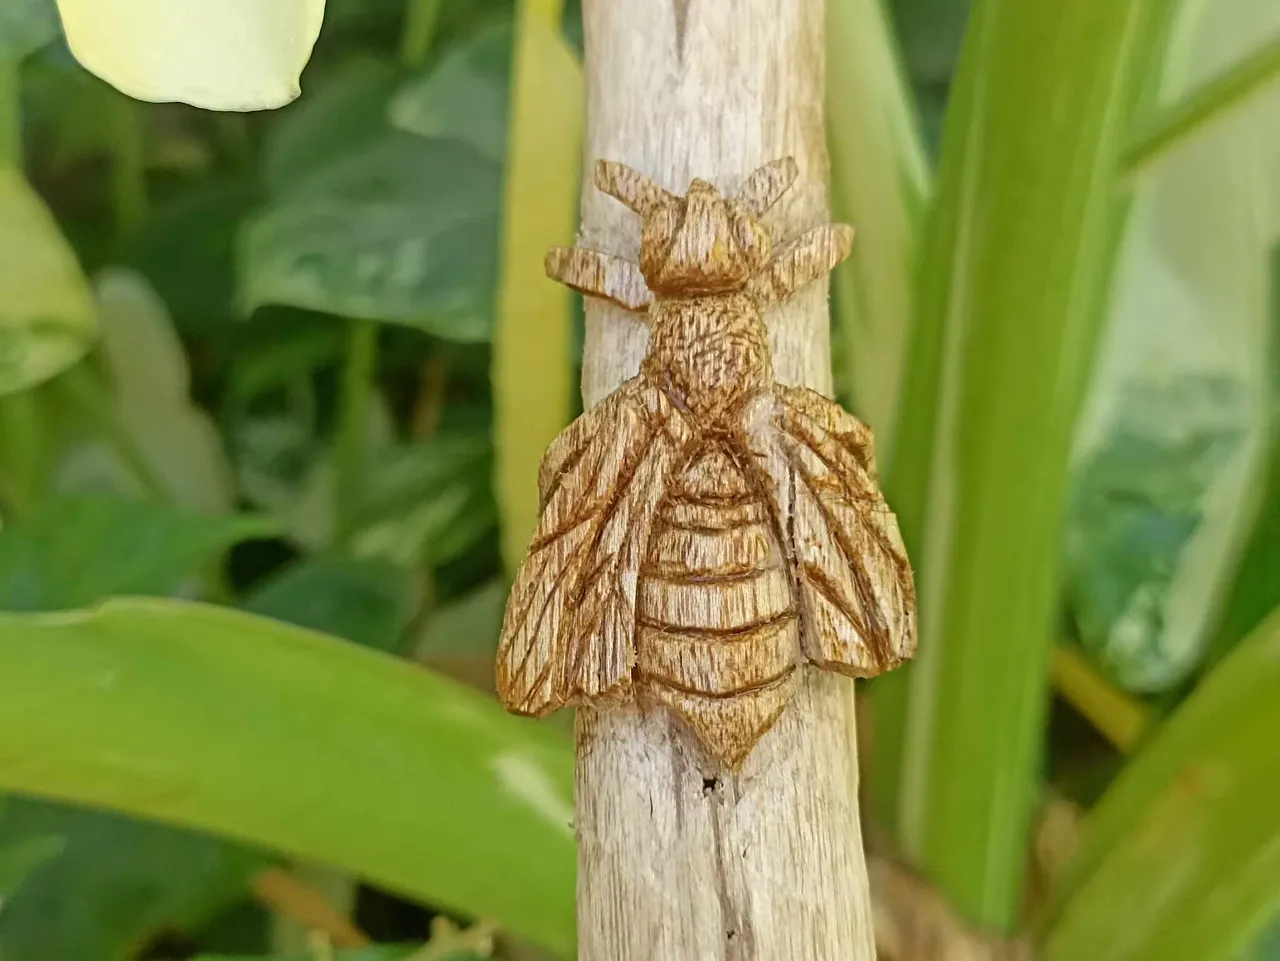
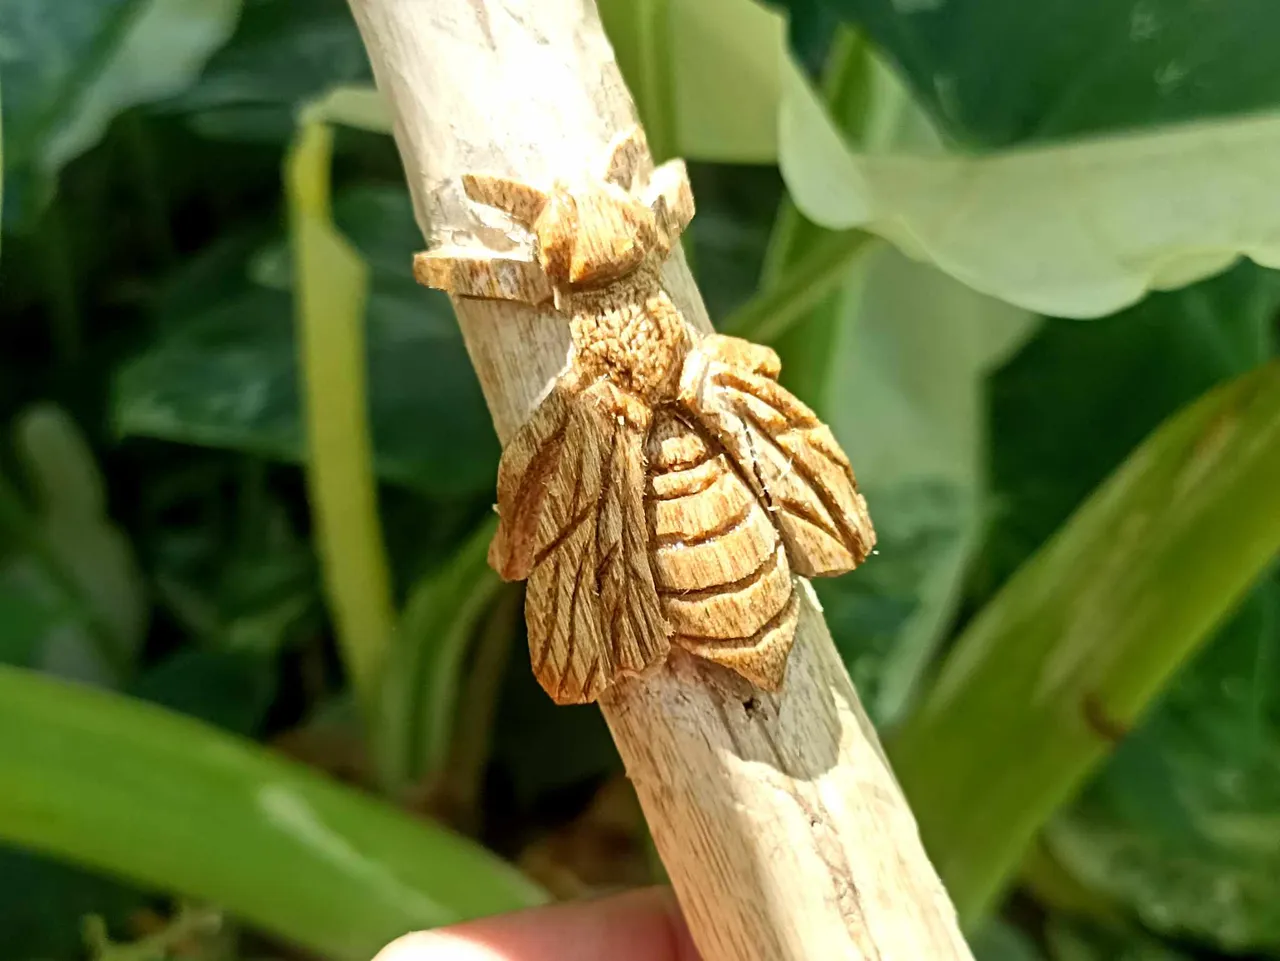
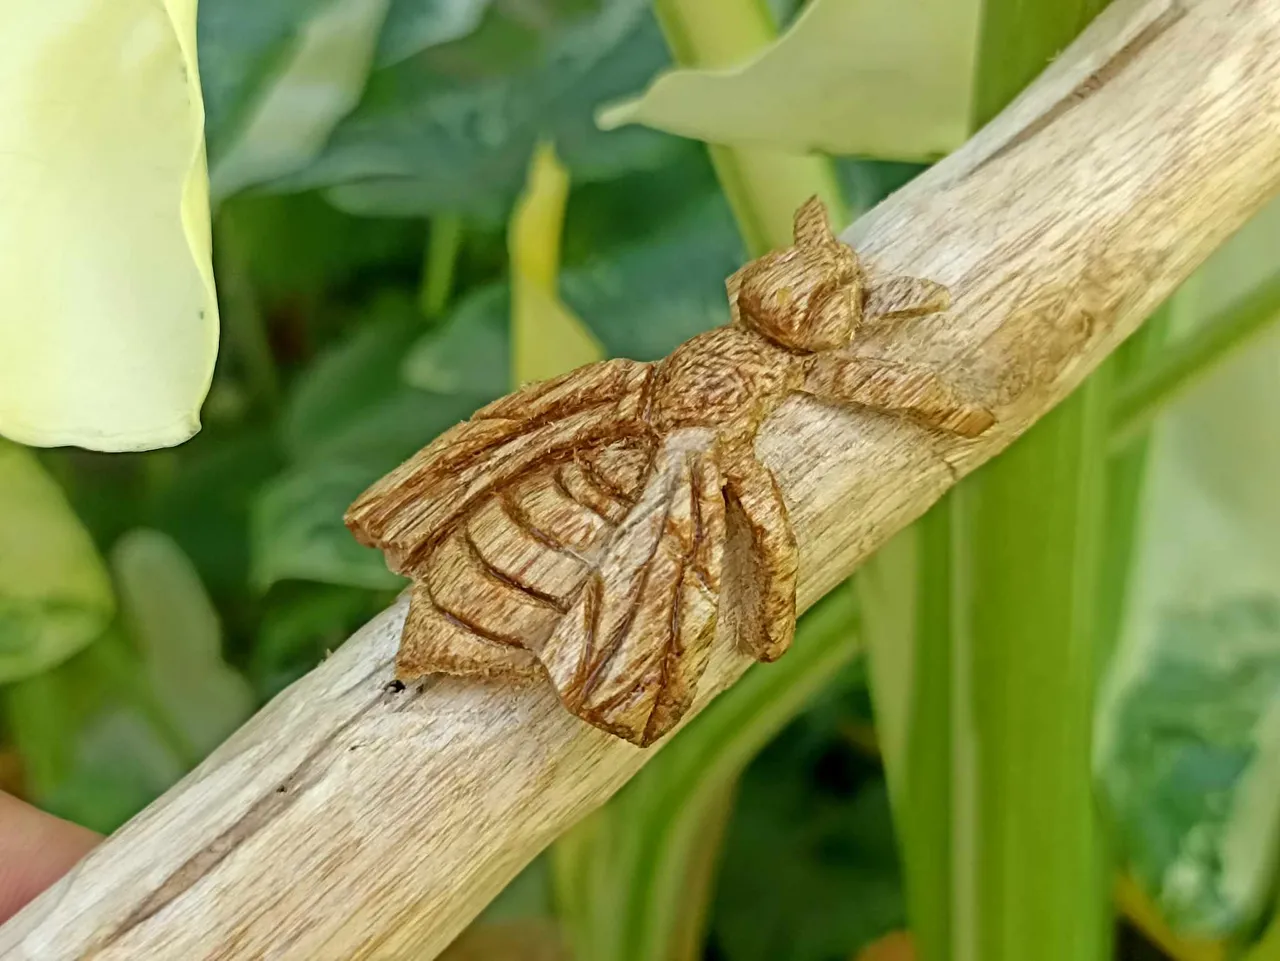
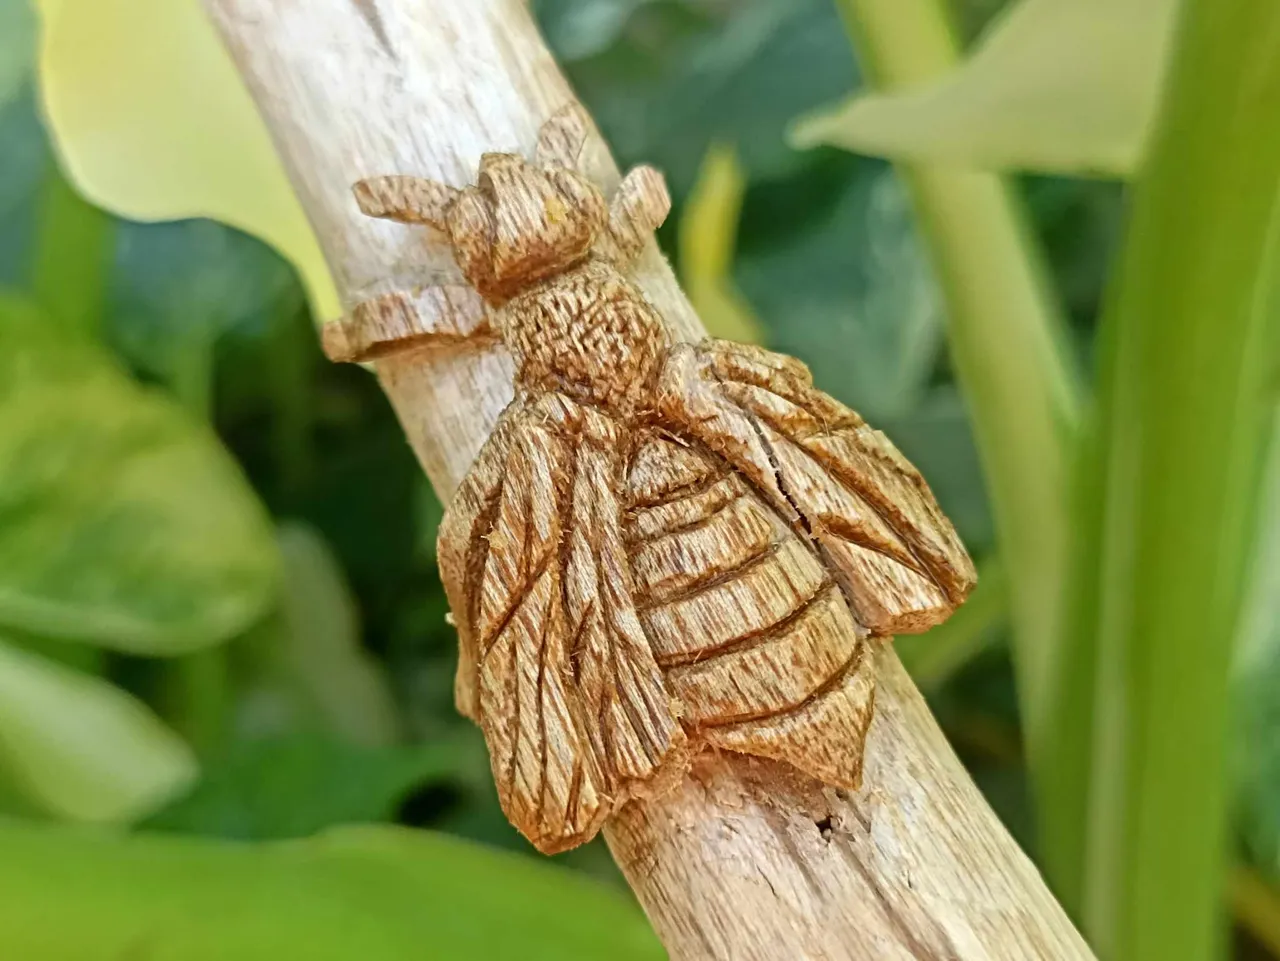
This is the final result, what did you think? I really liked how it turned out, since it was a small piece it was very difficult to do it, but this time I had the advantage of new and more precise tools for this type of cutting, so I was able to achieve the figure of the Nectar Queen perched on a branch. I hope you liked it, don't forget to comment what you thought, I'll say goodbye soon.
Así ha quedado el resultado final, qué les ha parecido? me gustó mucho como quedó, al ser una pieza pequeña fue muy difícil hacerlo, pero esta vez conté con la ventaja de herramientas nuevas y más precisas para este tipo de corte, así pude lograr la figura de Nectar Queen posada en una rama. Espero les haya gustado, no olviden comentar que les ha parecido, me despido hasta pronto.