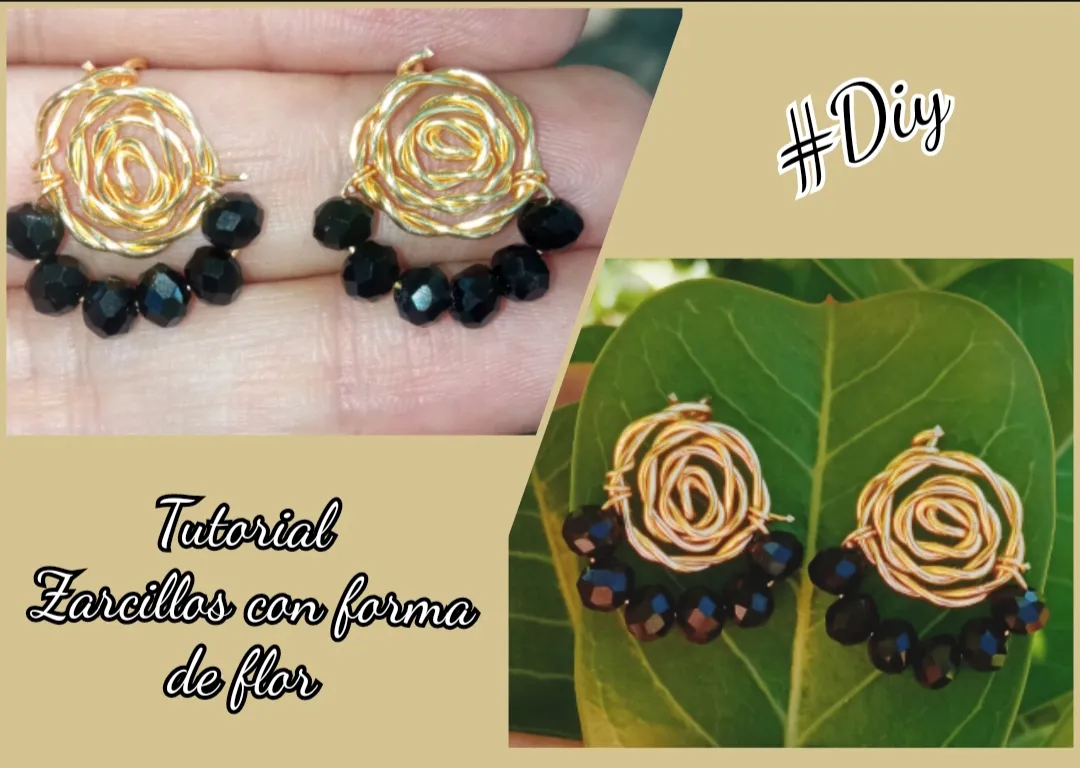
feliz día día tengan todos ustedes es un gran placer para mí el poder compartir una de mis nuevas creaciones con todos ustedes y en esta oportunidad les quise traer este sencillo tutorial donde juntos paso a paso elaboraremos unos hermosos zarcillos con forma de flor realizados con la técnica del alambrismo los cuales son muy fáciles y sencillos de elaborar. Los invito a acompañarme en este paso a paso.
happy day all of you it is a great pleasure for me to be able to share one of my new creations with all of you and on this occasion I wanted to bring you this simple tutorial where together step by step we will make some beautiful flower-shaped tendrils made with the wire technique which are very easy and simple to make.
I invite you to join me in this step by step.
- alambre de bisutería calibre 20.
- alambre de bisutería calibre 26.
- cristales negros
- Pinza de bisutería.
- 20 gauge jewelry wire.
- 26 gauge jewelry wire.
- black crystals
- Jewelry clamp.

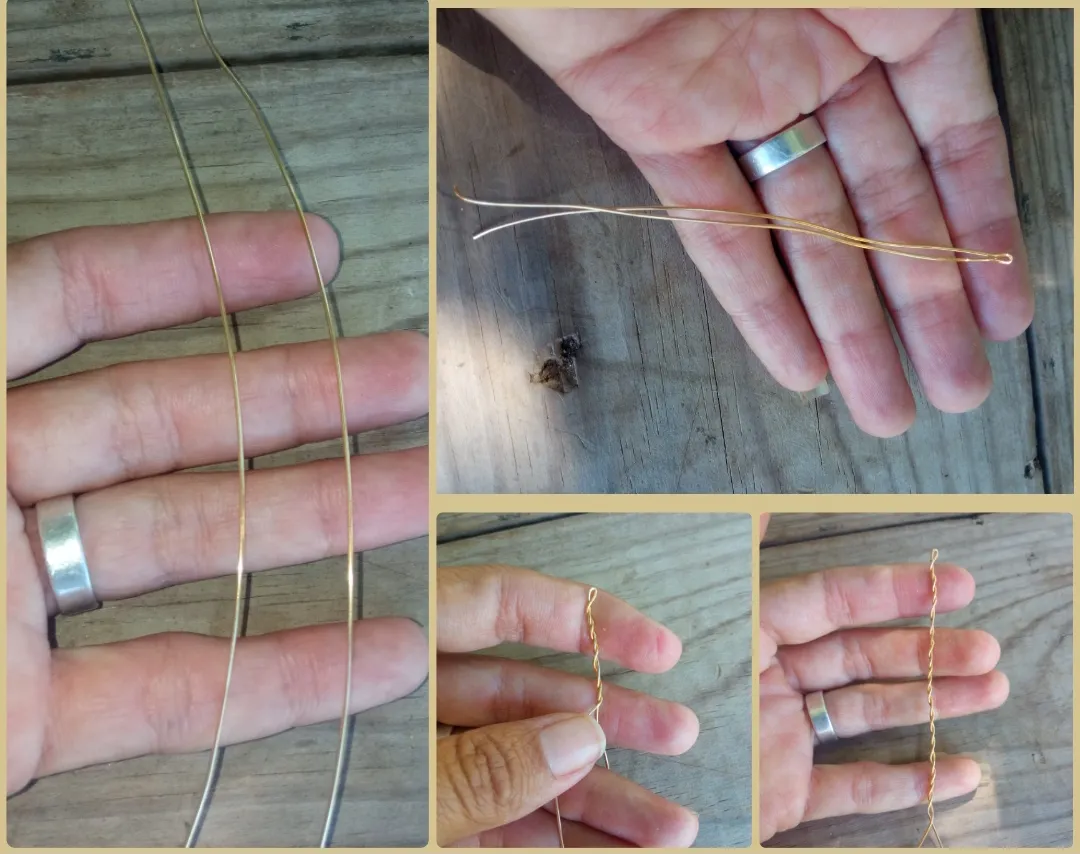
⭐ Paso 1: para iniciar la elaboración de estos creativos zarcillos lo primero que debemos realizar es cortar un pedazo de alambre de aproximadamente 30 cm este pedazo de alambre y lo doblaremos en dos y lo convertiremos en dos hebras de 15 cm para así ya tener las piezas para elaborar El par de zarcillos. Tomaremos la primera hebra de alambre y la doblaremos a la mitad como pueden observar en las siguientes imágenes y comenzaremos a enrollar las dos partes del alambre poniéndolo en una sola un solo tejido hasta el final dejando un pequeño espacio sin unir de 2 cm aproximadamente.
⭐ Step 1: to start making these creative tendrils, the first thing we must do is cut a piece of wire approximately 30 cm long and we will fold it in two and turn it into two 15 cm strands so already have the pieces to make The Pair of Tendrils.
We will take the first strand of wire and fold it in half as you can see in the following images and we will begin to wind the two parts of the wire, putting it into a single weave until the end, leaving a small unjoined space of approximately 2 cm.
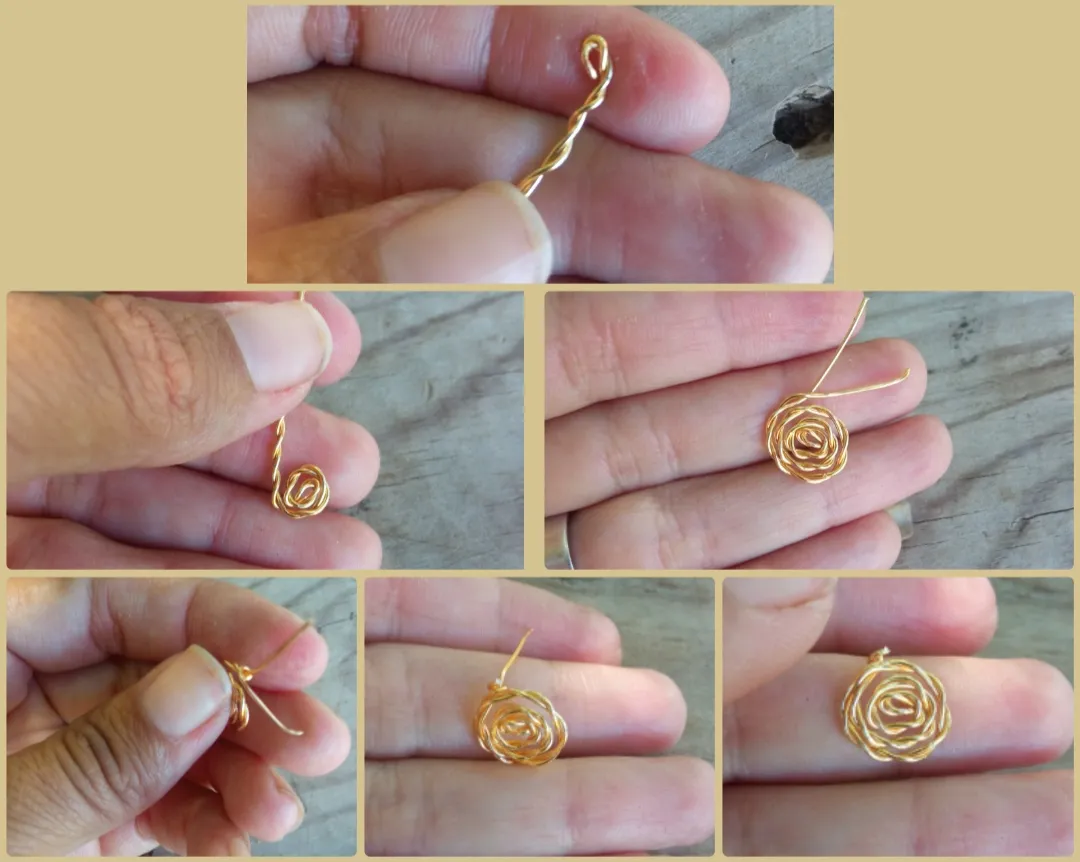
⭐ Paso 2: seguidamente tomaremos el tejido que hemos realizado con el alambre y comenzaremos a enrollarlo en forma de espiral iniciando por la parte donde está el doblez, e iremos enrollándolo poco a poco y verán como va tomando forma de pequeña flor. Lo enrollaremos hasta el final de La Unión de las hebras de alambre y al llegar a esta última parte tomaremos uno de los pedazos de hambre y lo enrollaremos en la otra punta y cortaremos lo excedente en cambio el otro pedacito de 2 cm de alambre que nos queda lo doblaremos hacia la parte de atrás y así tendremos la base principal de nuestro hermoso zarcillo.
⭐ Step 2: next we will take the fabric that we have made with the wire and we will begin to roll it in a spiral shape starting from the part where the fold is, and we will roll it little by little and you will see how it takes the shape of a small flower.
We will roll it up to the end of the Union of the wire strands and when we reach this last part we will take one of the pieces of hunger and we will roll it on the other end and we will cut the excess instead of the other little piece of 2 cm of wire that we What remains is that we will fold it towards the back and thus we will have the main base of our beautiful tendril.
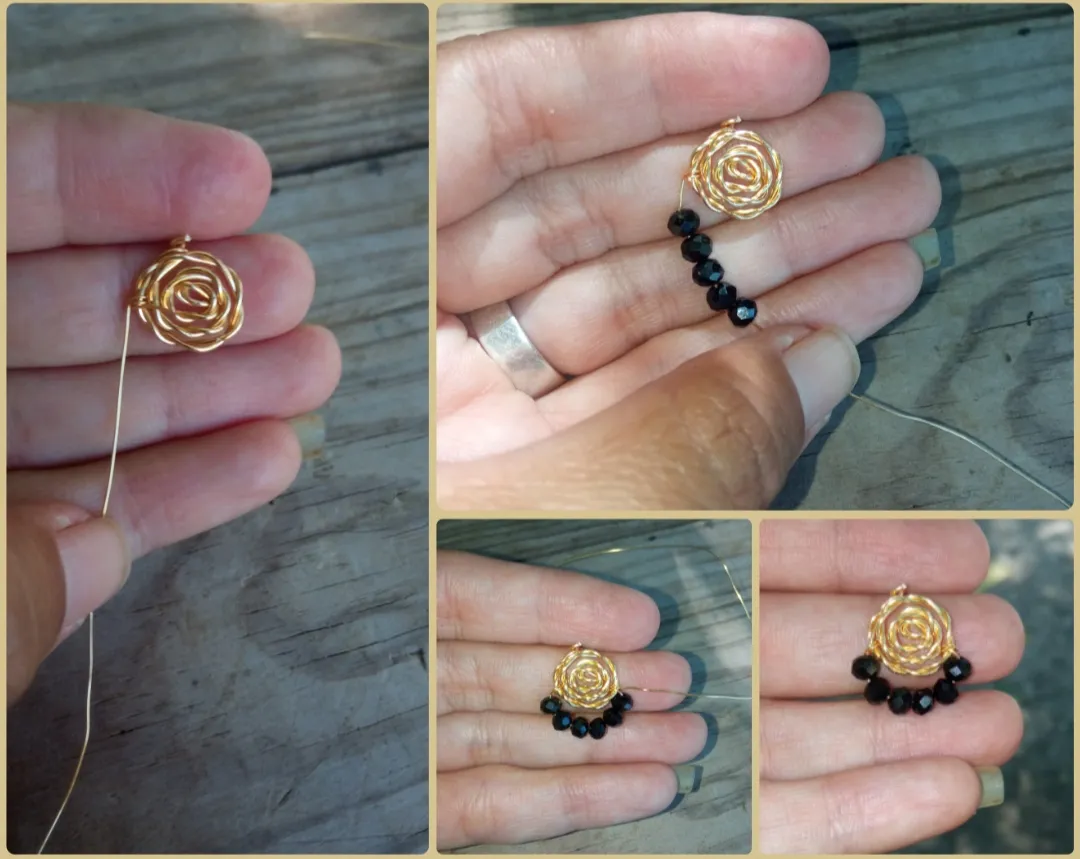
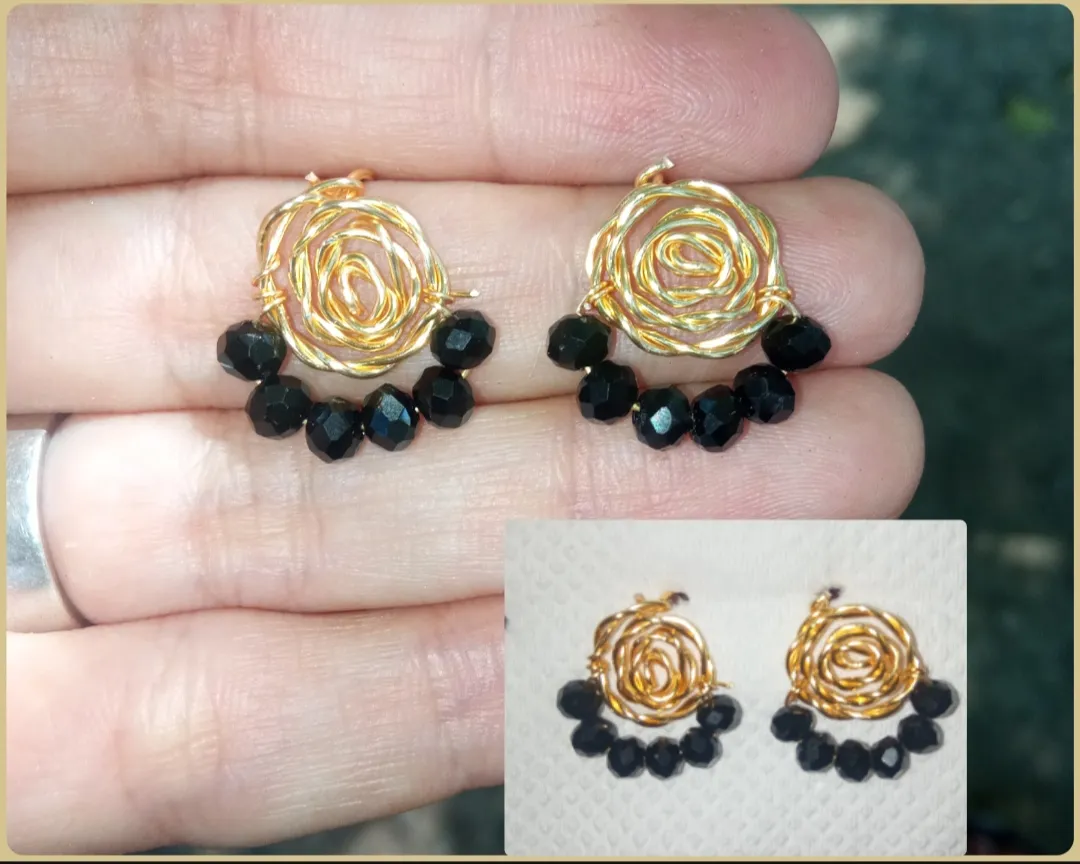
⭐ Paso 3: por último para darle un poco más de vistosidad y elegancia lo decoraremos un poco con algunas pedrerías de cristal en esta ocasión yo utilicé cristales negros ustedes pueden utilizar los cristales de su color preferido. Entonces tomaremos un pedazo de alambre de bisutería calibre 26 de aproximadamente 10 cm y lo enrollaremos en uno de los lados de nuestra hermosa flor seguidamente por este introduciremos seis cristales y moldearemos la forma de abajo de la flor y uniremos el alambre a la parte del otro lado de la flor como podrán ver En las siguientes imágenes y cortaremos el excedente de este alambre.
⭐ Step 3: finally, to give it a little more showiness and elegance, we will decorate it a little with some crystal rhinestones. On this occasion, I used black crystals. You can use crystals of your favorite color.
Then we will take a piece of 26 gauge jewelry wire of approximately 10 cm and we will wind it on one of the sides of our beautiful flower, then through this we will insert six crystals and we will mold the shape of the bottom of the flower and we will attach the wire to the other part side of the flower as you can see in the following images and we will cut the excess of this wire.

Todas las Fotos son de mi autoría y fueron tomadas con mi Celular Redmi 9.And in this way super easy fast and very simple we will make a beautiful design of comfortable and elegant tendrils to use on any occasion they are also ideal for a beautiful detail and can you adapt it to your preference elaborating it larger and placing them the rhinestone of the color of your preference.
My dear and appreciated friends This has been my elaboration today for all of you which I hope is from your total pleasure now I say goodbye for this grateful opportunity for your visit.
All Photos are my authorship and were taken with my Redmi 9 Cellphone