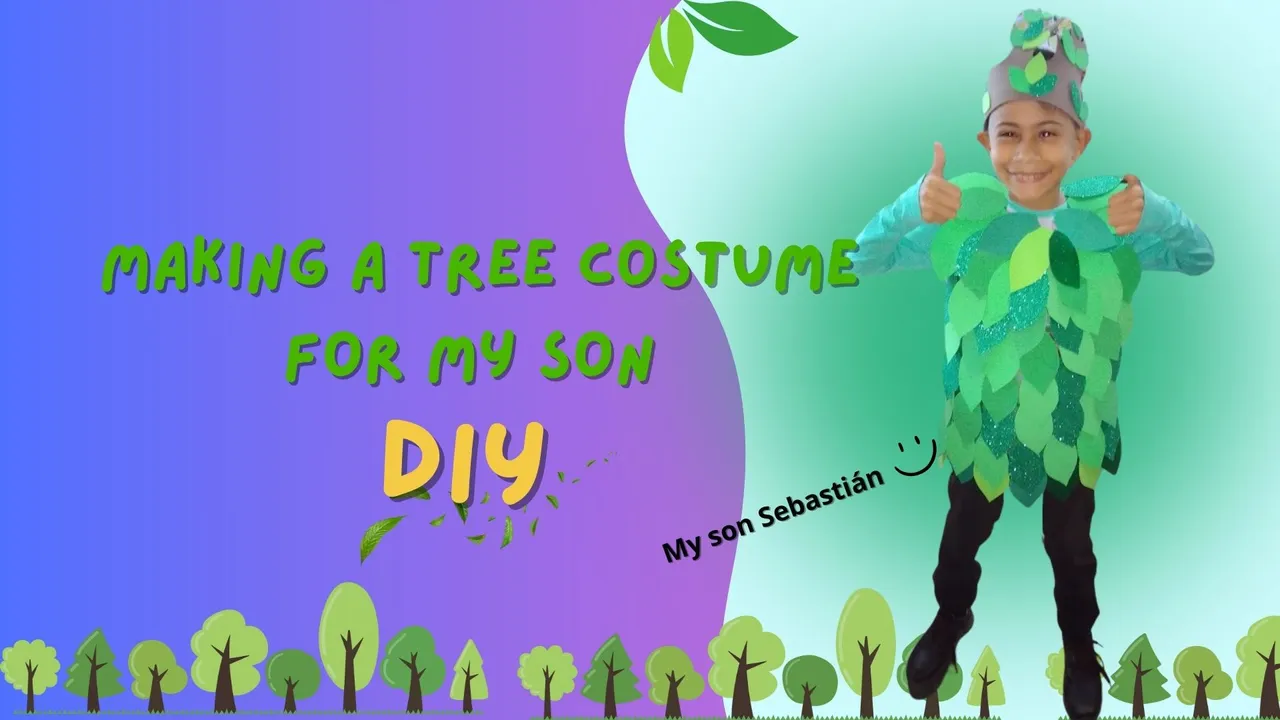
Greetings creative community I hope you are very well... today I come to share with you how I made the tree costume for the closing of my son's school project, which was about stories and fables to protect our common home.
My son was one of the main characters, as the story was about a tree that was going to be cut down and didn't want to die and his forest friends intervened. Usually, in this kind of plays, they always make a cardboard tree, paint it or use paper for decoration, but I wanted to make it a little different and not be the usual one, besides my son could get uncomfortable and would not have freedom of movement.
Then I said to myself, I would like more a fabric costume and I looked for inspiration on pinterest and saw one that I really liked.. here were some challenges... 😅 how was I going to make it? because to be honest, it was easier for me to make it out of cardboard, but I wasn't that creative 🤭.
One day I decided to go for the fabric I was going to use and I bought green dopiovelo fabric, 75 cm, green foami, and I got down to work, without knowing how I was going to make it, my sewing skills are precarious, I have no idea of sewing patterns, so forgive me the seamstresses of this community 🤭😅, but I threw myself into the adventure.
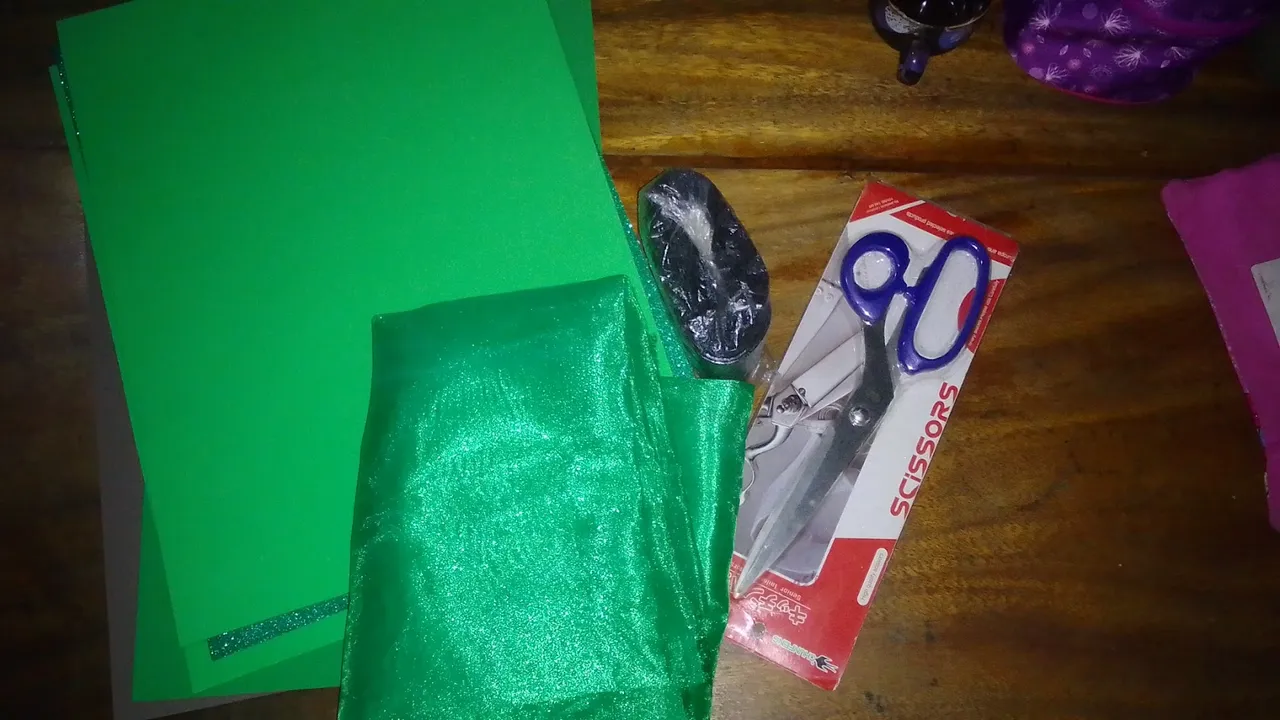
Let's get to work 🌳
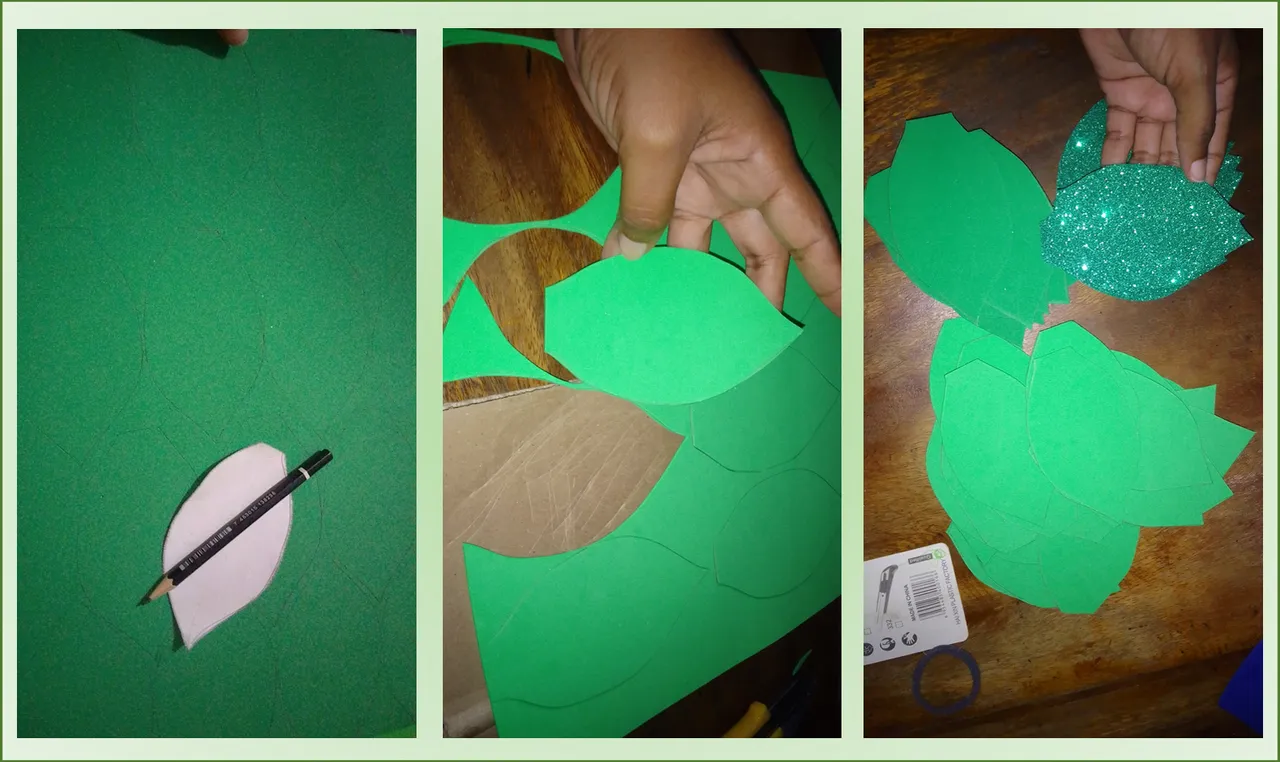
1- The first thing I did was to mark with a blue chalk, with the help of a flannel of my son, the fabric to cut. after that I cut in that shape.
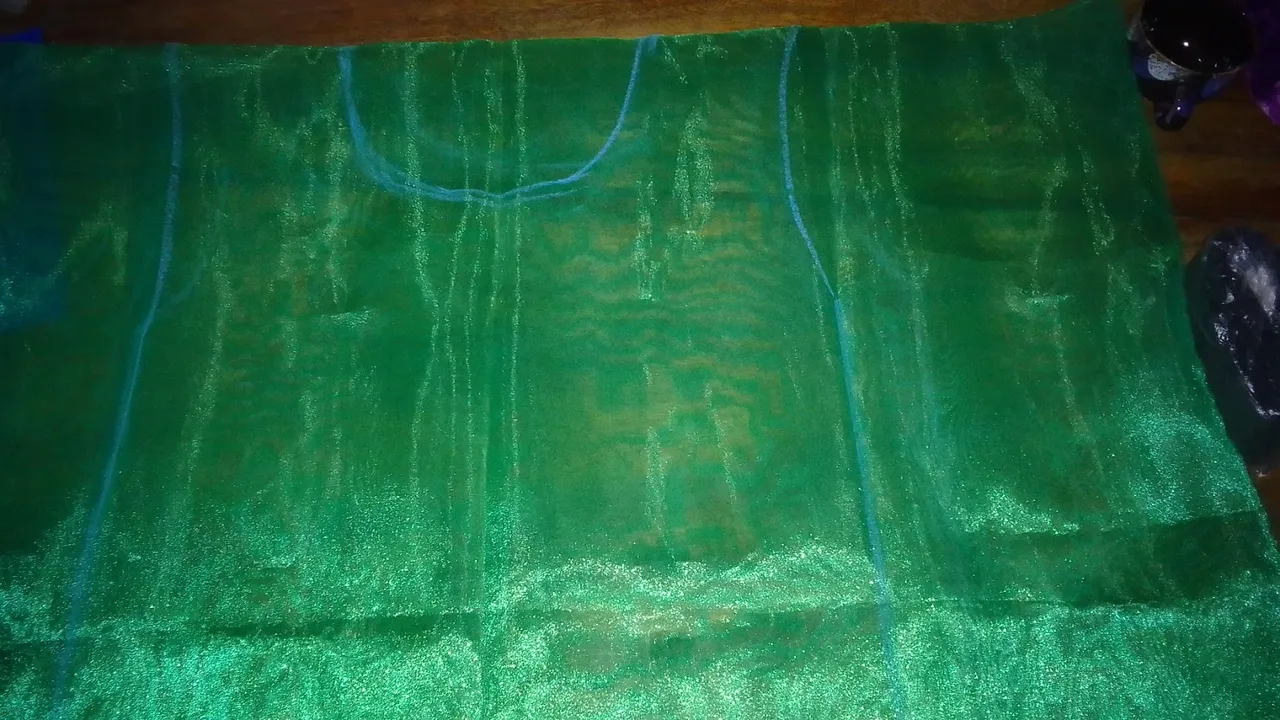
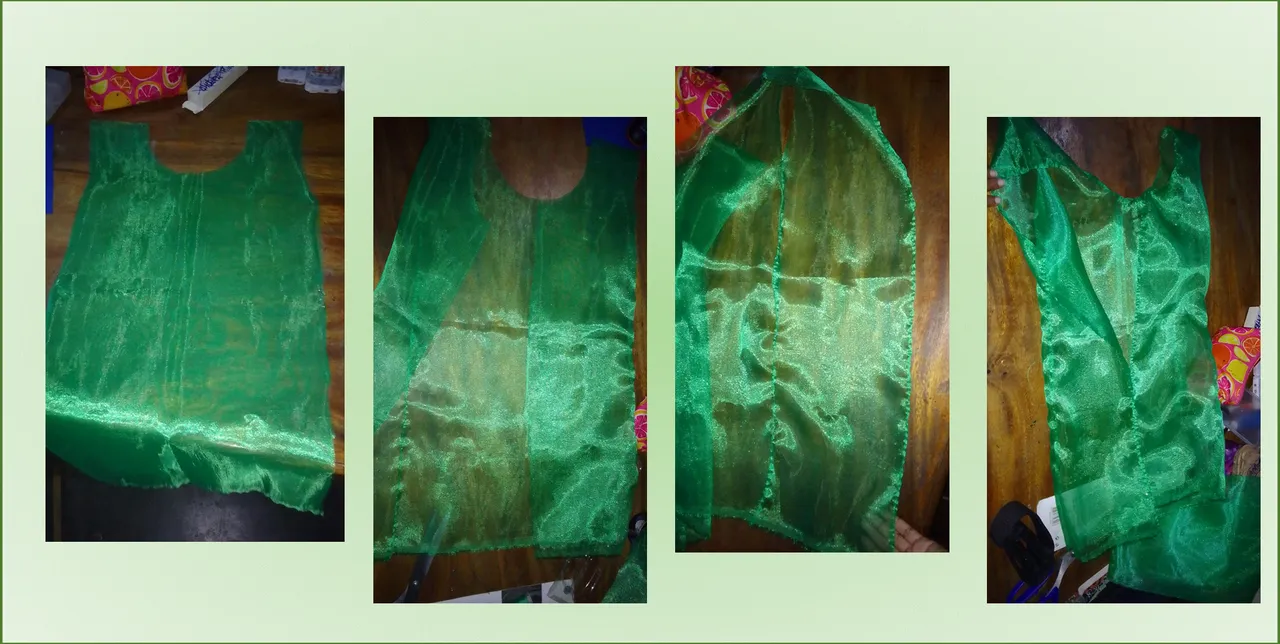
2- Then what I did was to sew by hand, where I cut, when closing what would be a shirt, I had to cut in the middle to make, the opening where my son was going to put on the suit, that's why I talk about my seamstress dores, then I sewed them the edges where I cut to the whole "shirt".
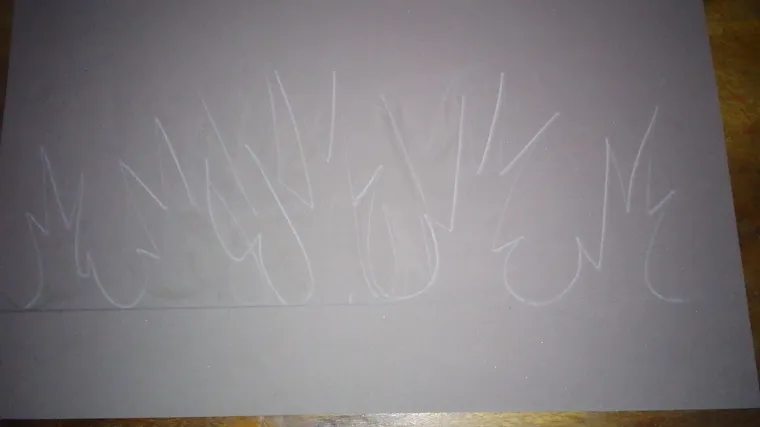
3- When the shirt was ready, I continued making some leaves in foami, I drew on a sheet a leaf shape and cut them out, then I marked them on the foami sheet and cut them out.
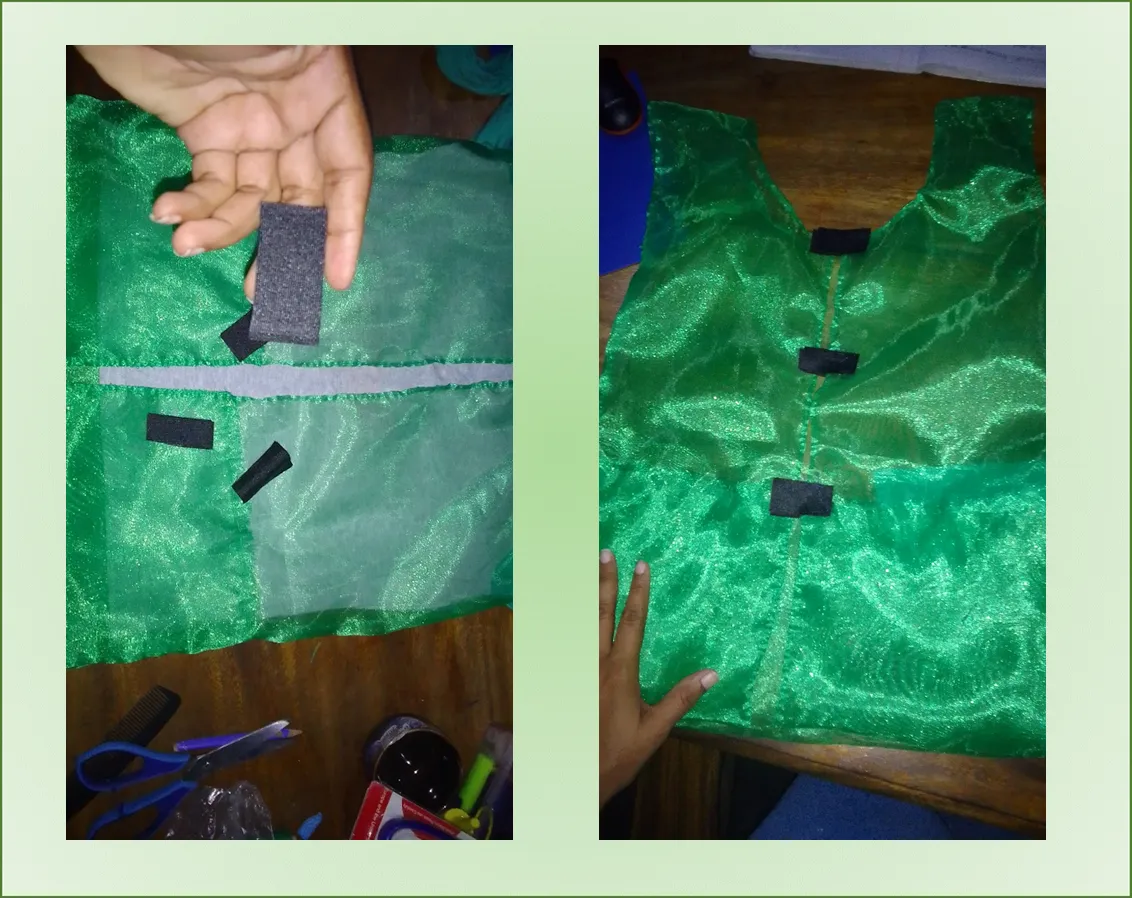
4- Well and by the way the shirt was too long for my son and the solution for me was to fold it and make some seams and ready 🤭 now to close the shirt, I thought to put a magic zipper, which I already had, so I cut three parts and sewed them, it was a little complicated because the thread was tangled in the strands of the zipper and I was maneuvering for a while until I finished.
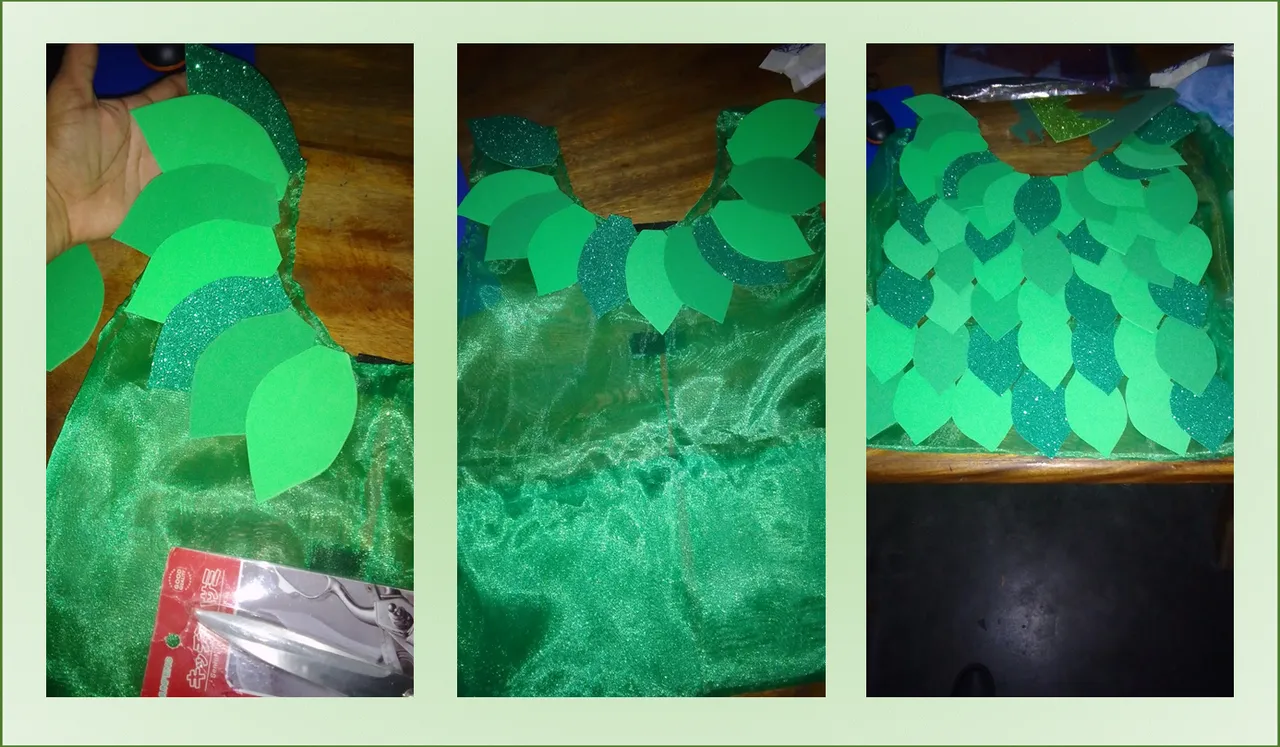
5- Then I glued the leaves, I was between if I sewed them or glued them, I opted for the easiest, I glued them with cold silicone, and praying that they would not come off, I started at the top of the neck and I was gluing little by little combining between the types of greens I was using, until I finished, only the front part.
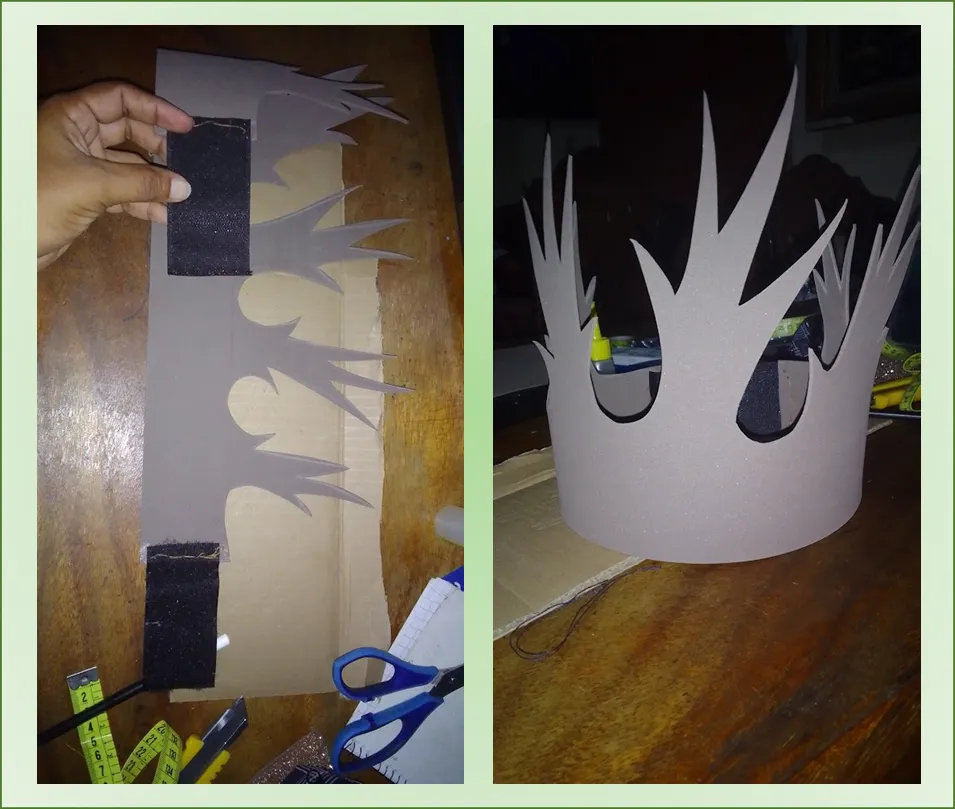
I also made a wreath, also inspiration on pinterest. This tree wreath was easier to make, I have already made wreaths and the work was faster...
6- On a brown foami I drew the shape like trunks, on the green foami scraps I marked smaller leaves with a base that I had previously made and cut out.
7- my son's head measured 52 cm approximately and the foami 40 so I had to place an extender and for that I thought again in the magic zipper and took 10 cm and sewed them at each end each side on one side to close according to the size of the head, I thought so, because maybe later it will serve another boy or girl, because it is something that I will keep and keep until I can.
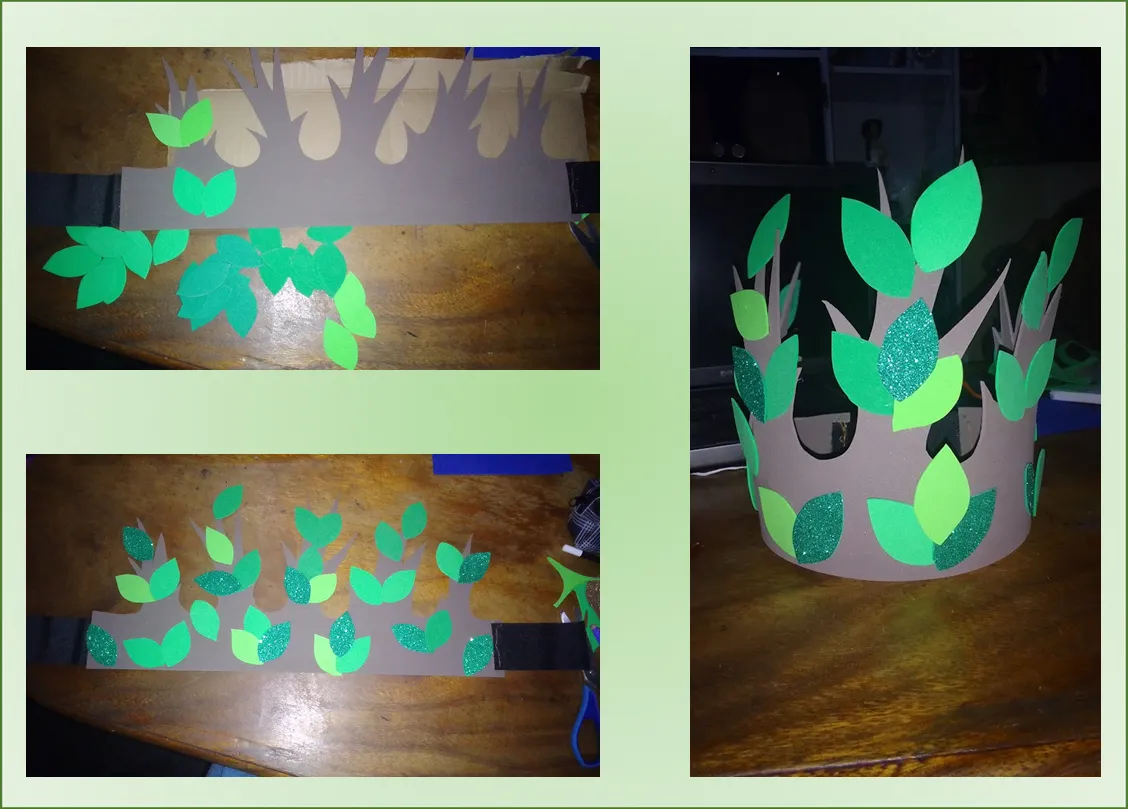
8- After sewing the magic clasp, continue gluing the leaves on the tree trunks of the wreath. Until it was ready... this is what these beauties look like.
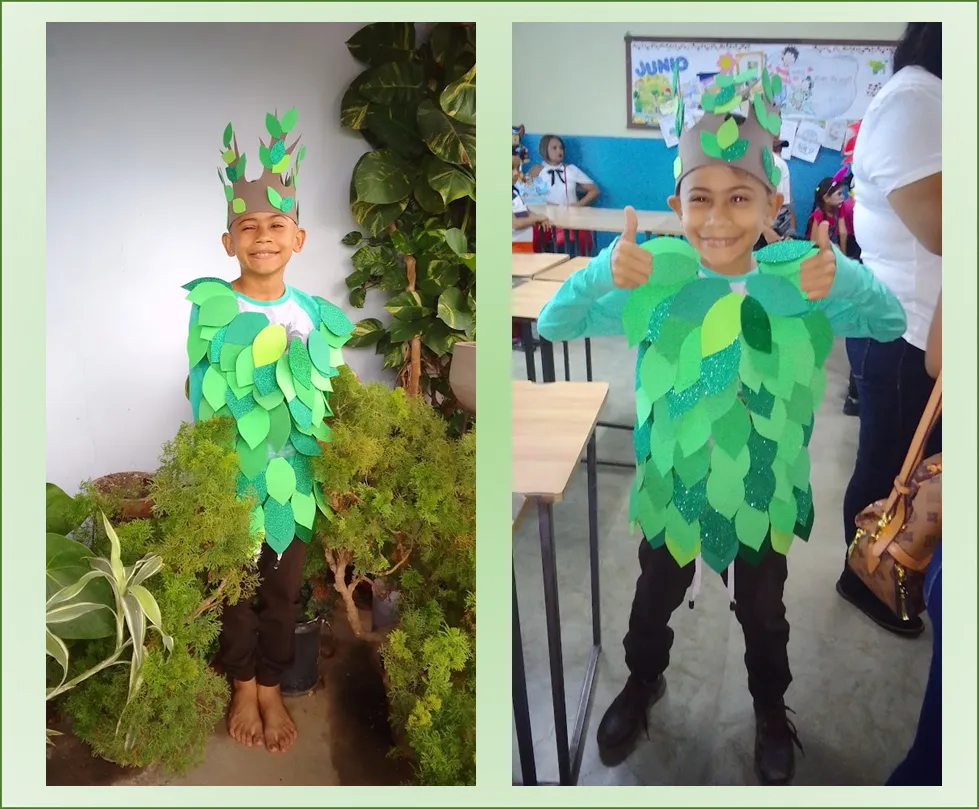
This is how my son wore them at the end of his project, which was great and fun! If I did it like that, what won't I do with knowledge and a sewing machine haha.
🤭
Thank you all for your visit and support....

Saludos comunidad creativa espero se encuentren muy bien.. hoy vengo a compartirles como realice el traje de árbol para el cierre de proyecto escolar de mi hijo, que se trataba de cuentos y fabulas para proteger a nuestra casa común.
Mi hijo era uno de los personajes principales, ya que la historia se trataba de un árbol que iba a ser cortado y no quería morir y sus amigos del bosque intervinieron. Por lo general, en este tipo de obras, siempre se hace un árbol de cartón, se pinta o se utiliza papel para la decoración, pero yo quise como hacerlo un poco diferentes y no ser el típico de siempre, aparte de que mi hijo podría incomodarse y no tendría libertad de movimiento.
Entonces me dije, me gustaria mas un traje de tela y busque inspiración en pinterest y vi uno que me gusto mucho.. aquí se presentaron unos desafíos.. 😅 ¿cómo lo iba a realizar? porque para ser honesta, para mi era mas fácil realizarlo de cartón, pero no andaba con el creativo activo 🤭
Un día me propuse ir por la tela que iba a usar y compre tela dopiovelo verde, 75 cm, foami verde, y me puse manos a la obra, sin saber como lo iba a realizar, mis dotes de costurera son precarios, no tengo ni idea de patrones de costura, así que me perdonan las costureras de esta comunidad 🤭😅, pero me lance a la aventura.
Manos a la obra 🌳
1- Lo primero que hice fue marcar con una tiza azul, con la ayuda de una franela de mi hijo, la tela para cortar. luego de eso corte en esa forma.
2- Luego lo que hice fue coser a mano, por donde corte, al cerrar lo que seria una camisa, tuve que cortar por el medio para hacer, la abertura por donde mi hijo se iba a colocar el traje, por eso hablo de mis dotes de costurera, luego les cosí las orillas por donde corte a toda la "camisa".
3- Cuando la camisa estuvo lista, continue realizando unas hojas en foami, dibuje en una hoja una forma de hoja y recorte, posteriormente las marque en la lamina de foami y recorte.
4- Bueno y de paso la camisa me quedo muy larga para mi hijo y la solución para mi fue doblarla y hacer unas costuras y listo 🤭 ahora para cerrar la camisa, se me ocurrió colocar cierre magico, que ya tenia, así que recorte tres partes y las cosí, fue un poco complicado porque el hilo se enredaba en las hebras del cierre y estuve maniobrando un rato hasta que culmine.
5- Luego pegue las hojas, estaba entre si las cosía o las pegaba, opte por lo mas fácil, las pegue con silicona fría, y rogando que no se despegaran, comencé por la parte de arriba del cuello y fui pegando poco a poco combinando entre los tipos de verdes que estaba utilizando, hasta culminar. solo la parte frontal.
Le hice ademas una corona, también inspiración en pinterest. Esa corona de árbol fue mas fácil de realizar, ya he realizado coronas y el trabajo fue mas rápido..
6- En un foami marrón dibuje la forma como de troncos, en los retazos de foami verde marque hojas mas pequeñas con una base que ya había hecho previamente y recorte.
7- la cabeza de mi hijo media 52 cm aproximadamente y el foami 40 así que tuve que colocarle un extensor y para ello pensé nuevamente en el cierre magico y tome 10 cm y los cosí en cada extremos cada cara en un lado para que se cierre de acuerdo al tamaño de la cabeza, lo pense asi, porque quizas mas adelante le sirva a otro niño o niña, porque es algo que voy a guardar y conservar hasta que se pueda.
8- Luego de coser el cierre magico, continúe pegando las hojitas en los troncos del árbol de la corona. Hasta que quedo listo.. así se ven estas bellezas.
Así las lucio mi hijo en su cierre de proyecto que estuvo bueno,y divertido.. Si hice eso así, que no hare con conocimiento y una maquina de cose jaja. 🤭
Gracias a todos por su visita y apoyo..

Recursos/Resources
| Portada, banner e imagen / Cover, banner and image | canva |
|---|---|
| fotos/ pictures | own photos, realme c11 device |
| References Pinterest | Traje de árbol, Corona de árbol |
| Collage - Separator | PowerPoint |