
Hello friends of Hive, I hope you are doing well! Flowers are an essential part of our attire as they ornament and embellish our lives. I love flowers and they are usually part of most of the accessories I make because even though they are such an everyday part of our lives they are subtle and extraordinarily beautiful. Continuing with the use of flexible dough I want to show you the step by step of a floral comb. I hope you like it!
🌸 Materials 🌸

- Instant glue
- Flexible Dough
- Paint (red, yellow and green)
- Stakes
- Hook
- Instant glue
🌸 Step by Step 🌸
1

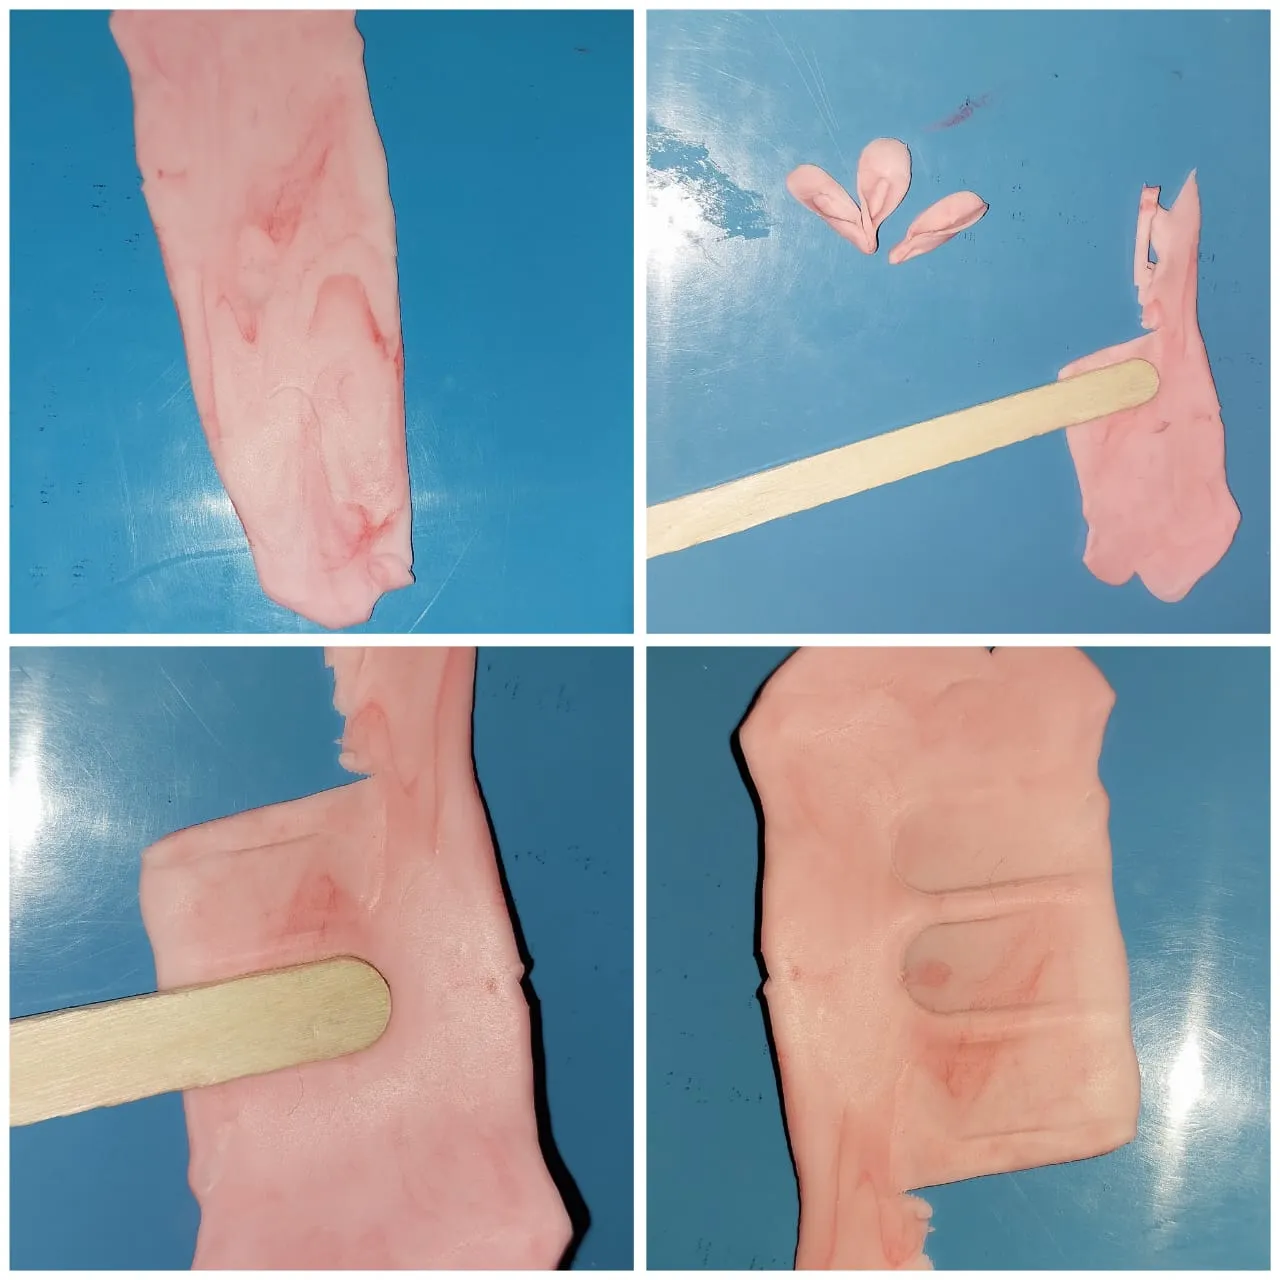
Take a small ball of approximately 5 cm high and 4 cm wide and apply a little red paint on it so that it turns pink.
2
 }
}
Then we flatten with a rolling pin or with some other tool that allows us to flatten the dough and with a trowel we mark with this on the mixture, then I have taken the scissors to cut the shape of this.
3

Then we must mark with a stake the middle area of each petal, then we join the petals one by one.
4
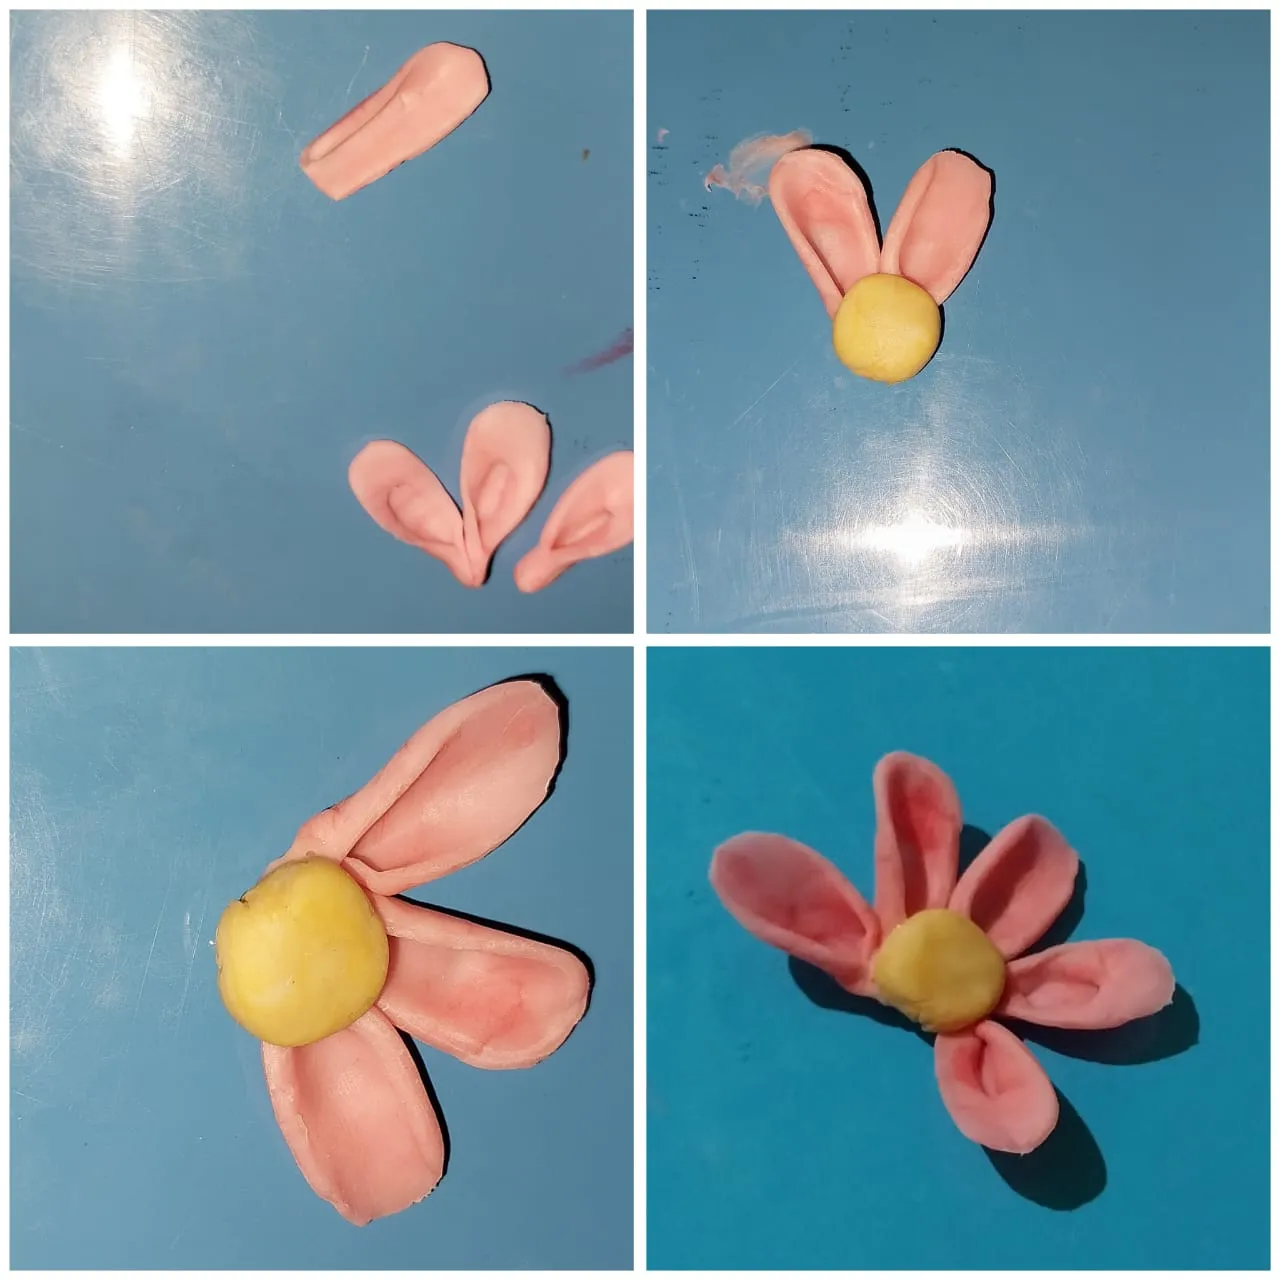
Then we make a ball of yellow dough to glue the petals little by little on the back of the yellow ball.
5
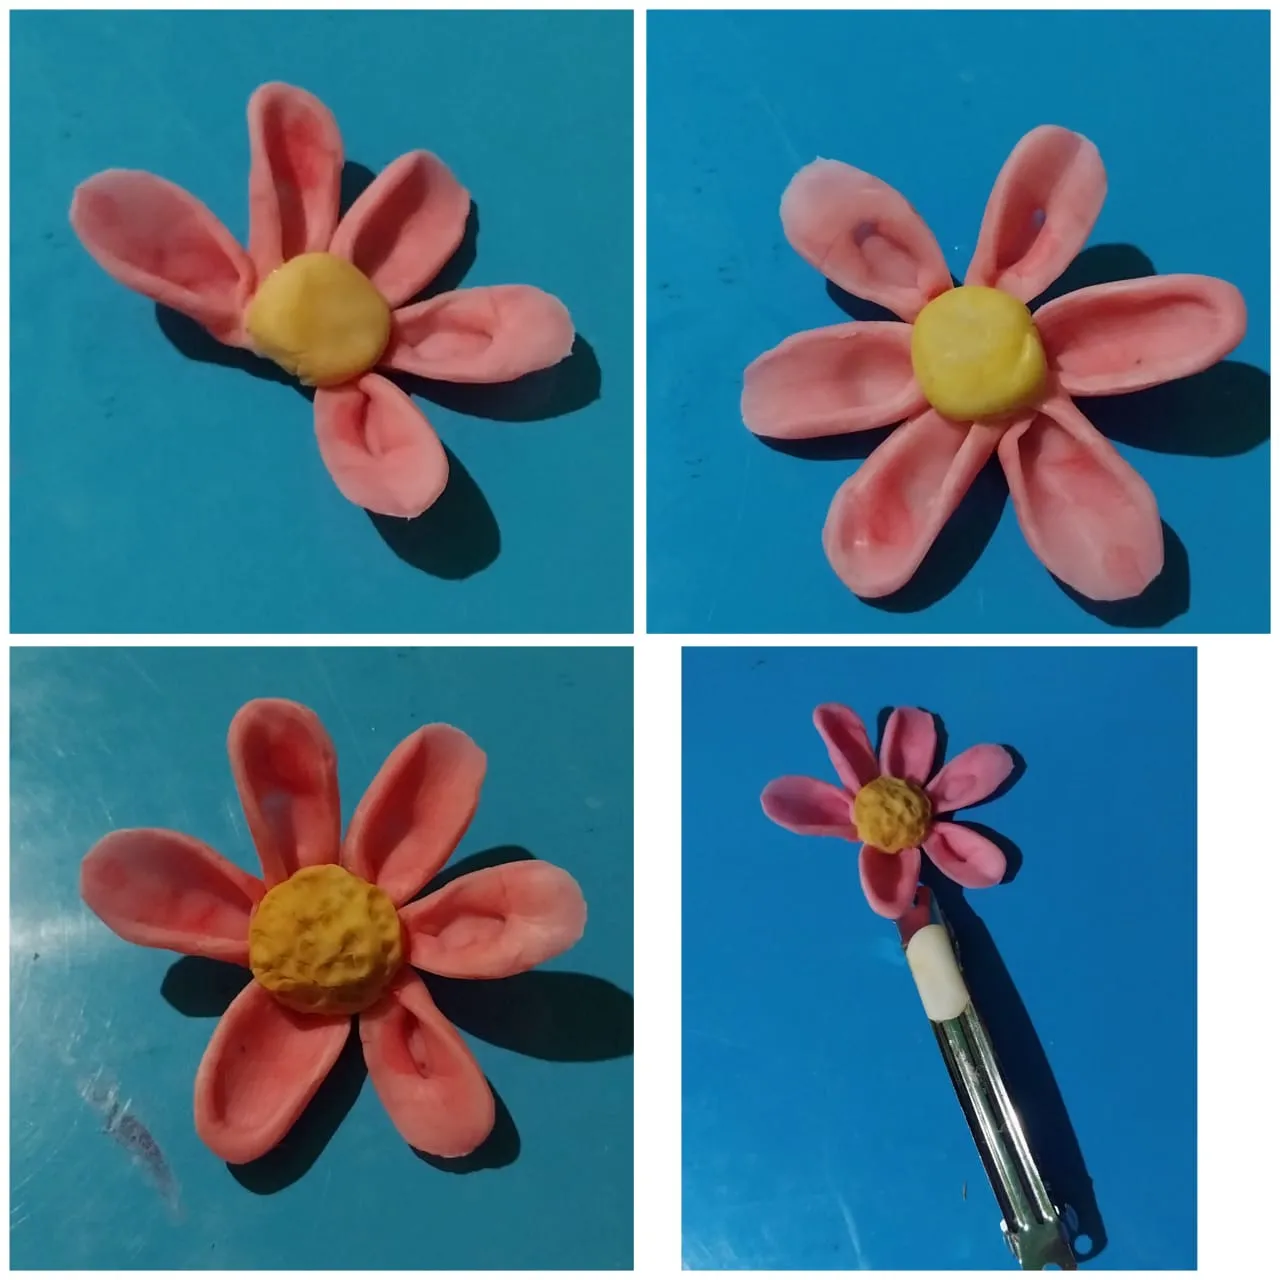
In this way we are going to create the big flower, then with the stakes we create several small dots on it. Then we glue a small portion of flexible dough and on this we add glue and then we glue the flower.
6

Then we create small petals to create a small flower, and we glue it around the yellow ball.
7

This is the way we are going to create it! In the same way we create other flowers to create our flower clip.
8
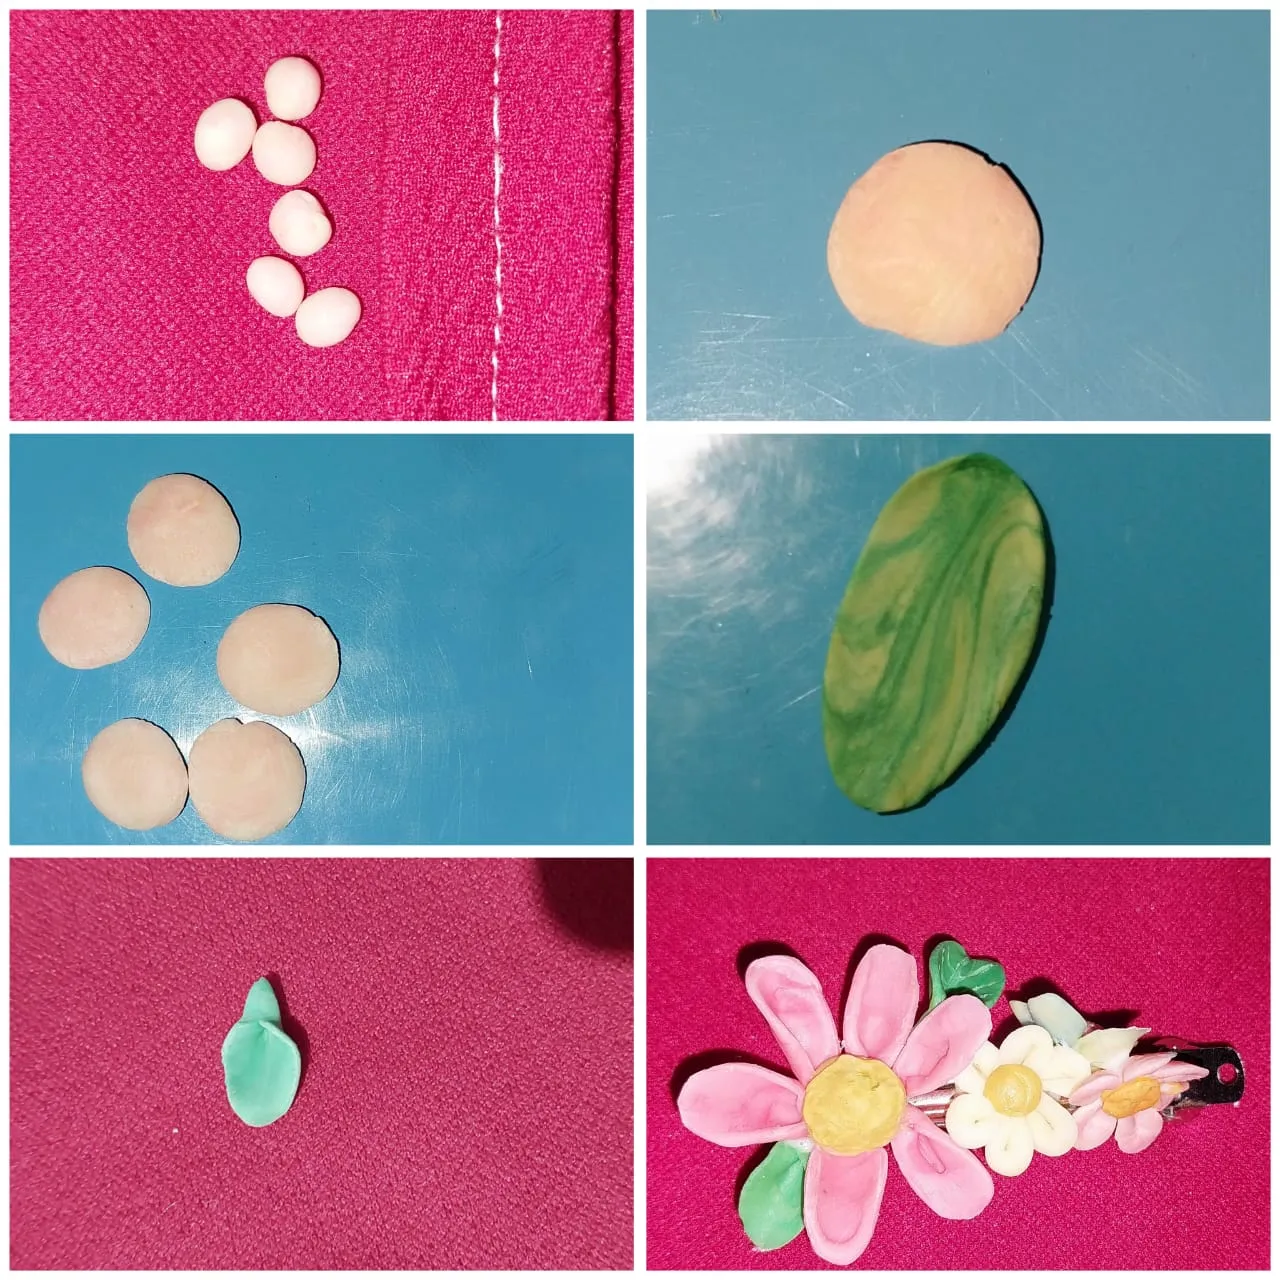
Then we take some green paint to apply to the dough and we create the leaves and then glue them on the surface of the hook!
I hope you like the result! Thank you very much Hive Family.
- Images belong to me
- Translator: Deepl Traslator
- Editing: Canva
Hola que tal amigos de Hive, espero que se encuentren muy bien! Las flores son parte esencial de nuestro atuendo ya que ornamenta y embellecen nuestras vidas. Amo las flores y estas generalmente son parte de la mayoría de los accesorios que realizo porque a pesar de ser algo tan cotidiano en nuestras vidas estas son sutiles y extraordinariamente hermosas. Continuando con el uso de la masa flexible quiero mostrarles el paso a paso de una pinza o peineta floral. Espero que les guste!
🌸Materiales🌸
- Pegamento instantáneo
- Masa Flexible
- Pintura ( Roja, amarillo y verde)
- Estacas
- Gancho
- Pegamento instantáneo
🌸Paso a Paso🌸
1
Tomamos una bolita de aproximadamente 5 cm de alto y 4 cm de ancho y en esta aplicamos un poc de pintura roja para que esta se torne de un color rosa.
2
}
Luego aplastamos con un rodillo o con algún otro utensilio que nos permita aplastar la masa y con una paleta marcamos con esta sobre la mezcla, luego he tomado la tijera para cortar la forma de esta.
3
Luego debemos marcar con una estaca la zona del medio de cada pétalo, luego unimos los petalos uno a uno.
4
Luego hacemos una pelotica de masa amarilla para ir pegando poco a poco los petalos en la parte trasera de la bolita amarilla.
5
De esta manera vamos a ir creando la flor grande, luego con la estacas creamos varios puntos pequeños sobre esta. Luego pegamos una porcion pequeña de masa flexible y sobre esta añadimos pegamento y luego pegamos la flor.
6
Luego creamos pétalos pequeños para crear una flor pequeña, y la vamos pegando alrededor de la pelotica amarilla.
7
Esta es la forma en que la vamos a ir creando! Así mismo creamos otras flores para crear nuestra pinza floral.
8
Luego tomamos un poco de pintura verde para aplicar a la masa y vamos creando las hojas para luego pegarlas sobre la superficie del gancho!
🌸Espero que les guste el resultado! Muchas gracias Familia de Hive.🌸
- Las imágenes me pertenecen
- Traductor: Deelp traslator
- Edicion: Canva