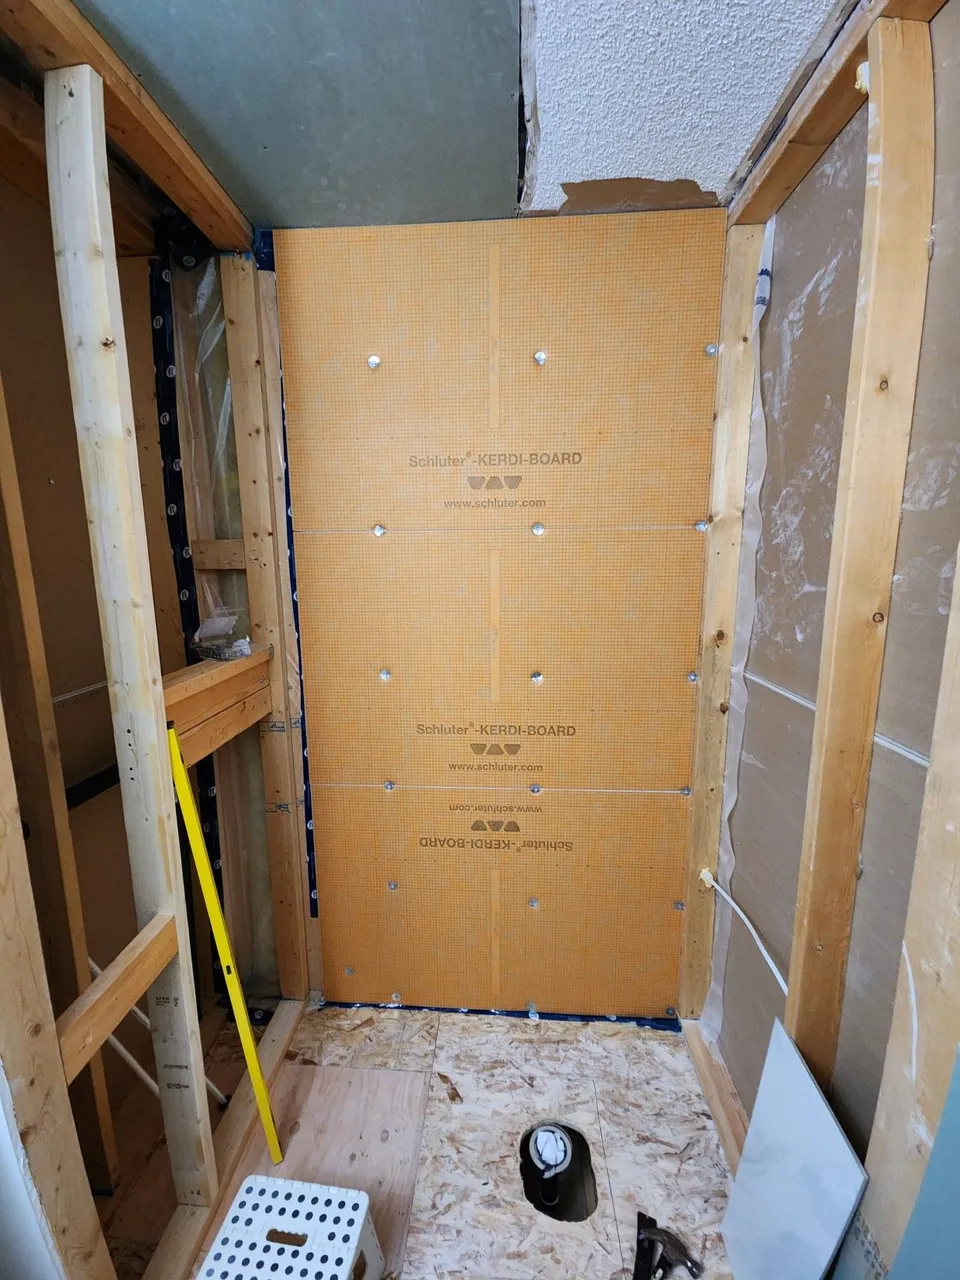
A couple of weeks ago I made a post on a shower demolition. We went from the old shower pictured below, ripped it down, moved the framing back and left off with the roughed in space you can see above. In this post we are continuing with the shower rebuild, it's waterproofing time!
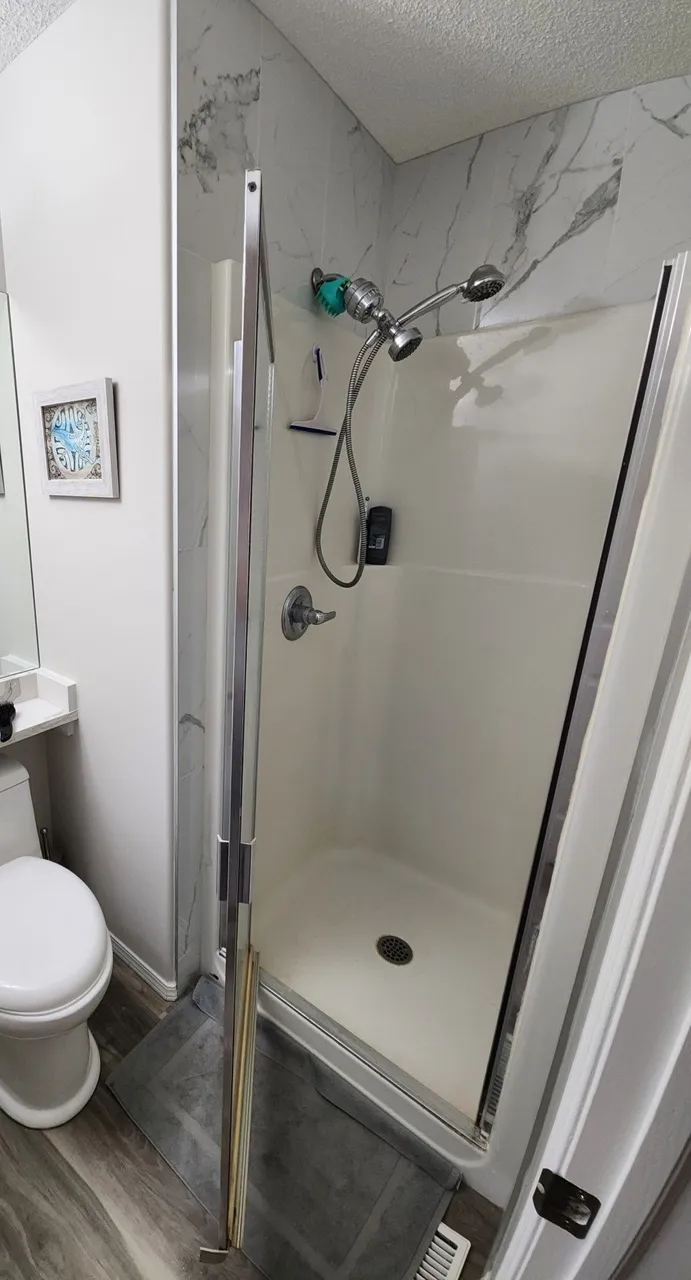
The old shower was small and there was this void behind it. Since it was over 20 years old and slightly damaged, I decided to not only replace it, but to extend the size of it into the void. The shower is on the second floor, above the kitchen, so we want to be 100% sure it will not leak.
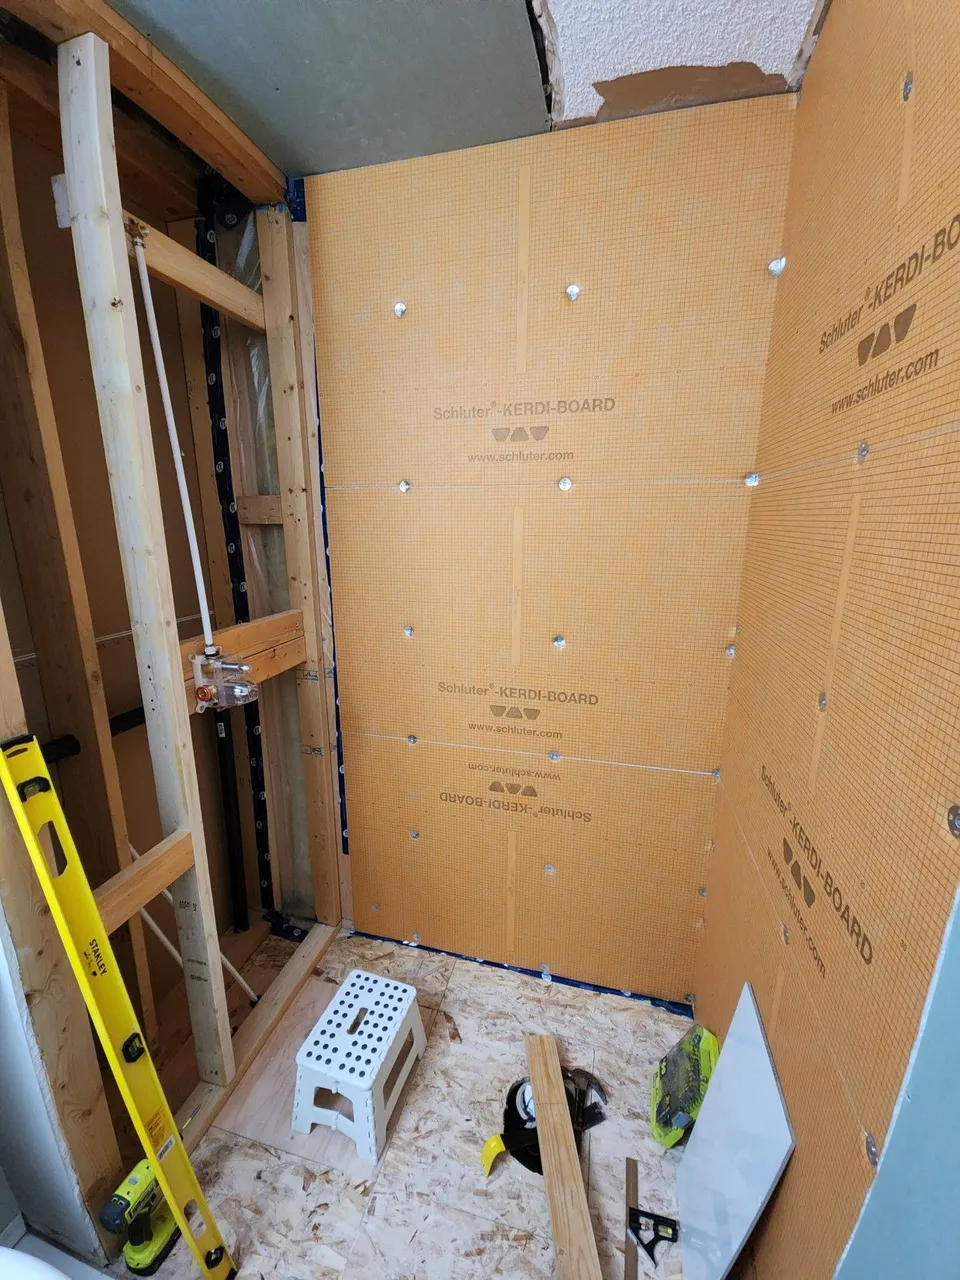
There are two main ways to waterproof a shower before tiling. You can paint over mold resistant drywall or cement backerboard with rubber paint (Red Guard). Or, you can buy waterproof boards (Kerdi-Board) and patch up the holes. I chose the later method since it is guaranteed not to rot or leak if done properly.
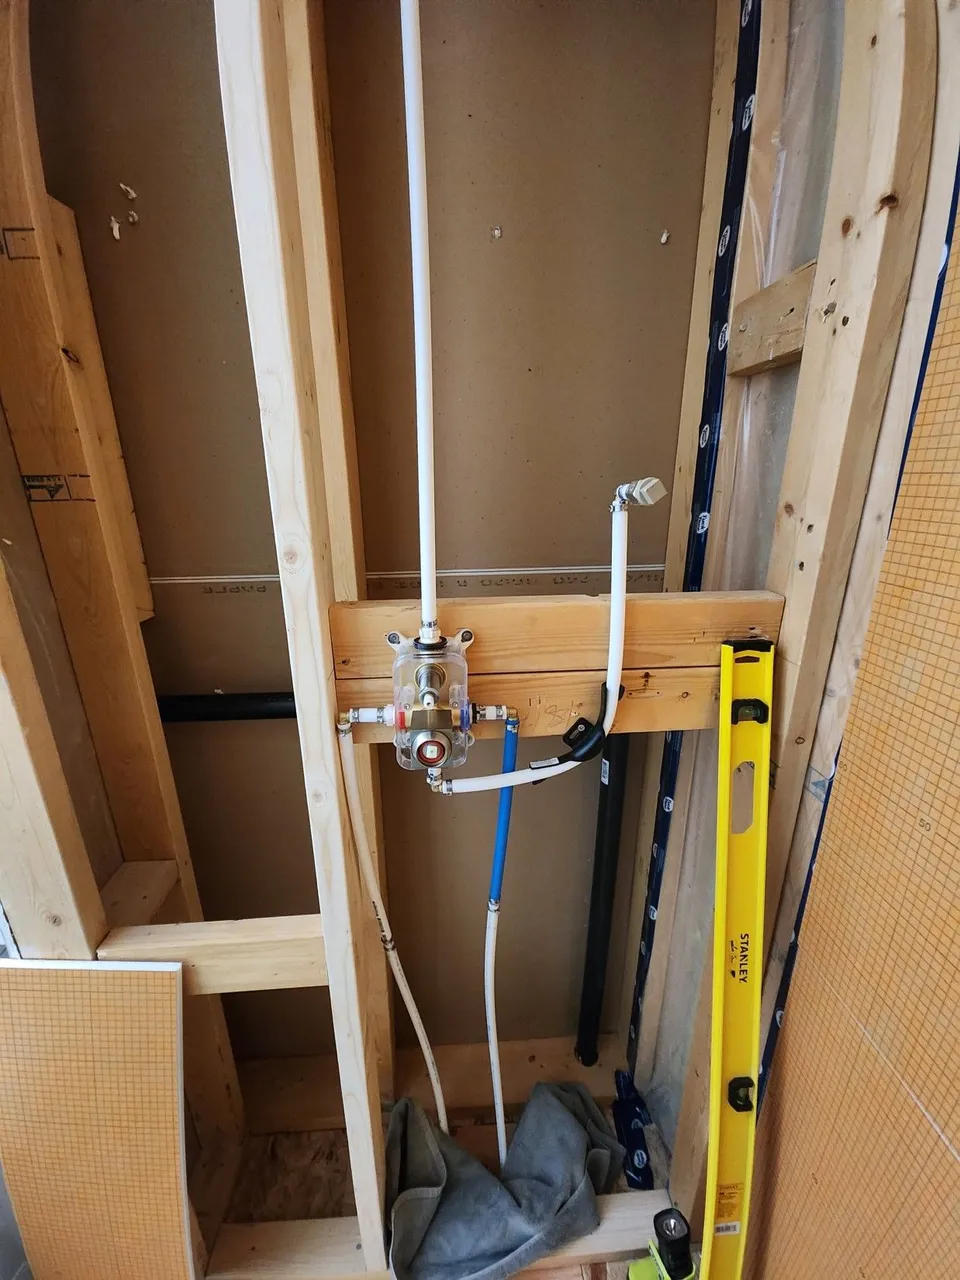
Before sealing the wall up, install the mixer and the piping to where the showerheads will go. This requires some precise measuring, as you want to ensure they are at the correct depth in the wall once the shower is complete. Take into account not only the width of the board and the tiles, but also the mortar.
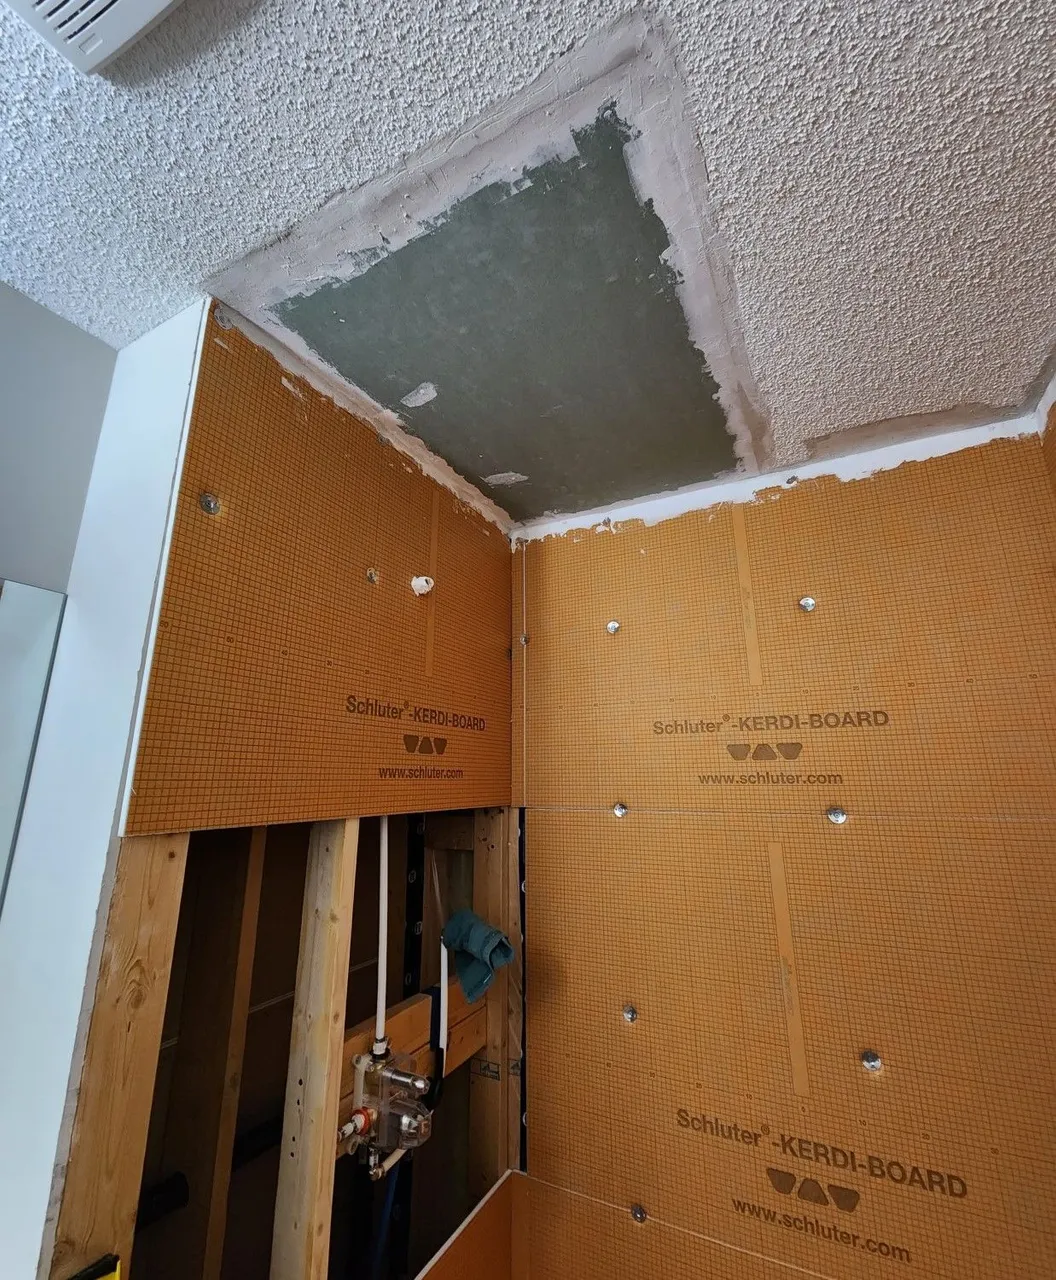
We found that using plastic connectors to the mixer ensured they didn't leak, you really want to be sure there are no leak. So turn off and on the water a couple of times (with plugs in the end of course) turn the valves and wait at least a couple of days and do it again. I even shut the water supply off to the house a few times just to see if the pressure changes did anything. Any size of drip is bad, and if it's dry after a few days, you are good to go.
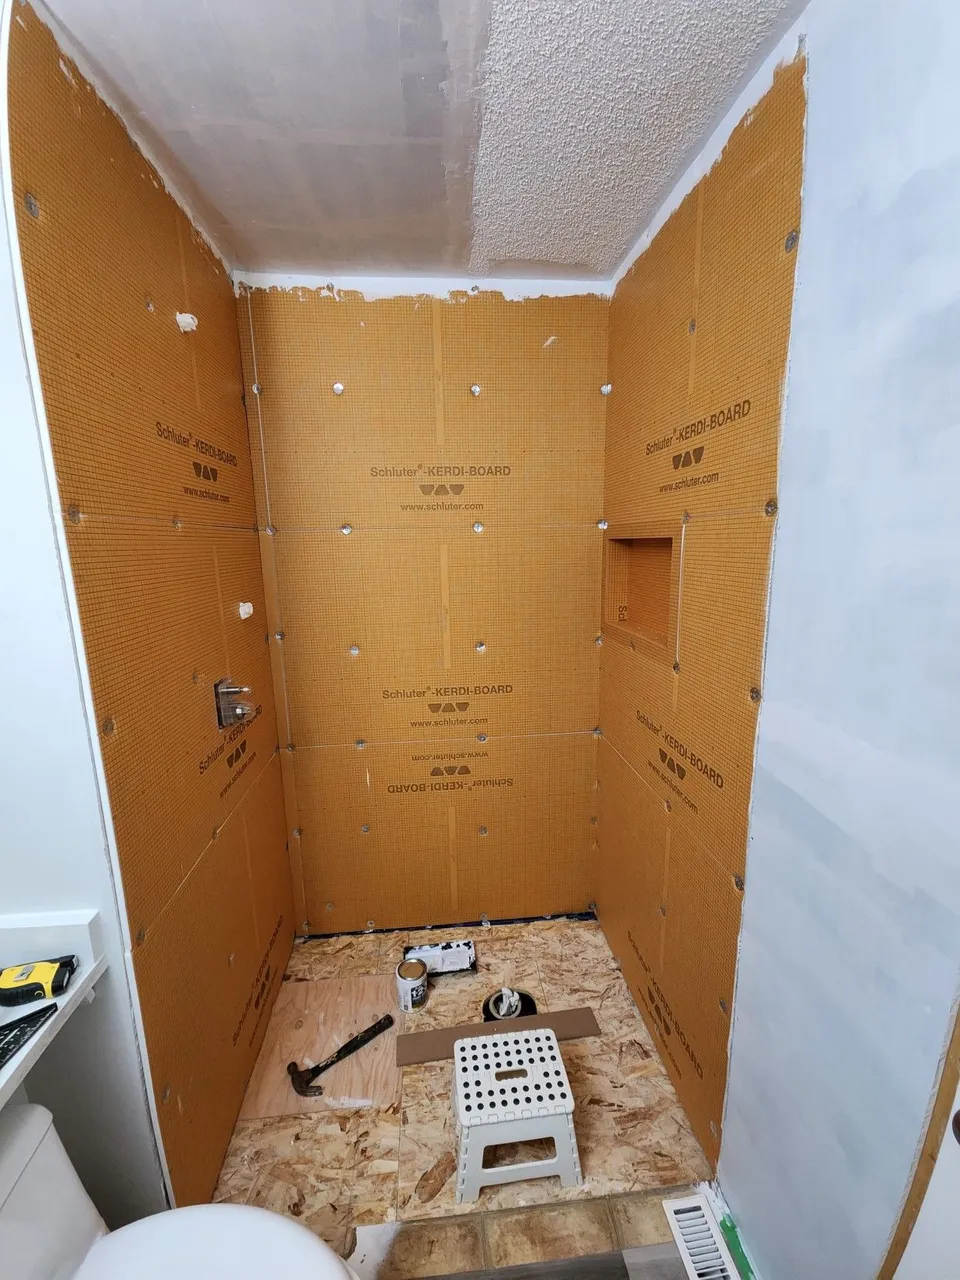
Installing this board and cutting it is simple. I used a plastic cutting blade on a jig saw. You can also use a utility knife or a table saw, it's easy to cut and doesn't have to be perfect. Drywall is more challenging to work with since as you aren't tiling over that.
Before installing the floor I taped the drywall on the ceiling and walls, then primed it. Mold resistant drywall, plus high quality primer meant for damp places is recommended in bathrooms. Don't cheap out.
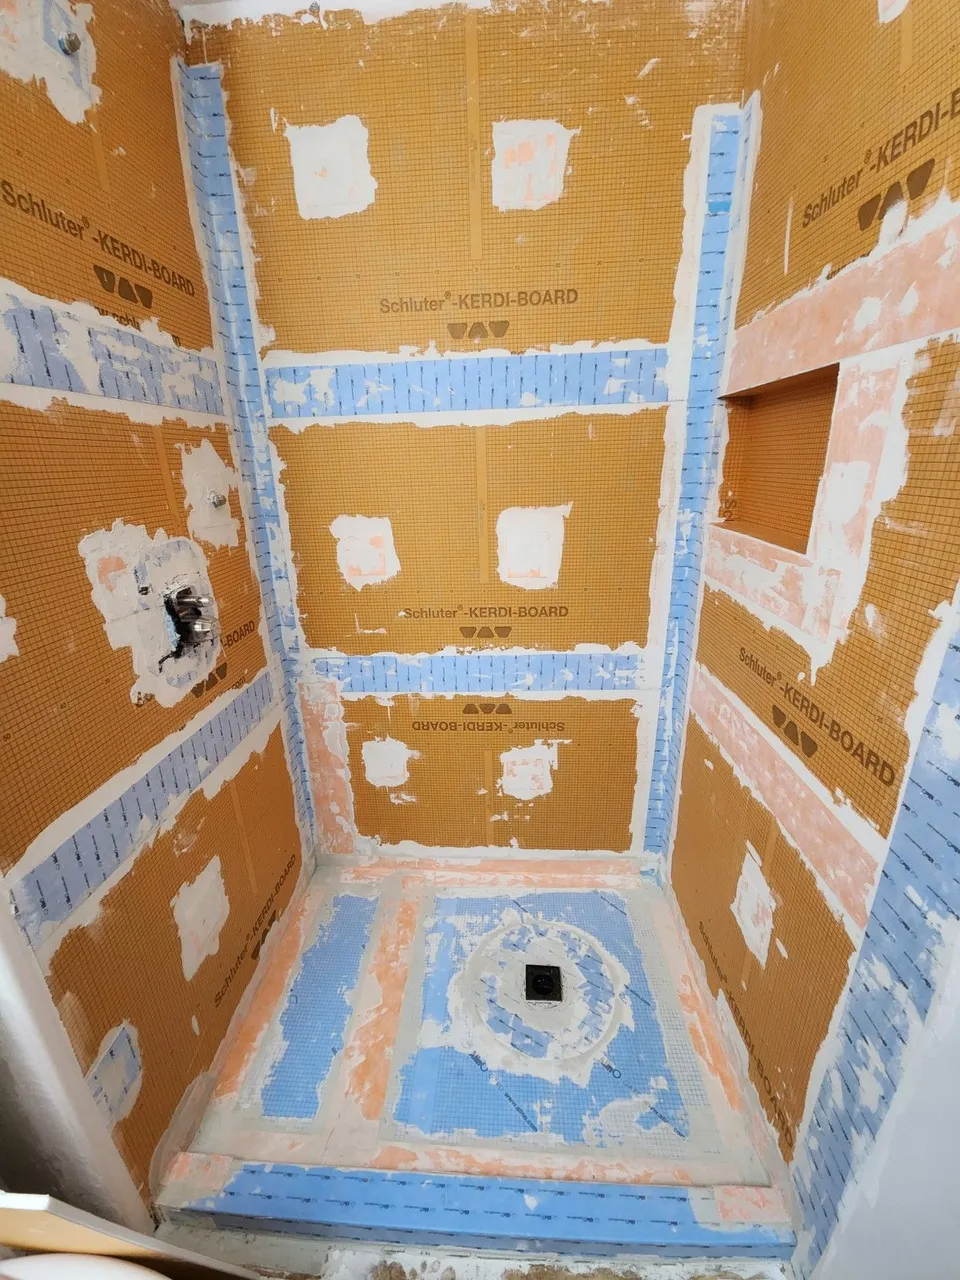
Oops, I mixed products, so there goes the warranty. Not that I care, the blue stuff is cheaper than the orange stuff and it's the same stuff. To put it up you mix modified thin set mortar (just buy the Schuluter stuff) and past on the tape. For the shower tray, you cut it into size and ensure that it is not level with the slope always going down towards the drain.
Easy peasy right? I didn't take many pictures here because mixing mortar is a messy business and you want to work fast. If you are attempting this by reading this blog stop and watch a few dozen videos on youtube. Cutting the curb, sloping it right, putting a niche in there and covering every crack, hole, screw, etc with this stuff is no joke.
You don't want to put holes into the walls as water will go through tiles and the mortar, you don't want to make dents in the floor, you want to ensure the train will fit, that it is attached to the pipes with PVC Glue and will be at the lowest point slightly below the tiles. NOT EASY.
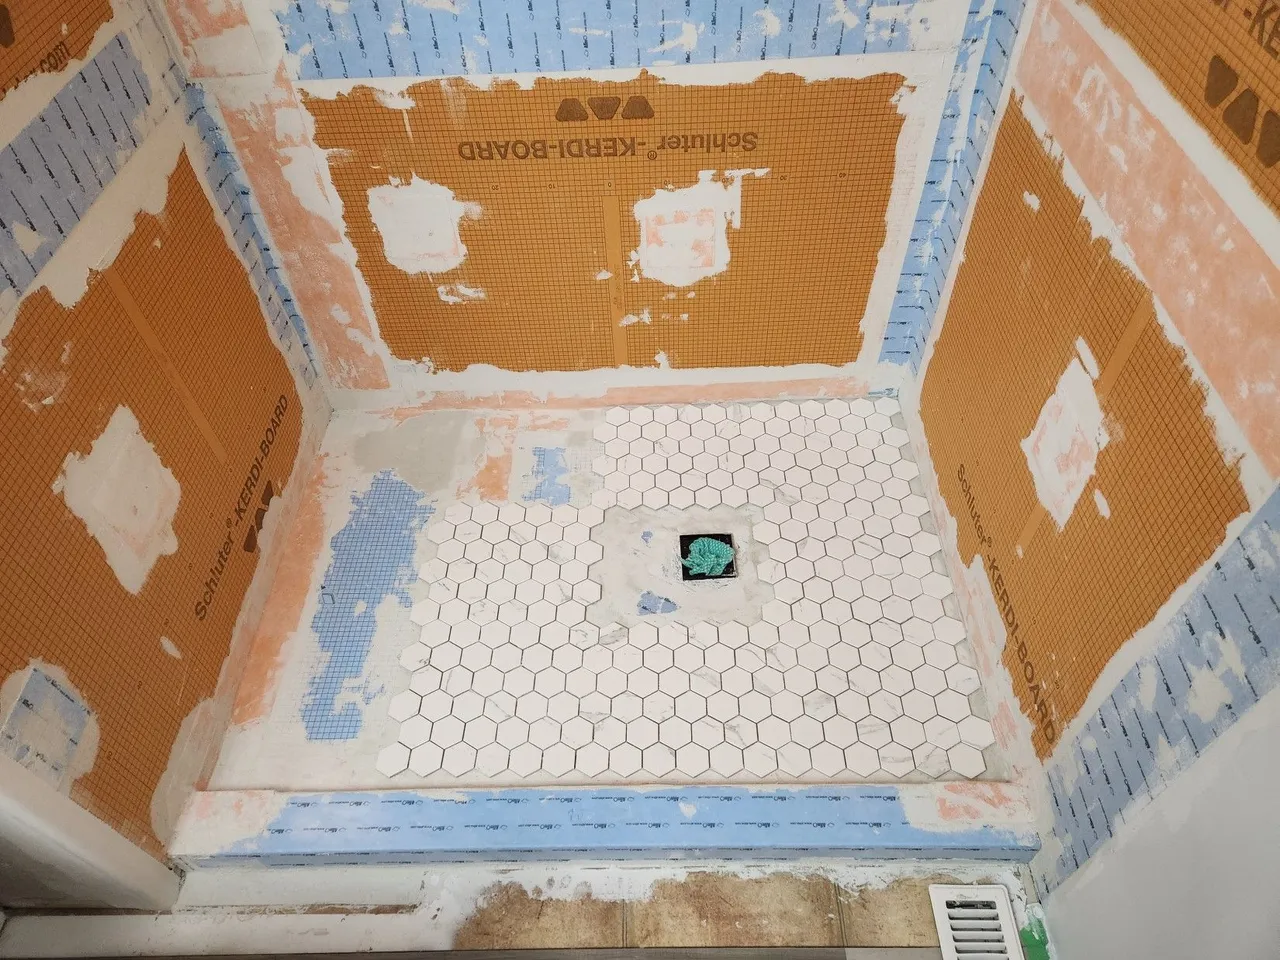
Once your shower is waterproof start tiling! We chose hexagonal two inch tiles for the floor. Dry fit first! You don't want to be messing around when you have a bucket of mortar quickly drying running to the saw, chipping tiles, measuring improperly etc. I did that enough anyways.
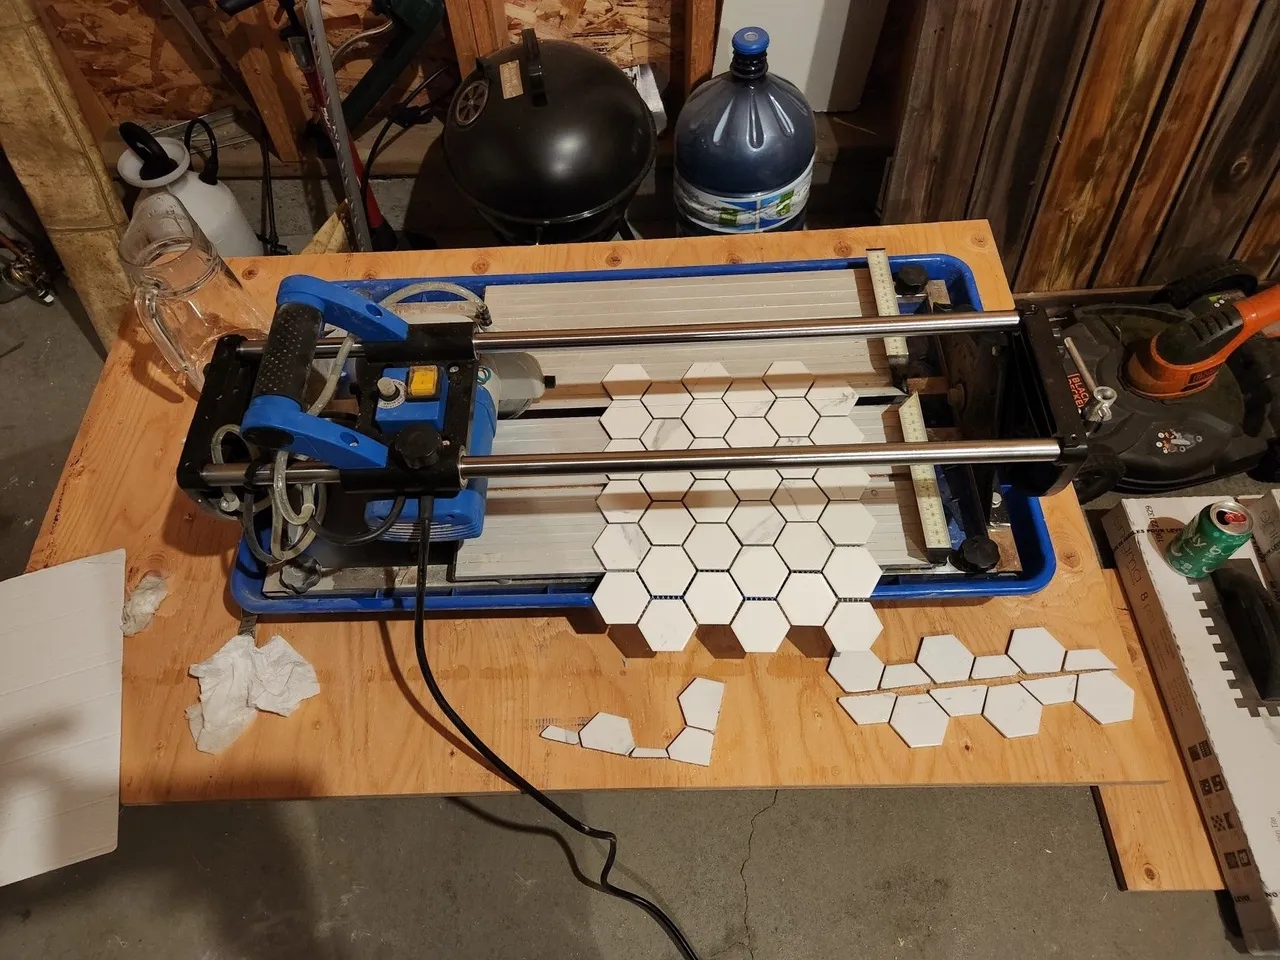
Time to cut the tiles. You should get something called a wet saw. This one slides into the tiles, others require you sliding the tiles into it. They are noisy and messy so you might want to do it in the garage. Clay and mud will get everywhere. Put on safety glasses as tile chips fly everywhere including into your face.
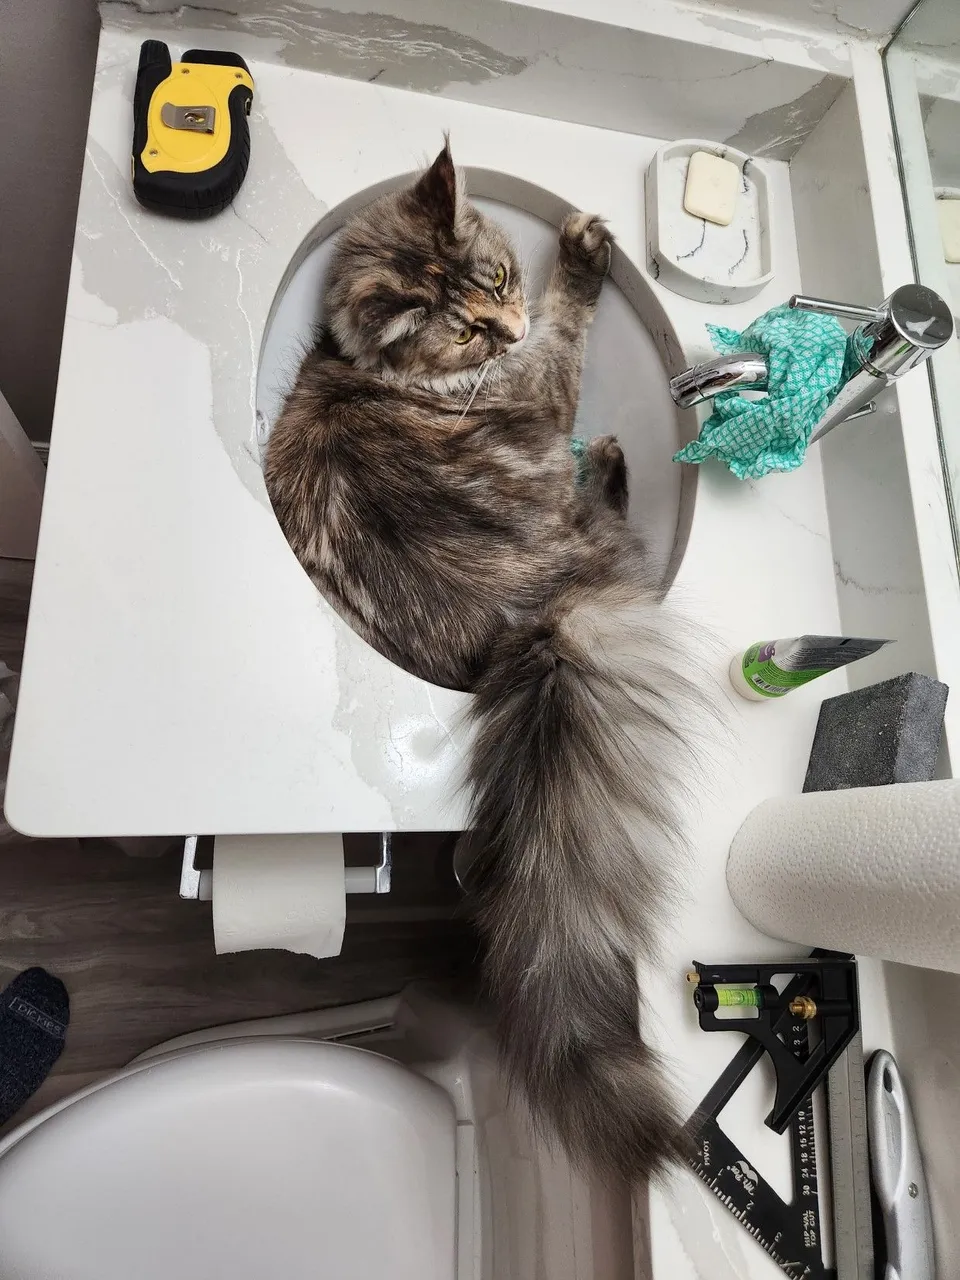
The supervisor says it's time to quit! So see you in the next DIY Reno post when we tile the walls (the hardest part) and finish the new shower.
Note: Some people tile the wall first. I chose to tile the floor first because then you can step on it without denting it and you can hide the edges with the walls. The plastic board won't rot so that won't be an issue.
You should see if the floor is water proof and sloped correctly before tiling. If you tile and find out the floor is not sloped correctly, you will waste a few hundred dollars and a lot of time. If you find a leak after, you may waste a few thousand dollars and even more time. Go slow.