Publishing of books and magazines is usually out of reach for us normal folks and require publishing houses and often cooperate sponsorships. Zines - unlike magazines and books - can be made by anyone with a message, a bit of artistic vision and access to a printer. Zines also have the benefit of being as short or as long as the creator wishes and can cover any subject matter and be of any style, much unlike traditional publishing.
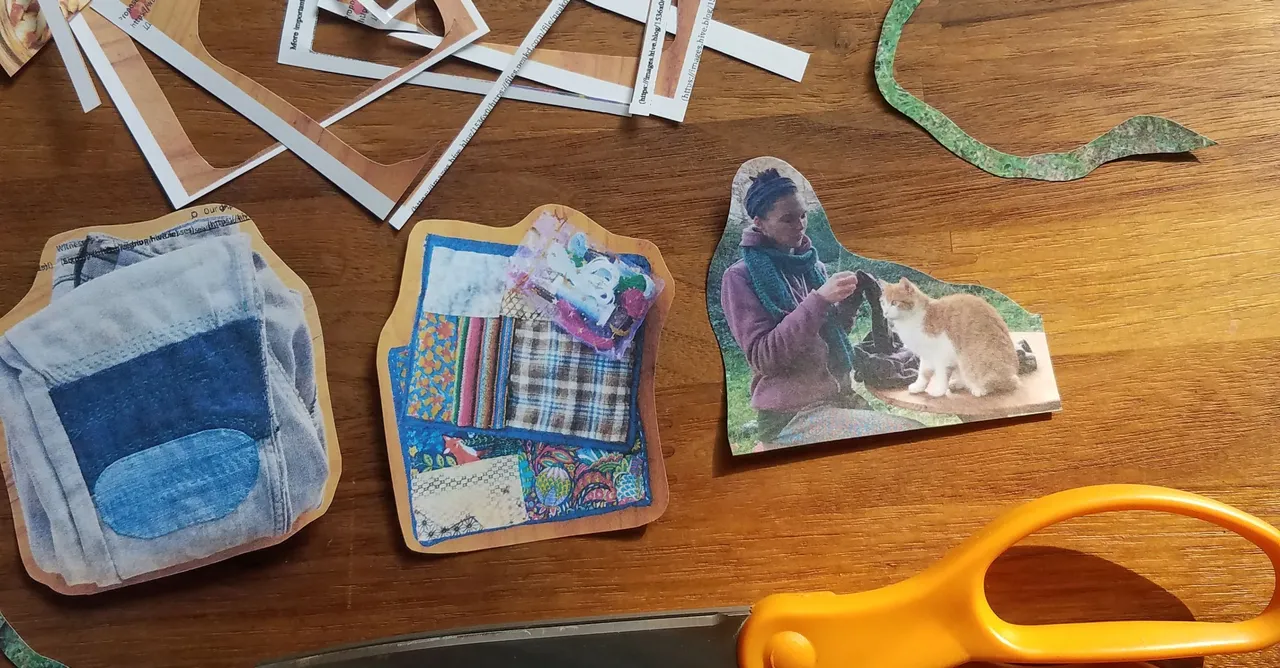
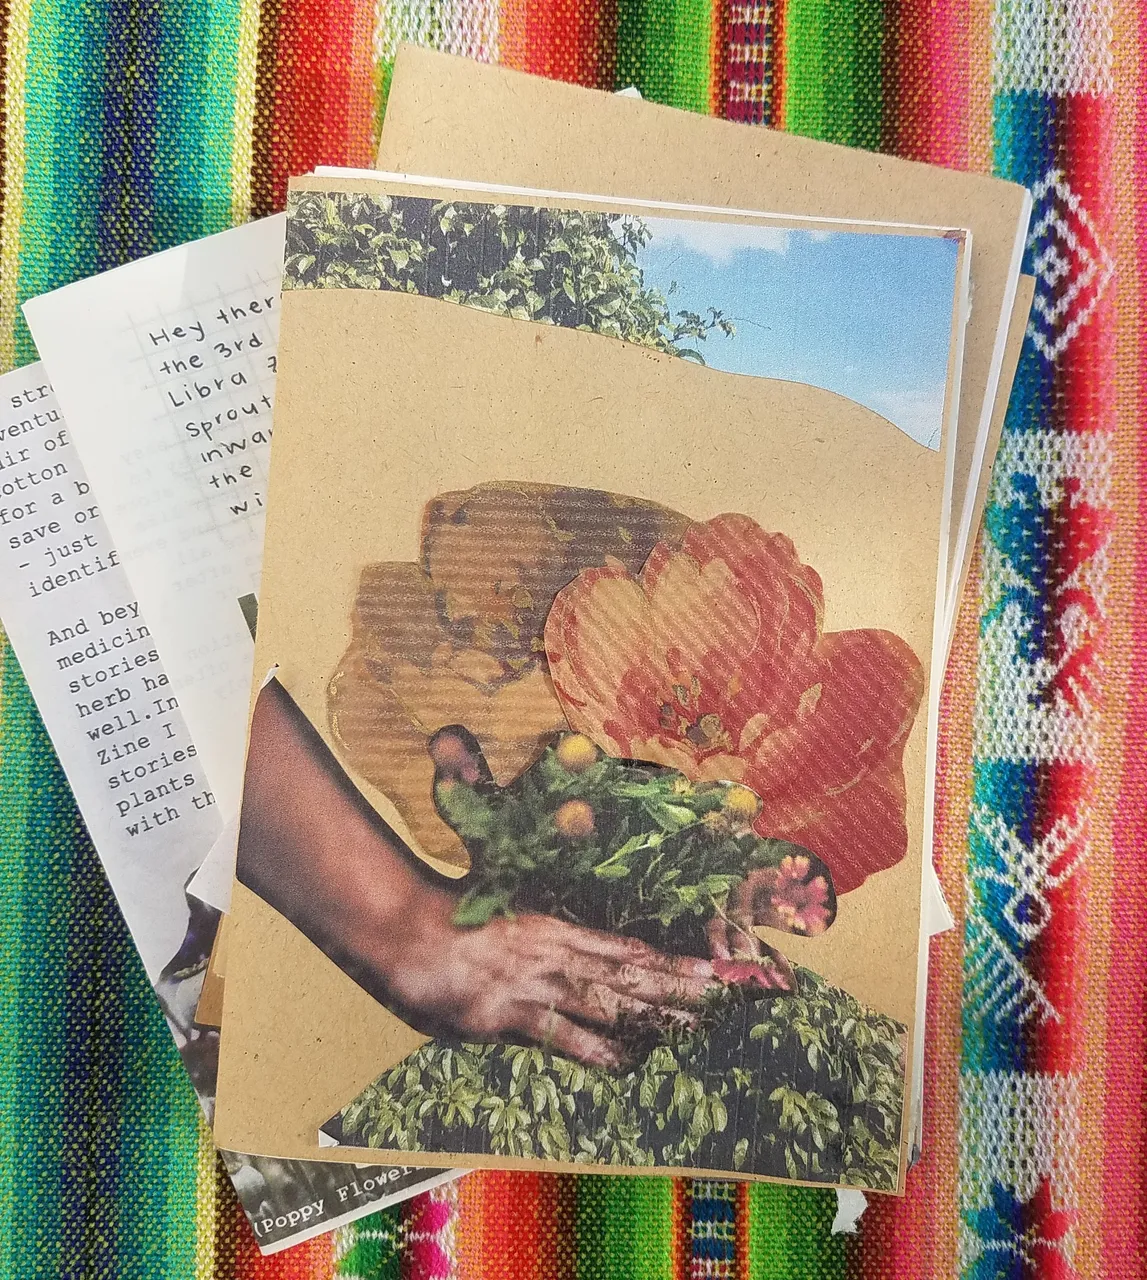
When I first began my zine making in college (~2012) I used collaged images and newspaper clippings which I cut & pasted them together, later copying the pages one by one at the public library. Since then I have improved my process though kept the collage elements. Now all the images and words are my own and I've even acquired a printer!
The process ~
To begin making a zine it is helpful to have a topic in mind. This could a subject you are passionate about and which you would like to spread the word. Or maybe this zine will be more personal and document the more interesting bits of your life with sketches and handwritten anecdotes. This type, by the way, is called a perzine.
As an artist or content creator a zine can also be a collection of your work - like a tiny portfolio. Such a project is great for getting your art or writing out into the world in a physical way. Unlike website and blog pages a zine doesn't need any kind of technology to be viewed. Personally, I use zines for both of these reason; to collect together bits of writing & art as well as to keep my pen pals, friends, family in the loop of what I have been creating.
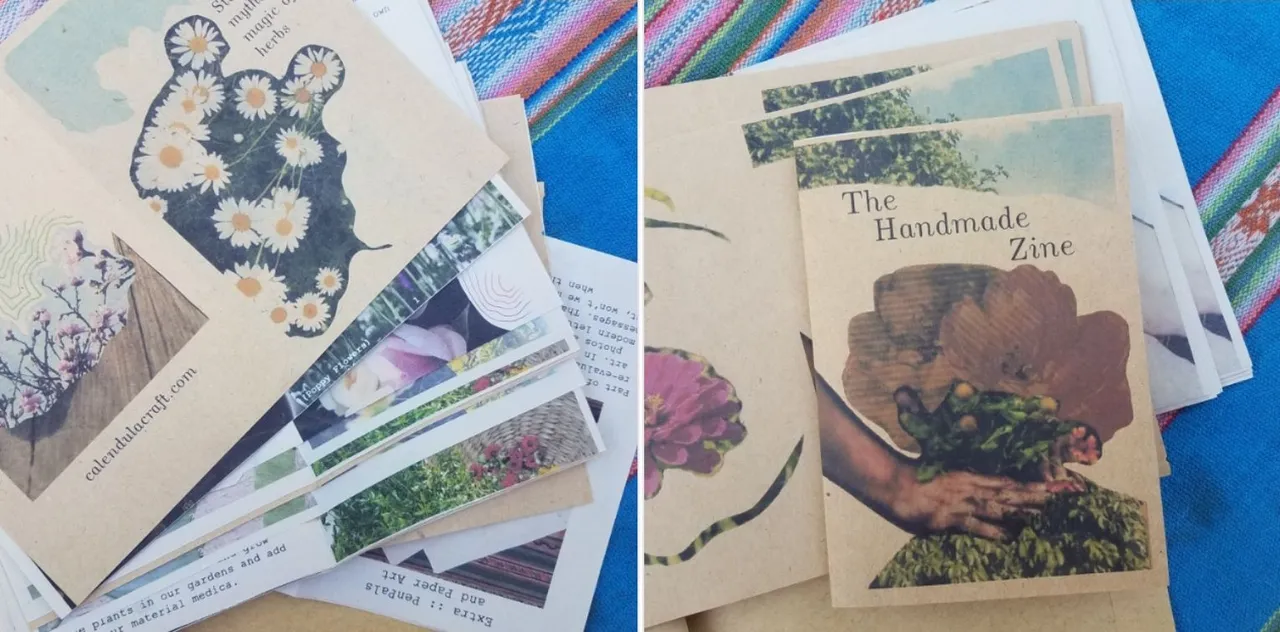
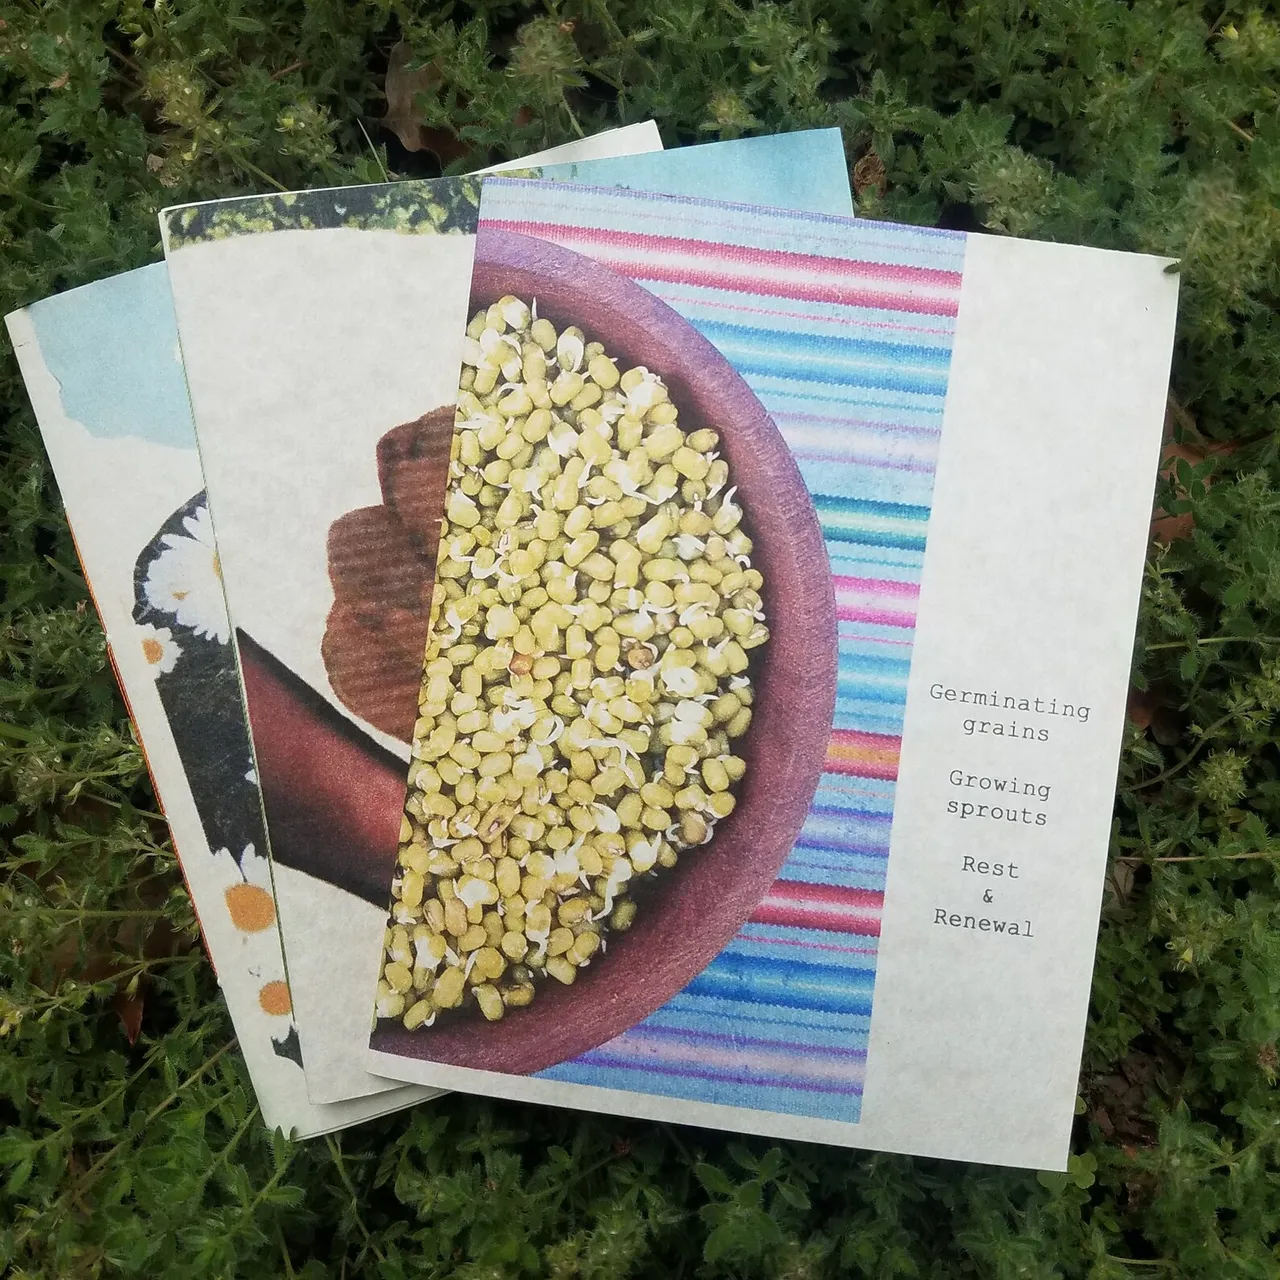
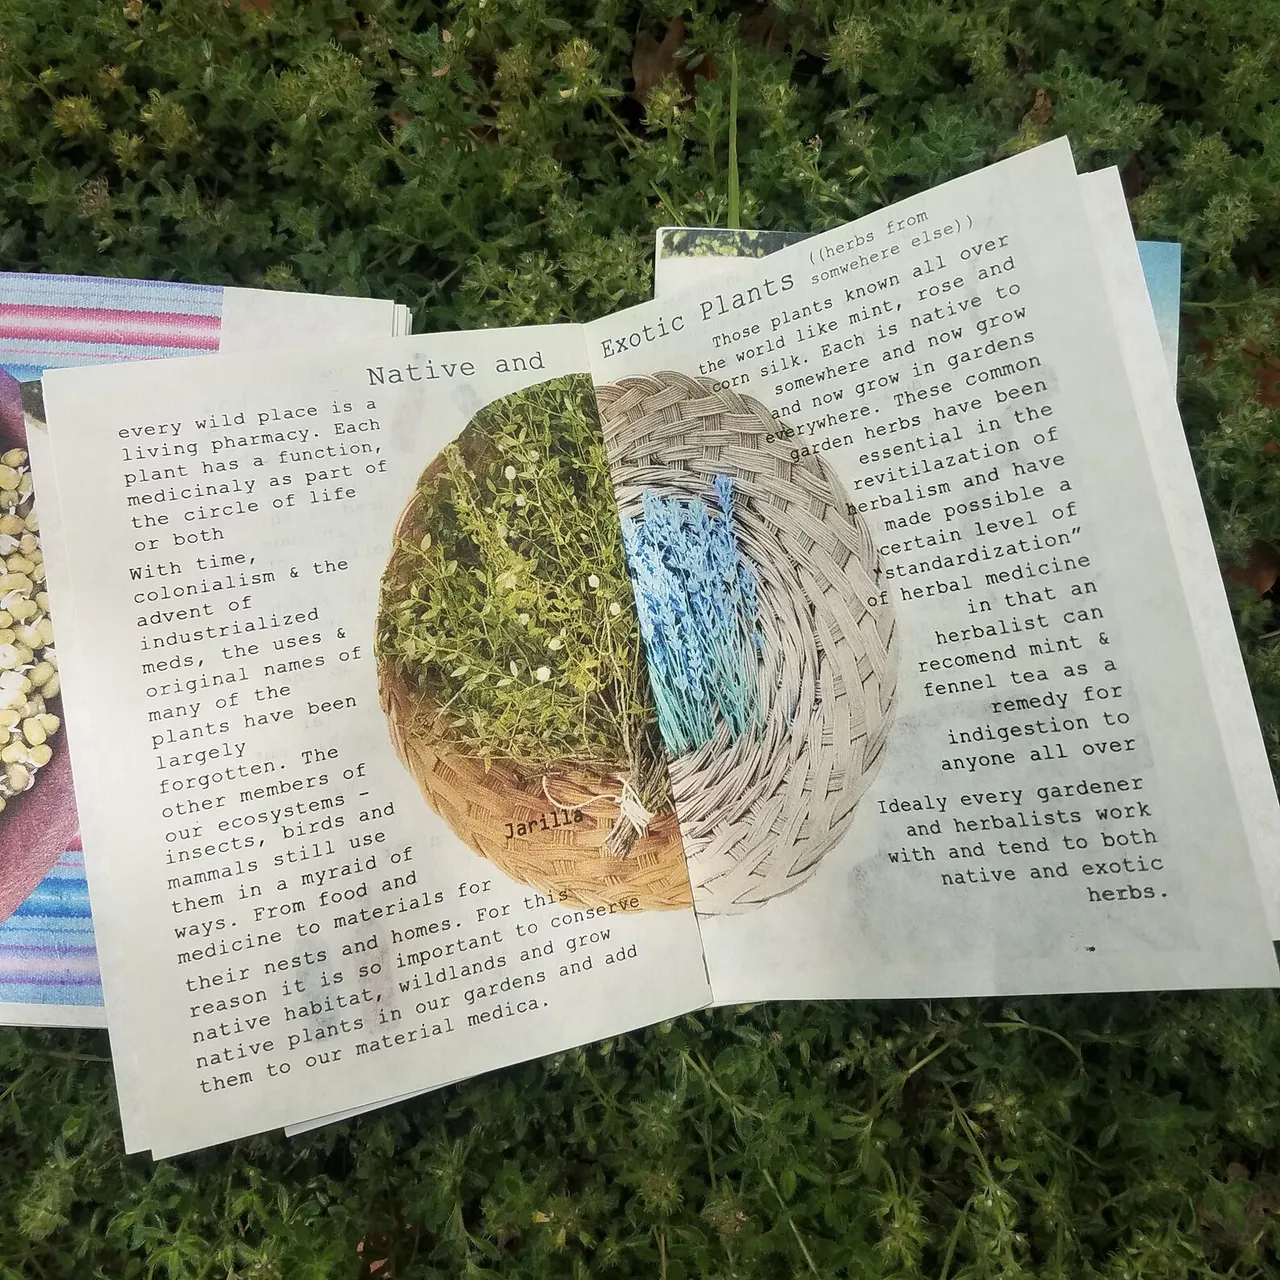
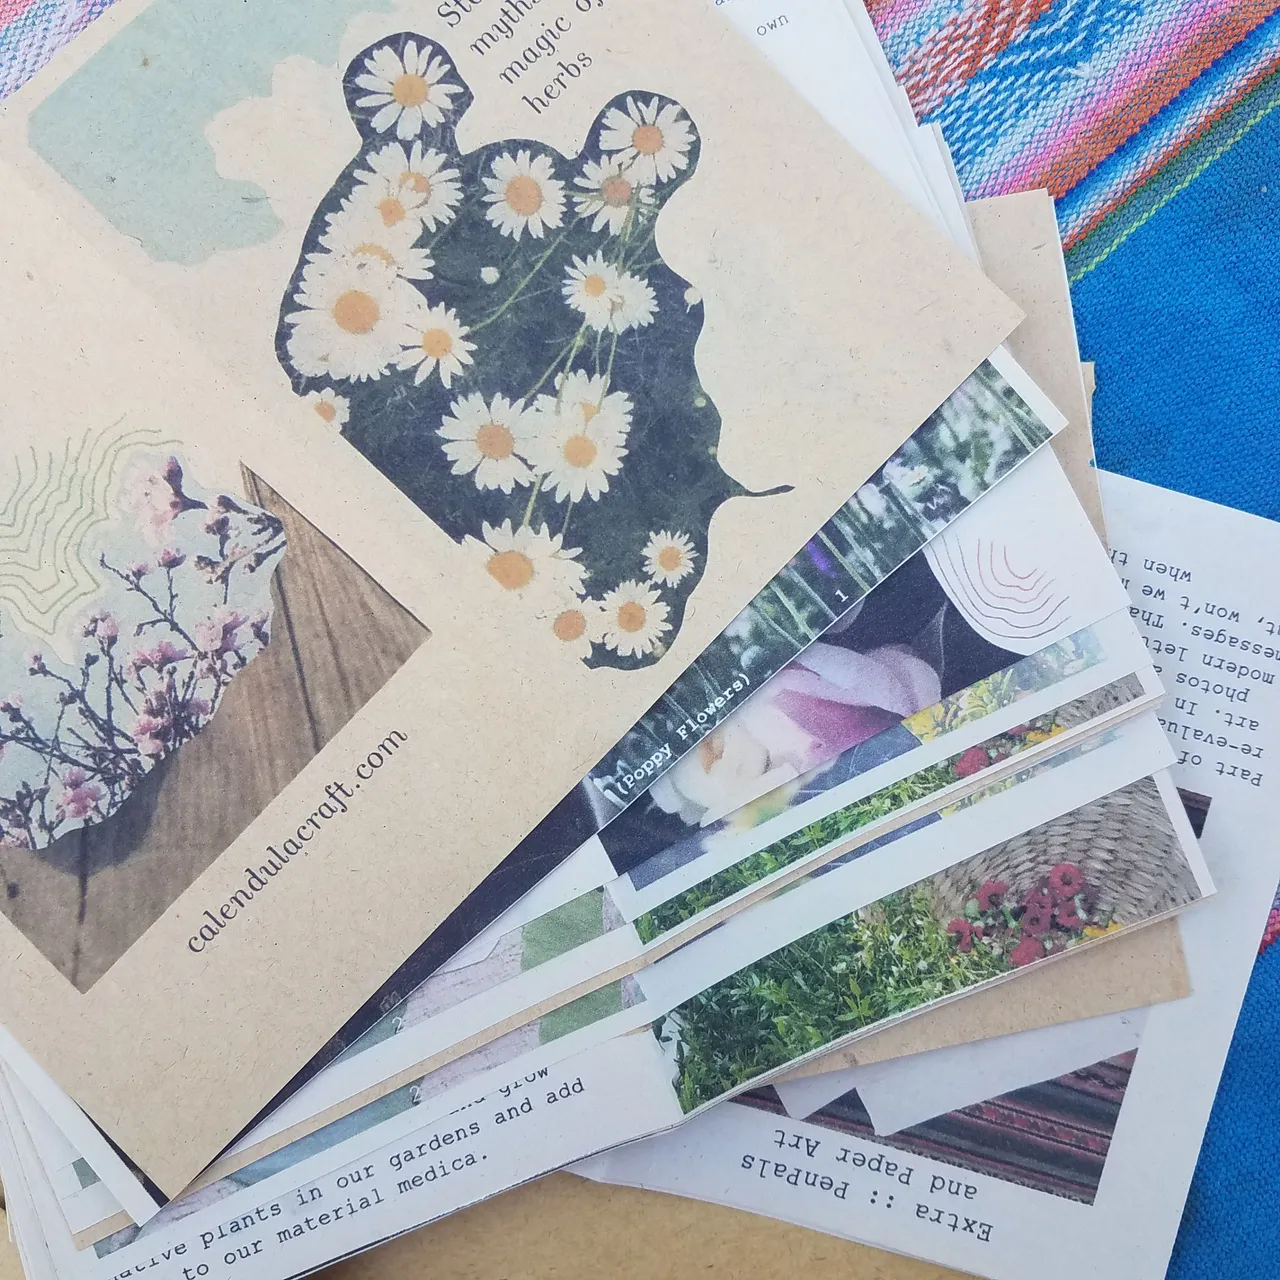
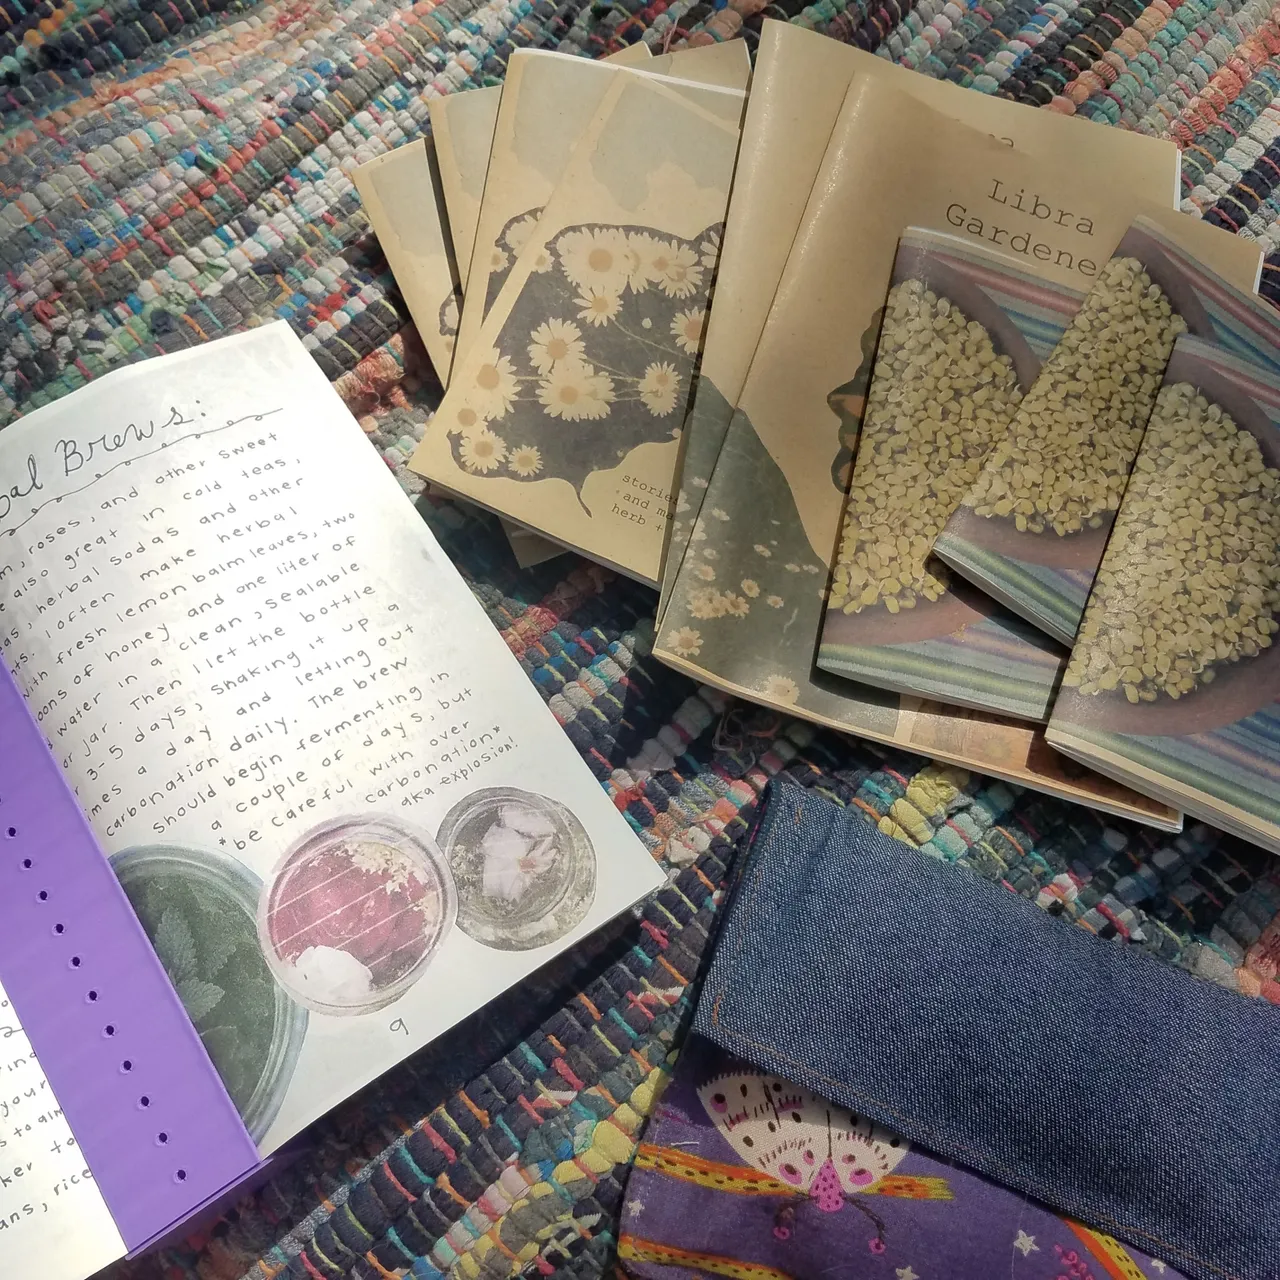
My current zine creation is a re-working of some of the articles I have published here as well and elsewhere online. Starting out I looked through some of my favorite posts and narrowed down the subject of my zine. I picked out my favorite photos and paragraphs, printed them out and began to arrange the flow of the booklet. Instead of breaking each project up into a separate spread as they were in article form, I reworked the order. I streamlined the text by cutting out redundancy and paragraphs that I now find boring with the hopes that the booklet turns out short, engaging, and ultimately inspiring to the reader.

Layout and Formatting ~
It is hard to say if this is my favorite or least favorite part. In this current zine I am pretty stuck on how to order the pages. I am wondering if each and ever spread should be loaded with words or if there should be space to contemplate images without words.
In past zines the words have just flown out in a natural story. Other times I struggled to fill up enough pages and other times I had to cut parts and save them for future zines.
These days everything from creating art to designing the layout can be done digitally using software. I definitely use such programs once I have the layout figured out and all that is left to do is type in the text. But, somehow, having a physical copy to arrange the images and trial ideas lends itself much better to the creative process. I think we have all found ourselves starting at a dauntingly blank screen wondering how to start. Something that does help is to make a mock-up of the zine -- that is to say make a life size version of the booklet including all the inner pages alongside the cover.
In the past I created the entire zine as a copy & pasted physical document that I photocopied. These days I create a mock up, scan the images then arrange them on Illustrator or Photopea after which I type in the text. Then the pages are turned into PDF's which I can print several copies of for my shop or for gifting as needed.
Printing ~
With the layout in order and the text all added in comes the time for printing. There are many options to consider: black and white vs color, printing at home vs printing at a library vs printing in bulk. For a first time zine maker I recommend to start small. Printing off a couple of trial zines at a coin-operated printed at a library can help you make such decisions, like whether printing in color is really worth the expense or if you can get away with just the cover being in full color and the inside pages black and white.
With a first couple of copies in hand you will be able to see if the text is too small or two big, if the flow of the words are how you imagined and make changes as needed. Especially with the first zine there will be some trail and error and that is totally okay and part of the fun of DIY-ing your own little booklet.
Binding ~
Without question this is my favorite step. It is so fulfilling to finally see all the work of the last few weeks collected together and ready to be bound into a zine. If your zine is small enough using a stapler will work just fine.
As a sewer I enjoy binding the inner pages with needle and thread. To do this prop open the book at the middle page, poke a few holes down the fold (4 if this is a half zine, 8 if it is a full letter or A4 page) and then sew with whatever thread you like to use. A big hardback book can help keep the pages straight when doing the poking and a simple bookbinding kit is even more helpful. Here one tool I recommend from Adventurous Art Supply on Etsy.
Now we have reached the end of this little guide to creative one's own publication. All of the pictures in this post are of my past and current zine projects - of which you can grab a copy of your own here in my Etsy shop. My hope is that you now feel inspired to go out and create a zine yourself. Let me know how it goes if you do!