Hello creative friends. I hope your days are always happy and may you always be healthy. Today I want to share my creation of making a whale from origami paper.
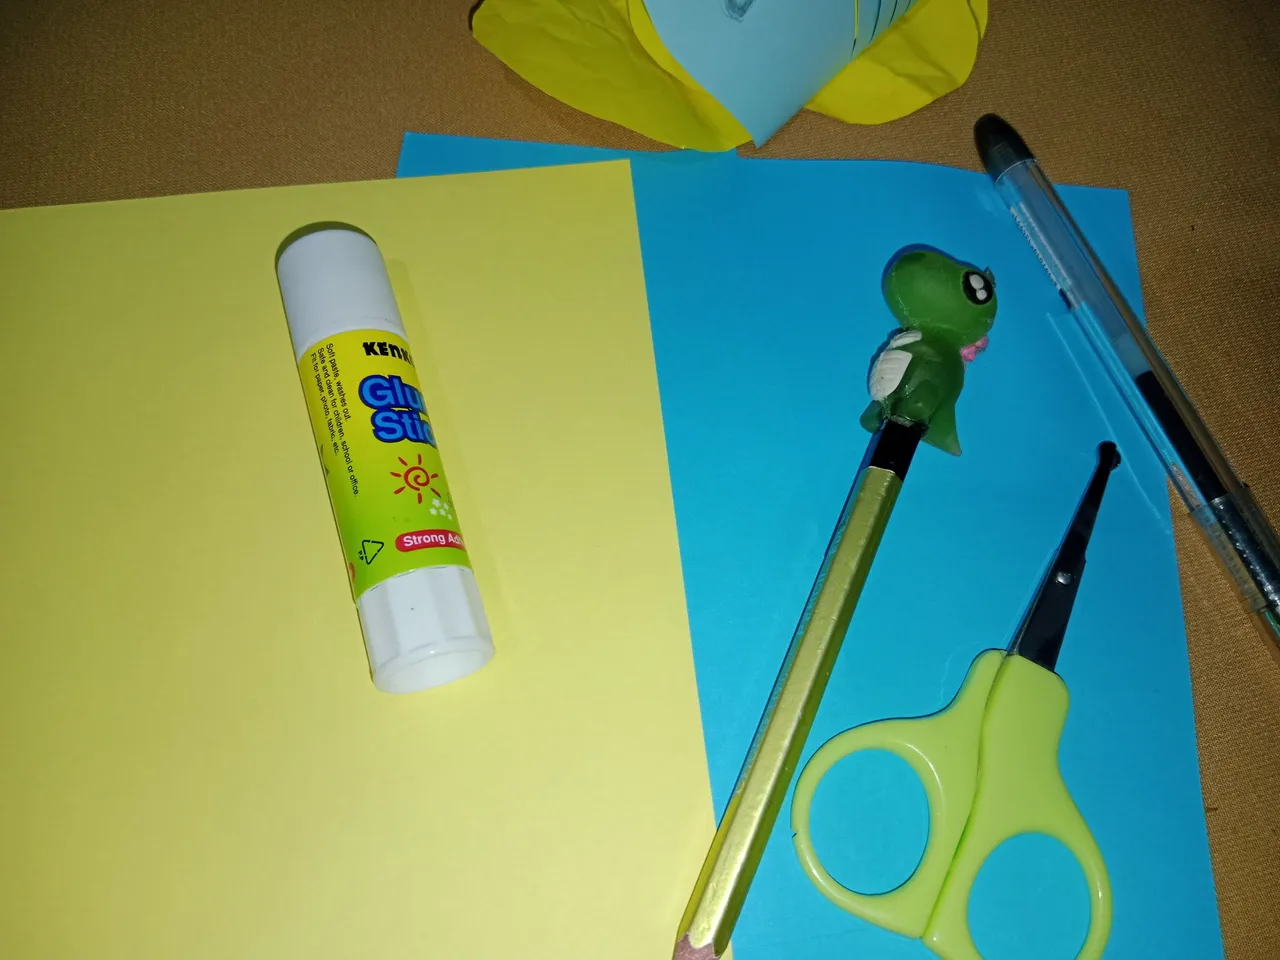
With a simple tutorial and only using materials origami paper, glue and scissors
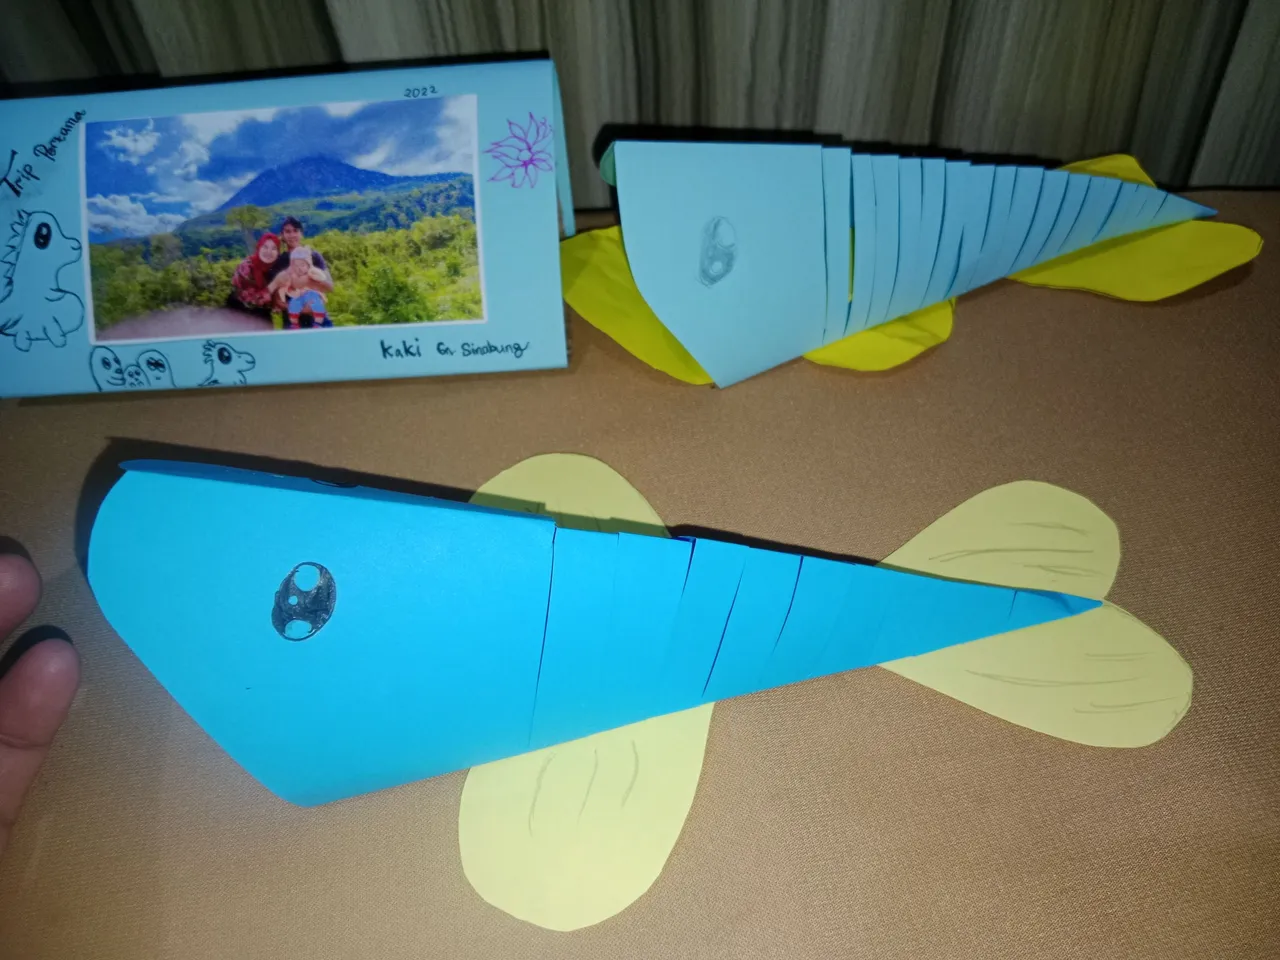
Tutorial on making a whale
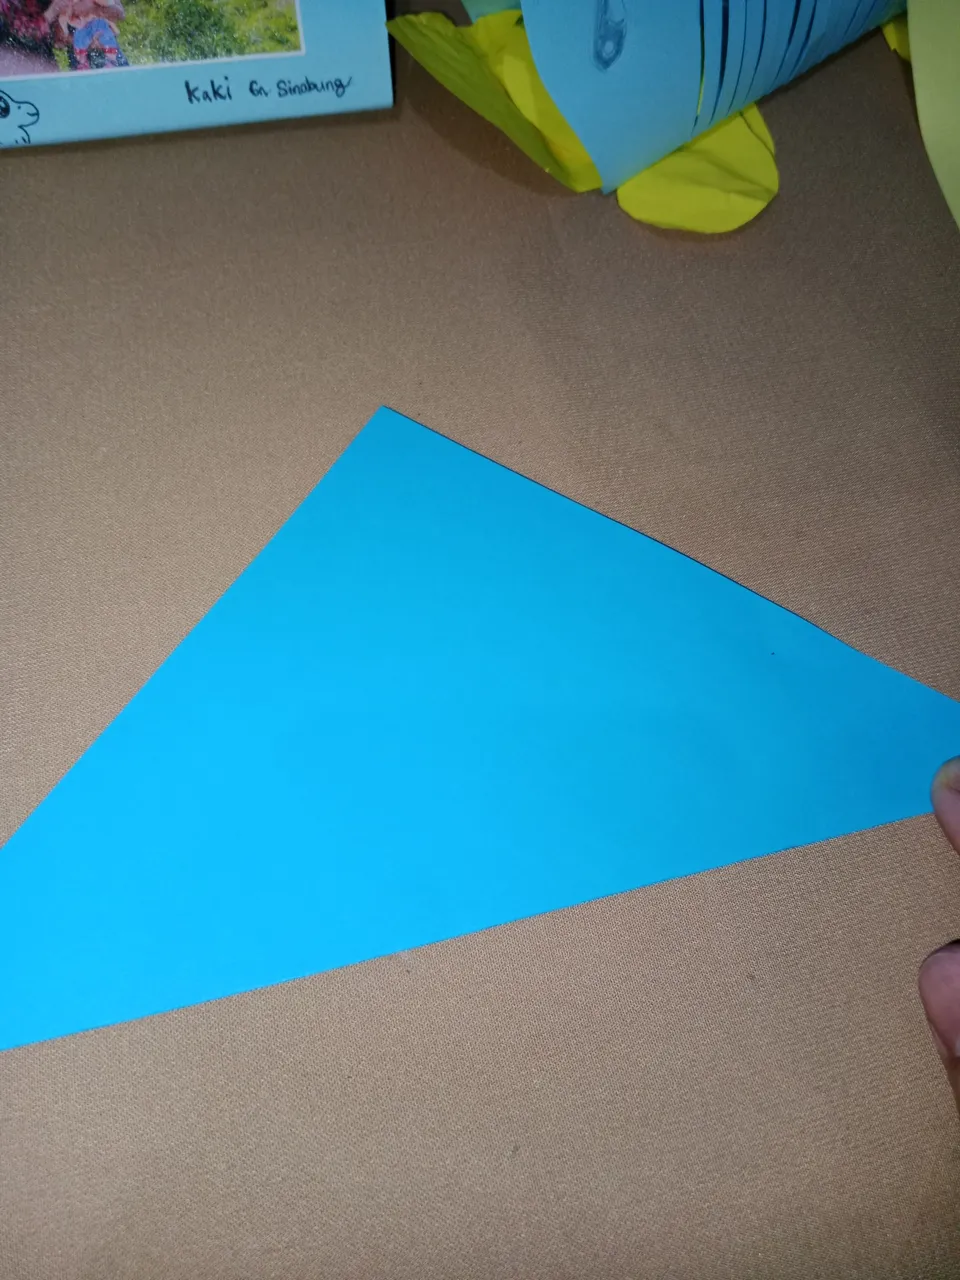
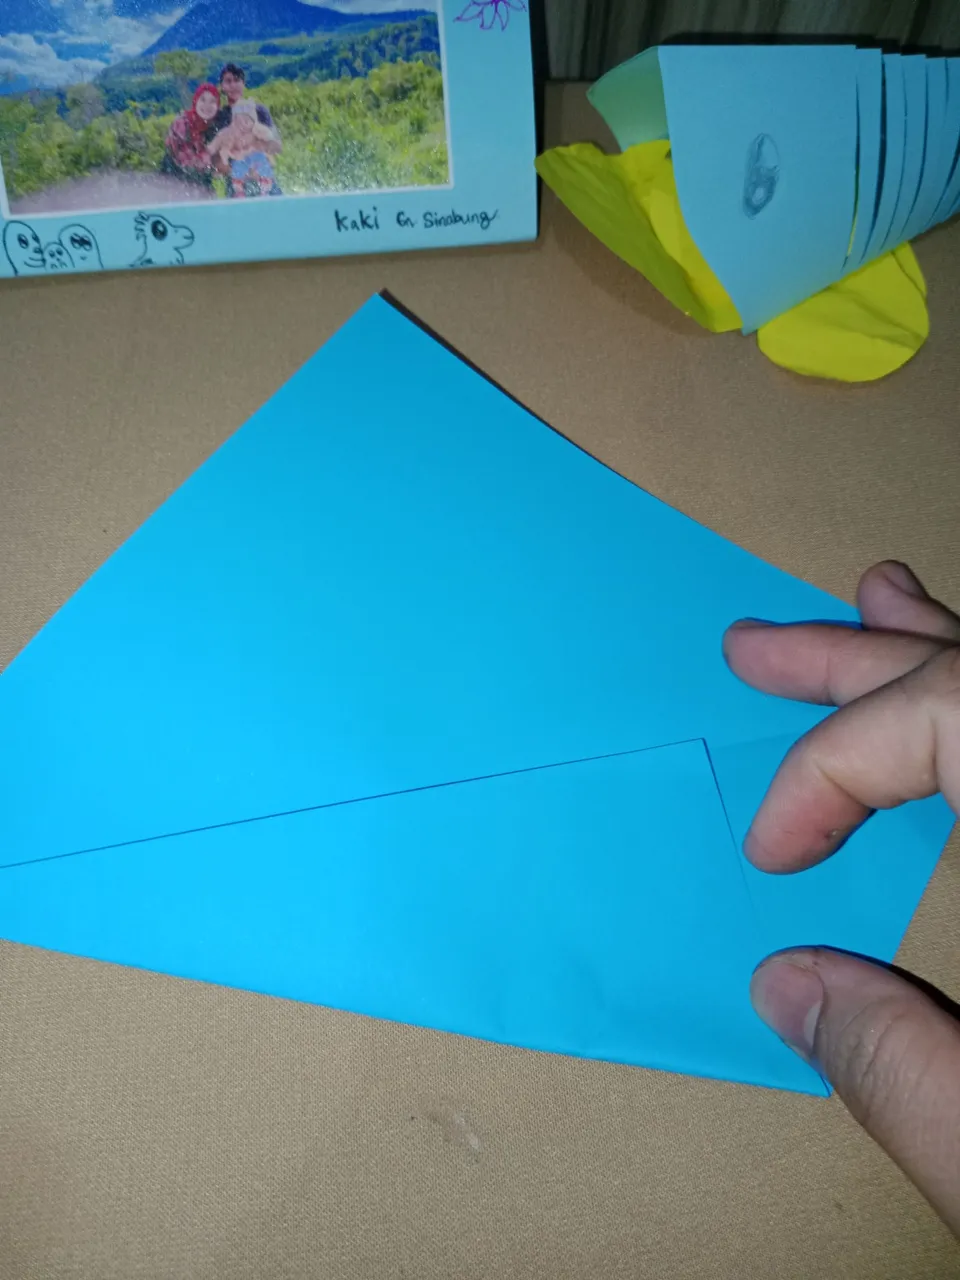
- First, fold the paper into a triangle to create a center line on the origami paper.
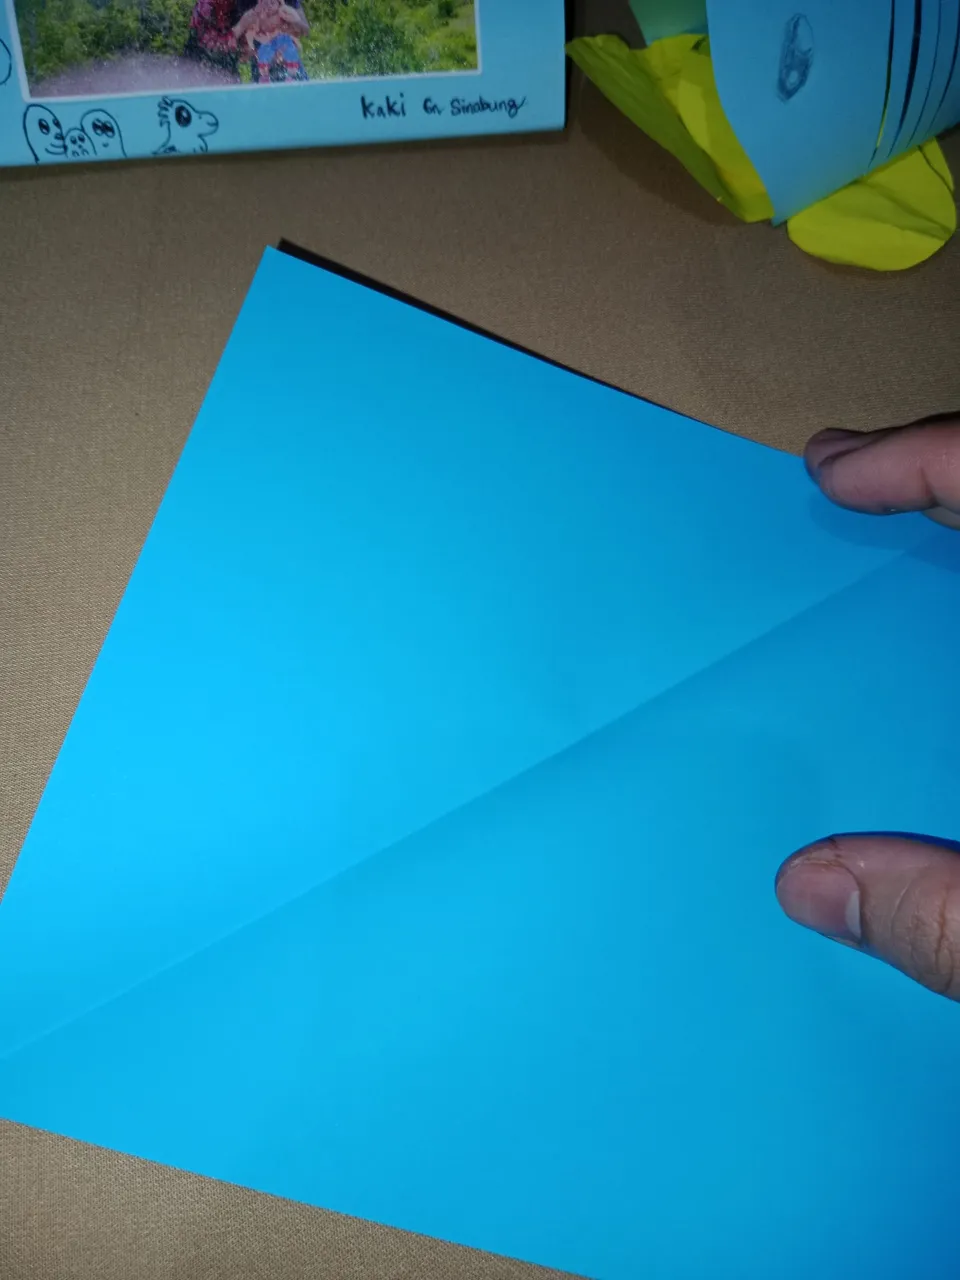
- After the center line is created. Then fold the right and left sides of the paper inwards.
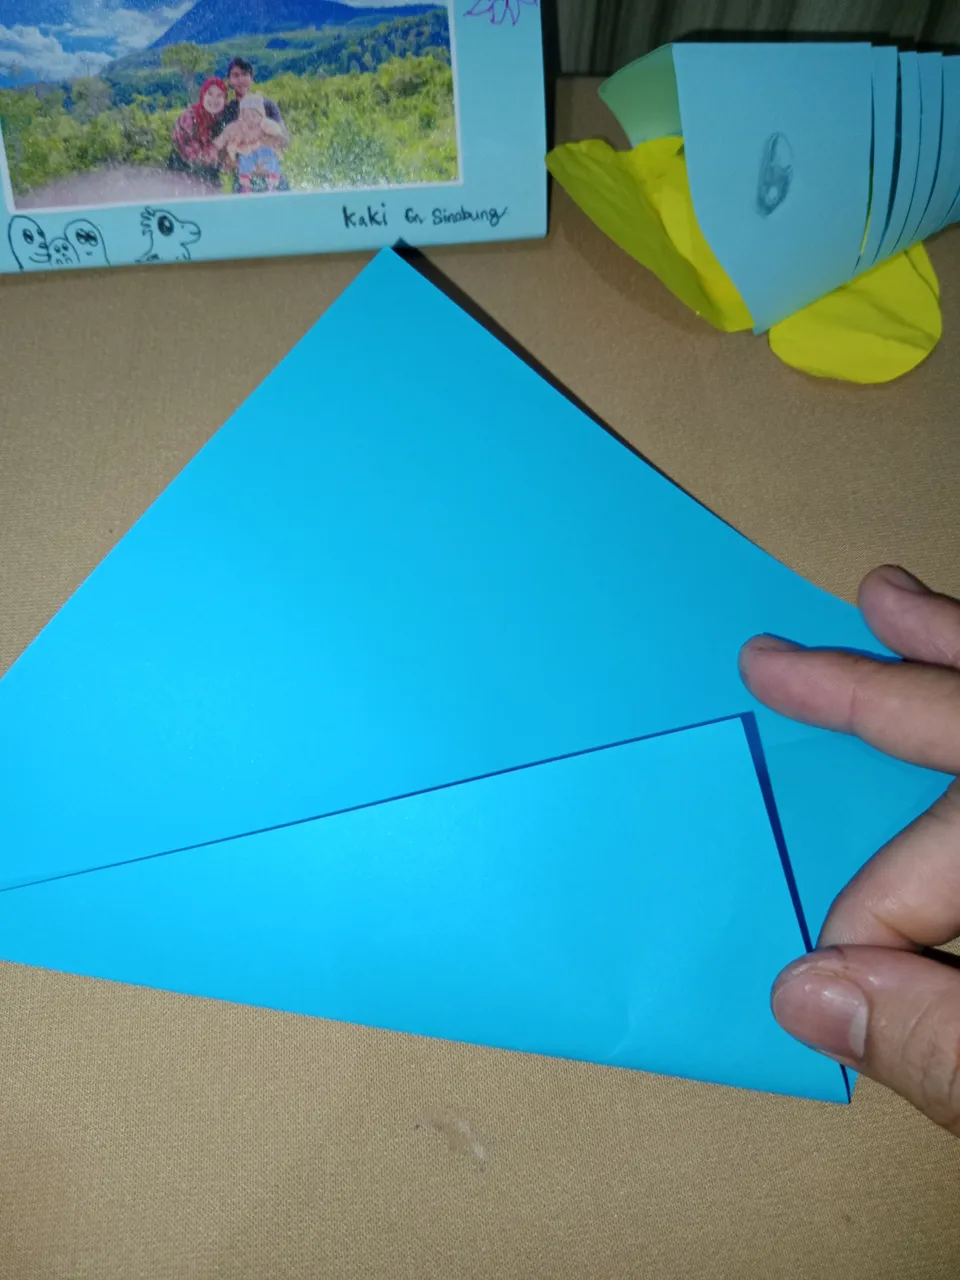
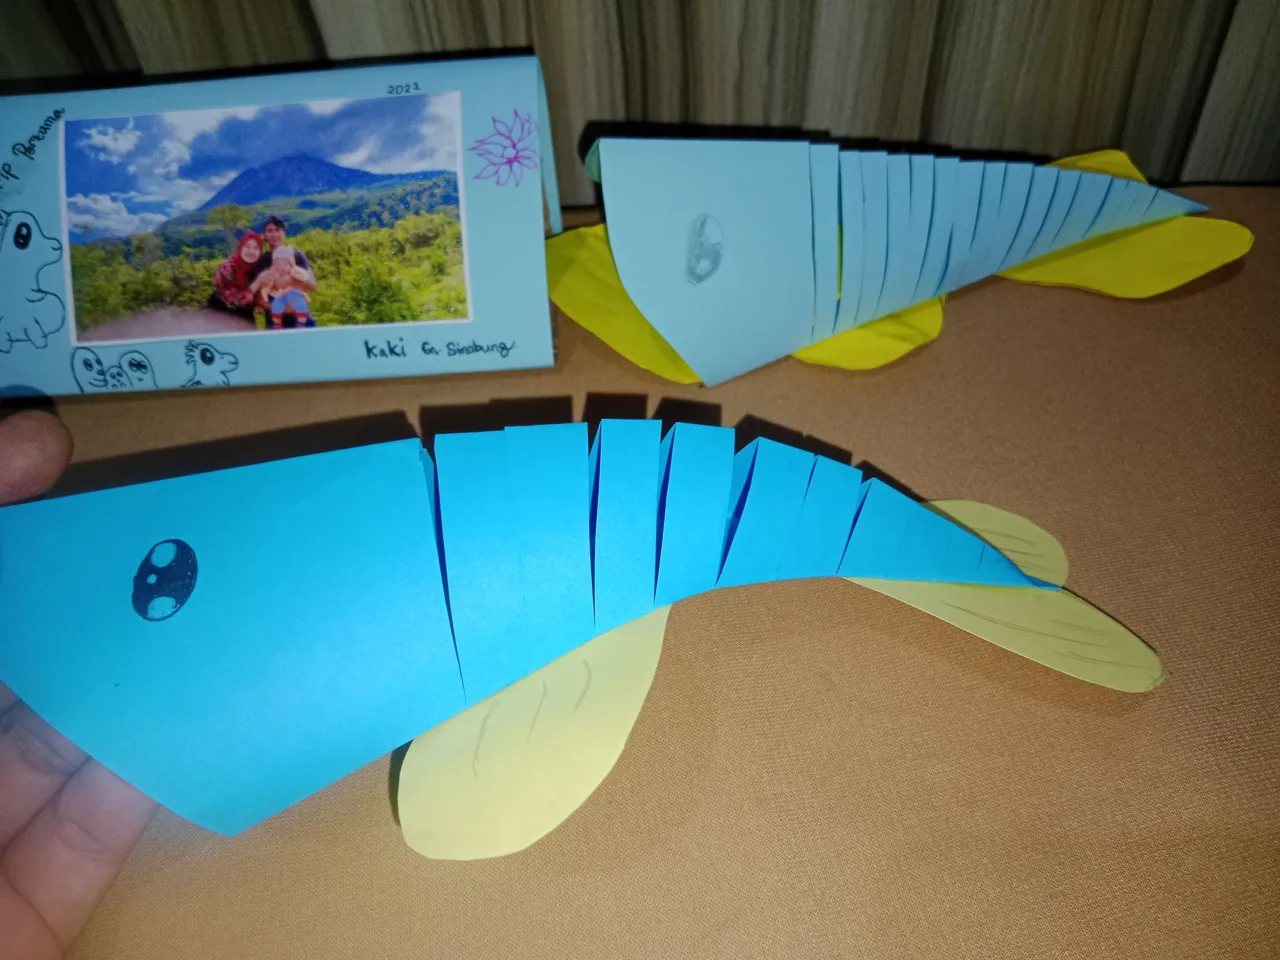
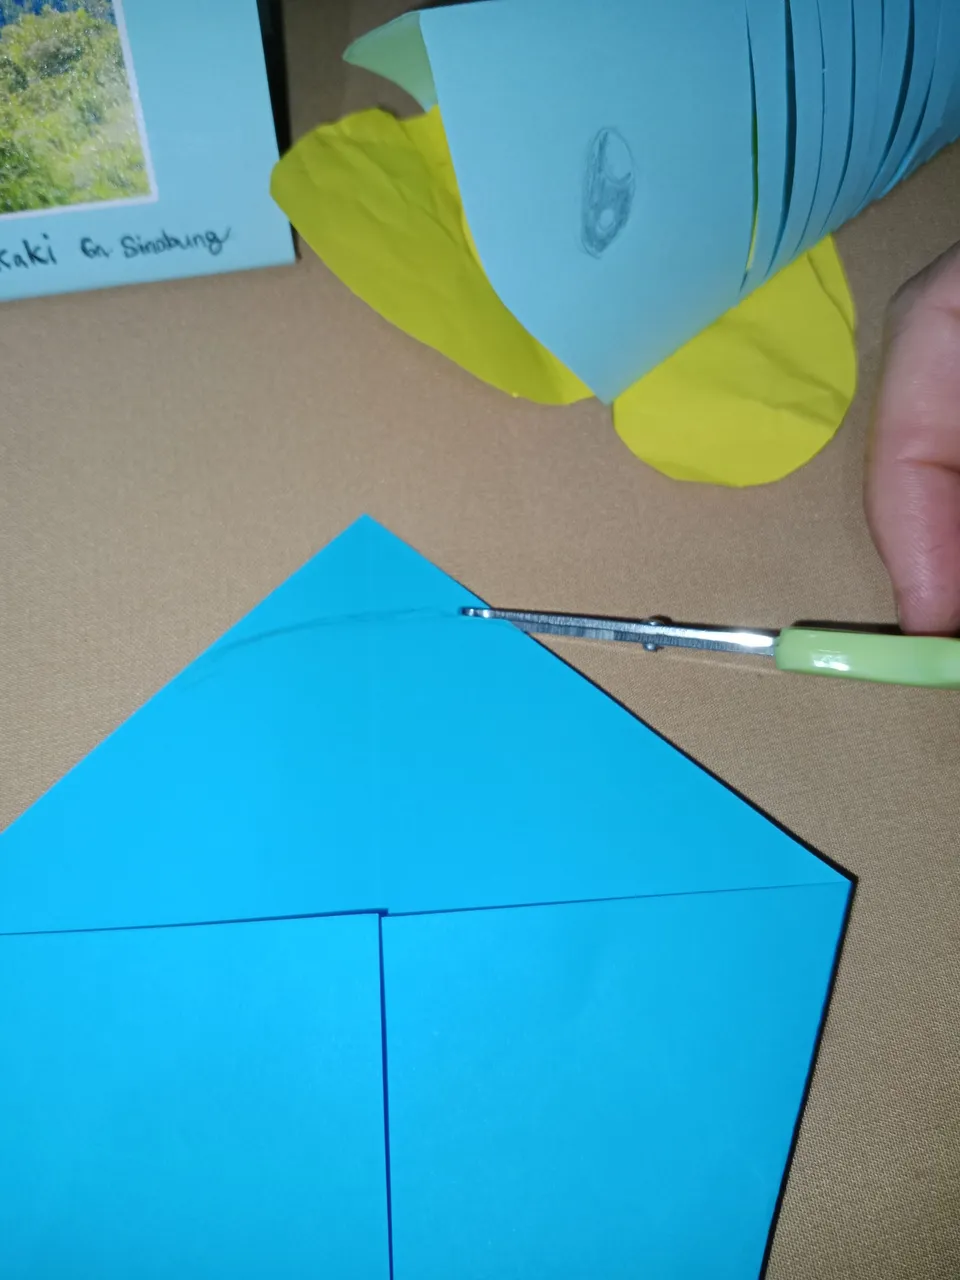
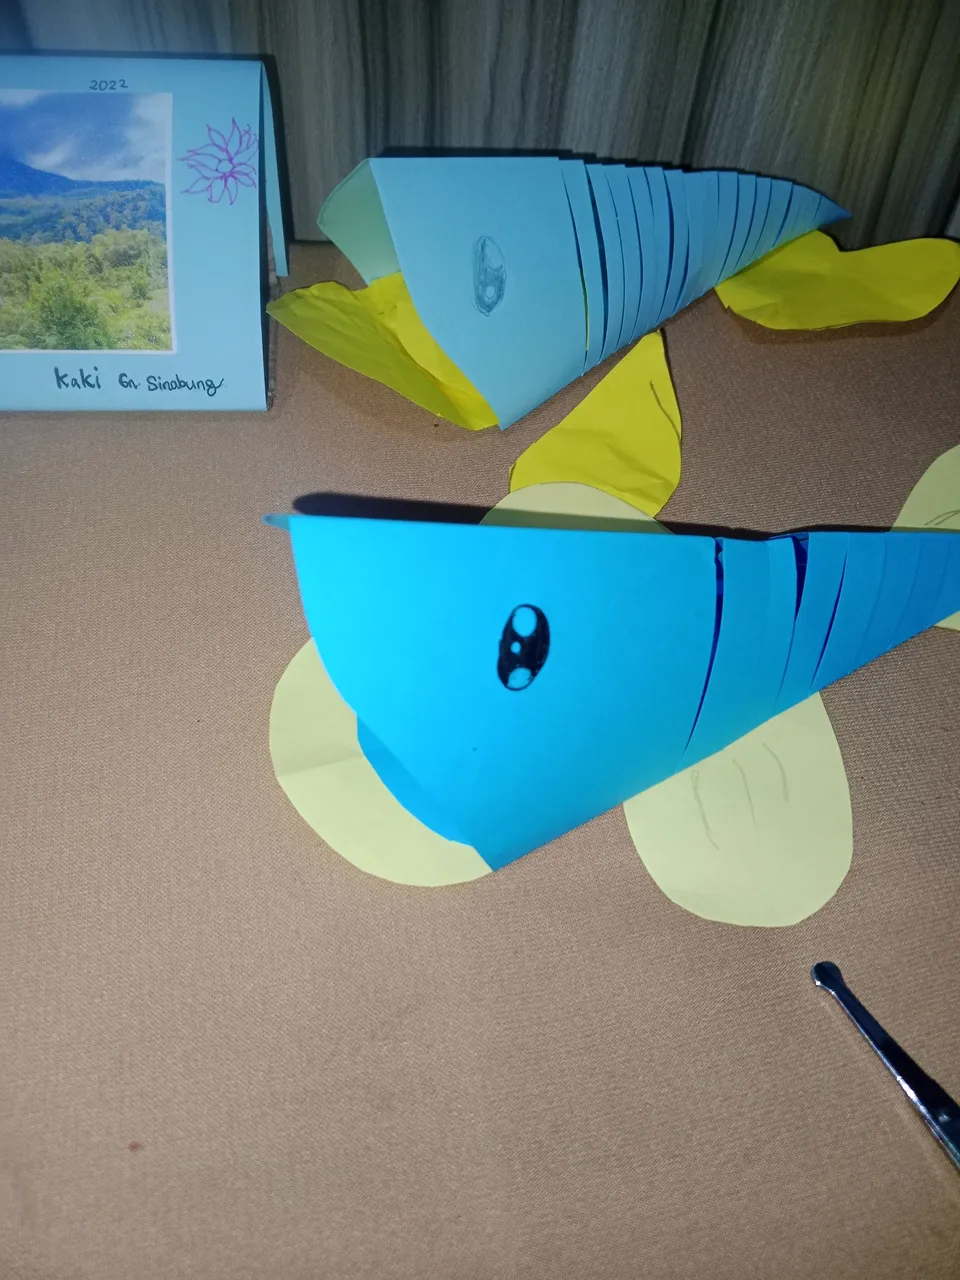
- After the paper is formed as shown in the picture.
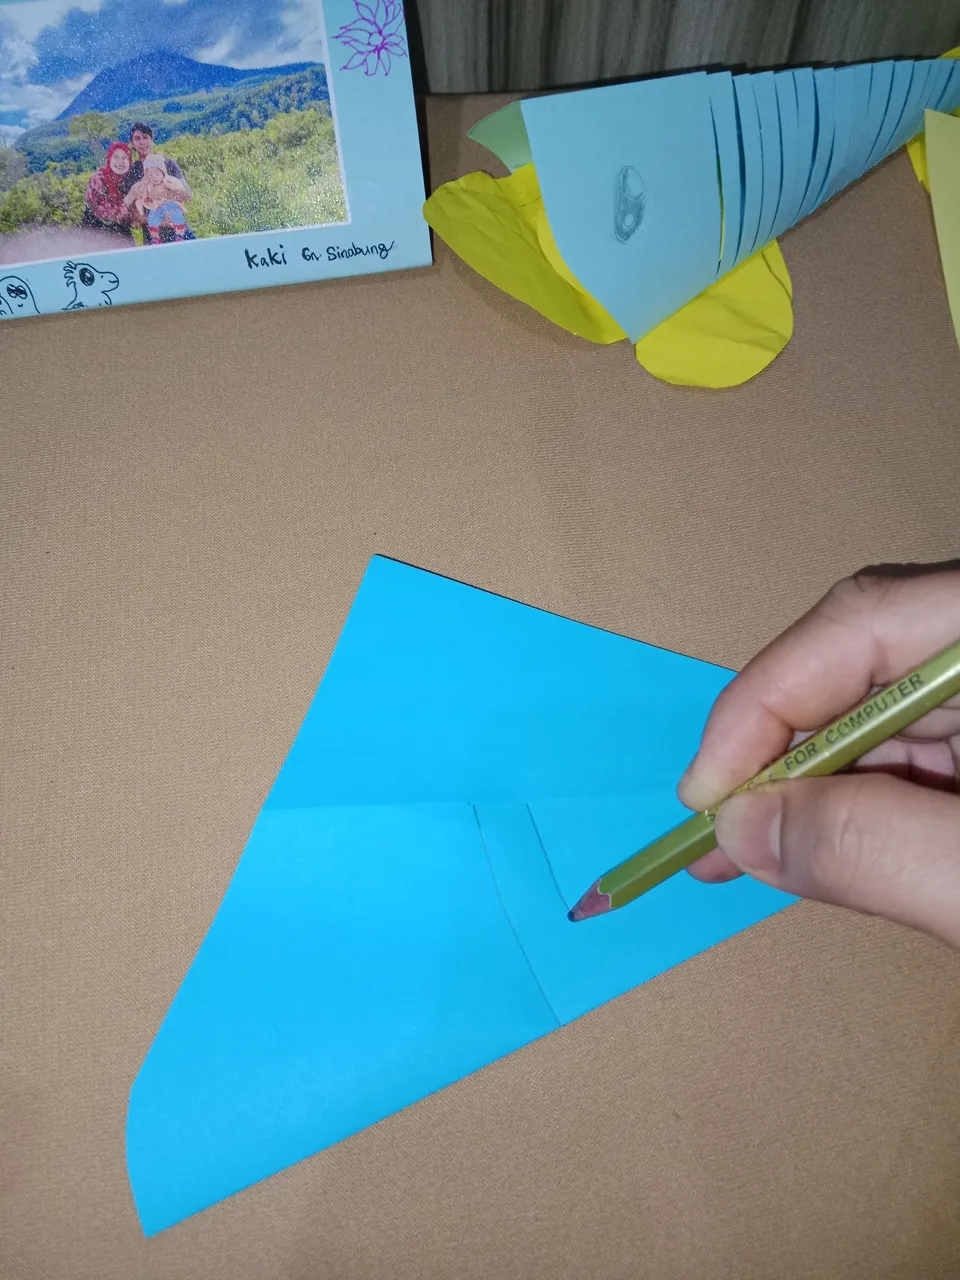
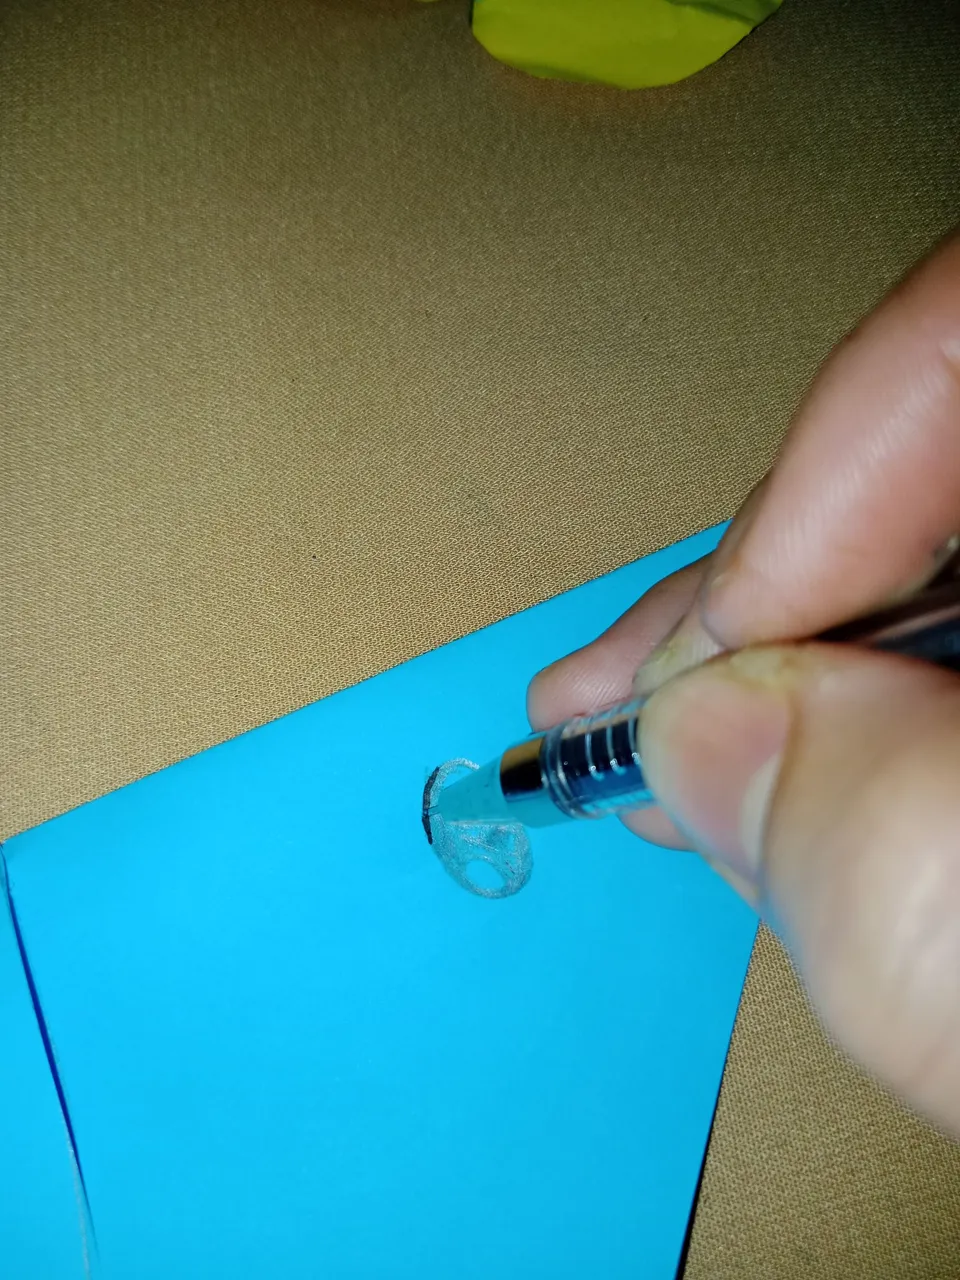
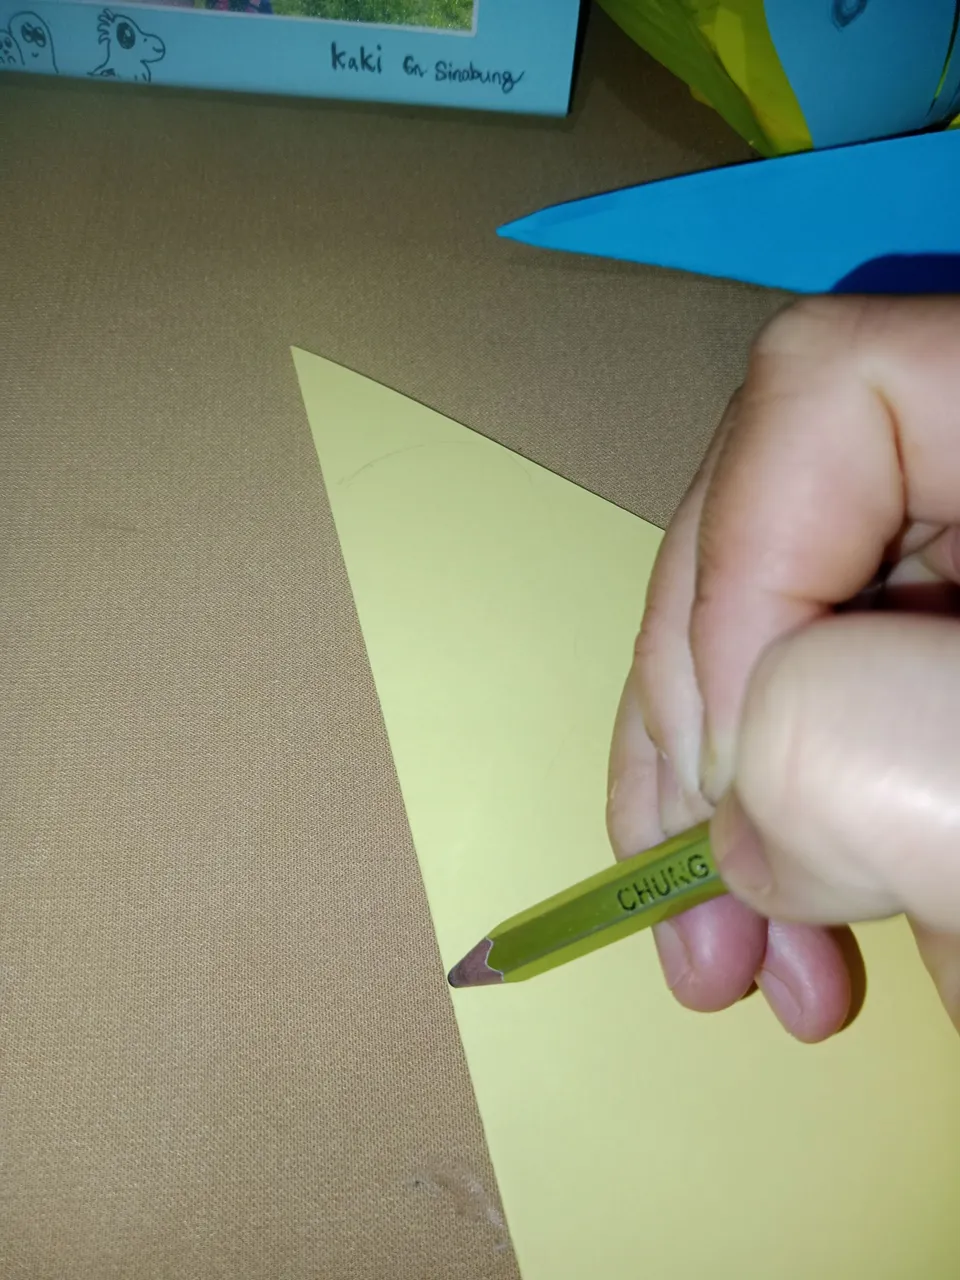
Then draw with a pencil at the end of the paper to form a semicircle. Then cut it out
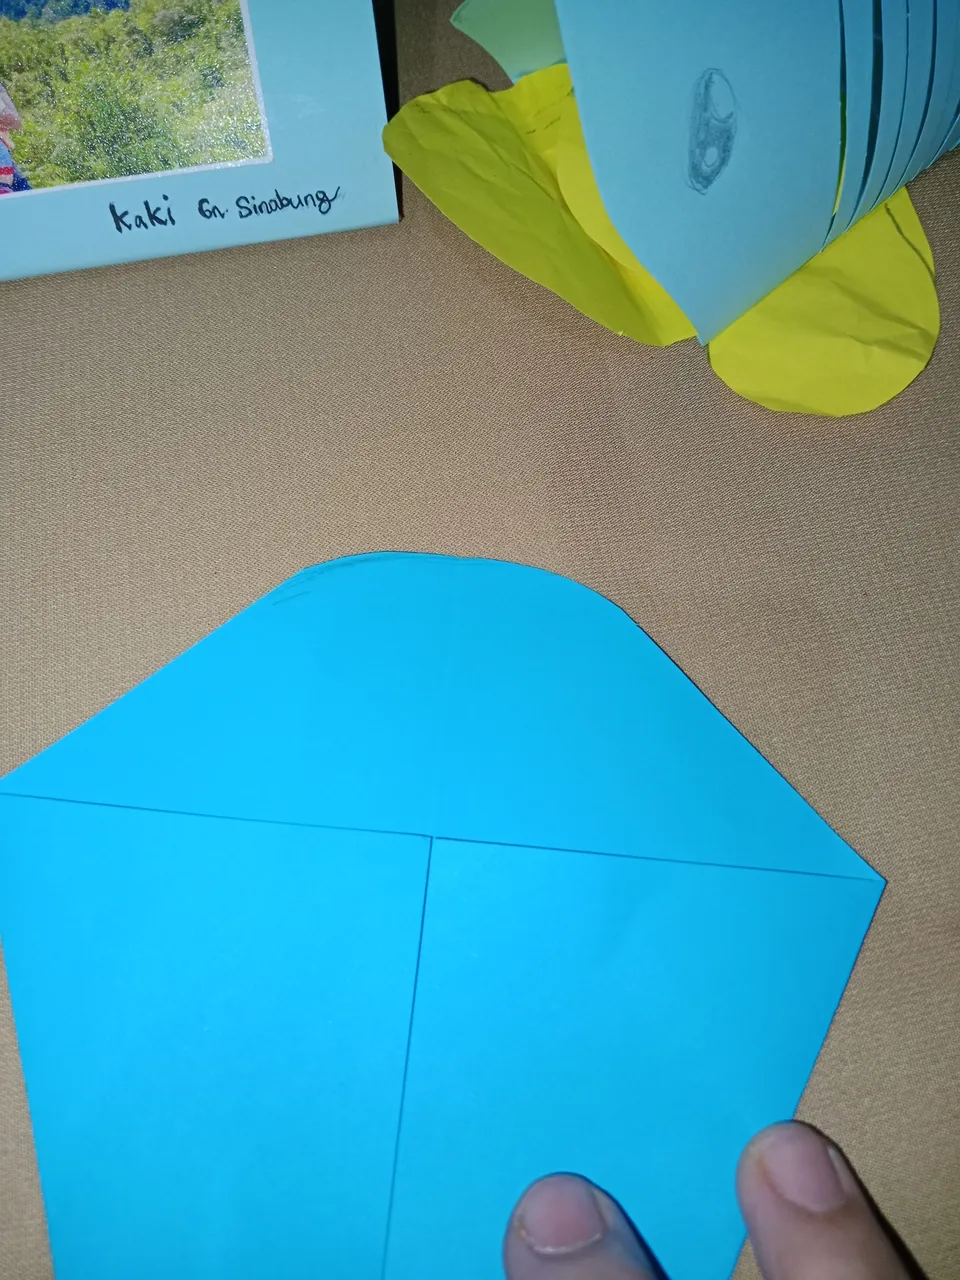
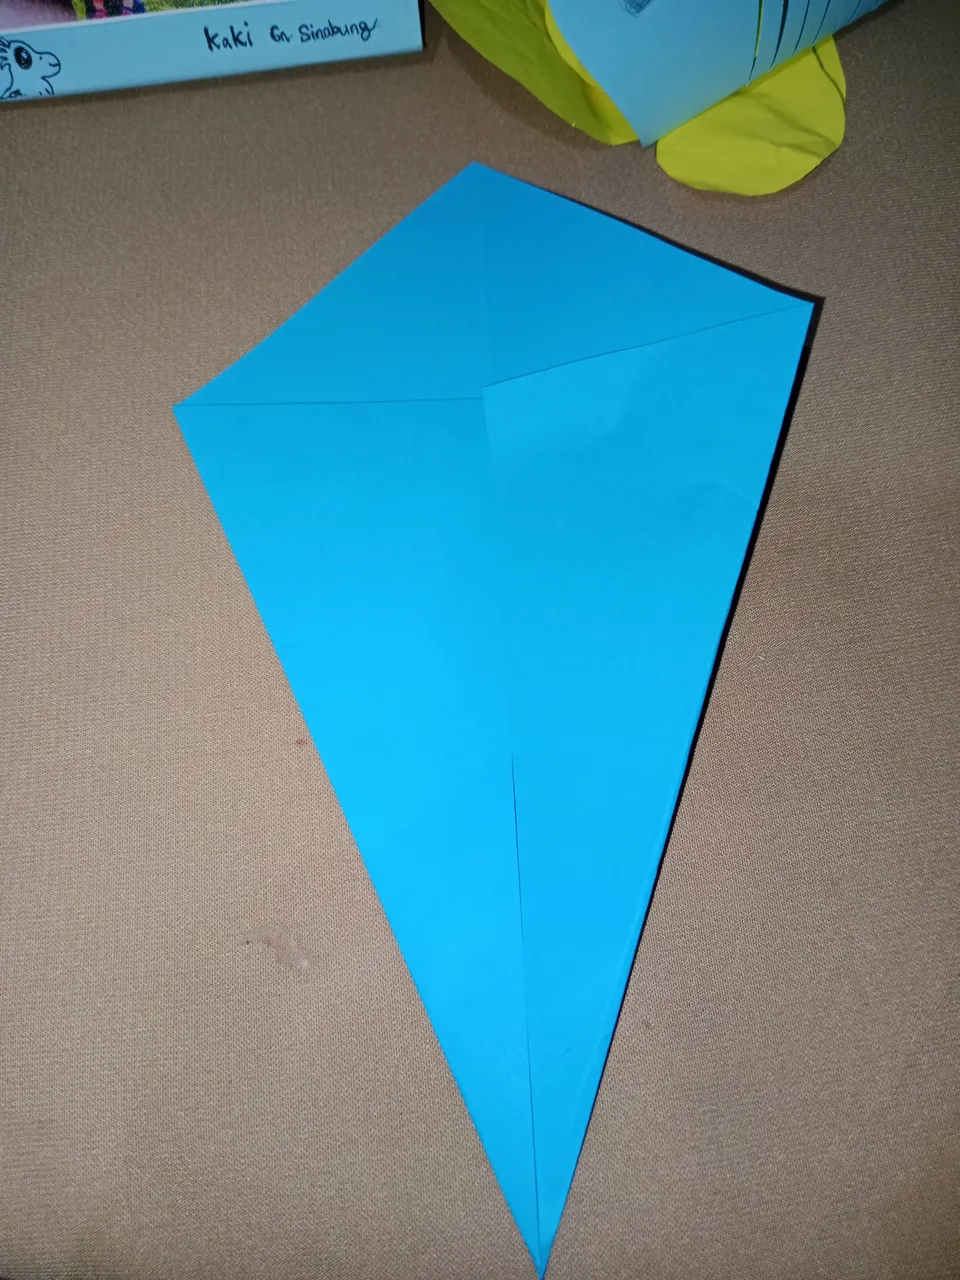
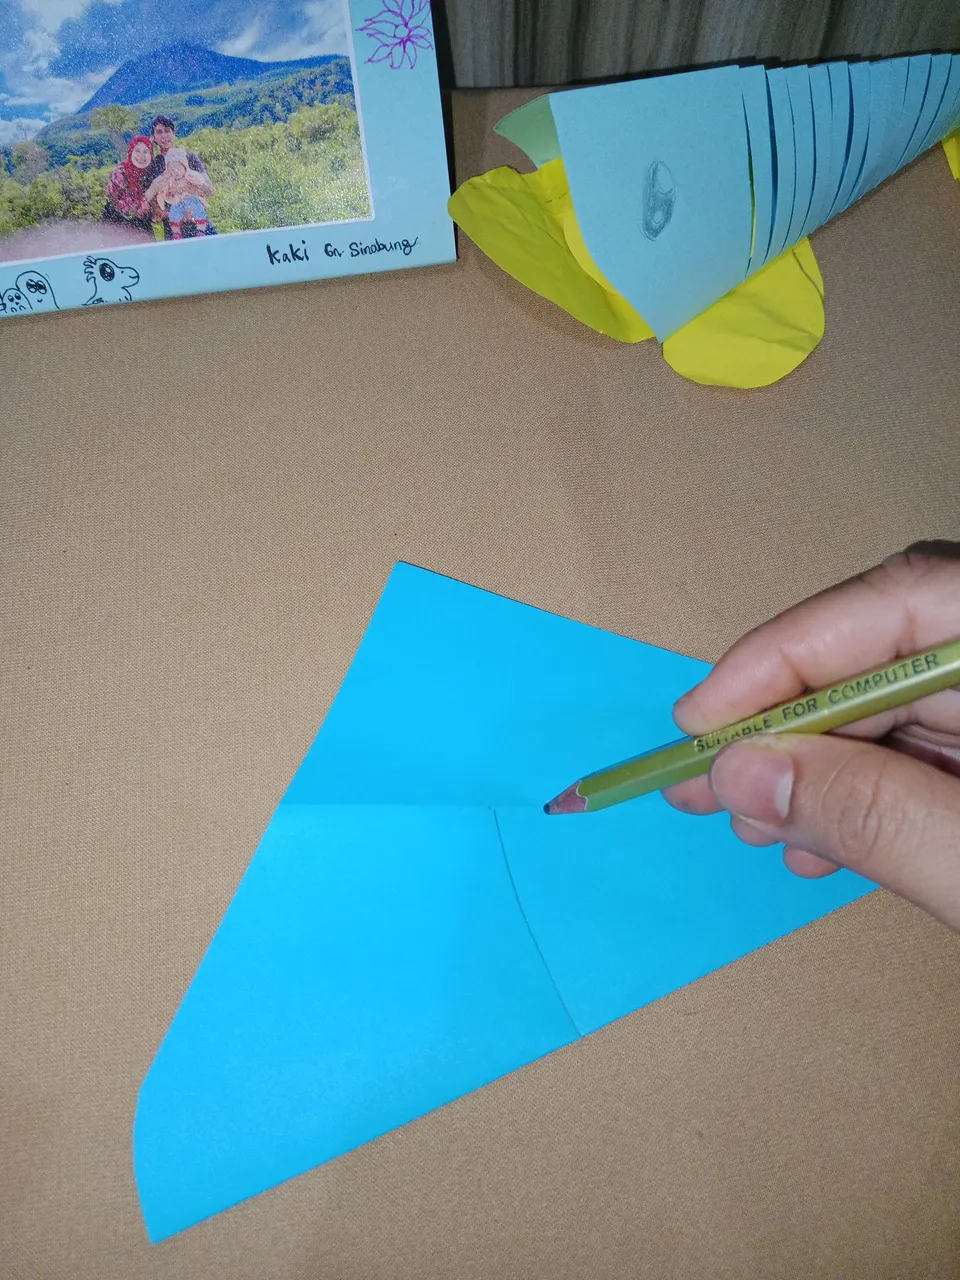
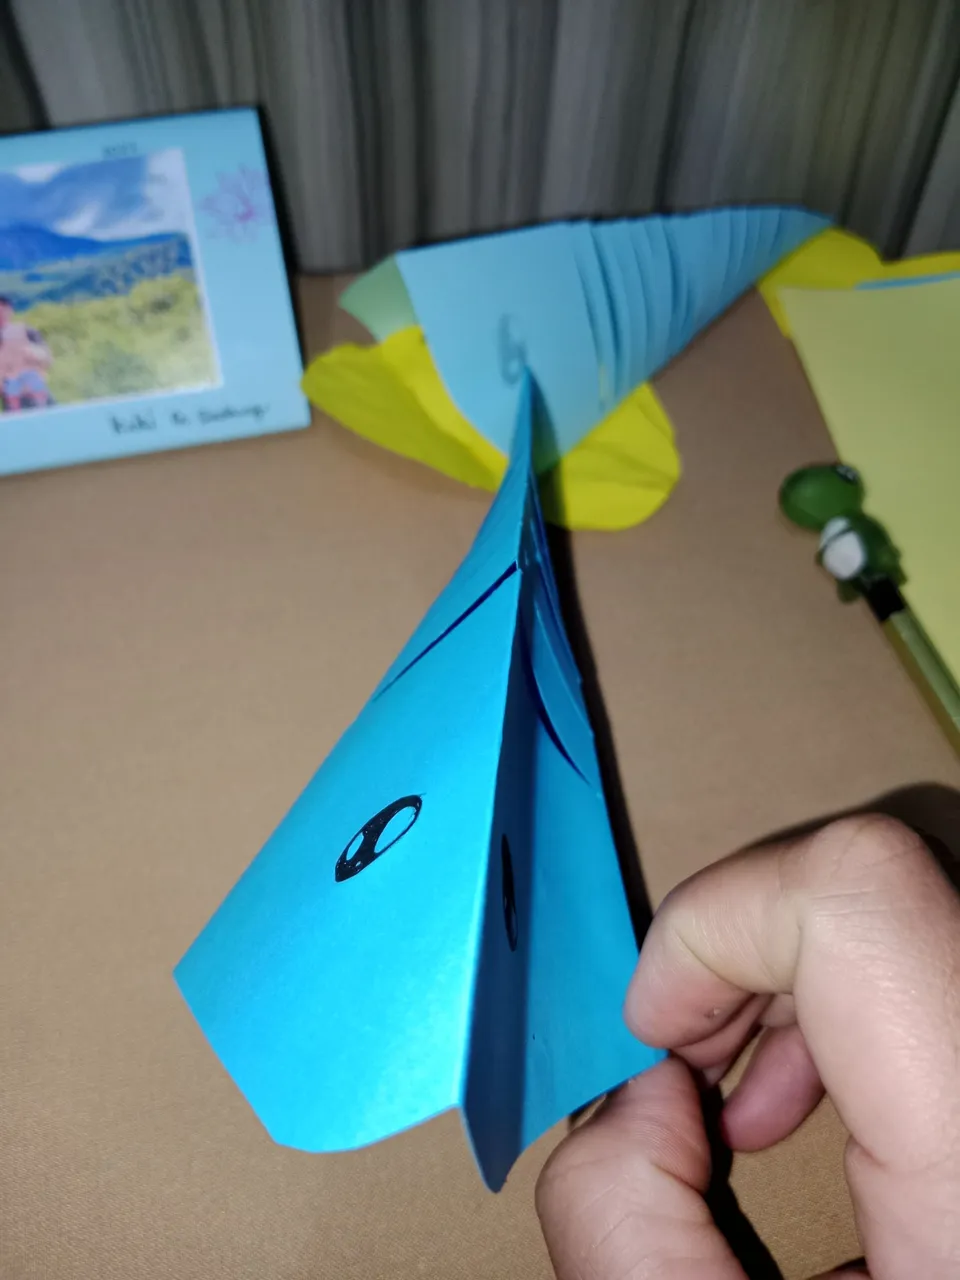
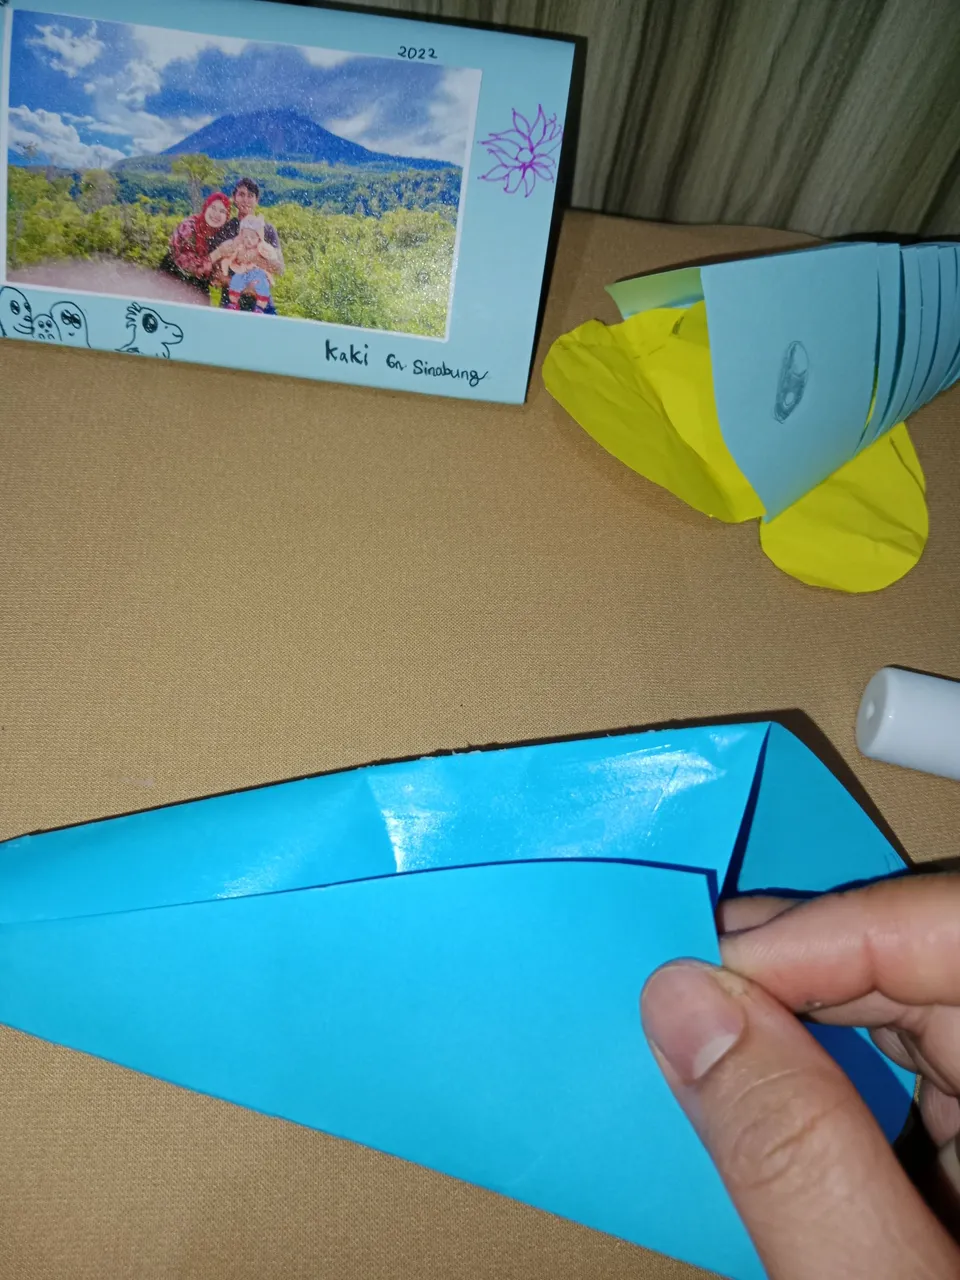
- Then, Fold it back like the beginning, forming a triangle.
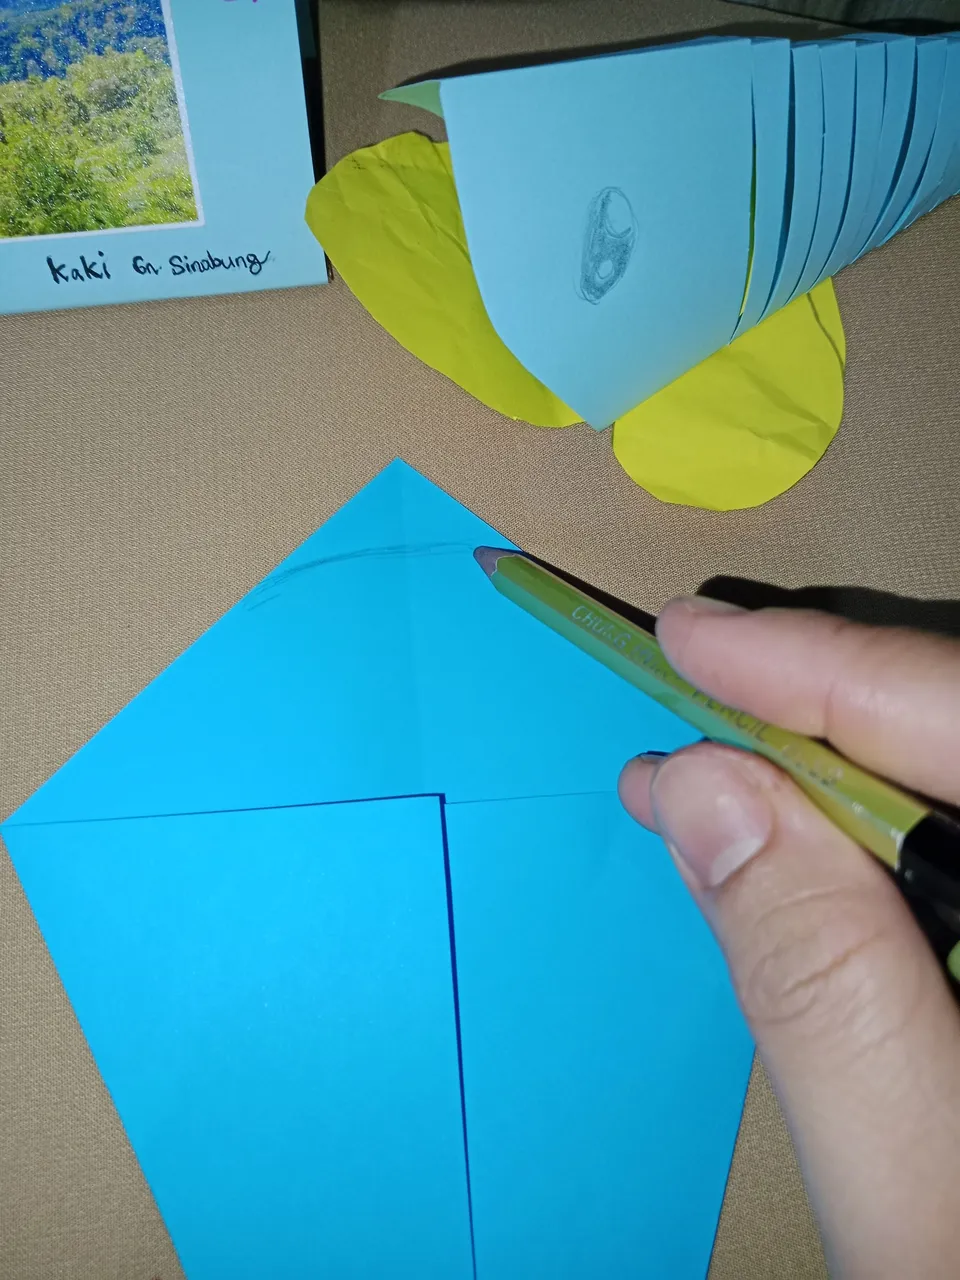
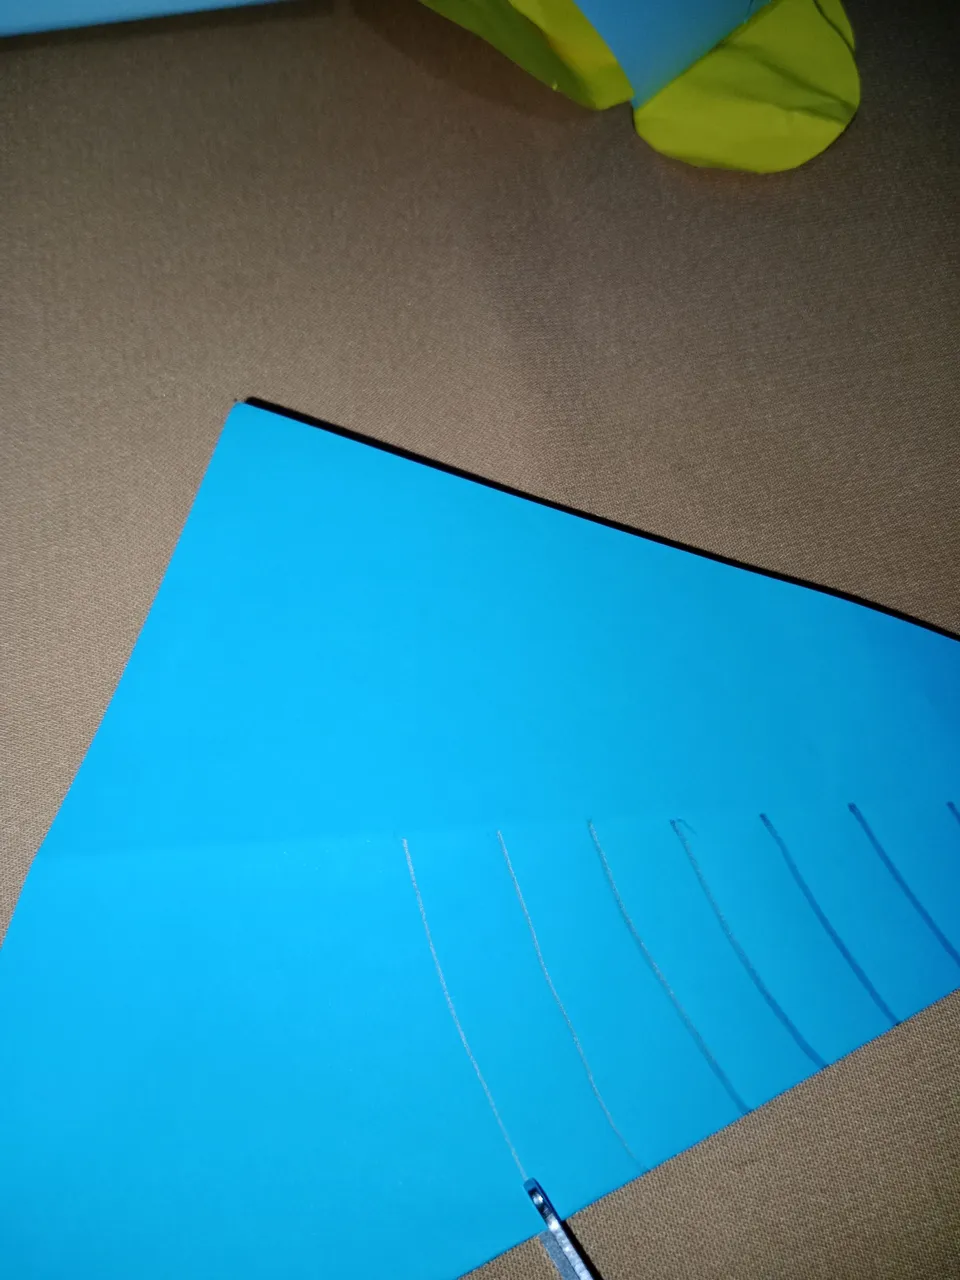
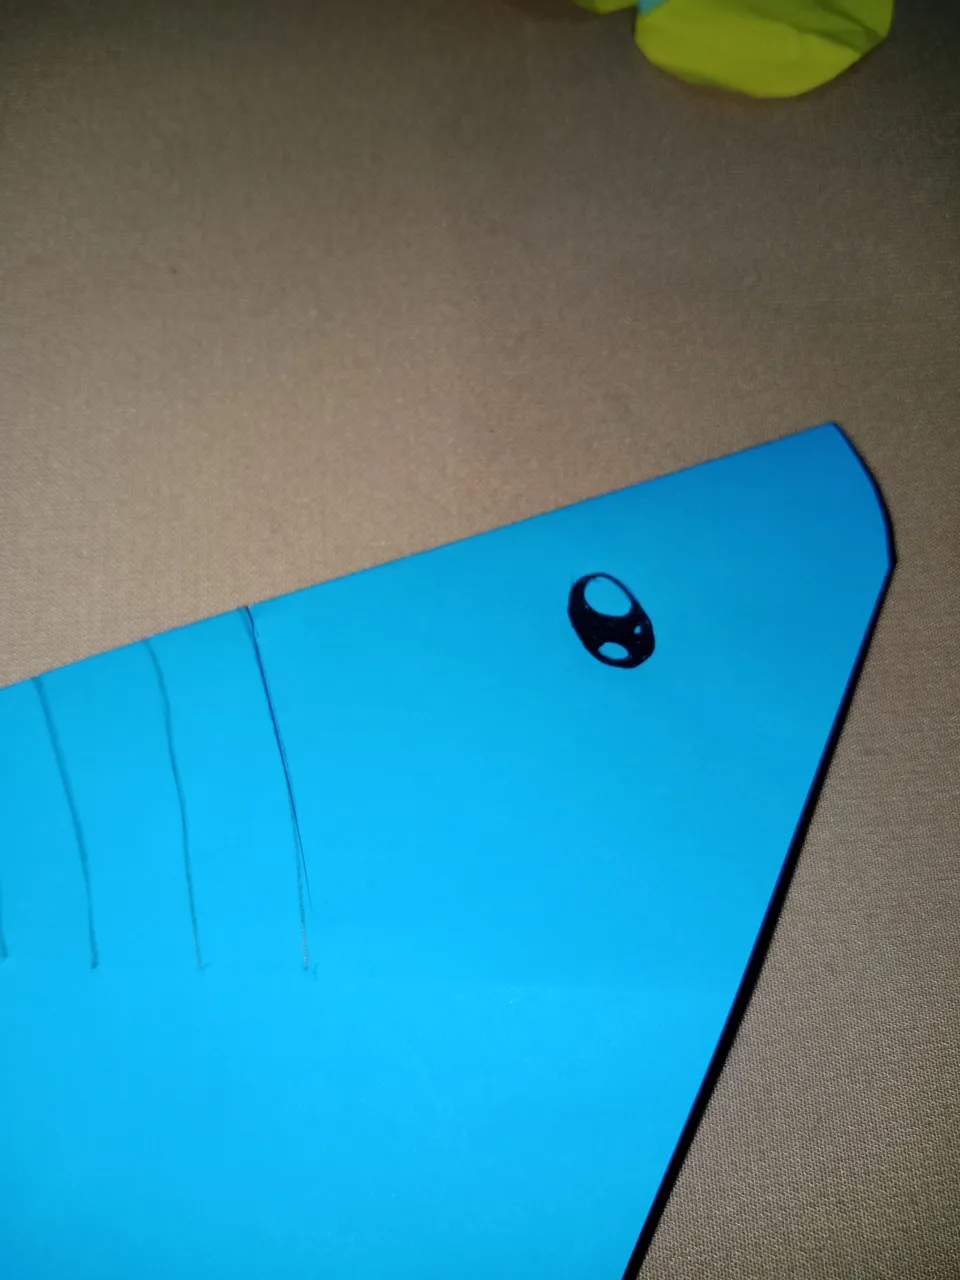
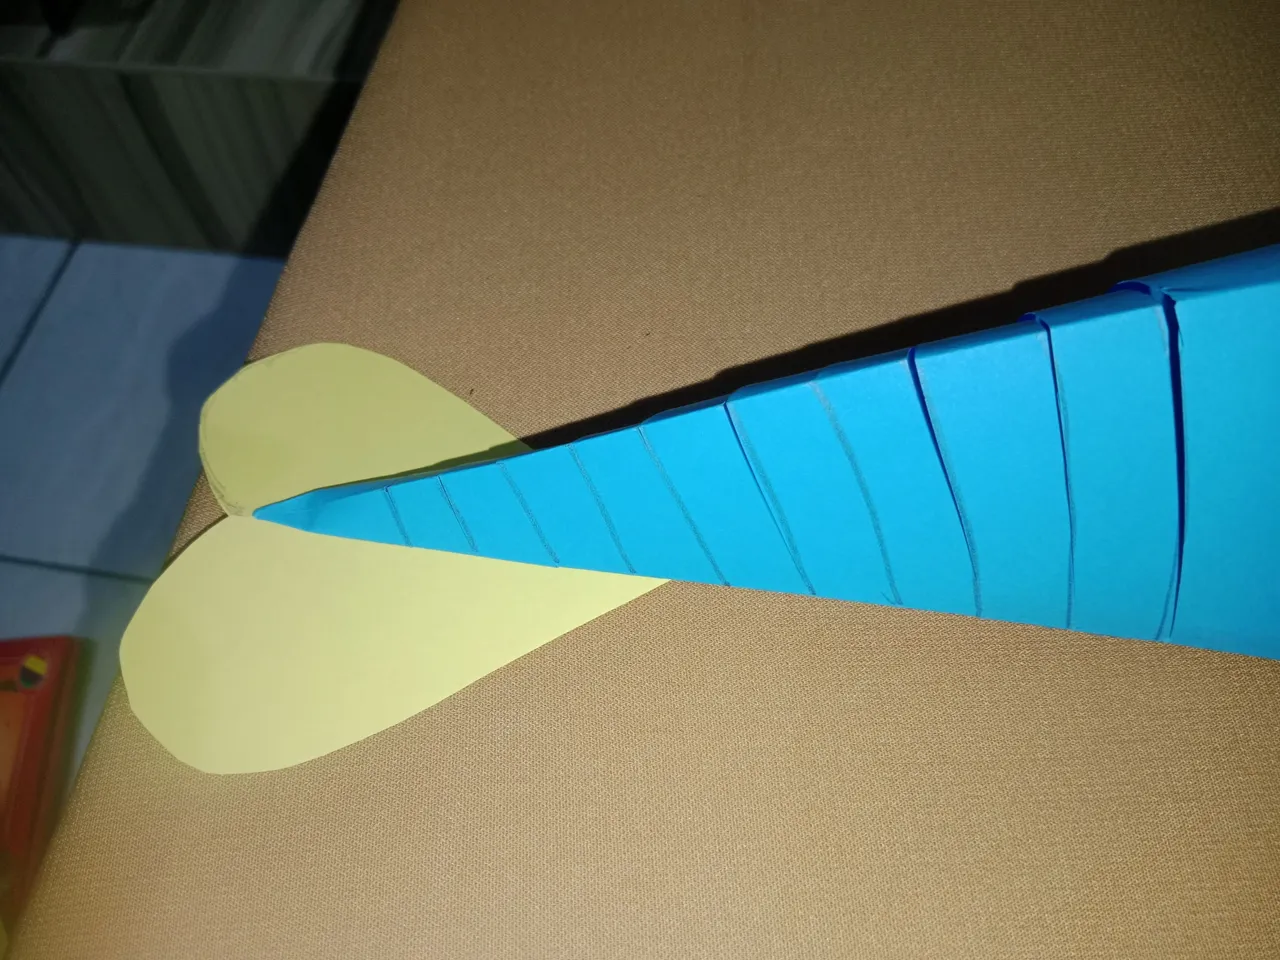
. Then make lines like the picture

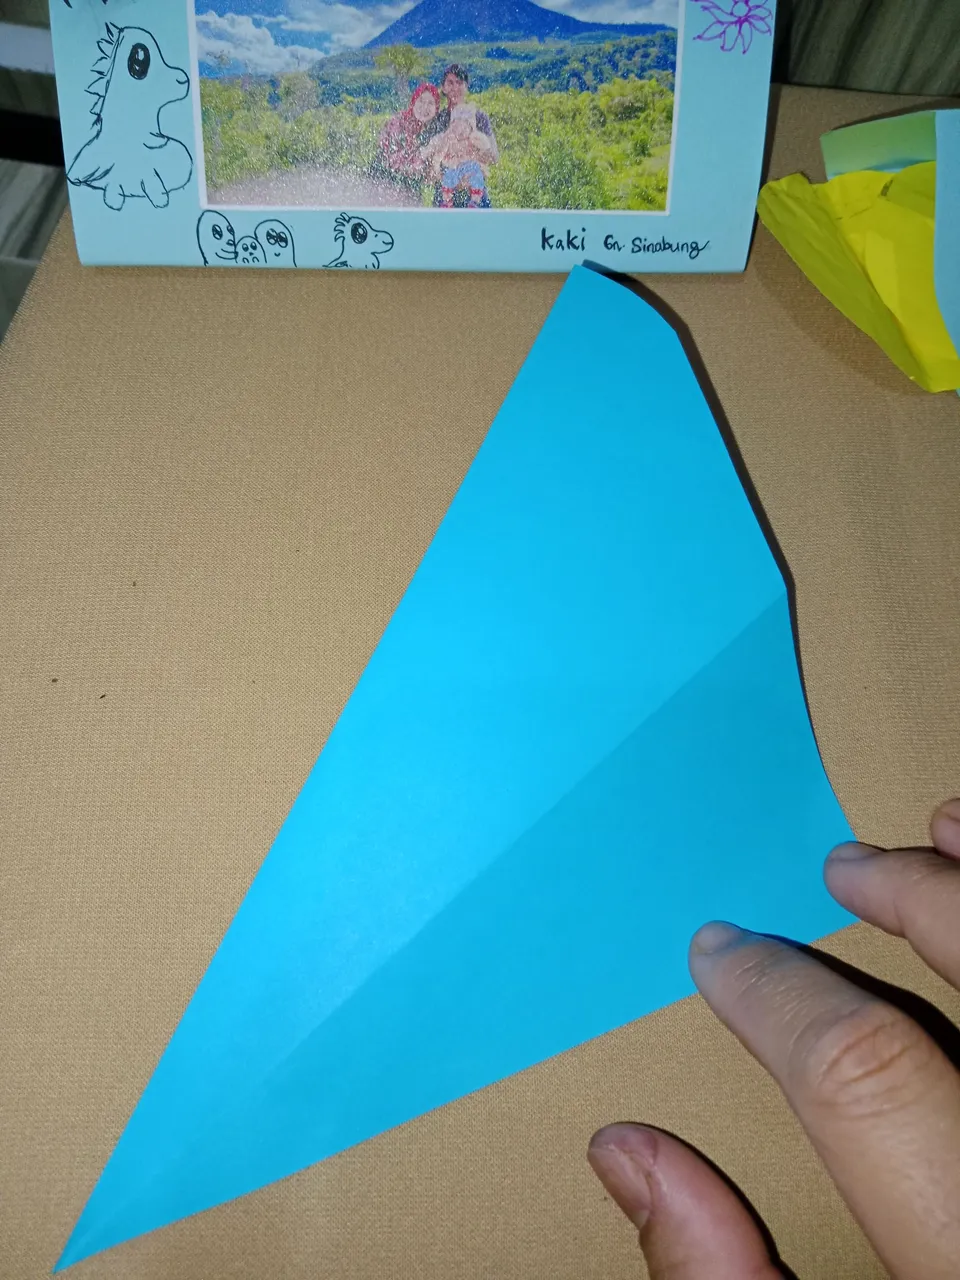
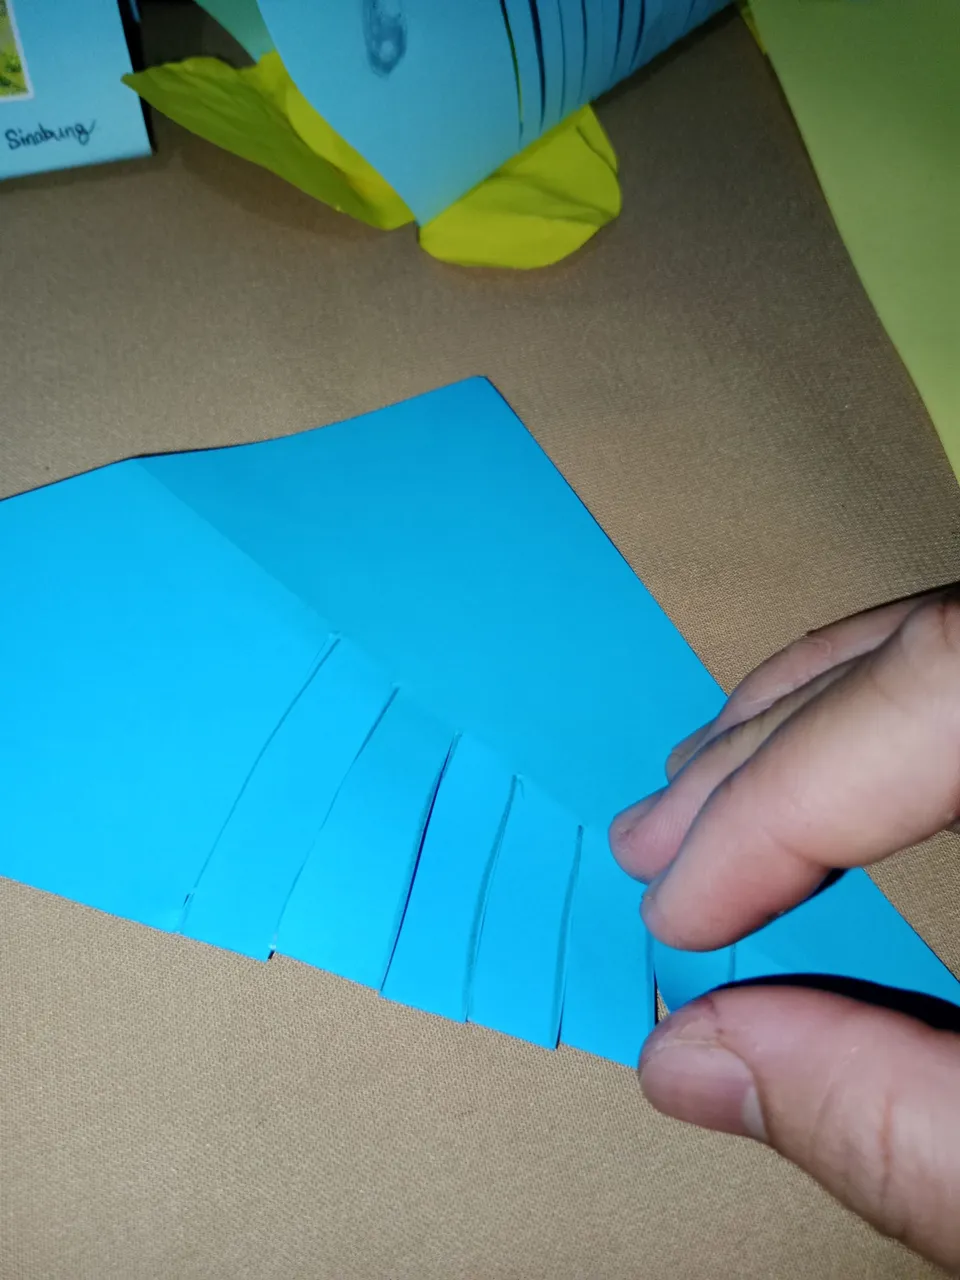
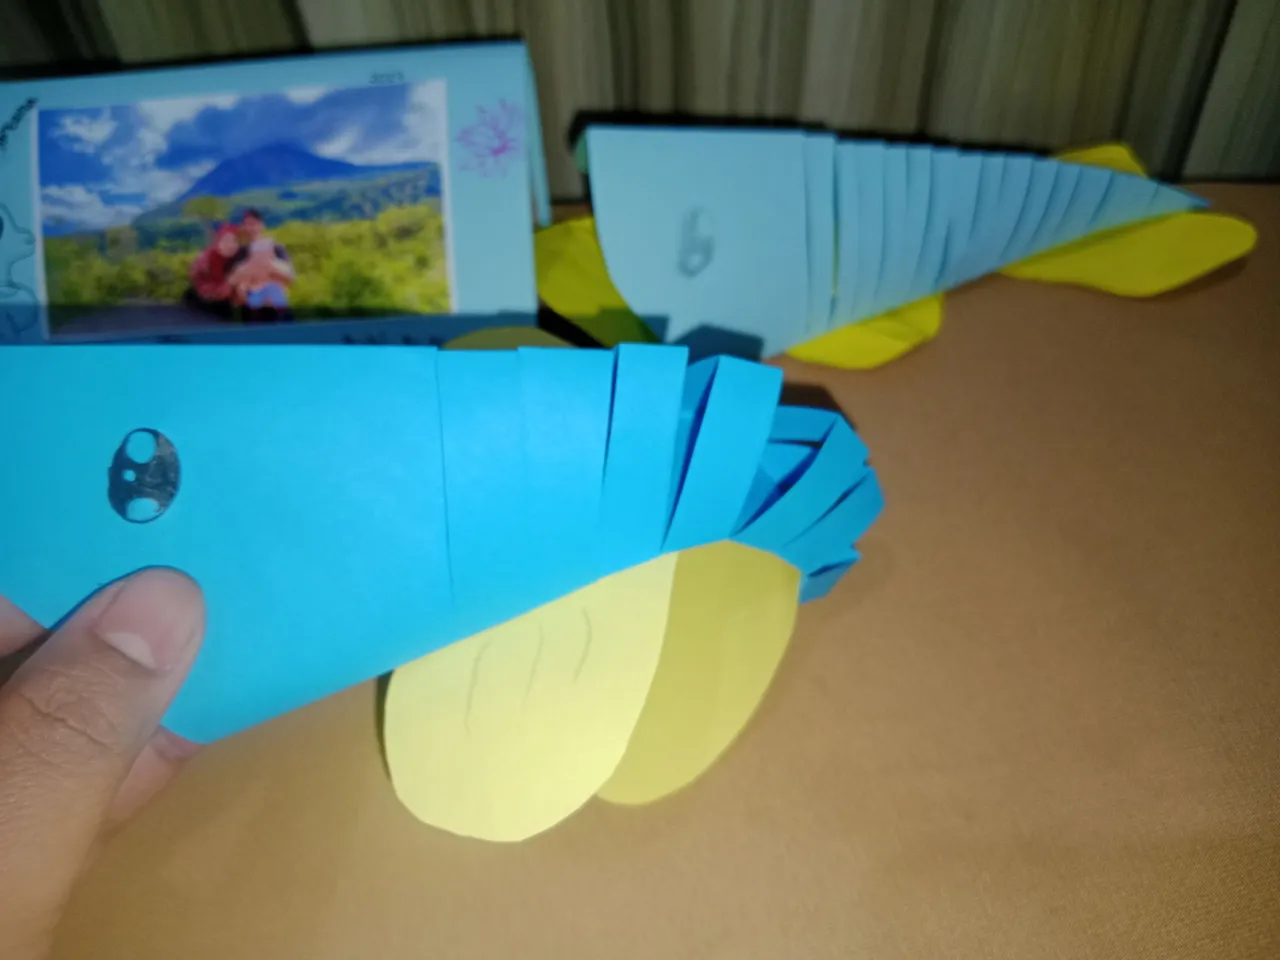
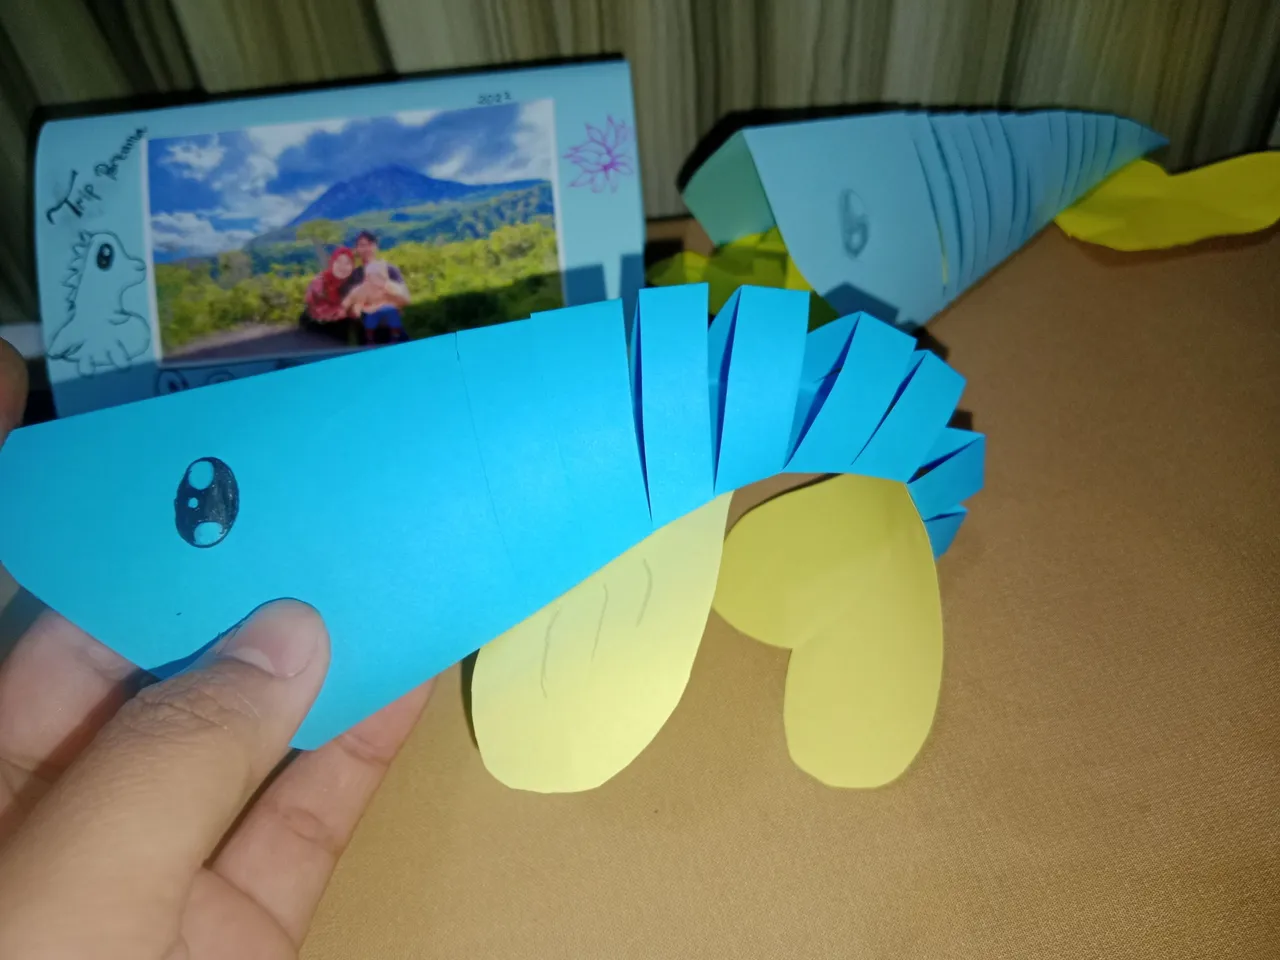
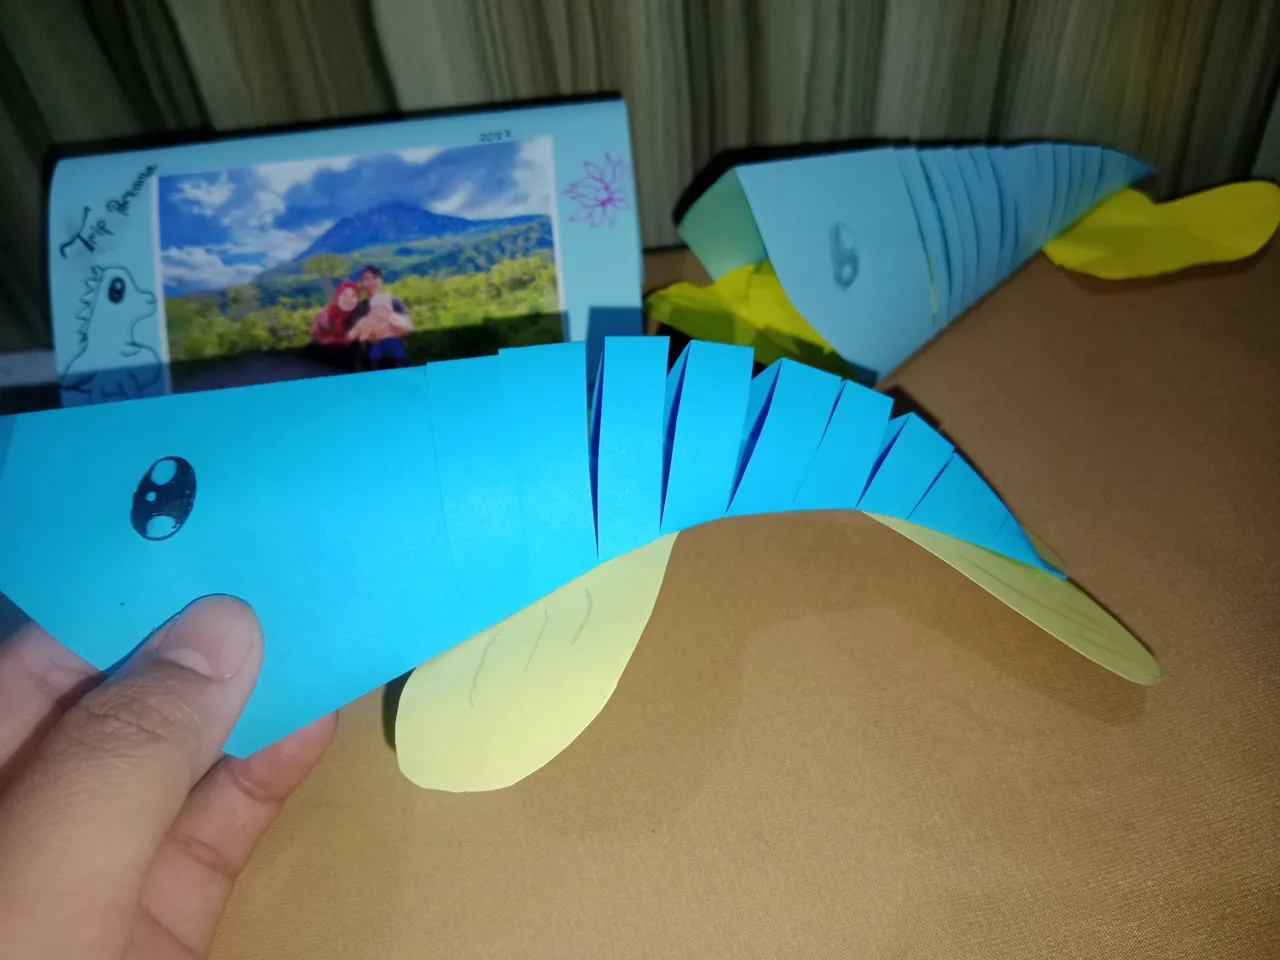
Cut along the lines on the origami.
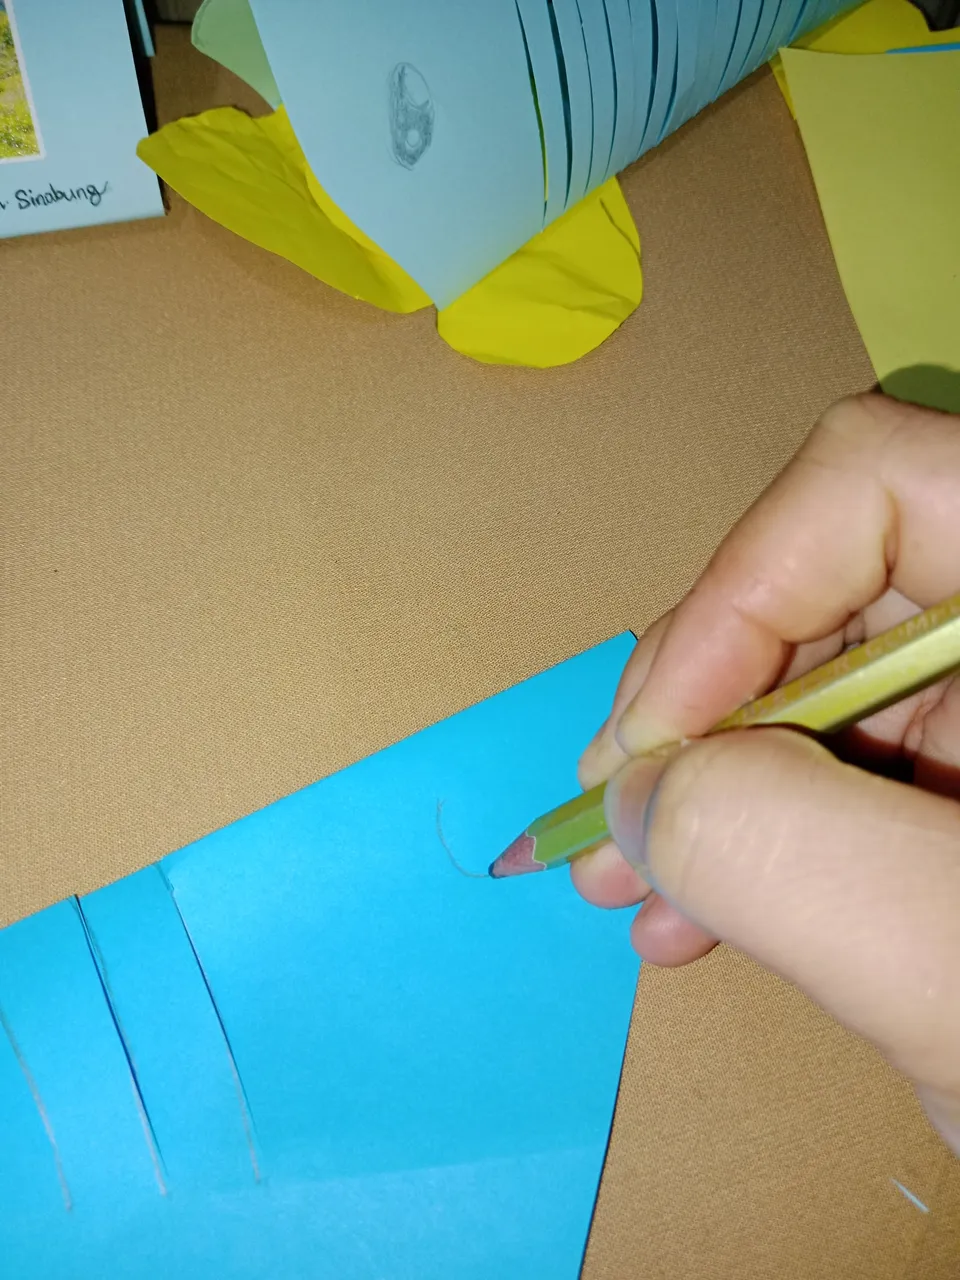
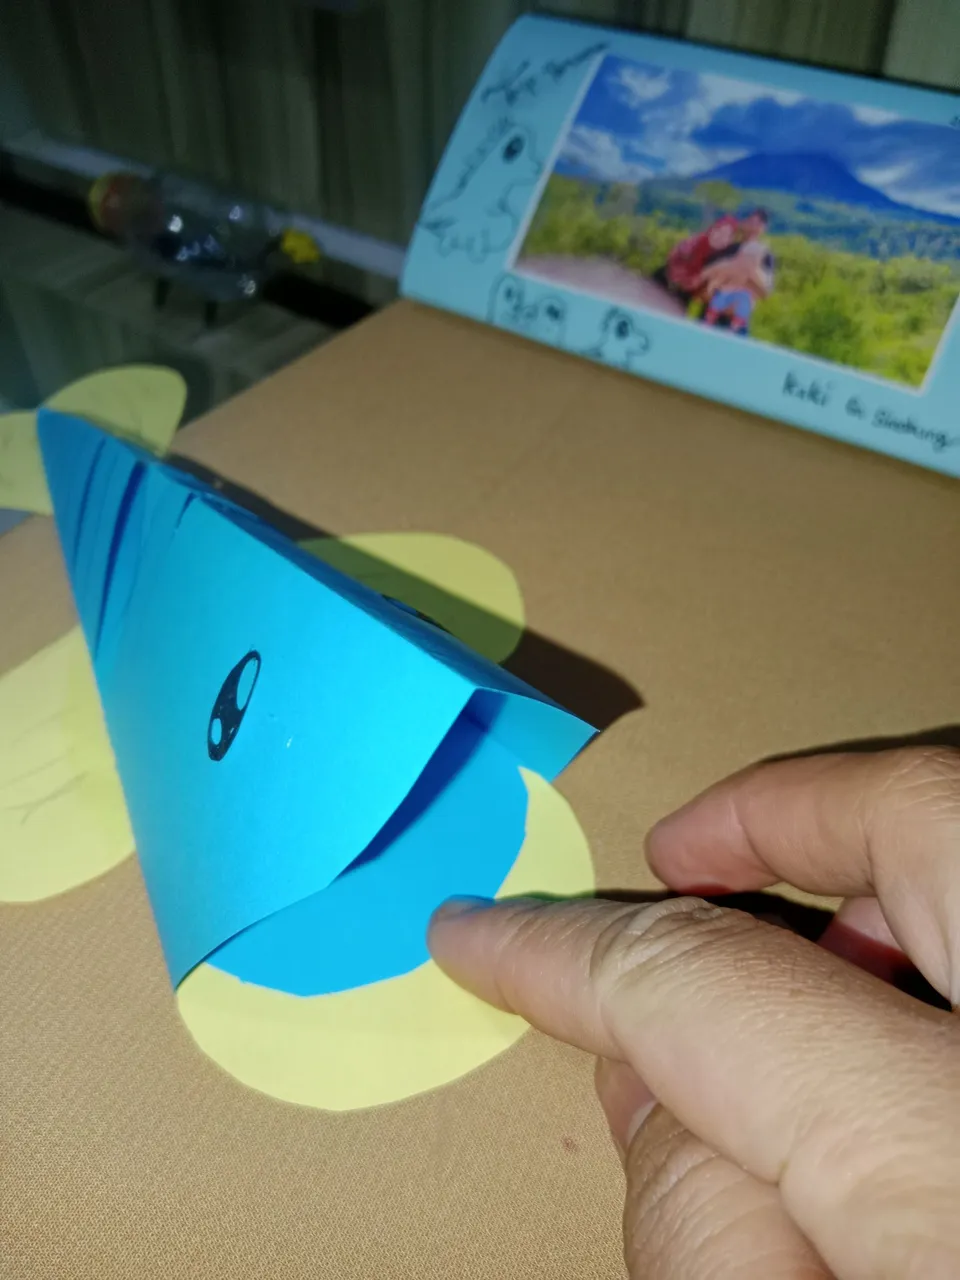
- After that draw eyes on the right and left sides.
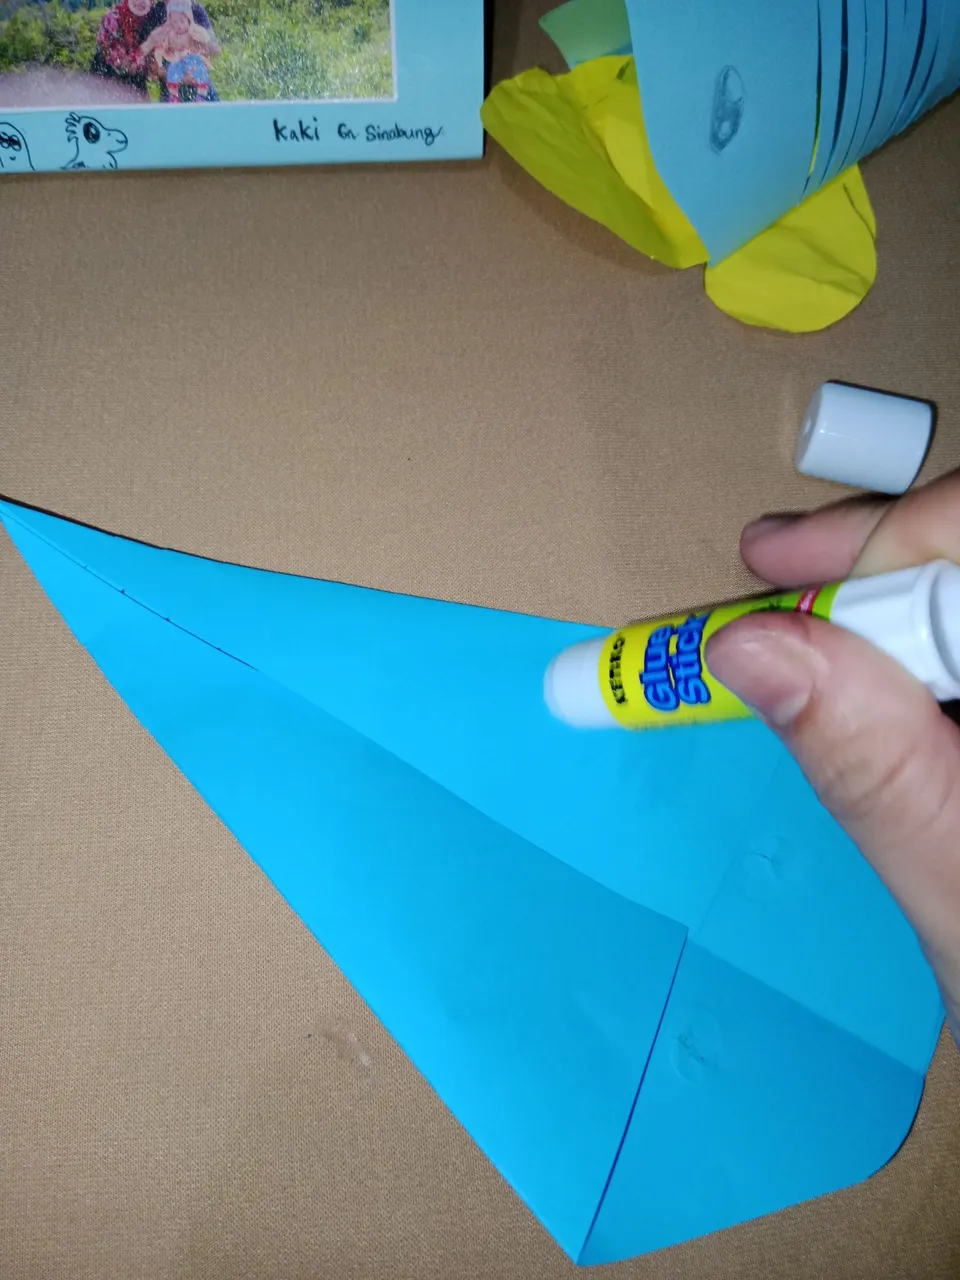
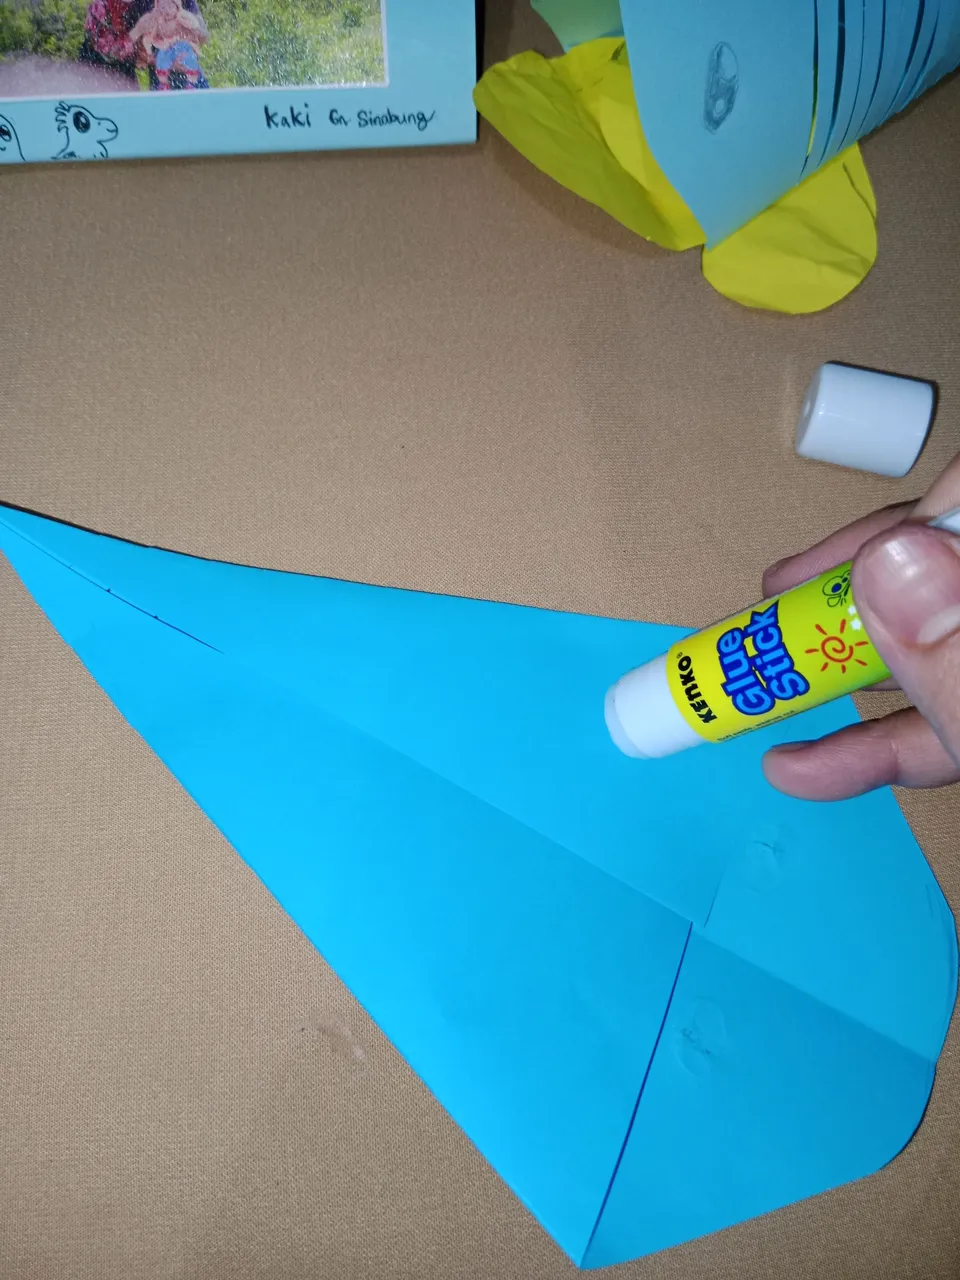
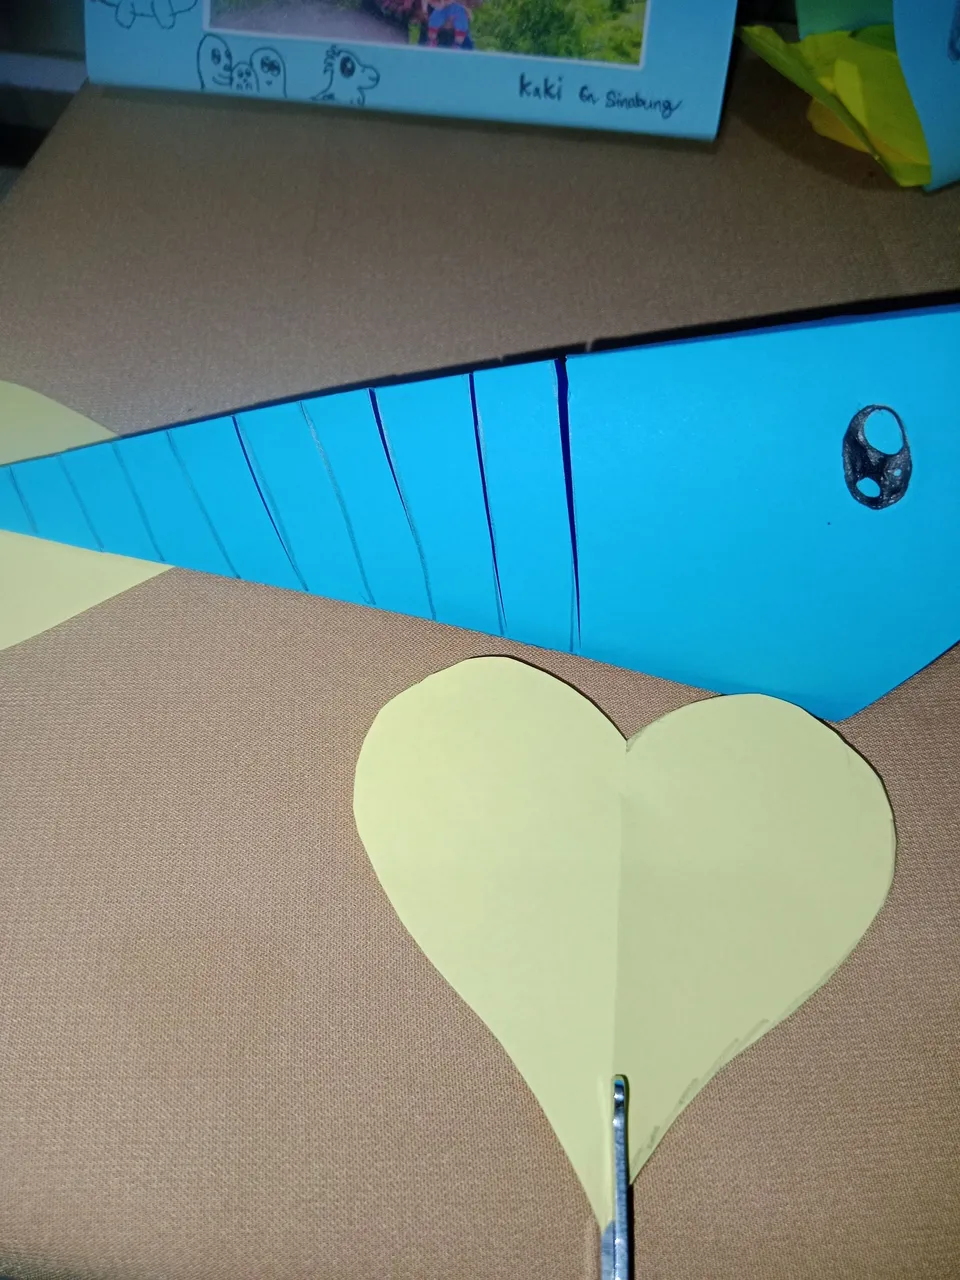
- Then apply glue to the paper, to join the separated sides.
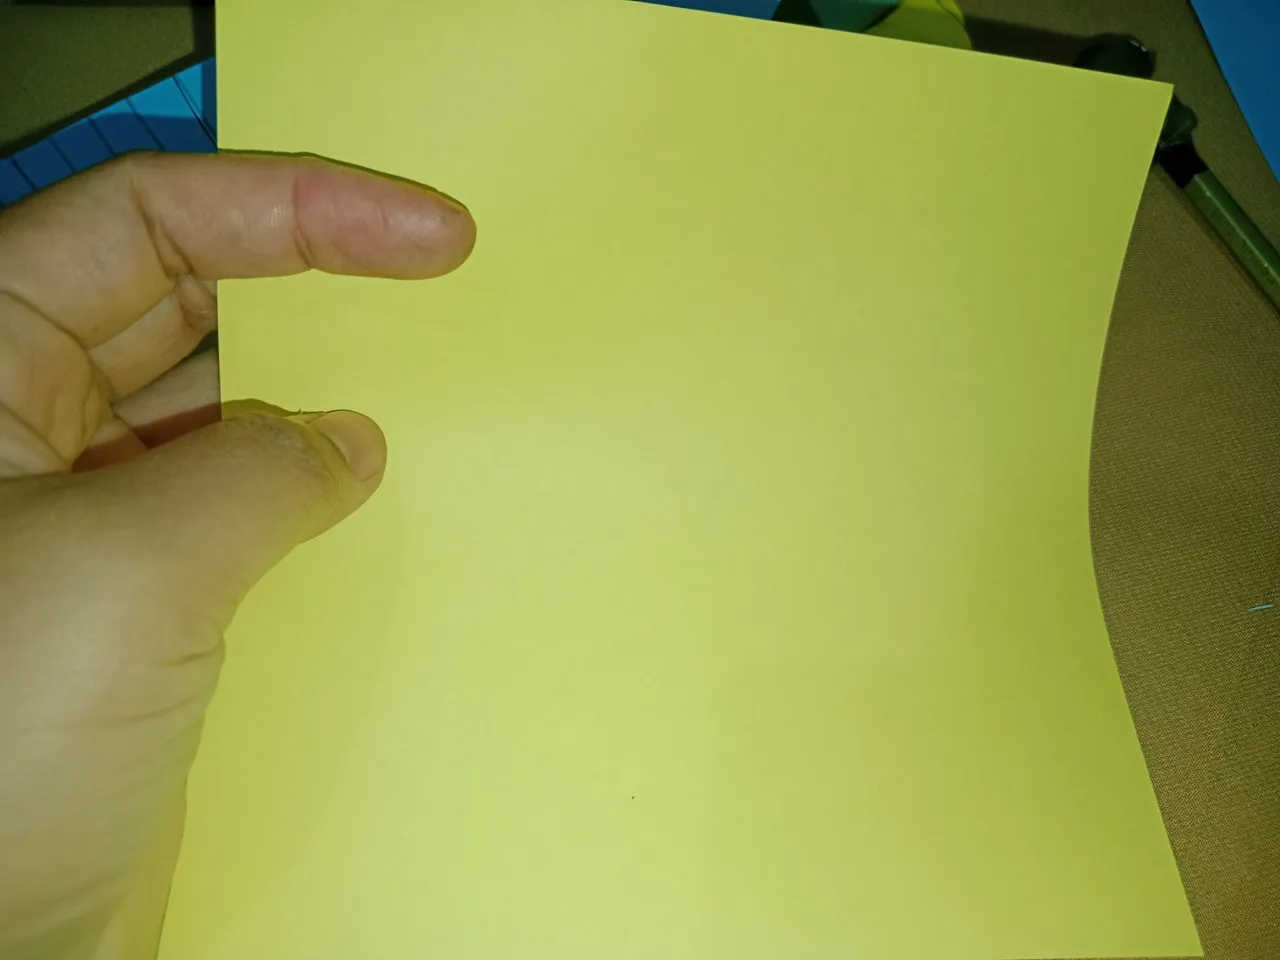
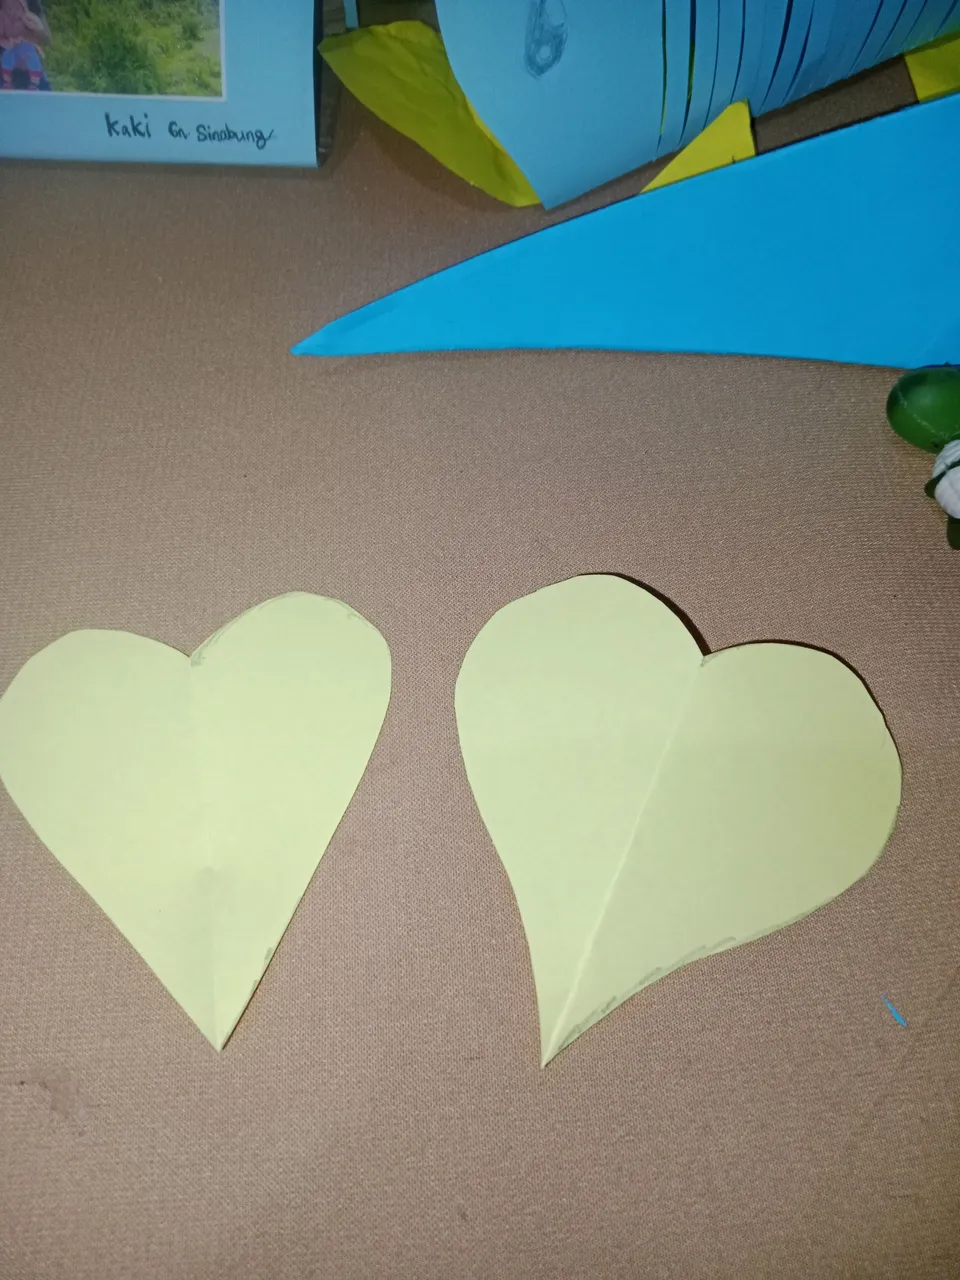
- Then, take 1 origami paper with a different color. Here I use yellow origami paper.
Then draw a love shape and cut it out.

- After the paper is formed into a love, take 1 and put glue on it. Then stick it to the end of the part that will later become the tail.
- Cut the love paper part 1 again into 2 and stick it to the right and left sides which will later become the fins.

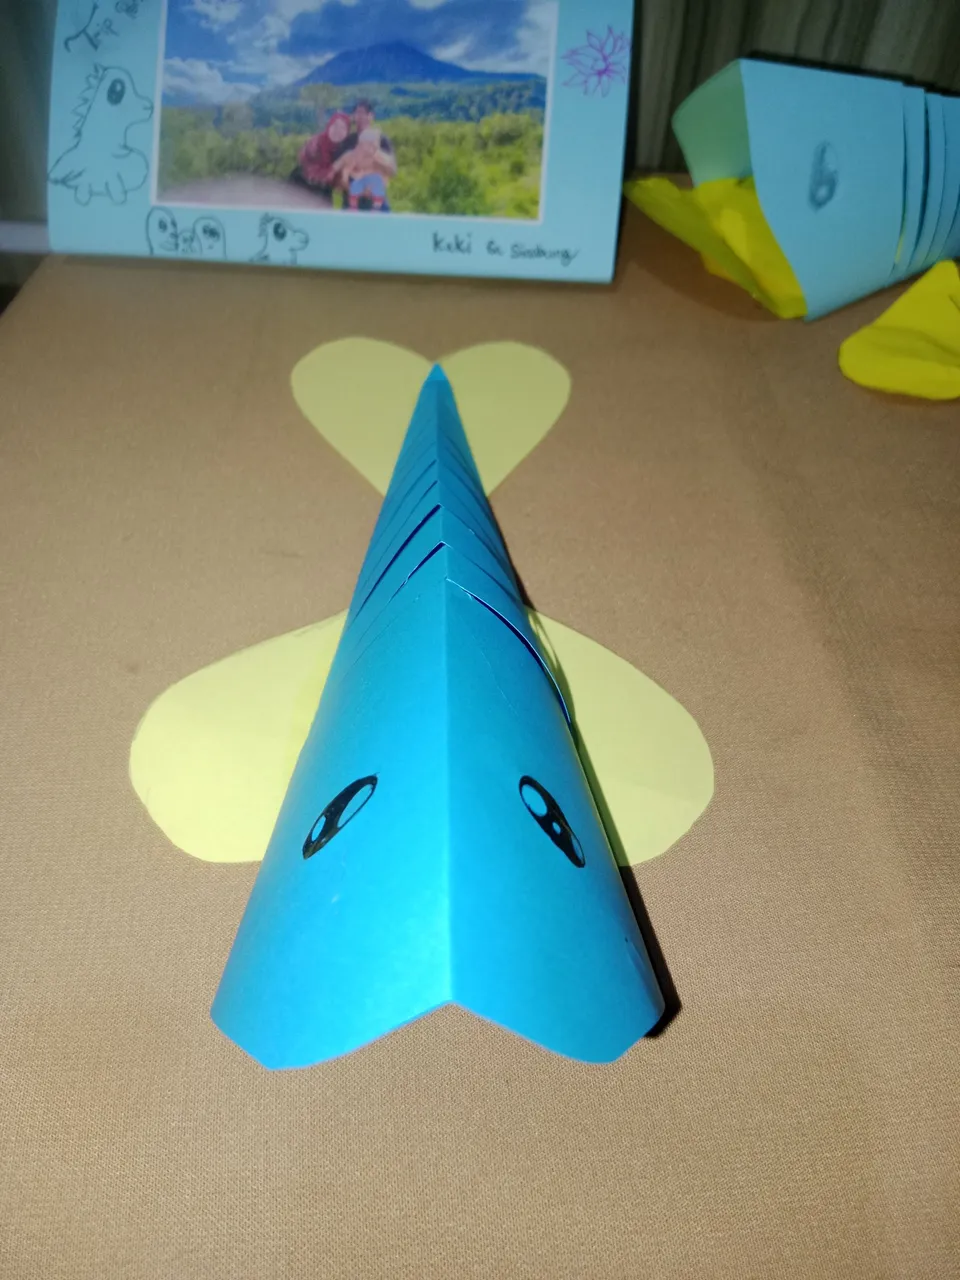
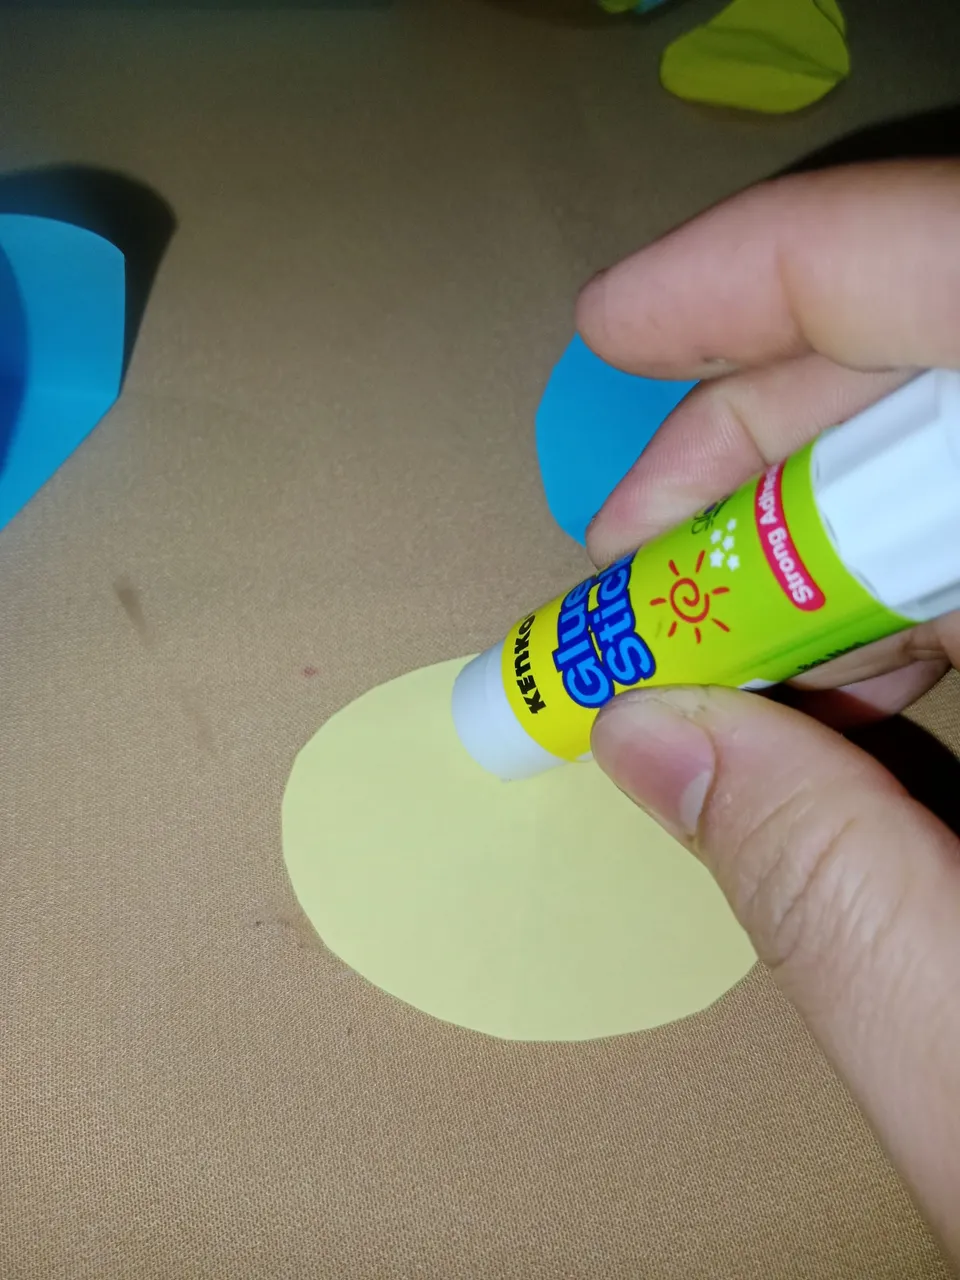
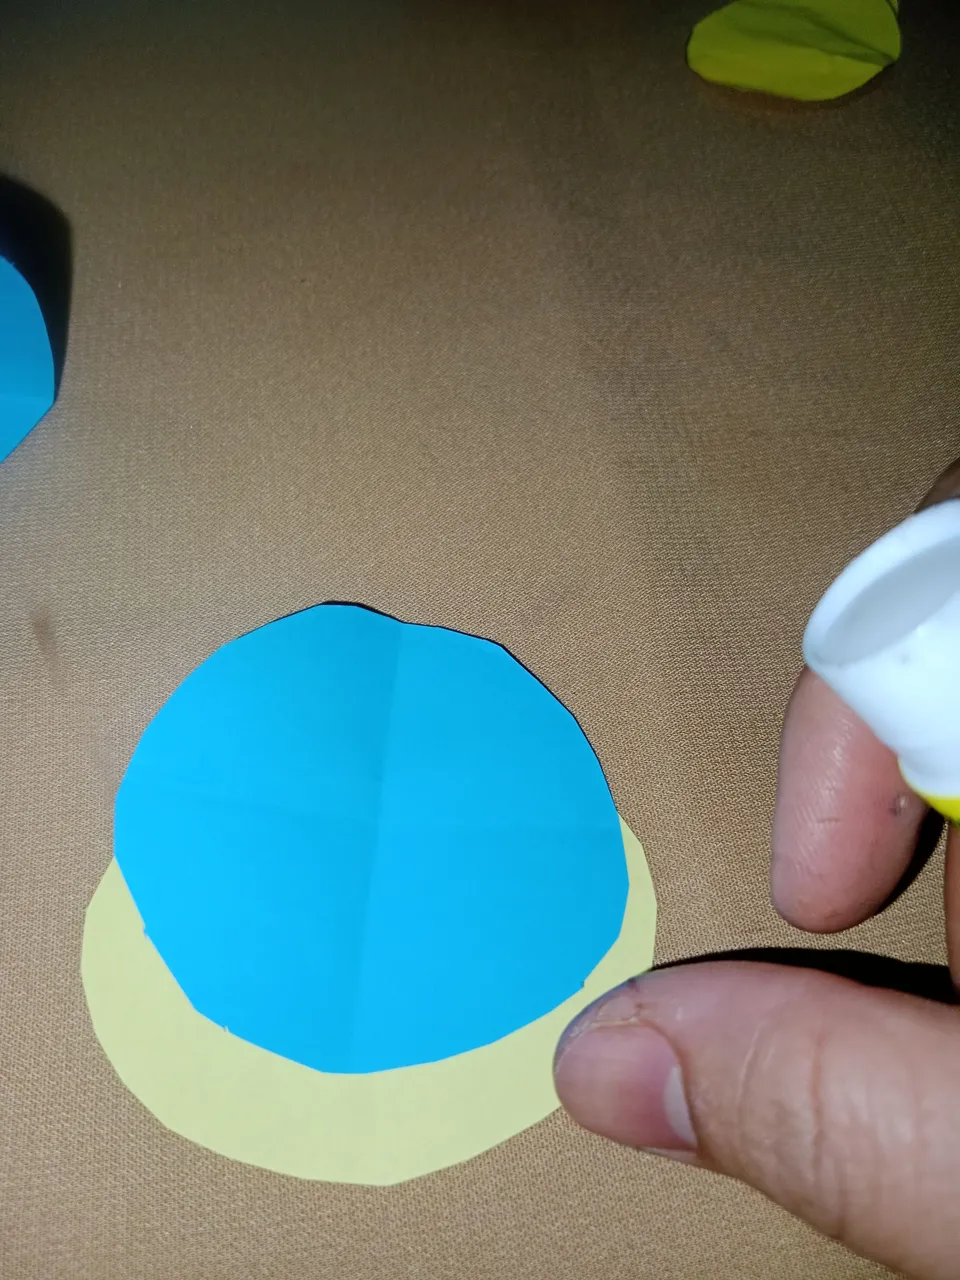
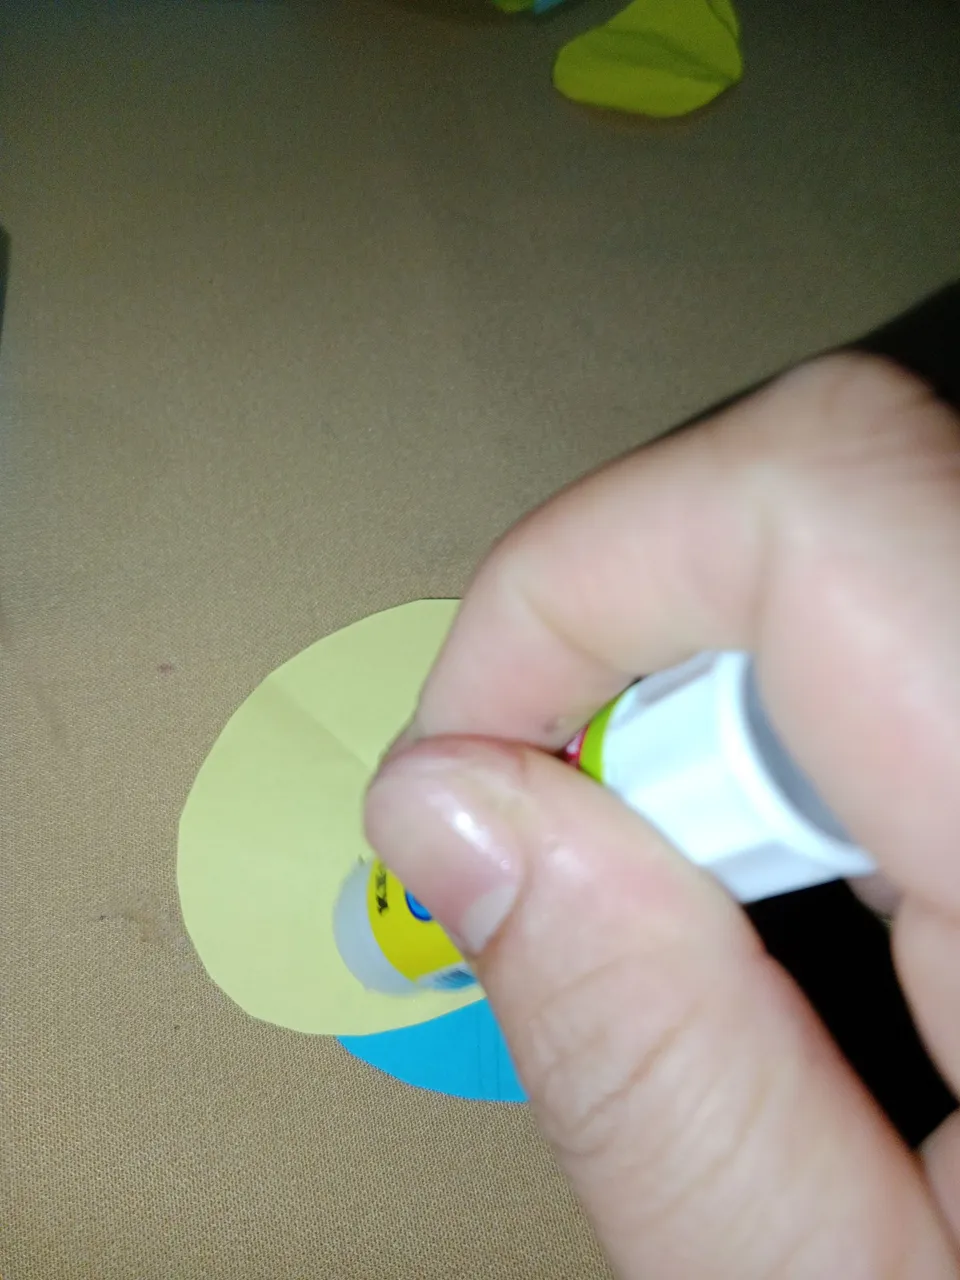
- Now the last part is to make the mouth part. Here I made a circle on each paper. And I made them one but gave them some space.

And the final result is like this.. Hopefully my DIY friends like my work.. and see you in my other crafts. LOV!
Hello this is Nisa, an amateur writer