What do you think about origami. and seeing with origami we can make anything. we can make flowers, make toys or other creations.
Honestly I'm not a creative person with a million ideas. many DIYs that I copy on social media. Even though I copy, it's still difficult. because of course it's not a field that I can pursue. But, the more I can't. the greater my curiosity and enthusiasm to be able to copy what I see on social media.
For example, I saw on the P*****s media. Of course when I first saw the post, what crossed my mind was "Wow, it looks very easy to recreate". Then the process of making it began. Yes, I failed 3 times hahahah. But of course I didn't give up. After several failures. and finally I managed to make it. So I will share my creations with my DIY HUb friends.
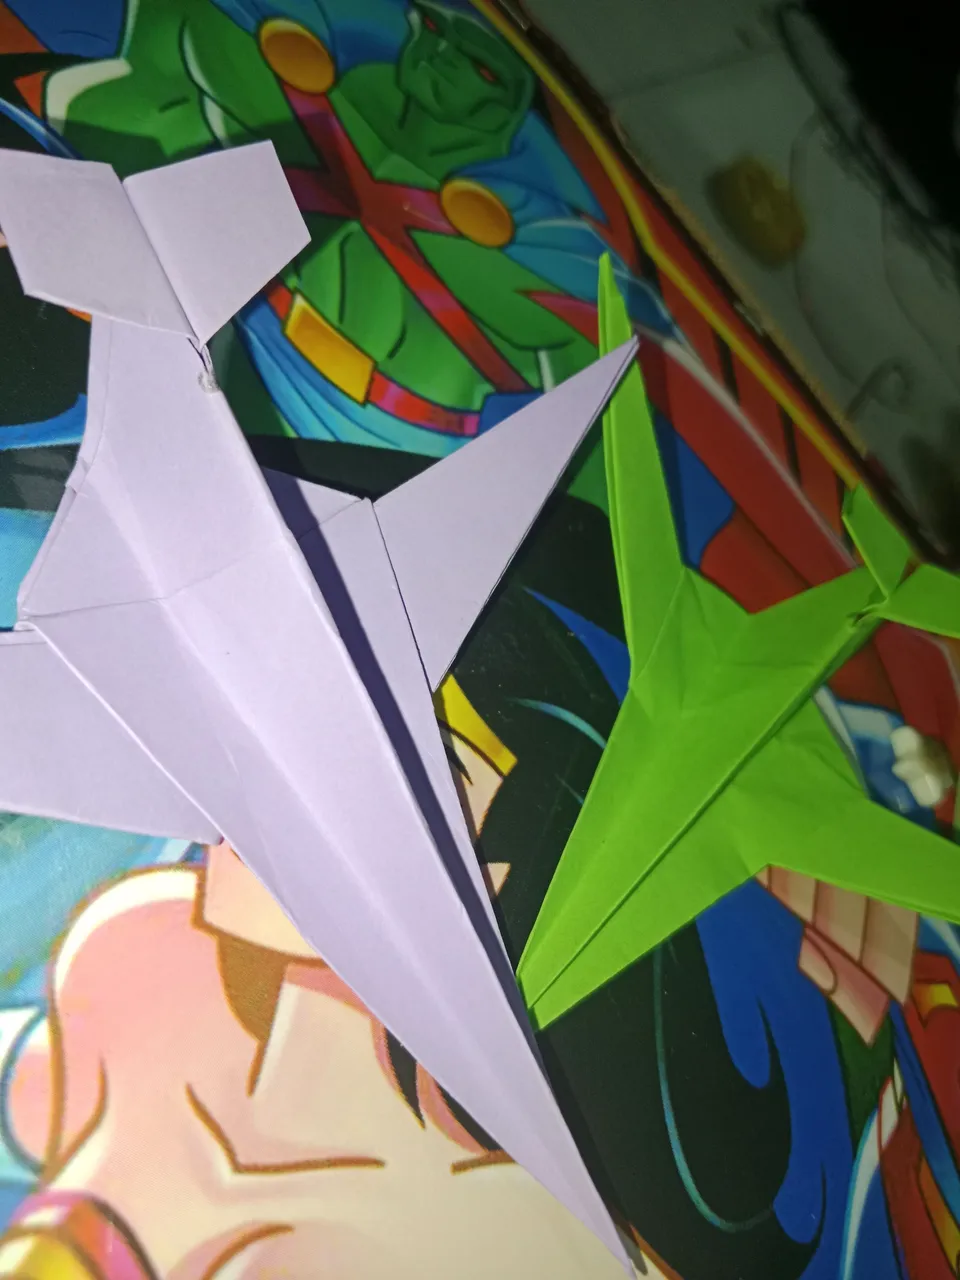
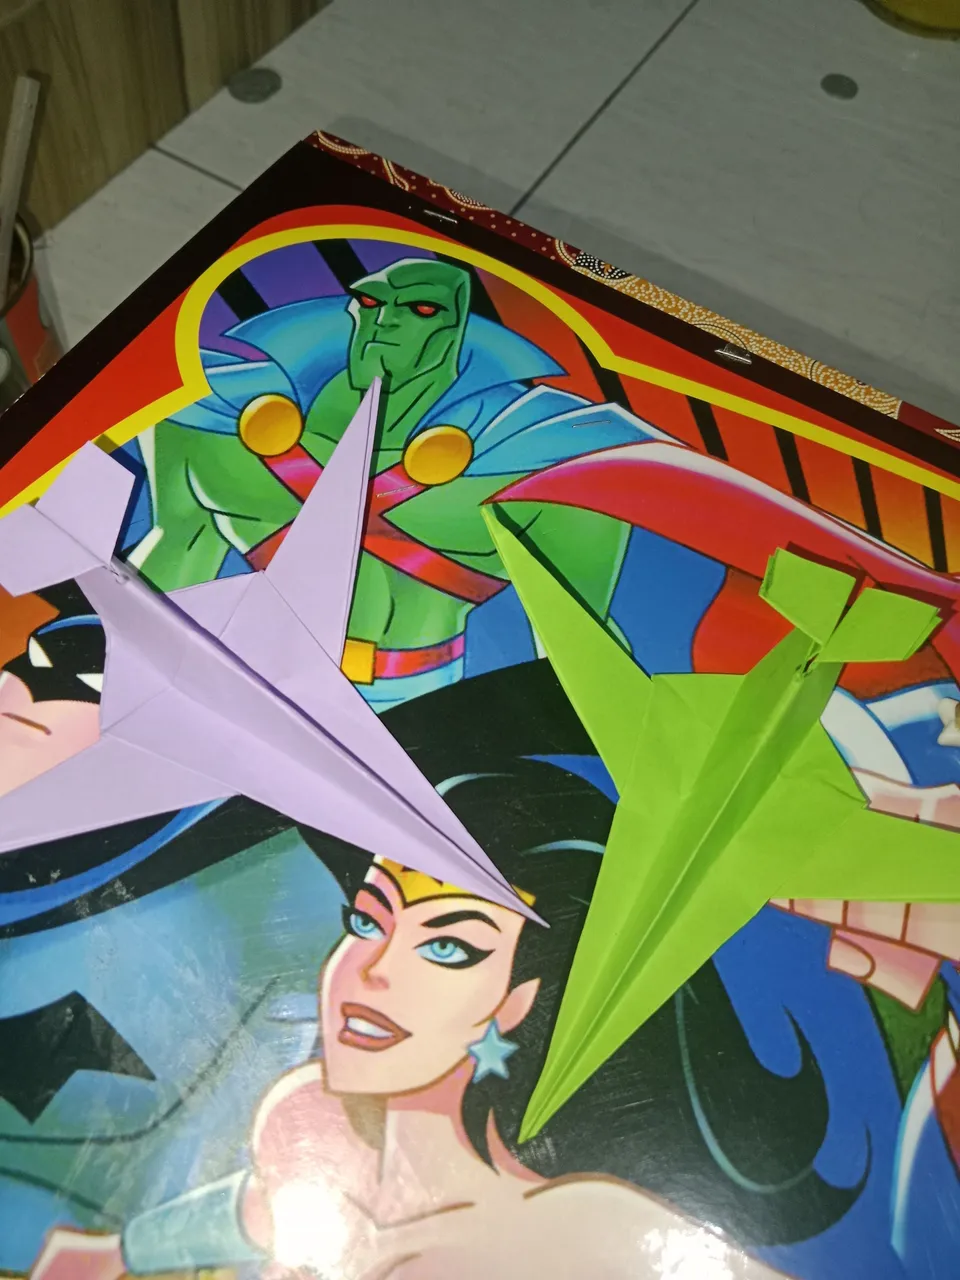
Fighter Jet Plane
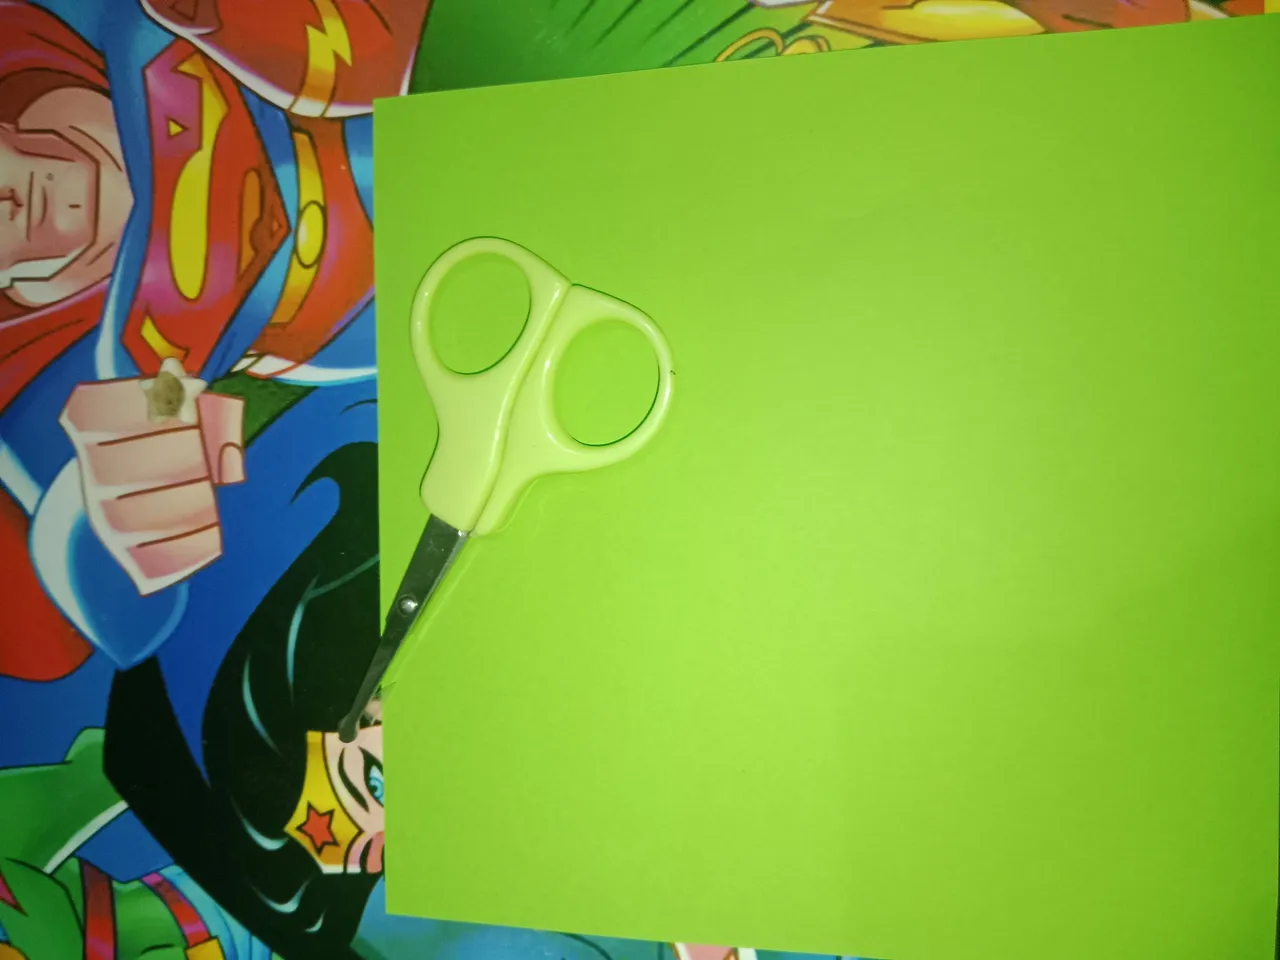
The only material we need is origami paper and scissors
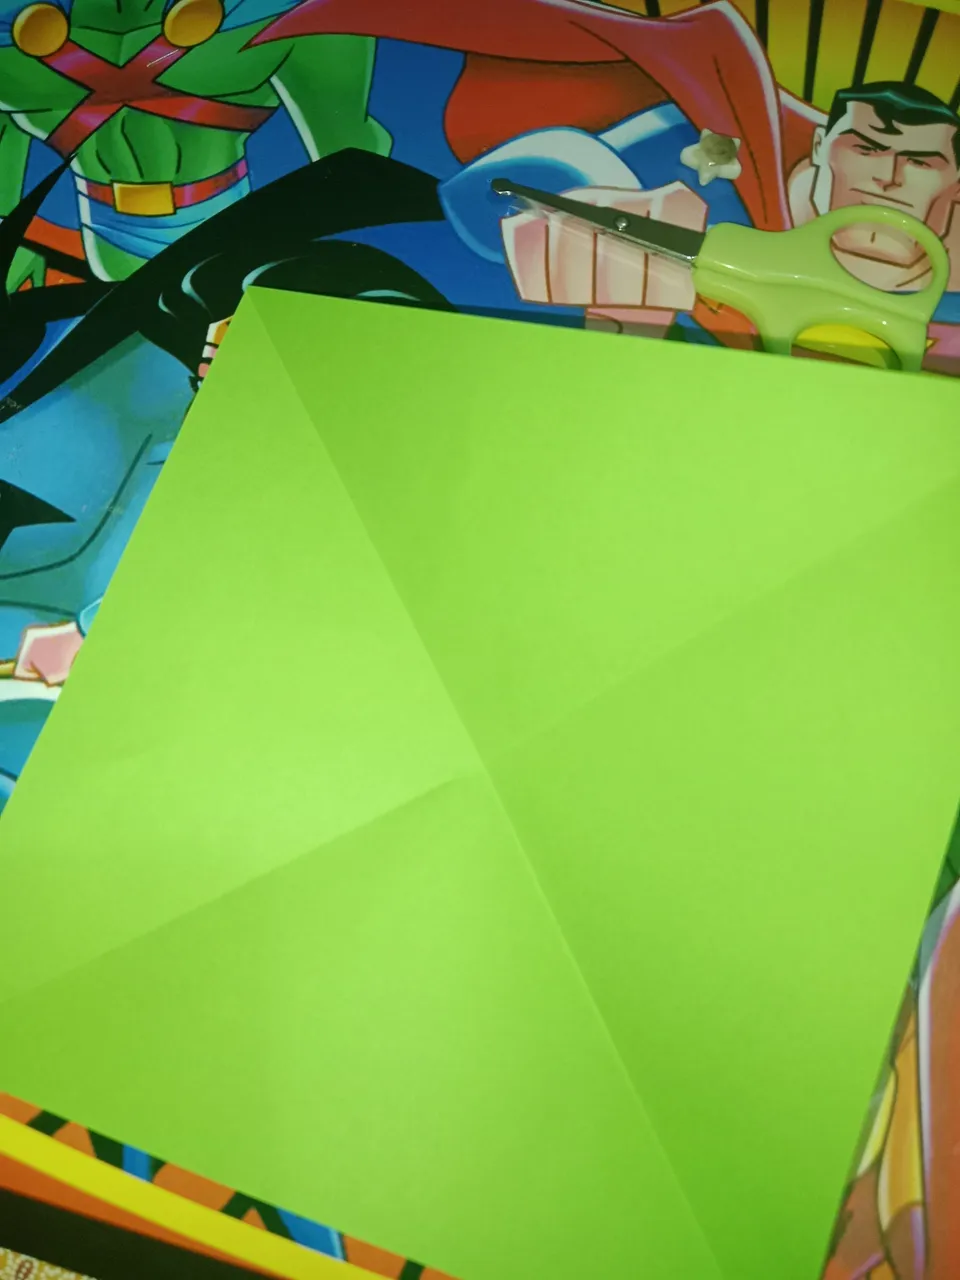
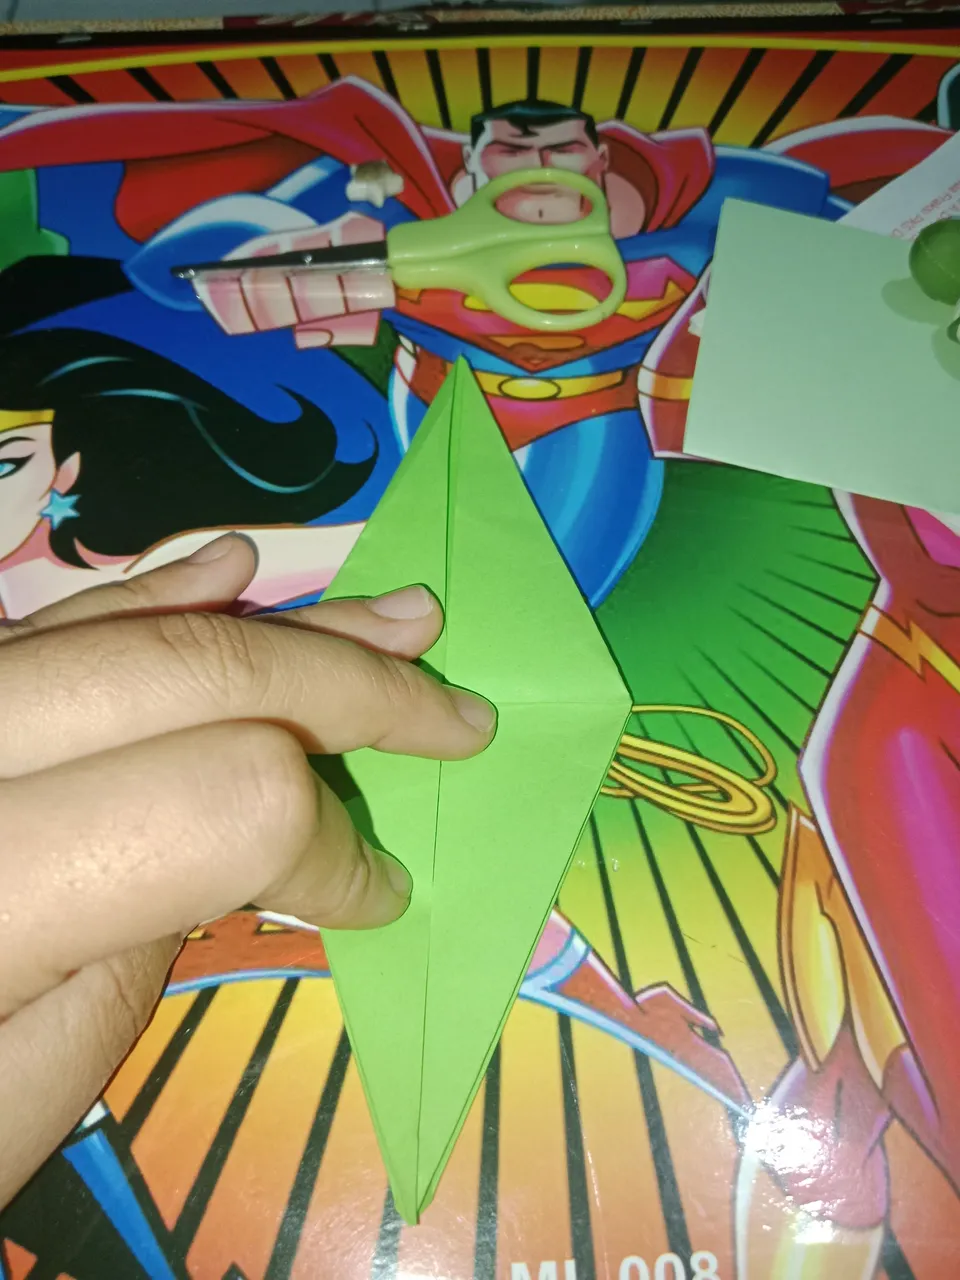
- Then fold it to form an isosceles triangle, on each side. So that later when the origami paper is opened it produces a line as shown in the picture.
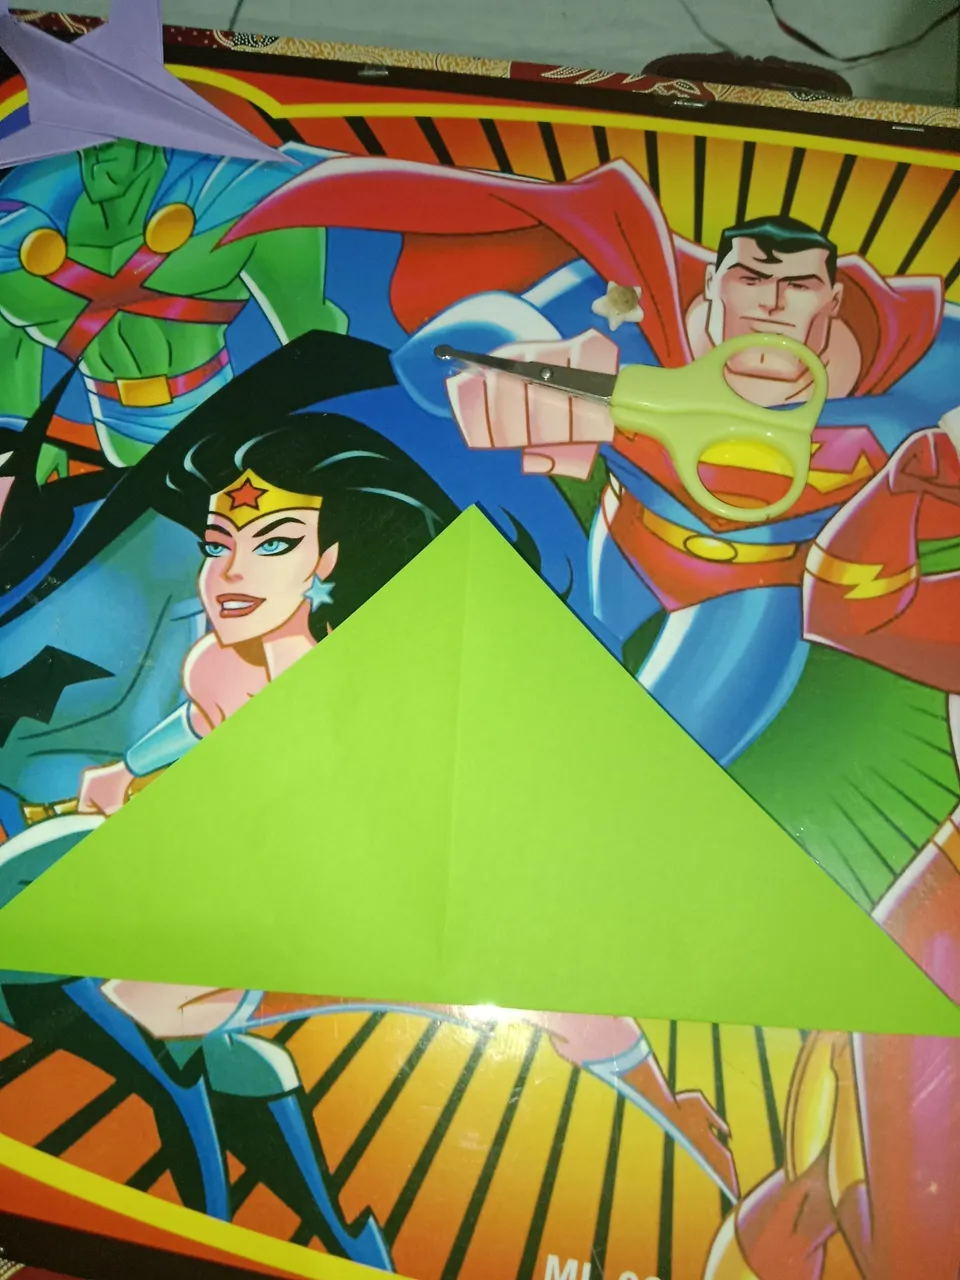
- After that, fold it into a rectangle on both sides.
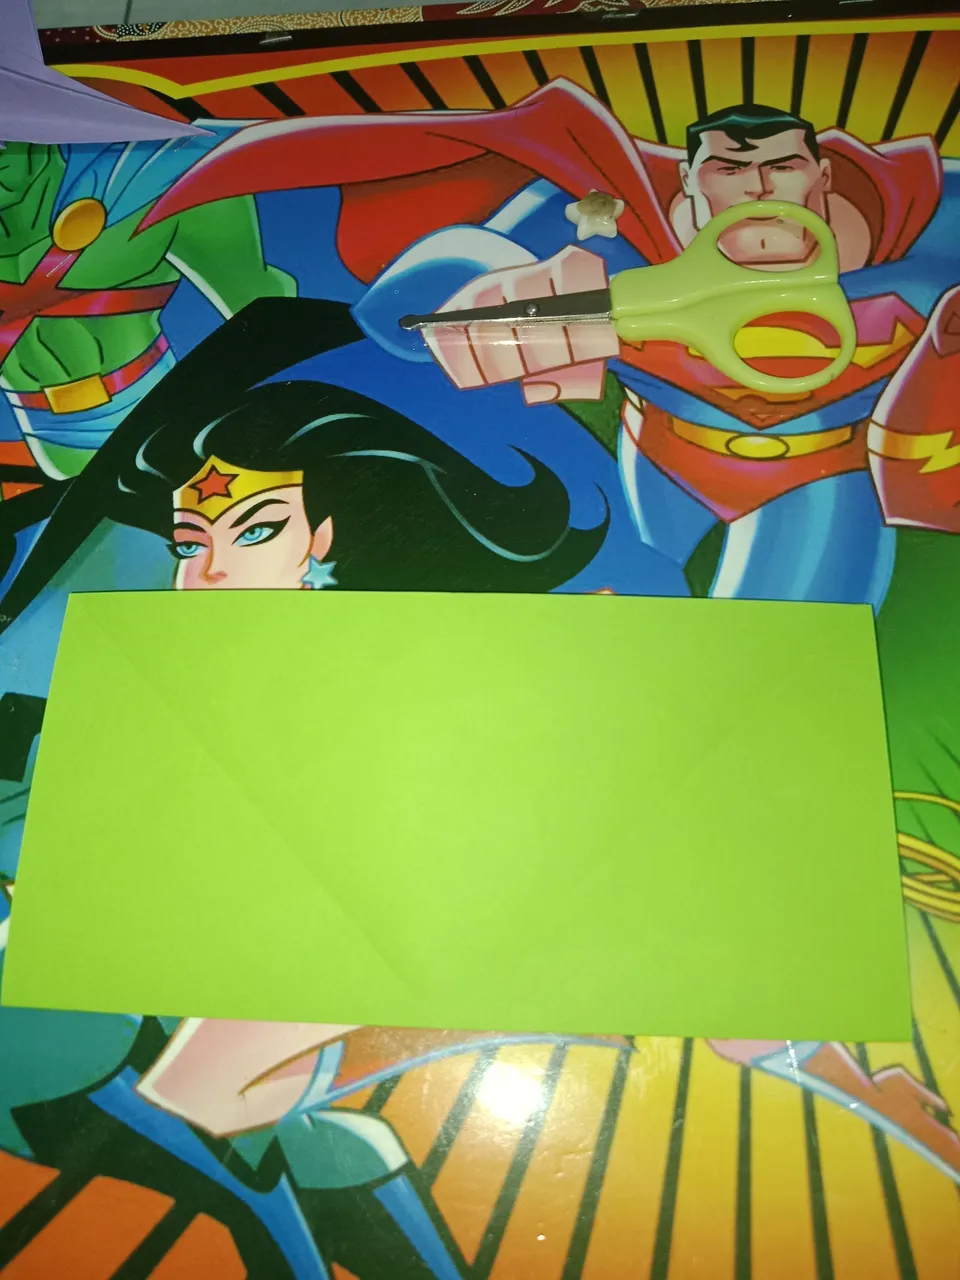
- To produce a line as in the photo
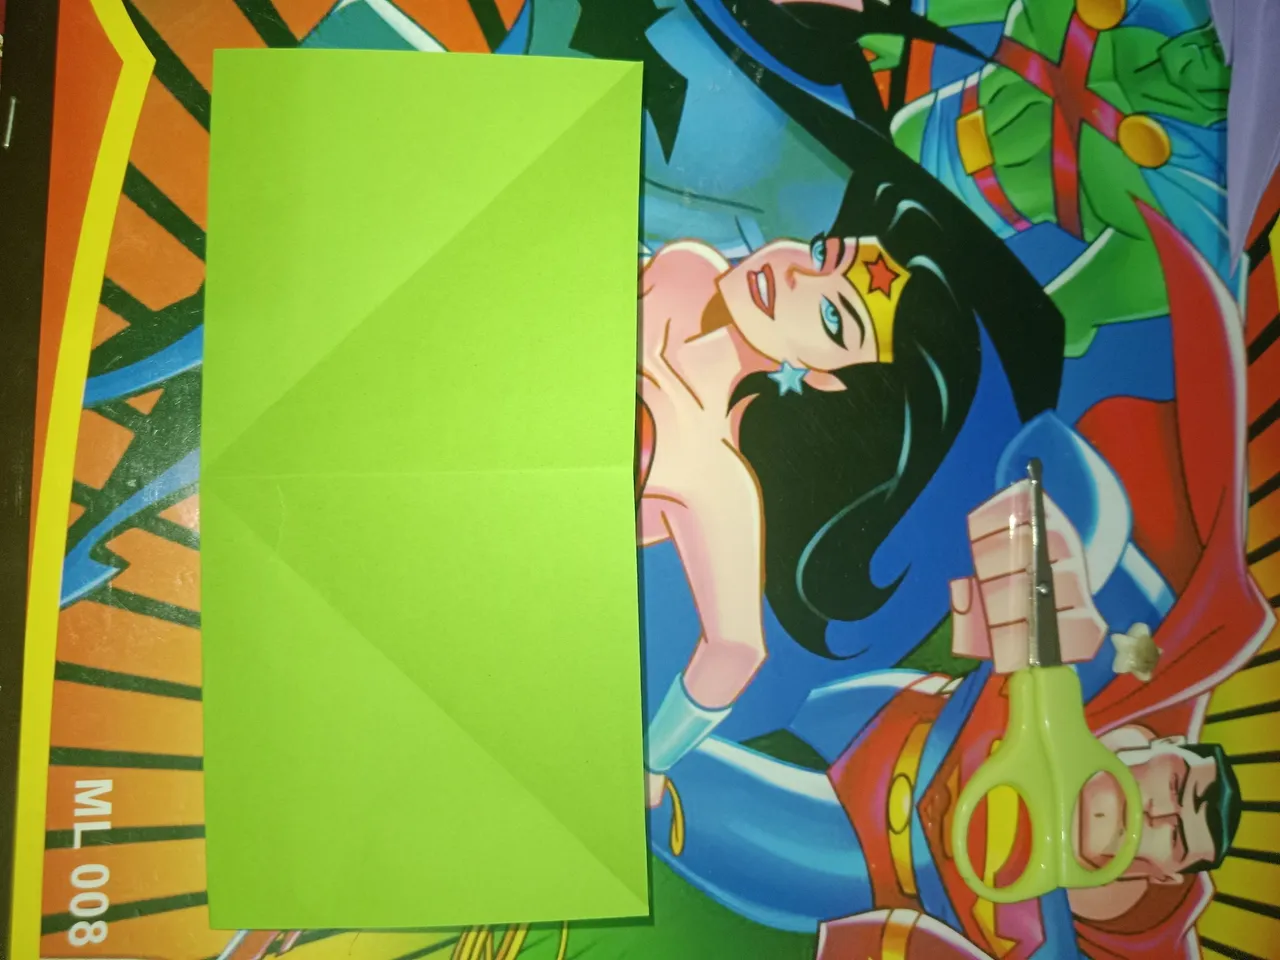
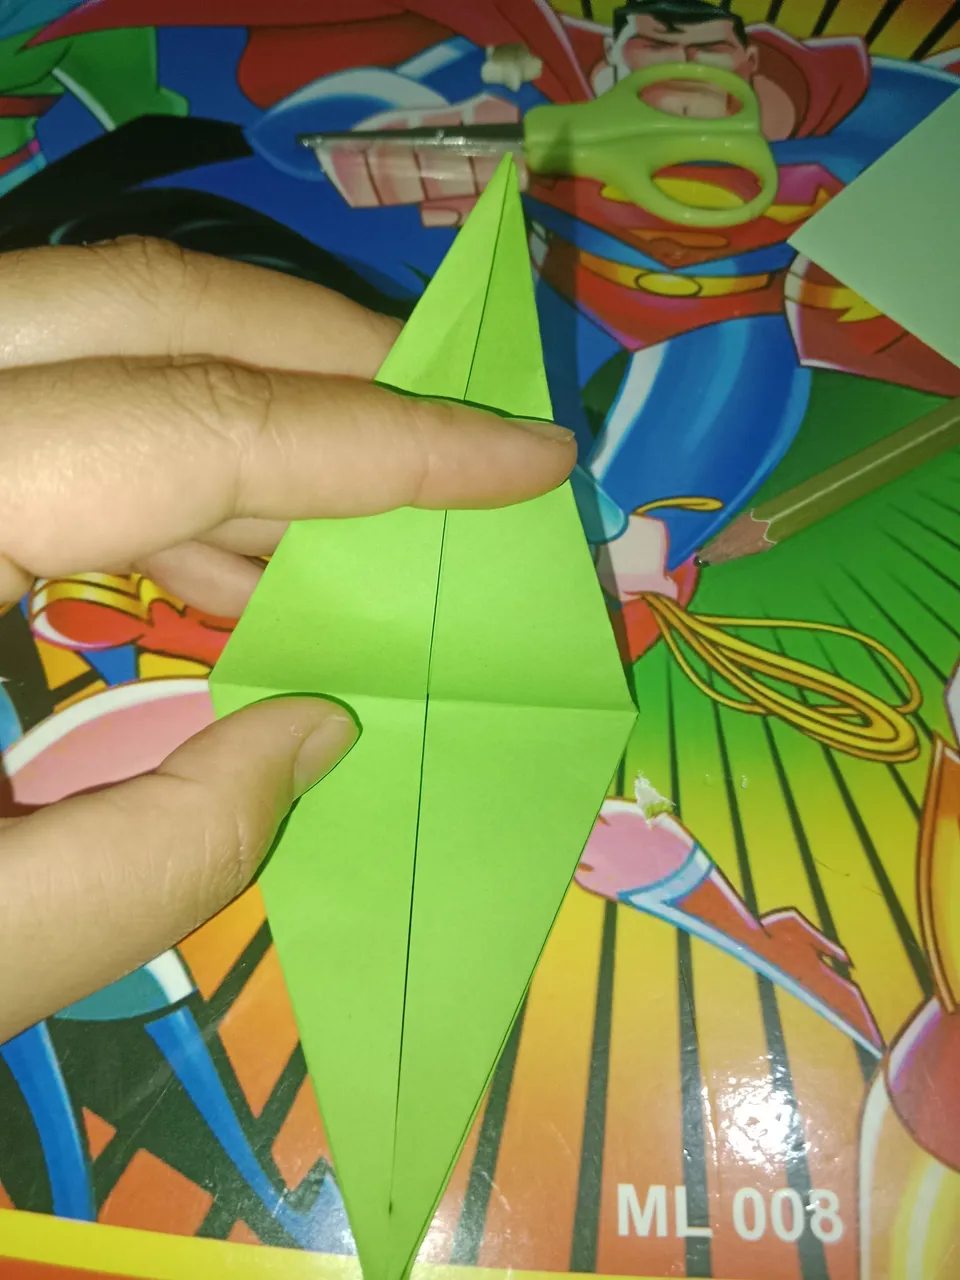
- Then fold along the existing lines.

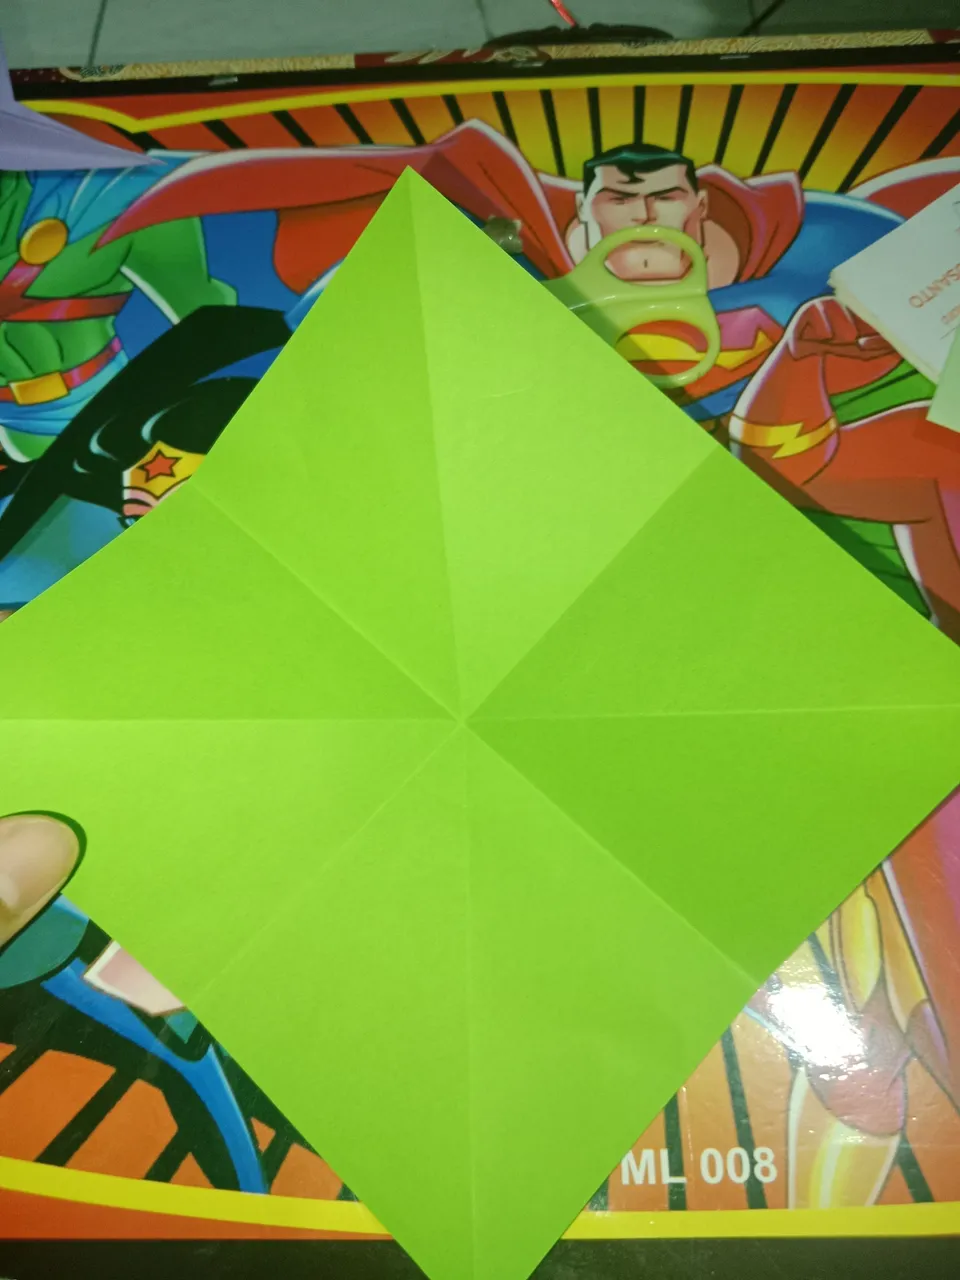
- Take the outer part, and fold it in. do the same on the other side.
- then, open the fold and it will produce a line.
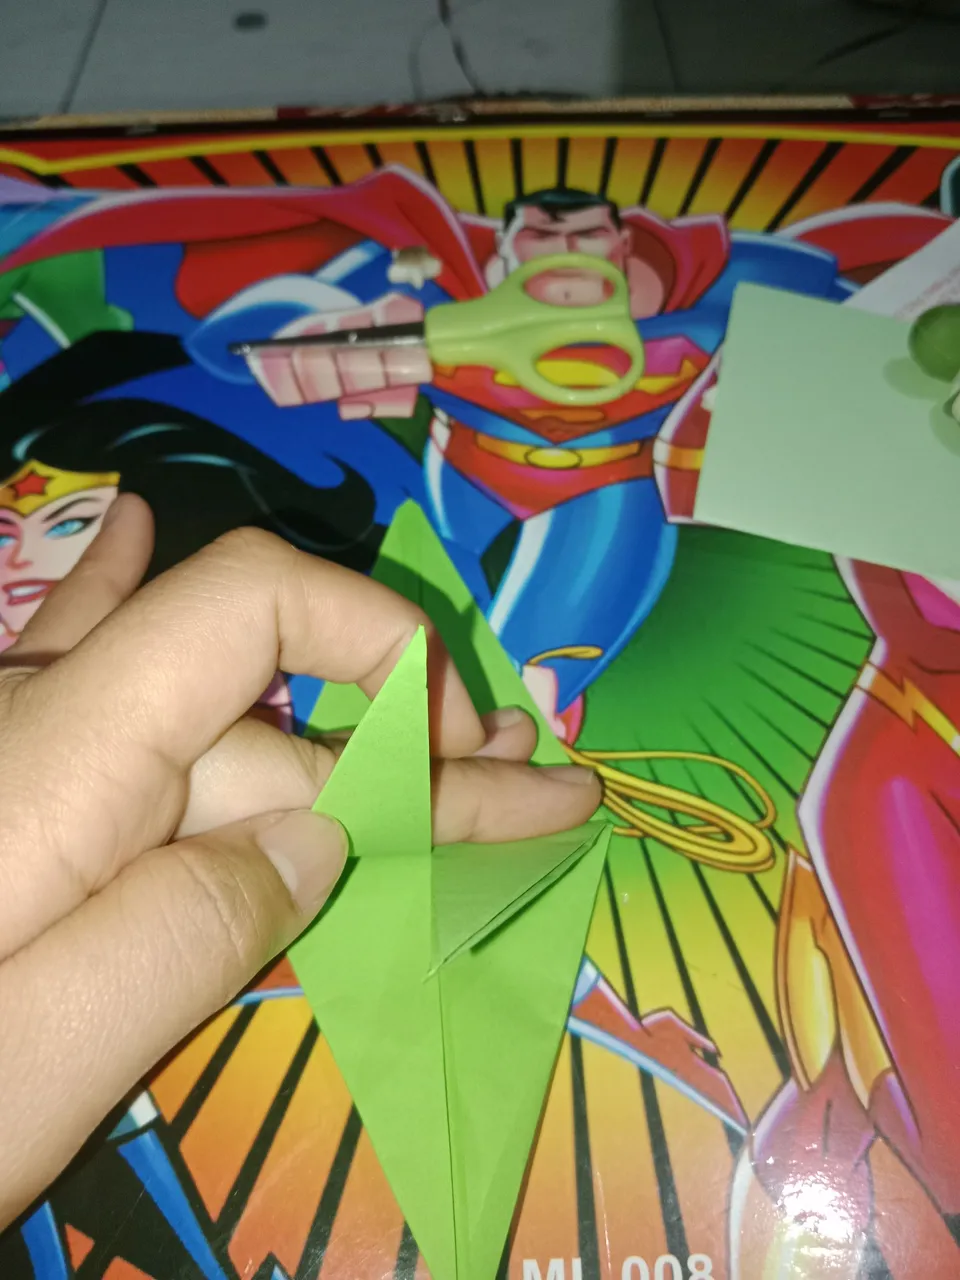
- Then fold the paper inward following the line we made earlier
- and do the same on the other side.
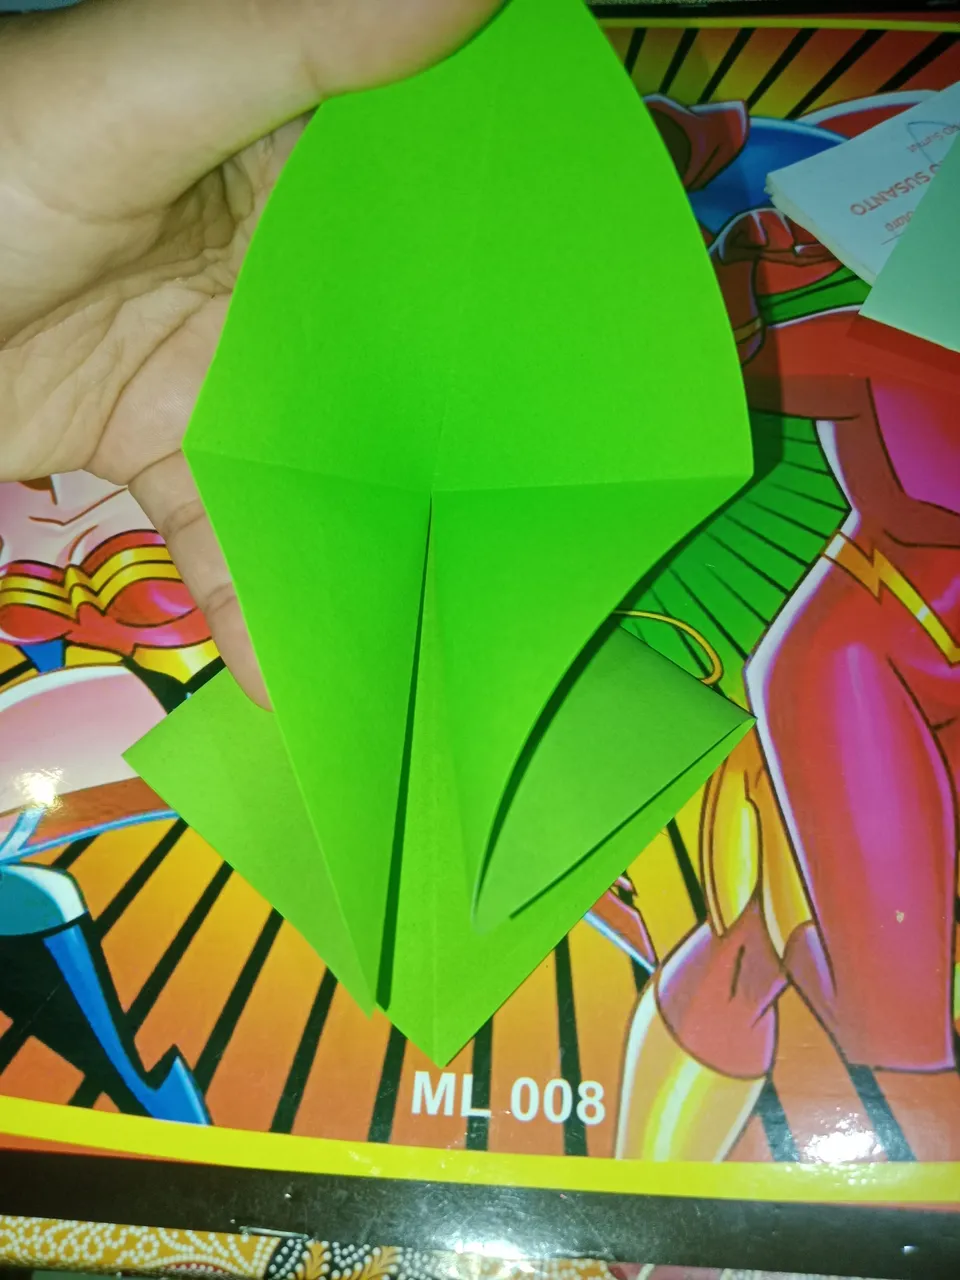
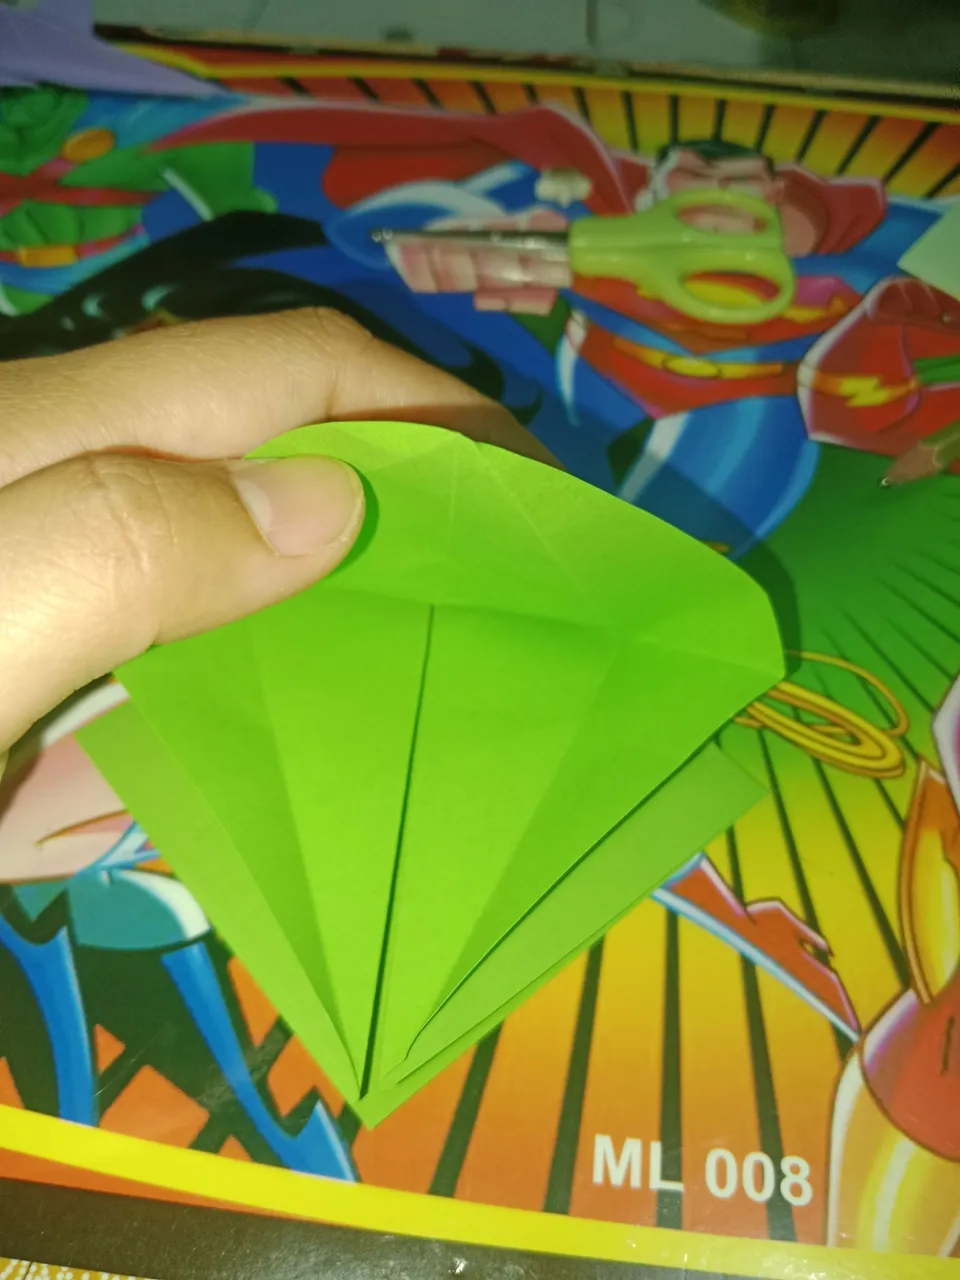
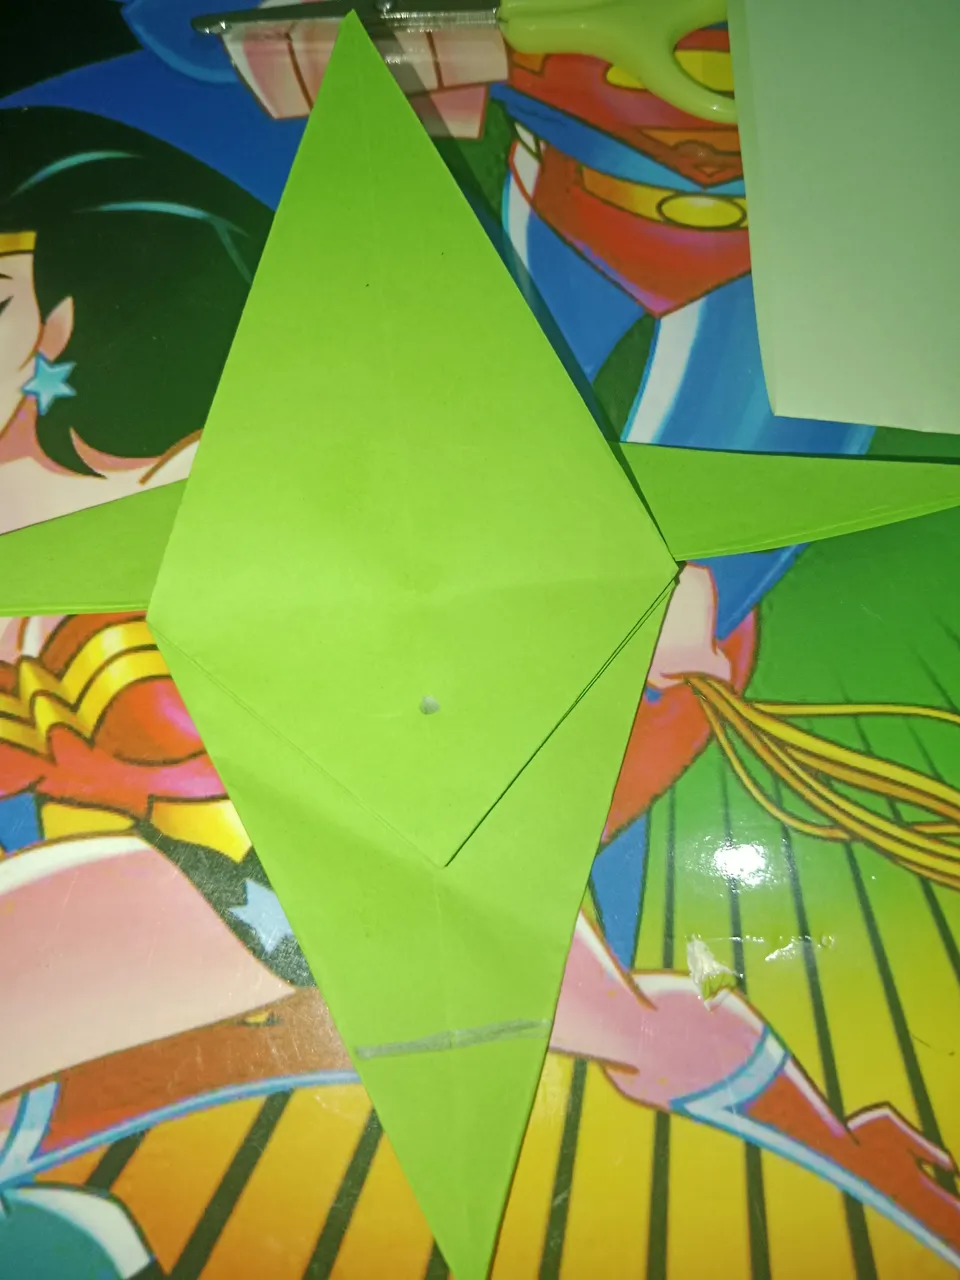
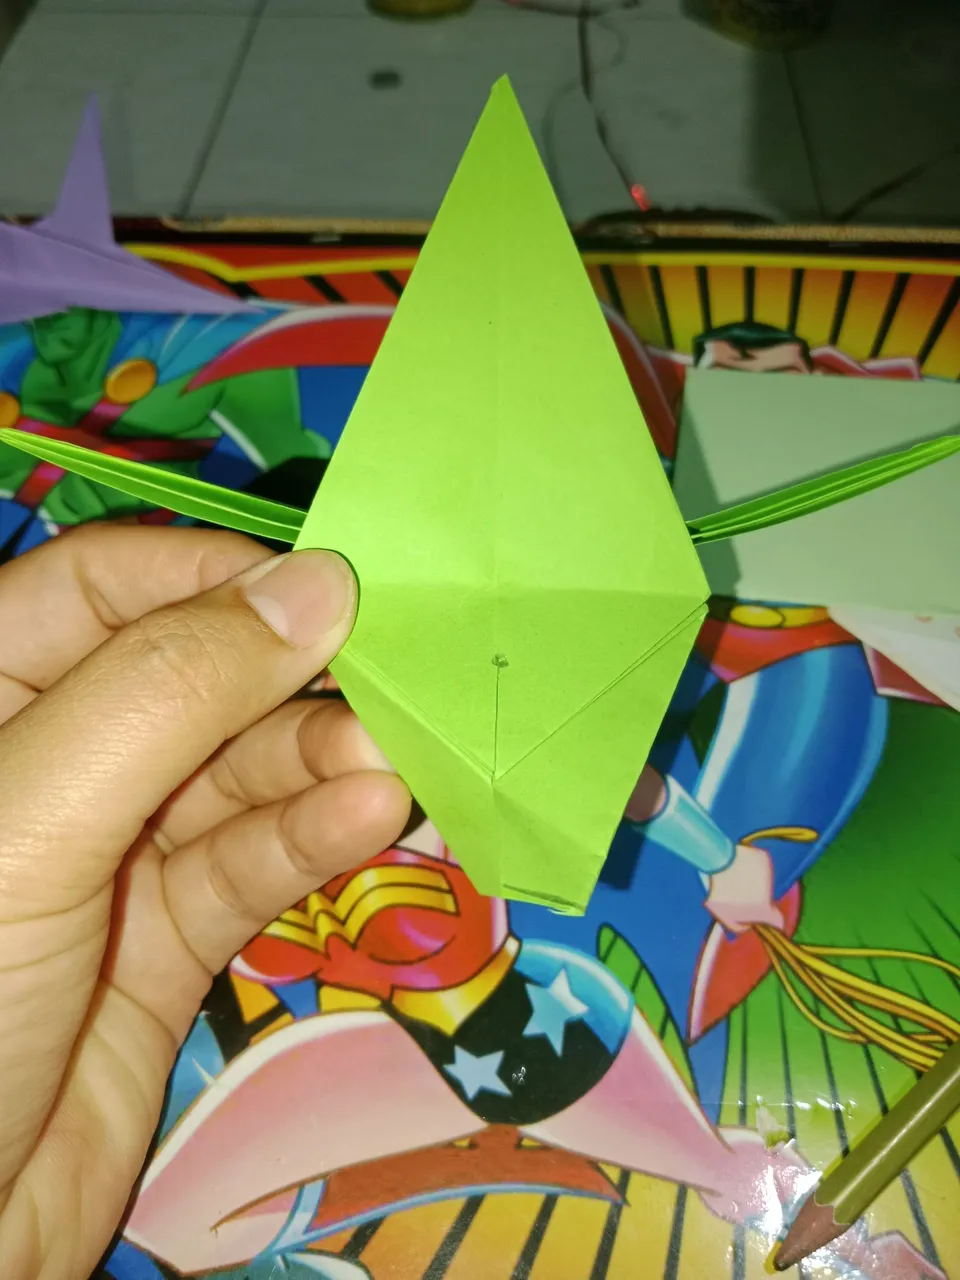
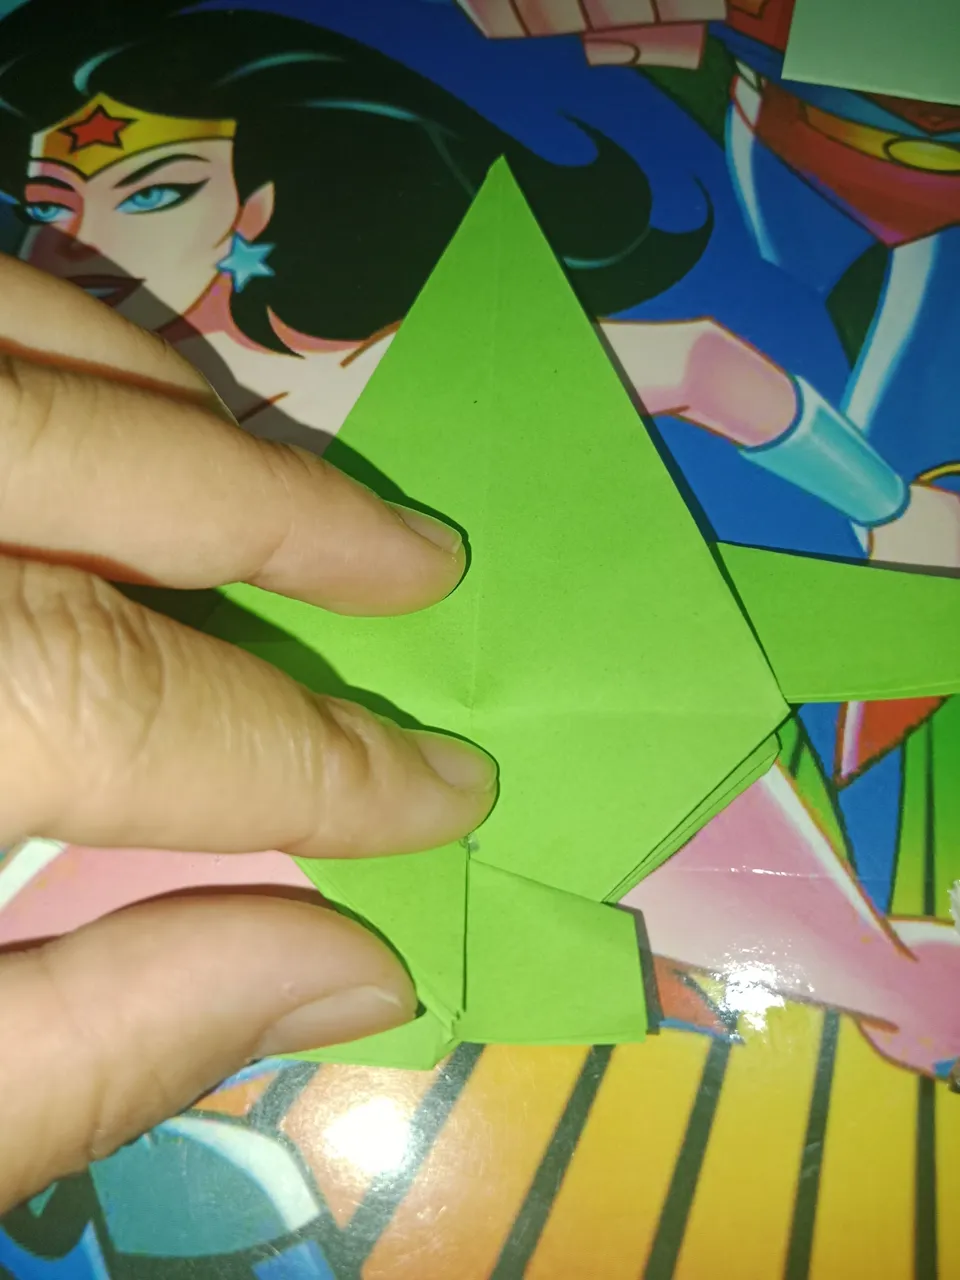
- After the paper is positioned as shown in the picture, take the middle part, then fold it outwards, then fold it back up and do the same on the other side as shown in the picture.
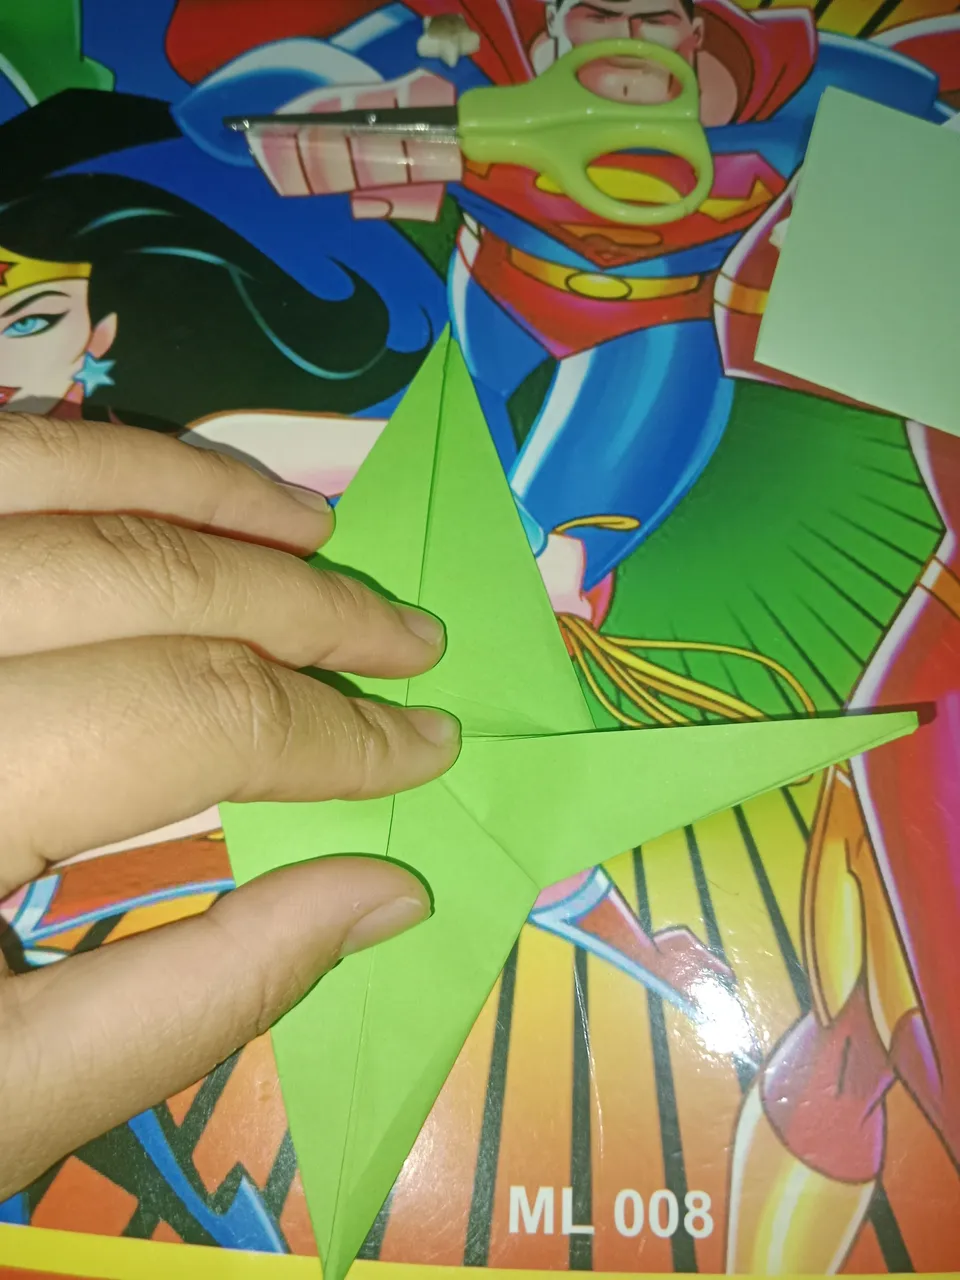
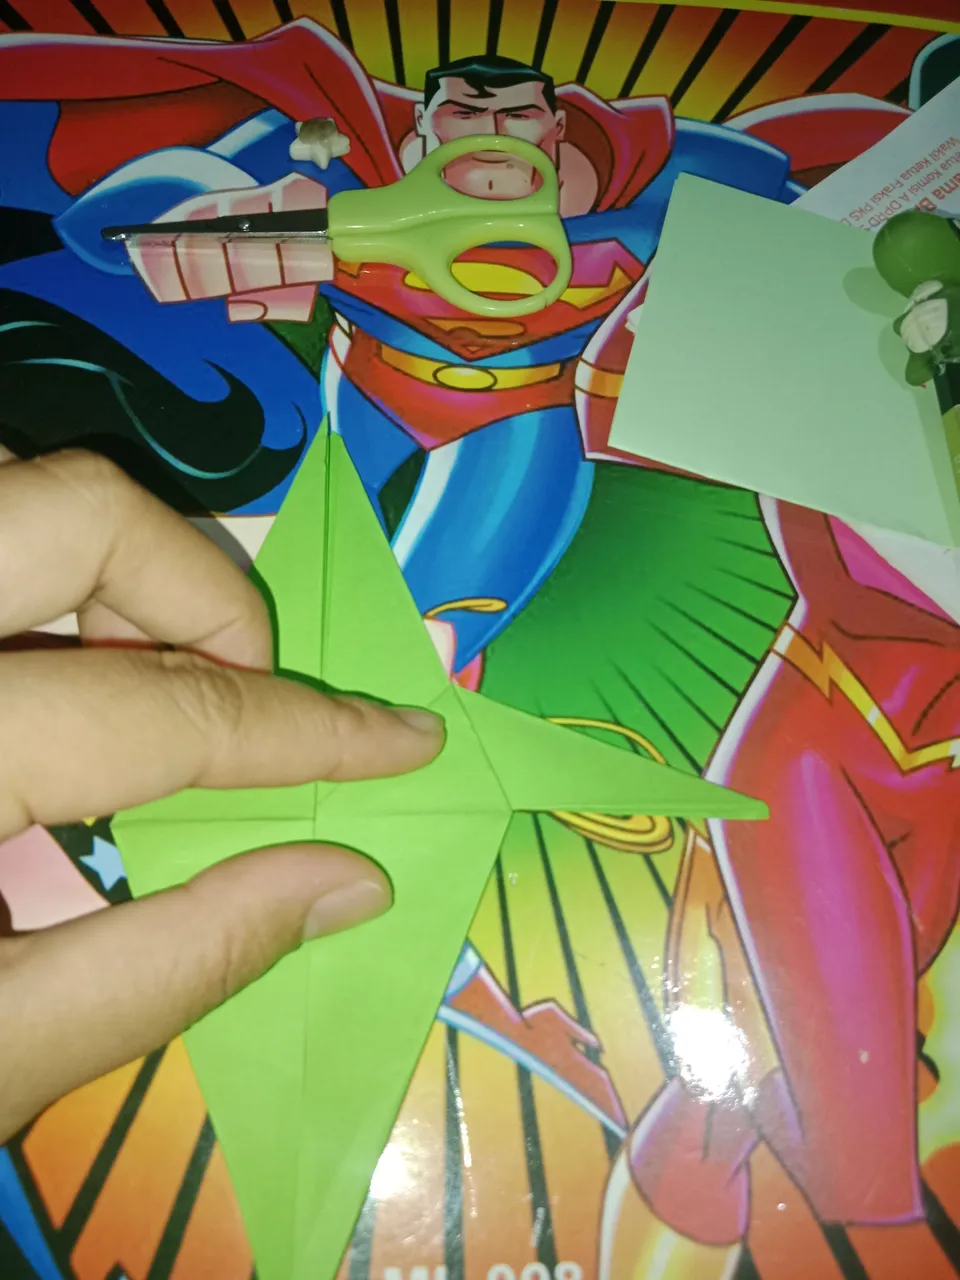
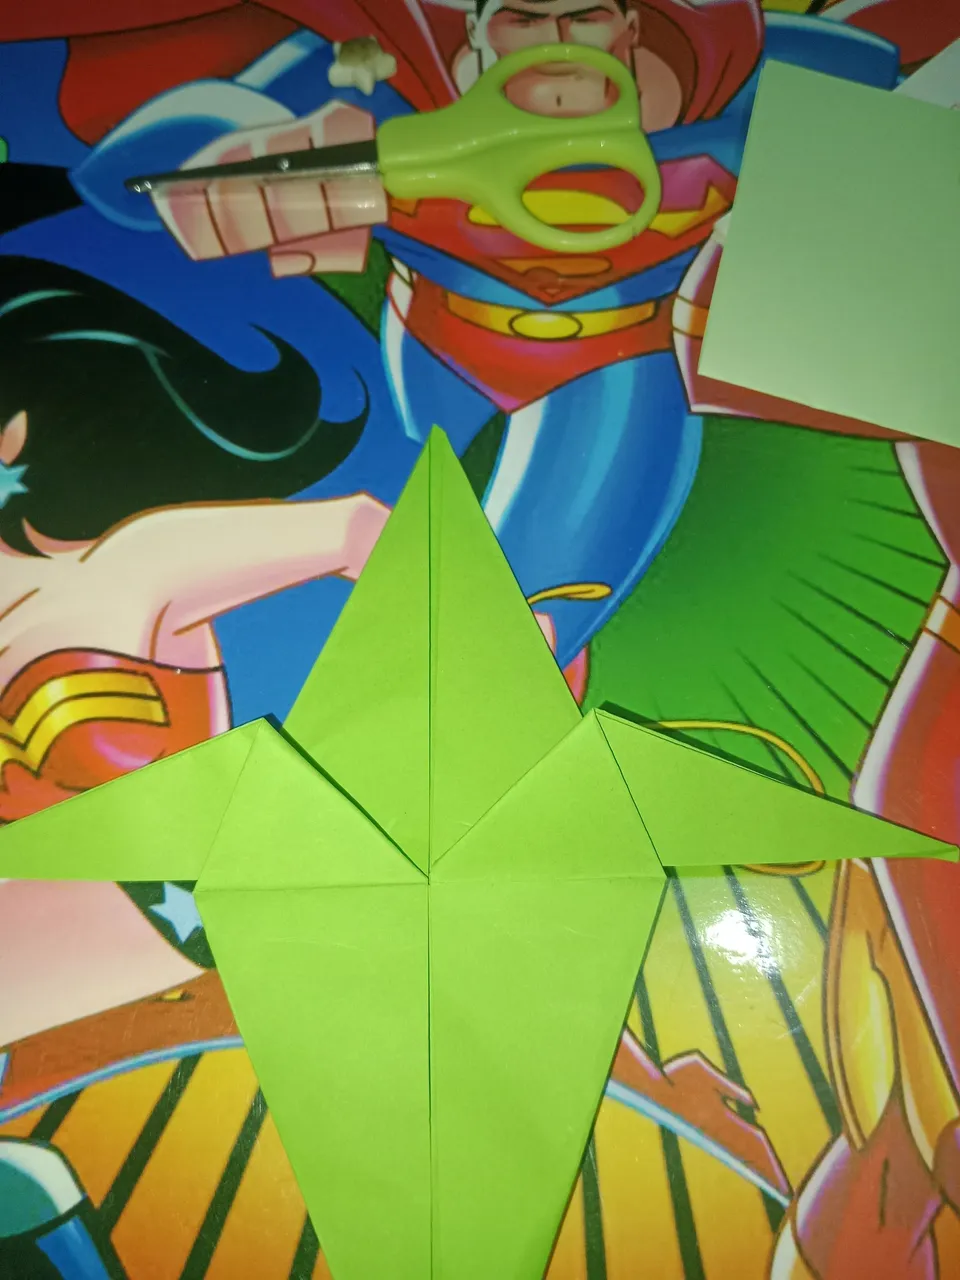
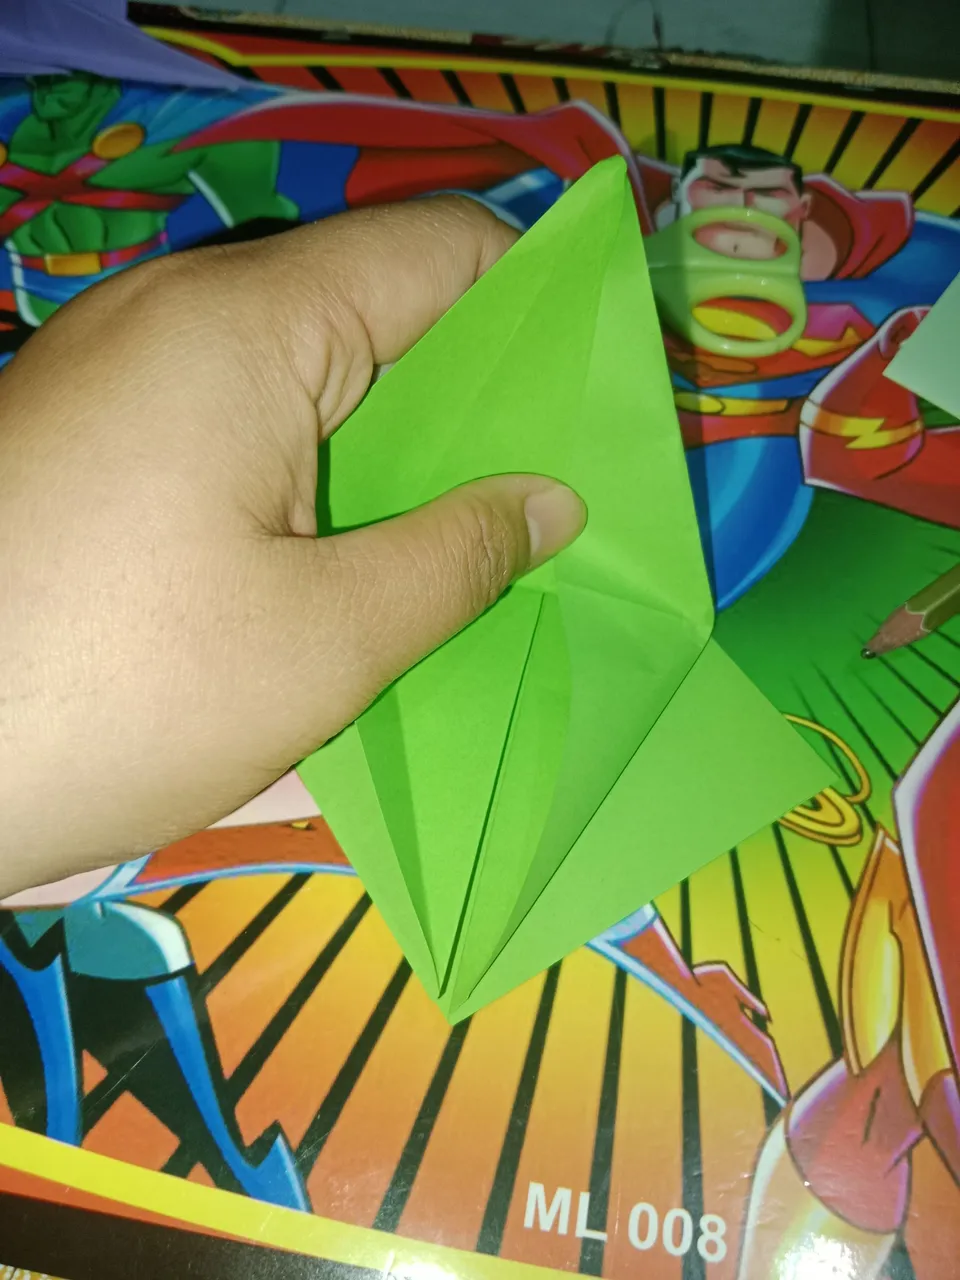
- After that, turn the paper over with the head of the paper facing us.
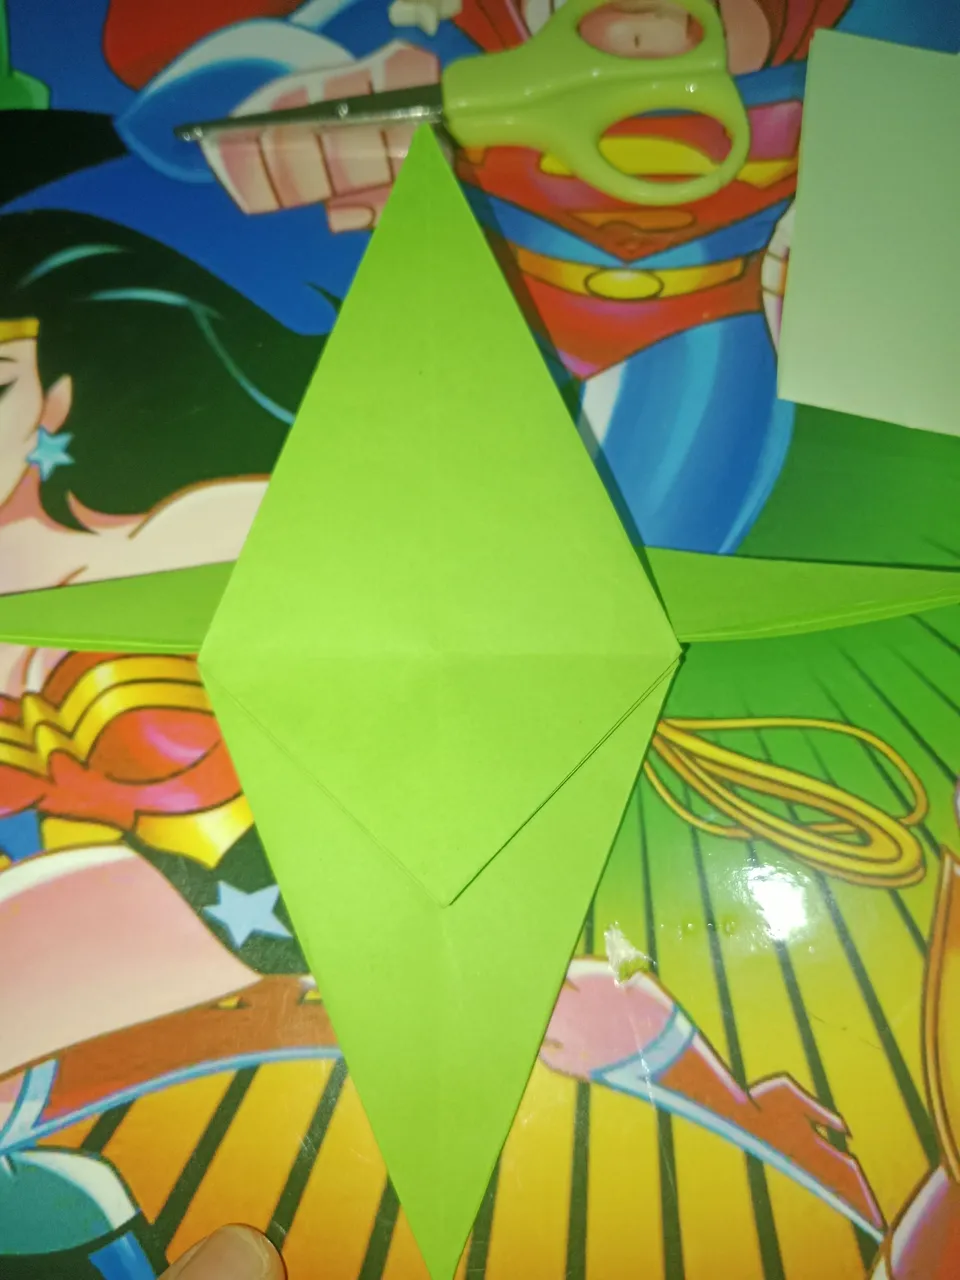
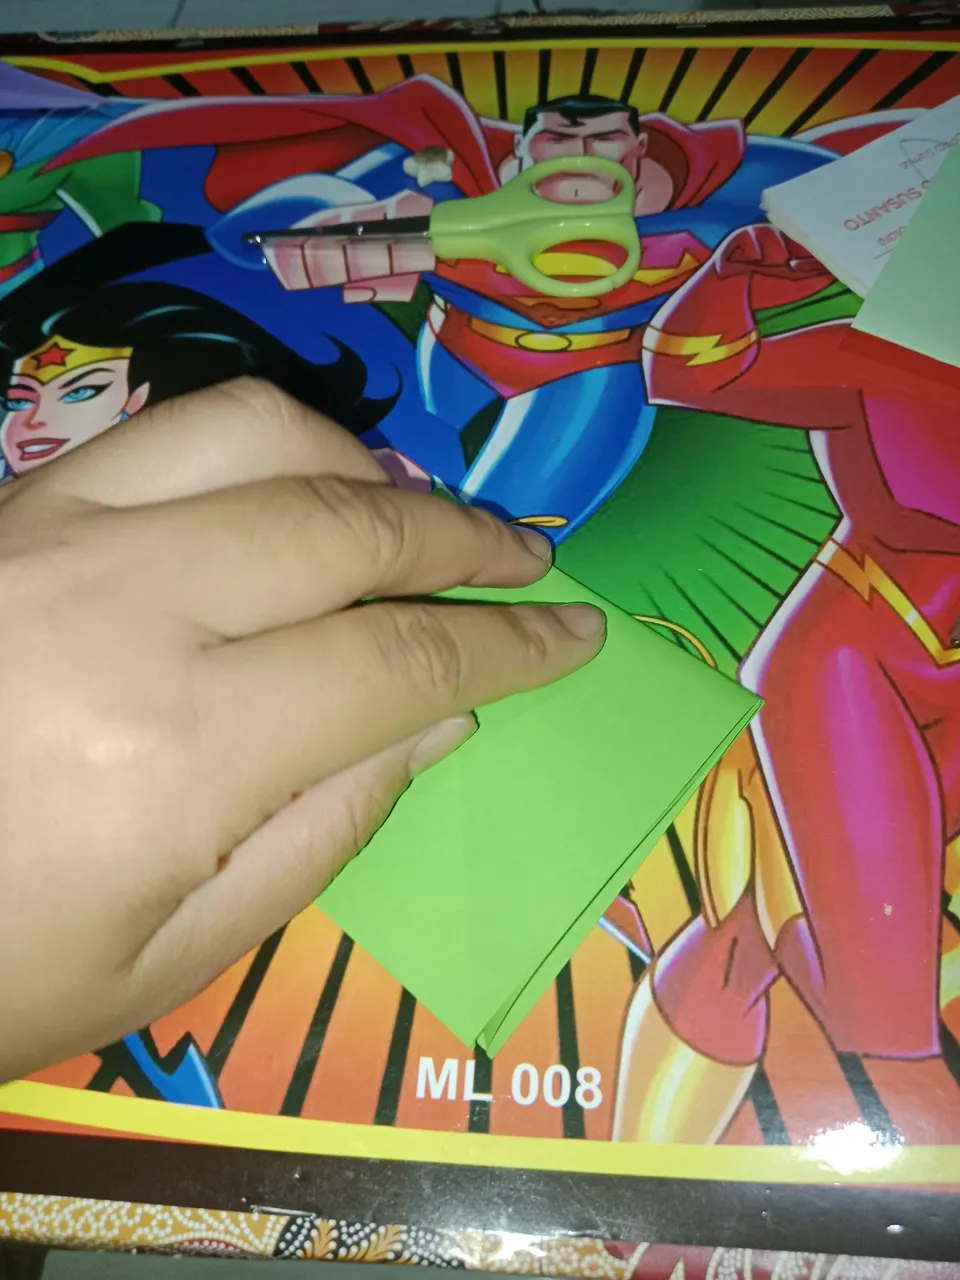
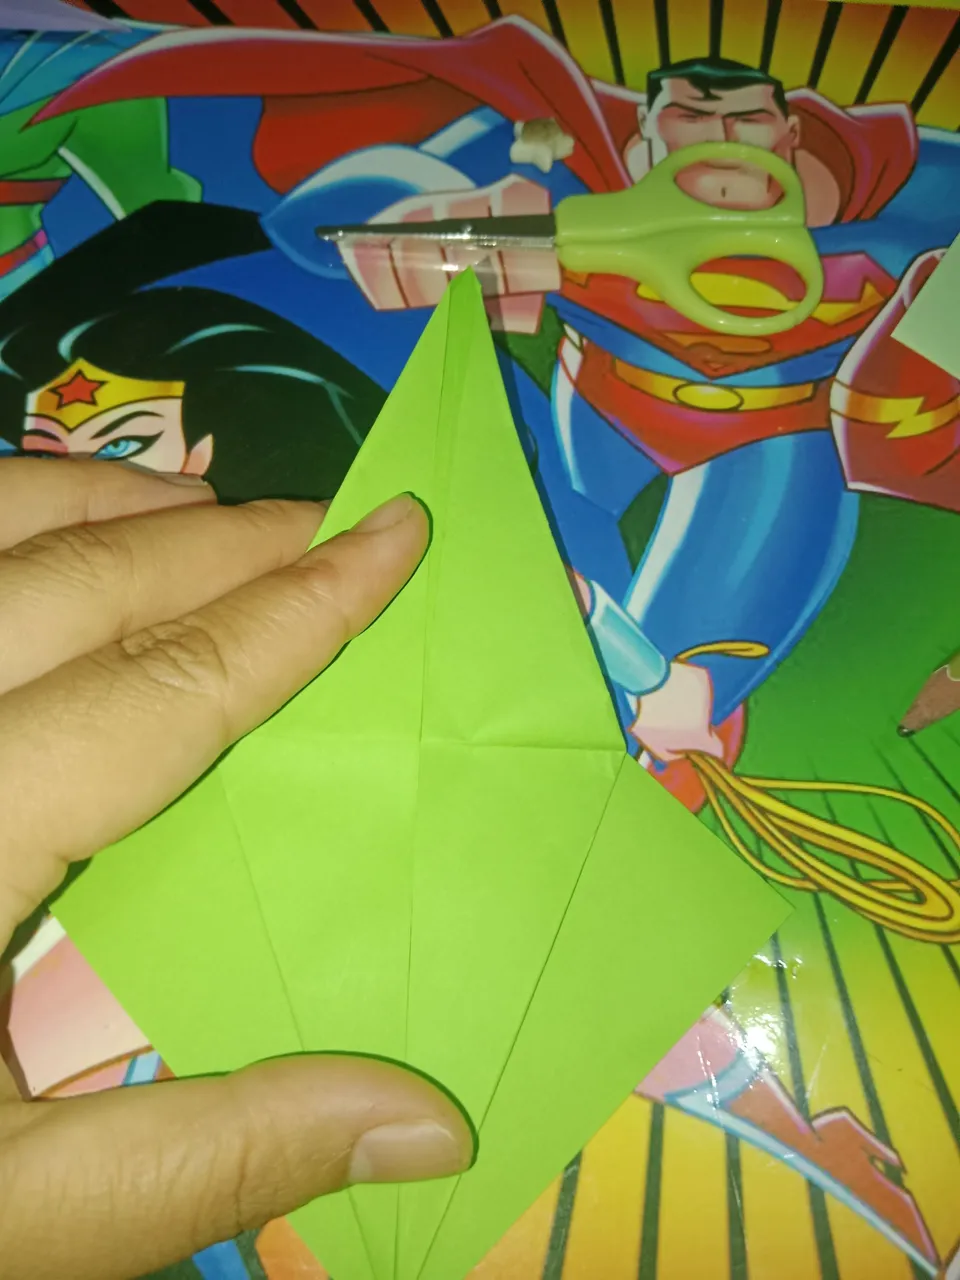
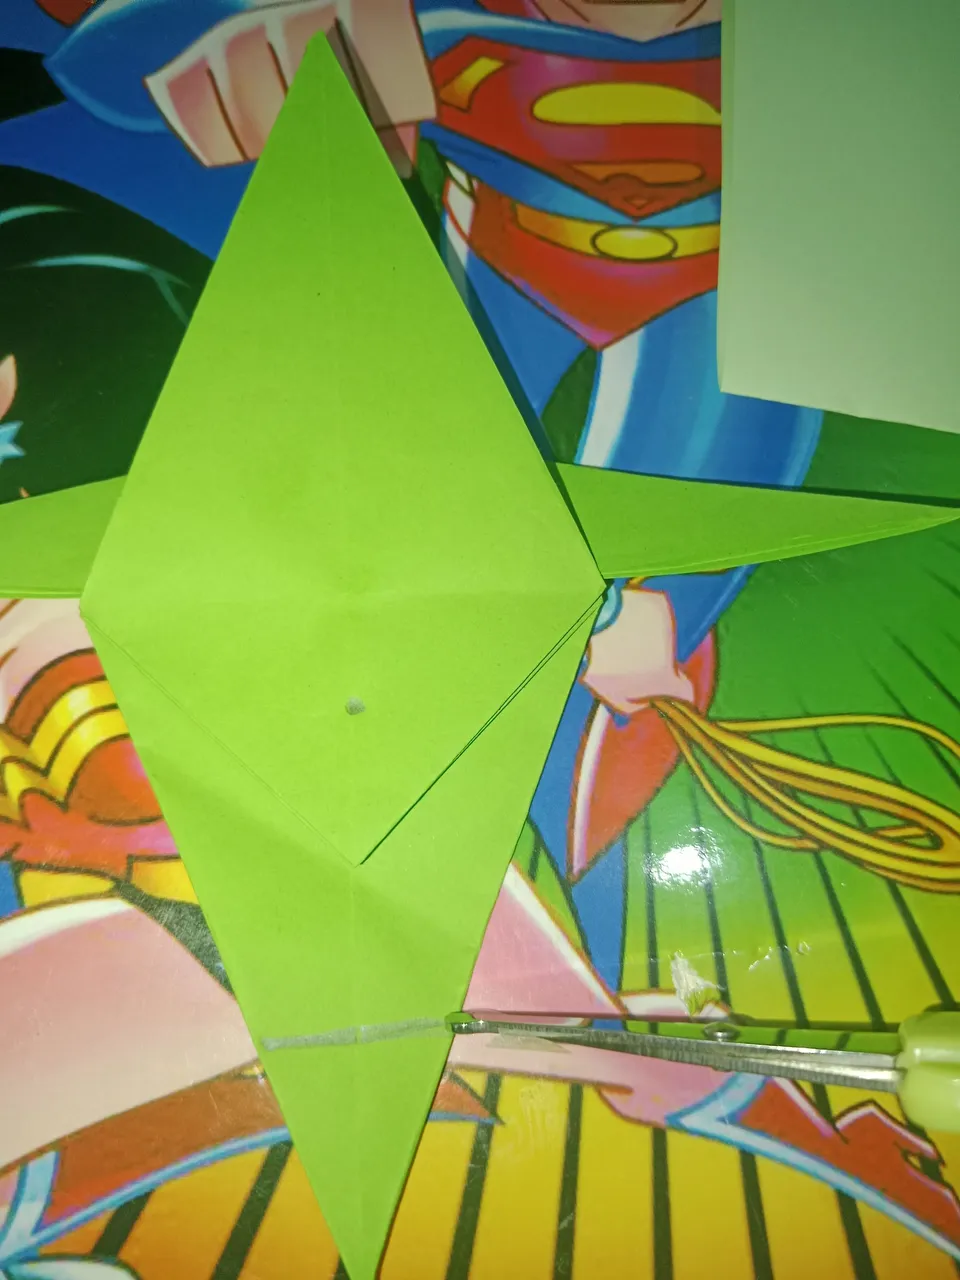
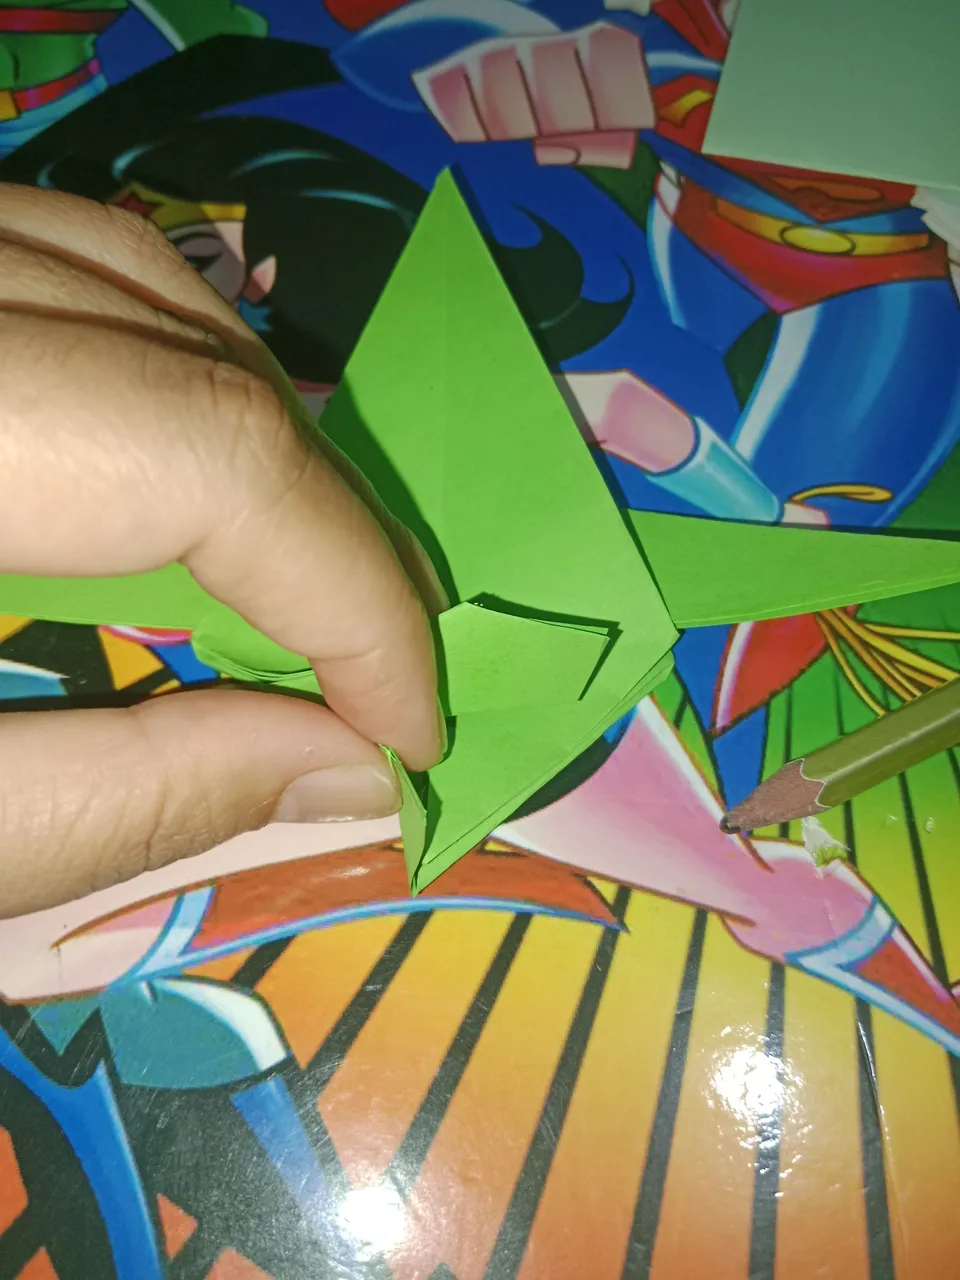
- Then we fold the bottom of the paper diagonally and mark the side that it passes through.
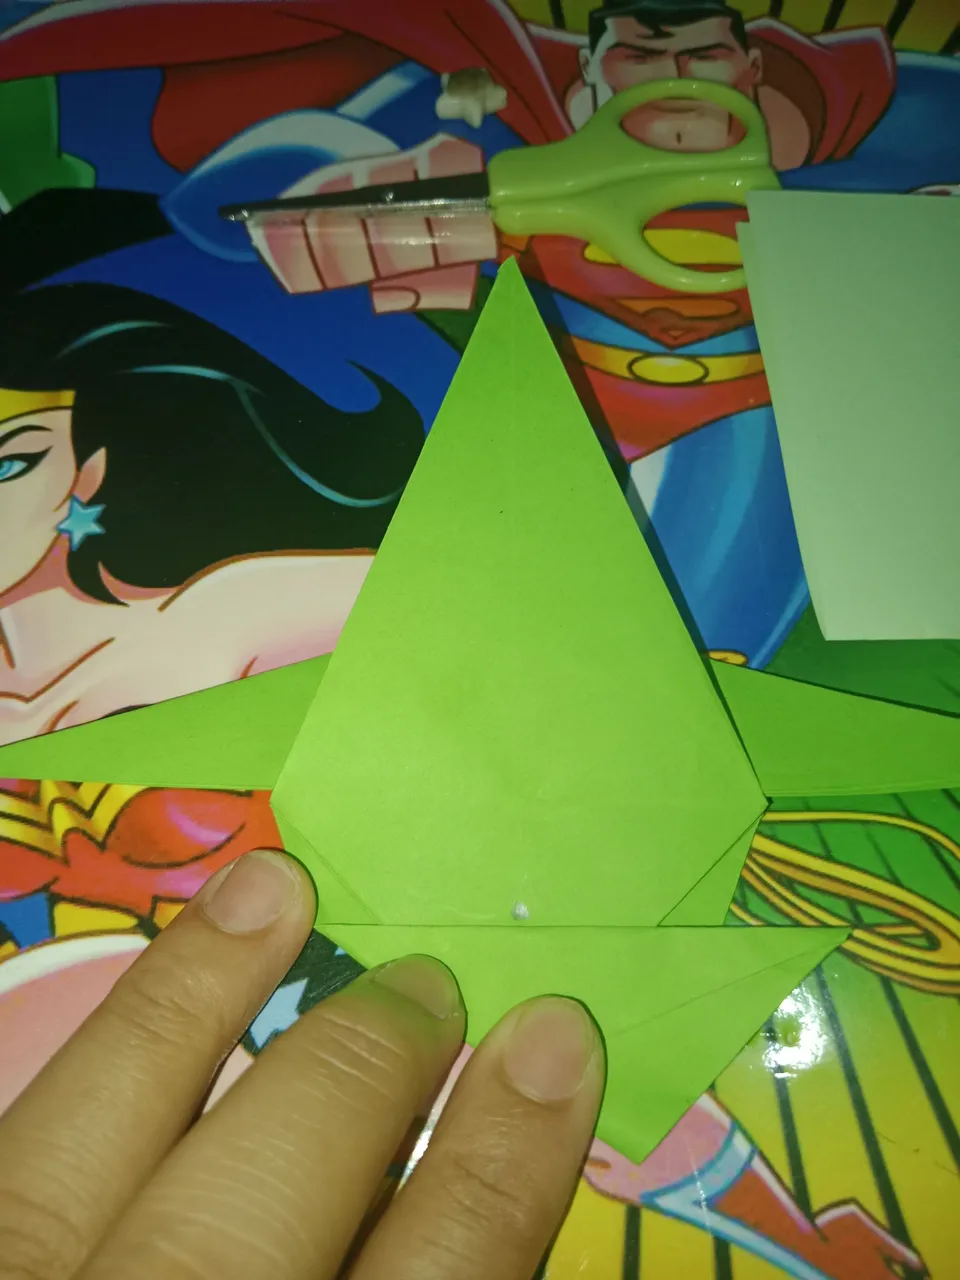
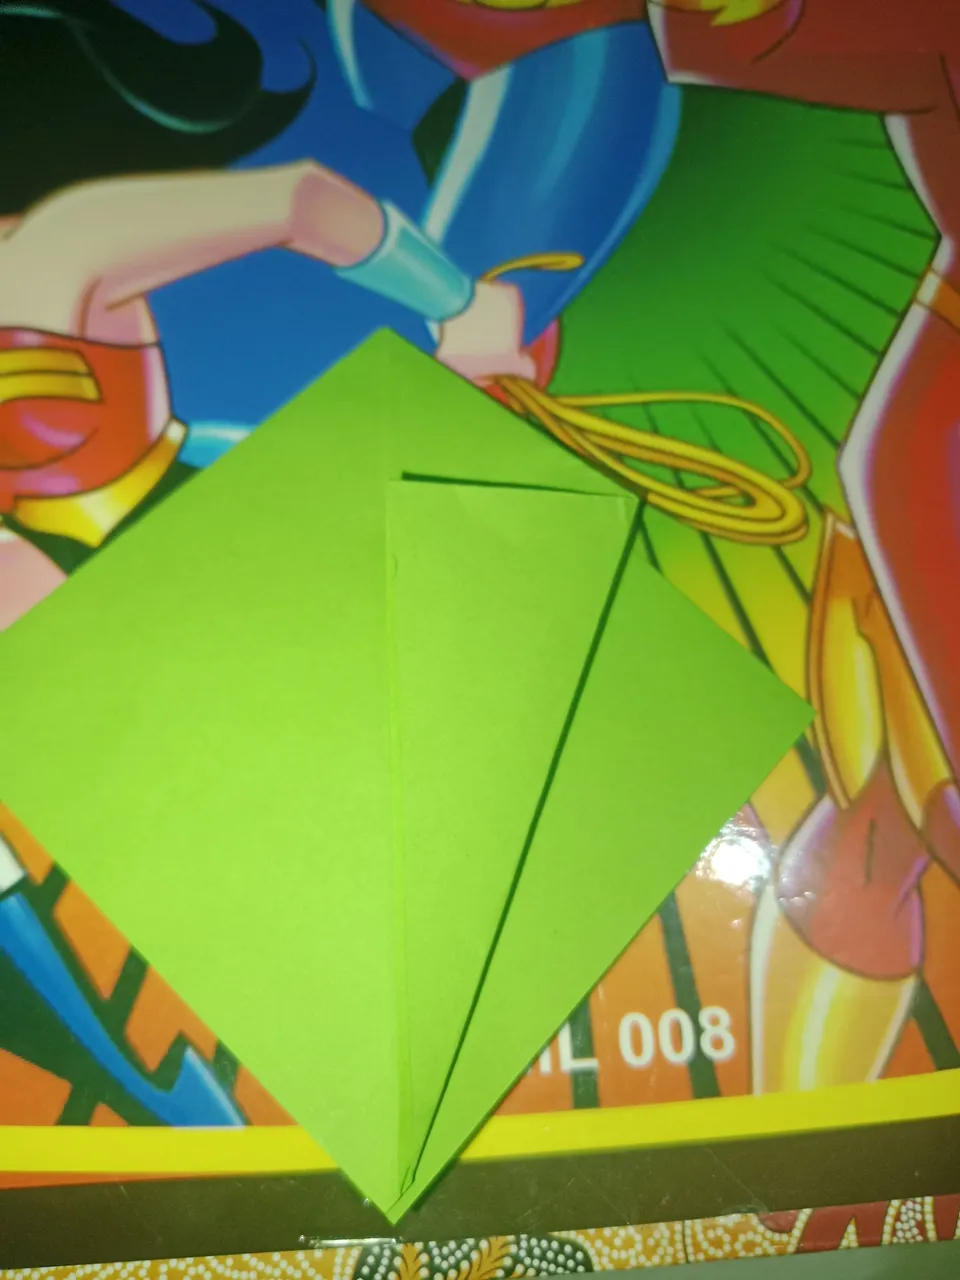
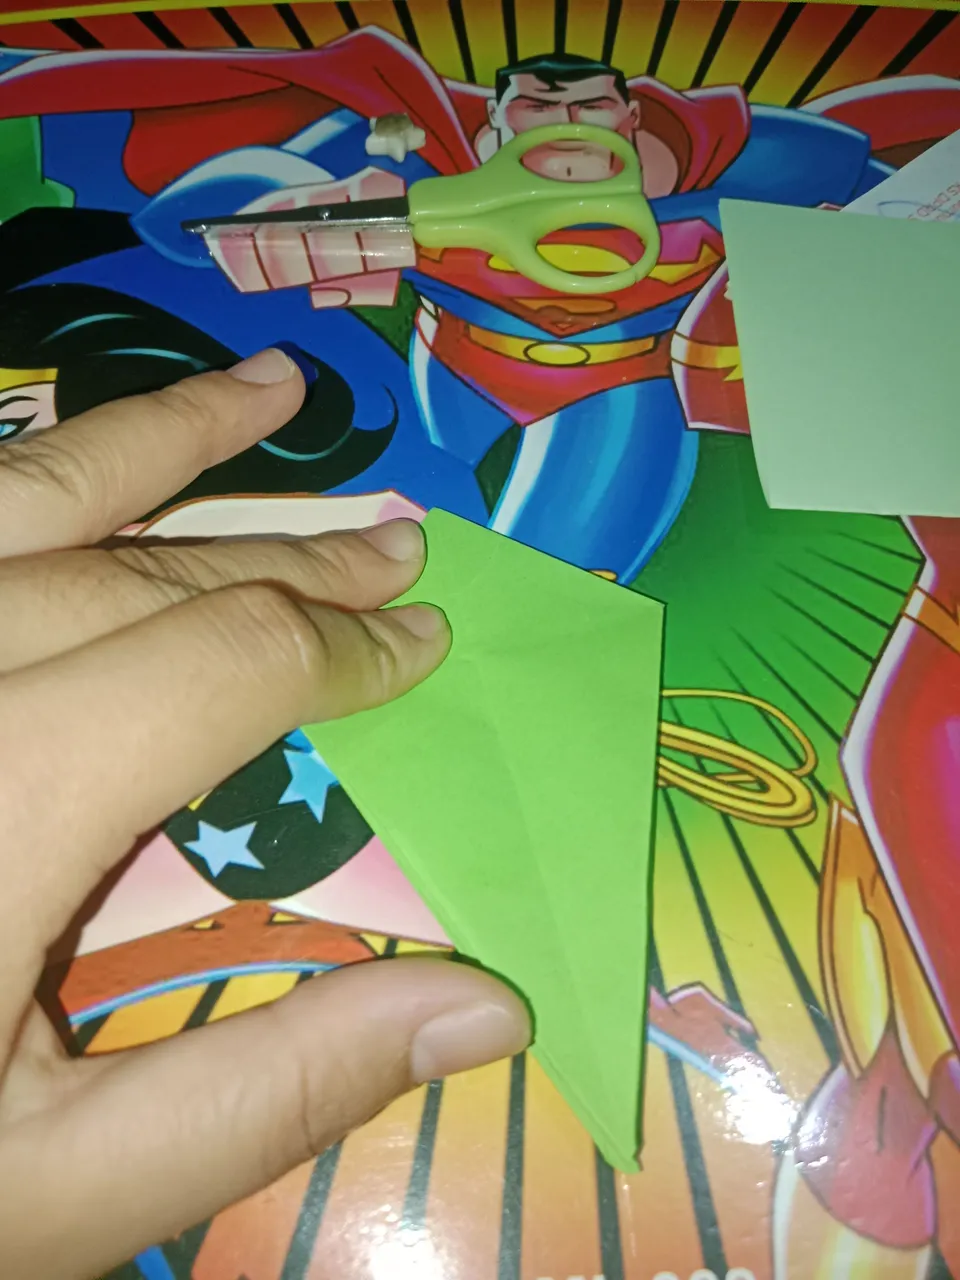
- After making sure the side. and have been given a line, then cut along the line.
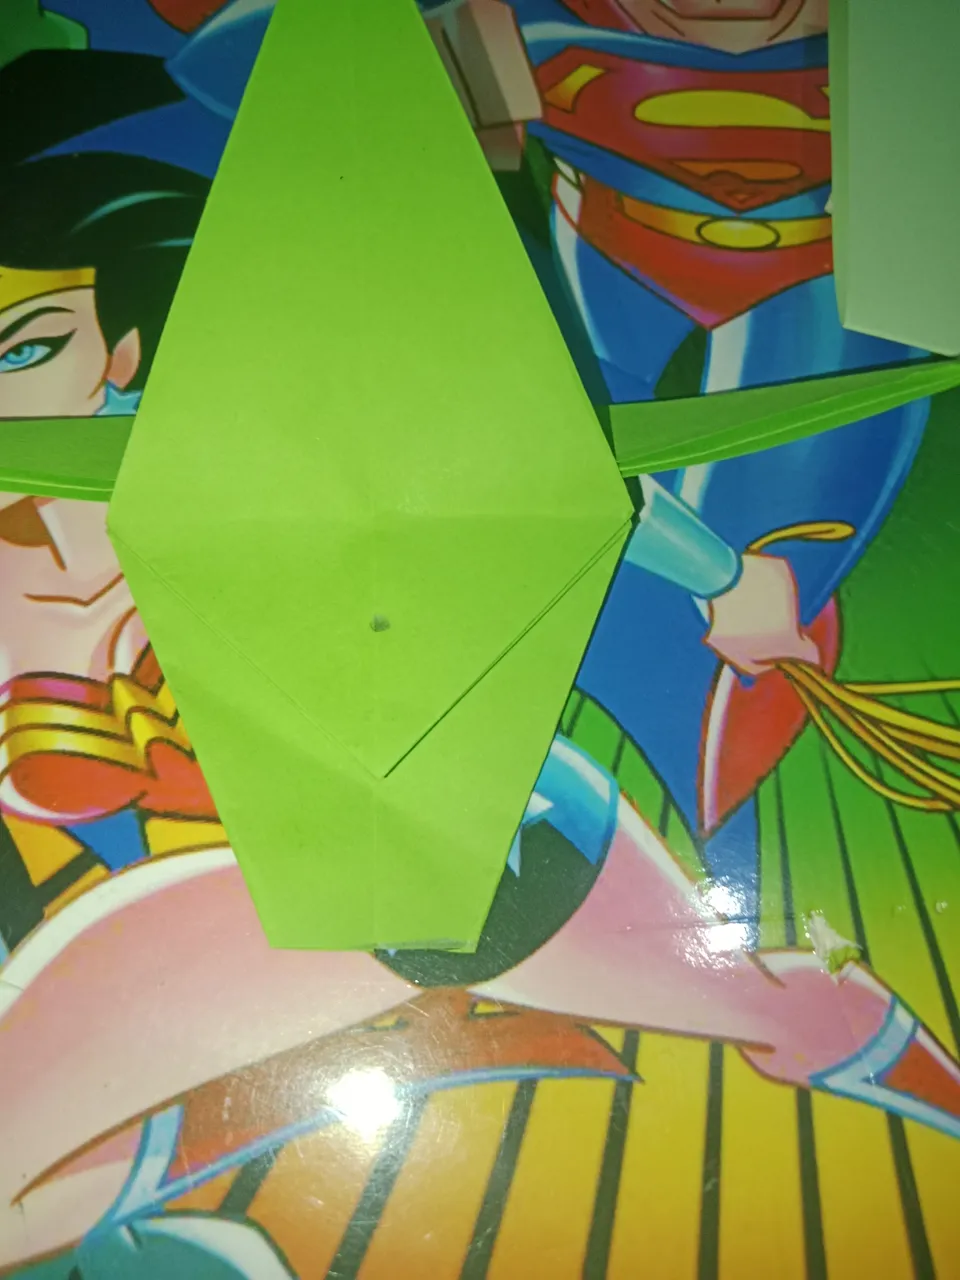
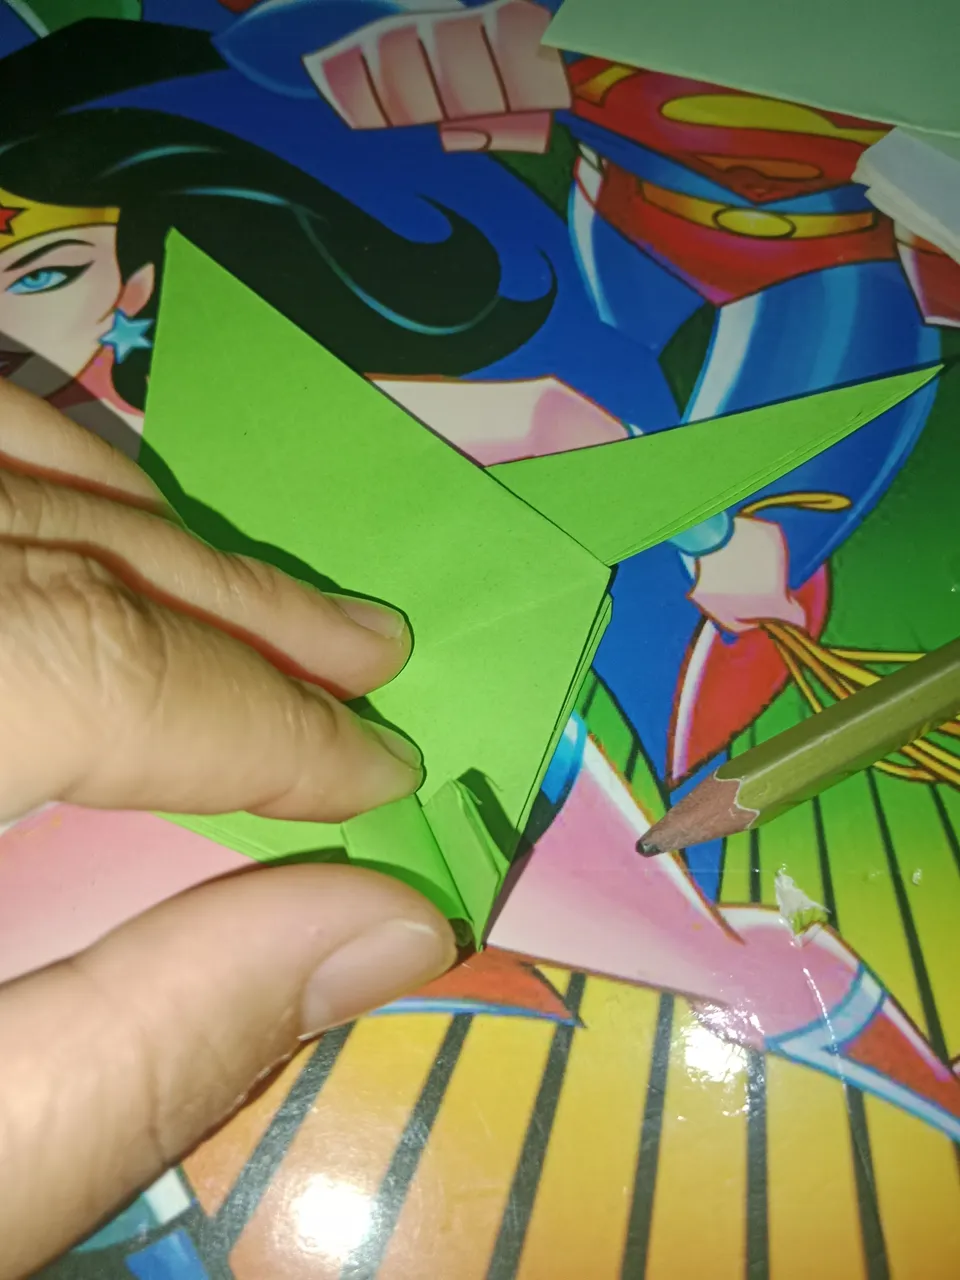
- then cut in the middle of the paper as shown in the picture
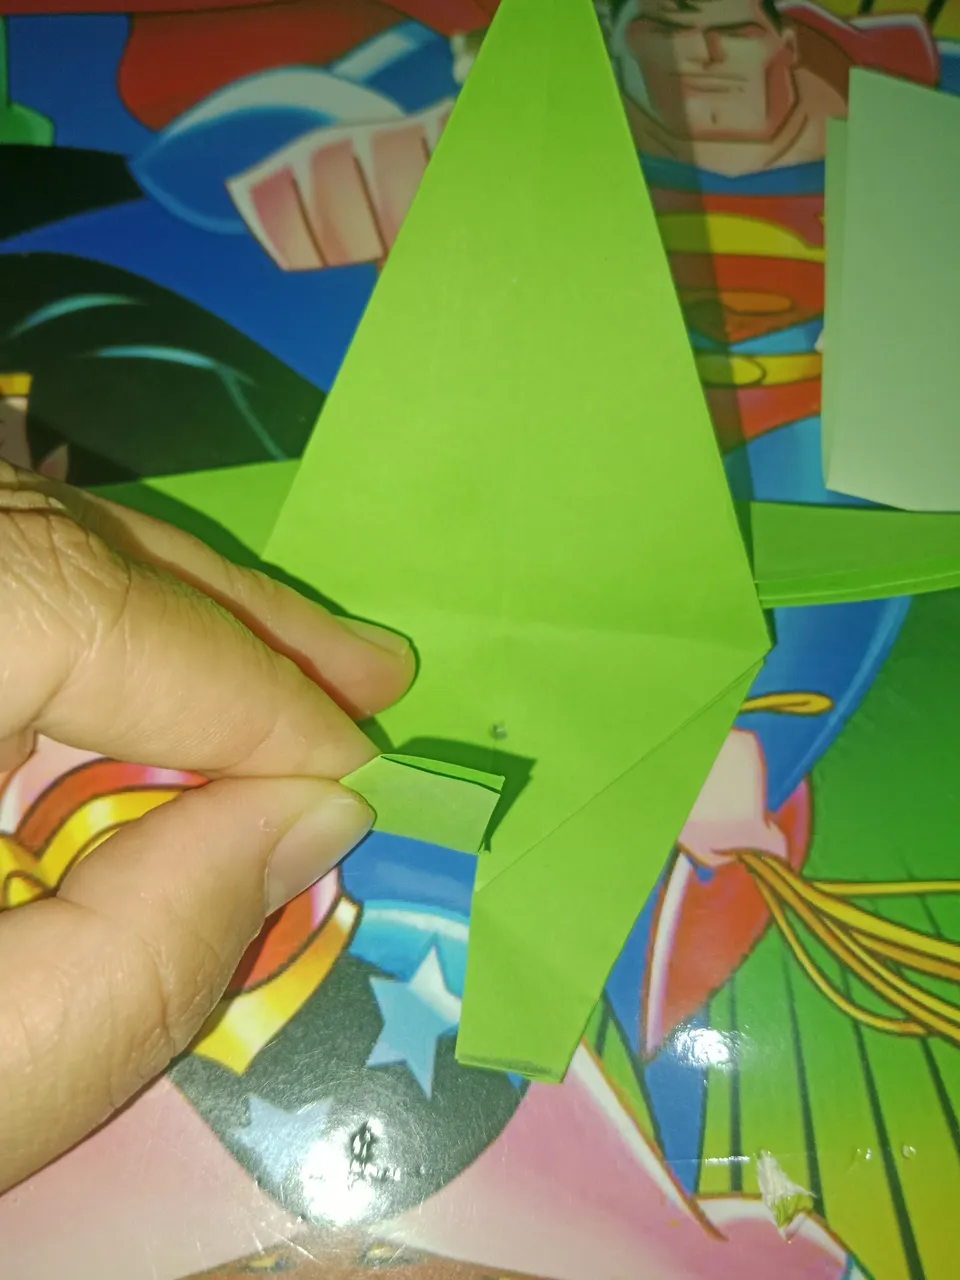
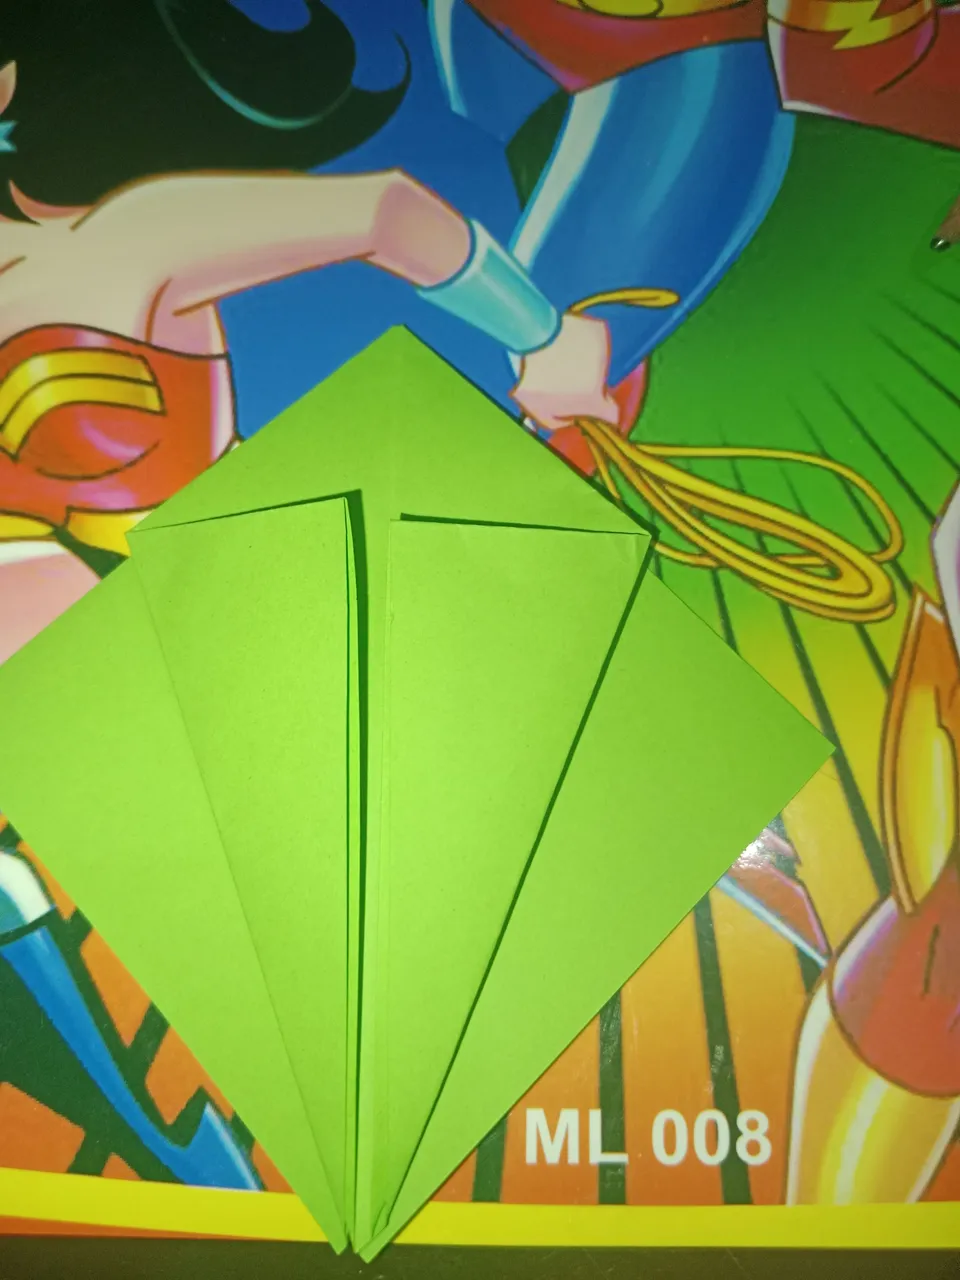
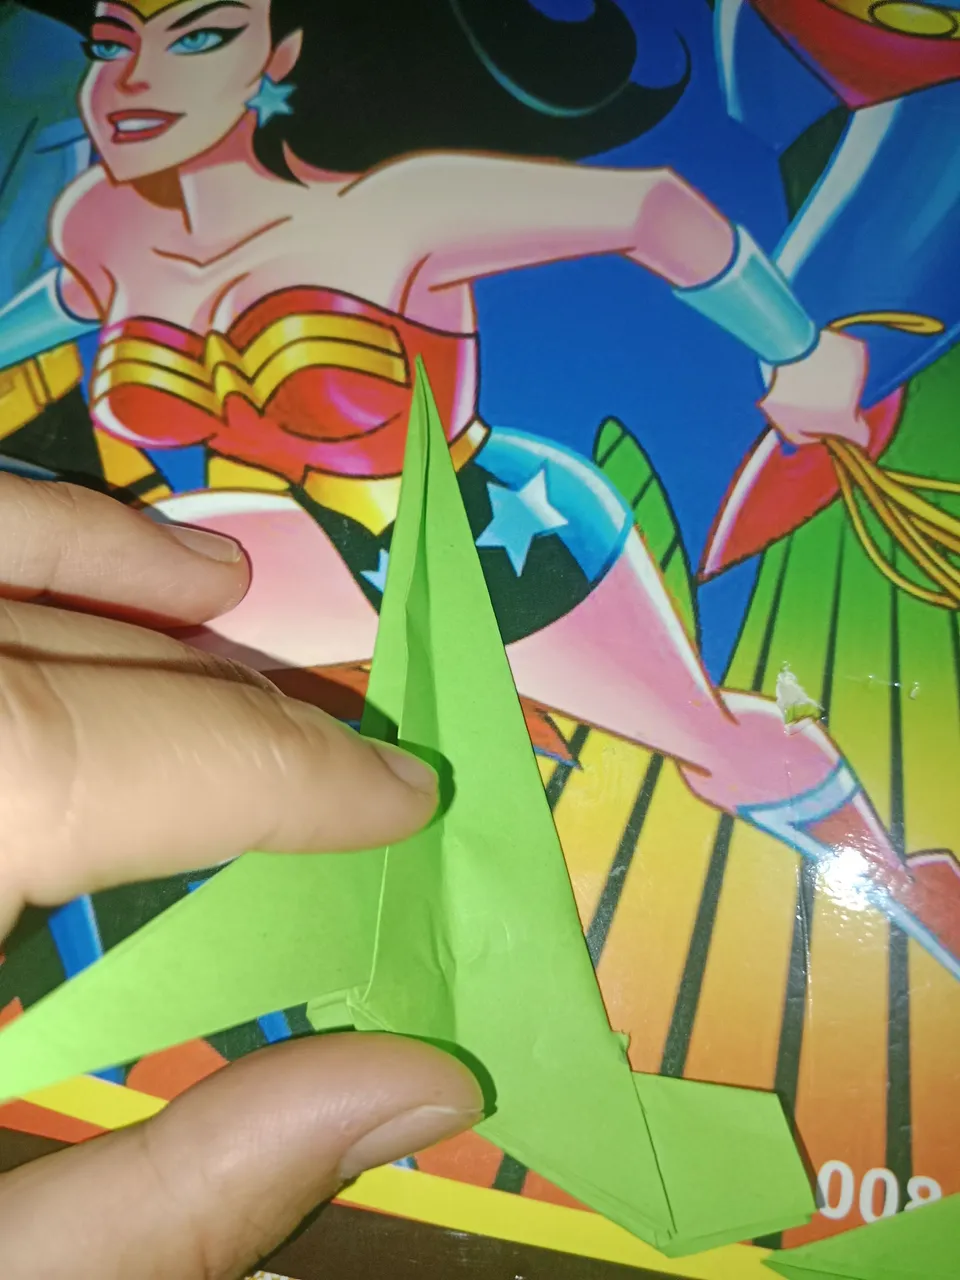
- After cutting and splitting as shown in the picture, then fold it crosswise from the bottom and do the same on the other side.
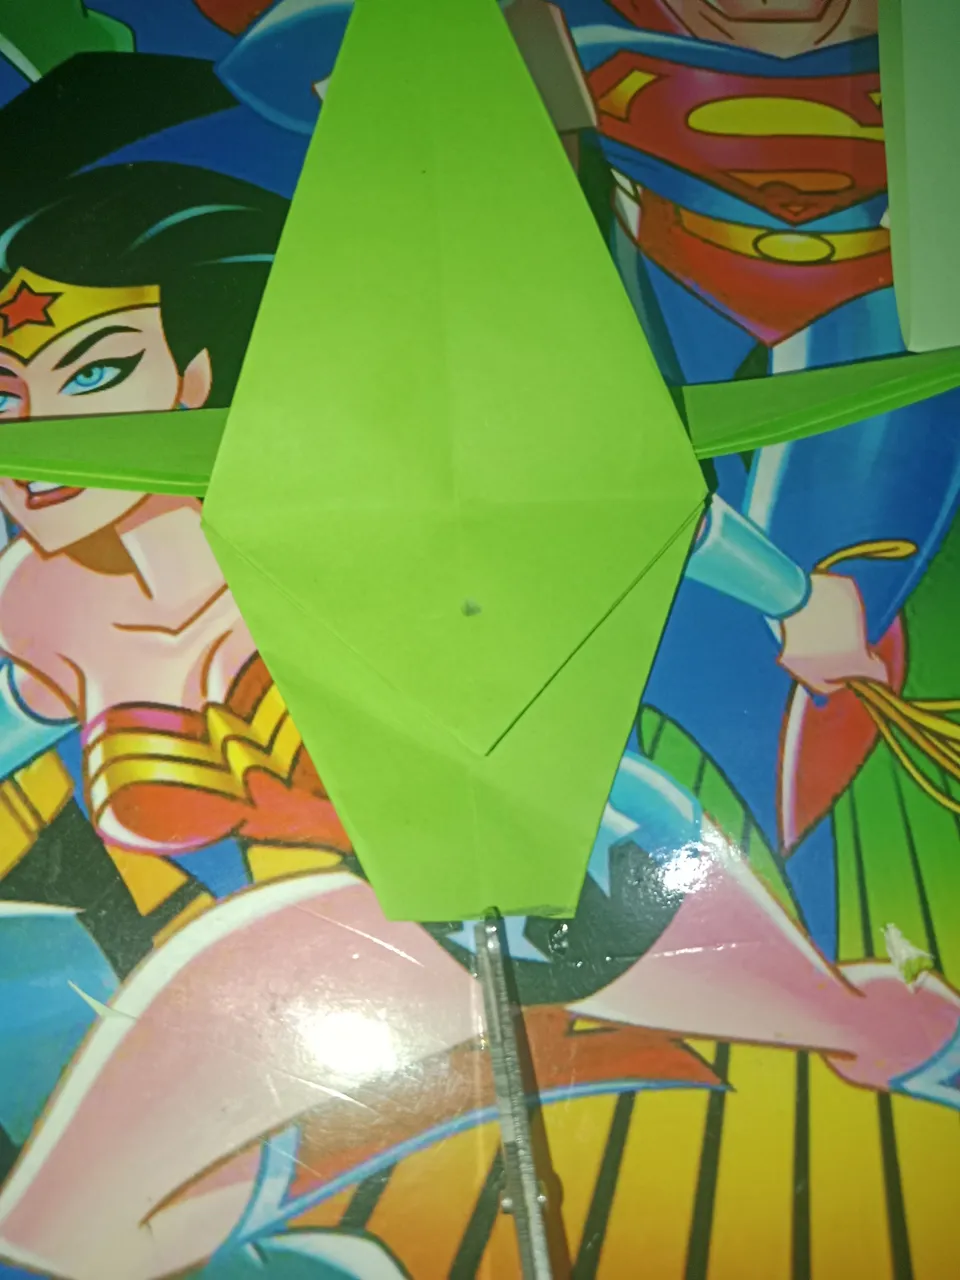
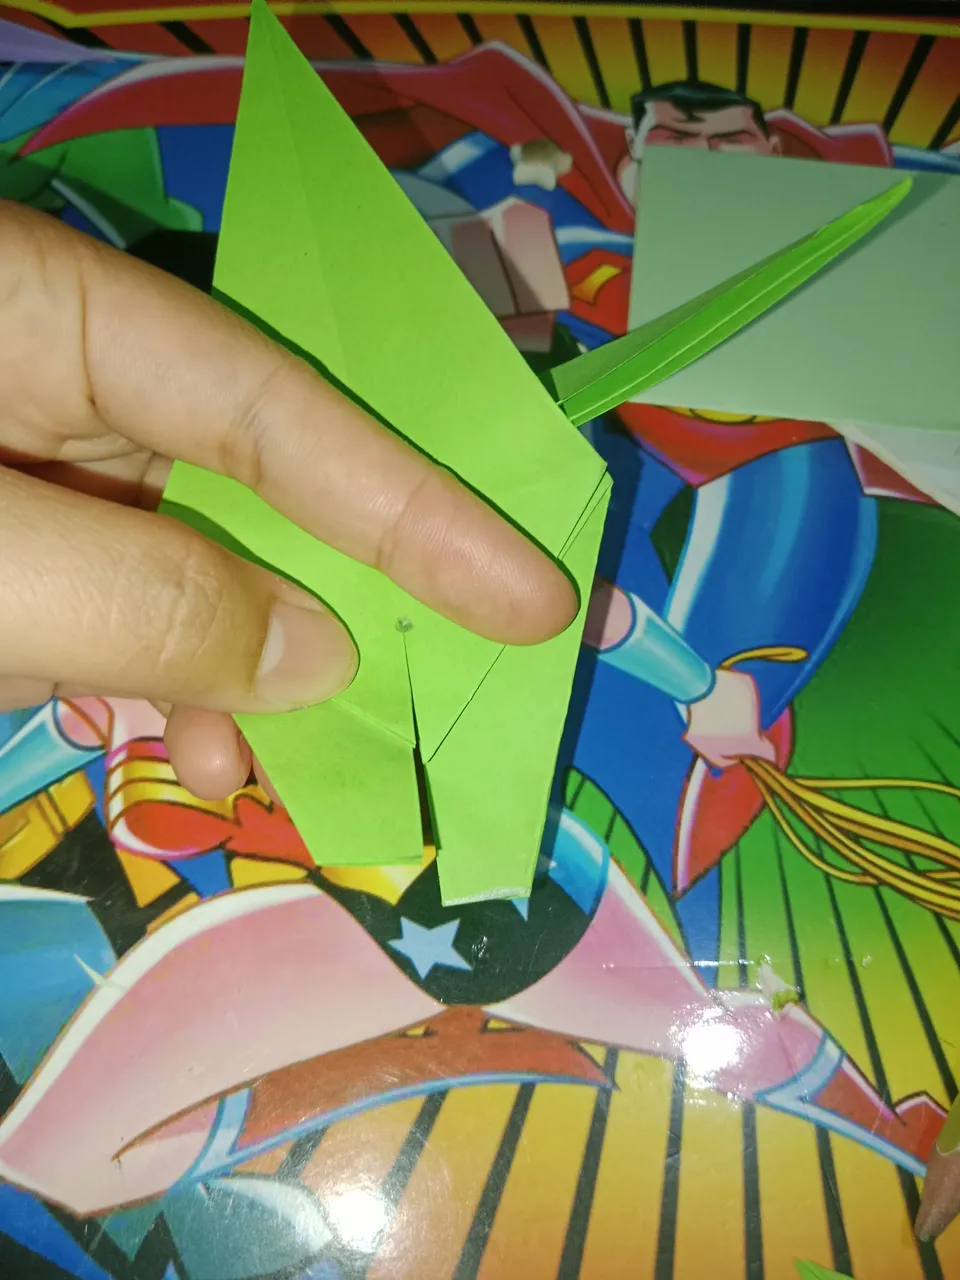
- then fold the paper down,
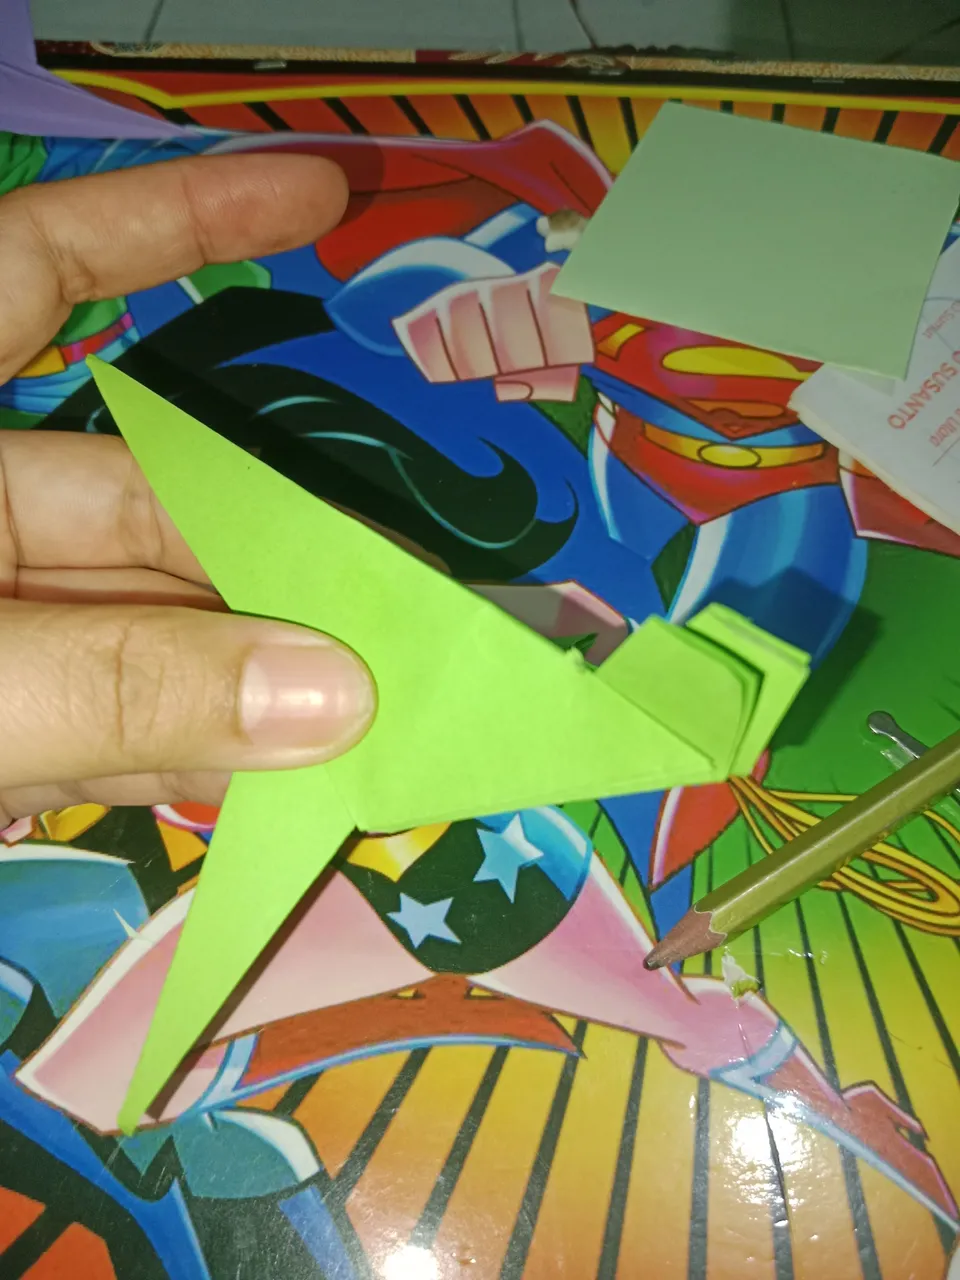
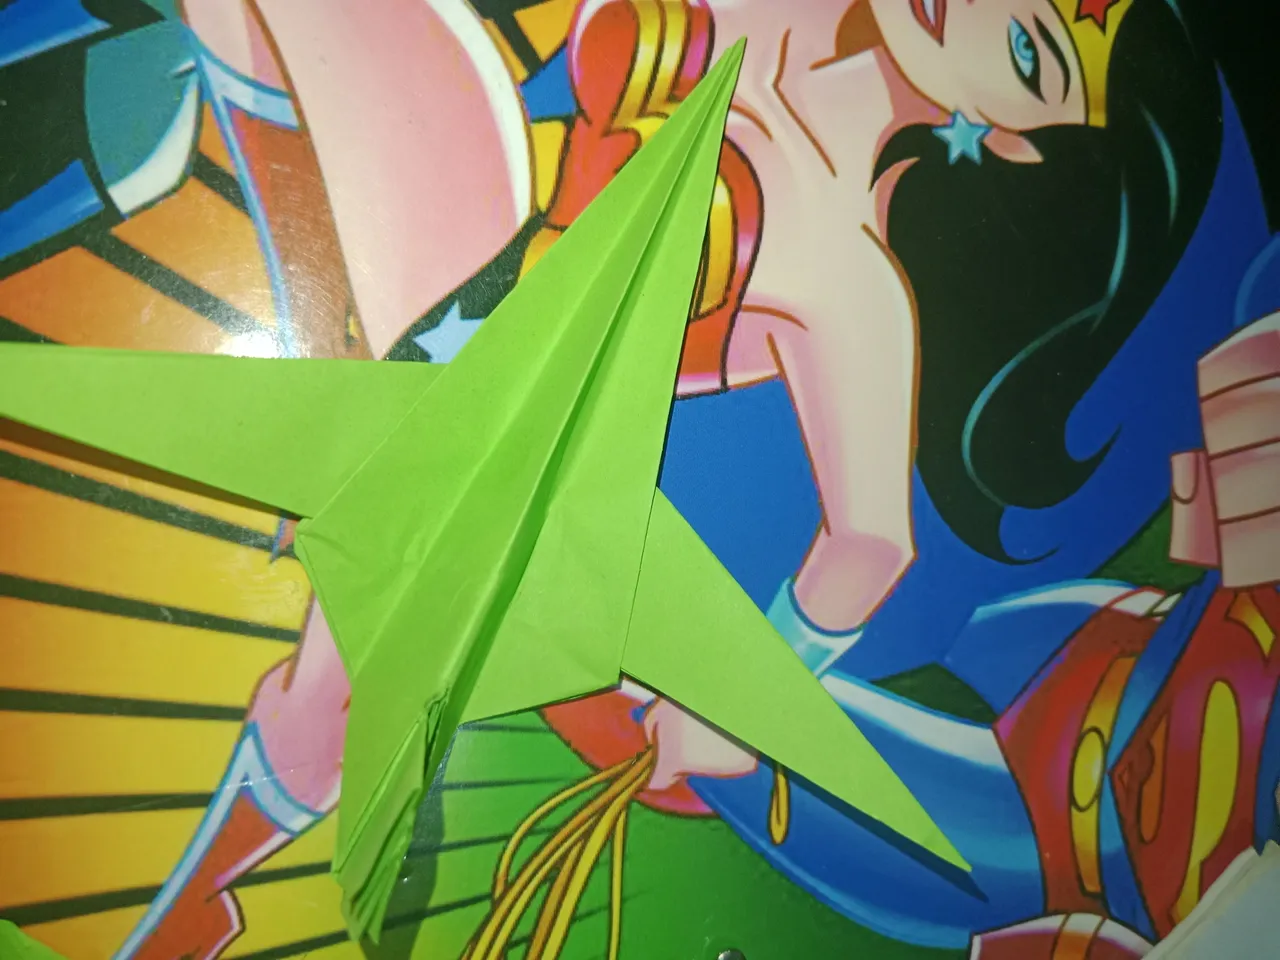
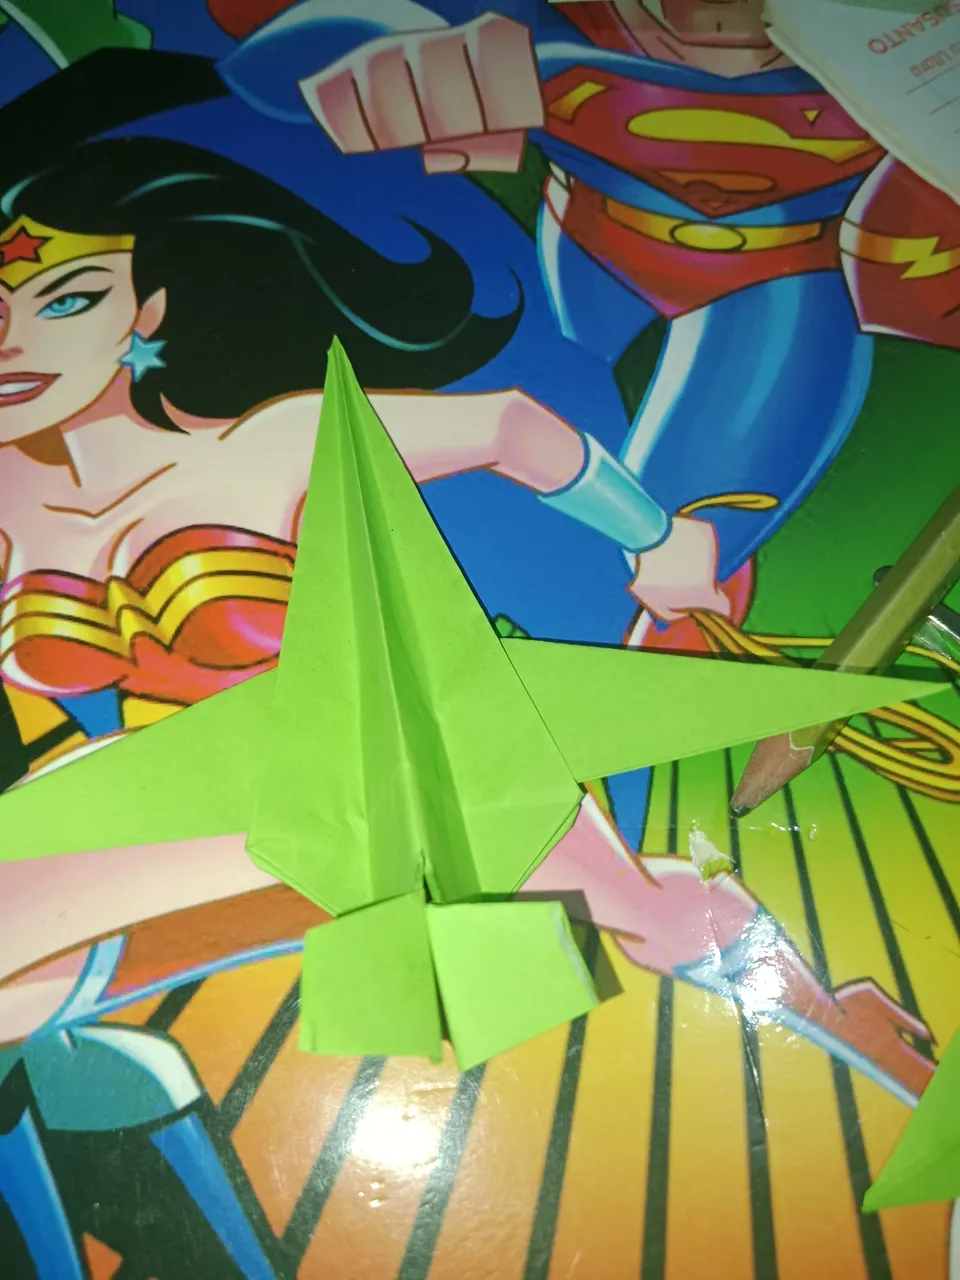
- And the last step is to fold the sides to create the wings of the plane.
do on the other side
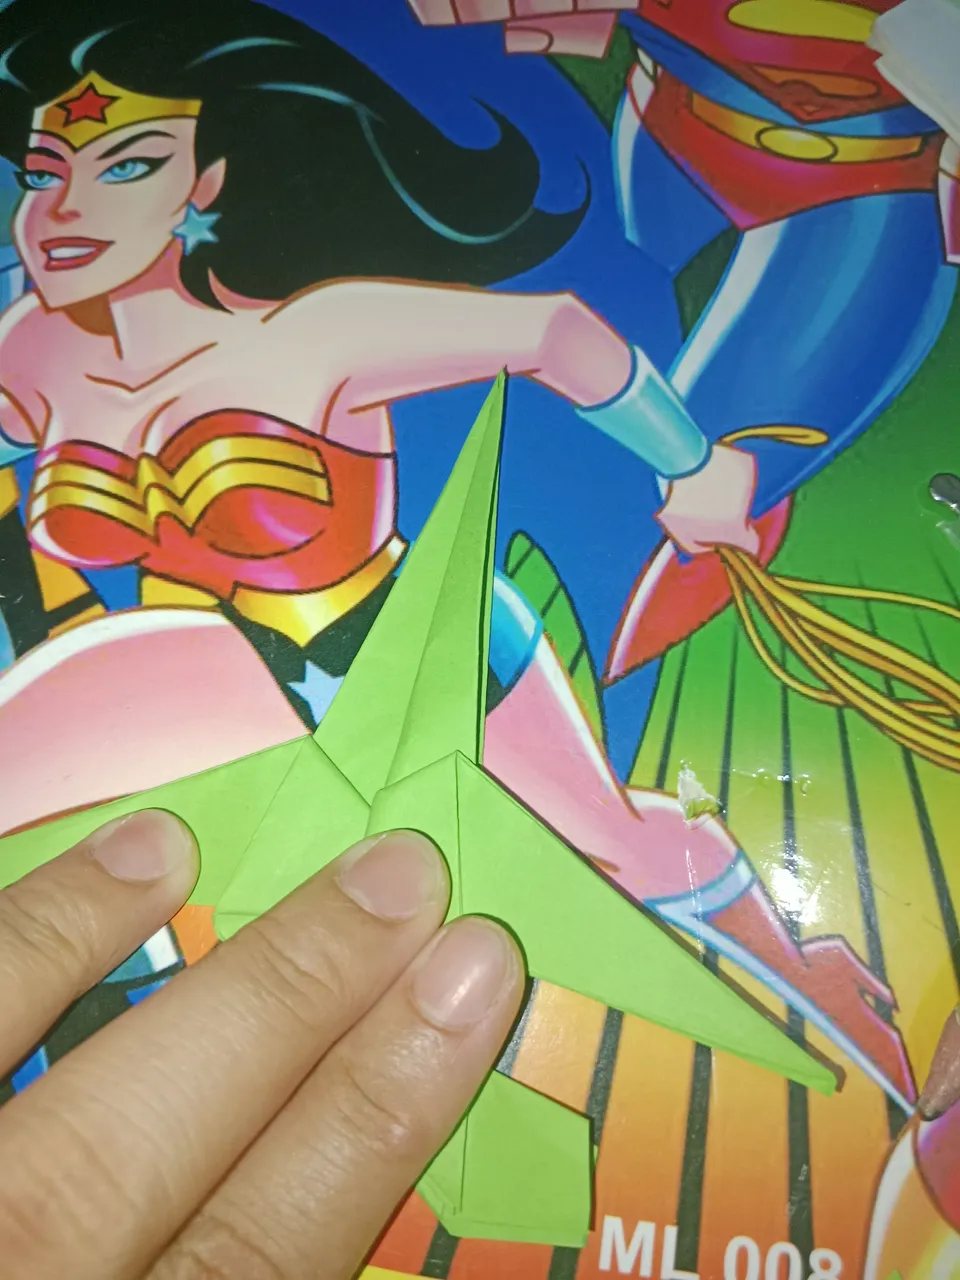
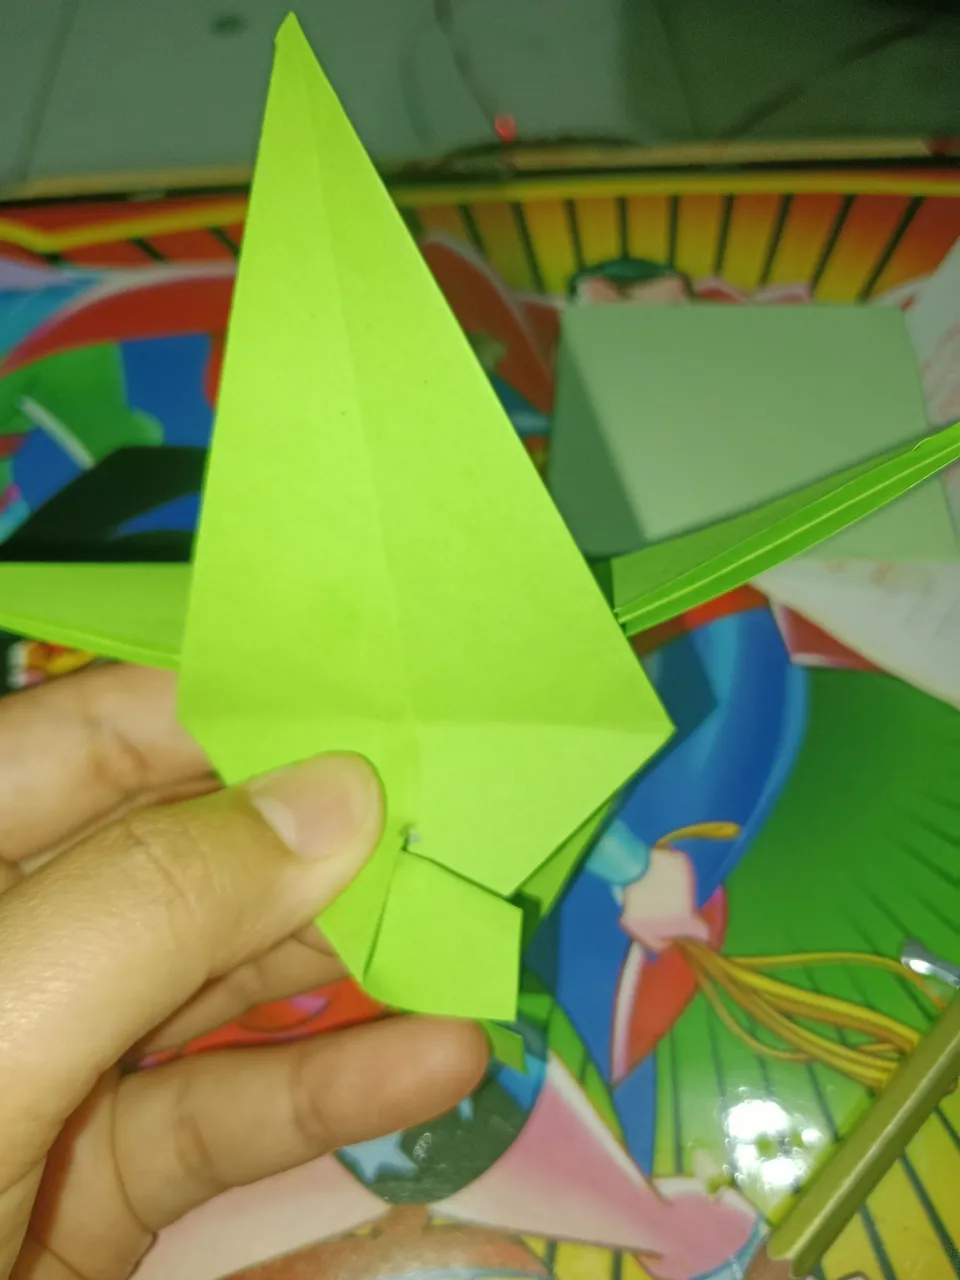
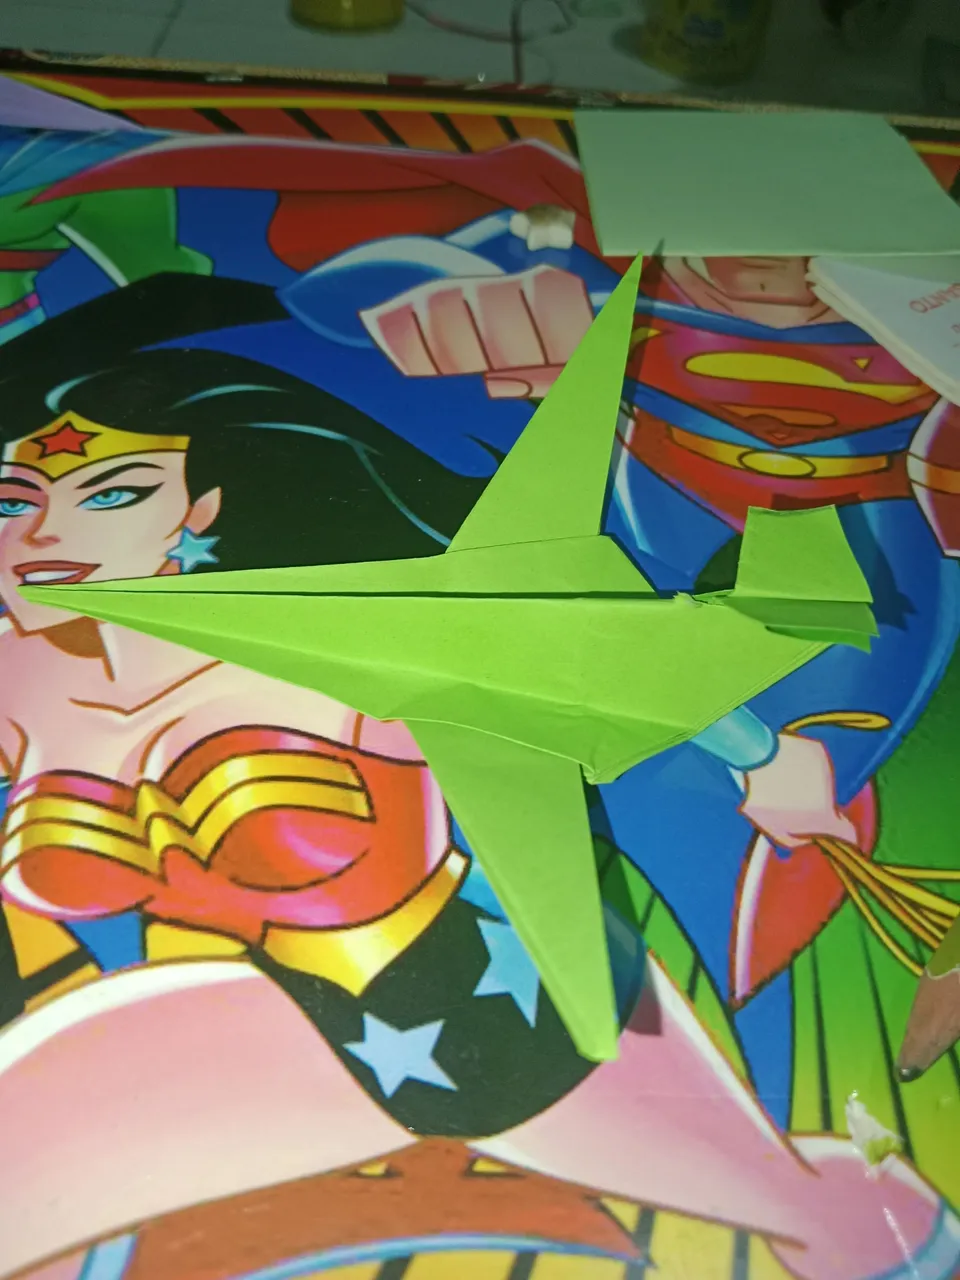
and the plane is ready to fly hihihi.

Hi.. thank you for reading my DIY blog. I hope you understand the words that I have explained and I hope you can imitate them too.. happy creating my friend.
Hello this is Nisa, an amateur writer