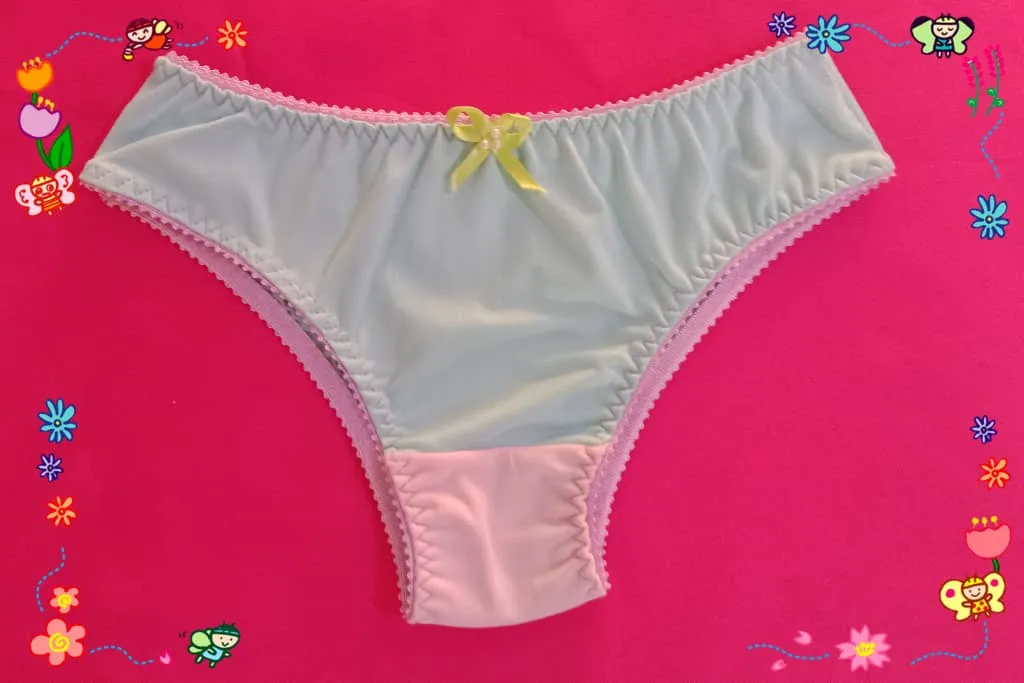

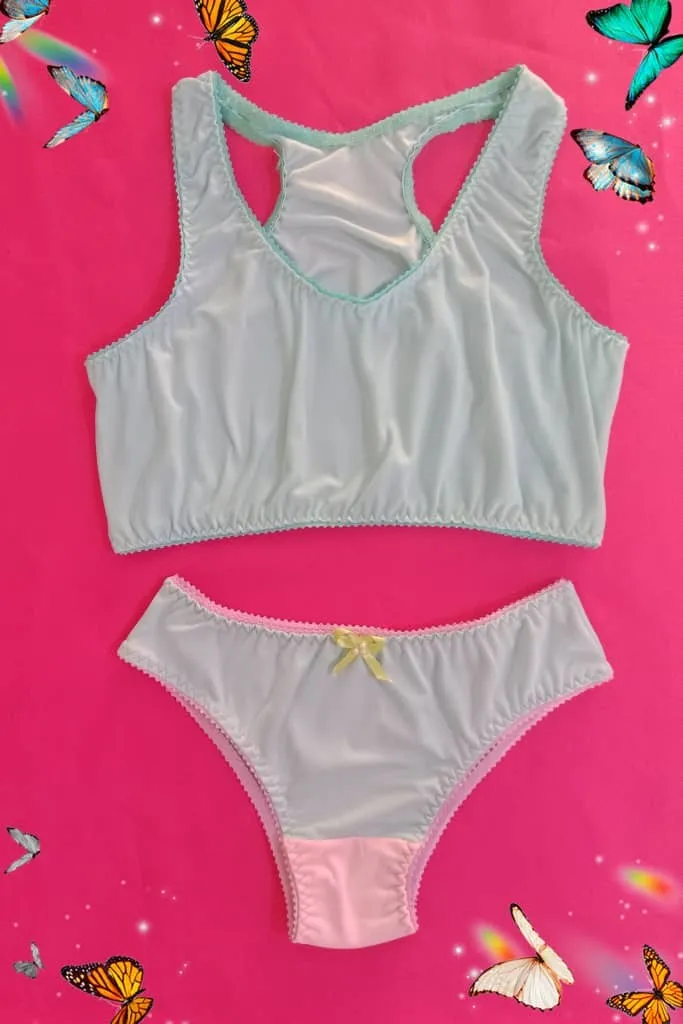
Greetings creative friends and #diyhub community, I wish you an excellent and blessed week together with your loved ones, these days have been very active and busy with my son's school activities, but I try to make time for my favorite hobby, sewing, I also have a star client, my dear niece and I must attend her orders, in fact I had to make a pause with the kids clothes, to attend this princess, this time the project is a turquoise panty with pink that will match with a turquoise Olympic top.

Saludos amigos creativos y comunidad #diyhub, deseo tengan una excelente y bendecida semana en unión de sus seres queridos, estos días han sido muy activos y ocupados con las actividades escolares de mi hijo, pero trato de sacar tiempo para mi hobby favorito, coser, además tengo una cliente estrella, mi querida sobrina y debo atender sus pedidos, de hecho tuve quehacer una pausa con la la ropa de los chicos, para atender a esta princesa, en esta ocasión el proyecto es una panty color turquesa con rosa que hará juego con un top olímpico turquesa.


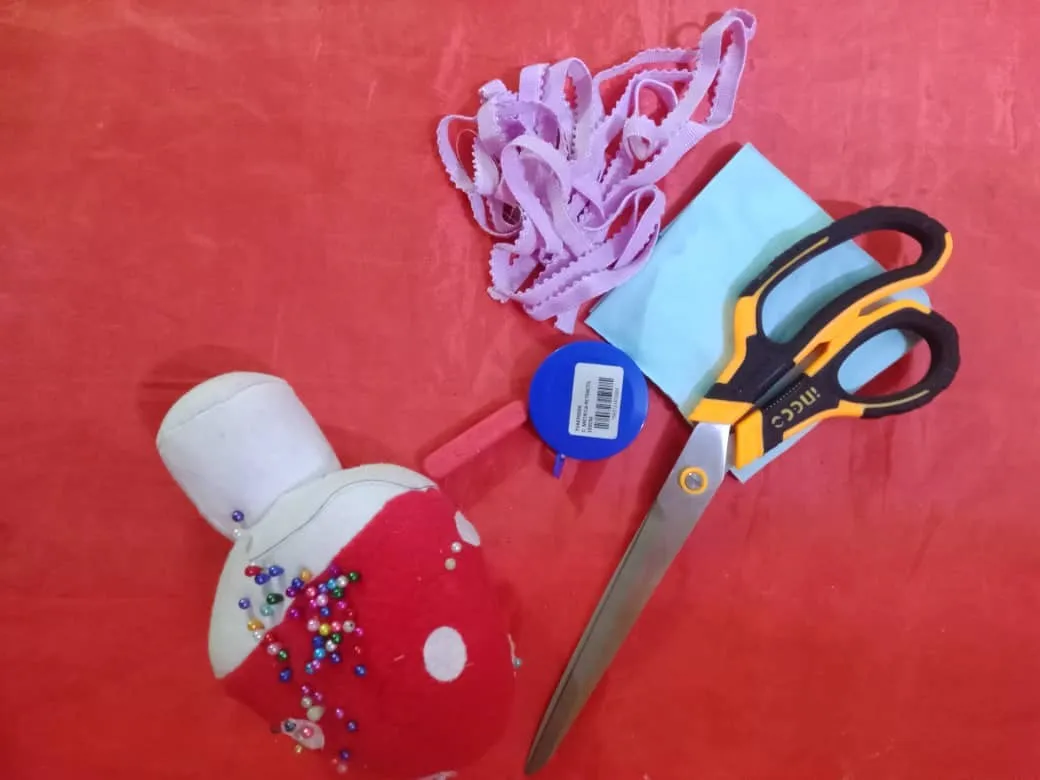
The materials used were:
Fabric micro180 (turquoise and pink)
Elastic bias
Molds
Pins
Chalk
Scissors
Sewing machine
Los materiales usados fueron:
Tela micro180 (turquesa y rosa)
Sesgo elástico
Moldes
Alfileres
Tiza
Tijera
Máquina de coser
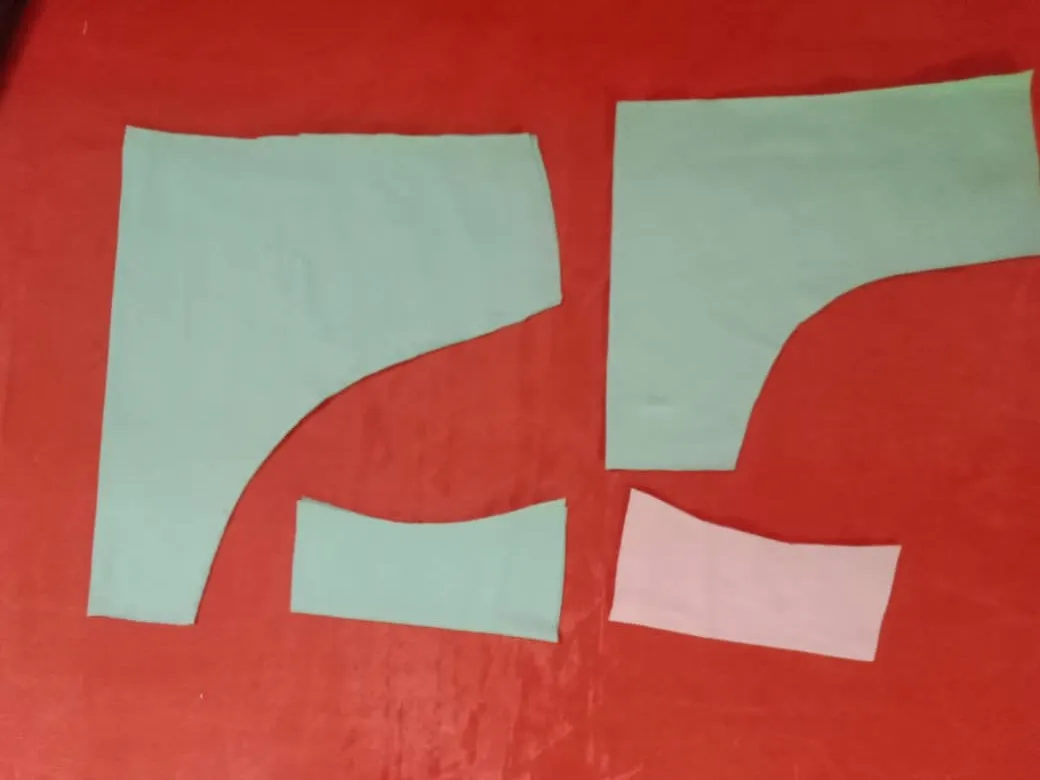
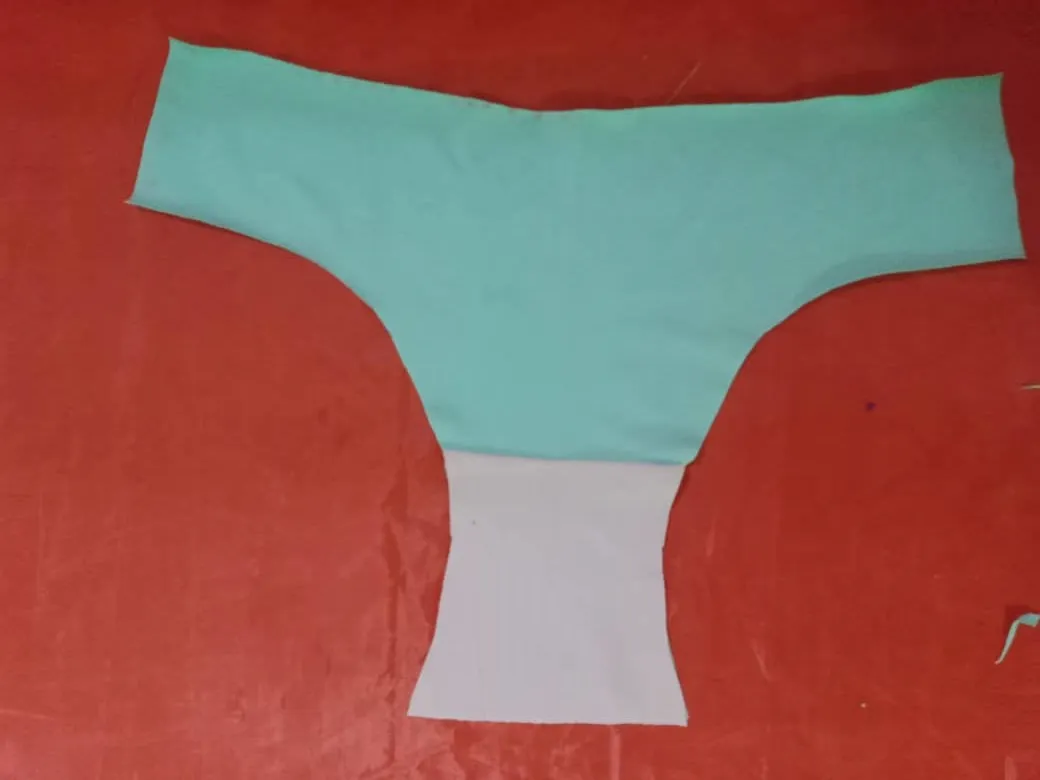
Elaboration
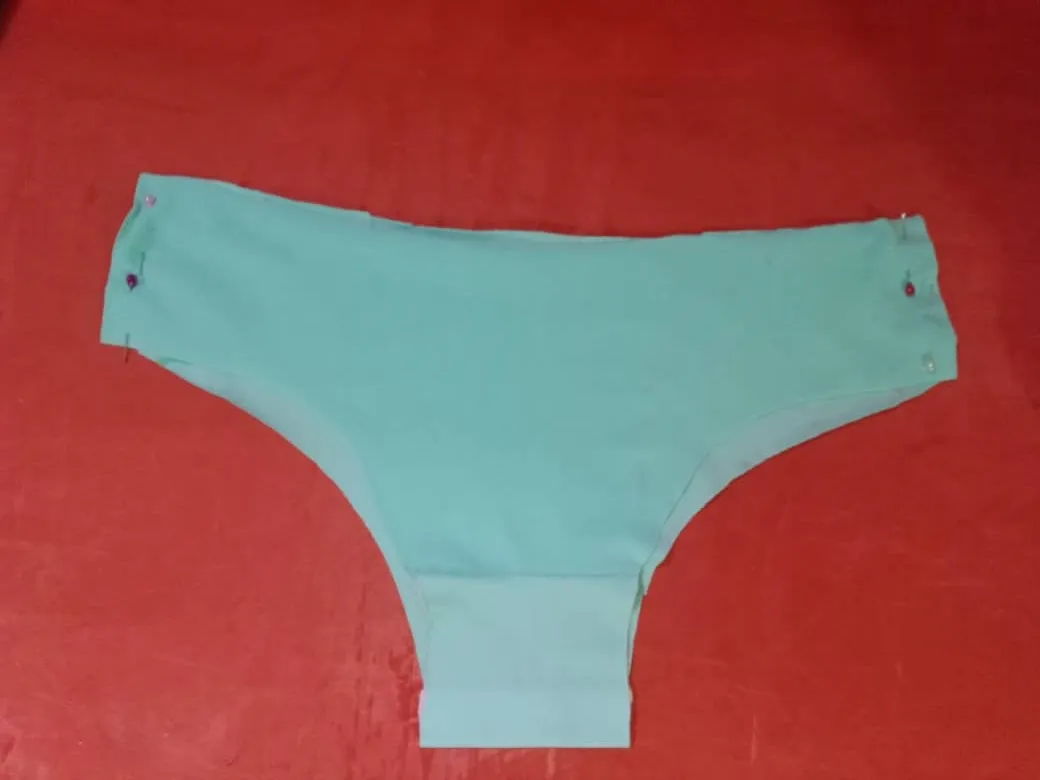
The first step was to mark and cut the pieces of the panty; back, front and center, this one has two colors, pink on the outside and turquoise on the inside.
Elaboración
El primer paso fue marcar y cortar las piezas de la panty; trasero, delantero y centro, este tiene dos colores, rosa en la parte externa y turquesa en el interior.
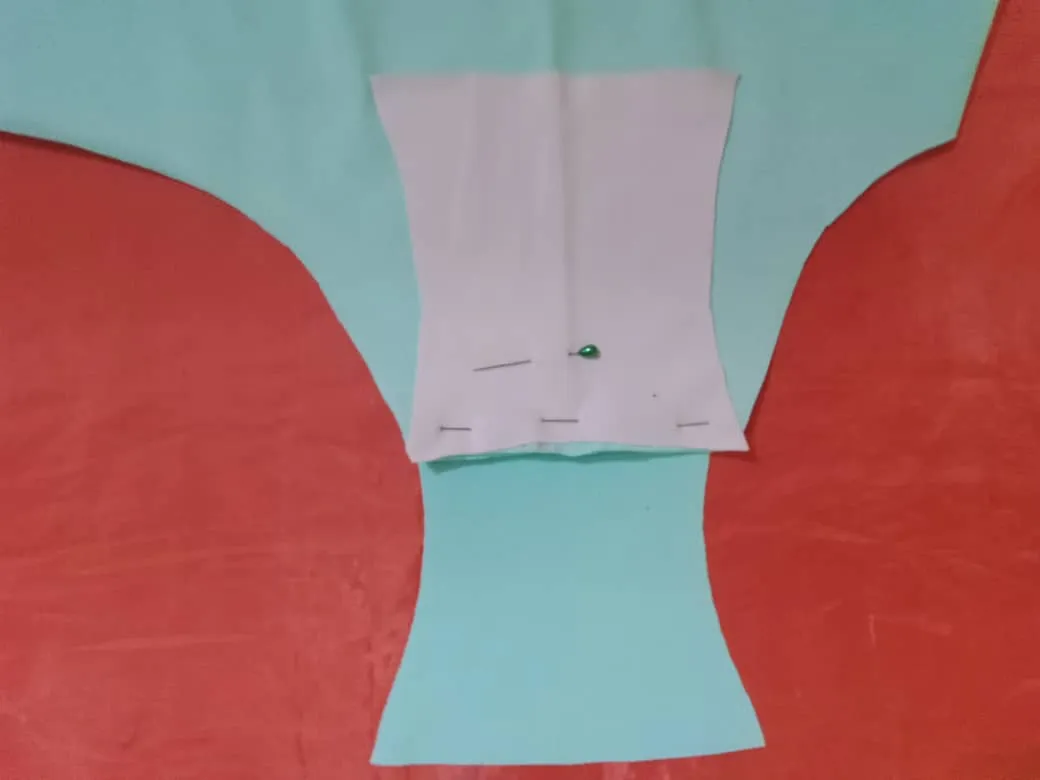
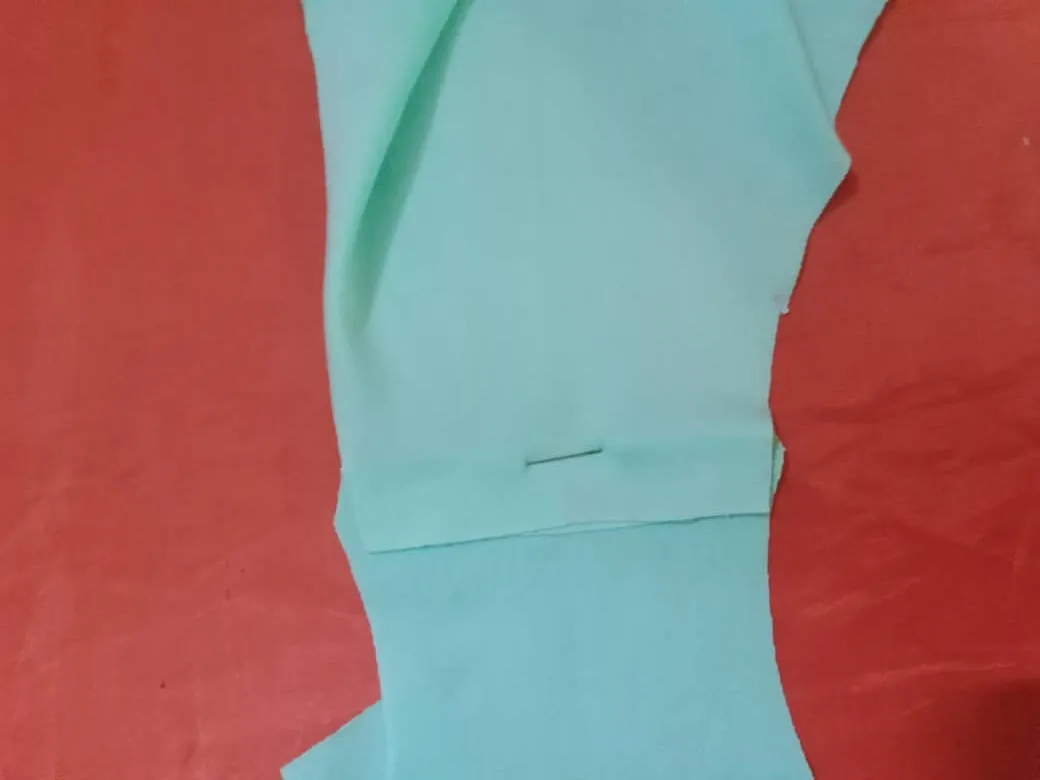
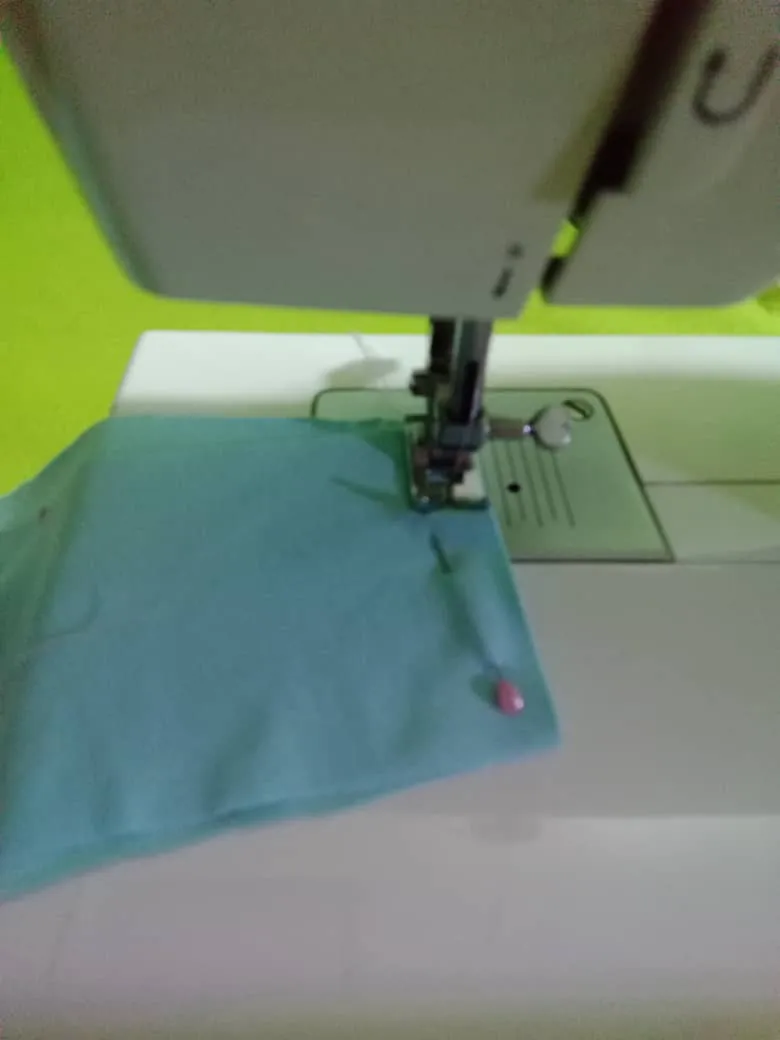
The next step was to join the center pieces to the front, I faced the pink one right side and the turquoise one front to back, pinned and sewed with a straight stitch.
El siguiente paso fue unir las piezas centrales al delantero, enfrenté por el derecho la de color rosa y la de color turquesa delantero con revés, fijé con alfileres y cosí con puntada recta.
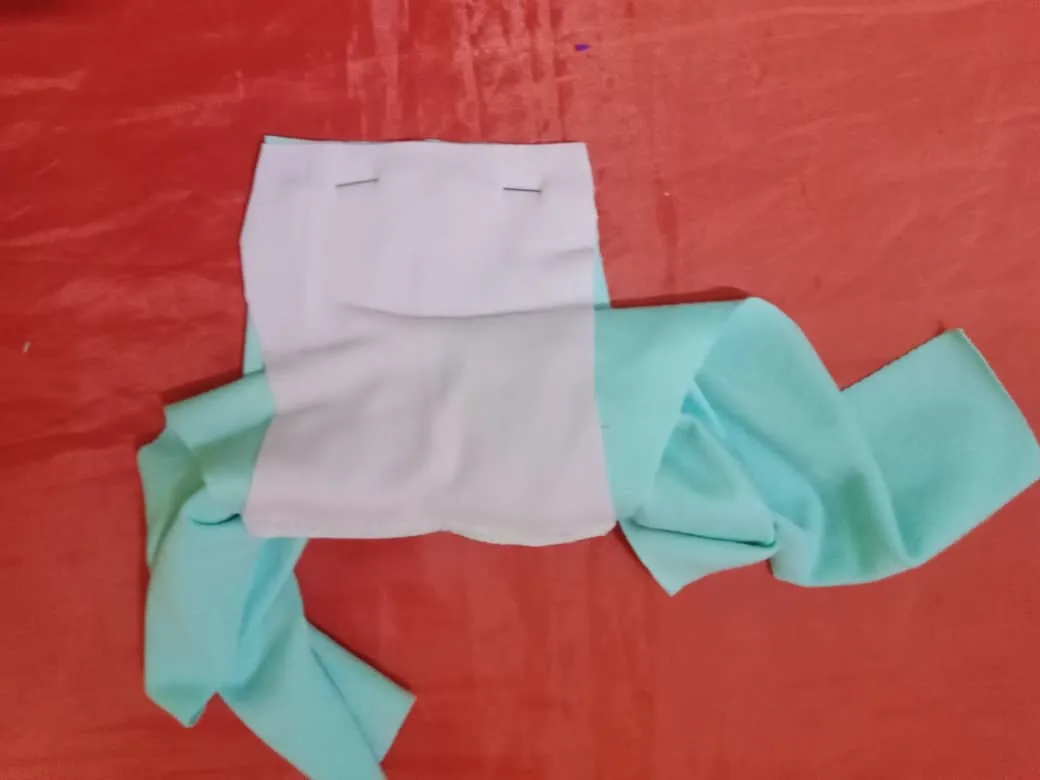
Then I glued the back part to the central pieces, facing the turquoise one with the right side of the back and passed the pink piece through the upper part forming a sort of “tube”, pinned, sewed and removed the garment on one of the sides, so the seams are hidden and the result is neat.
Luego pegué la parte trasera a las piezas centrales, enfrentando la de color turquesa con el derecho del trasero y pasé la pieza color rosa por la parte de arriba formando una especie de "tubo", sujeté con alfileres, cosí y saqué la prenda por uno de los lados,así las costuras quedan ocultas y el resultado es prolijo
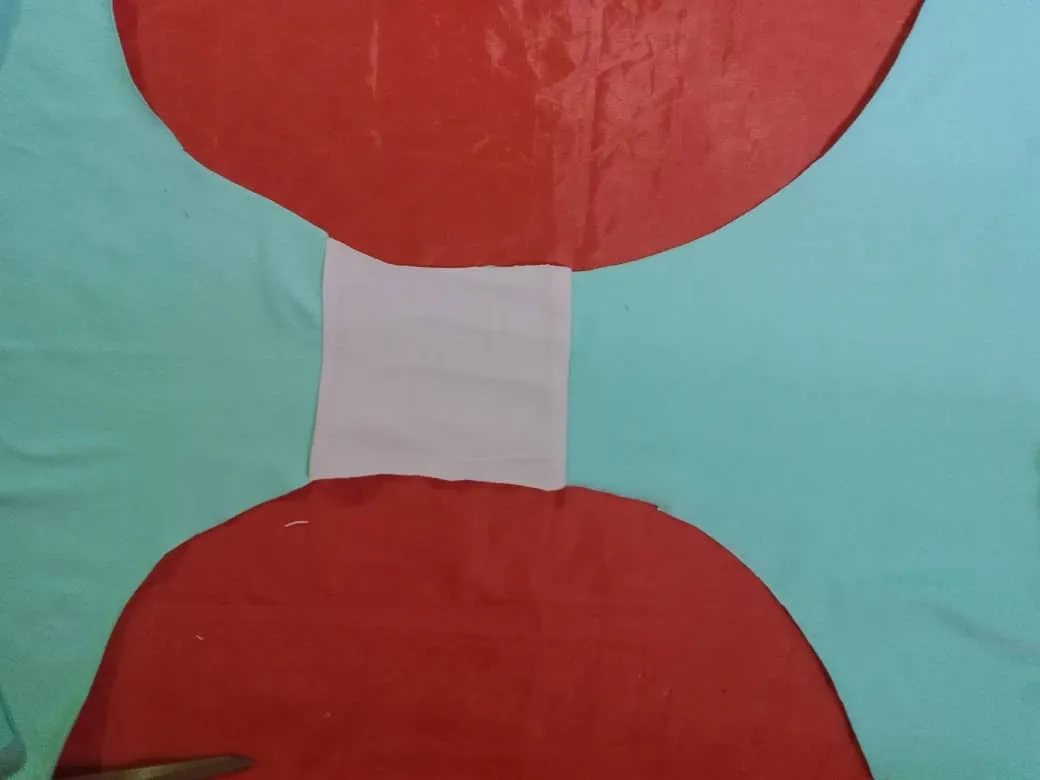
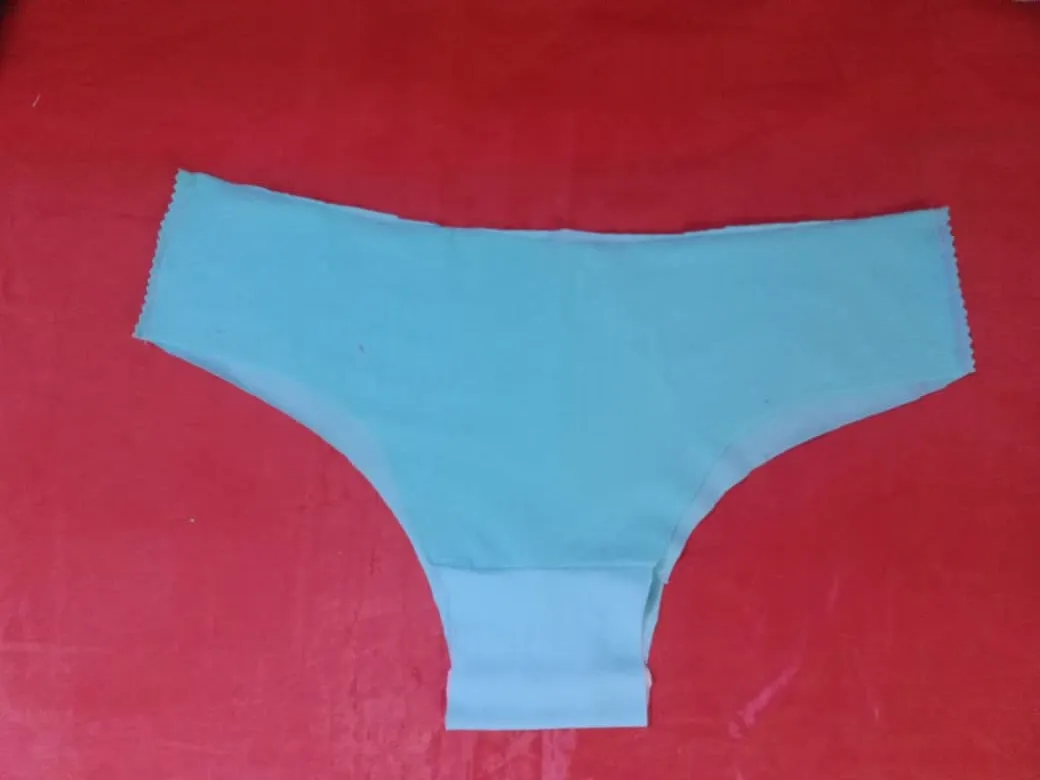
Once the front and back were assembled, I closed the sides with a straight point and removed the excess fabric.
Ensambladas la parte delantera y posterior, cerré los costados con punta recta y retiré el exceso de tela.
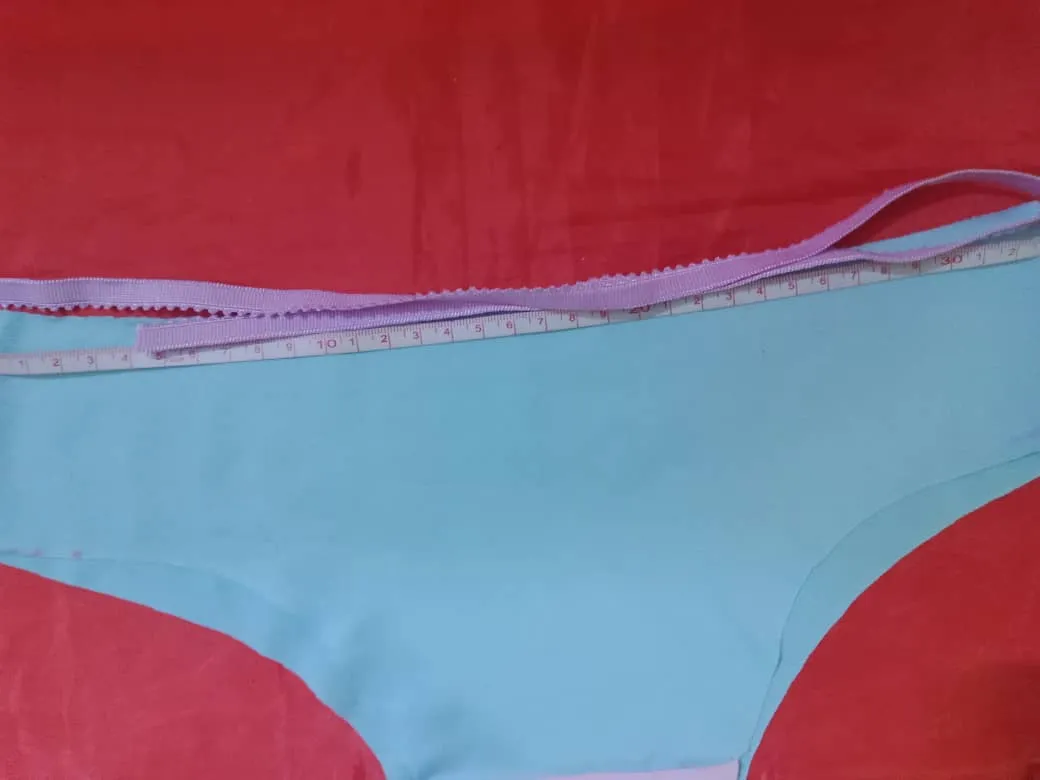
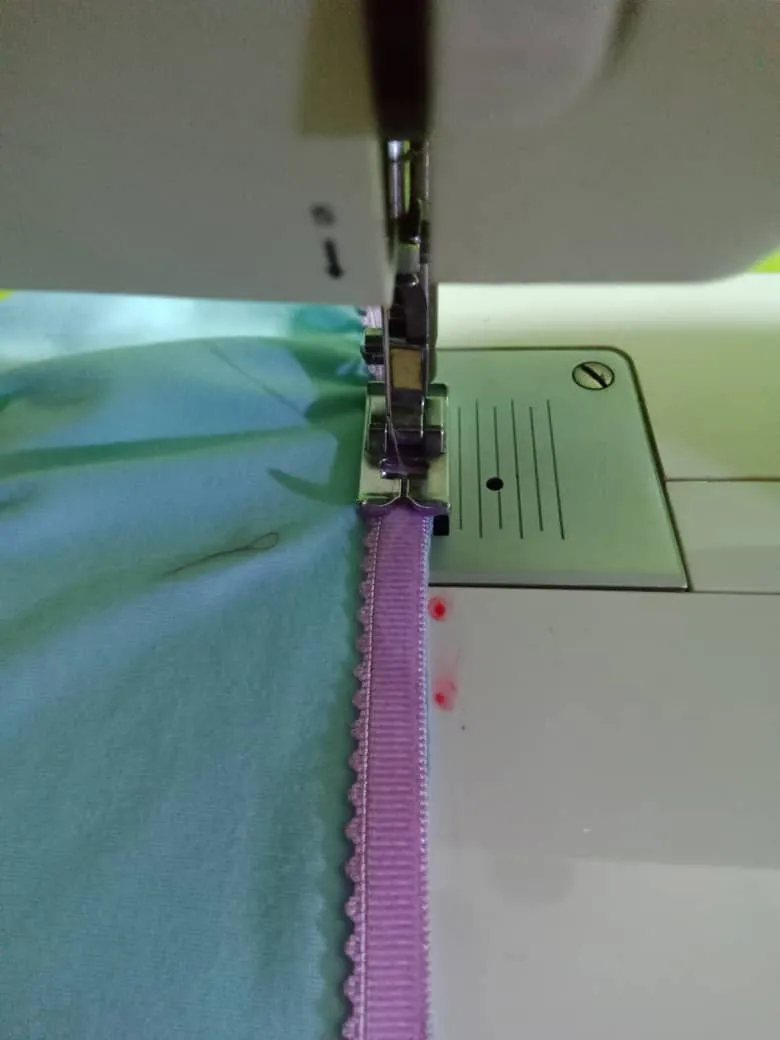
The last step was to glue the bias on the legs and waist, I measured the waist circumference to obtain the amount of elastic necessary, from the total measurement I subtracted ten (10) centimeters, (65 - 10 = 55), I glued the bias with decorative stitch, facing right side of the bias with the fabric and stretching one (1) centimeter every five (5) centimeters, then I turned the previous seam inside out and sewed over it to shelf, like this and in a few steps the panty is finished.
El último paso fue pegar el sesgo en las piernas y cintura, medí el contorno de cintura para obtener la cantidad de elástico necesaria, a la medida total le resté diez (10) centímetros, (65 - 10 = 55), pegué el sesgo con puntada decorativa, enfrentando derecho del sesgo con la tela y estirando un (1) centímetro cada cinco (5) centímetros, luego volteé la costura anterior por el revés y cosí por encima para repisar, así y en pocos pasos está terminada la panty.
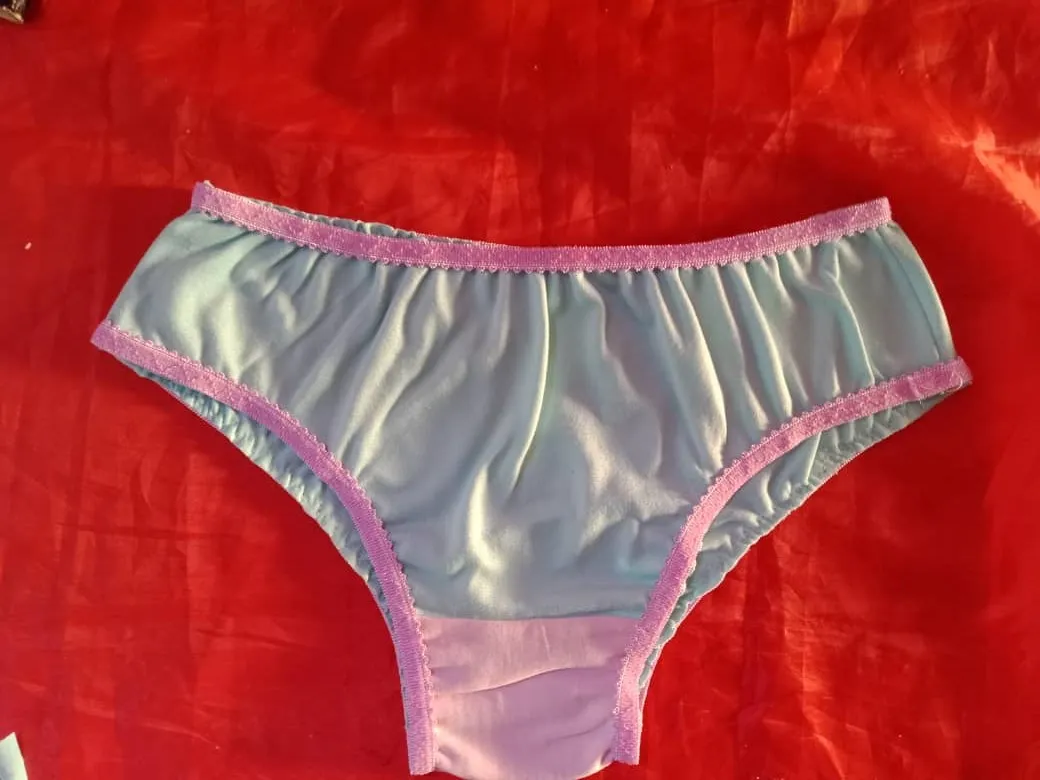

The color combination looks very good, I'm sure my niece will be happy with her new panty, I have already sewn several for her, each order increases the level of demand and I am excited to meet her expectations.
La combinación de colores se ve muy bien, seguro mi sobrina estará feliz con su nueva panty, ya he cosido varias para ella, cada pedido aumenta el nivel de exigencia y me emociona cumplir sus expectativas.
Blessings!
Bendiciones!
Hasta luego!
Translated with https://www.deepl.com/translator
              All images are my own, captured by a Síragon LC-3000 camera. Dividers courtesy of @kattycrochet.


   Todas las imágenes son de mi autoría, capturadas por una cámara Síragon LC-3000. Divisores cortesía de @kattycrochet.