It's an old post I can't release before. I'll come back soon with fresh content :)
You know, the serendipity (it's like a happy accident) can hit you everywhere at any time.
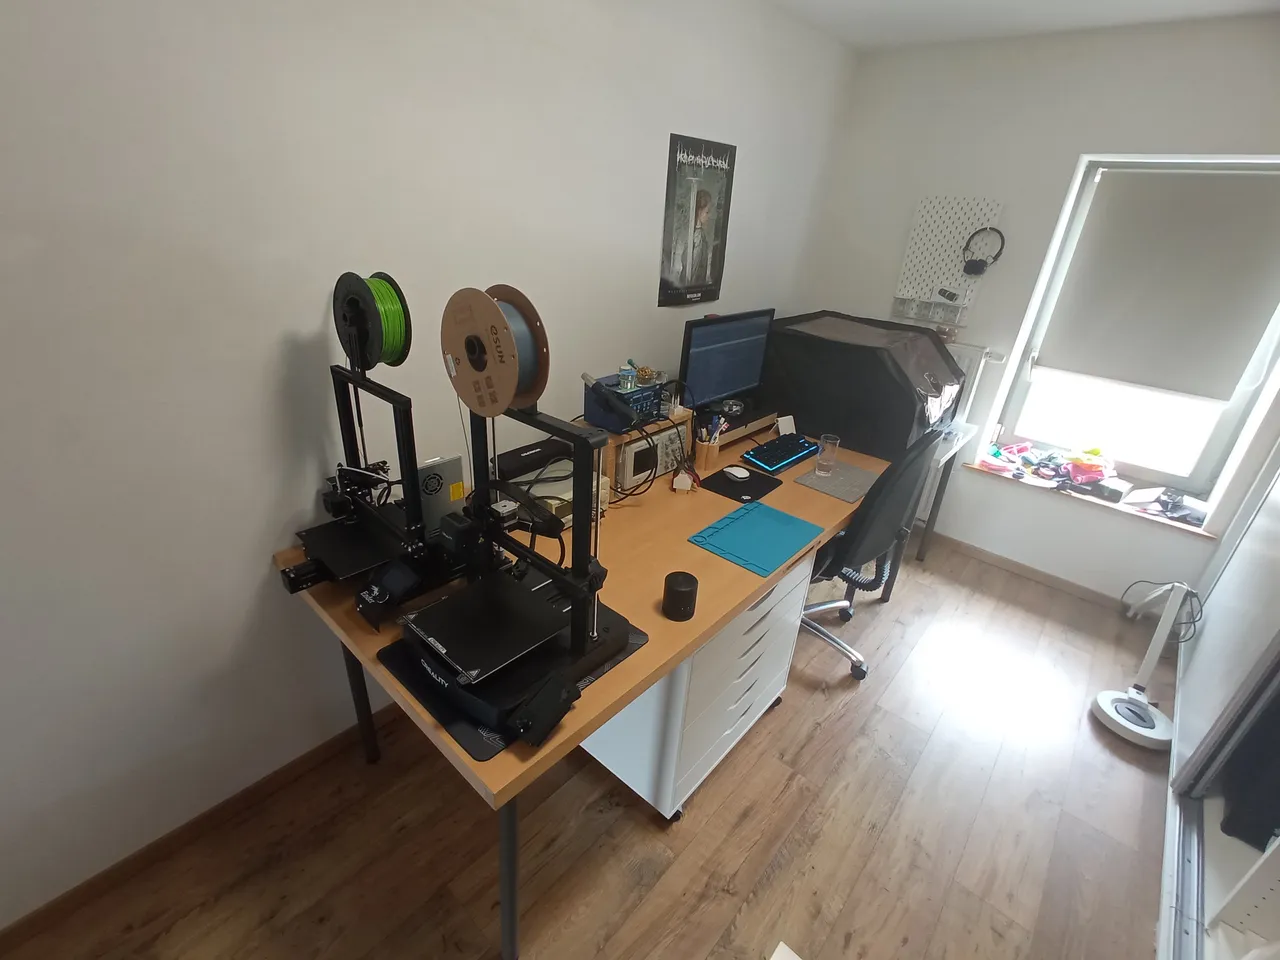
For my new "activity" (3D printed tools for disabled people), I need a new desk but with a great width (to install a Creality Falcon 2 laser engraver). And you know with it's bad ? Because I can't afford a large desk... But I have friends, neighborhood and ... a brain!
In this #DIY tutorial, I'll show you the process to create a desk from... a door!
The world best idea for a desk: a DOOR !
My ex-boss have some building renovation sites. At the same time, my girlfriend have a great idea : a door is wider than a desk. I take my phone and call my ex-boss, ask for a door, and got some really good doors for a building than which he has not yet renovated. He said : "Take your tools and come to the renovation site, and remove the doors. That can help me and you'll have free doors."
So, I take the car, go to the worksite and take some doors (after hours of efforts !). When we come back(with nine dors in the trailer), I go to sleep with some painkillers because I was really painful and tired. This was the only thing I do this day but I was happy!
Bill of Material
To do this desk, We ask to IKEA Second Life for :
- an ALEX drawer unit on castors
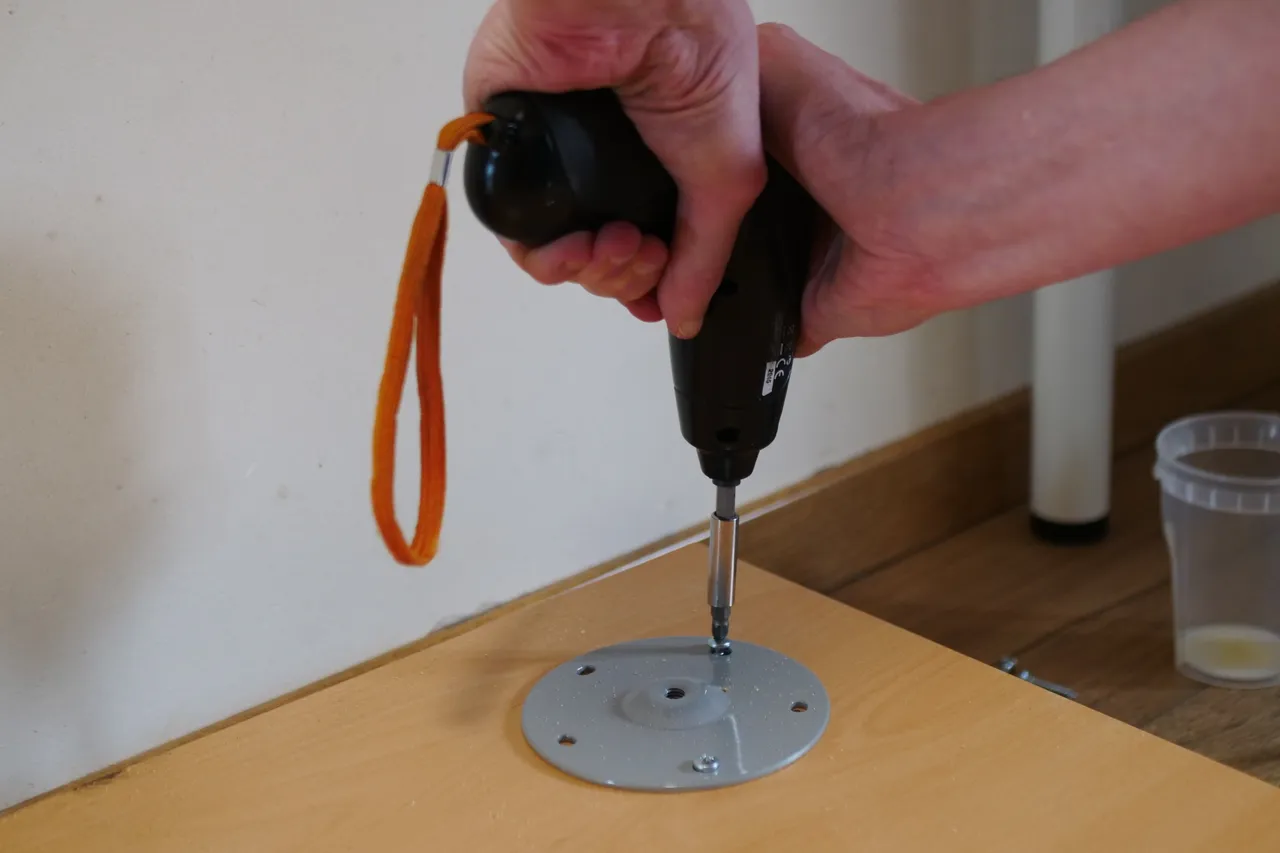
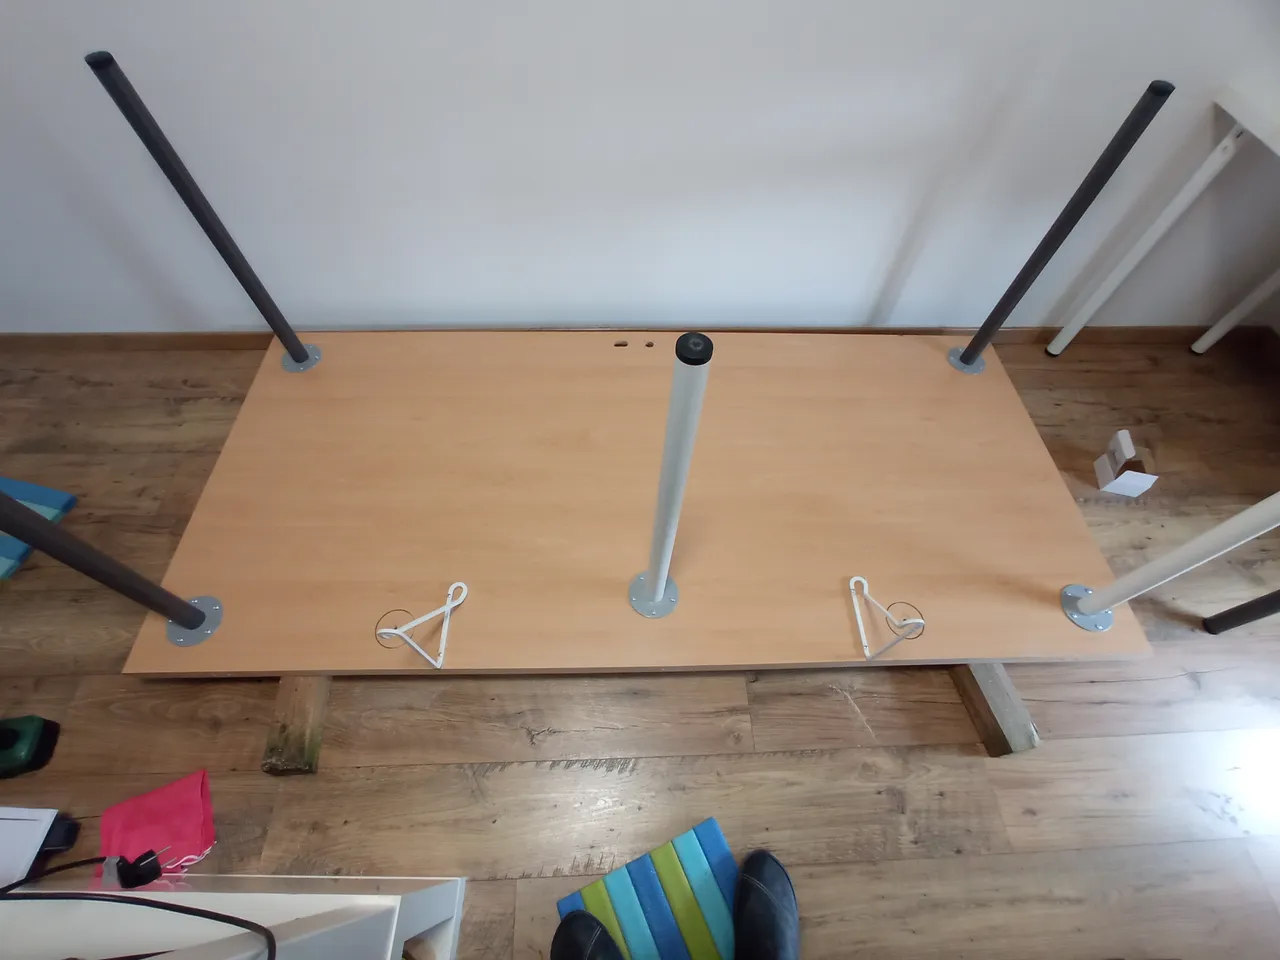
- Five grey ADILS leg
- Two FÖRLÄGGARE brackets to fix desk to the wall
- Some wood scraps between Alex and the desk.
And for all these products, we paid 50€ (near 55$).
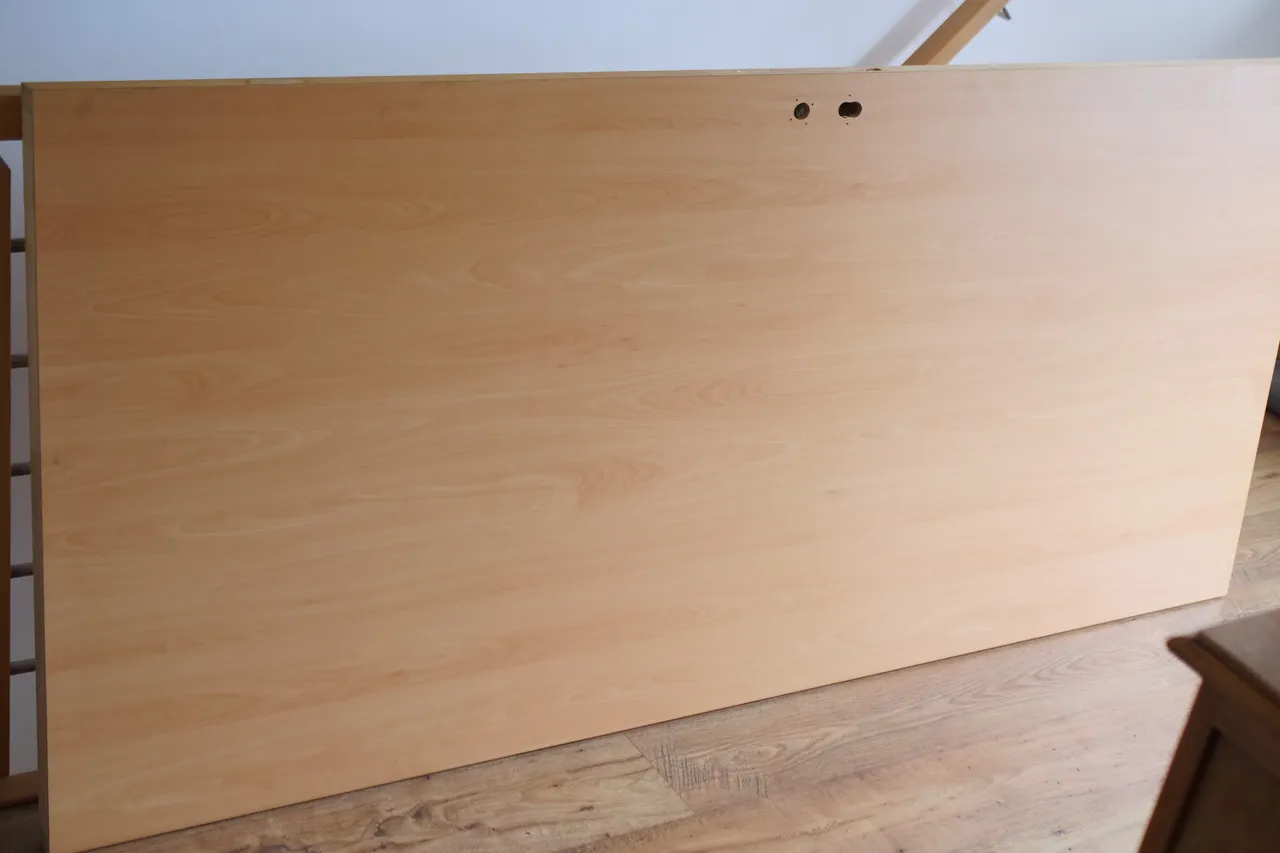
And of course, you need... a DOOR ! This one is 93cm/3.05ft width for 204cm/6.7ft long and have 3.4cm/1.34in thickness
For the plan, it was easy :
- The four desk legs was positioned 10cm/3.94in in from the edges.
- The two grommet holes are at 50cm/19.7in from each width and 8cm/3.15in from the long side
- The brackets are at 60cm/23.6in from each width. It's only to wall-mount the desk and avoid some vibrations.
Think about some accessibility (with 3D Print)
This desk will be really wide but I want it very clean. It will be used for 3 things:
- Electronics stuff
- 3D printing
- Laser engraving
If you think "It's a real workspace, not a desk", you're right. But, I want to have a really beautiful and clean workspace for that, like the desks you find in magazines or on r/Workspaces subreddit.
Before build my desk, I need to think about it :
- How can I have great cable management?
- How can I add features to my desk? Which features?
- How can I keep it clean easily ?
The answer is really simple and come to me in a really quick time : 3D PRINT of course!
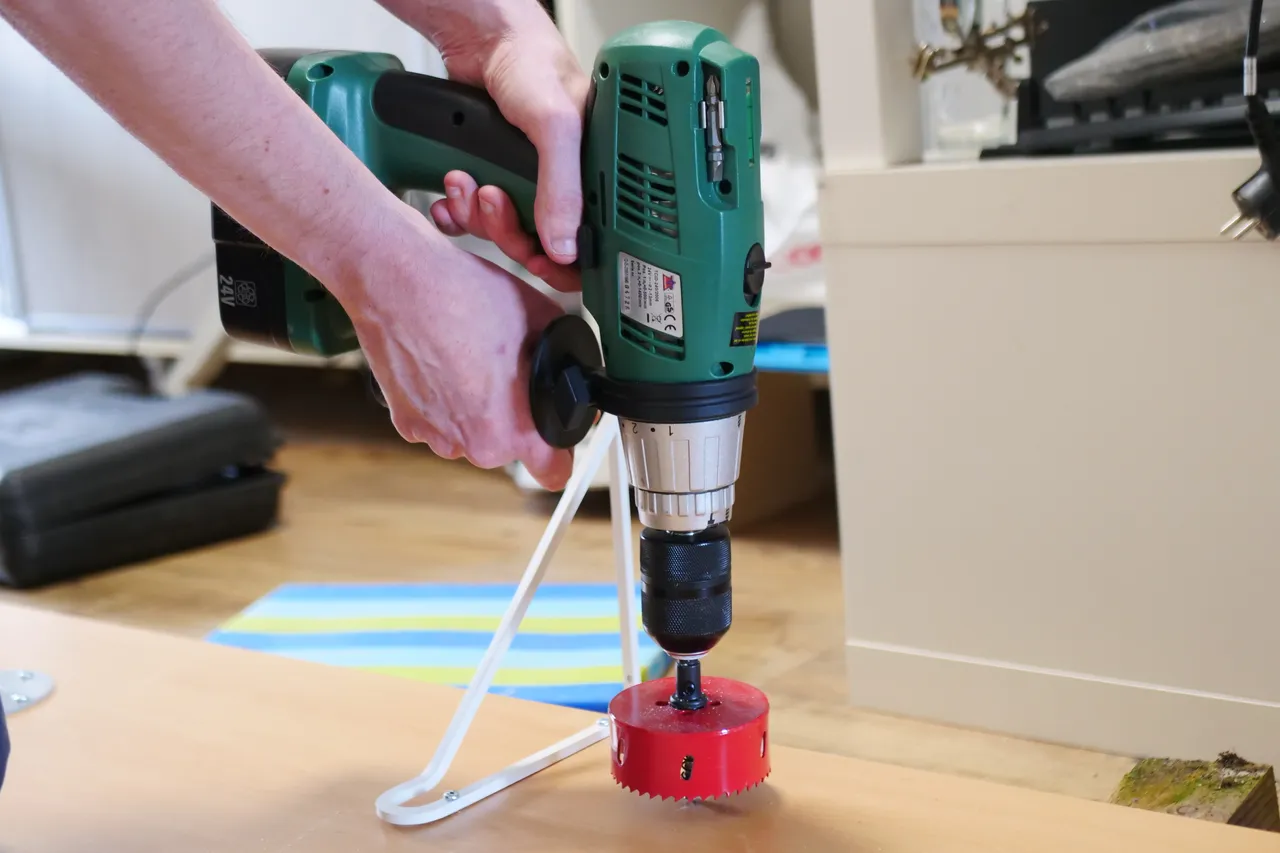
The first addition is the Conduito 80mm cable grommet by Marco Markl. My cables go through a nice grommet now and my desk is prettier!
The second one is for the handler and lock place. My mini PC is behind my screen and sometimes, I need to plug USB peripherals. that's why I made a "desk-mounted" stand for my USB hub. I use my card reader many times a day (for my laser engraver & 3D printers)

Result & future
I really love the result! Next step: cleaning!
I really want to add many Gridfinity things into my IKEA Alex storage unit. Also, I have a small Skadis pegboard, and I want to have a clever use of this. But I'm open to any suggestions. Must I add something? Maybe have another setup? Feel free to share your opinion in the comments!