This DIYHub community is recommended to me by @zzmanda to upload my crafts.
Introduction
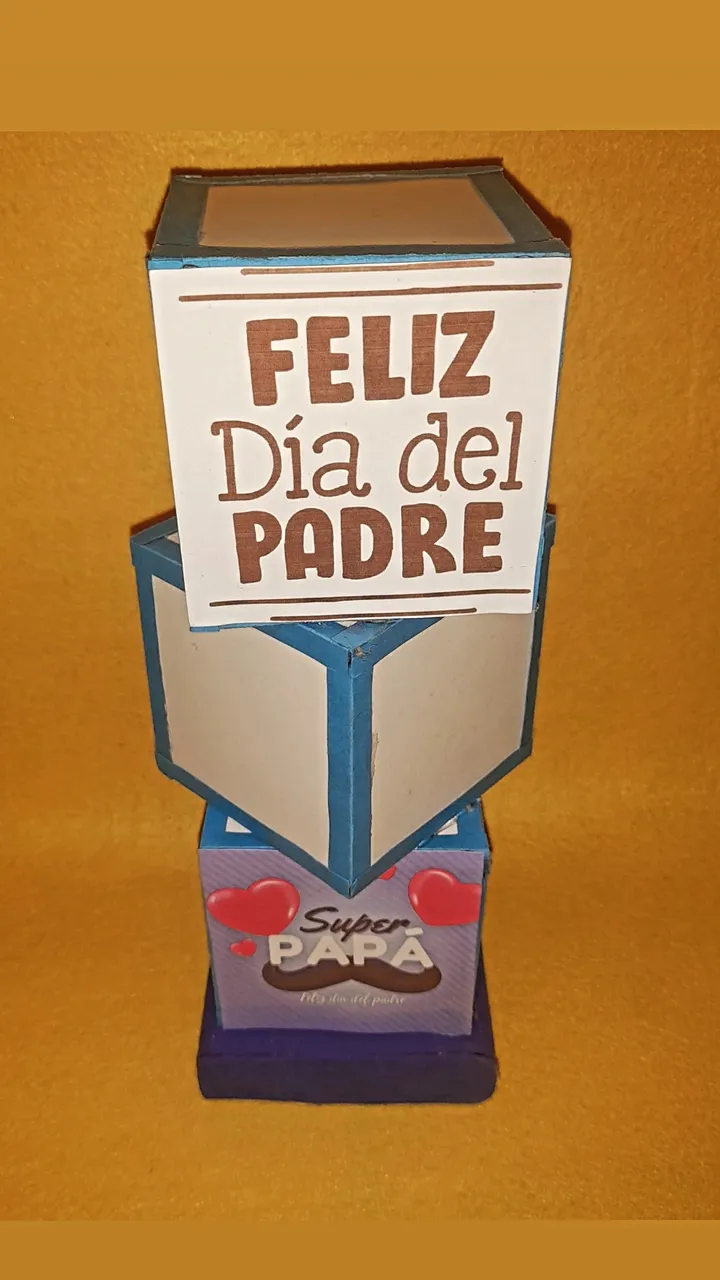
The objective is to create a column of cubes in which photos are captured. It can be used in any context. In this case it was created for Father's Day.
Starting from the idea of capturing and sharing memories in the form of photographs, we transform simple materials into a personalized and meaningful work of art. The combination of the origami technique with the incorporation of photographic elements allows us to merge creativity with visual narrative

Prerequisites (Materials)
White sheets of paper (6 square sheets of the same size)
White and colored cardboard
Wood base
Glue (silicone)
foam
Photos
Scissors
Pencil
Steps
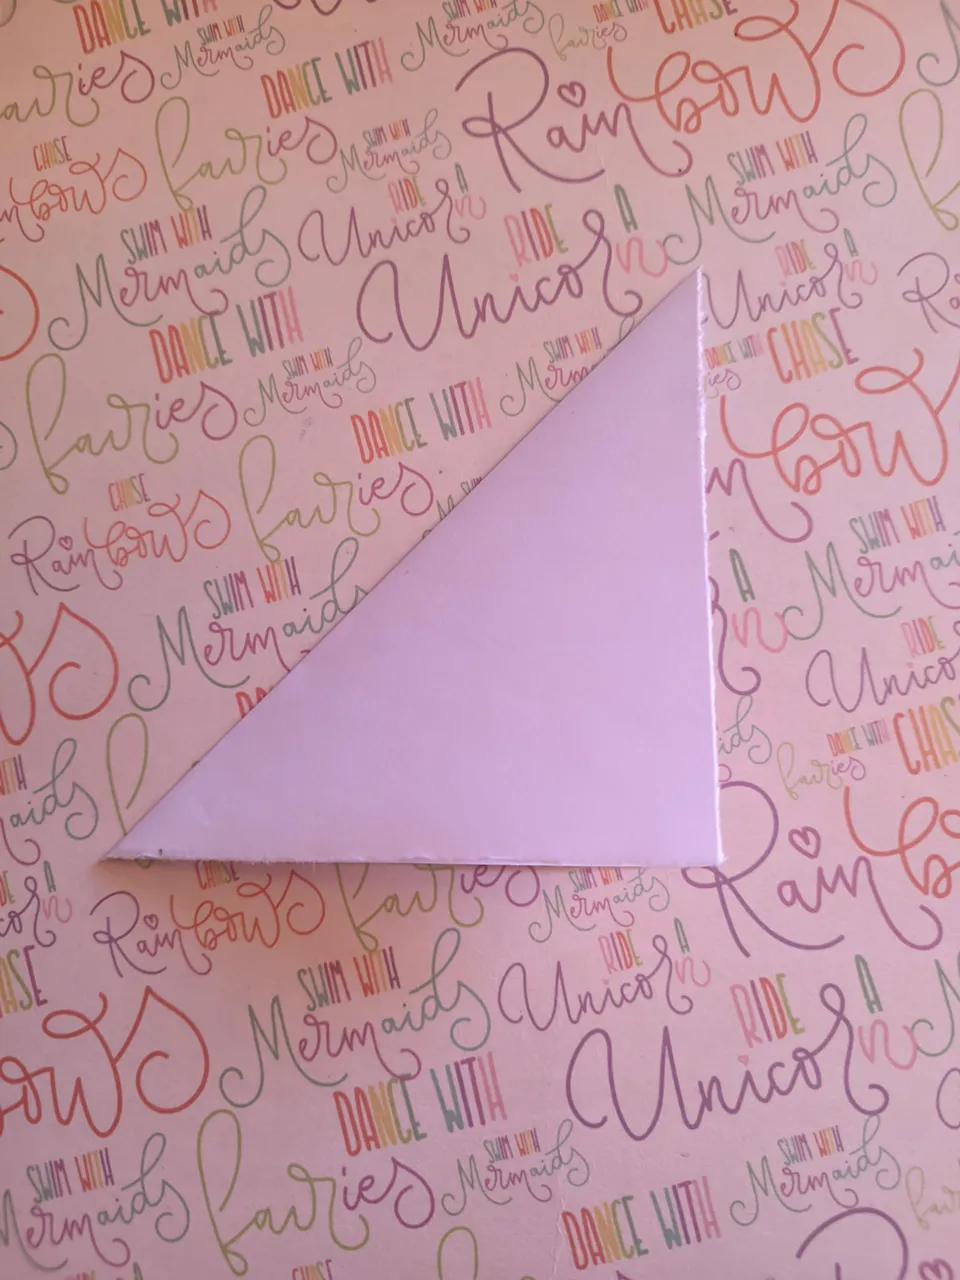
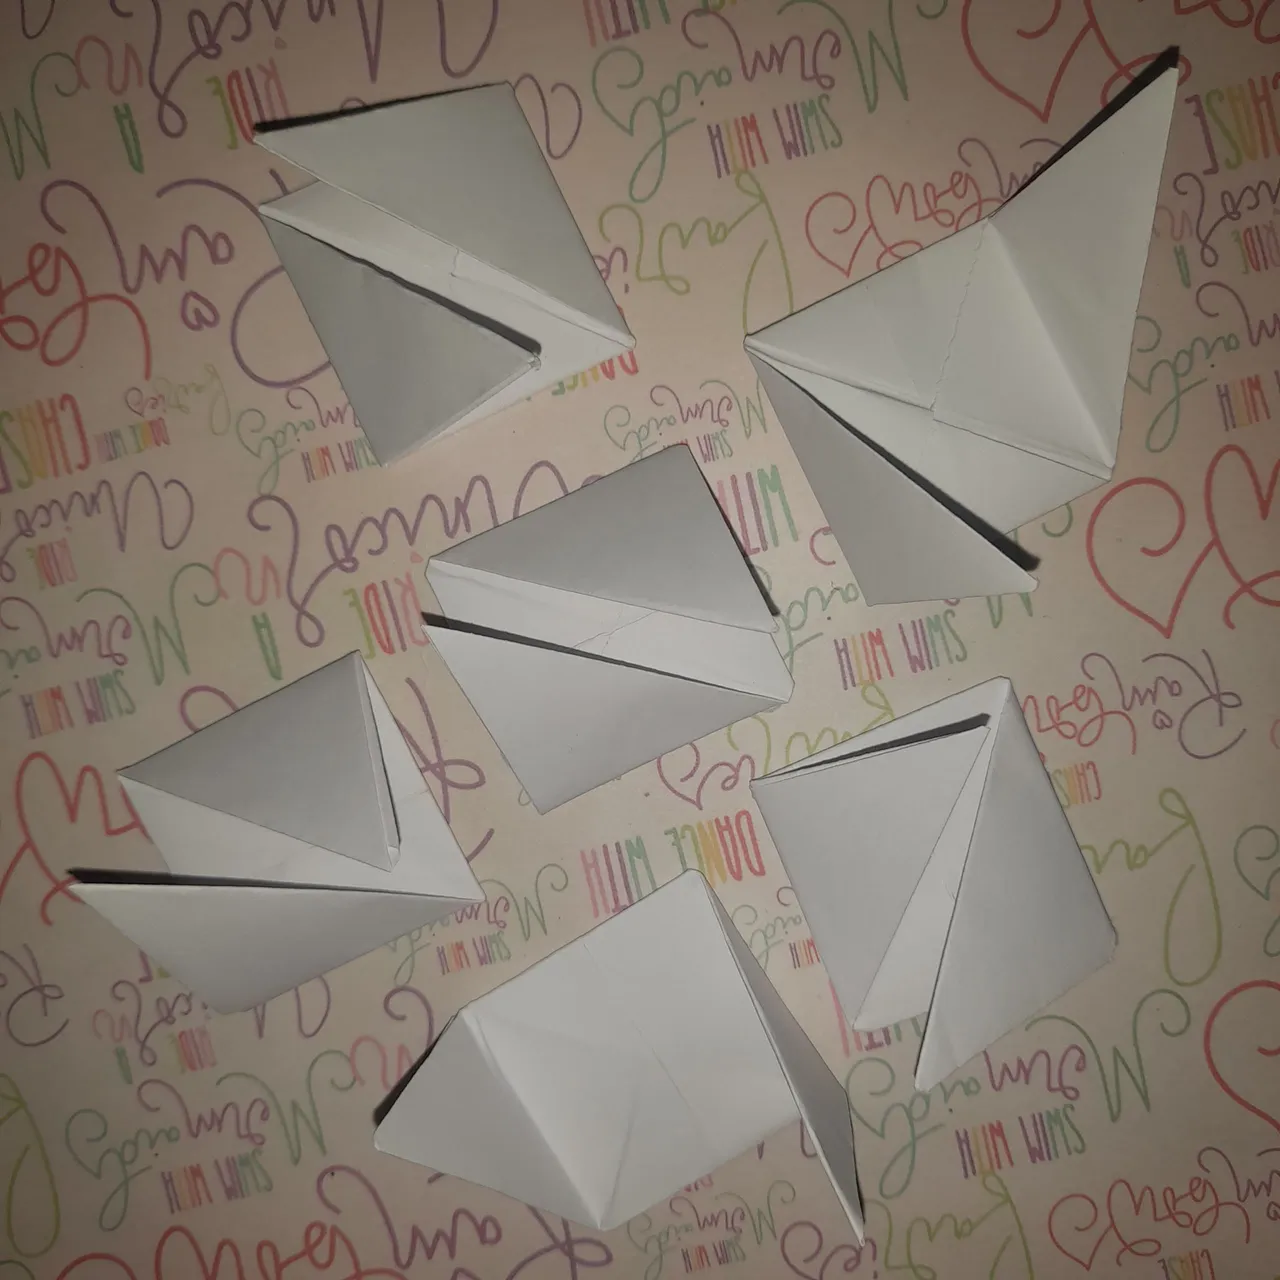
Step 1: Create the paper squares.
Sub step 1.1. Take a square sheet of paper and fold it in half from corner to corner to form a triangle.
Sub step 1.2. Fold the piece in half again from corner to corner to get a smaller rectangle.
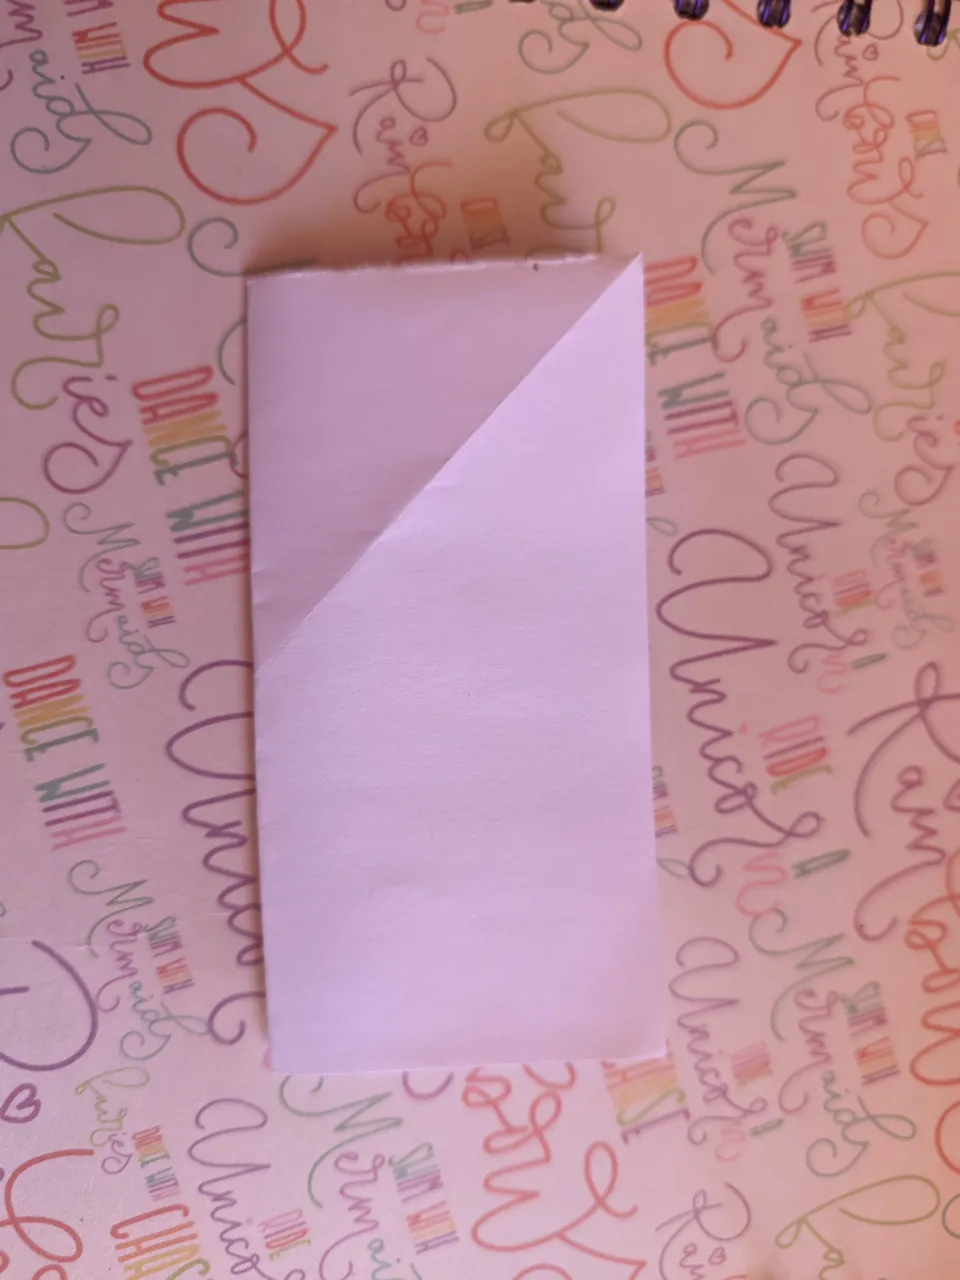
Sub step 1.3. Fold in half the rectangle that had already been formed
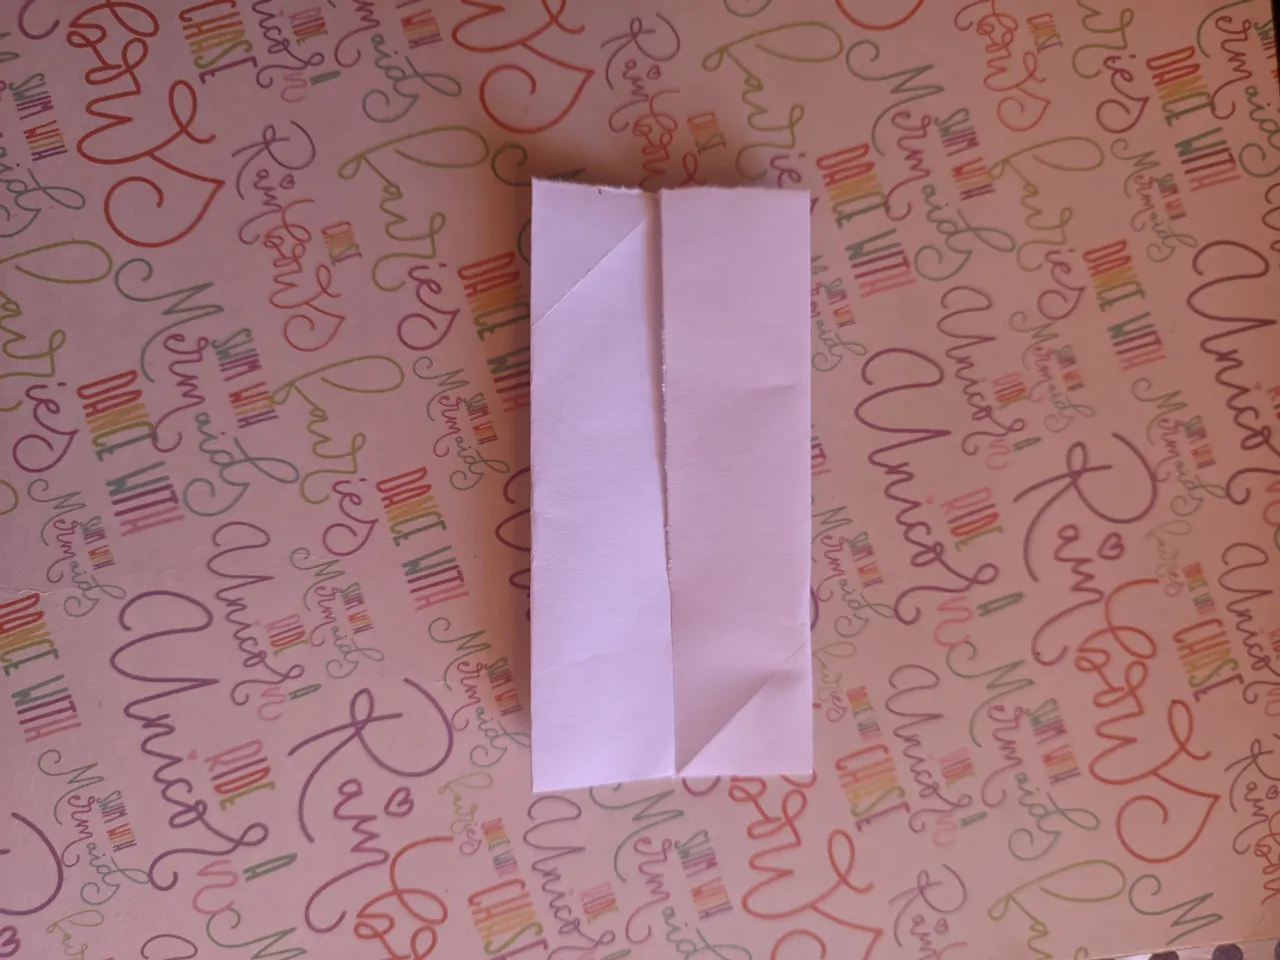
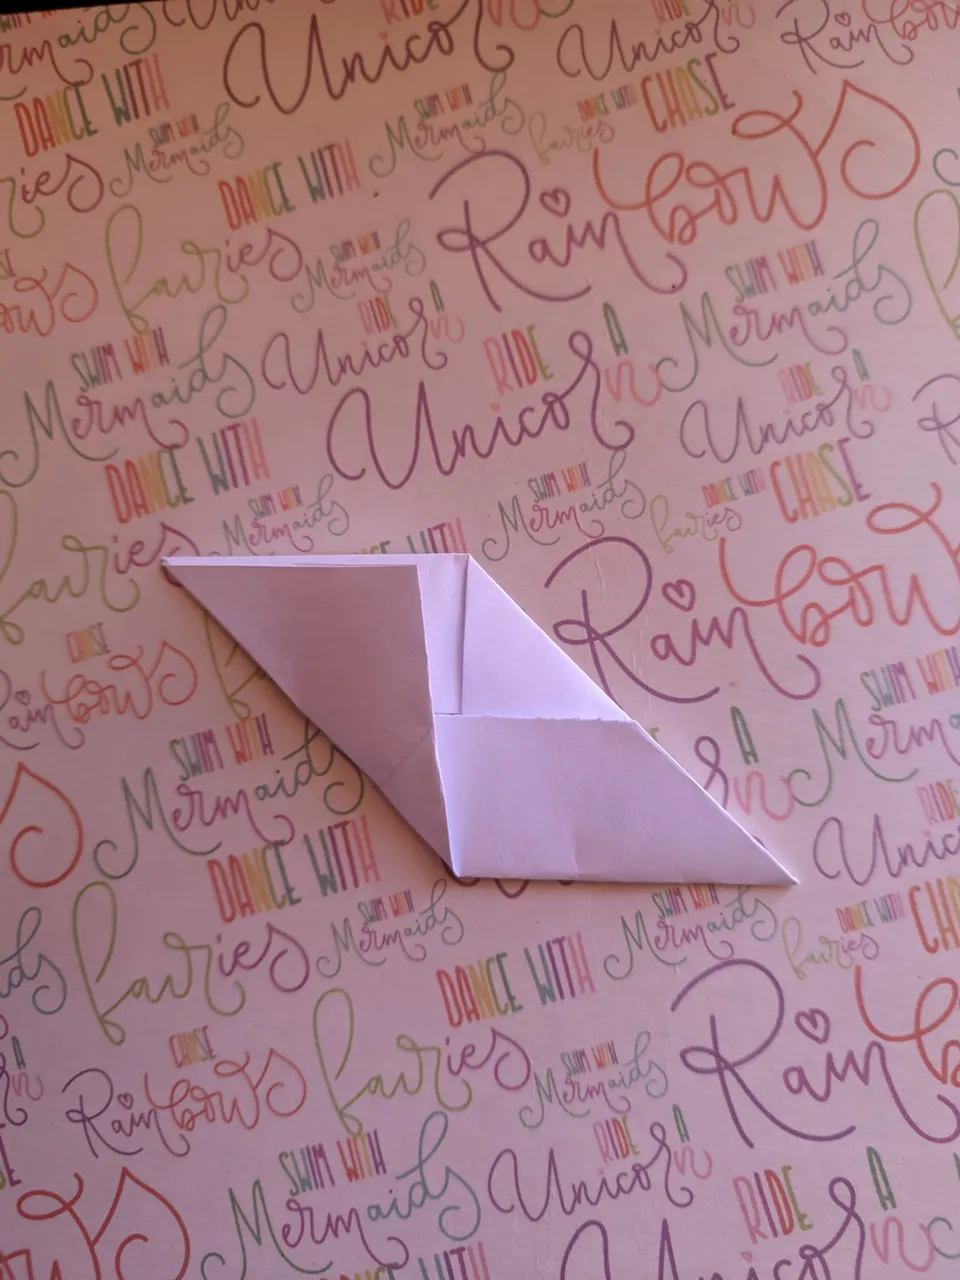
Sub Step 1.4. Open the paper and fold the bottom right and top left ends to form a small triangle up to where the first mark is.
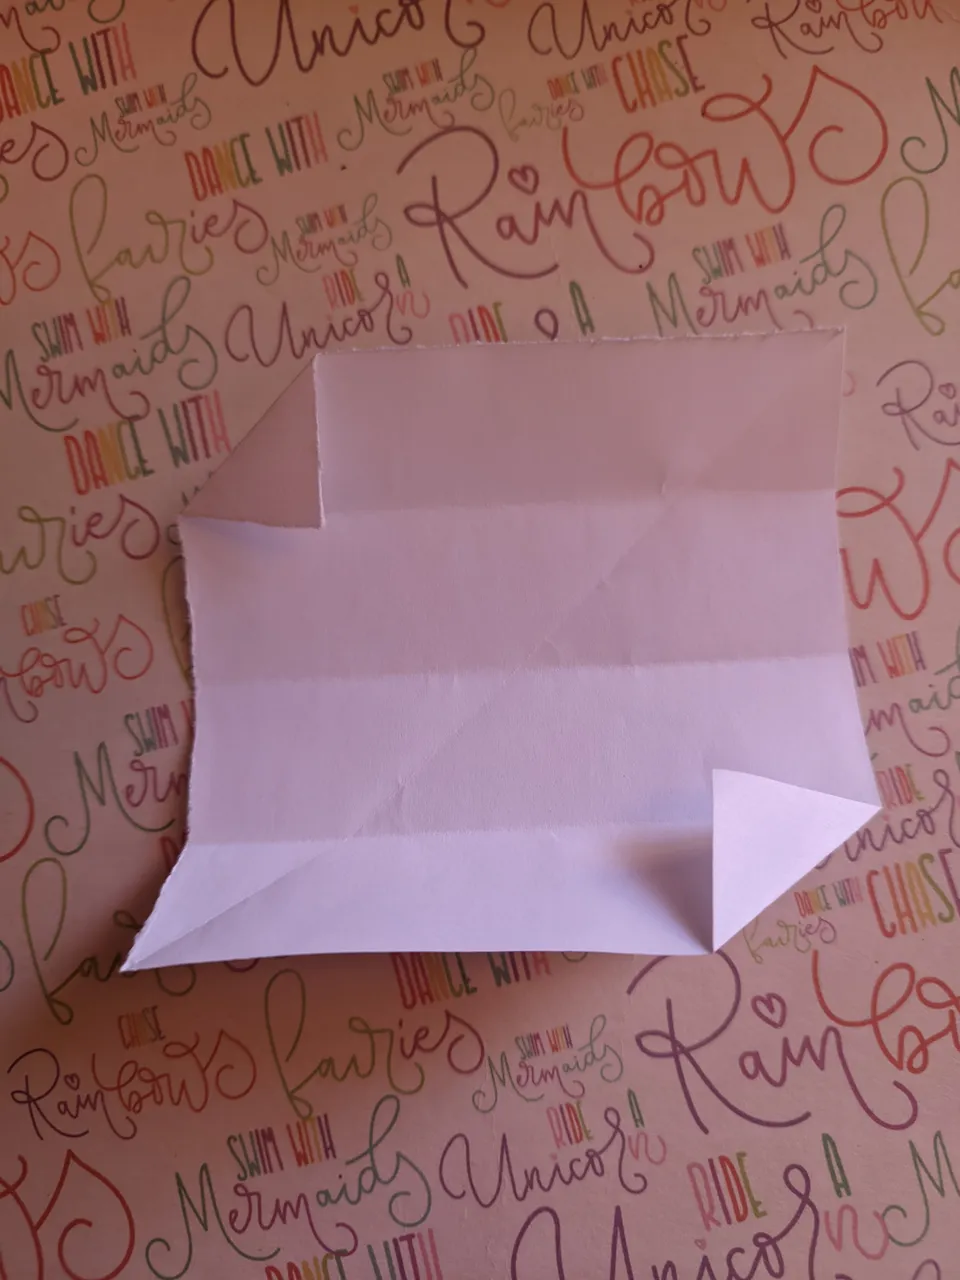
Sub Step 1.5. Fold from bottom to top to the height of the first triangle.
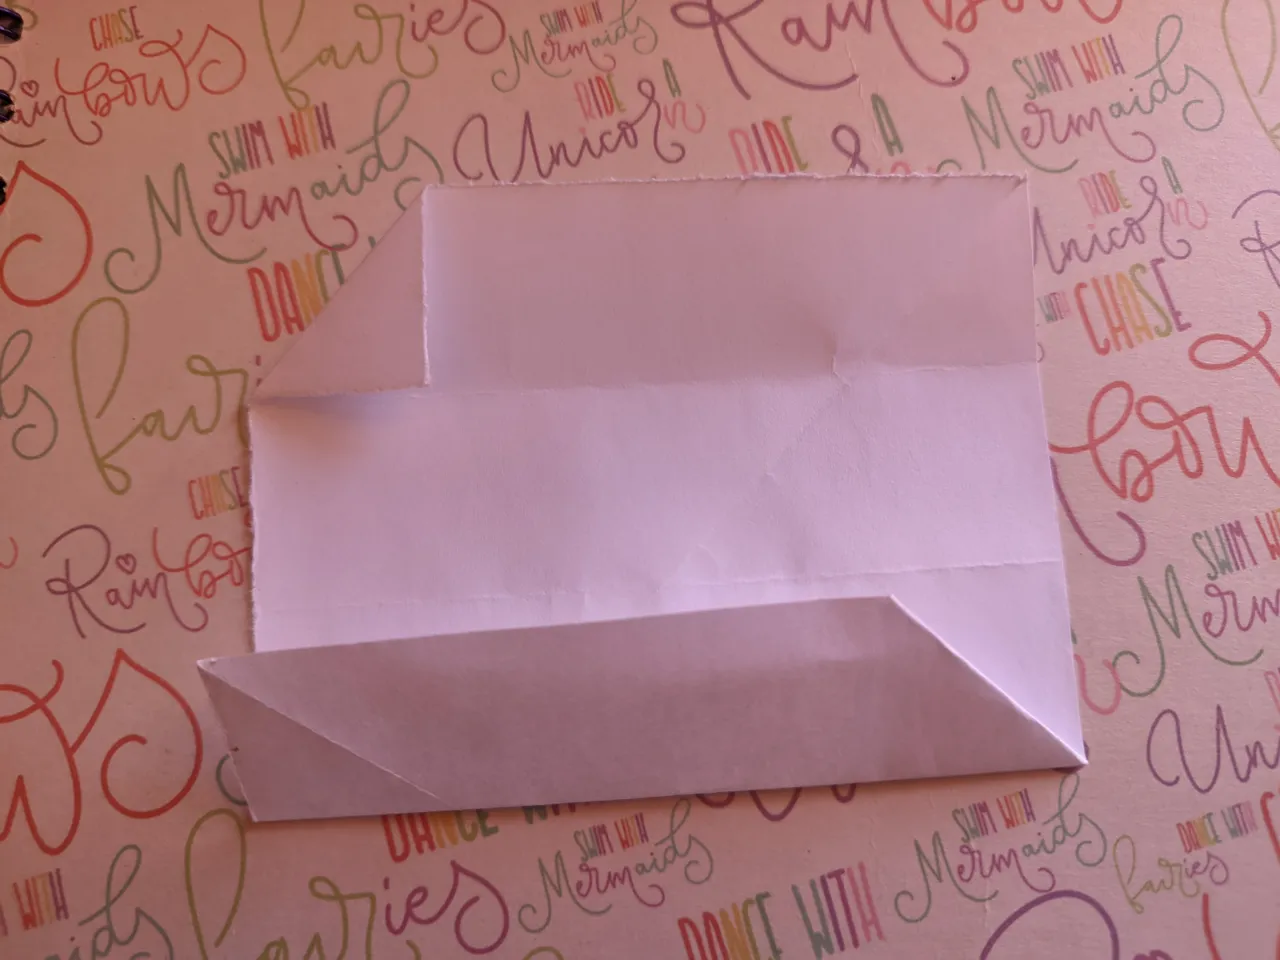
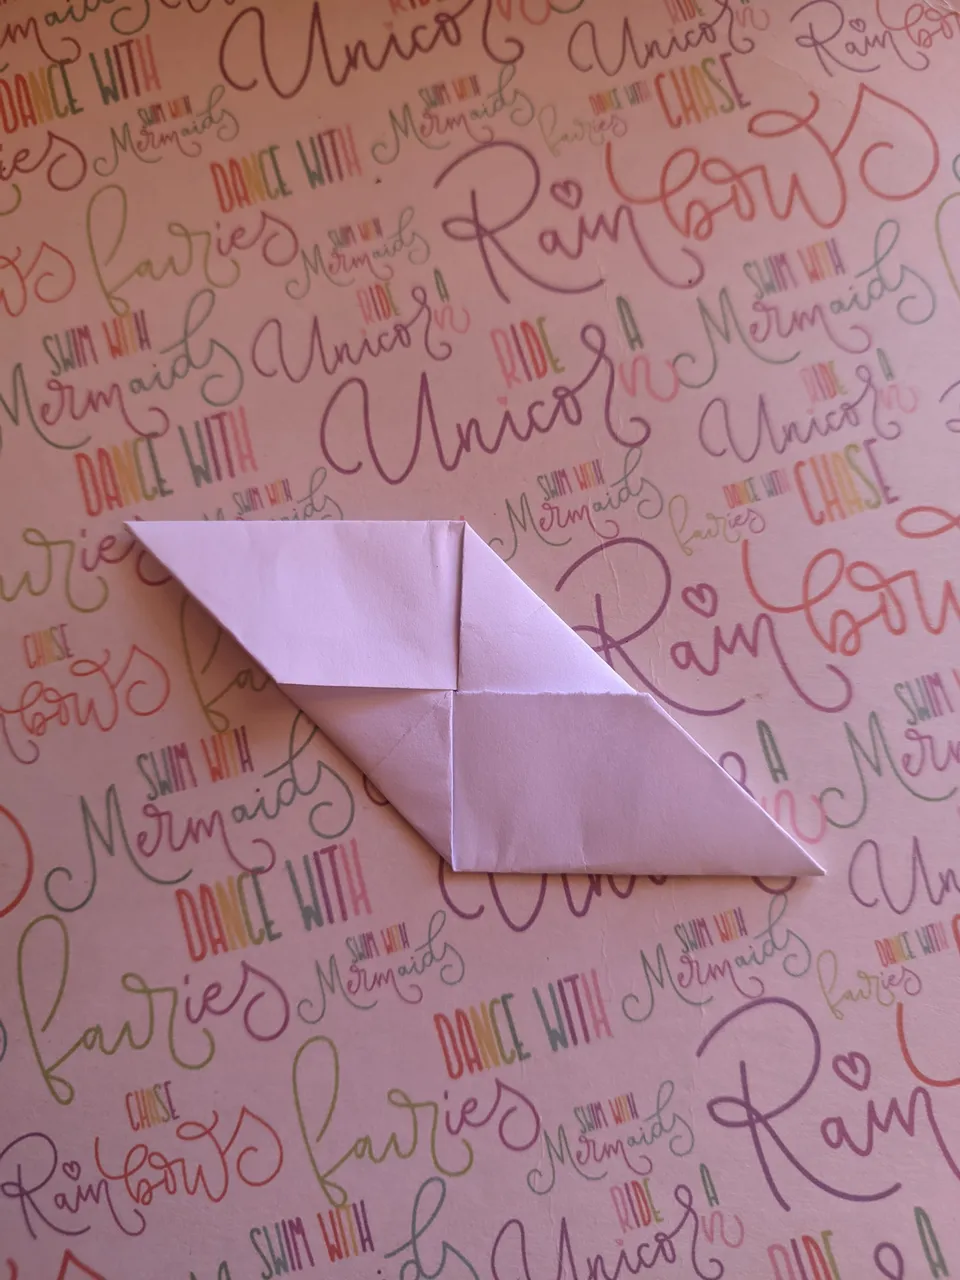
Sub Step 1.6. Fold the corner to the height of the second triangle to form a larger triangle.
Sub Step 1.7. Fold the corner in the upper left corner down.
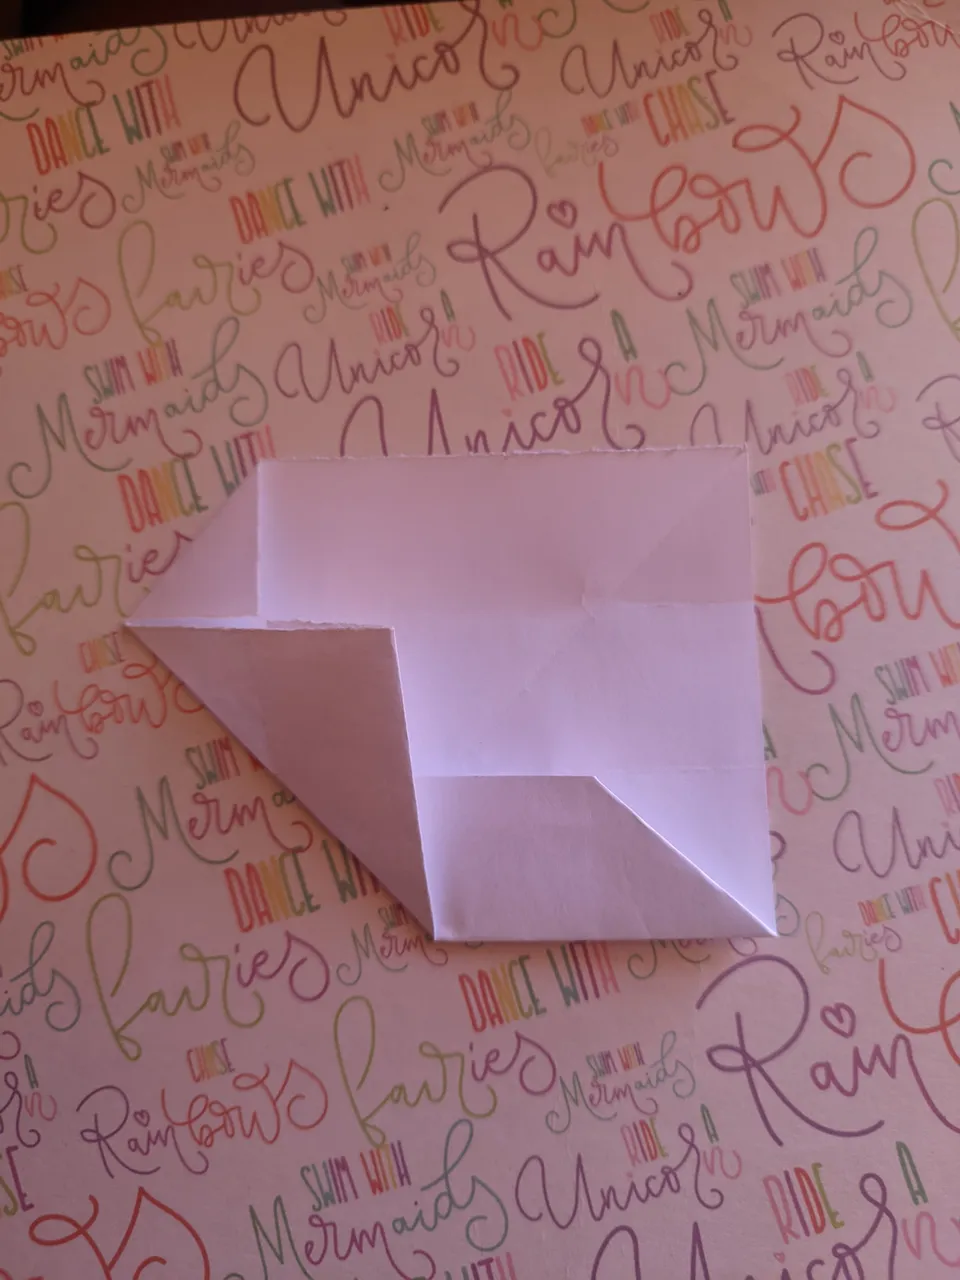
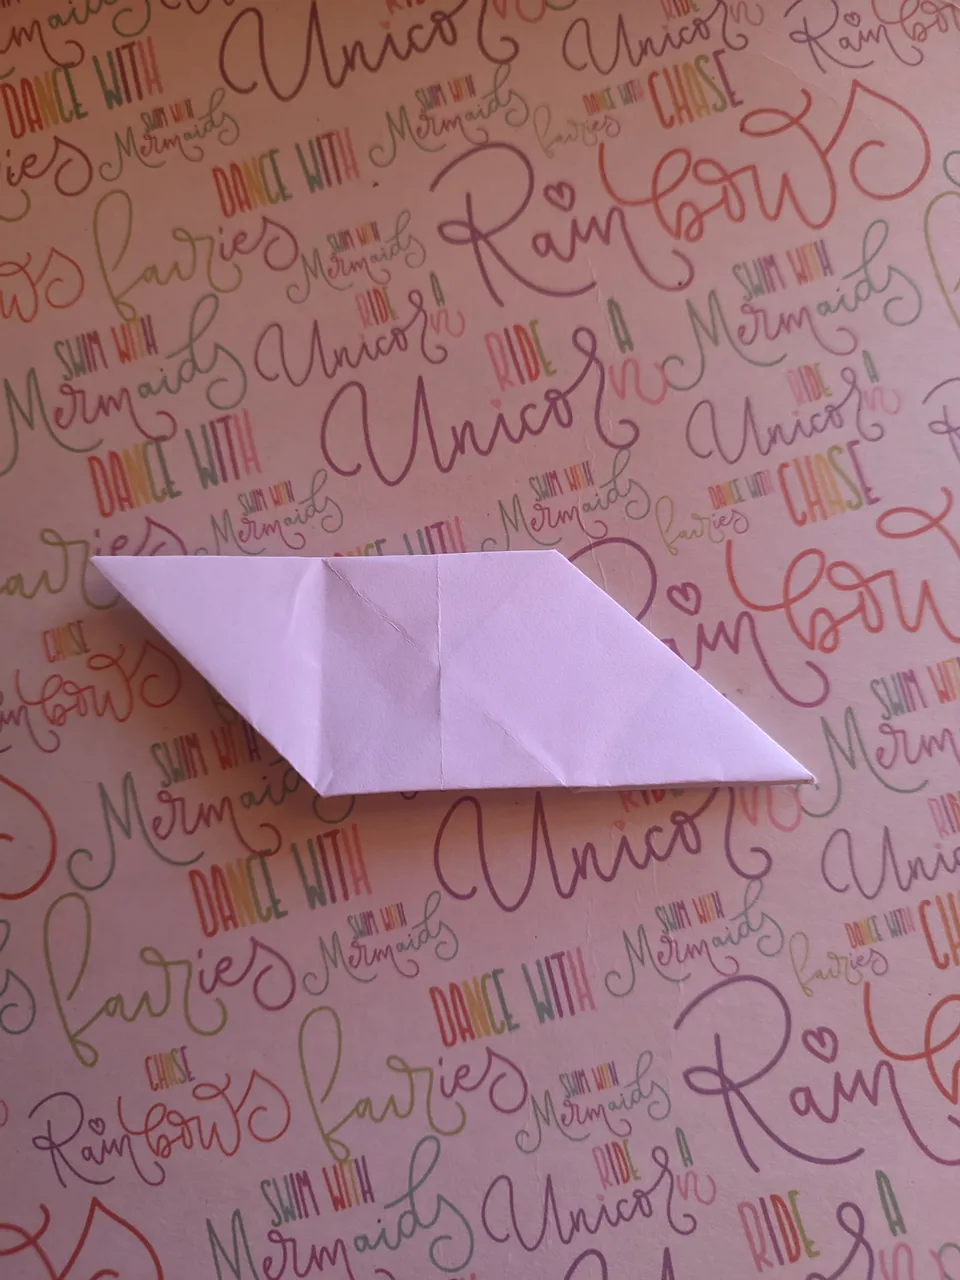
Sub Step 1.8. Turn the sheet and fold the lower left corner to form another triangle.
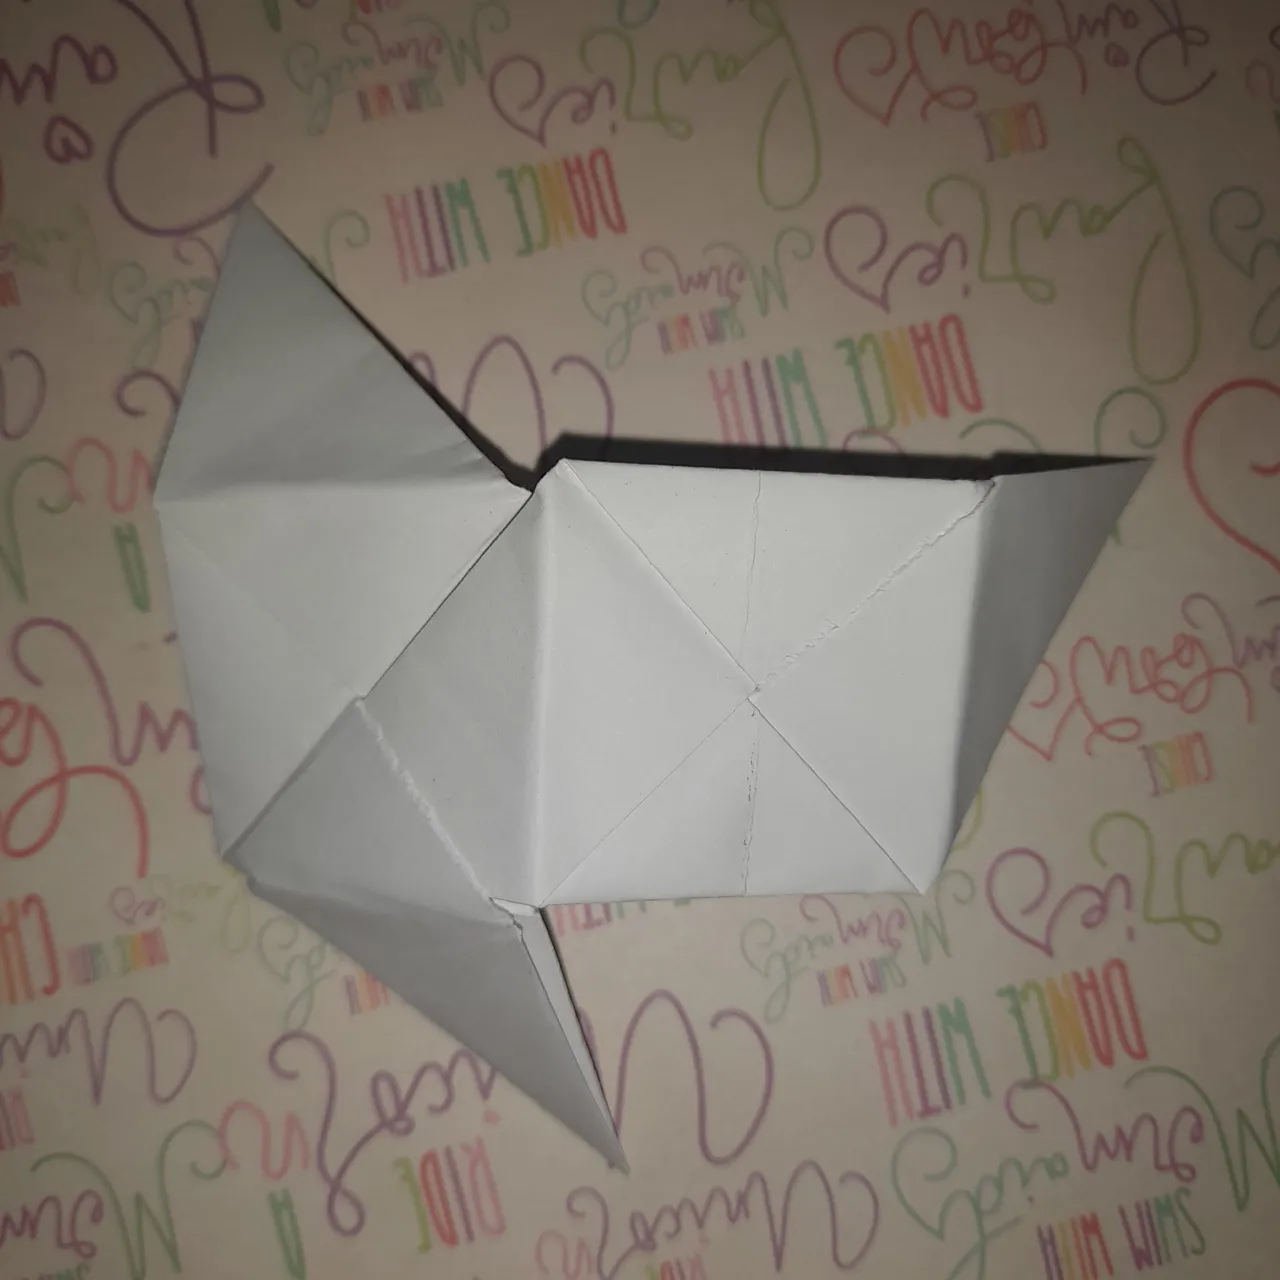
Sub Step 1.9. Insert the finished triangle inside the paper
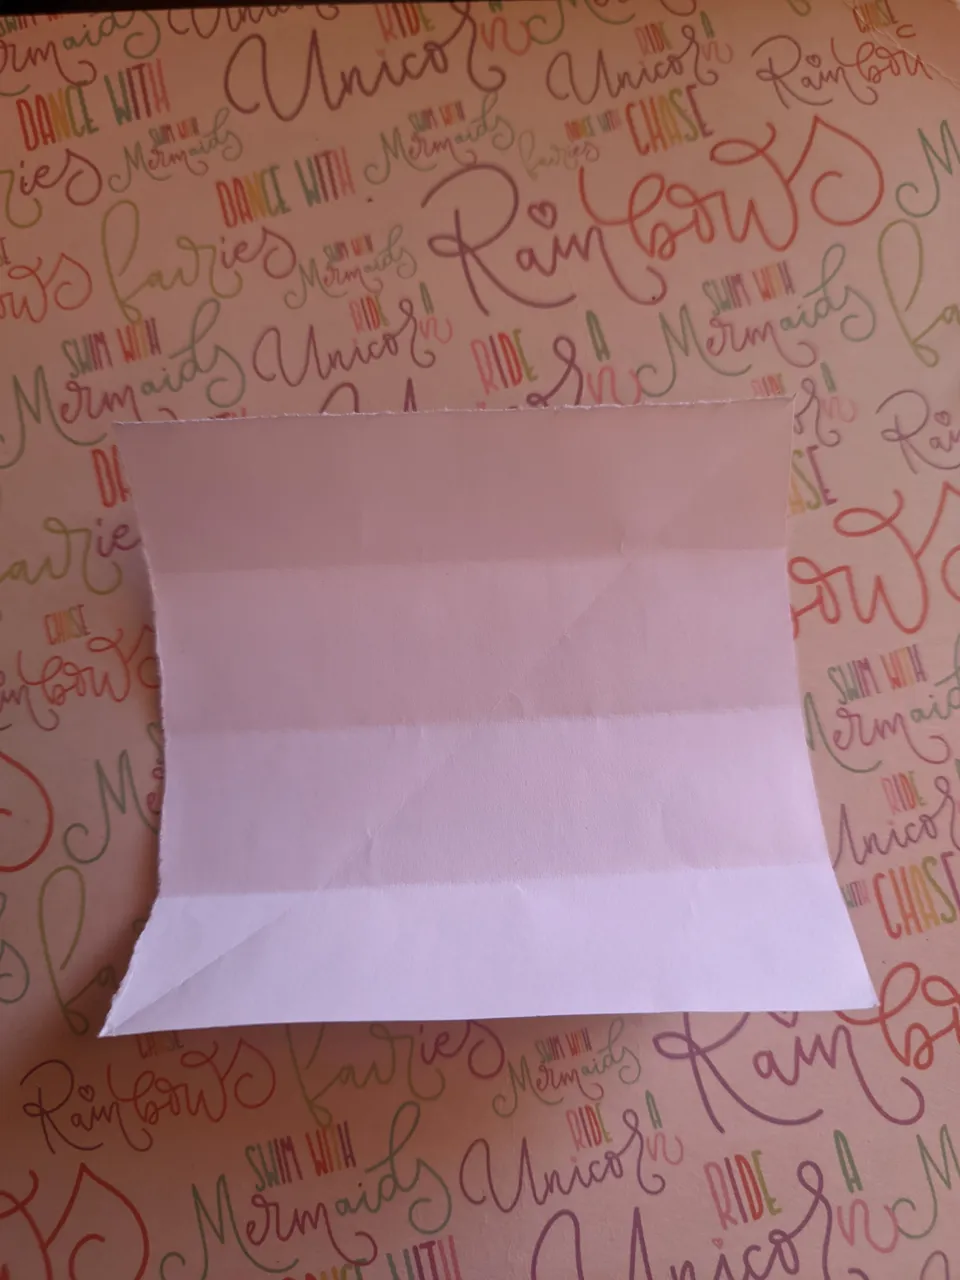
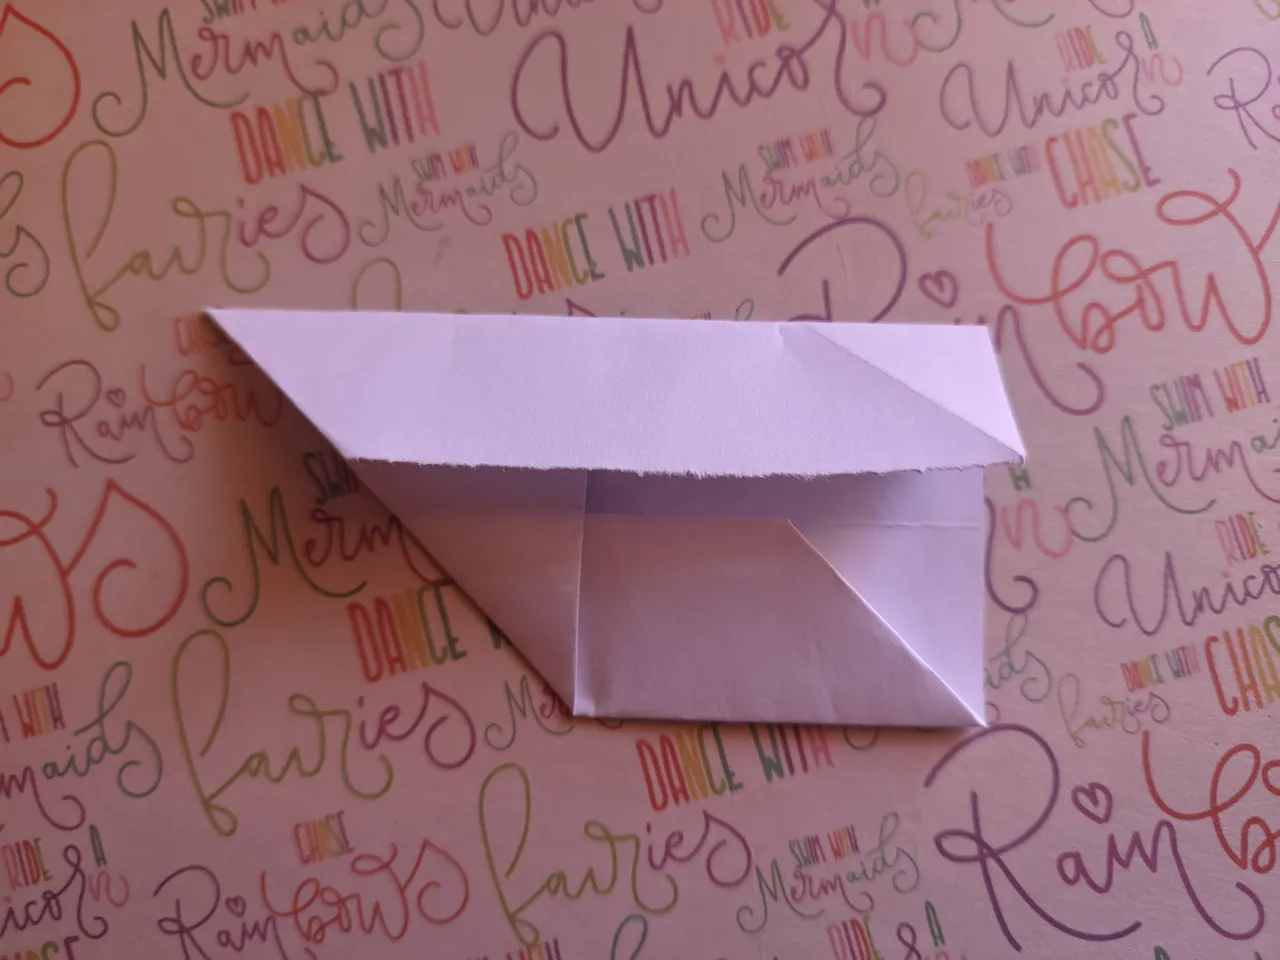
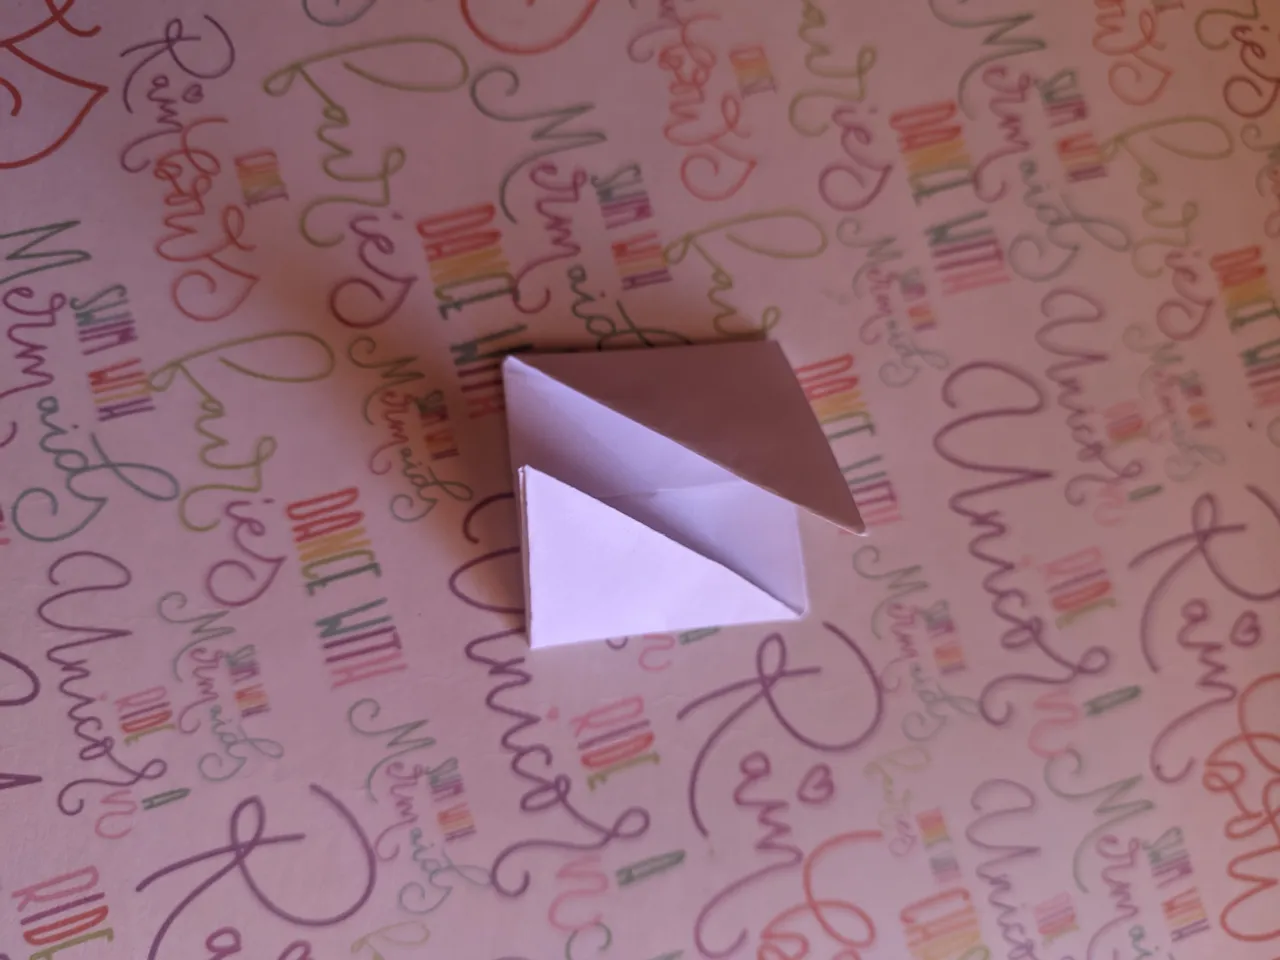
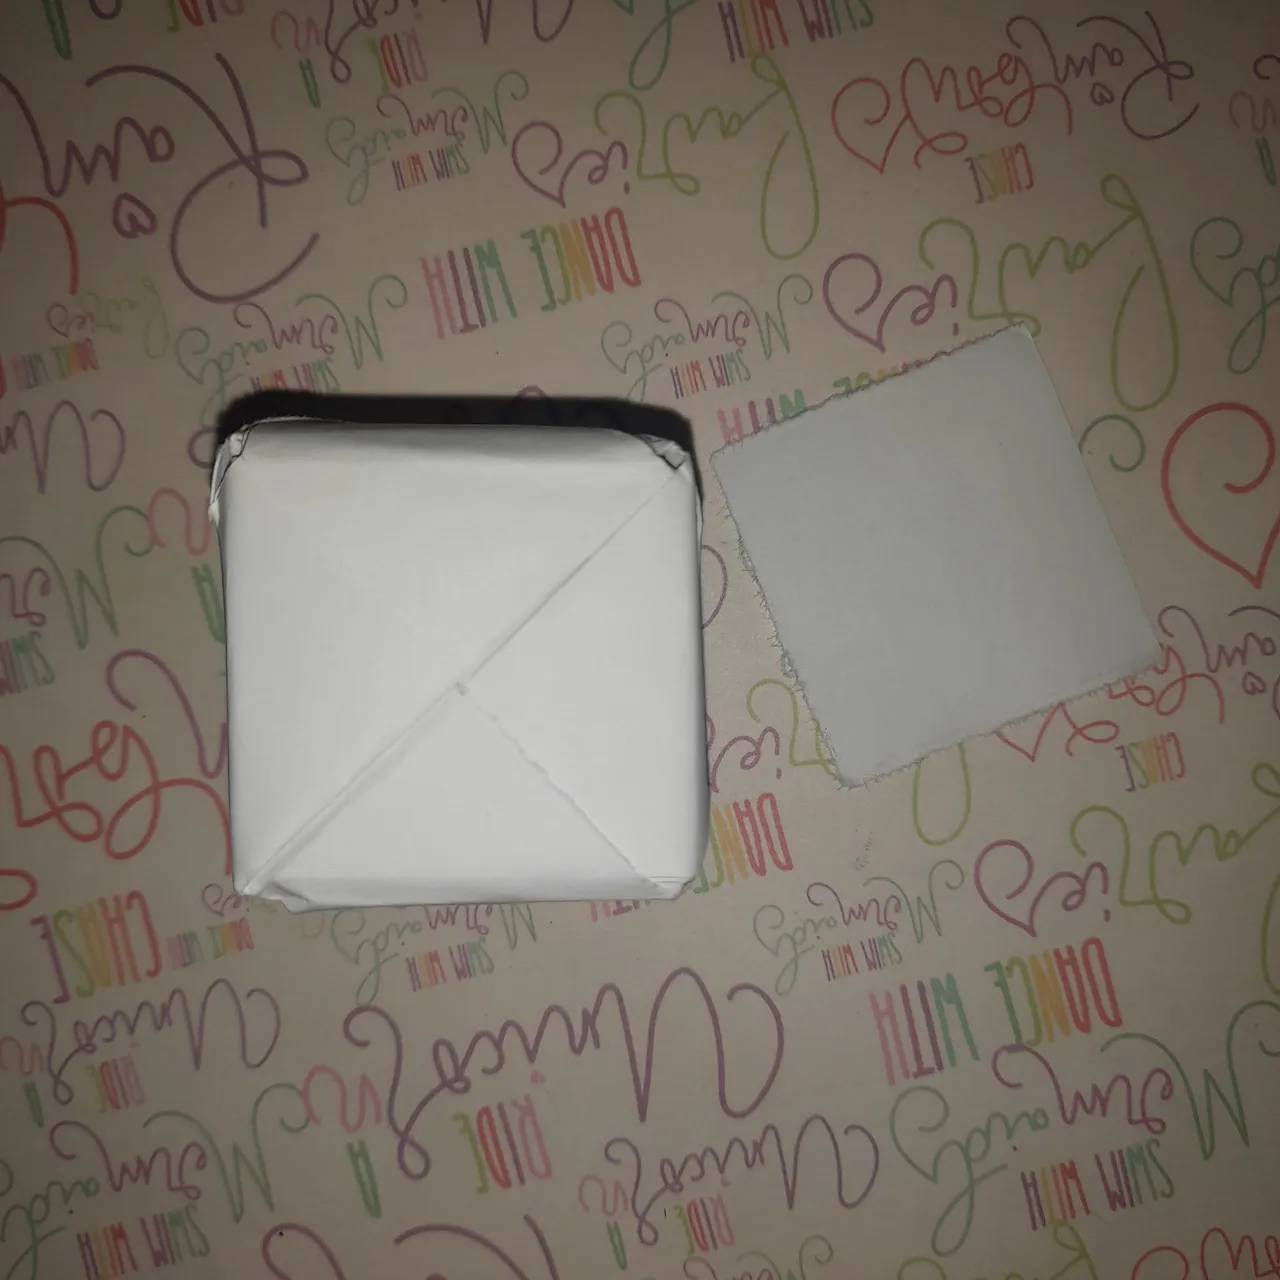
Sub Step 1.10. Turn the paper over and fold the ends inward.
Sub Step 1.11. Repeat the same process with the other 5 remaining squares
Sub Step 1.12. Fit the six paper squares together, making sure to join the sides of each to form a cube.
Sub Step 1.13. Gently press on the corners so that the cube takes its final shape.

Sub step 1.14. Create 2 more squares, you can experiment with different paper sizes and colors to make original and creative cubes.
Tips: Make sure you fold precisely and firmly to get a well-formed cube.
Step 2. Decorate the cubes.
Sub Step 2.1. Cut out 18 squares of cardboard to glue on each face of the cubes.
Sub step 2.2. To cover the edges, cover them with colored cardboard. You can add photos or anything else.

(Optional) Step 3 Decorate the base
You can cover it with foam or paint it. In this case we will cover it.
Sub step 3.1. Place the wooden base on the foam and use a pencil to mark the outline of the base on the foam.
Sub step 3.2. With scissors, cut out the foam following the marked shape.
It is advisable to leave an additional margin to avoid it being right on the edge of the base.
Sub step 3.3. Apply glue to the back of the foam, distributing it evenly.
Sub step 3.4. Carefully place the foam on the wooden base, making sure it is centered and wrinkle-free.
Sub step 3.5. If necessary, trim the foam on the edges so that it is flush with the base.
And now you have your wooden base lined with foam ready to stick your cubes on it.
Step 4 Place the cubes on top of the base.
Sub step 4.1. Once the 3 cubes are together. We place them on top of the wooden base that we already covered and that's it.
Tips:
- You can combine different colors of foam to create more creative designs.
- If you wish, you can add additional details such as ribbons, buttons or decorations to further personalize your base.
All photos by me.