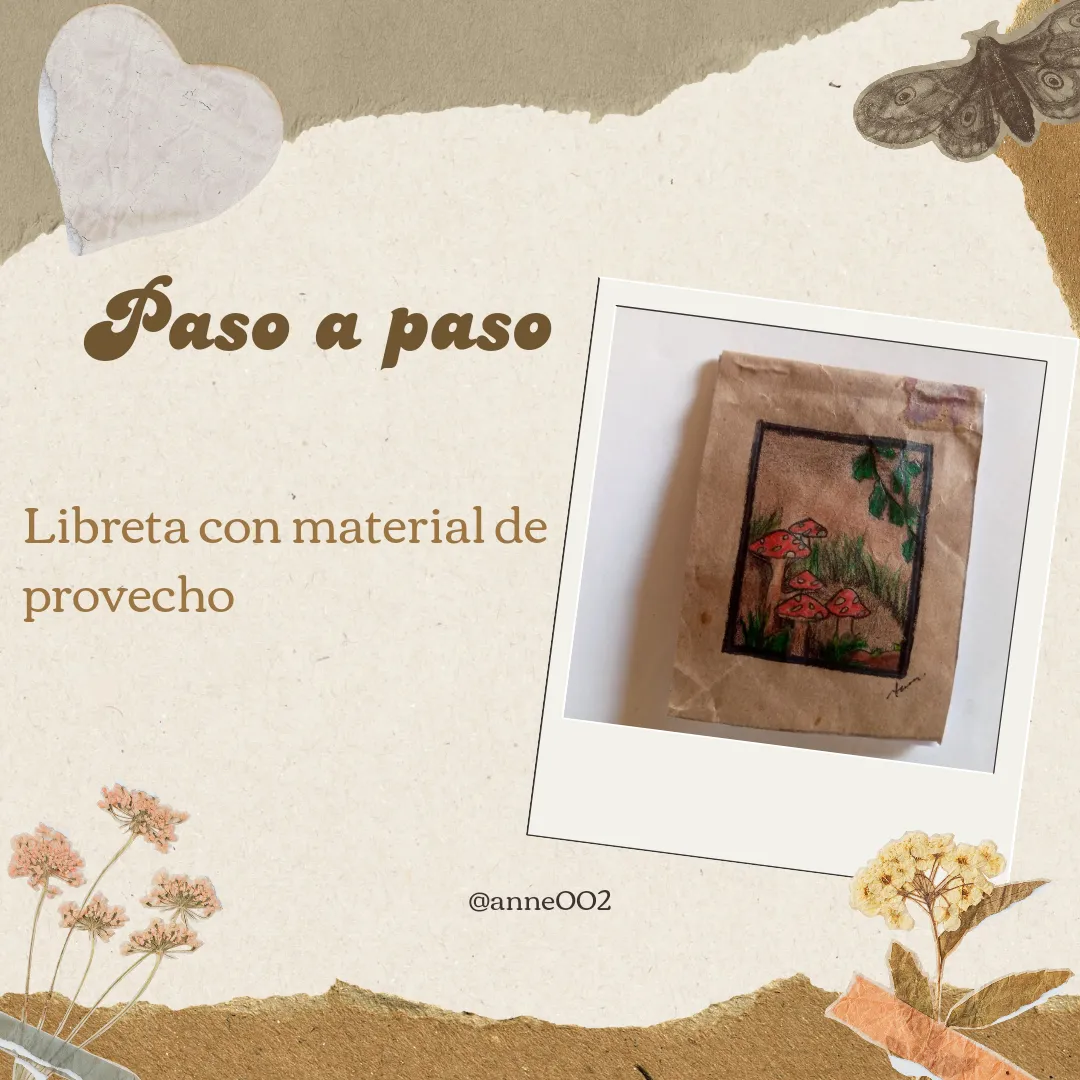
Let's make a small vintage notebook with recycled material🗒️🌼🍂[Esp~Eng]

Post de instagram para sorteo vintage aesthetic floral beige_20241015_111939_0000.png

Hola a todos bienvenidos a un nuevo tutorial reciclando cositas 😊les doy la bienvenida y sientanse cómodos 🌼✨.

Hello everyone, welcome to a new tutorial recycling things 😊I welcome you and feel comfortable 🌼✨.

El día de hoy les estaré mostrando cómo hacer una muy pequeña libreta para notas importantes y llevarla contigo en la bolsa cualquier tiempo sin necesidad de que se te olvide otra vez ya que la llevarás siempre contigo,me gusta realizar este tipo de trabajos reciclados porque siento que nuestras cosas quedan con un toque de originalidad y pues se preserva el ambiente.

Today I will be showing you how to make a very small notebook for important notes and carry it with you in your bag at any time without having to forget it again since you will always have it with you. I like to do this type of recycled work because I feel that our things are left with a touch of originality and the environment is preserved.

He usado materiales reciclados y de provecho que he encontrado por allí tirados , ustedes saben que a mí se me da muy bien reciclar cualquier objeto o cosa así que yo he reciclado para hacer la libreta osea el forro de la parte de afuera un papel donde vienen algunos alimentos envueltos o simplemente donde vienen las harinas de trigo que son sacos hechos de papel marrón duro,este papel me encanta ya que ya su color marrón le da a nuestros trabajos un aspecto muy vintage y duradero ya que la textura del papel es algo gruesa.

I have used recycled and useful materials that I have found lying around, you know that I am very good at recycling any object or thing, so I have recycled to make the notebook, that is, the lining on the outside of a paper where some wrapped foods come in or simply where wheat flour comes in, which are sacks made of hard brown paper, I love this paper because its brown color gives our work a very vintage and durable look since the texture of the paper is somewhat thick.

Tengo algunos proyectos que ya había hecho anteriormente con este material y les digo que llevan tiempo de uso como alrededor de 4 años y están como si no los hubiese usado,son unas libretas que hice para ese entonces con ese material para darle durabilidad usé esa vez cola o pegamento blanco para sellarlo y pues la verdad con esa capa de pegamento ha durado mas el papel.

I have some projects that I had previously done with this material and I tell you that they have been in use for about 4 years and they are as if I had not used them, they are some notebooks that I made at that time with that material to give it durability I used that time glue or white glue to seal it and well, the truth is that with that layer of glue the paper has lasted longer.

Acompáñame a hacer esta linda libreta fácil y sencilla para guardarla en el monedero te va a encantar el resultado final .

Join me to make this cute, easy and simple notebook to keep in your purse. You will love the final result.
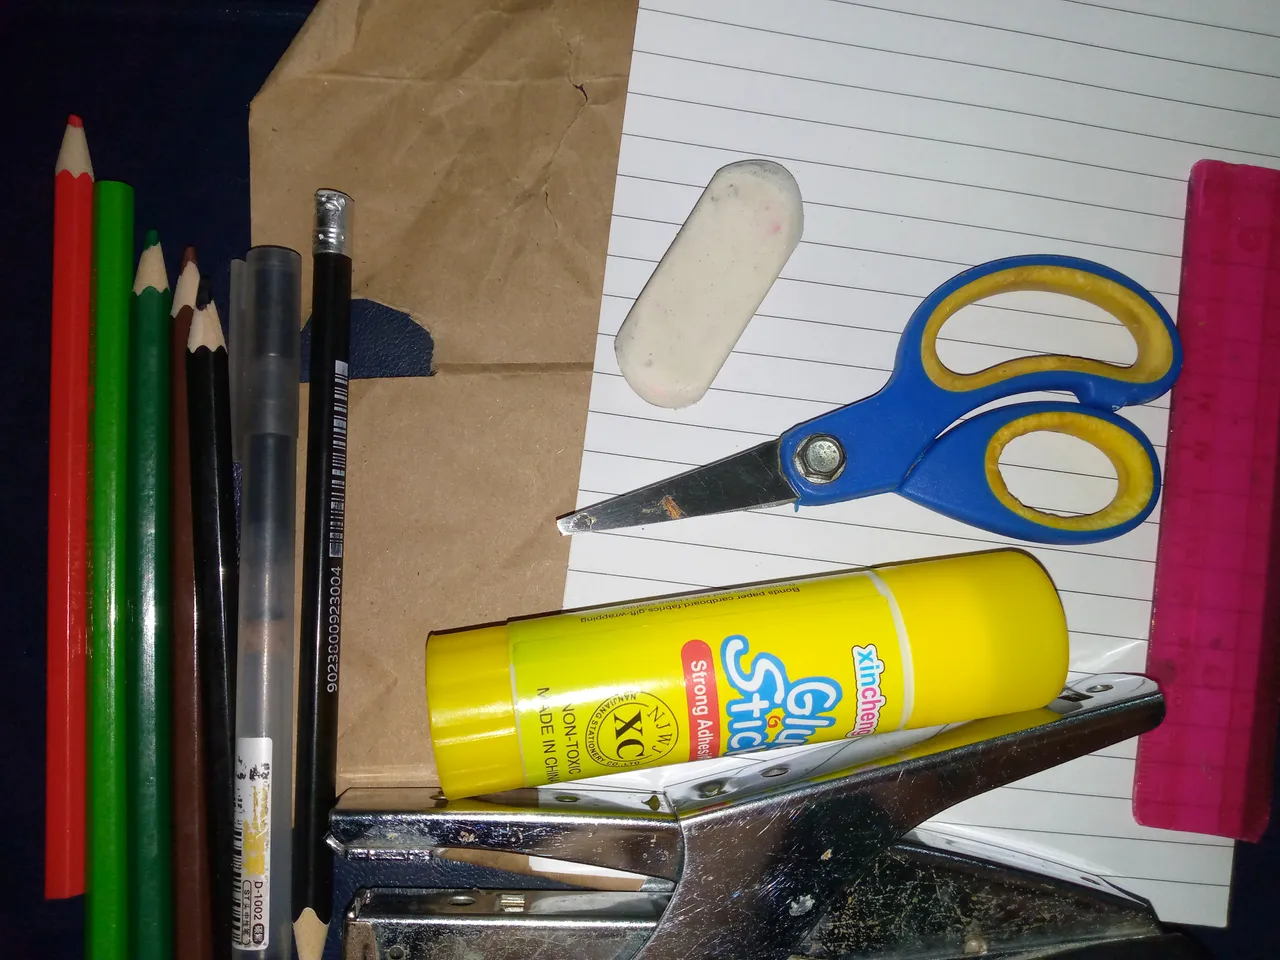

IMG_20241013_201803_002.jpg

Materiales:

Materials:

  • Papel marrón reciclado de harina de trigo
  • Hojas de papel de algún cuaderno sin usar
  • Pega en barra o pegamento líquido
  • Colores
  • Grapadora
  • Bolígrafo negro punta fina
  • Regla
  • Borrador
  • Tijera

  • Brown recycled paper from wheat flour
  • Sheets of paper from an unused notebook
  • Glue stick or liquid glue
  • Colors
  • Stapler
  • Fine-tipped black pen
  • Ruler
  • Eraser
  • Scissors

Pasos a seguir

Steps to follow:

Paso 01

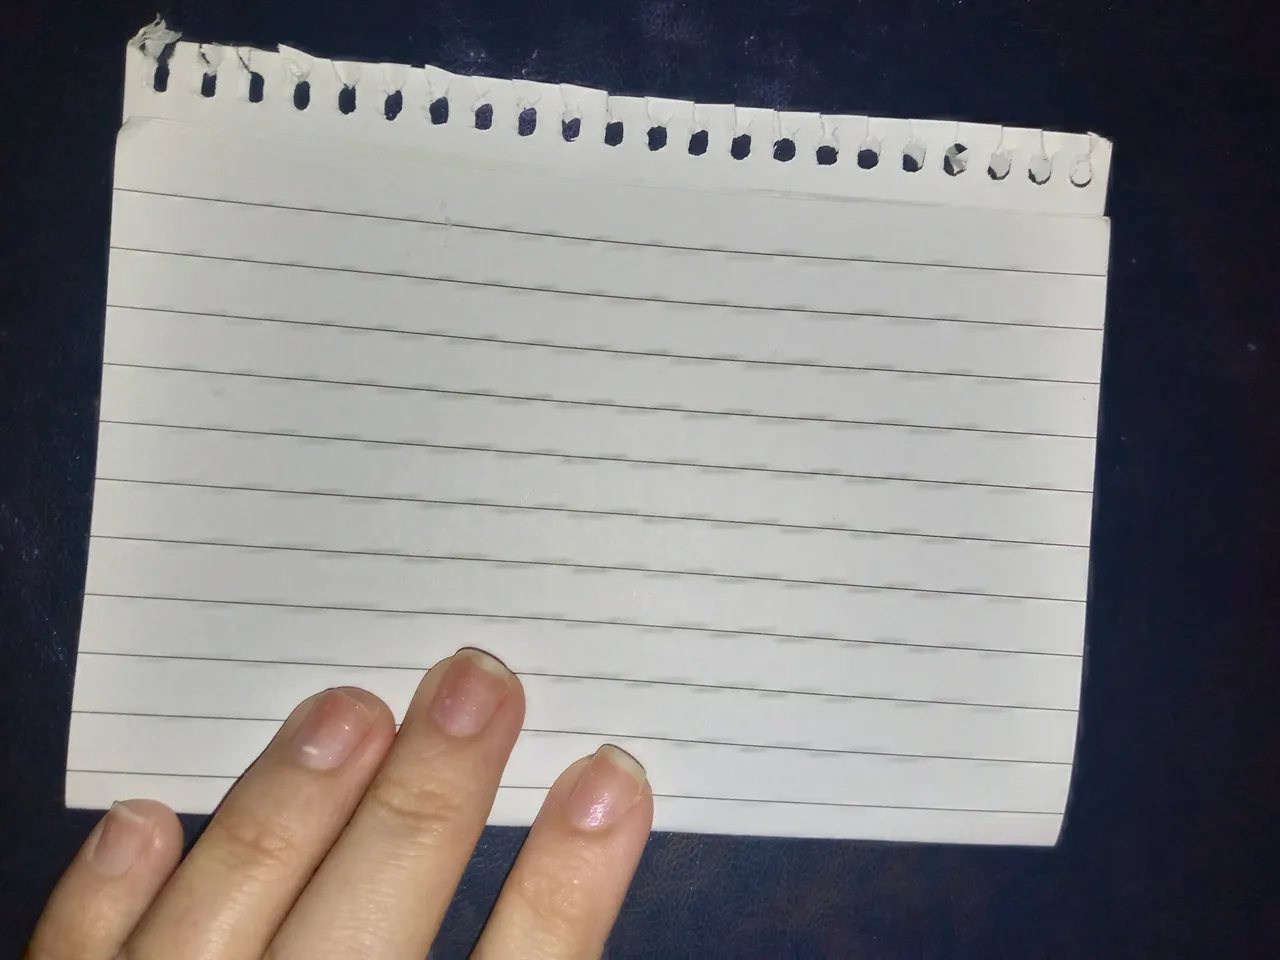
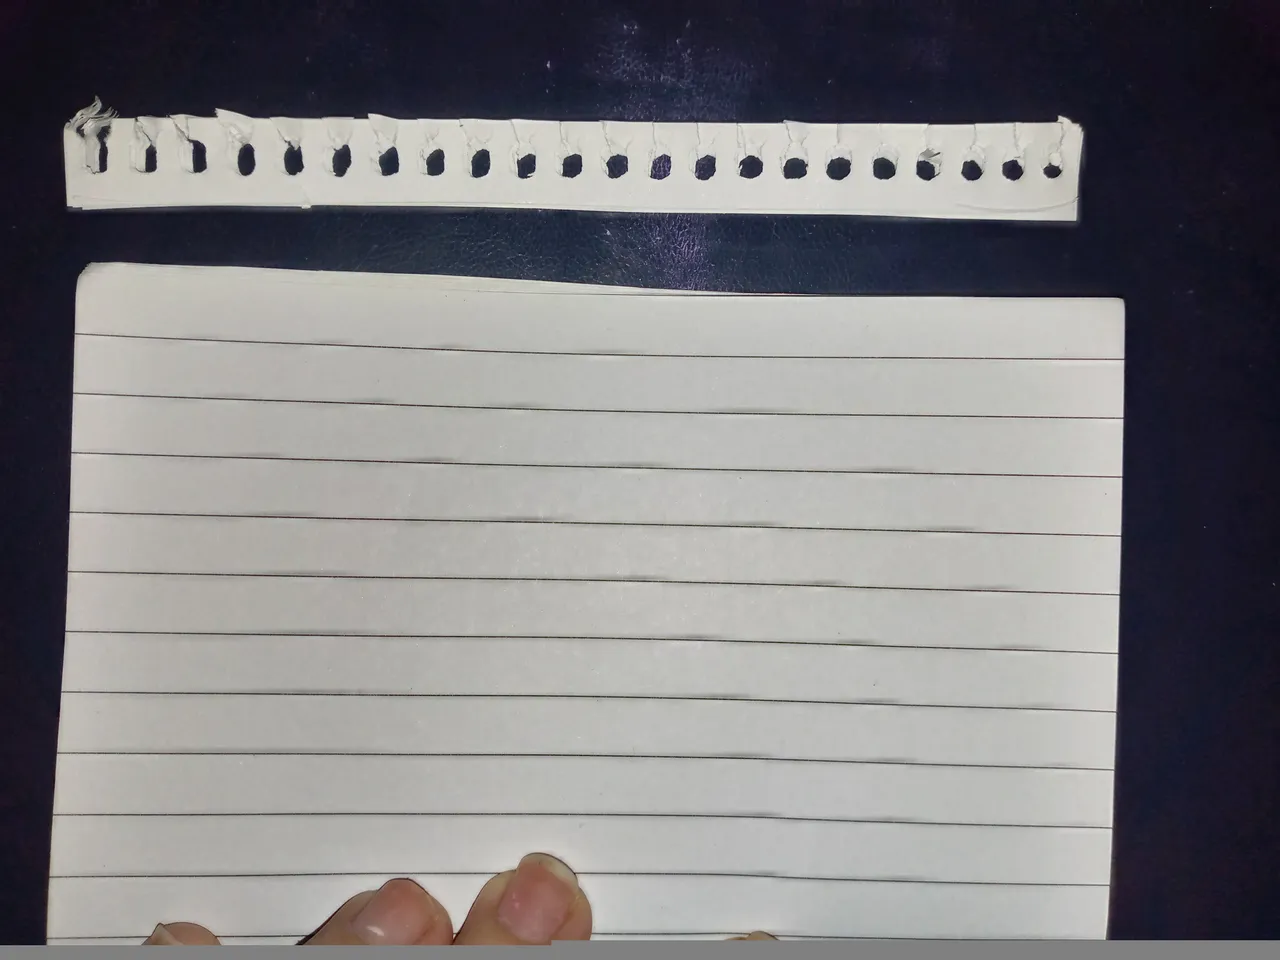
Para el primer paso estaré doblando la hoja de cuaderno por la mitad,todas las hojas disponibles y si le quieres colocar más hojas lo correcto sería ir doblandolas de 10 hojas para más facilidad,voy a estar cortándole el excedente de arriba si la libreta de donde sacaste las hojas es de resorte.

Step 01

For the first step I will be folding the notebook sheet in half, all the available sheets and if you want to put more sheets, the correct thing would be to fold them in 10 sheets for easier use. I will be cutting off the excess from the top if the notebook from which you took the sheets is spring-loaded.
IMG_20241013_201845_378.jpg

IMG_20241013_201914_834.jpg


Paso 02

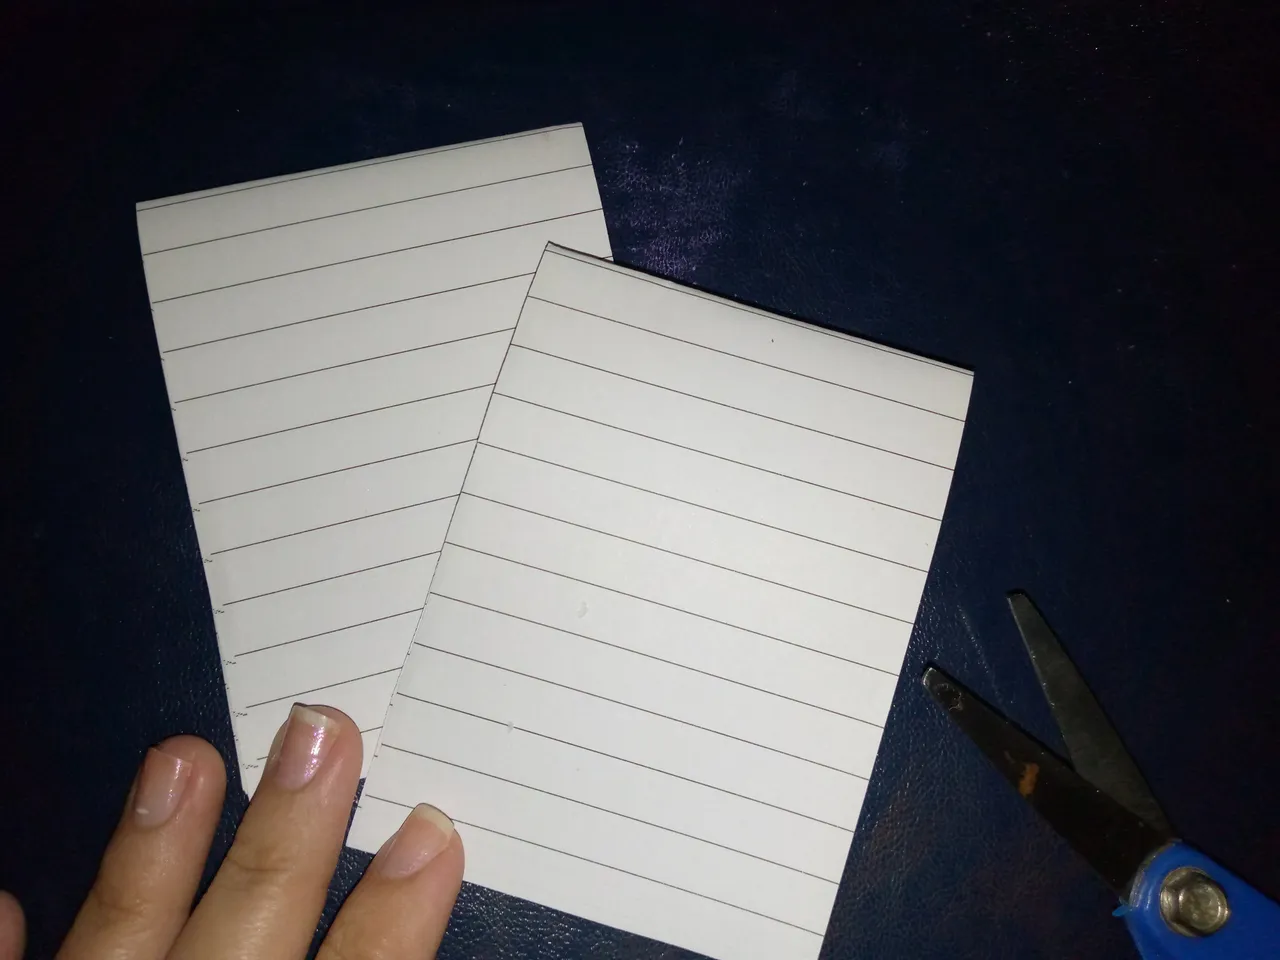
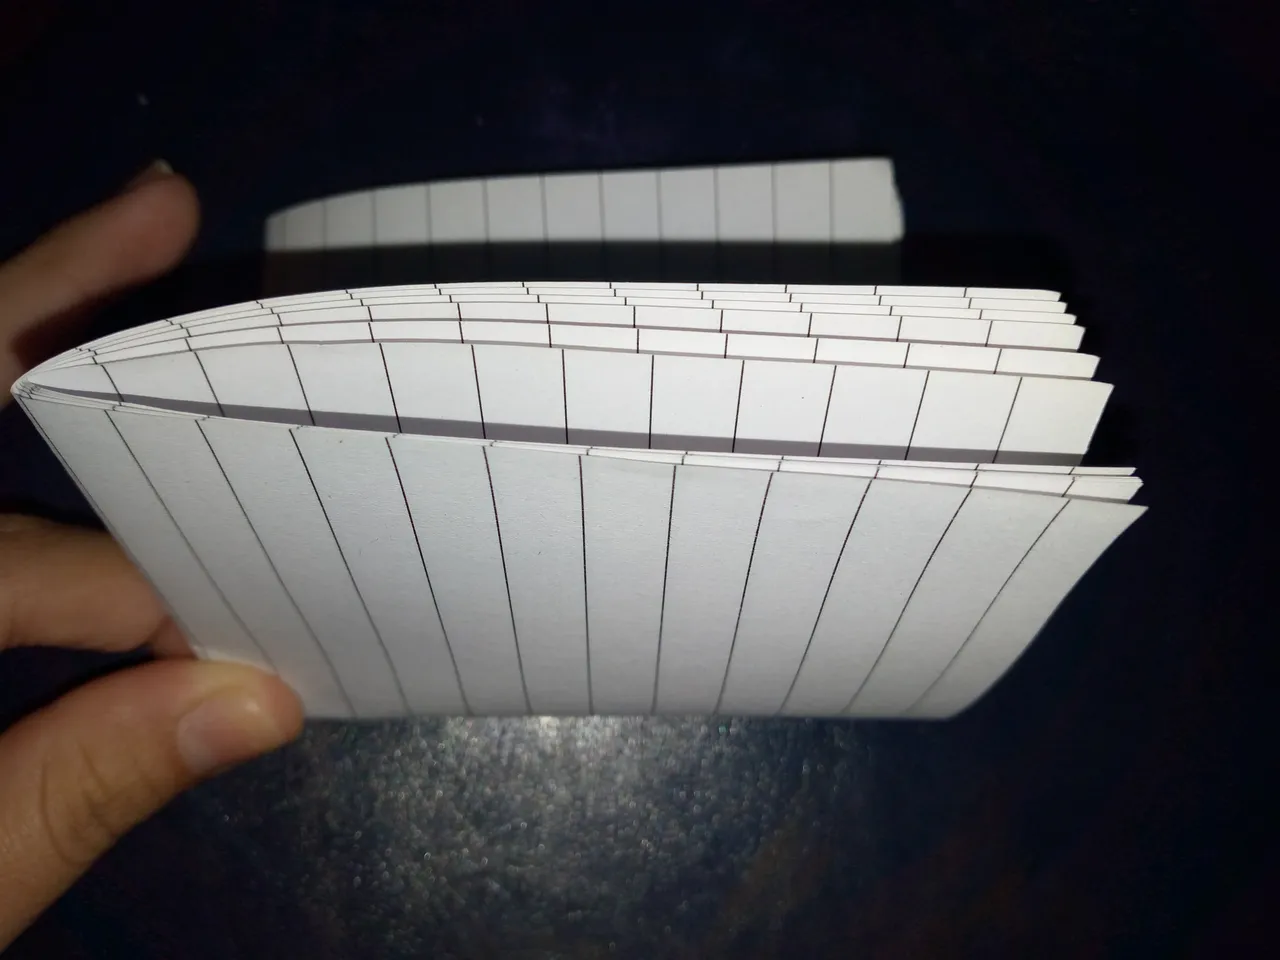
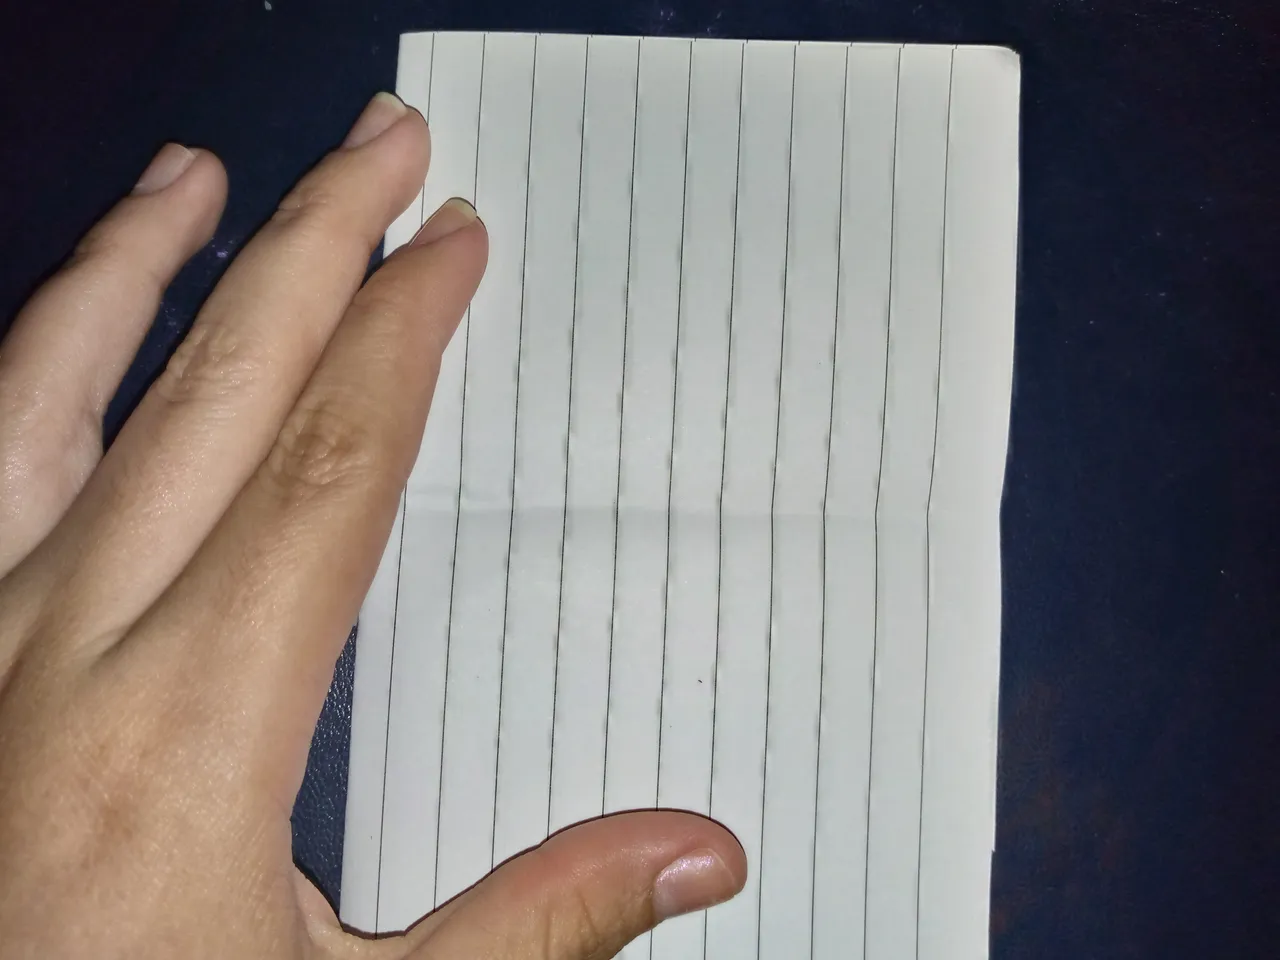
Como segundo paso lo que haré será volver a doblar una vez más las hojas osea le doy dos dobleces a mis tandas de hojas y voy a abrir por donde hice el dobles y cortaré por el medio de manera que nos queden dos mini cuadernillos.

Step 02

As a second step, what I will do is fold the sheets once more, that is, I will fold my batches of sheets twice and I will open where I made the fold and cut in the middle so that we have two mini booklets.
IMG_20241013_201932_728.jpg

IMG_20241013_201939_145.jpg

IMG_20241013_202001_138.jpg


Paso 03

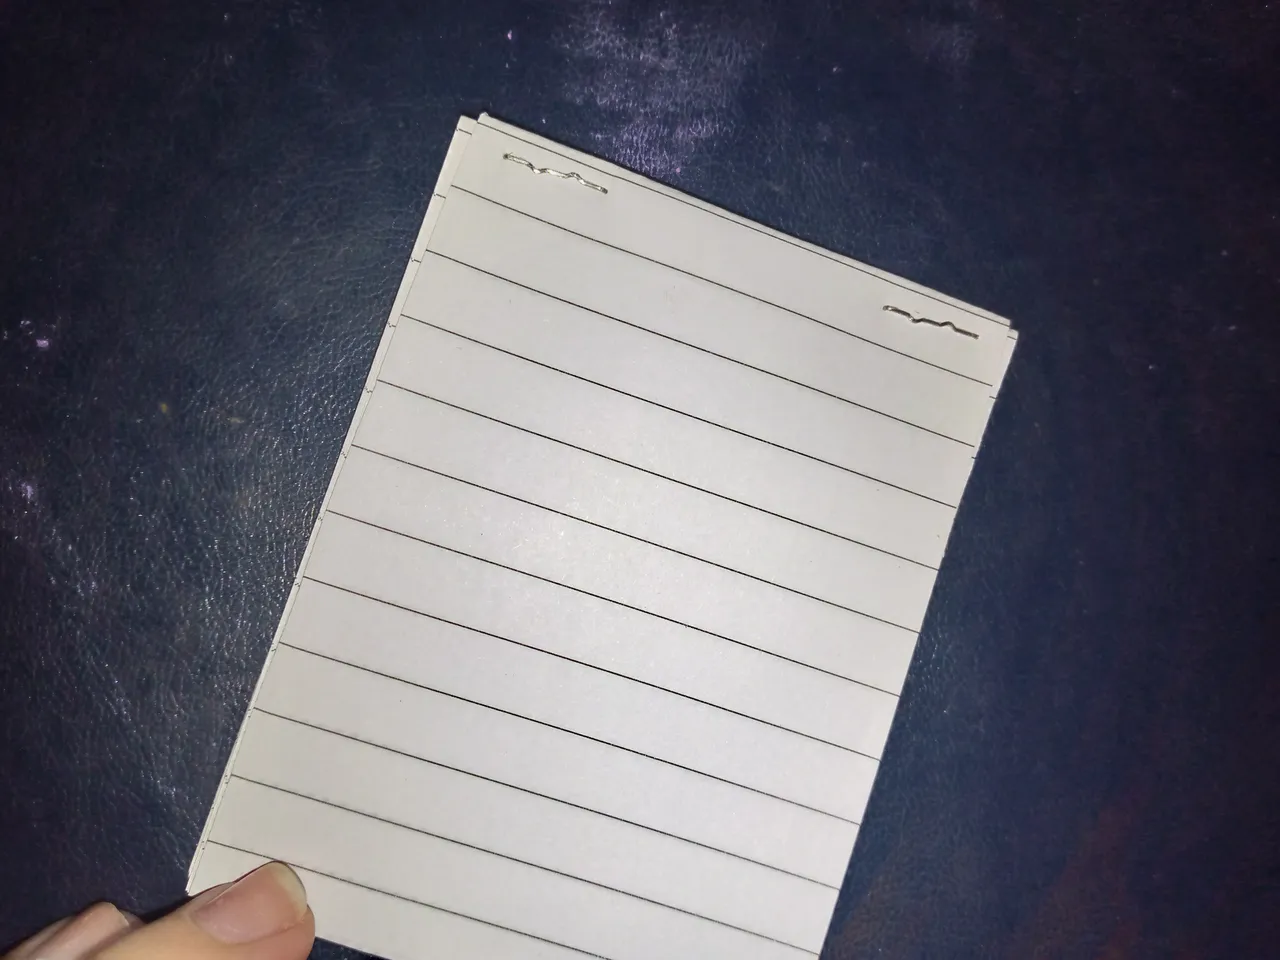
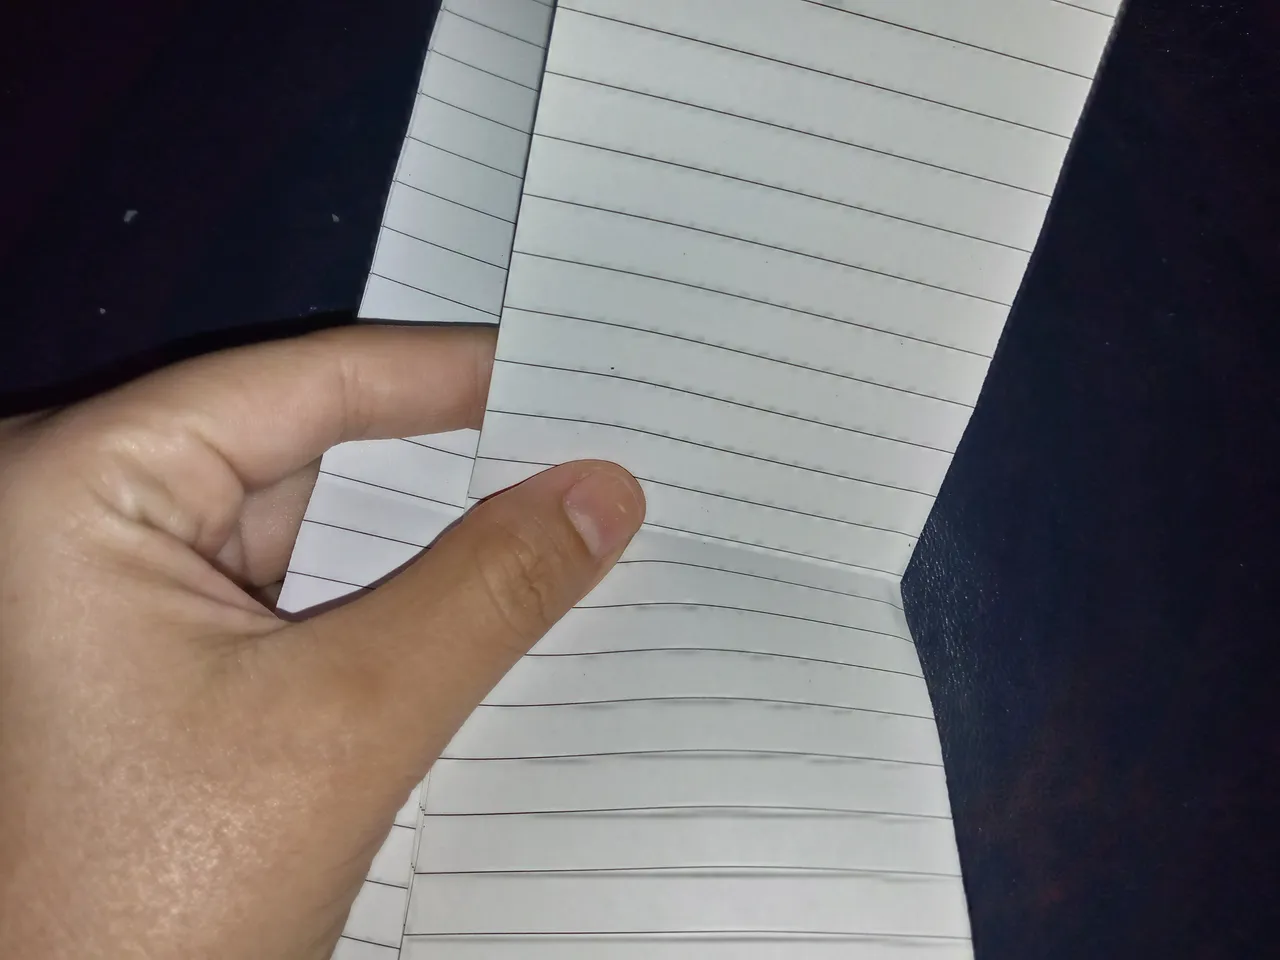
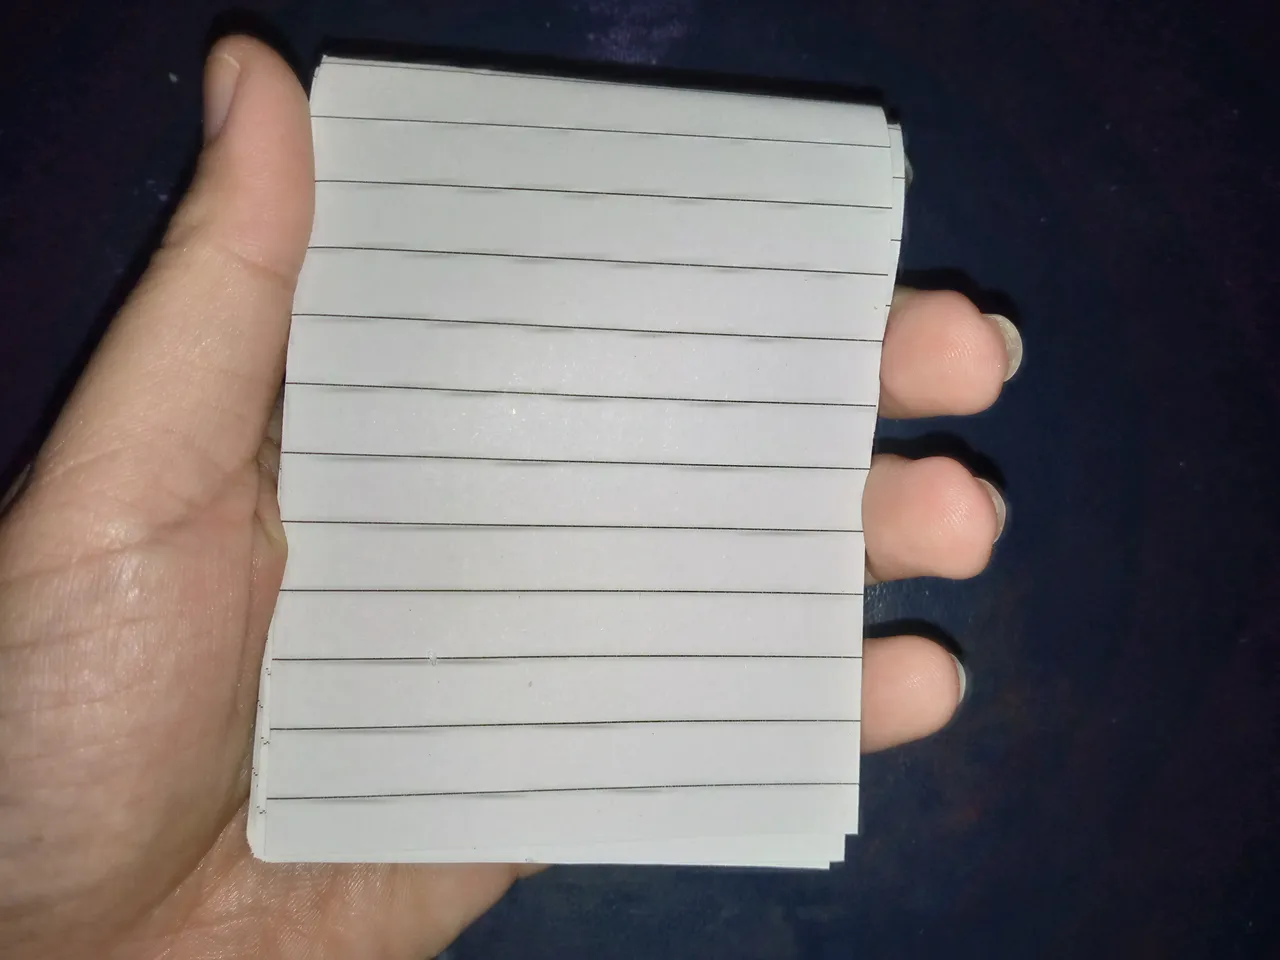
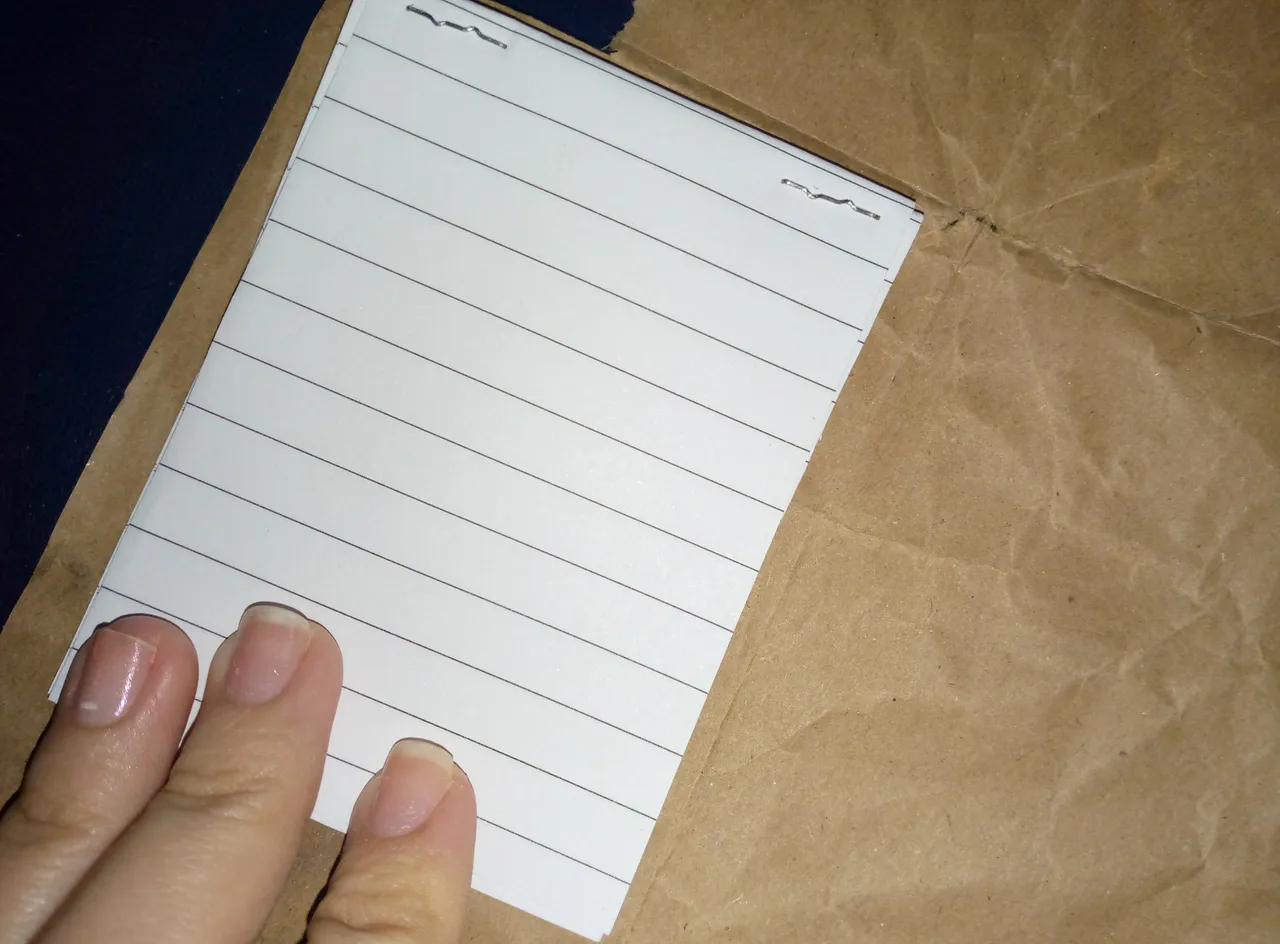
Estos cuadernillos voy a pasar a estar abriendo uno a la mitad e insertare allí en el medio de las hojas uno de los cuadernillos para juntarlos y luego graparlos le estaré colocando dos grapas.

Step 03

I am going to open these booklets in half and insert one of the booklets in the middle of the sheets to join them together and then staple them together. I will be placing two staples.
IMG_20241013_202018_649.jpg

IMG_20241013_202027_464.jpg

IMG_20241013_202110_510.jpg


Paso 04

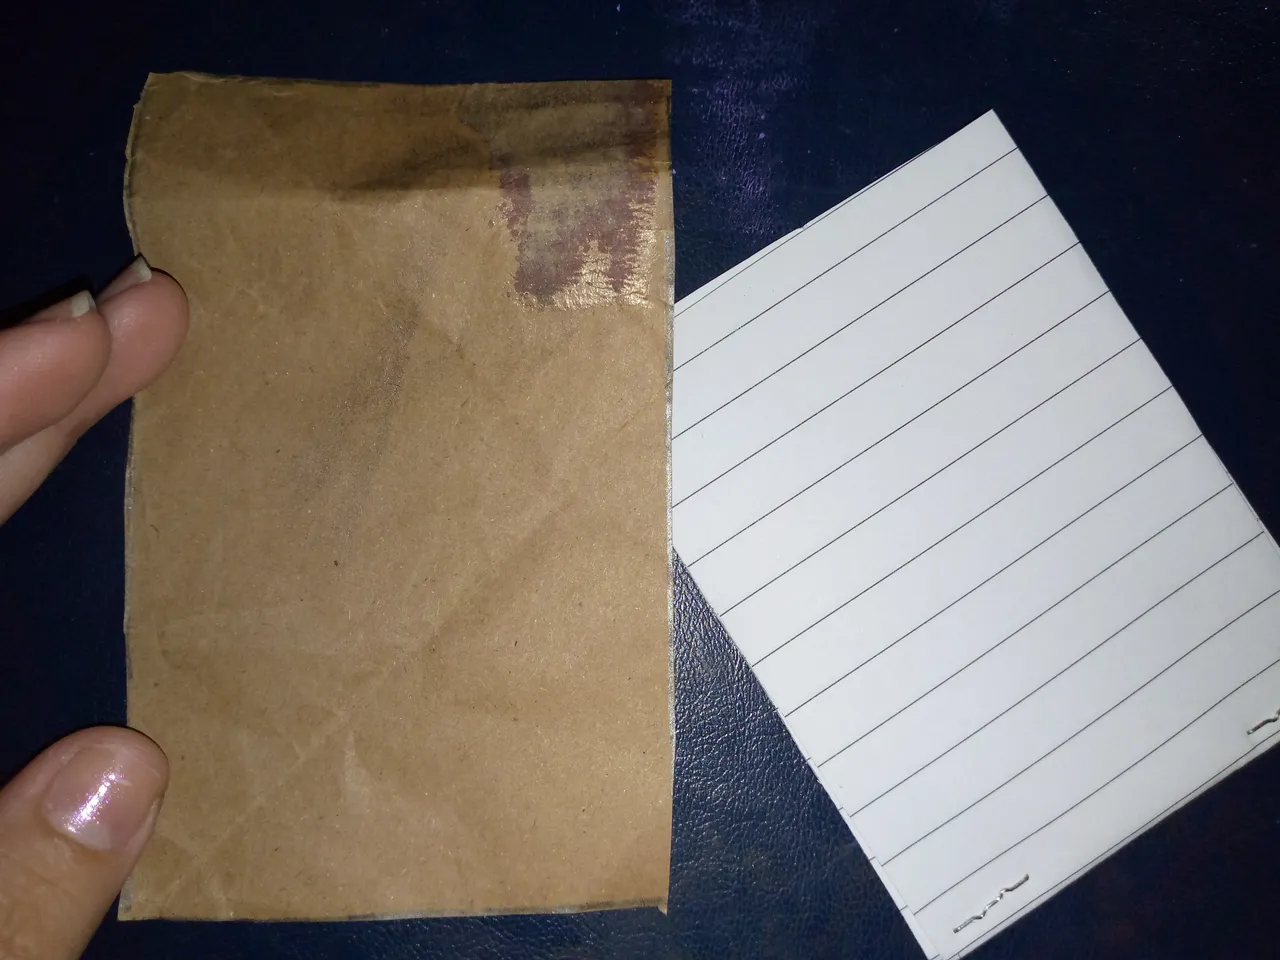
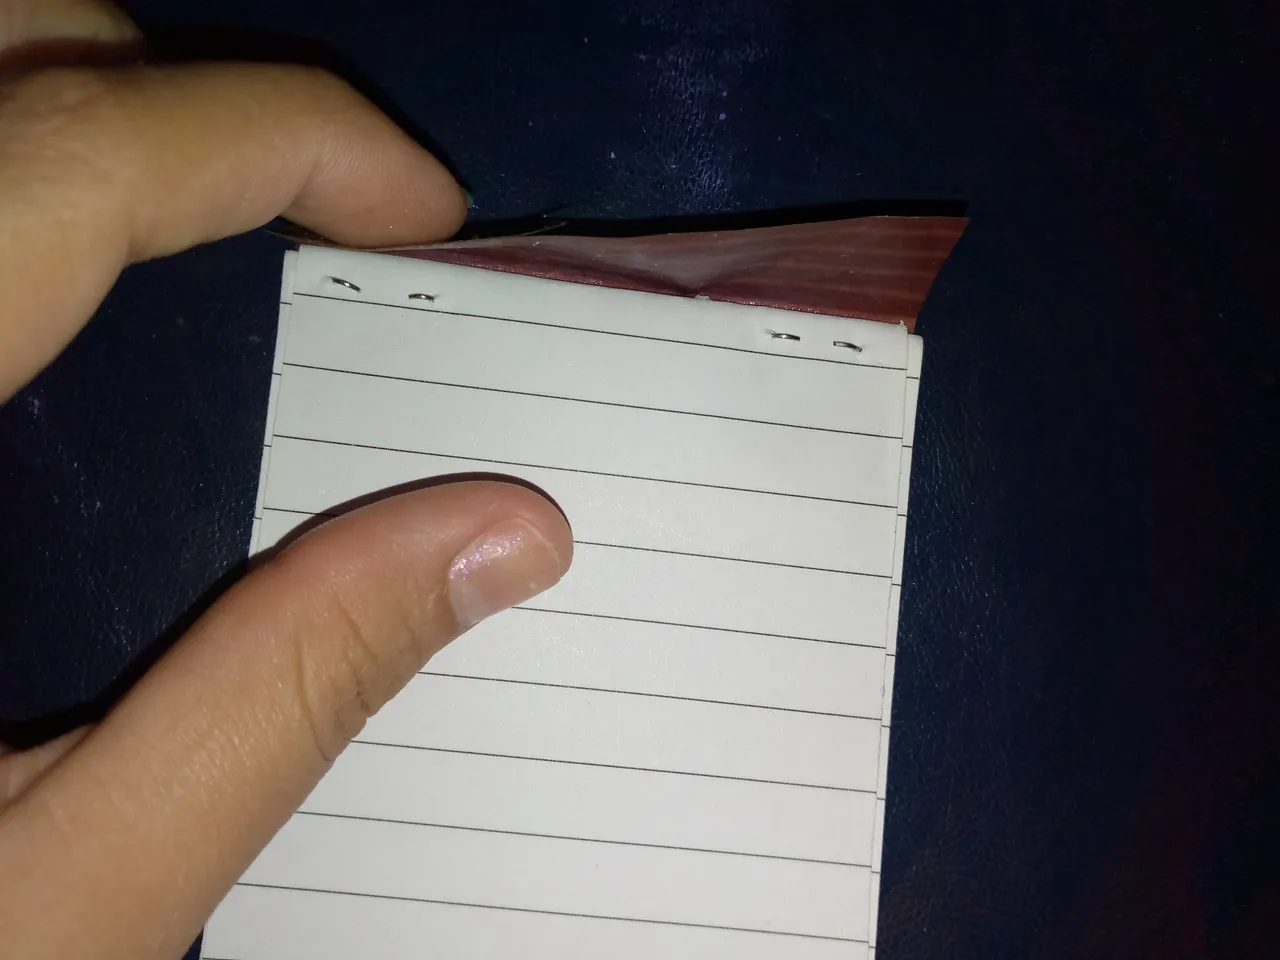
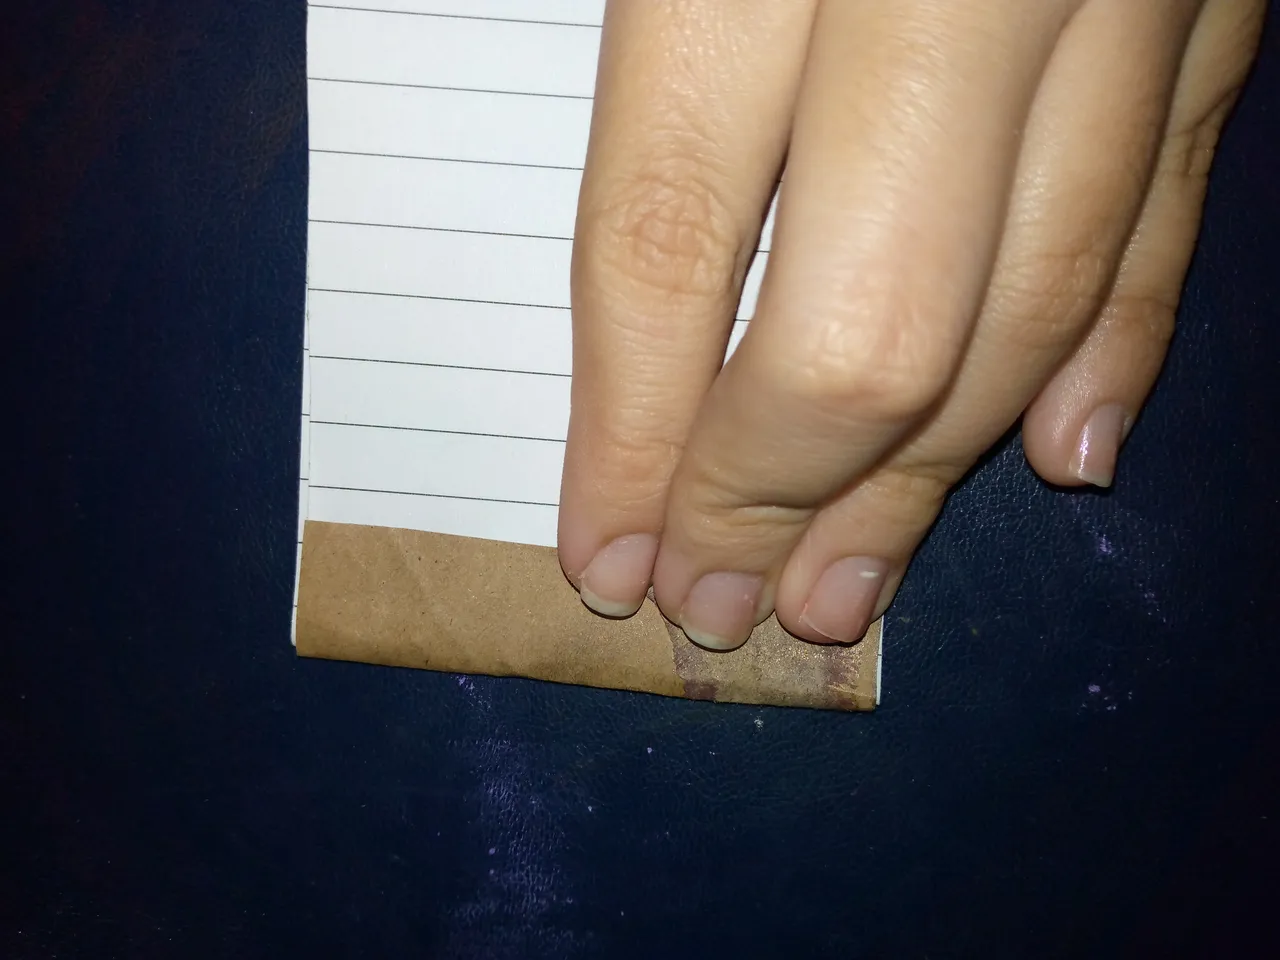
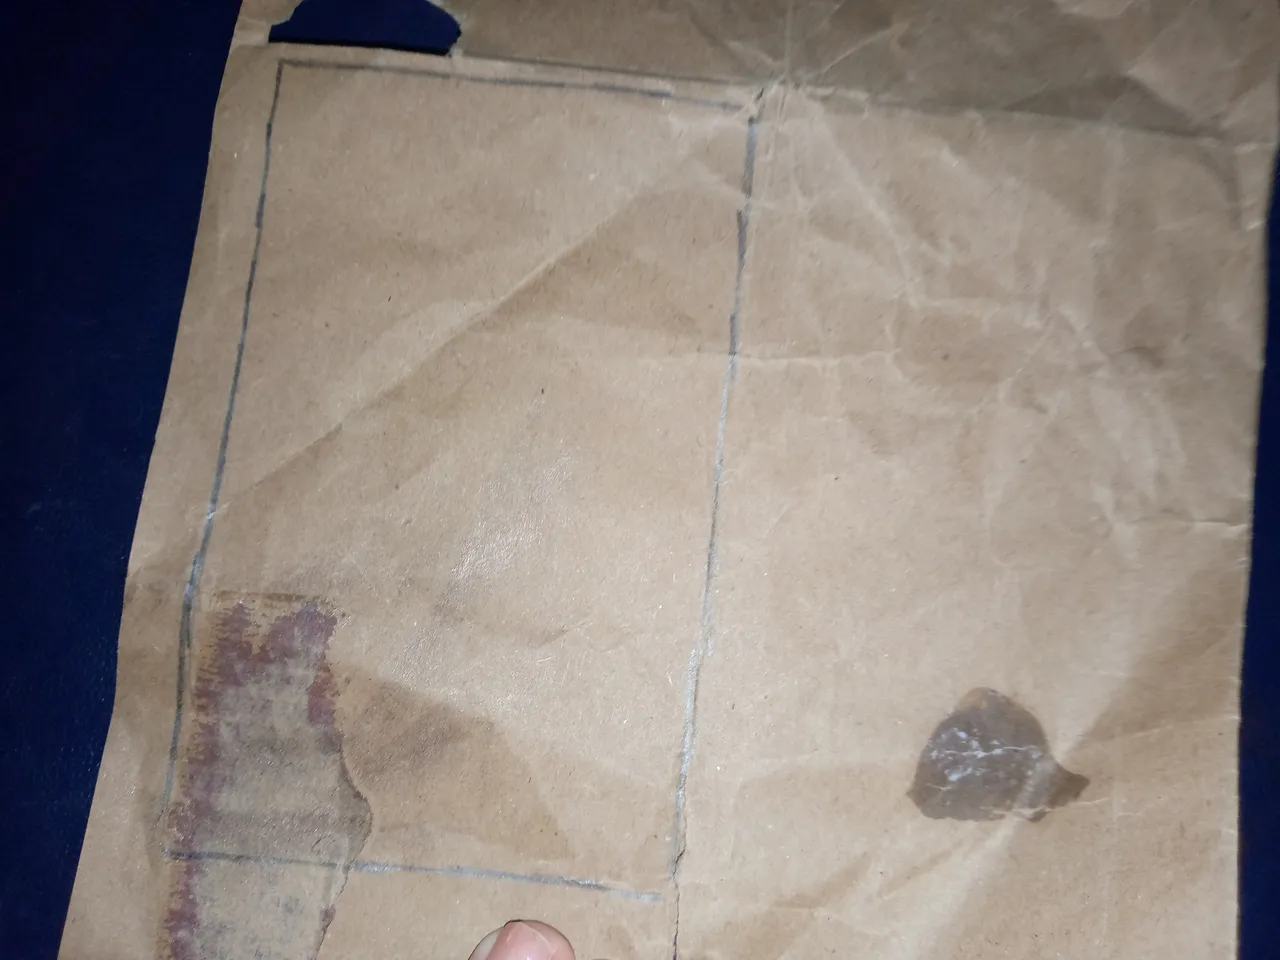
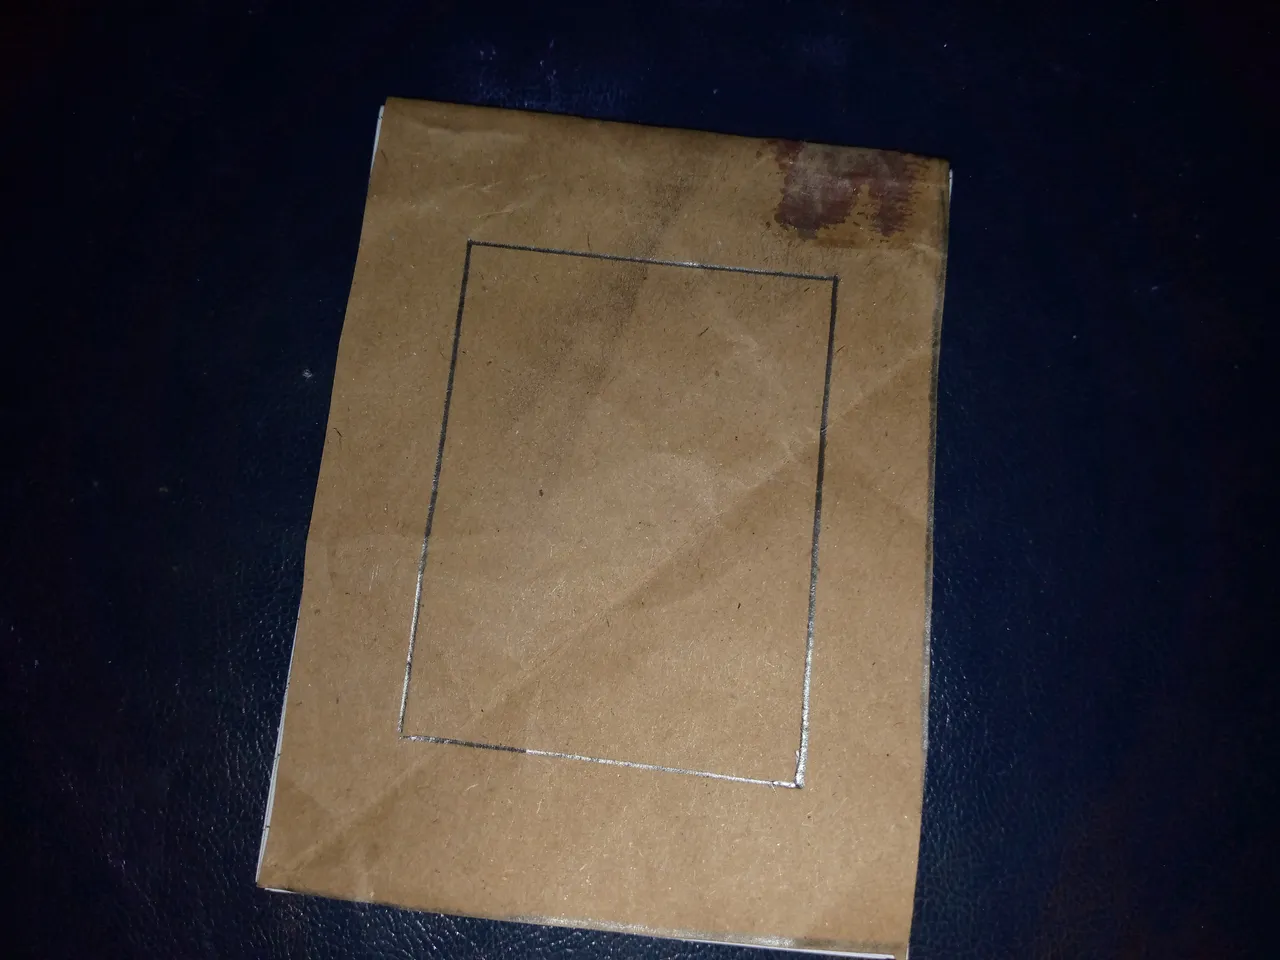
Pasaré entonces a marcar en el papel marrón el borde de la libreta para guiarme y poder hacer la portada con mi papel,termino de marcar y recorto,para empezar a pegar estaré echando la pega por el lado inferior y voy a pegar media aleta que hemos dejado de la portada lo pego bien y dejo secar.

Step 04

I will then mark the edge of the notebook on the brown paper to guide me and be able to make the cover with my paper. I will finish marking and cut out. To start gluing, I will be applying glue along the bottom side and I will glue half the flap that we left from the cover. I will glue it well and let it dry.
IMG_20241013_202134_284 (1).jpg

IMG_20241013_202217_317.jpg

IMG_20241013_202326_149.jpg

IMG_20241013_202433_861.jpg

IMG_20241013_202438_253.jpg


Paso 05

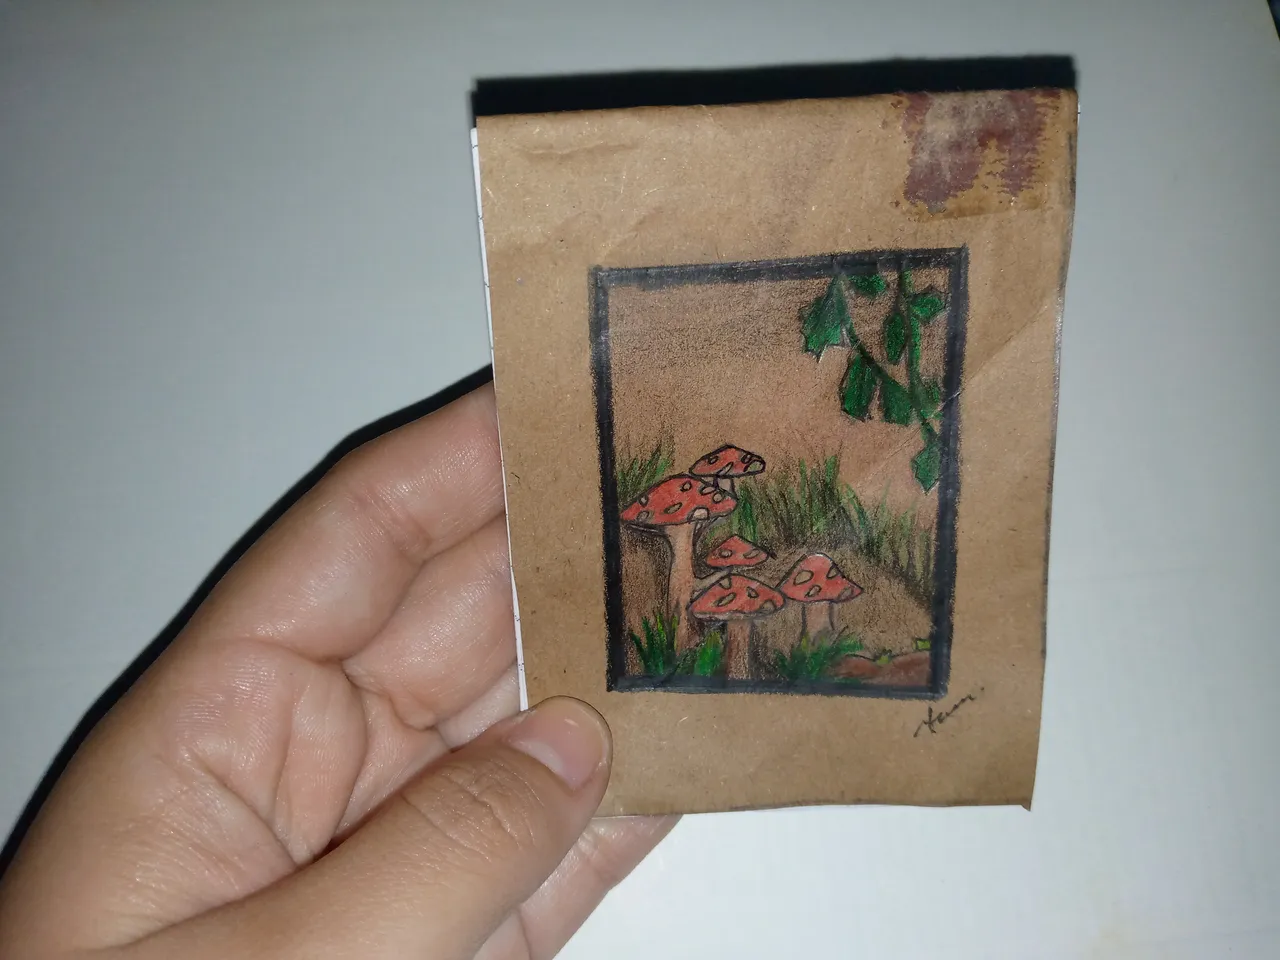
Finalizamos haciendo un cuadro marco en medio de la libretita y a partir de allí estaré haciendo un diseño,yo he escogido hacer un diseño de honguitos y naturaleza ya que me encanta muchísimo la naturaleza ,pinto, hago detalles y luego con la tinta repaso el borde del mismo y asi es como he terminado mi libreta con éxito.

Step 05

We finished by making a frame in the middle of the notebook and from there I will be making a design. I have chosen to make a design of mushrooms and nature since I love nature so much. I paint, make details and then with ink I go over the edge of it and that is how I have successfully finished my notebook.
IMG_20241013_202555_283.jpg

IMG_20241013_204233_436.jpg


Resultado:

Result:

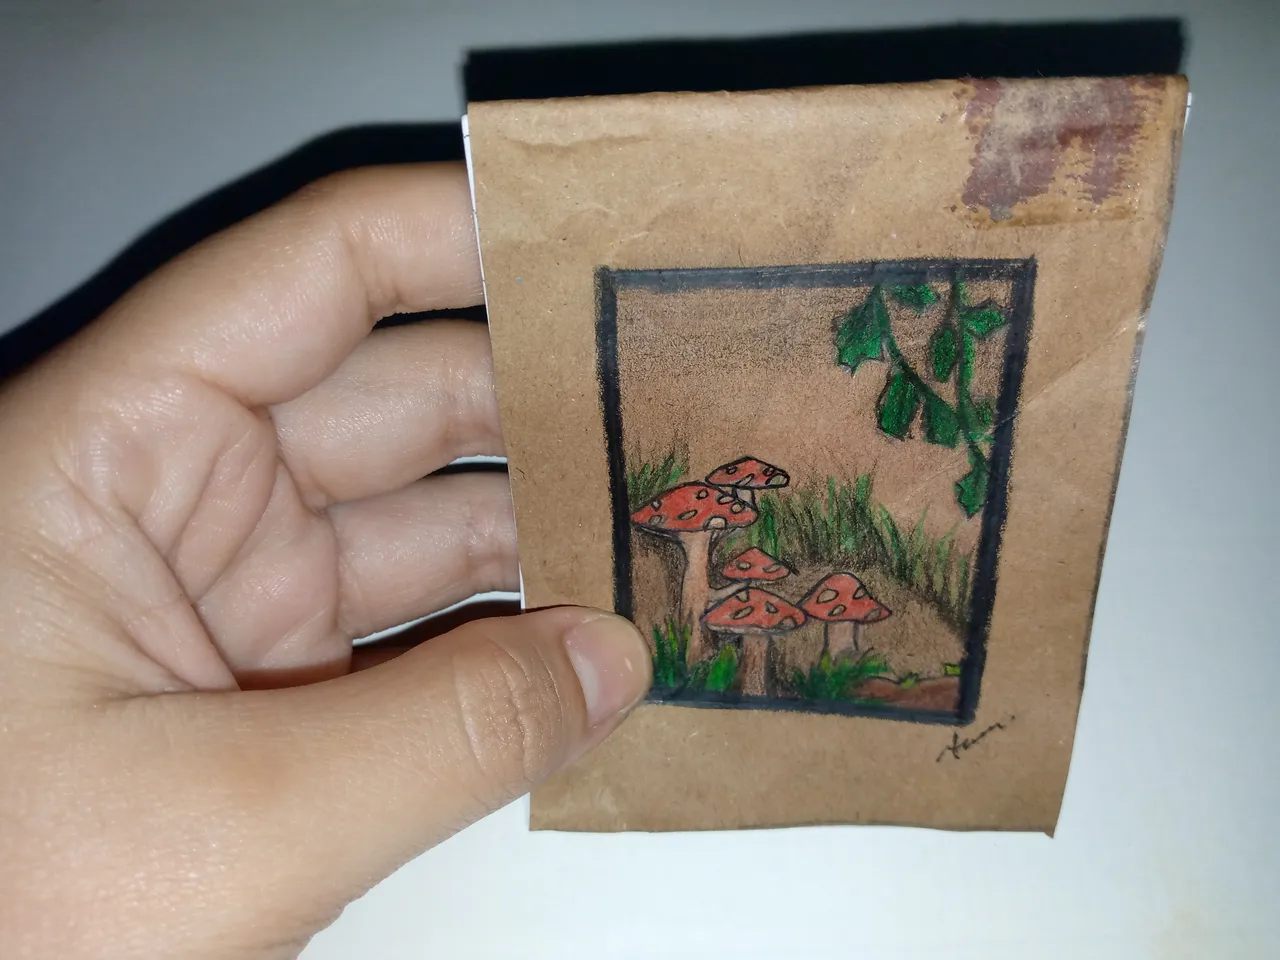
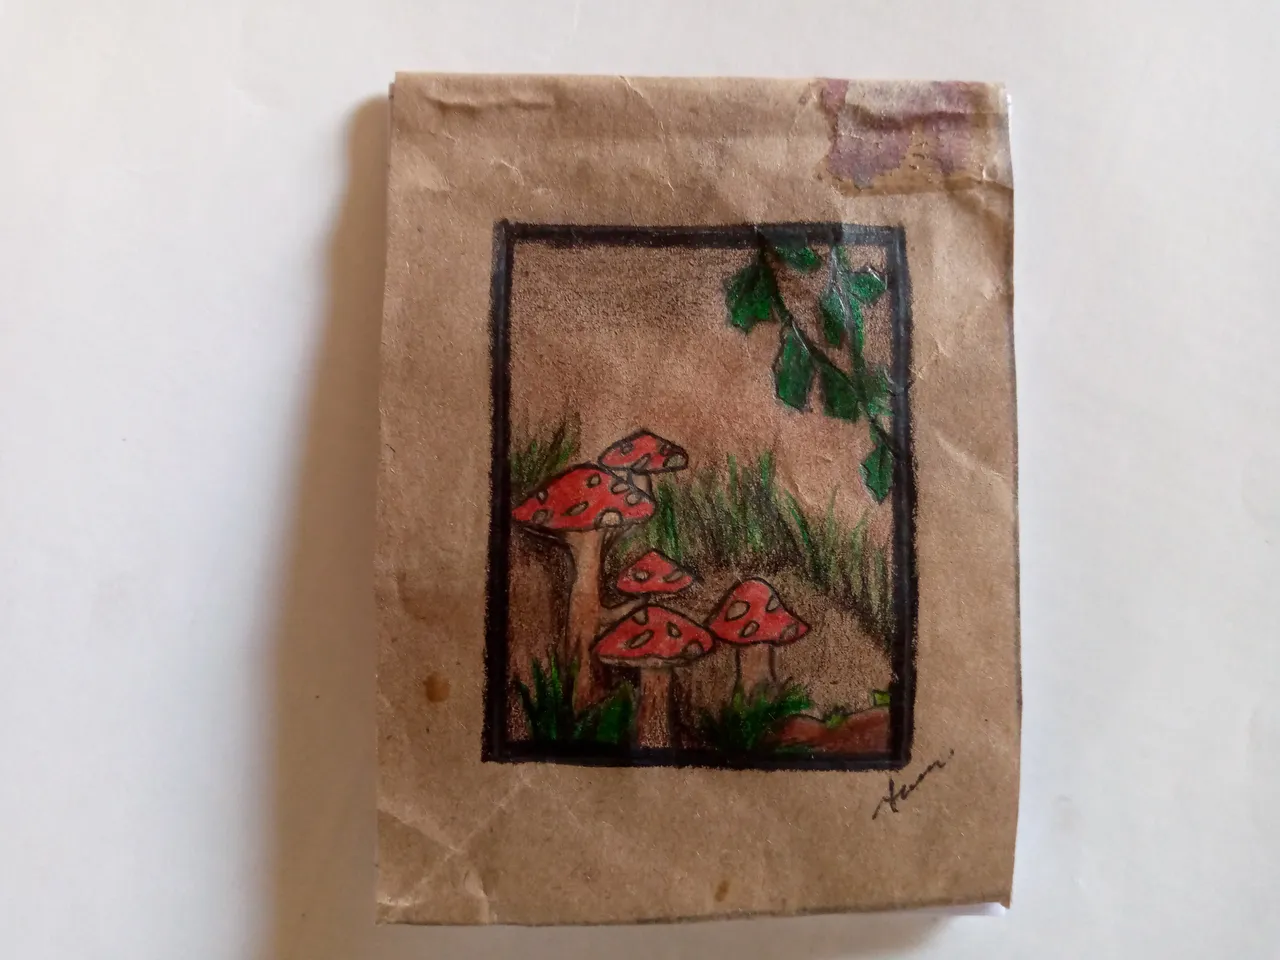
De esta forma nos ha quedado nuestra libreta lista para usarla ,aún no me decido que escribiré en ella pero se que pronto algo se me ocurrirá espero les haya gustado y me despido de ustedes deseándole un bella y bonita tarde ,disfruten del resultado final amigos.

This way our notebook is ready to use. I still haven't decided what I'll write in it, but I know that something will occur to me soon. I hope you liked it and I say goodbye to you wishing you a beautiful and nice afternoon. Enjoy the final result, friends.
IMG_20241013_204313_858.jpg

IMG_20241014_130937_410.jpg

🦋✨Todas las imágenes de esta publicación son de mi autoria ,📱tomadas con mi celular TecnoSpark8C |📸Fotos editadas en PicsArt y Canva. Texto traducido en el traductor de Google.

🦋✨ All the images in this publication are my author ,📱taken with my TecnoSpark8C cell phone |📸Photos edited in PicsArt and Canva. Text translated in Google Translate.


Picsart_24-08-15_13-46-37-839.jpg


H2
H3
H4
3 columns
2 columns
1 column
Join the conversation now
Logo
Center