| Esp | Eng |
|---|---|
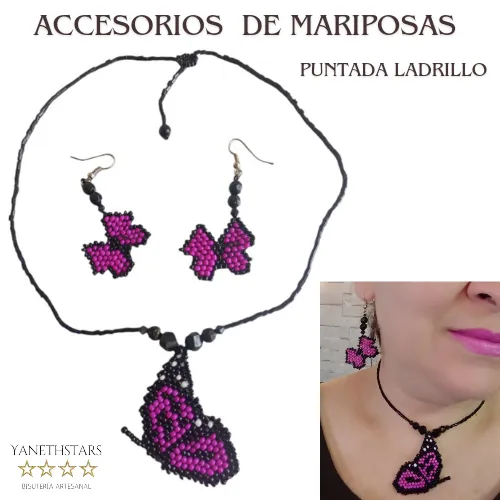
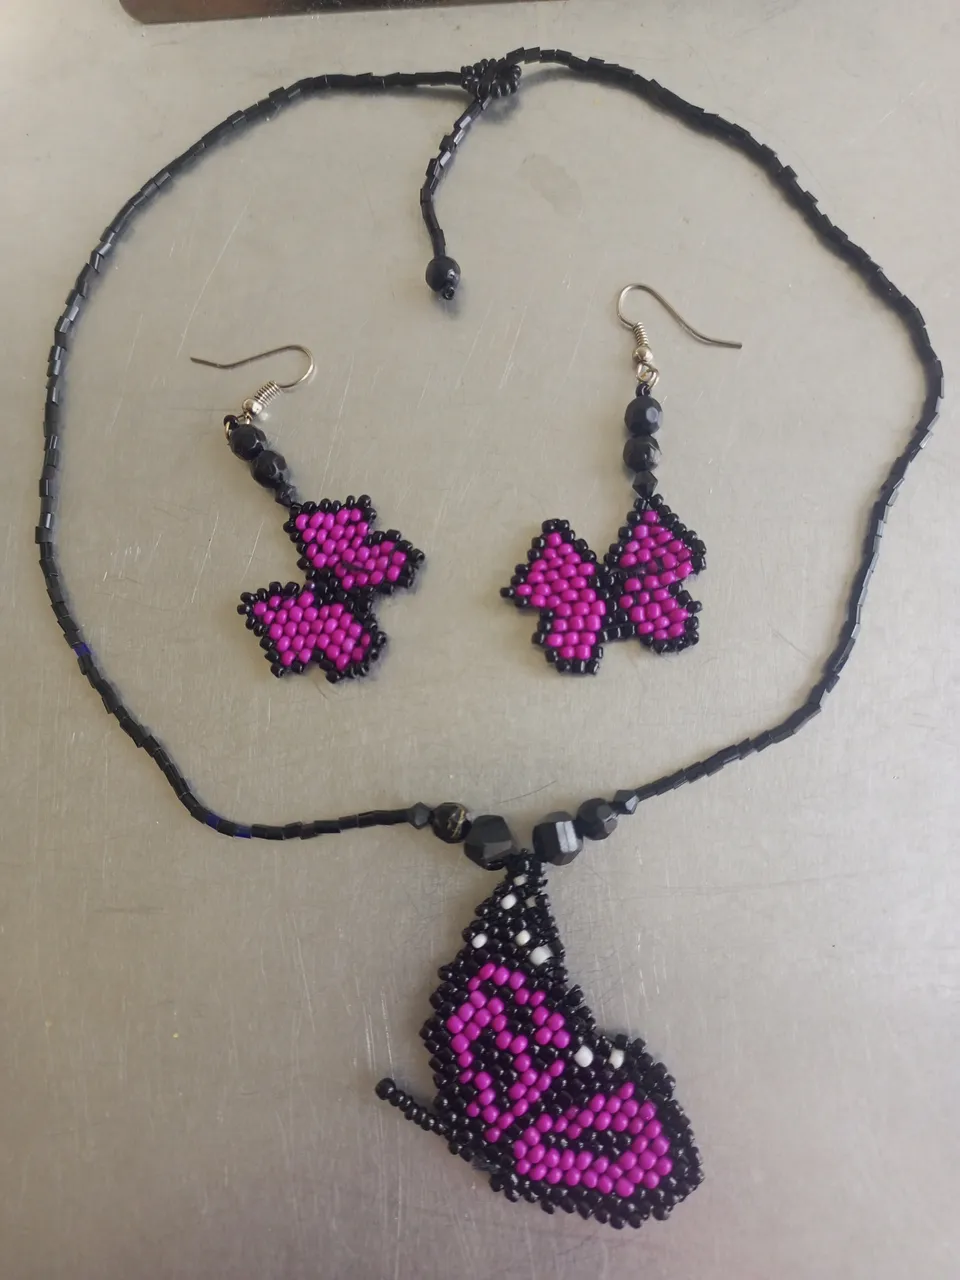
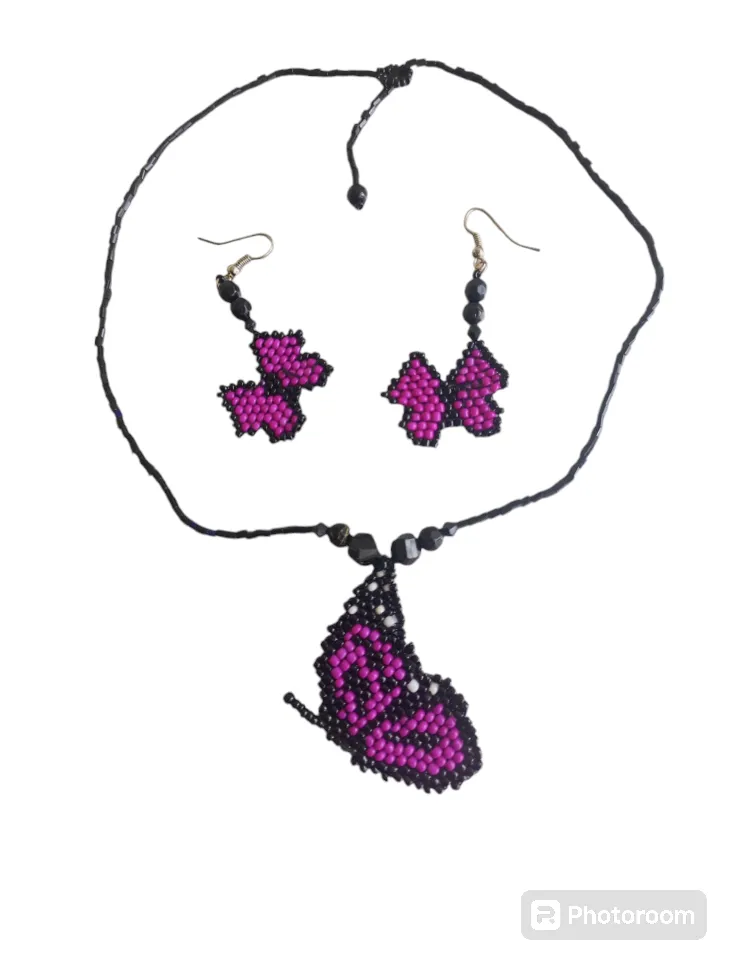
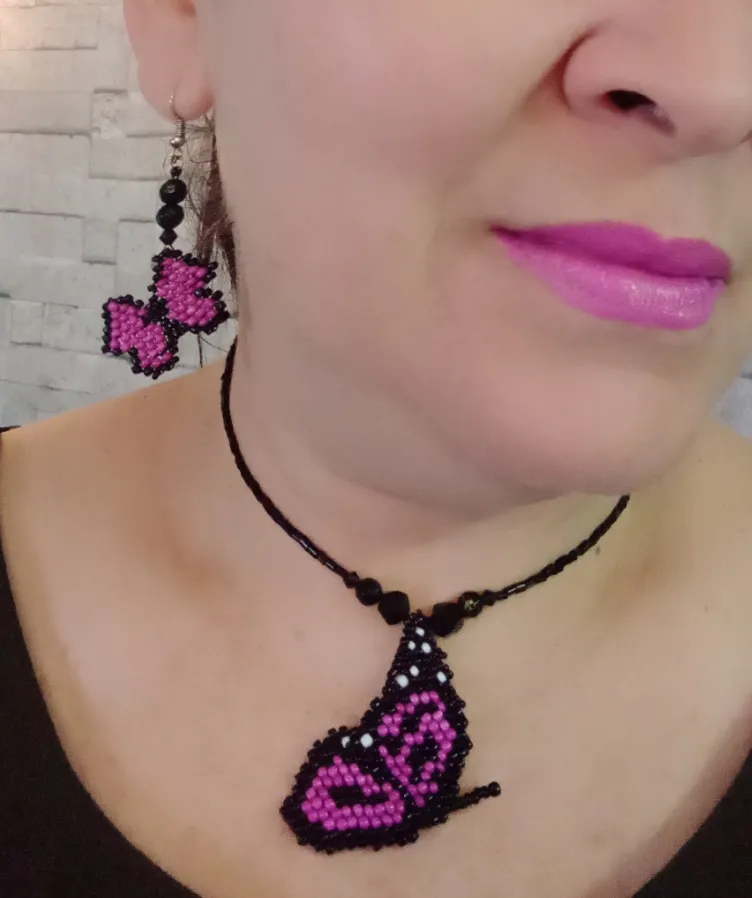
| Hola amigos creativos de nuestra linda comunidad @Jewelry, en está oportunidad les traigo mi trabajo de hoy LINDO JUEGO DE ACCESORIOS DE MARIPOSA, Esté hermoso juego de accesorios está conformado de aretes y collar de mariposas hechos con mostacillas, utilizando la TÉCNICA LADRILLO para construir figuras en mostacillas. A continuación la lista de materiales y el procedimiento. | Hello creative friends of our beautiful community @Jewelry, in this opportunity I bring you my work today NICE BUTTERFLY ACCESSORIES SET, This beautiful set of accessories is made up of earrings and butterfly necklace made with beads, using the CASTIC BRICKWORK TECHNIQUE to build figures in beads. Here is the list of materials and the procedure. |

| Materiales: | Materials: |
|---|---|
| Mostacillas fucsias, negras y blancas, hilo negro para mostacillas, agujas para mostacillas, 2 aretes de anzuelos, 2 aritos pequeños, cristales negros de tres medidas 0,10, 06 y 03, pinzas para bisuteria, tijeras, yesqueros. | Fuchsia, black and white beads, black thread for beads, bead needles, 2 earrings with hooks, 2 small earrings, black crystals of three sizes 0,10, 06 and 03, jewelry tweezers, scissors, plasterers, etc. |

| Instrucciones: | Instructions: |
|---|

| Paso 1 | Step 1 |
|---|---|
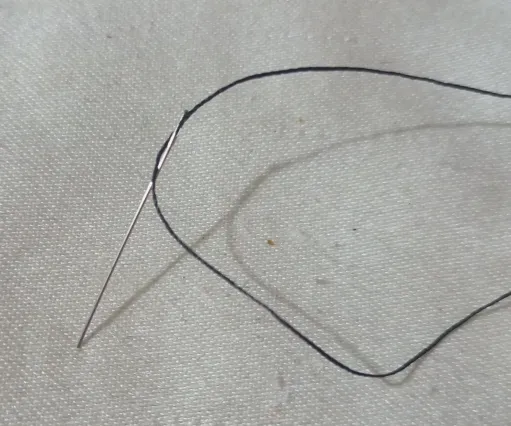
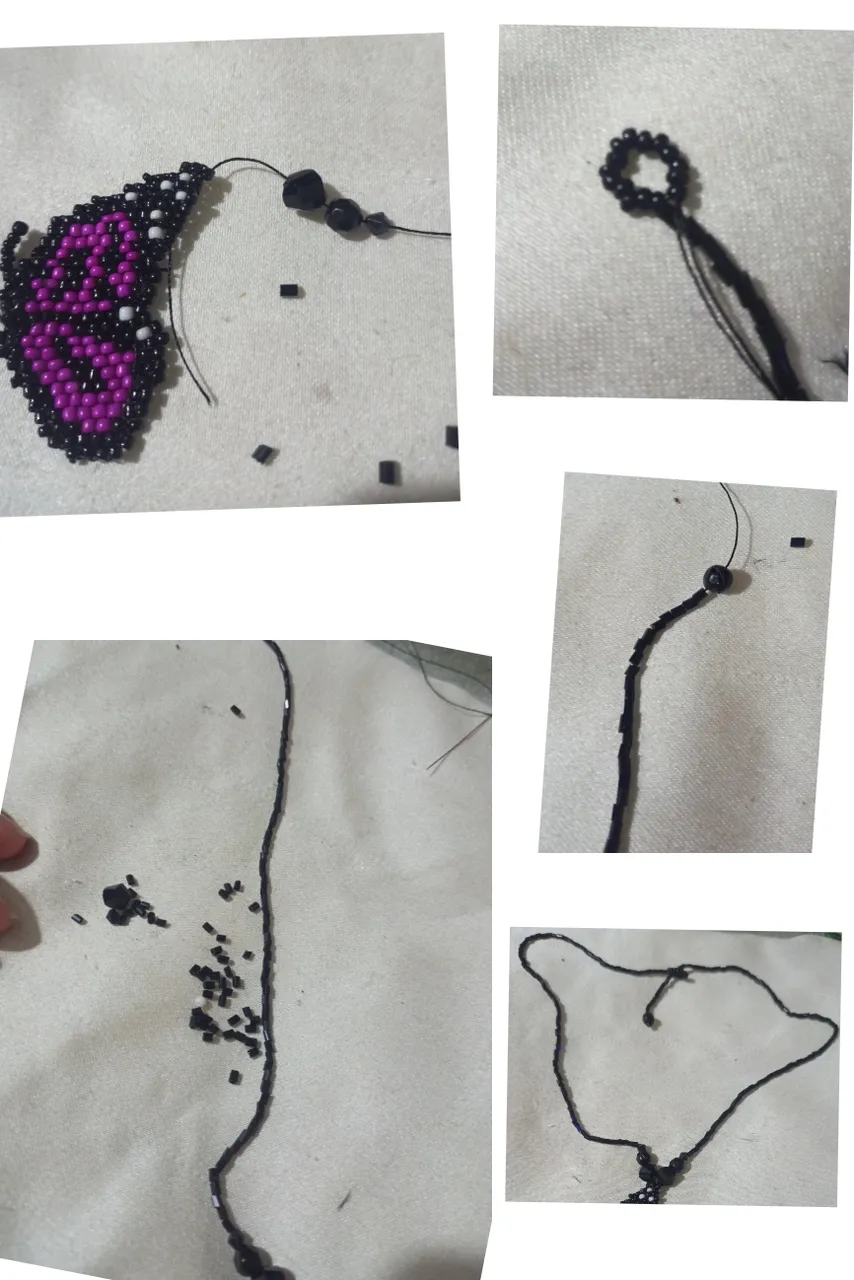
| Corté 1 metro y medio de hilo negro para mostacilla y construiré la primera figura que es el dije del collar y es un de la mariposa con las alas juntas. | I cut 1.5 meters of black mustard thread and I will build the first figure which is the pendant of the necklace and is a butterfly with wings together. |
| Paso 2 | Step 2 |
|---|---|
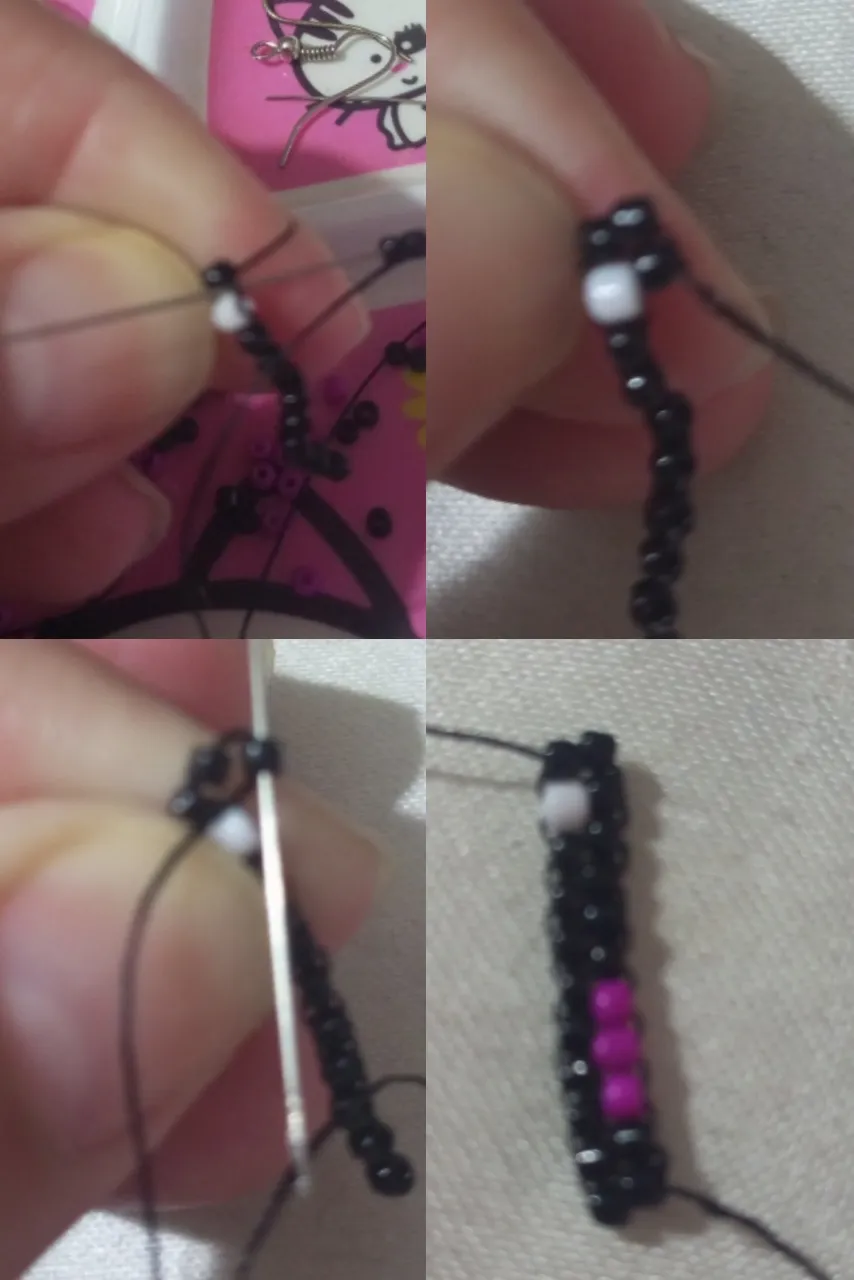
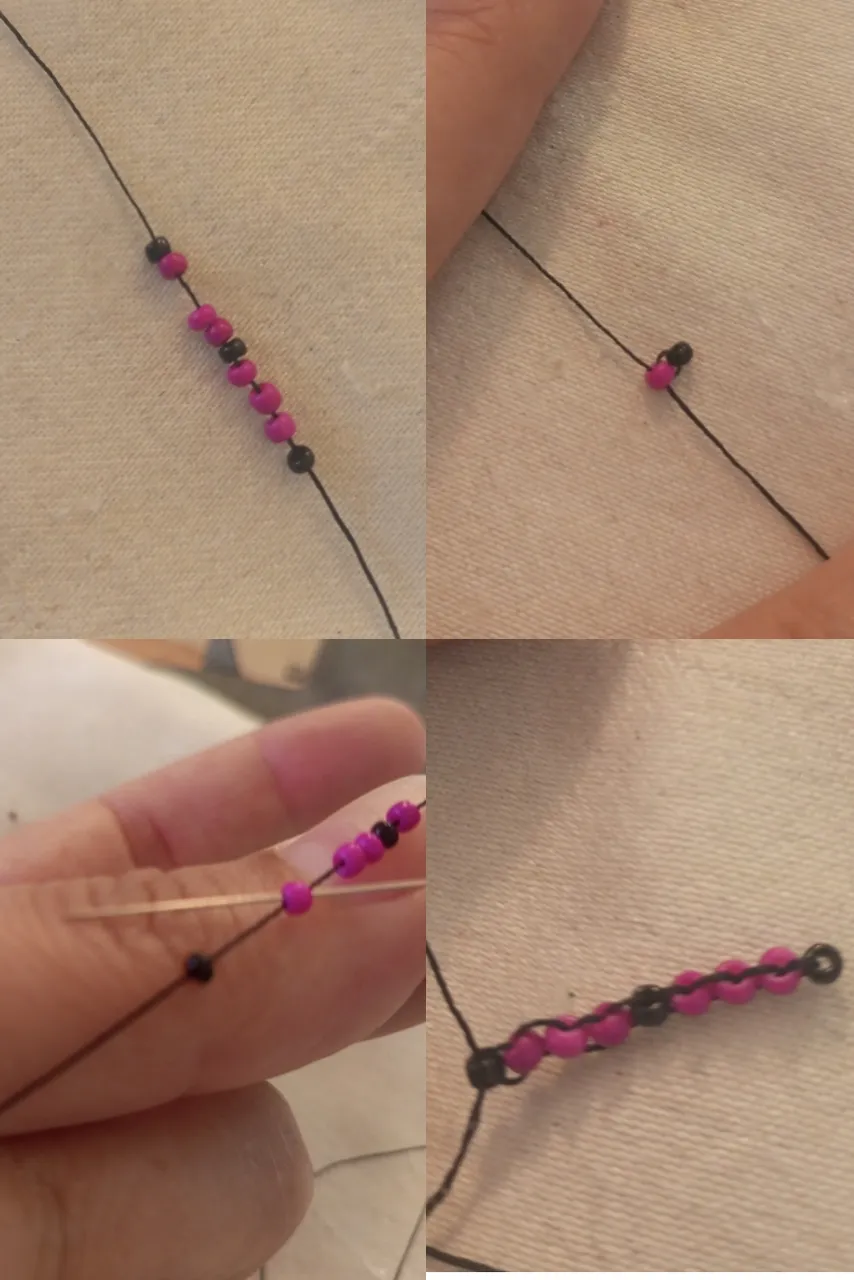
| Construí la primera columna que es la base para construir toda la figura, para eso Introduje 11 mostacillas en la aguja en el orden y color que se observa en la imagen. Se Introduce la aguja en la segunda mostacilla hacía abajo y seguimos de a una mostacilla hasta terminar de construir toda la columna. | I built the first column which is the base to build the whole figure, for that I introduced 11 beads in the needle in the order and color shown in the picture. The needle is introduced in the second bead downwards and we continue one bead at a time until we finish building the whole column. |

| Paso 3 | Step 3 |
|---|---|
| La segunda línea es sin ampliación ni reducción, por lo que tomamos dos mostacillas negras en la aguja y en el primer puente de hilo introducimos la aguja y luego llevamos la aguja a la segunda mostacilla introduciendo la aguja de abajo hacia arriba y seguimos uniendo las mostacillas a la columna principal hasta construir la segunda columna. | The second line is without enlargement or reduction, so we take two black beads on the needle and in the first thread bridge we introduce the needle and then we take the needle to the second bead introducing the needle from bottom to top and we continue joining the beads to the main column until we build the second column. |
| Paso 4 | Step 4 |
|---|---|
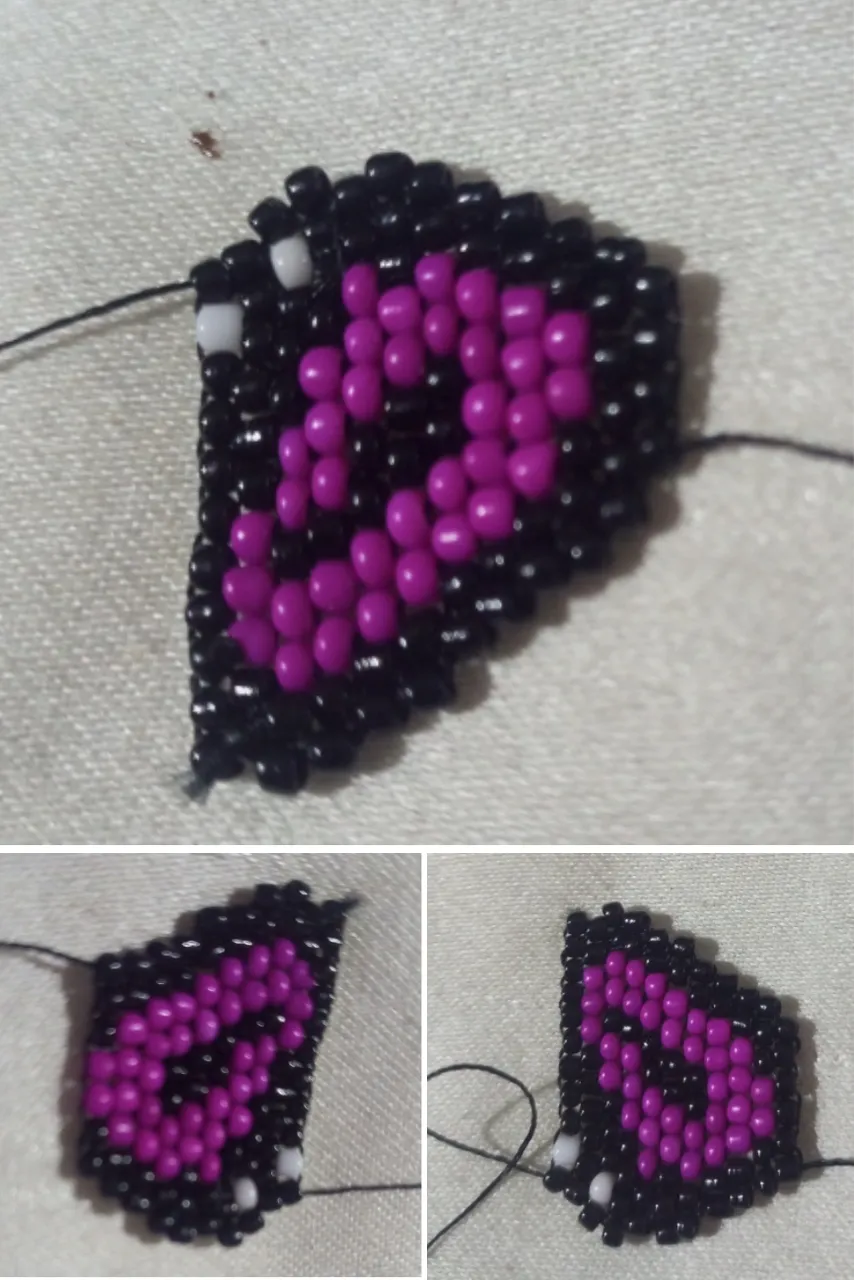
| La tercera columna es que con ampliación tanto al inicio como al final. | The third column is that with enlargement both at the beginning and at the end. |

| Paso 5 | Step 5 |
|---|---|
| En la imagen observamos la cuarta columna, que la iniciamos con ampliación y termina con una reducción. | In the image we can see the fourth column, which starts with an enlargement and ends with a reduction. |

| Paso 6 | Step 6 |
|---|---|
| En la imagen observamos la quinta columna. | The image shows the fifth column. |

| Paso 7 | Step 7 |
|---|---|
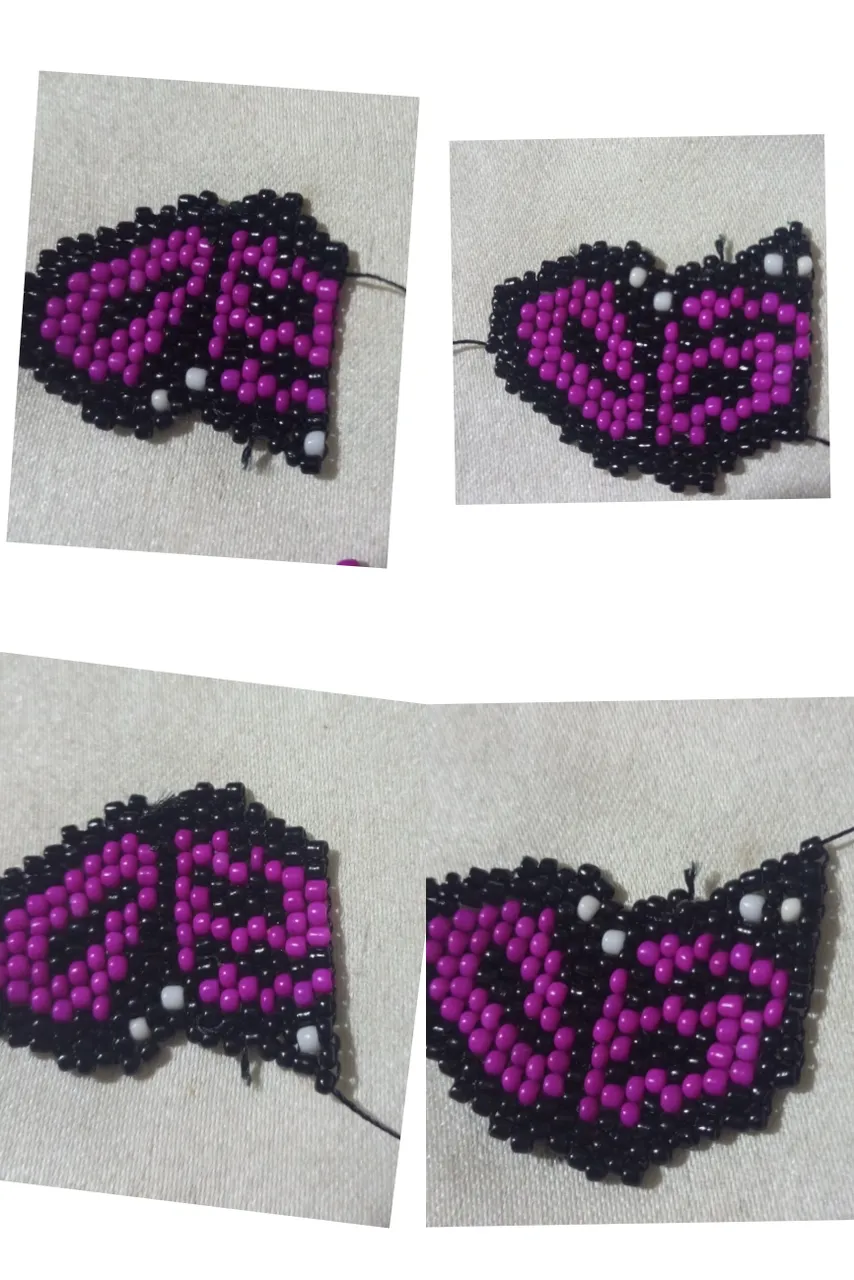
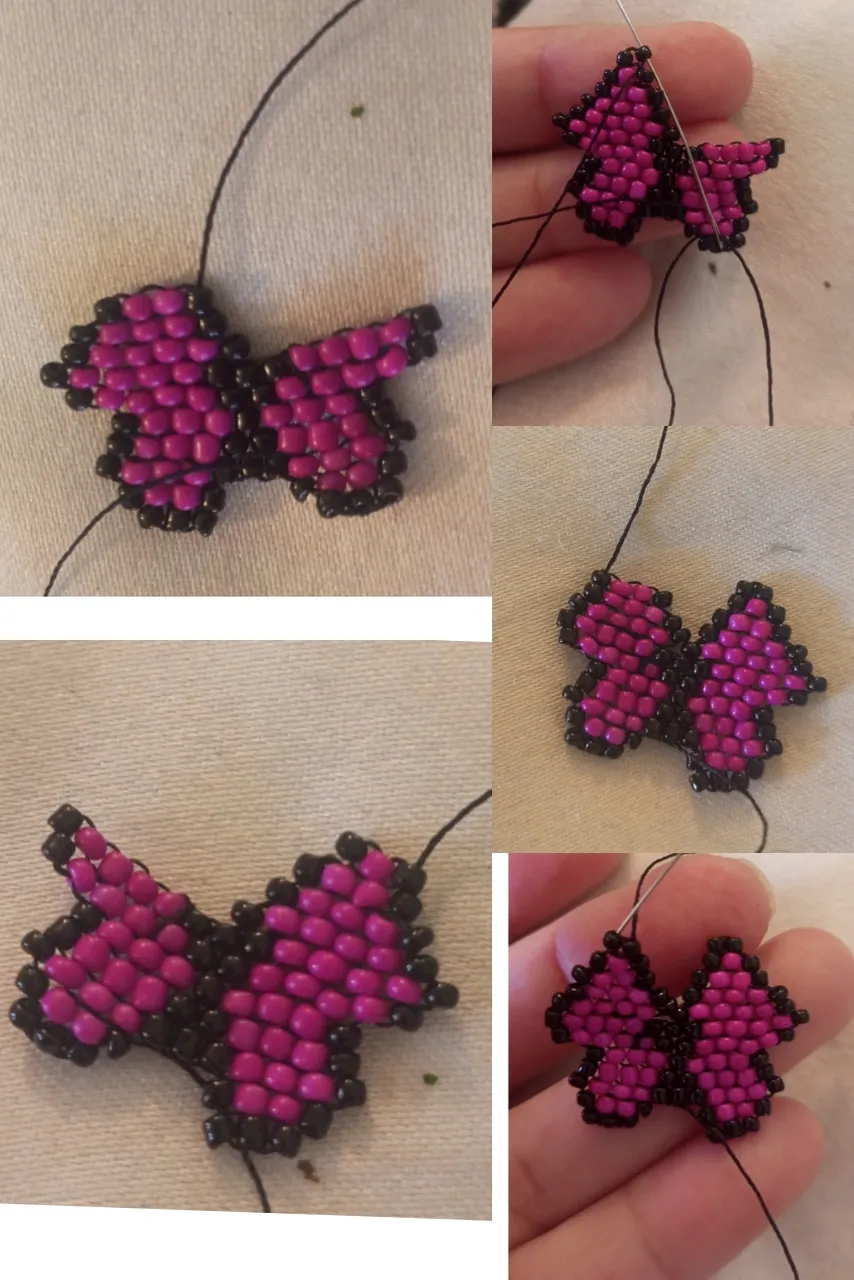
| En las siguientes imágenes observamos la elaboración hasta la novena columna, con sus diferentes ampliaciones y reducciones en cada columna. | In the following images we observe the elaboration up to the ninth column, with its different enlargements and reductions in each column. |

| Paso 8 | Step 8 |
|---|---|
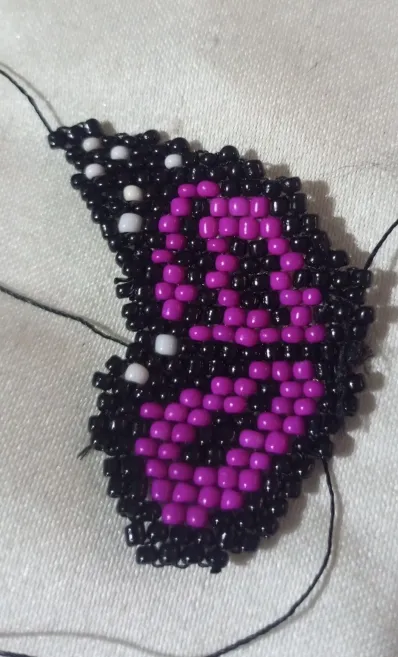
| En está imagen observamos la culminación de la primera parte de las alas que cuenta de 12 columnas. | In this image we observe the culmination of the first part of the wings that has 12 columns. |
| Paso 9 | Step 9 |
|---|---|
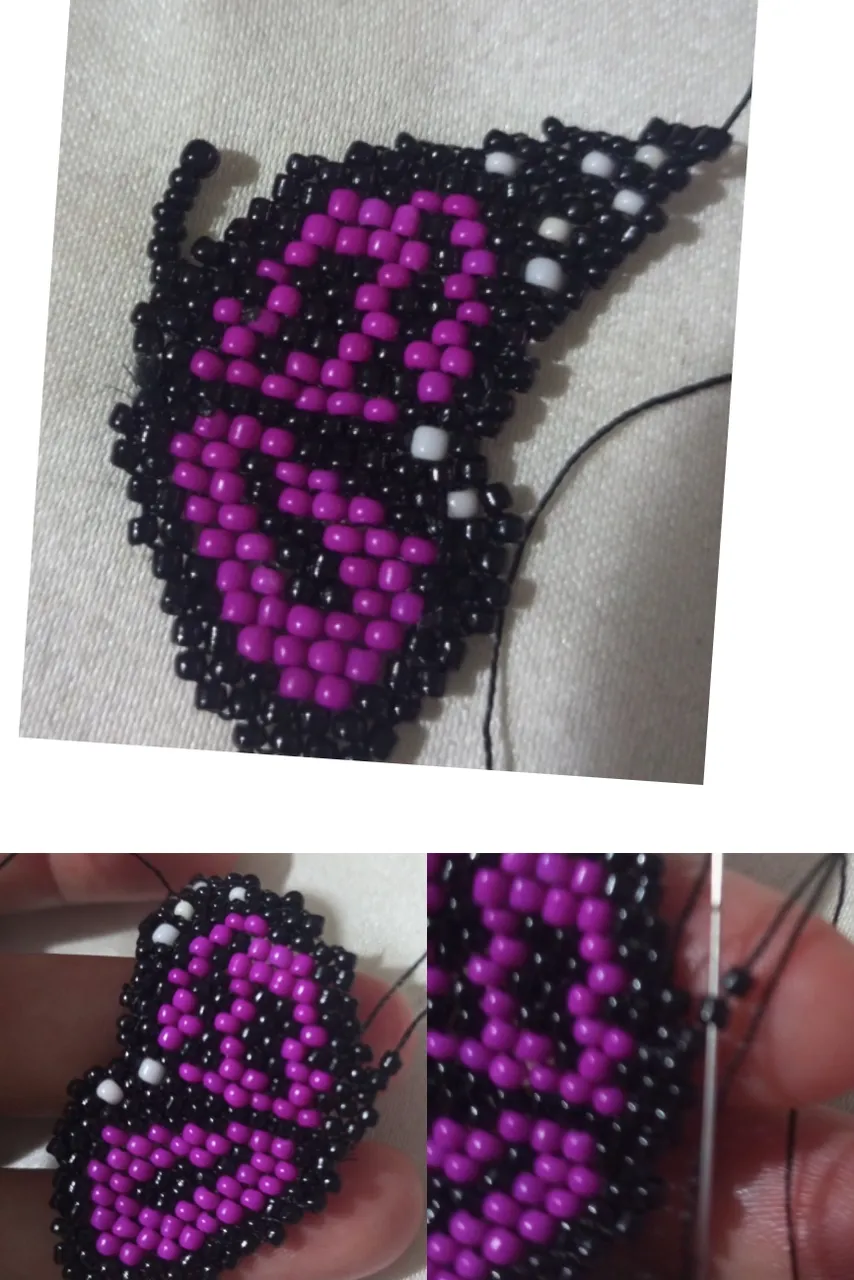
| La siguiente extensión de las alas observamos la elaboración en las imágenes. | The following extension of the wings we observe the elaboration on the pictures. |

| Paso 10 | Step 10 |
|---|---|
| Esté lado de las alas son 13 columnas y comenzamos a reducir y culminamos dándole forma hacia arriba con reduciendo siempre hasta culminar en 3 mostacillas negras. | This side of the wings are 13 columns and we begin to reduce and culminate shaping it upwards with always reducing until culminating in 3 black beads. |

| Paso 11 | Step 11 |
|---|---|
| IPara realizar el cuerpo de la mariposa colocamos 6 mostacillas negras. | To make the body of the butterfly, we place 6 black beads. |
| Paso 12 | Step 12 |
|---|---|
| Para las manillas del collar use mostacillones introduje la aguja en la punta de la ala y coloqué al inicio de cada manillas los cristales de mayor a menor y para el trancadero realice un ojal con los mostacillones ya que el trancadero es un cristal. | For the handles of the necklace I used beads and inserted the needle in the tip of the wing and placed at the beginning of each handle the crystals from largest to smallest and for the locking ring I made an eyelet with the beads since the locking ring is a crystal. |
| Paso 13 | Step 13 |
|---|---|
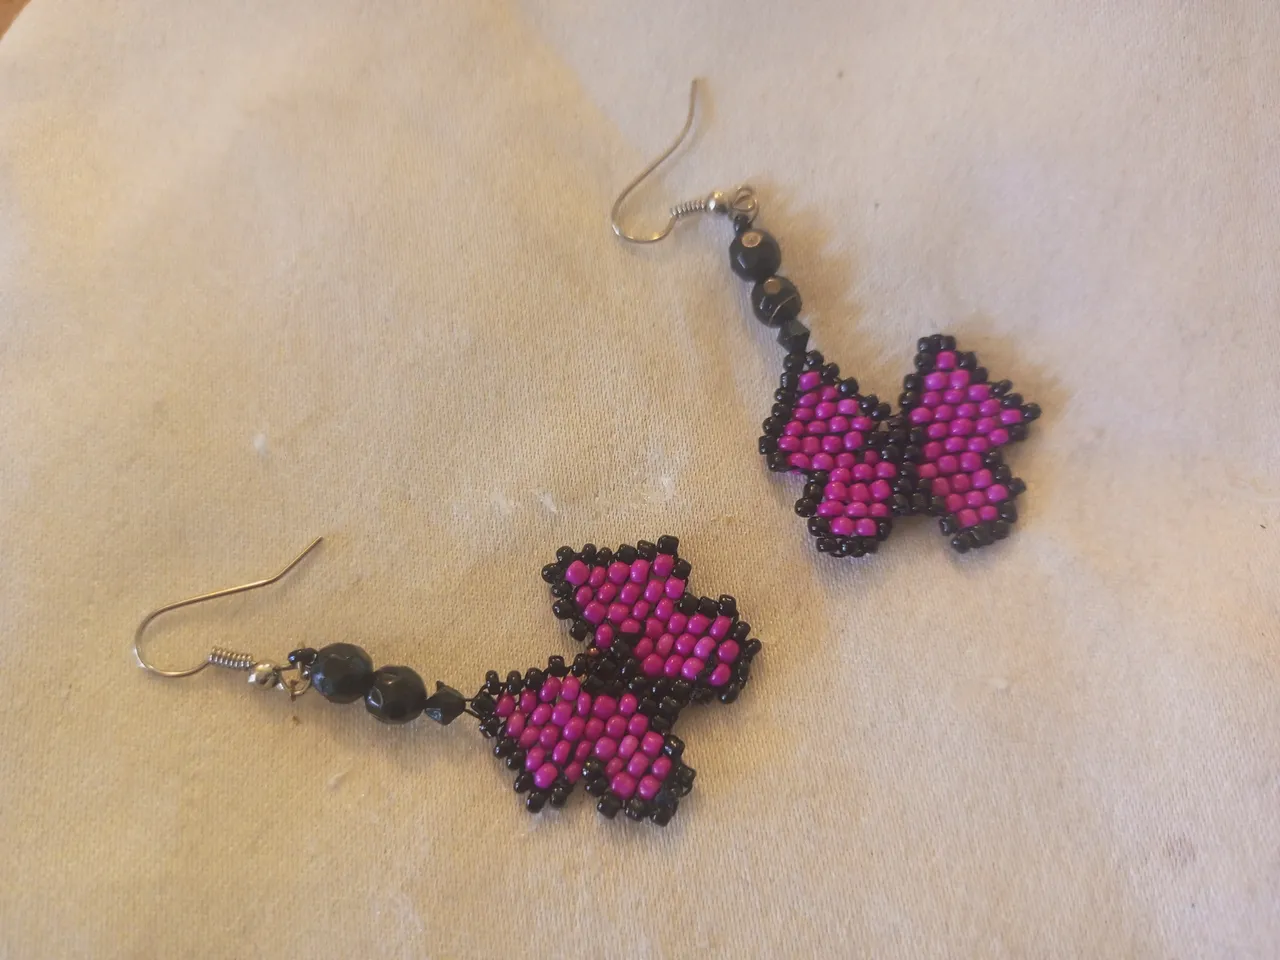
| Elaboré los aretes introduje 9 mostacillas y construye la primera columna del arete. | I made the earrings I inserted 9 beads and built the first column of the earring. |
| Paso 14 | Step 14 |
|---|---|
| Construir 4 columnas en reducción para realizar la parte inferir de las alas. | Construct 4 columns in reduction to make the lower part of the wings. |


| Paso 15 | Step 15 |
|---|---|
| Construí la parte superior de las aletas. | I built the upper part of the fins. |
| Paso 16 | Step 16 | |
|---|---|---|
| Introduje 3 cristales de menor a mayor y coloqué la argolla y el arete. | I inserted 3 crystals from smallest to largest and placed the ring and the earring. |

| Despedida | Farewell |
|---|---|
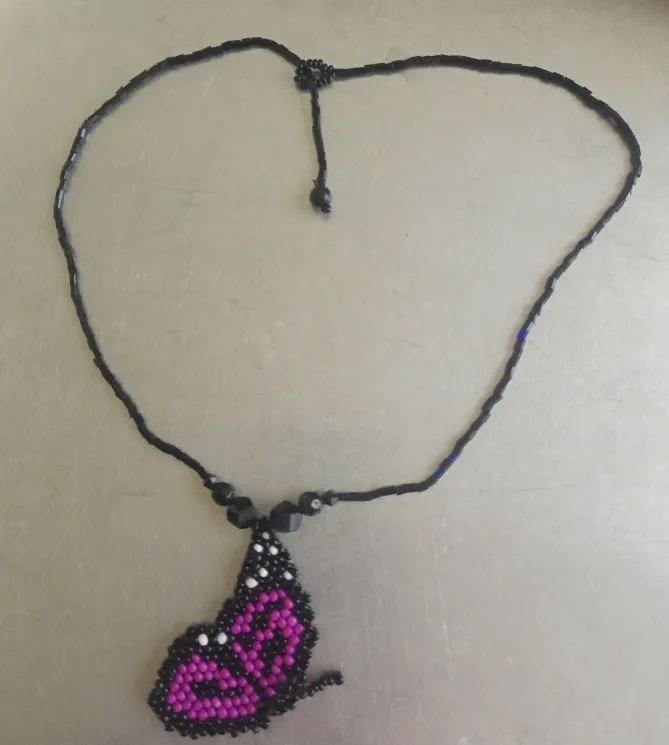
| Y esté es mi post del día de hoy LINDO JUEGO DE ACCESORIOS DE MARIPOSA. Espero que hayan disfrutado mi post, un trabajo hecho con mucho amor, me despido y espero disfruten mi post. | And this is my post for today NICE BUTTERFLY ACCESSORIES SET. I hope you enjoyed my post, a work made with a lot of love, I say goodbye and I hope you enjoy my post. |
| Créditos | Credits |
|---|---|
| Traductor: www.DeepL.com/Translator (free version).Las fotos fueron tomadas con mi Celular Tecno Sport 7T. Foto de portada editada con Canva y PhotoRoom. Banner:https://images.app.goo.gl/5N3pujMb9u2AePz87. | Translator: www.DeepL.com/Translator (free version). The photos were taken with my Tecno Sport 7T cell phone. Cover photo edited es Canva and PhotoRoom. Banner:https://images.app.goo.gl/5N3pujMb9u2AePz87. |