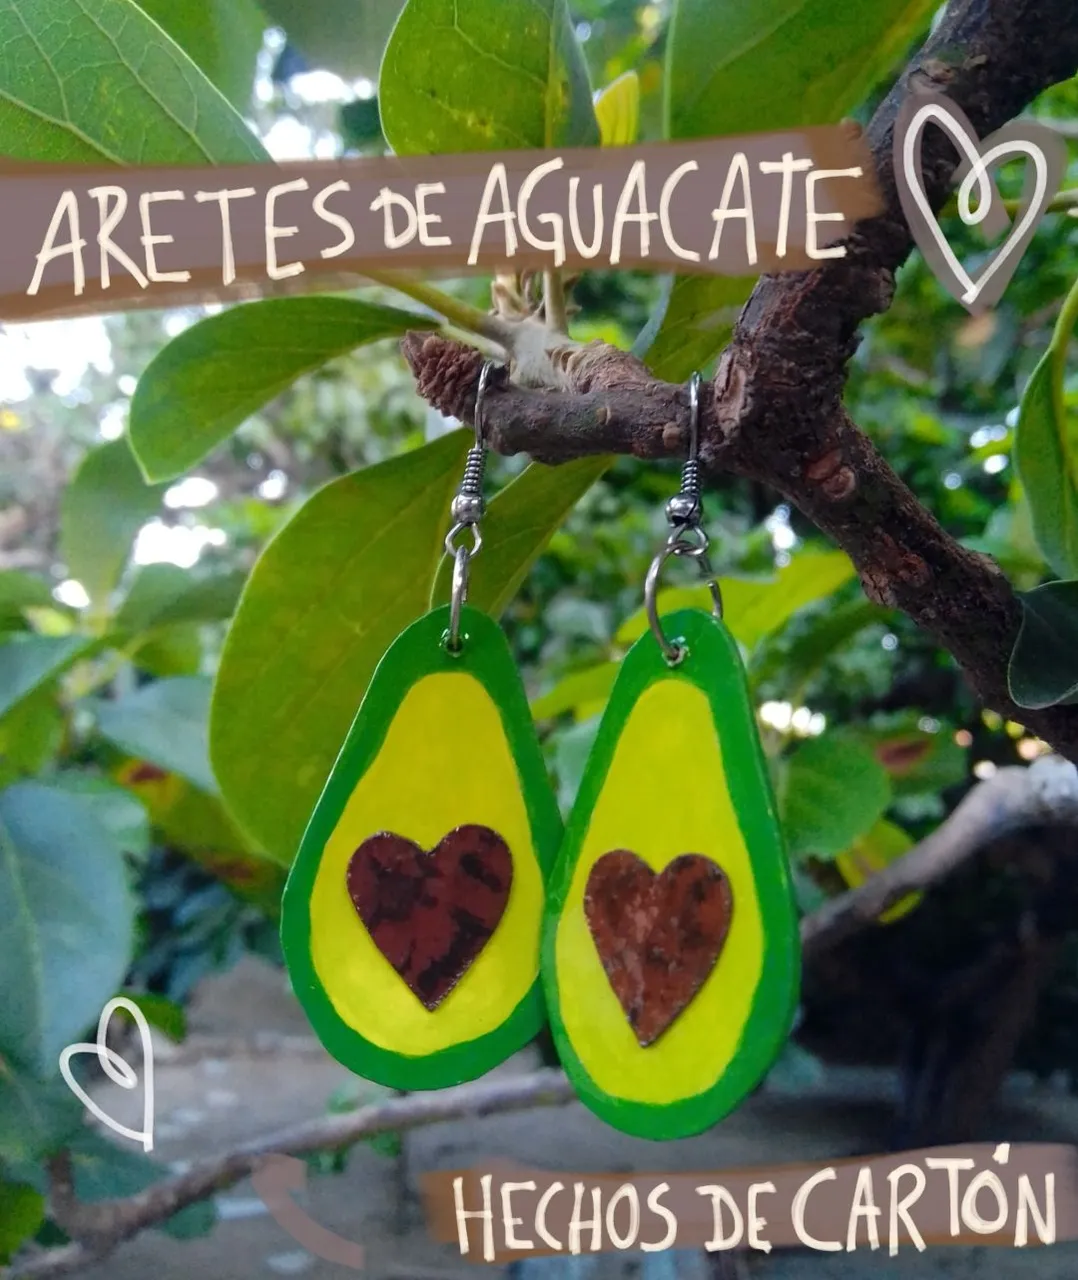
¡Hola a todos! Hoy les traigo unos zarcillos que no pueden faltar en tu arsenal de estilo para darle mucha personalidad a tus días.
Soy 100% comedora de aguacate y creo que este año ha sido el más dichoso para nosotros, la cosecha de aguacates se triplicó, hemos regalado a muchas personas, vendido algunos y comido unas tres docenas. Lo que me llevó a ver que no estoy expresando mi amor por el aguacate como debe ser, no tengo nada pero nada de aguacate.¿Zarcillos, collar, gancho? Nada de nada.
Así que puse manos a la obra y me elaboré estos zarcillos, están hechos de cartón, resina uv y pinturas. El cartón lo reutilizaré de unas tarjetas didácticas para niños que están incompletas. Ya conté un poco sobre el tema en un post anterior. La meta es hacer tantos como pueda, cuando me quede sin material les mostraré todos los que hice. 😊
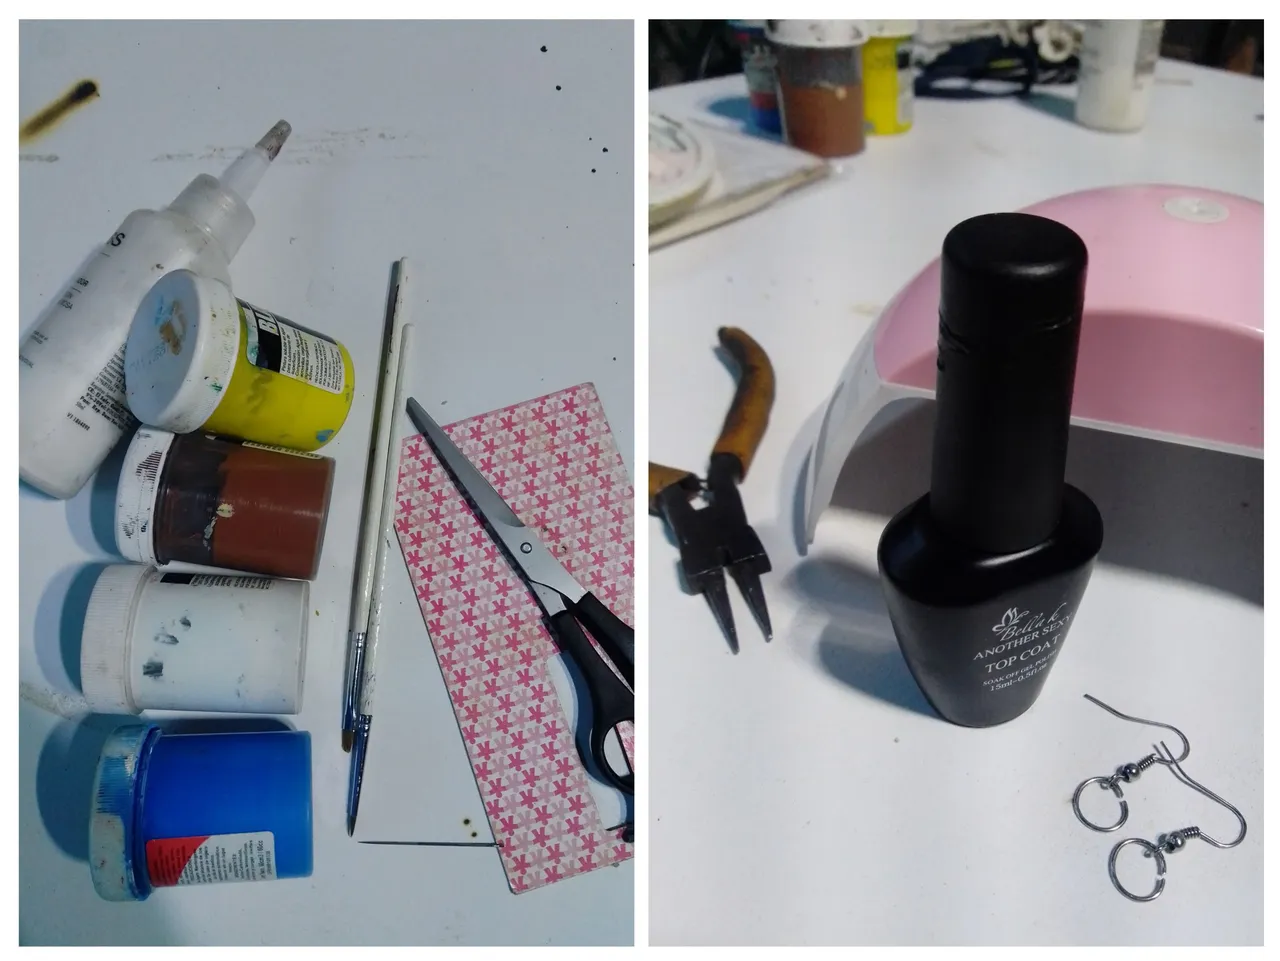
Utilizo la resina uv en presentación de Top coat, se usa principalmente para sellar los trabajos de manicura y que perduren los esmaltes. Pero para estos zarcillos que hago con cartón, se puede sustituir por brillo normal y transparente para uñas. La idea es hacerlos con materiales que creemos que solo son para algo en específico, como por ejemplo; pinturas acrílicas, marcadores, pinturas de uña, cartón… hay que ir experimentando para saber qué cosas nos pueden funcionar.
Para hacerlos necesitaremos:
- Cartón.
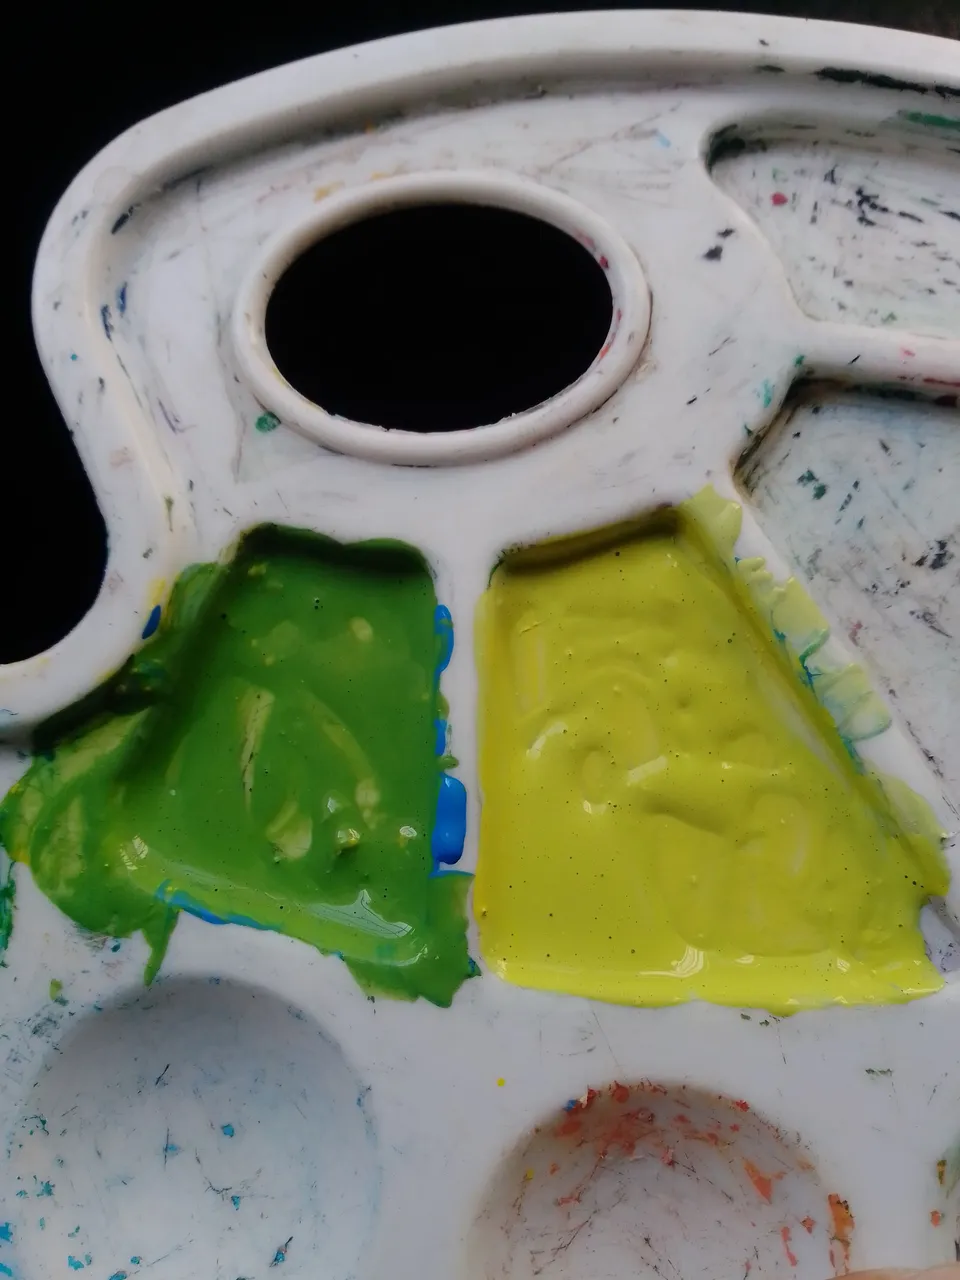
- Pinturas al frío de color amarillo, azul, blanco y marrón.
- Pincel número 0.
- Pincel número 2.
- Tijera.
- Aguja de coser.
- Pega.
- Pinza de punta redonda.
- Anzuelos para zarcillo.
- Lámpara para manicura.
- Top coat.

Paso 1: Dibuja un aguacate.
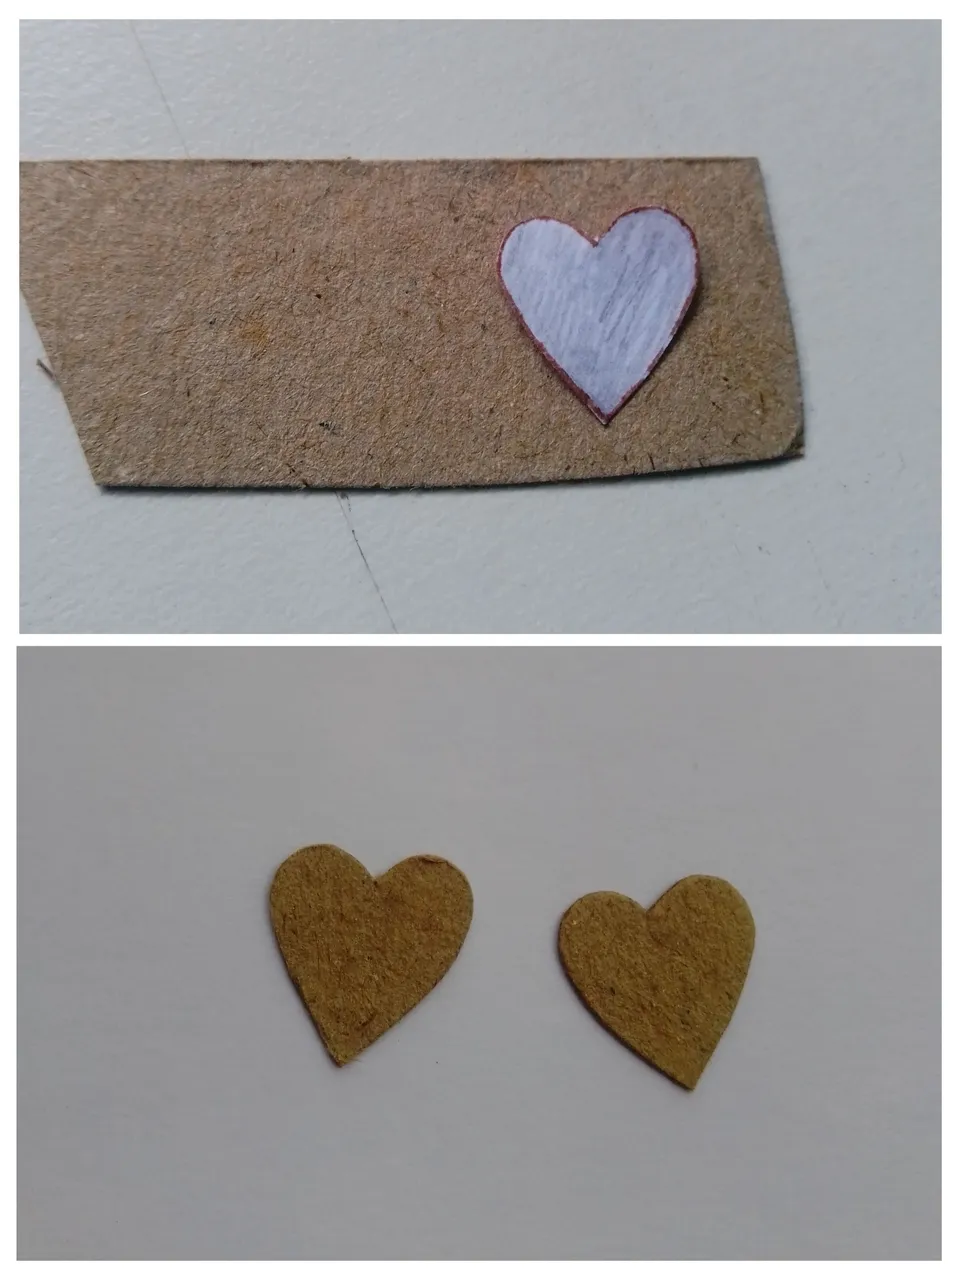
Hay muchos tipos de aguacates, grandes, pequeños, ovalados, redondos… Puedes dibujarlo como mejor te parezca. Para eso usamos cualquier papel que tengamos al alcance. Para que tenga un toque más tierno, la semilla tendrá forma de corazón.
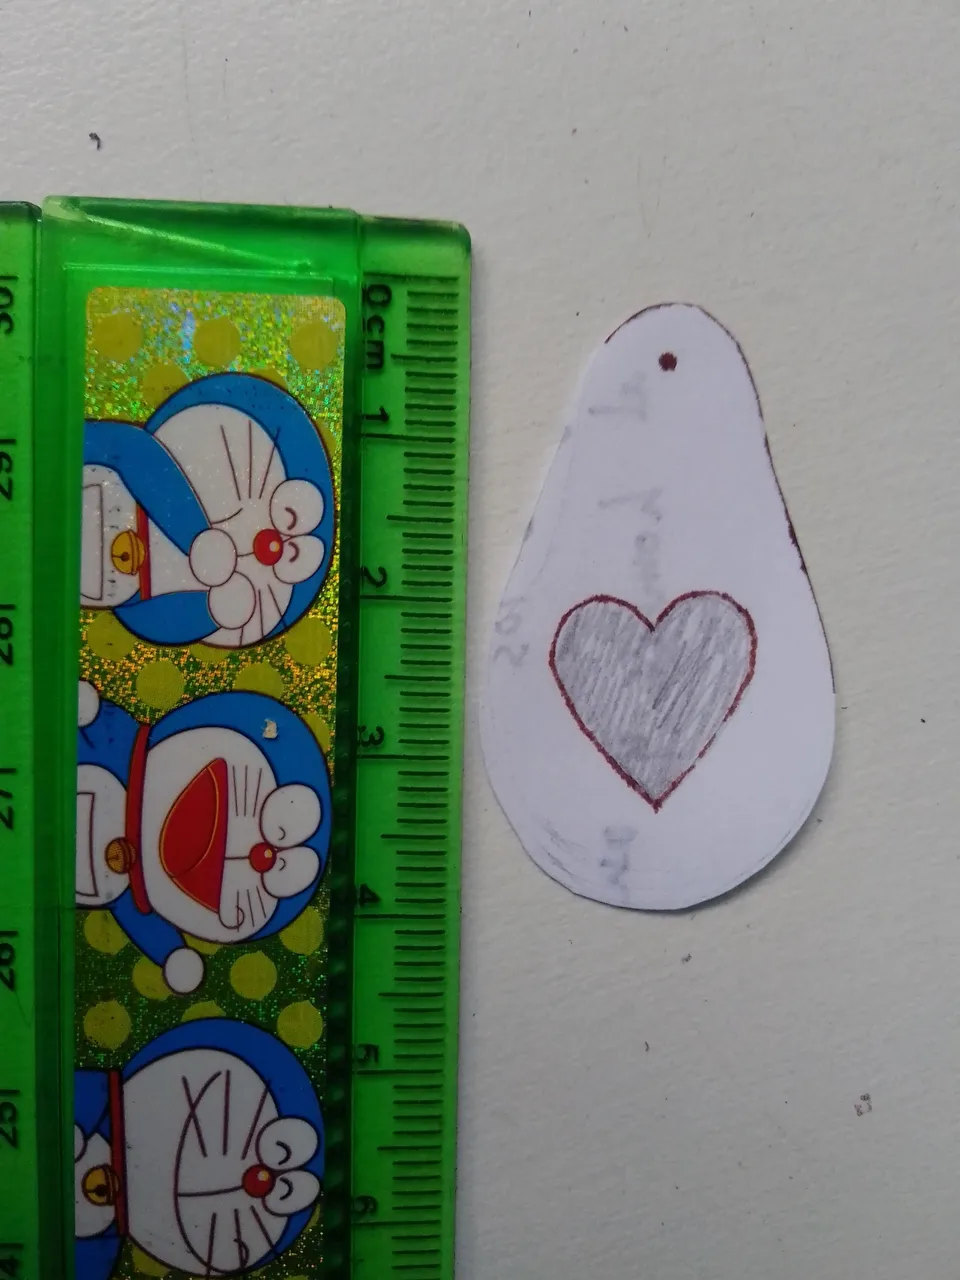
Después de que lo dibujamos y recortamos, lo pegamos con muy poca pega, para que sea más fácil quitarlo después. Así nos aseguramos que tengan el mismo tamaño ambos. Estos zarcillos tendrán apenas 4 cm, puedes cambiar el tamaño si gustas.
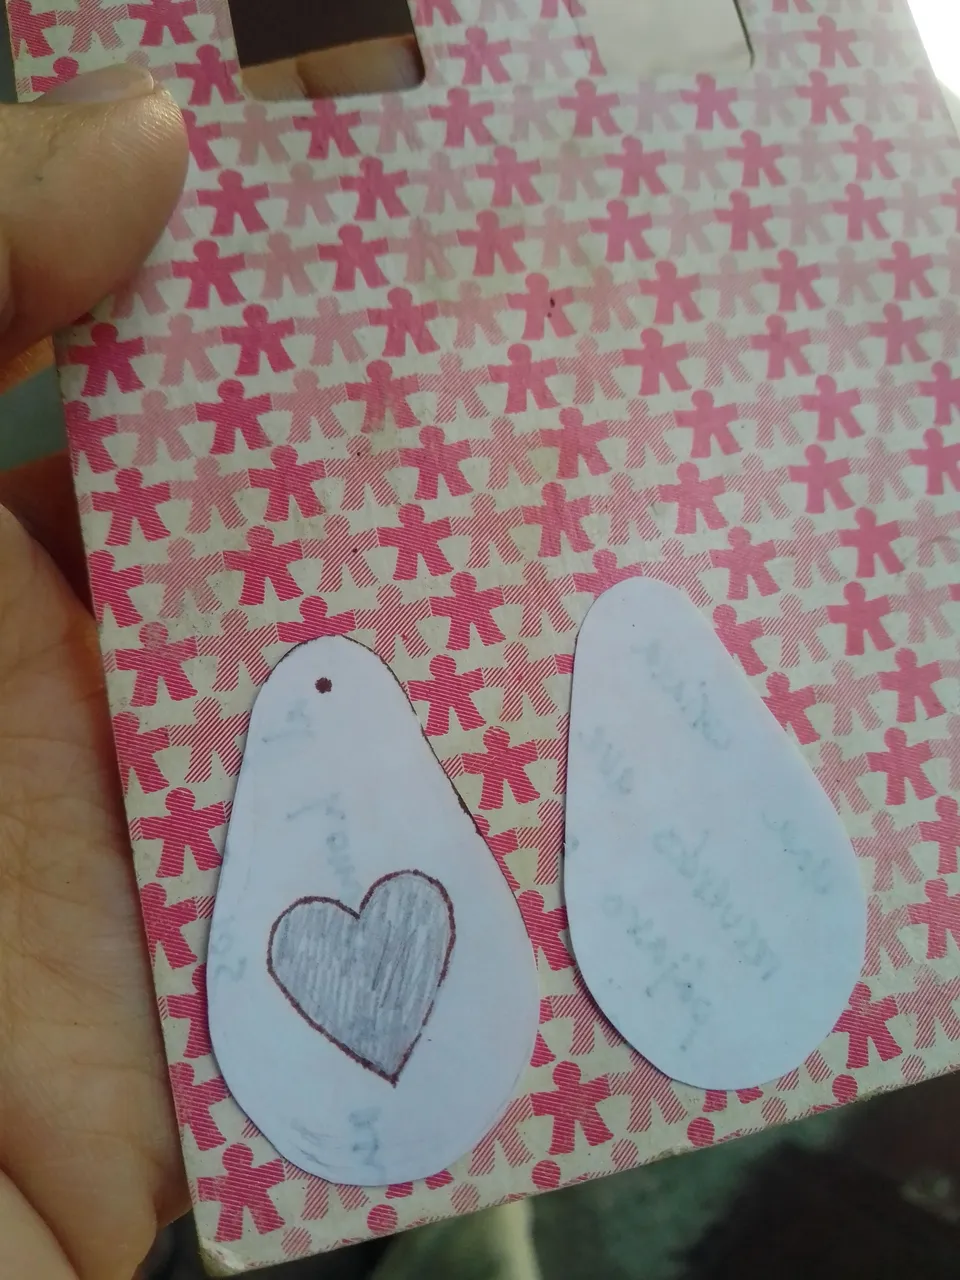
Paso 2: Recortar.
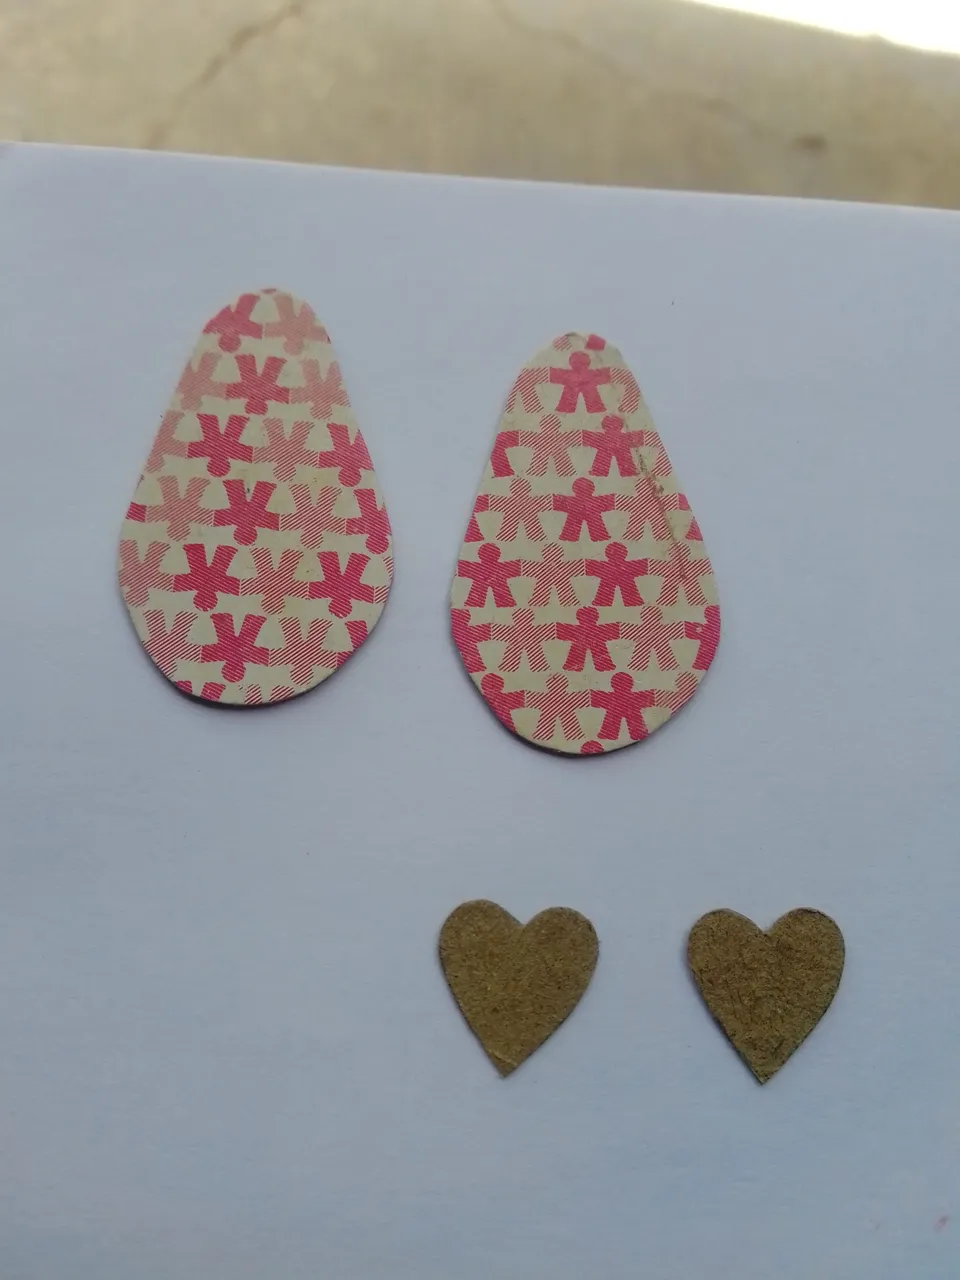
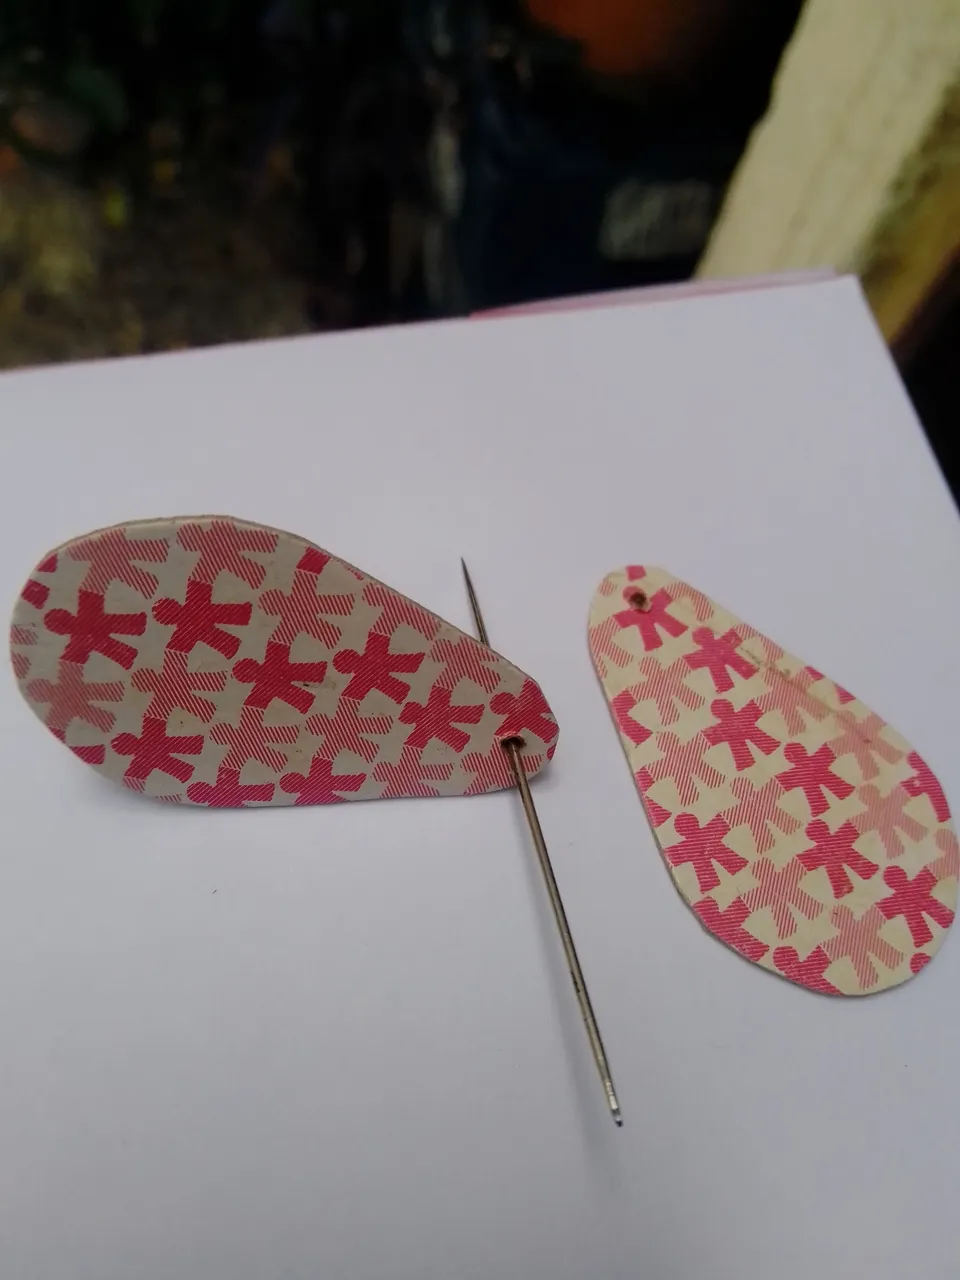
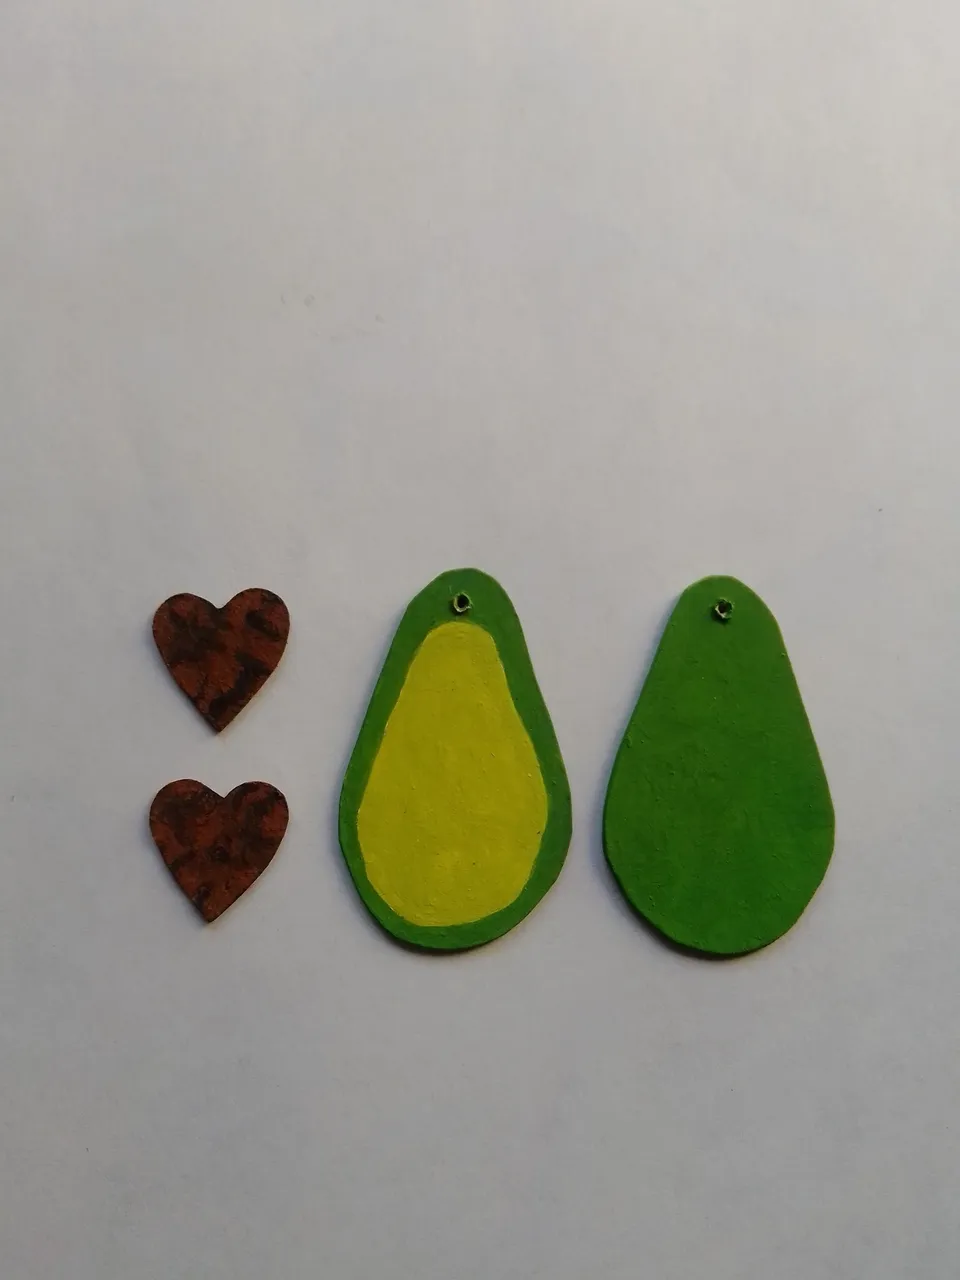
Recortamos nuestros aguacates y también las semillas de corazón, las dibujé en un cartón mucho más delgado que el que usé para el aguacate.
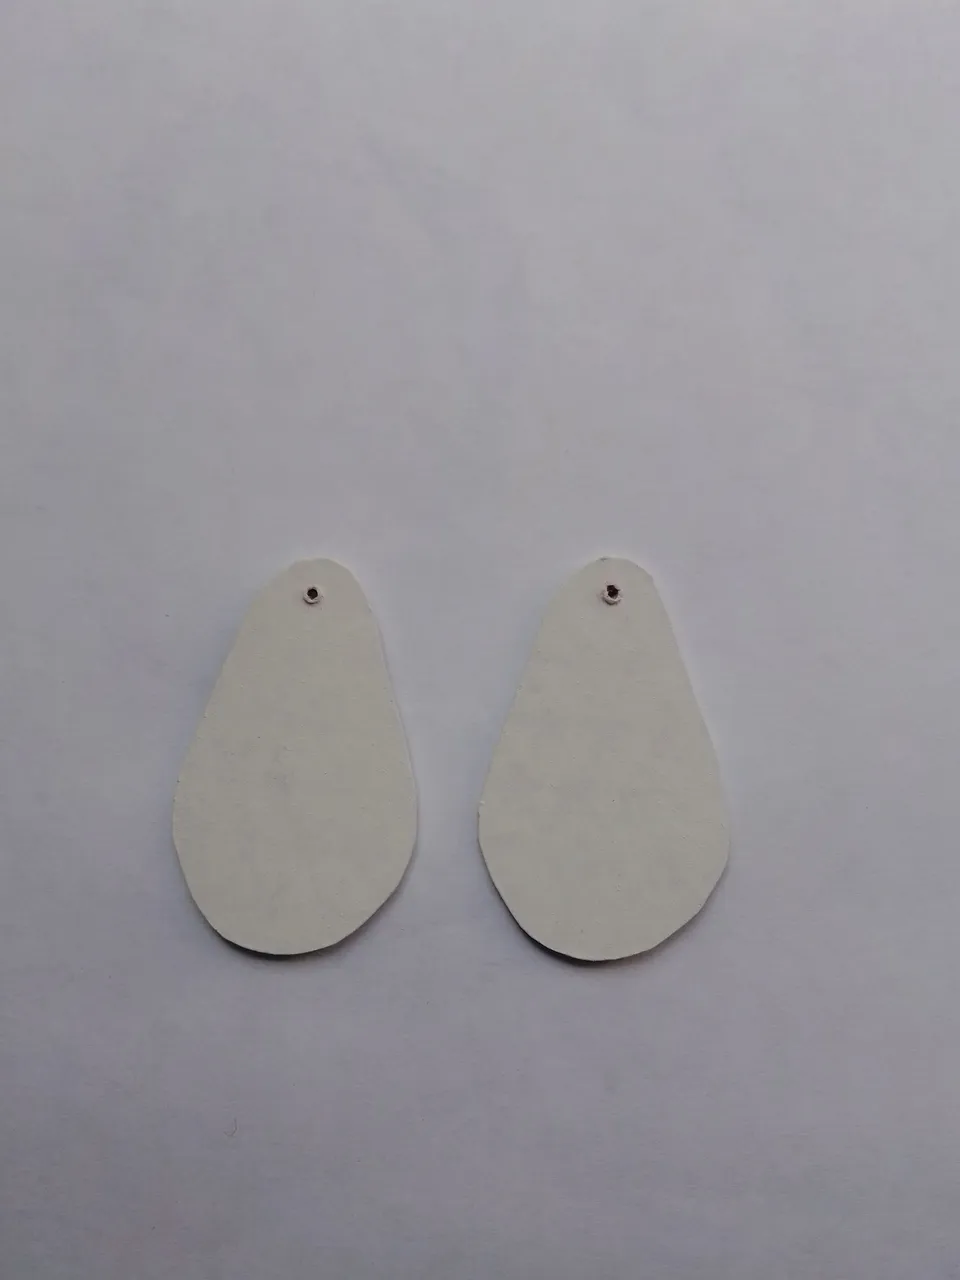
Con una aguja de coser gruesa, hacemos el orificio por donde colgaremos los zarcillos.
Paso 3: Color.
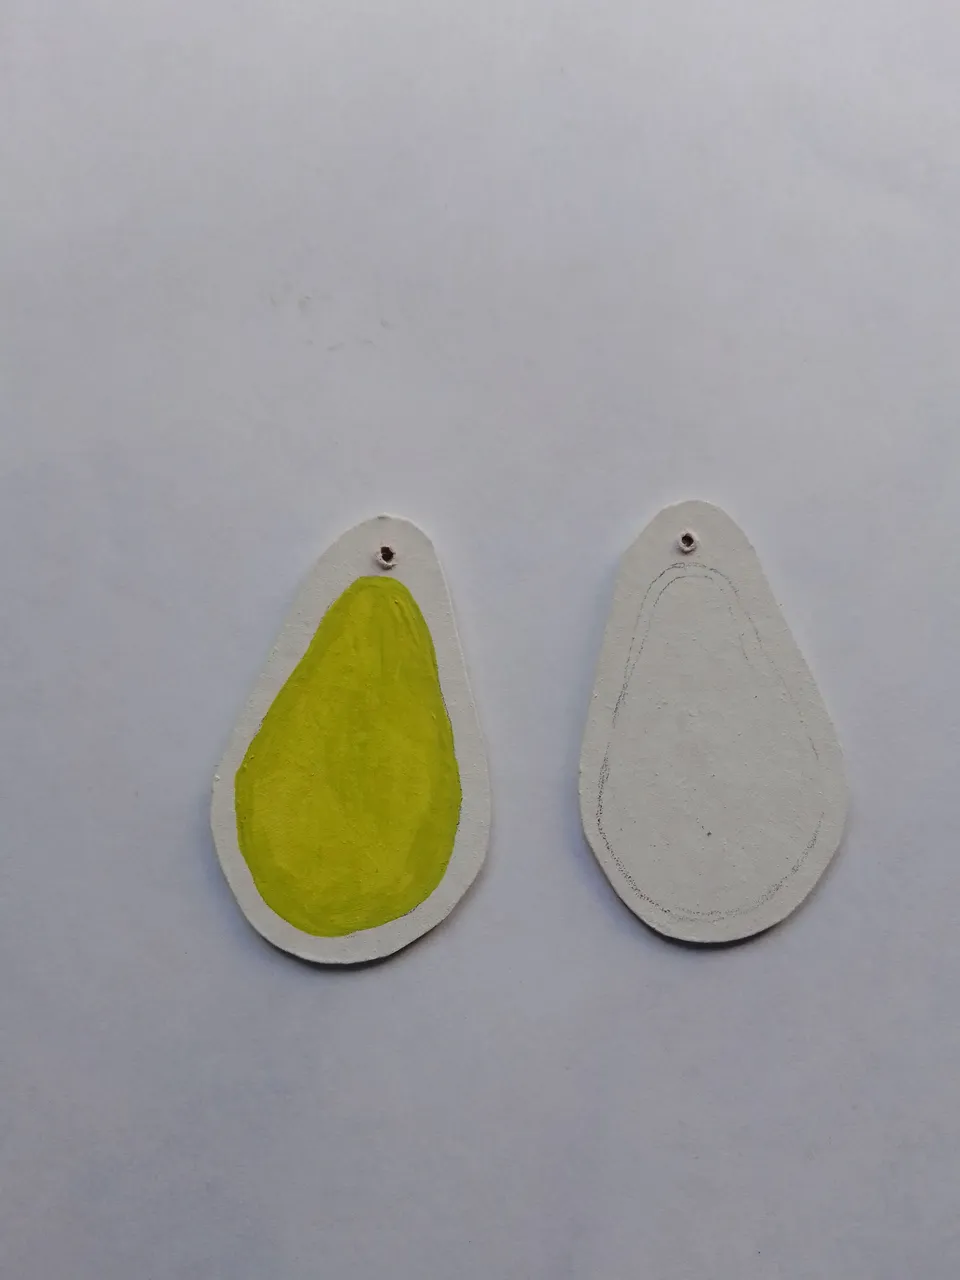
Cubriremos los dos lados de nuestra pieza en color blanco y las semillas en color marrón.
Para este paso puedes usar una pintura de color verde o prepararla como es mi caso, usualmente preparo mis mezclas de colores porque me gusta hacerlo. Pintamos con el verde claro el interior y por la orilla con el verde más oscuro.
Pero puedes escoger en colores preparados los dos tonos de verde que más te gusten.
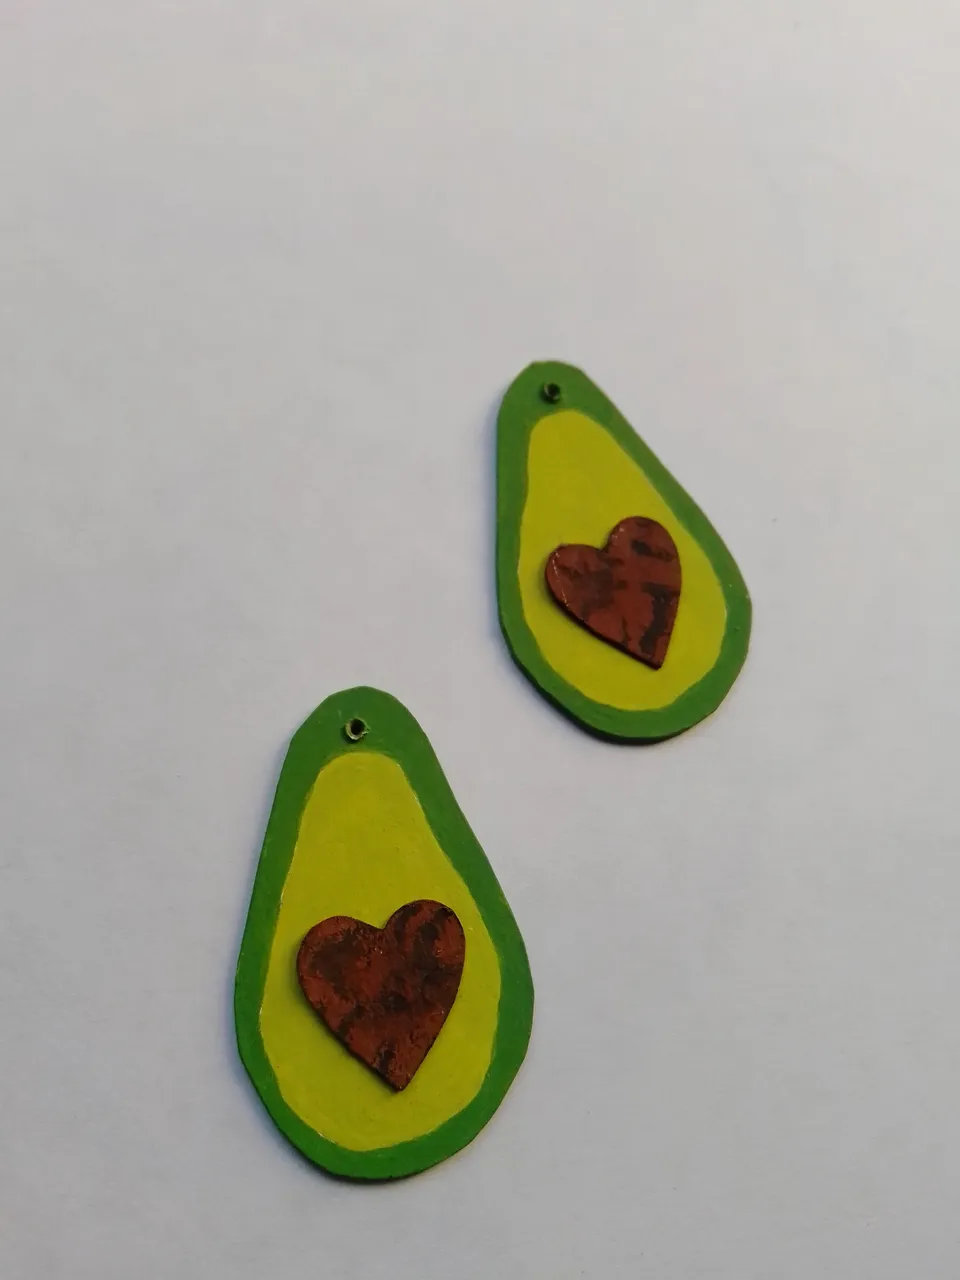
Cuando esté seco, pega la semilla de aguacate y deja secar nuevamente.
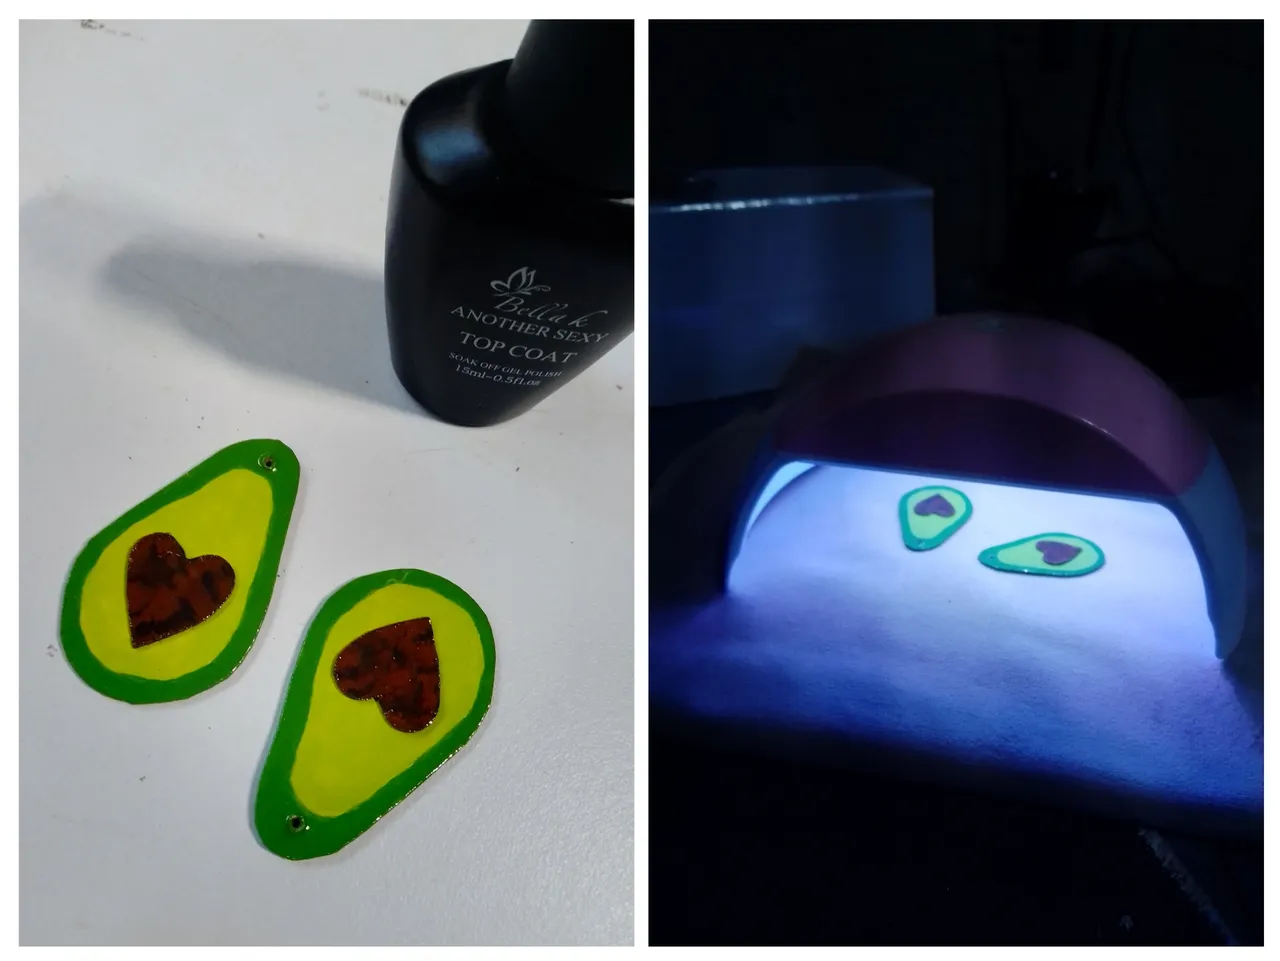
Paso 4: Un toque de brillo.
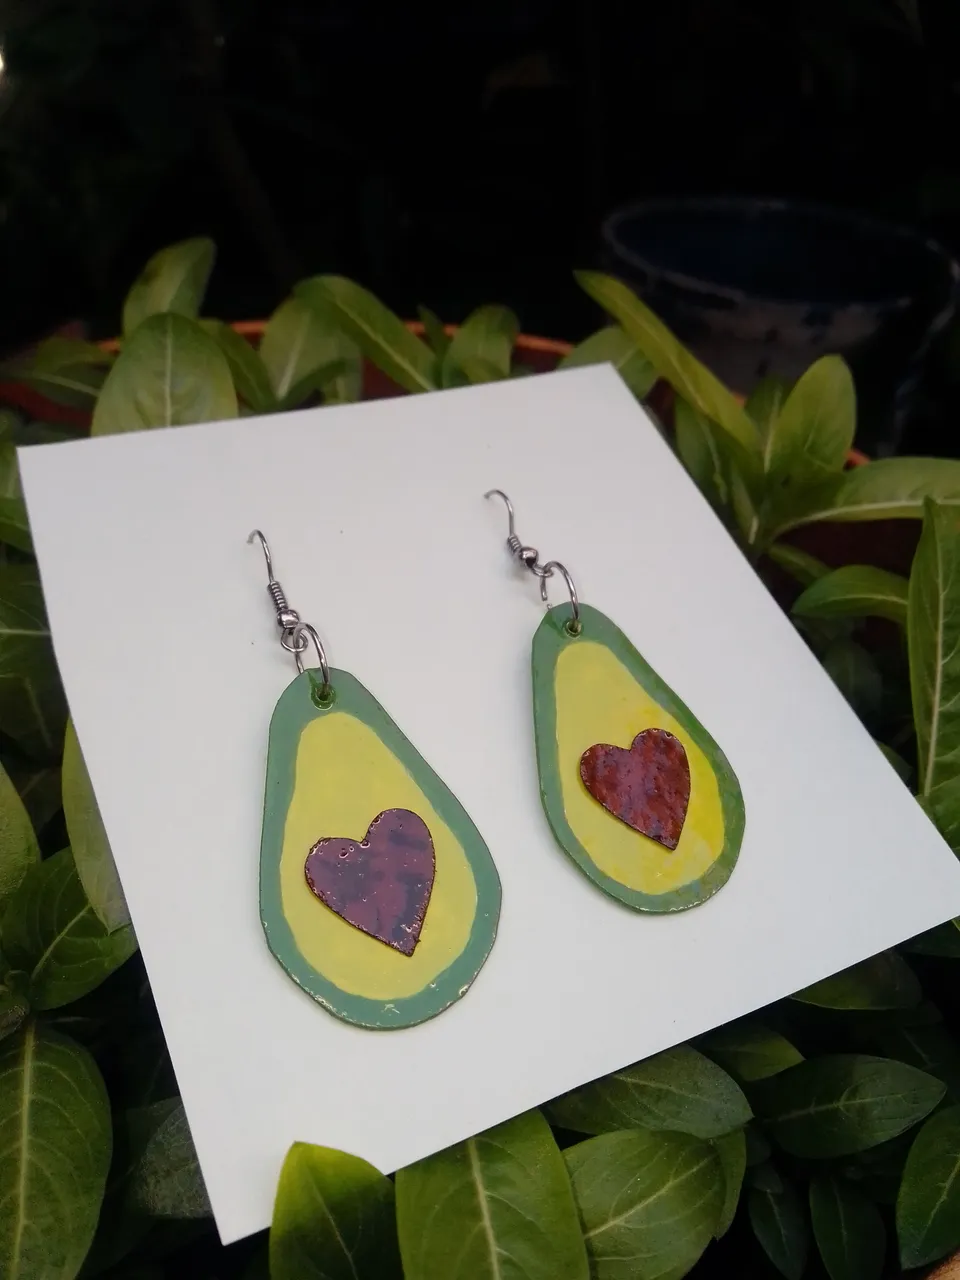
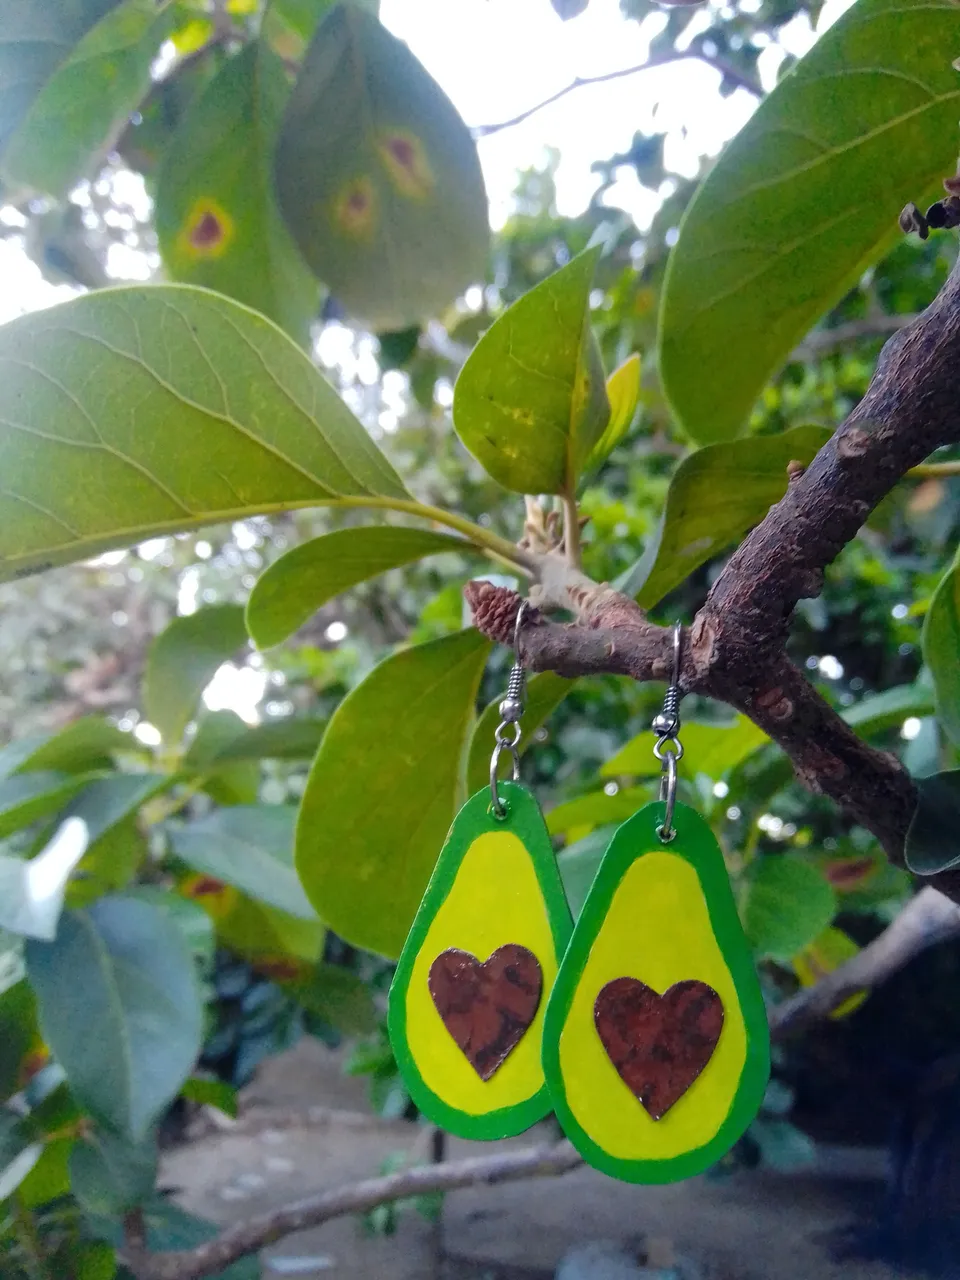
Como te mencioné antes, puedes usar brillo normal o dar una capa de top coat y poner bajo la lámpara dos minutos por ambos lados. Le colocas tus anzuelos, ¡y estos aguacates están listos!

Consejo: La mejor forma de que perduren por mucho tiempo es no usarlos en la ducha o piscina. Yo tengo unos desde hace 3 años. (Los primeros que hice) y siguen intactos, también son de mis favoritos.
O tal vez los segundos favoritos porque los de aguacate me encantan. 😁
Intenta algo nuevo en casa y anímate a probar técnicas experimentales, ¡jeje! ¡Te mando un aguacate y bendiciones! 🥑 🐝
Créditos
- Traducido en DeepL.
- Fotos editadas en IbisPaint X.
- Separador hecho por mí en Adobe Illustrator.
English
Hello everyone! Today I bring you some must-have tendrils in your style arsenal to add a lot of personality to your days.
I am 100% avocado eater and I think this year has been the most blissful year for us, the avocado harvest tripled, we have gifted many people, sold some and eaten about three dozen. Which led me to realise that I am not expressing my love for avocado as it should be, I have nothing but nothing avocado.earrings, necklace, hook? Nothing at all.
So I put my hands to work and made these earrings, they are made of cardboard, UV resin and paints. I will reuse the cardboard from some didactic cards for children that are incomplete. I already told a bit about it in a previous post. The goal is to make as many as I can, when I run out of material I will show you all the ones I made. 😊
I use uv resin as a top coat, it's mainly used to seal manicure works and to make nail polish last. But for these tendrils that I make with cardboard, it can be replaced by normal transparent nail polish. The idea is to make them with materials that we think are only for something specific, for example; acrylic paints, markers, nail paints, cardboard... you have to experiment to know what things can work for you.
To make them we will need:
- Cardboard.
- Yellow, blue, white and brown cold paints.
- Brush number 0.
- Brush number 2.
- Scissors.
- Sewing needle.
- Glue.
- Round nose pliers.
- Hooks for tendrils.
- Manicure lamp.
- Top coat.
Step 1: Draw an avocado.
There are many types of avocados, big, small, oval, round... You can draw it as you see fit. For this we use any paper we can find. For a more tender touch, the seed will be in the shape of a heart.
After we draw it and cut it out, we glue it with very little glue, so that it is easier to remove it later. This way we make sure they are both the same size. These tendrils will be just 4 cm, you can change the size if you like.
Step 2: Cut out.
We cut out our avocados and also the heart seeds, I drew them on a much thinner cardboard than the one I used for the avocado.
With a thick sewing needle, we make the hole through which we will hang the tendrils.
Step 3: Colour.
We will cover both sides of our piece in white and the seeds in brown.
For this step you can use a green paint or prepare it as in my case, I usually prepare my colour mixtures because I like to do it. We paint with the light green on the inside and around the edge with the darker green.
But you can choose in prepared colours the two shades of green you like the most.
When dry, glue the avocado seed and let it dry again.
Step 4: A touch of gloss.
As I mentioned before, you can either use normal gloss or put a coat of top coat and put under the lamp for two minutes on both sides. Attach your hooks, and these avocados are ready!
Tip: The best way to make them last for a long time is not to wear them in the shower or pool. I've had them for 3 years (the first ones I made) and they're still intact, they're also one of my favourites.
Or maybe second favourites because I love the avocado ones. 😁
Try something new at home and be encouraged to try experimental techniques, hehehe! Sending you an avocado and blessings! 🥑 🐝
Credits
- Translated at DeepL.
- Photos edited in IbisPaint X.
- Divider made by me in Adobe Illustrator.