Hello everyone I hope you will be well and good.
Today I am here to share a bracelet made of threads and beads. I have made it, I will tell you how you can make this for yourself as well as to gift your friends.
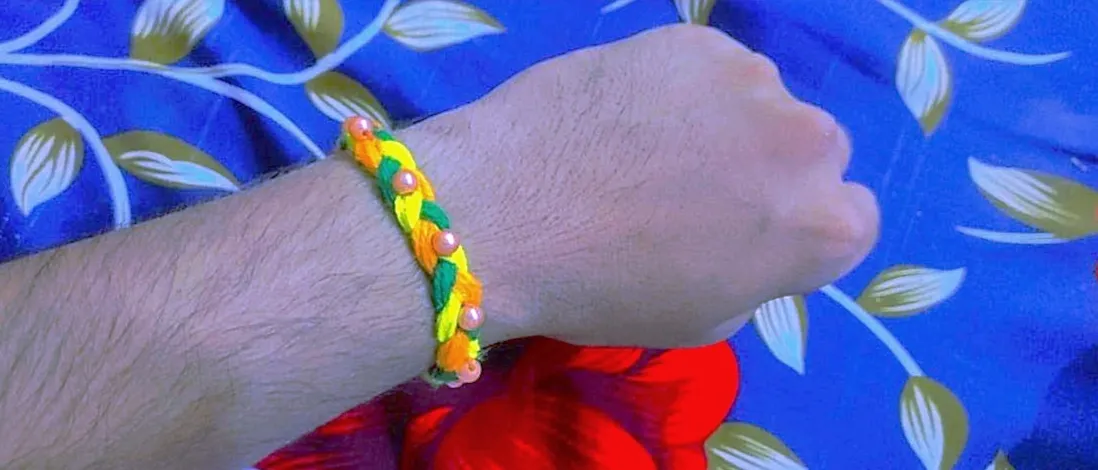
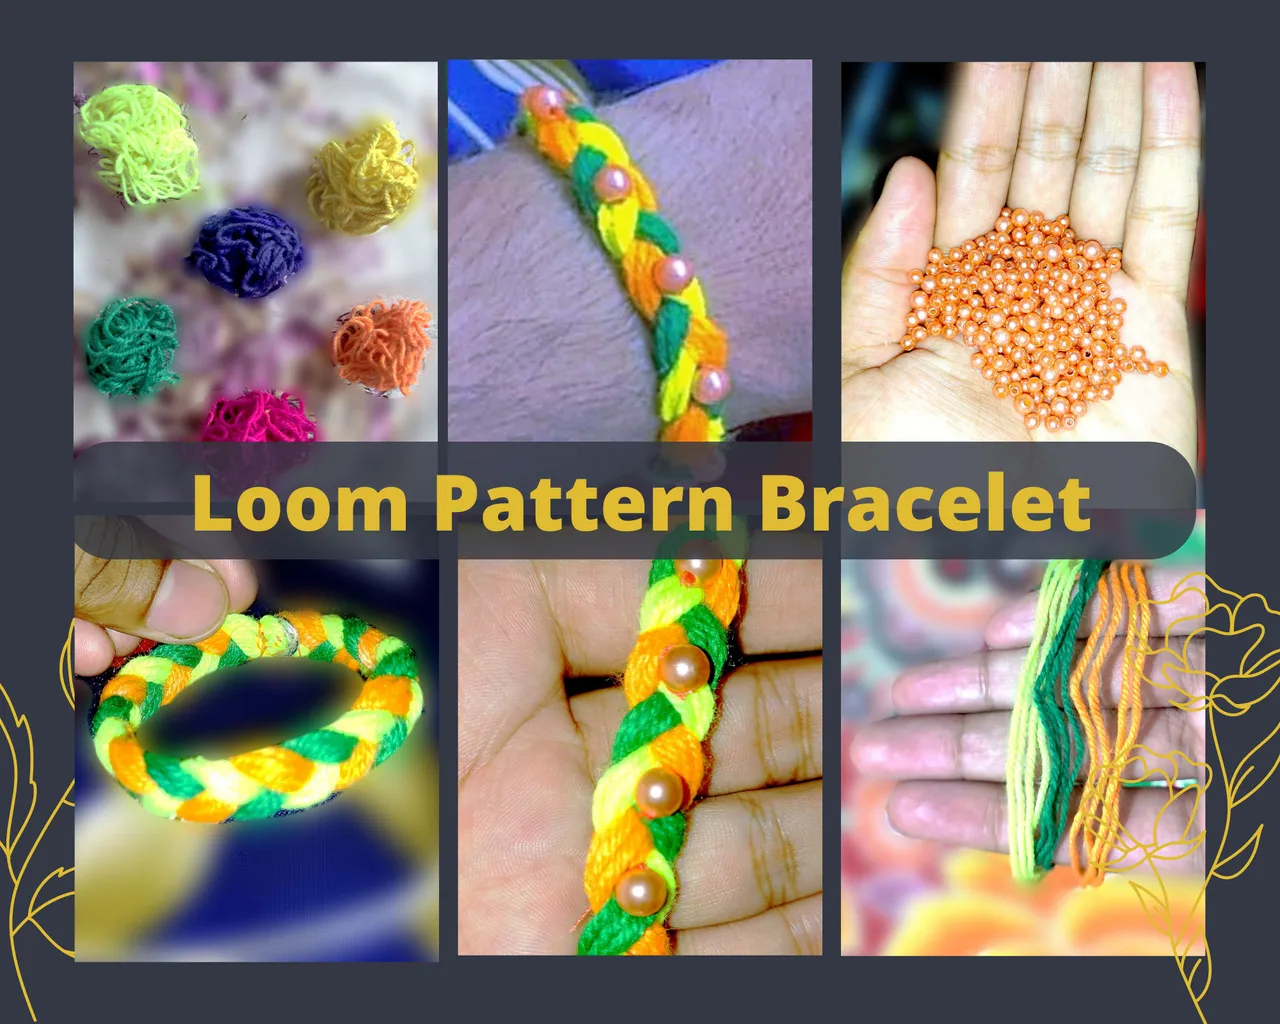
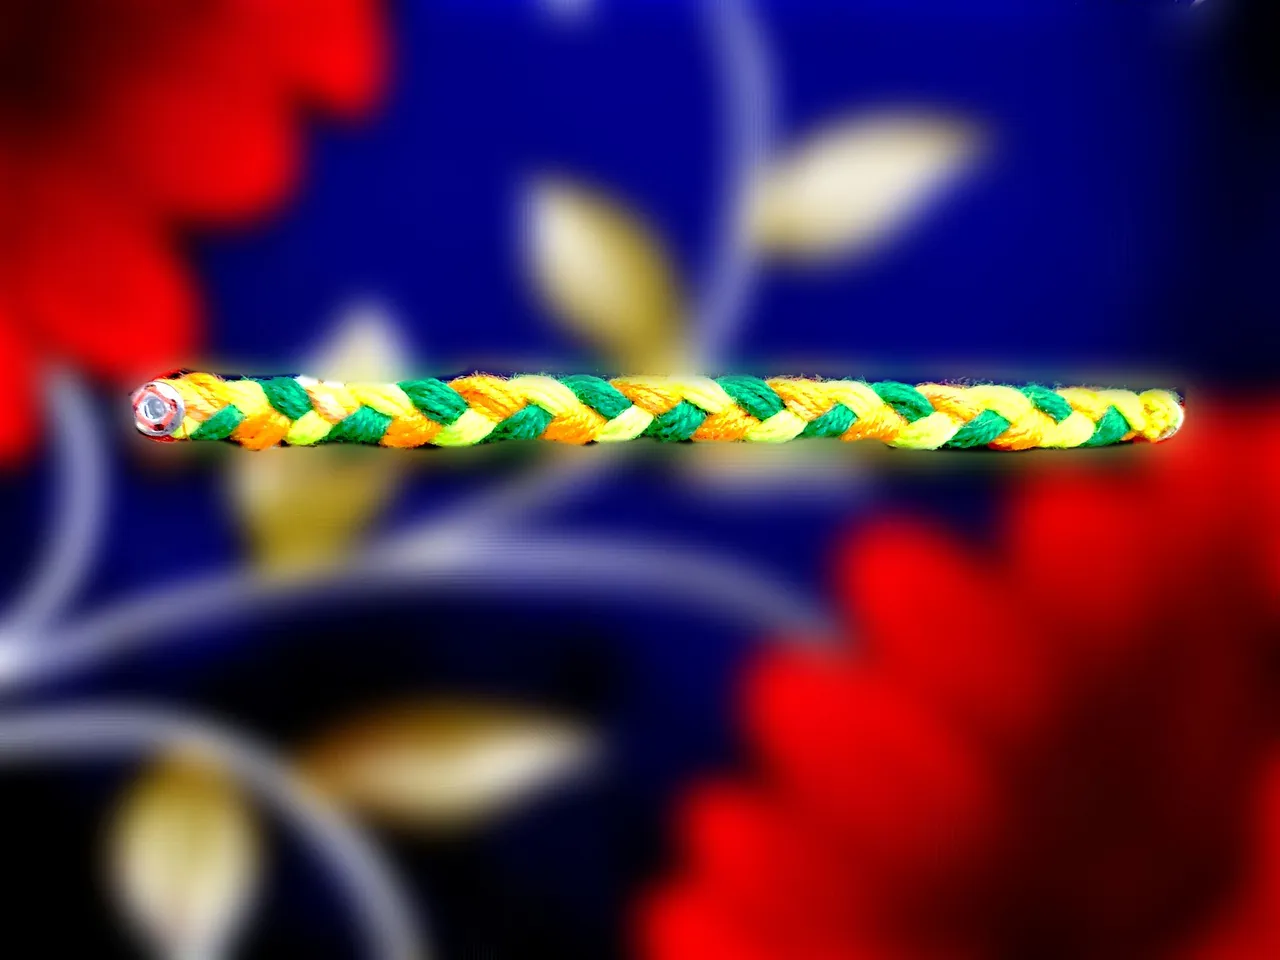
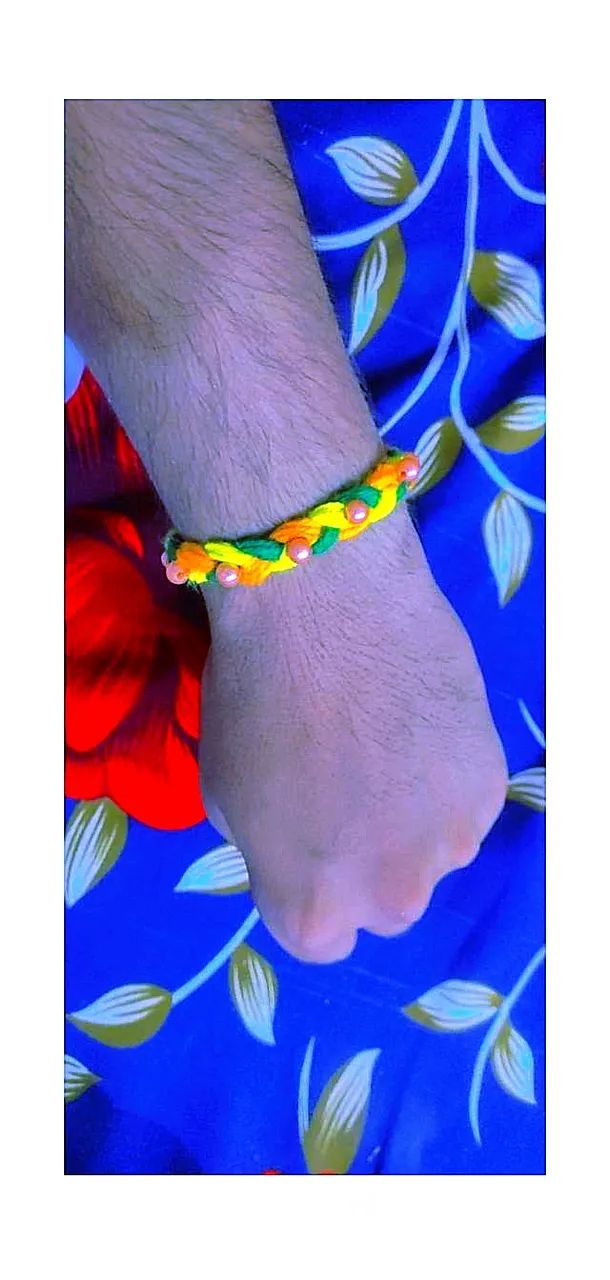
First of all let me show you the final product of this thread bracelet with the beads. So in the above picture it is the final product. And now let start how can we make it.
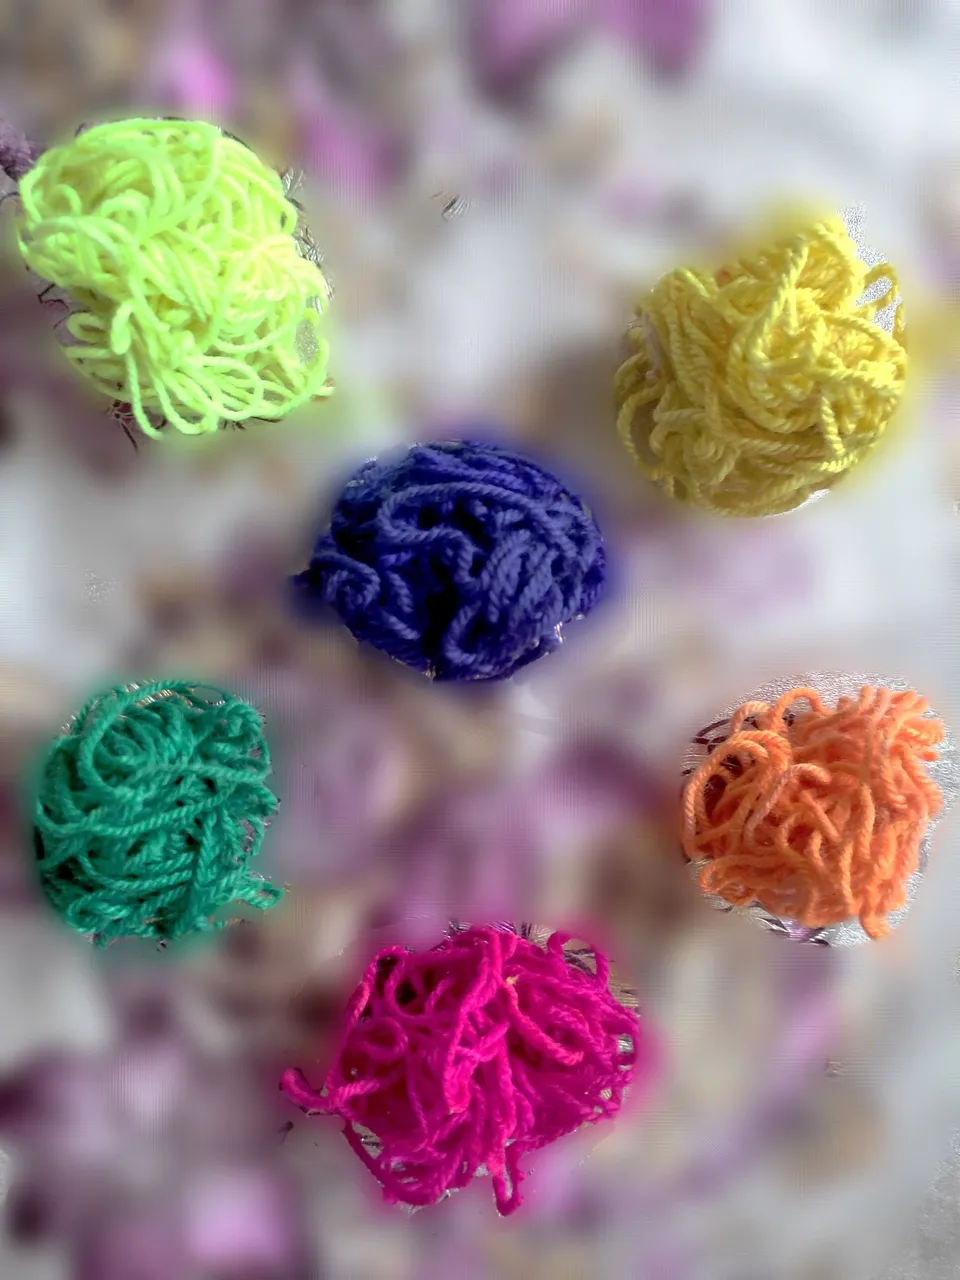
As it is made up of threads and beads. So first of all we have a need for different colours of threads. So I have differe threads of different colours as you can see in the above image.
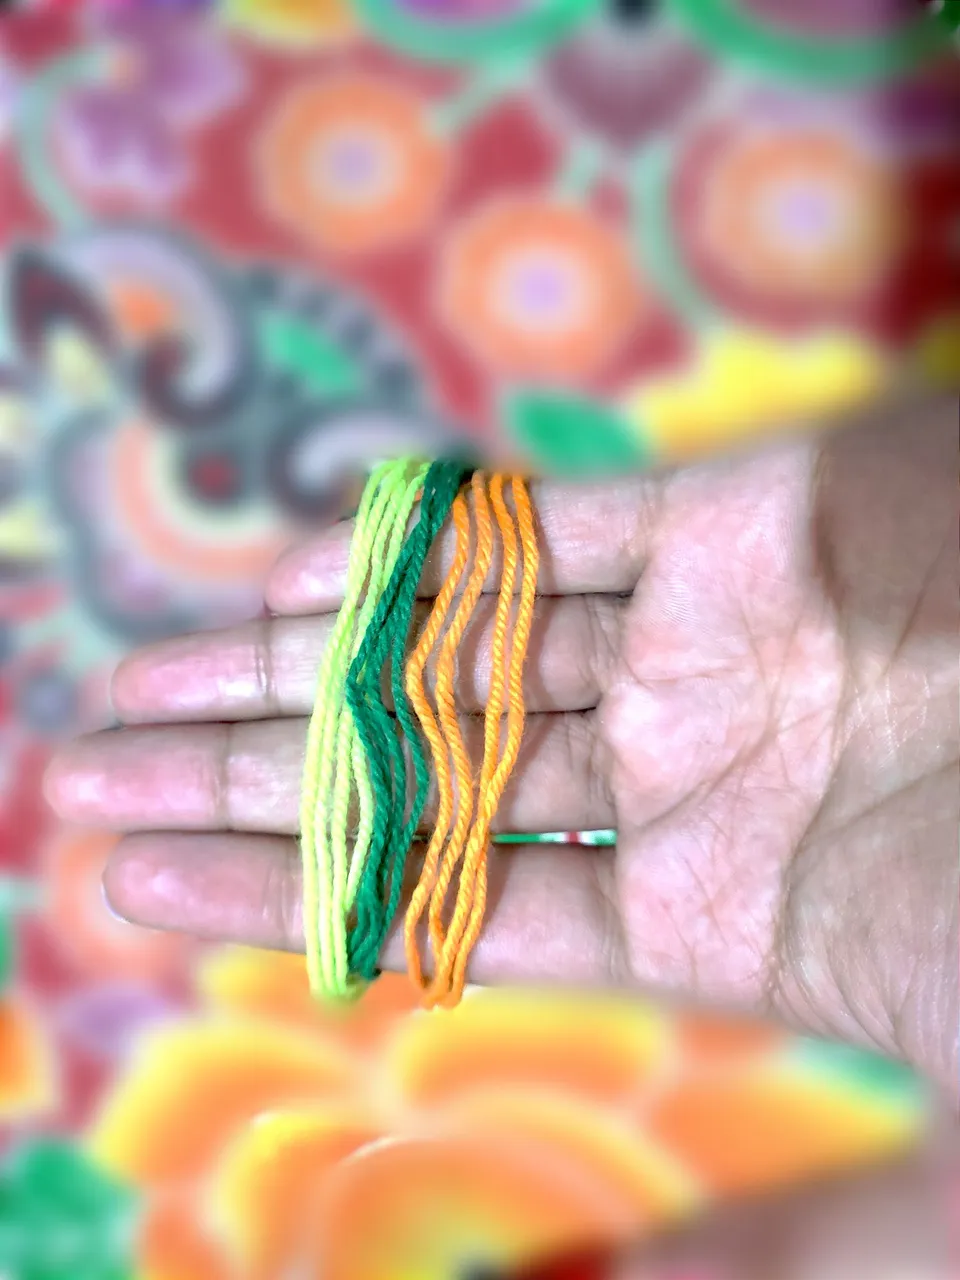
But I have chosen three of them, green, yellow and a little green colour. So I have separated them and I have cut their equal lengths.And I have doubled all the threads of each colour separately so that we can get thick bracelet, which will look beautiful.
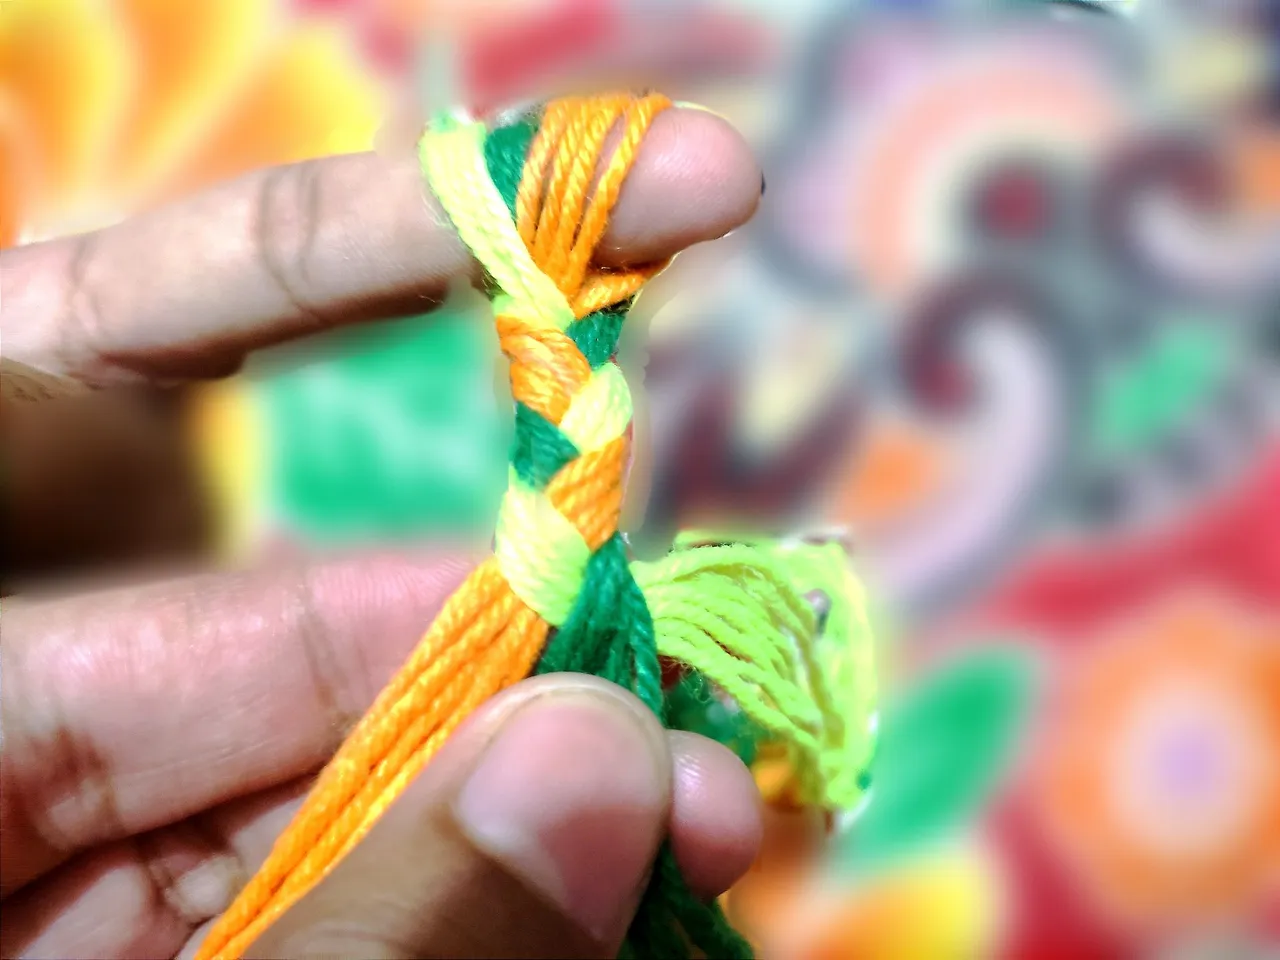
Now by collecting all the threads just make a round shape circle in which your finger can stay. And now you have need of anyone else's help who will put his finger in that circle and you will proceed the next. So my nephew is holding it and I am doing the next procedure. It is simple to do you just have to make a sequence of the colours by rounding them with each up and down as you can see.
So keep it continue until your desired length which can fit in your hand. So after doing and completing it for a little long, measure it with your cly as I am doing, so that we can make according to the size. Otherwise it can be big or small.
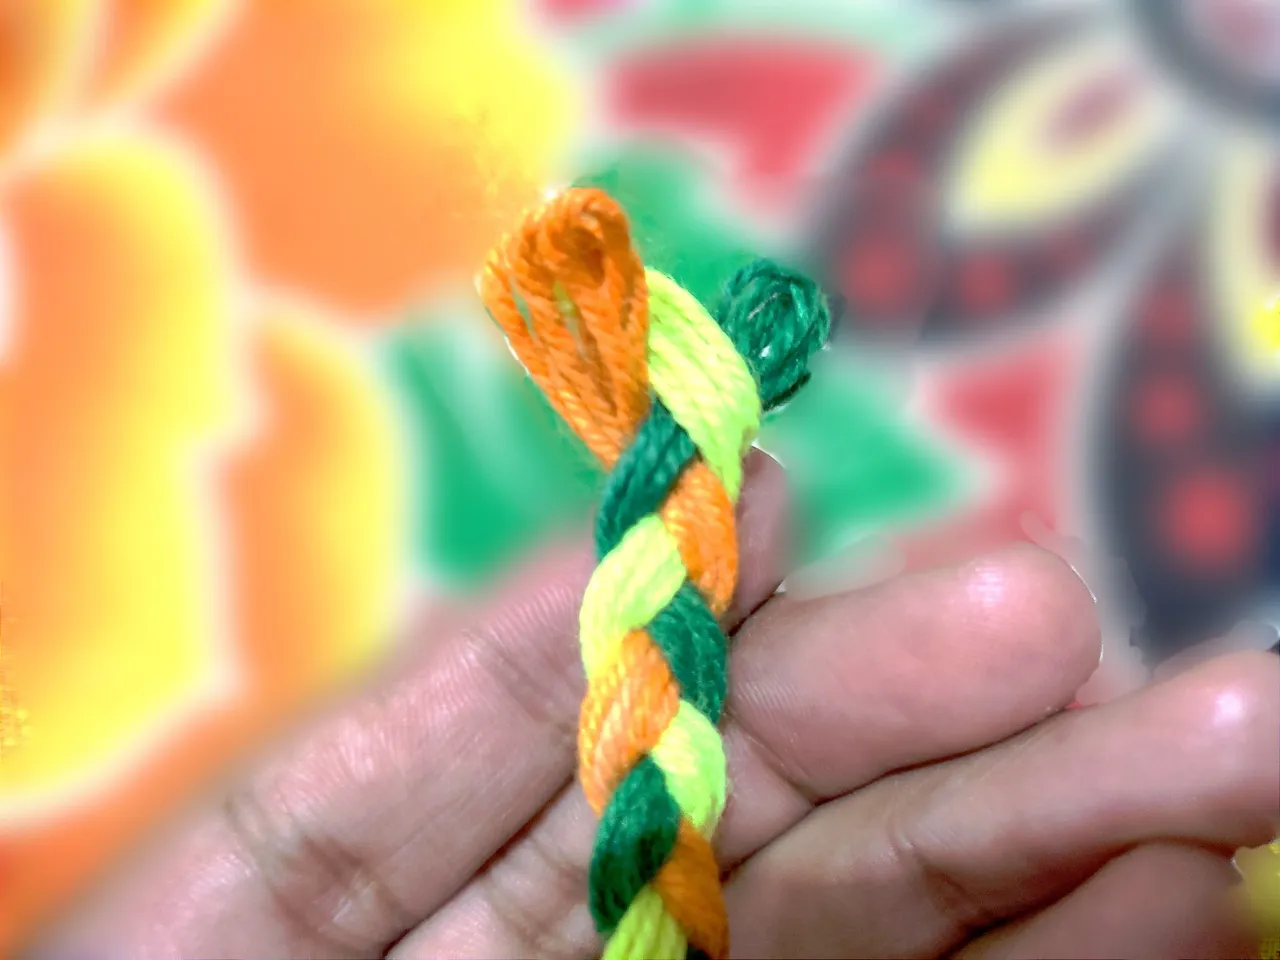
As I measured so it was almost completed. And after making it a little longer, I closed it. And now it was the next step as you can see the ends of this bracelet are dispersed. So I have to close them.
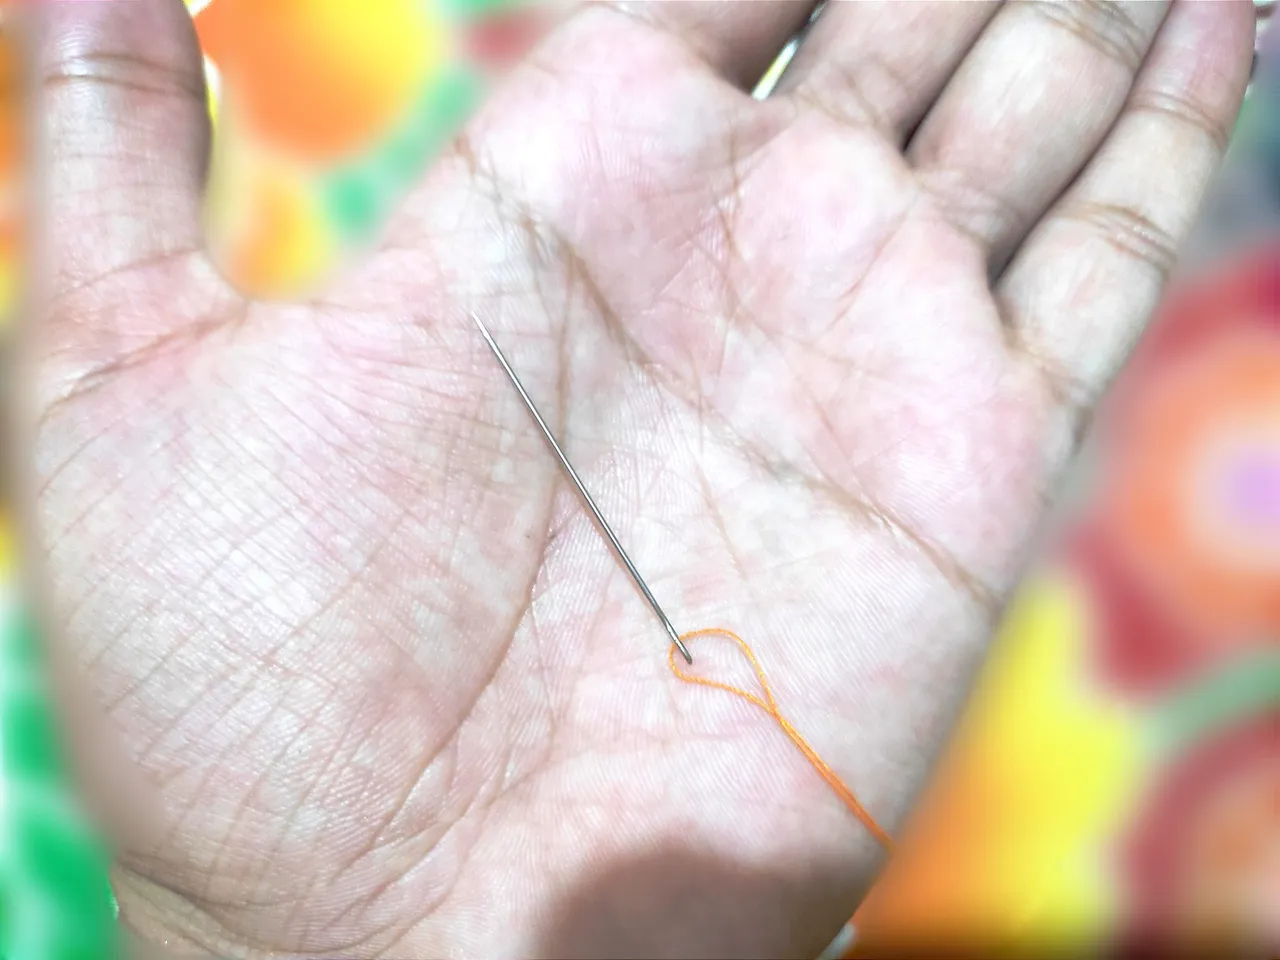
So I'm order to close these ends I took a needle, put the thread in it and then started closing and binding the ends so that they could not be dispersed.
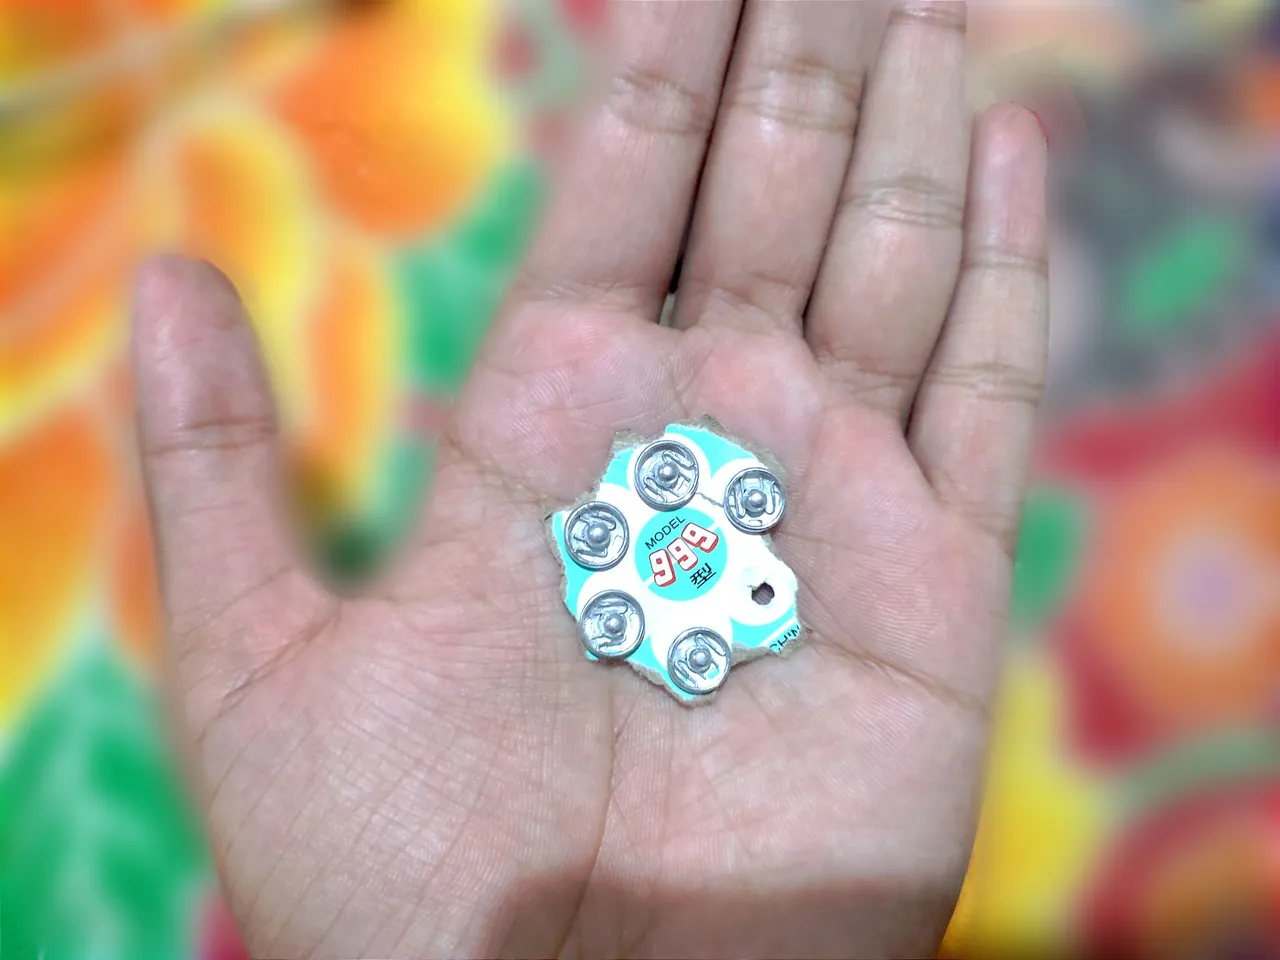
And now it was time to add some tools to close and open the bracelet. So I thought to add the metal locks as you can see in my hand. These are simple to close and open and I think every person knows about thes locks.
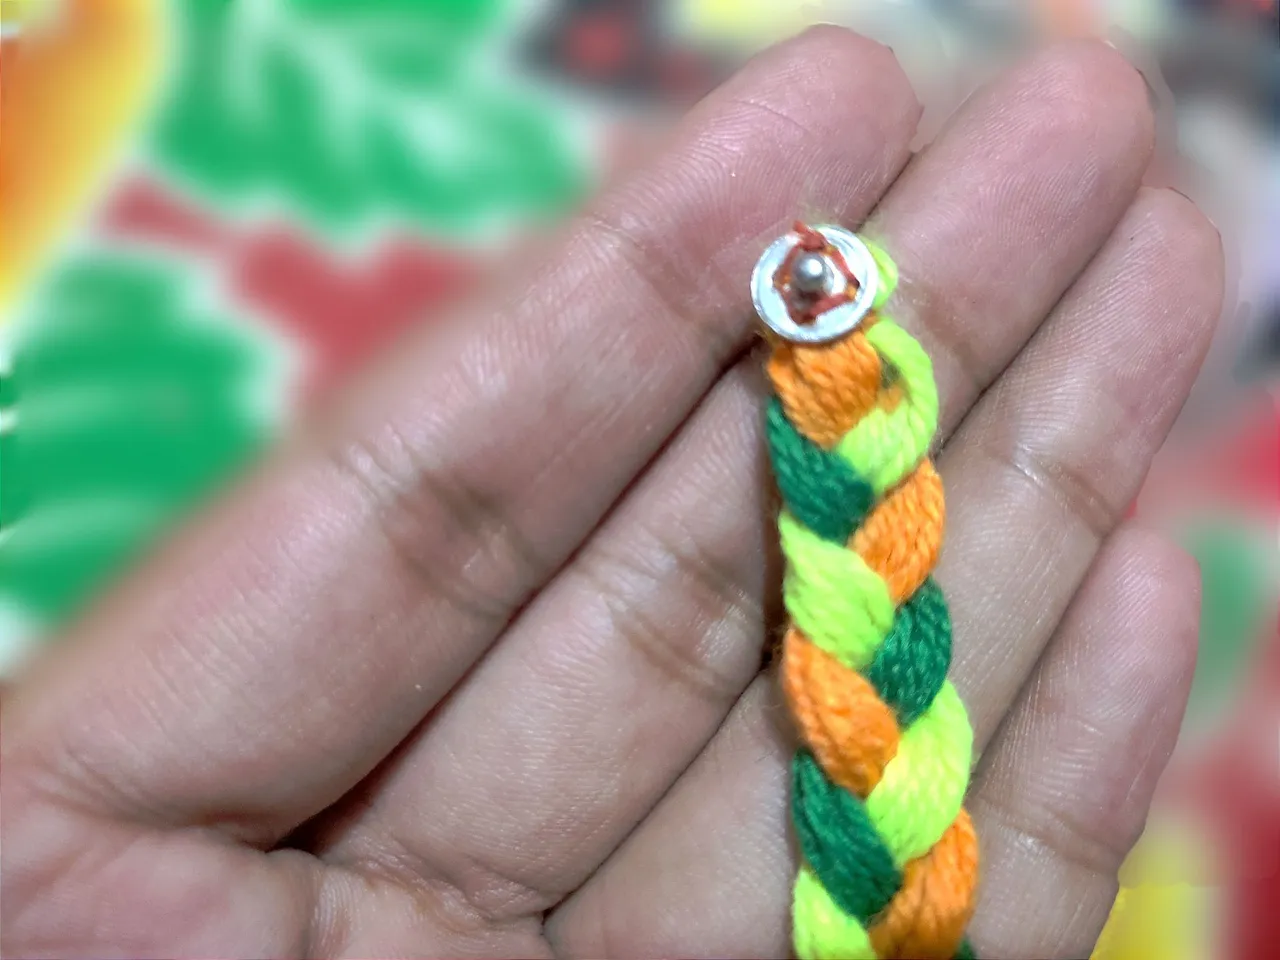
So look at the end of the bracelet that one side of the lock had been sewn.
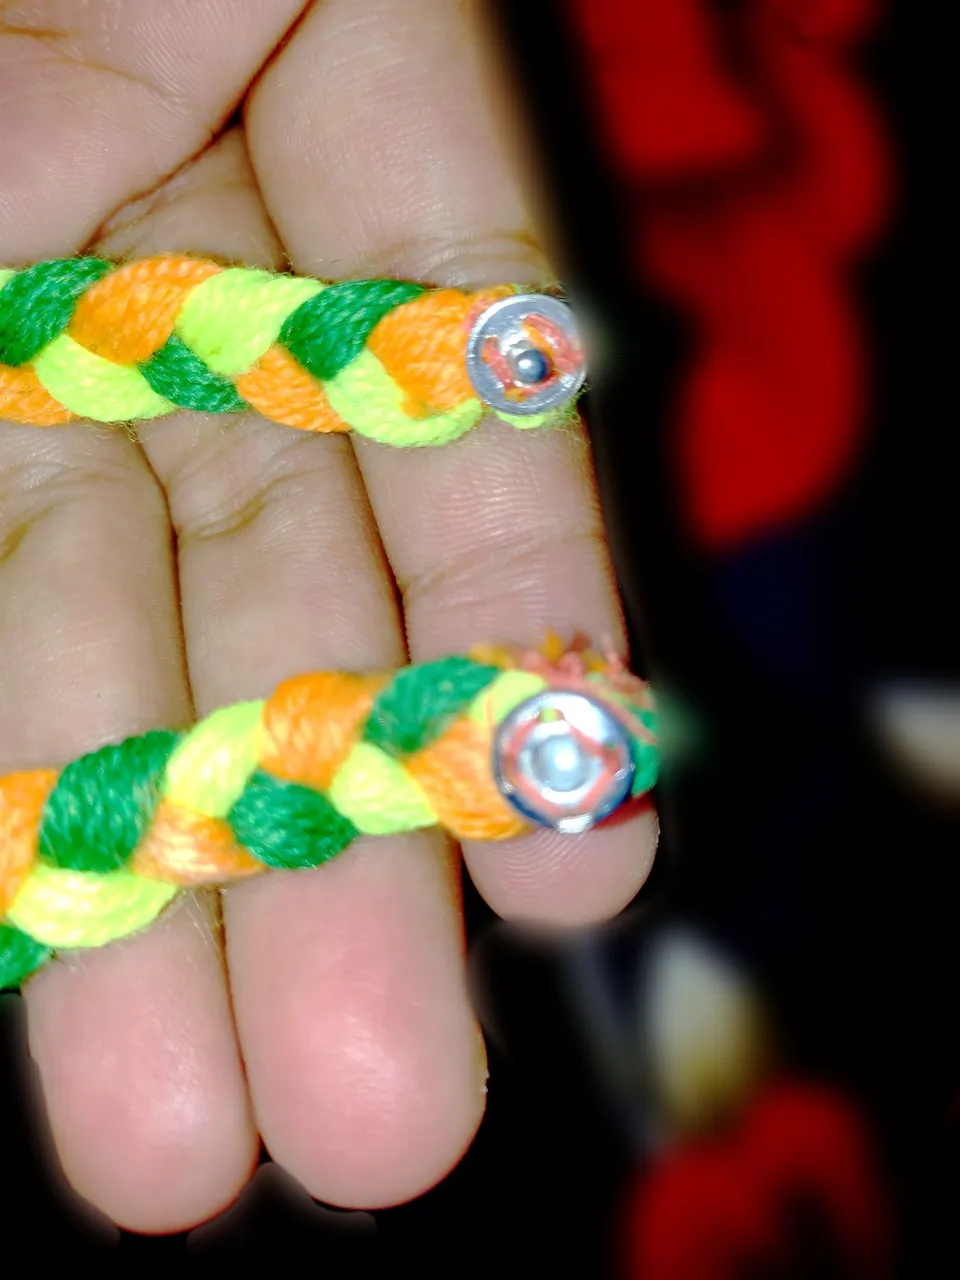
And now both sides of the lock have been sewn on both sides of the bracelet, and now it is easy to open and close and we can easily wear it.
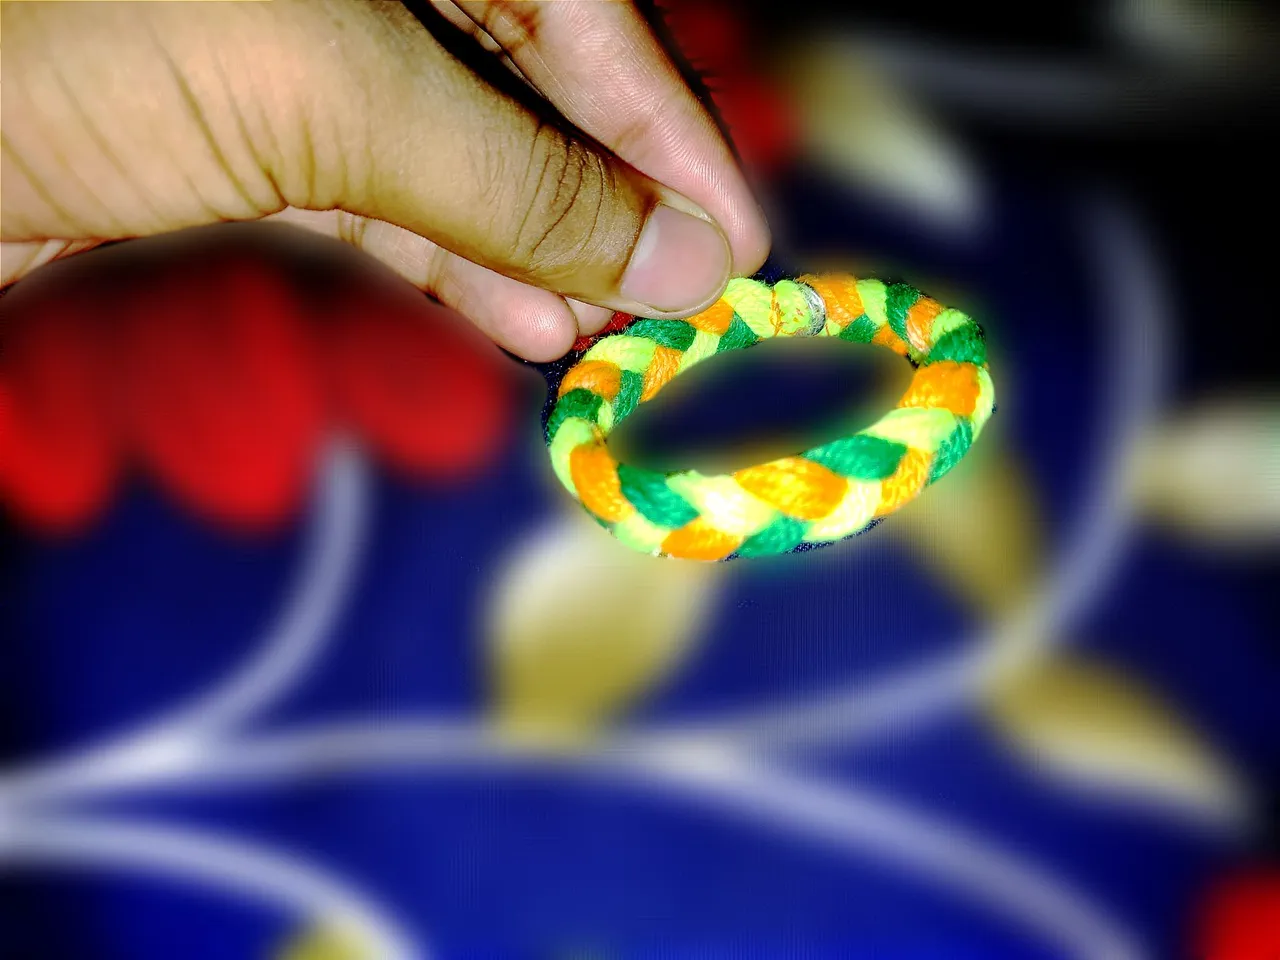
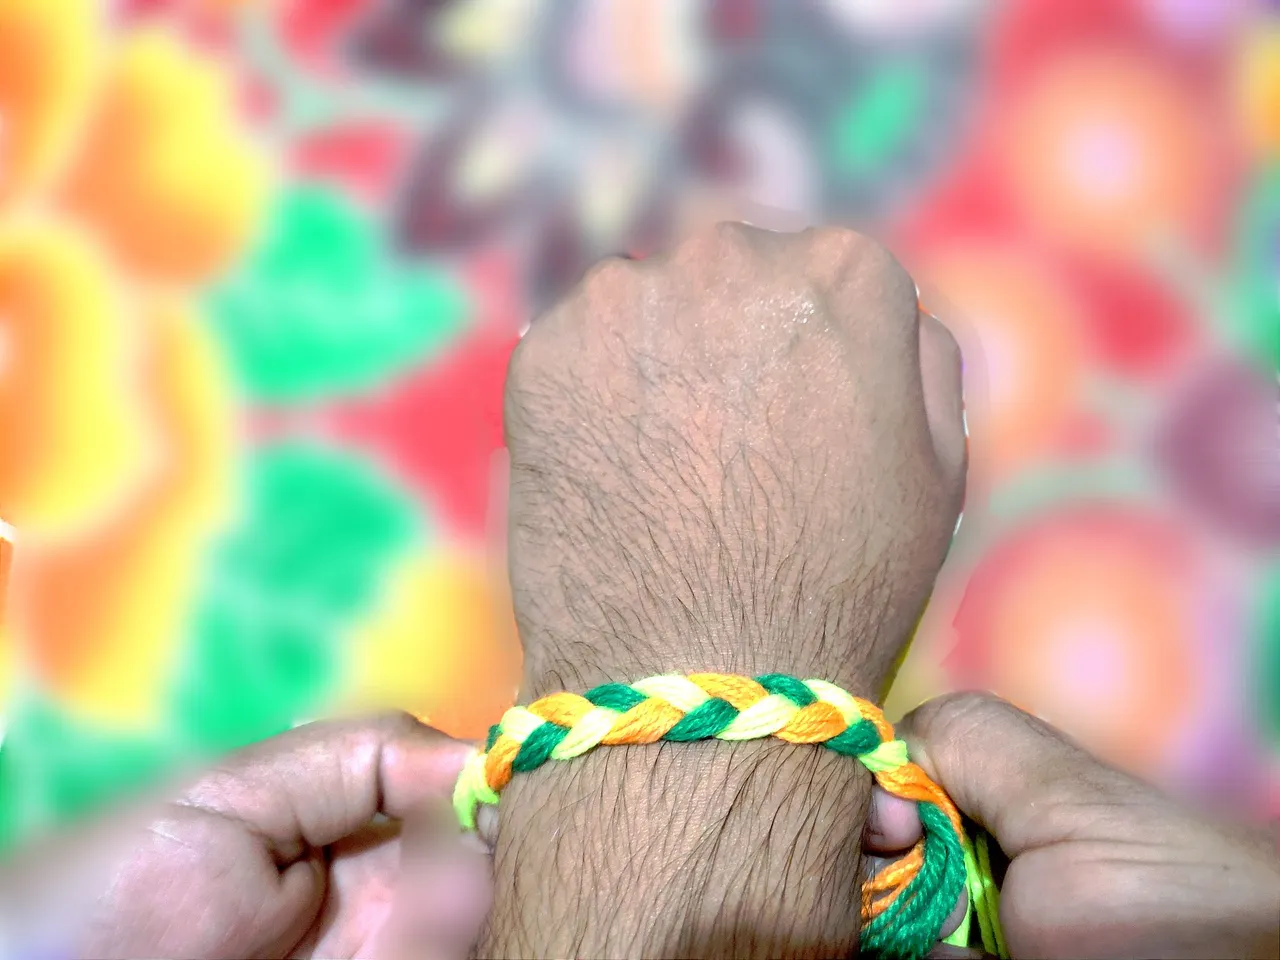
Here is the bracelet which has been locked successfully. And it is looking really lovely, and attractive. And now it is ready to wear.
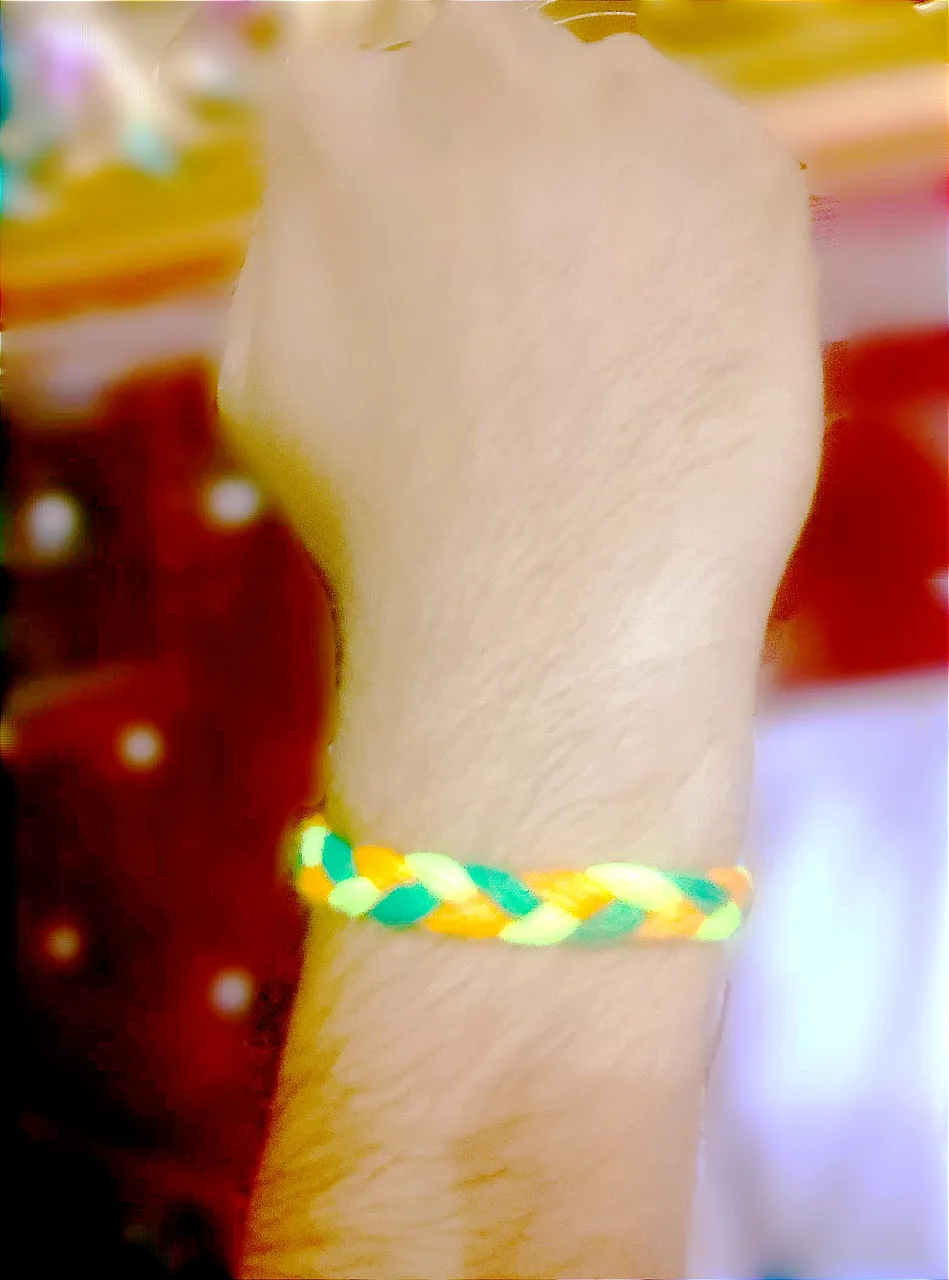
So now you can see this bracelet in my hand. It is my first ever bracelet which I have made with the help of the threads and I have done it finally. And it is looking nice in my hairy hand.
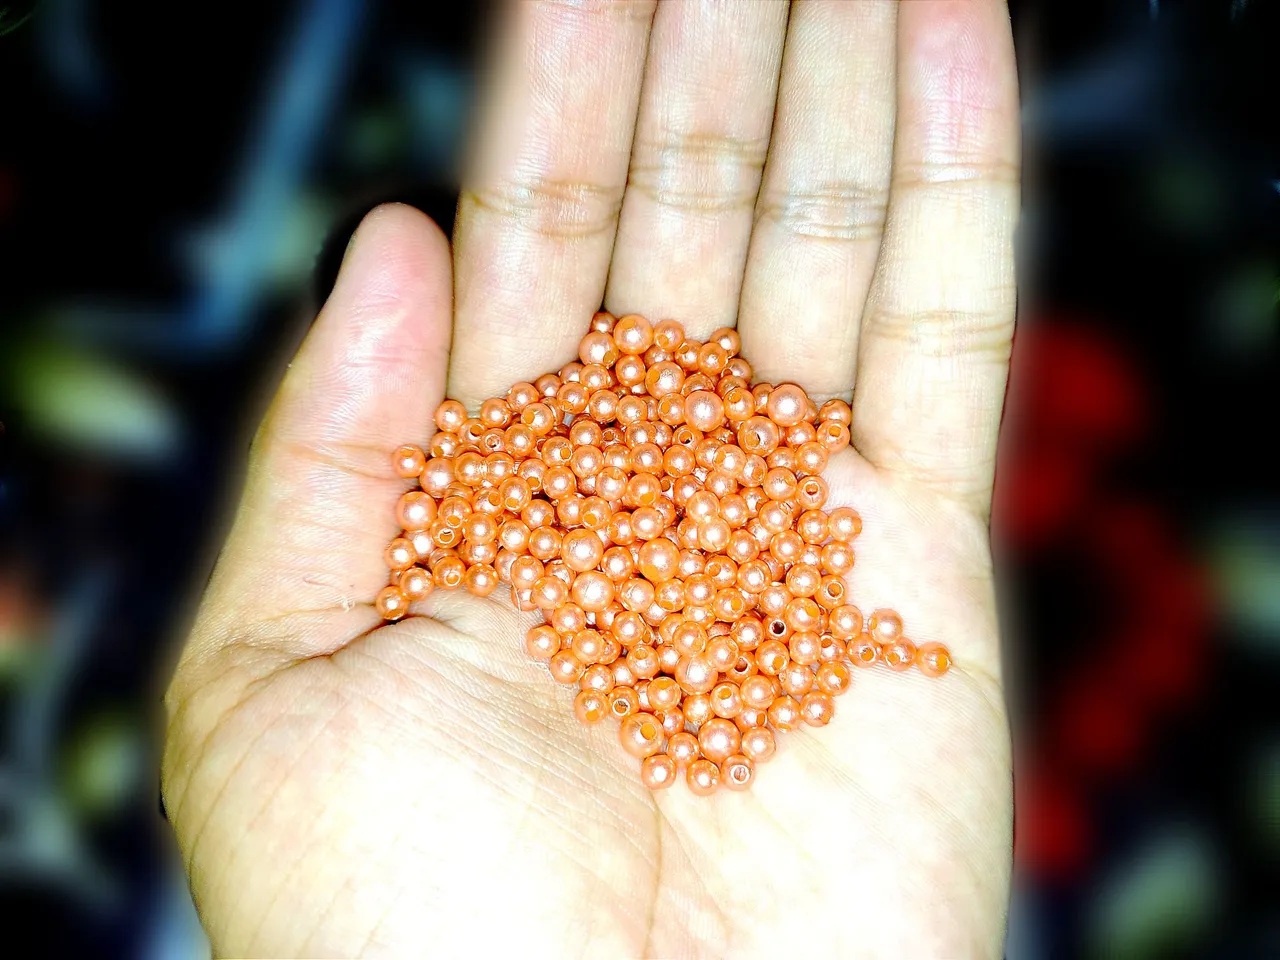
But I got another idea to put some beads at the top of the bracelet. So I found some beads. And you can see that I got those beads but these were mixed. The small and the big beads were mixed. And I wanted to put bug beads on that bracelet. So I picked the bug beads from them.
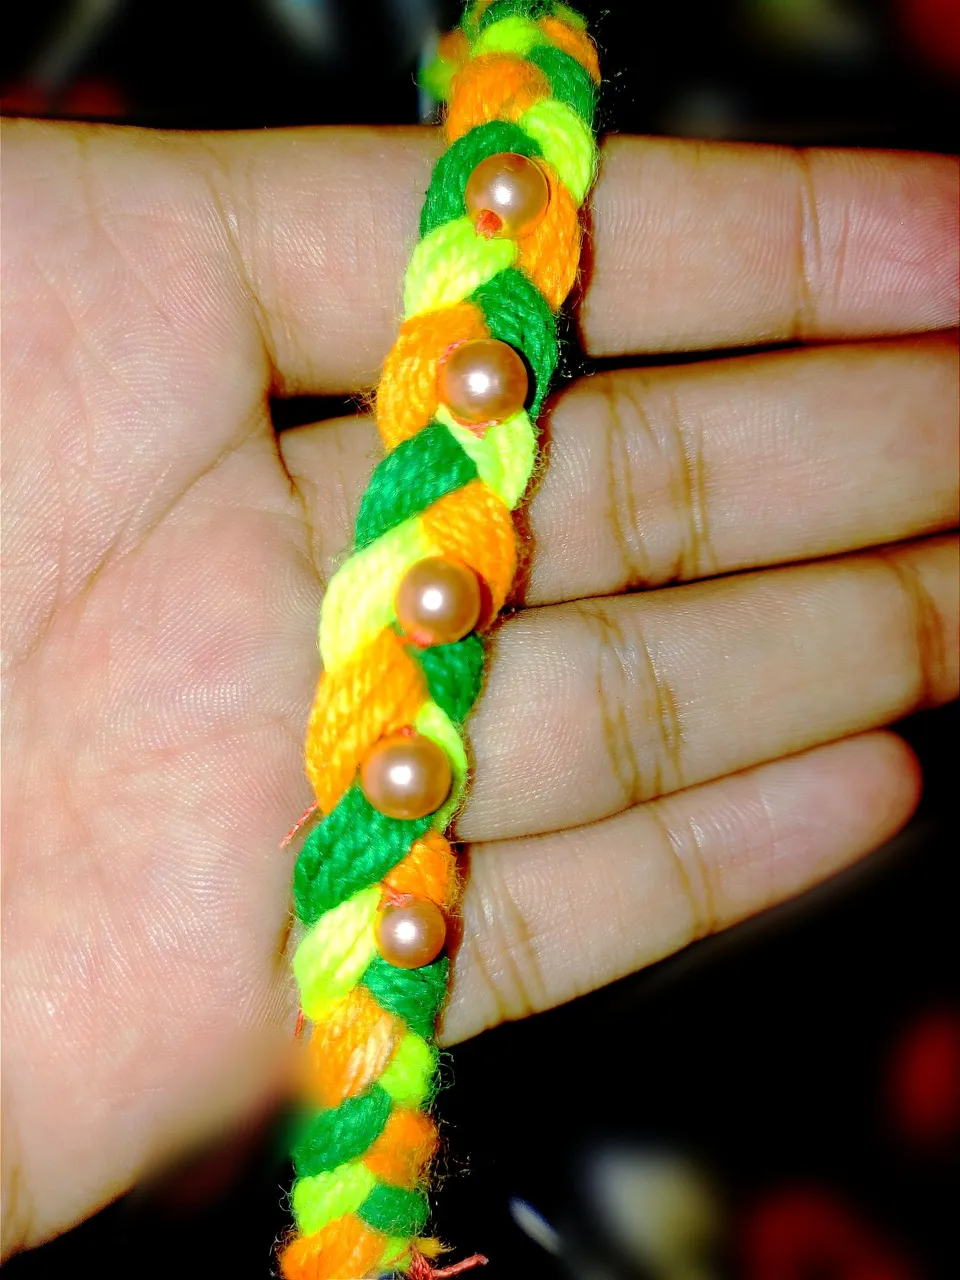
And funally you can see that I started putting the beads into the bracelet. So you can see that beads have been installed and now the bracelet is looking more beautiful and I have completed the loom pattern bracelet.
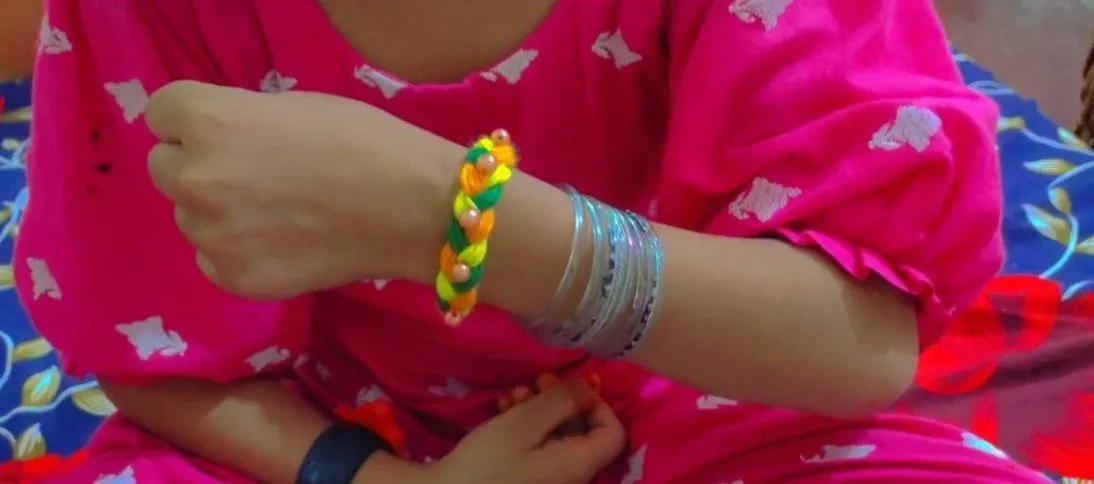
So after completing the bead bracelet I wore it in my hand and then my little nephew said it should be mine as I was helping you in making it. You know how the children do, so I gave it to her and I have added a picture of her hand as well. And she was really very happy after having that bracelet and was enjoying wearing it.
| Photography | Details |
|---|---|
| Object | Loom Pattern Bracelet |
| Photographer | @uop |
| Device | Redmi Note 10 |