Tengan un gran saludo todos y espero que estén pasando una bonita tarde tengan todos mis amigos lectores y creadores de contenido de esta linda comunidad, espero se encuentren física y mentalmente bien, este es mí segundo Post en esta comunidad que me dio una hermosa bienvenida, gracias por aceptarme y apoyarme en esta comunidad para aprender de ustedes acerca de este mundo de la joyería. En esta oportunidad les quiero compartir un arete que hice inspirado en los girasoles, no tiene forma de girasol 🌻 pero me inspire en ellos. Los girasoles son muy hermosos cuando florecen y se abren al sol por eso me inspire y quise hacer estos hermos aretes, que son muy sencillos y fáciles de hacer, con materiales fáciles de conseguir. A continuación les mostraré todos los materiales que utilice y el paso a paso para que se guíen y lo recreen también. Espero se queden hasta el final del Post 🥰
Have a great greeting everyone and I hope you are having a nice afternoon have all my reading friends and content creators of this beautiful community, I hope you are physically and mentally well, this is my second Post in this community that gave me a beautiful welcome, Thank you for accepting me and supporting me in this community to learn from you about this world of jewelry. This time I want to share an earring that I made inspired by sunflowers, it doesn't have the shape of a sunflower 🌻 but I was inspired by them. Sunflowers are very beautiful when they bloom and open to the sun, that's why I was inspired and wanted to make these beautiful earrings, which are very simple and easy to make, with easily available materials. Next I will show you all the materials that I use and the step by step so that you can be guided and recreate it too. I hope they stay until the end of the Post 🥰

A continuación los materiales a utilizar y el paso a paso...
Below are the materials to be used and the step by step...
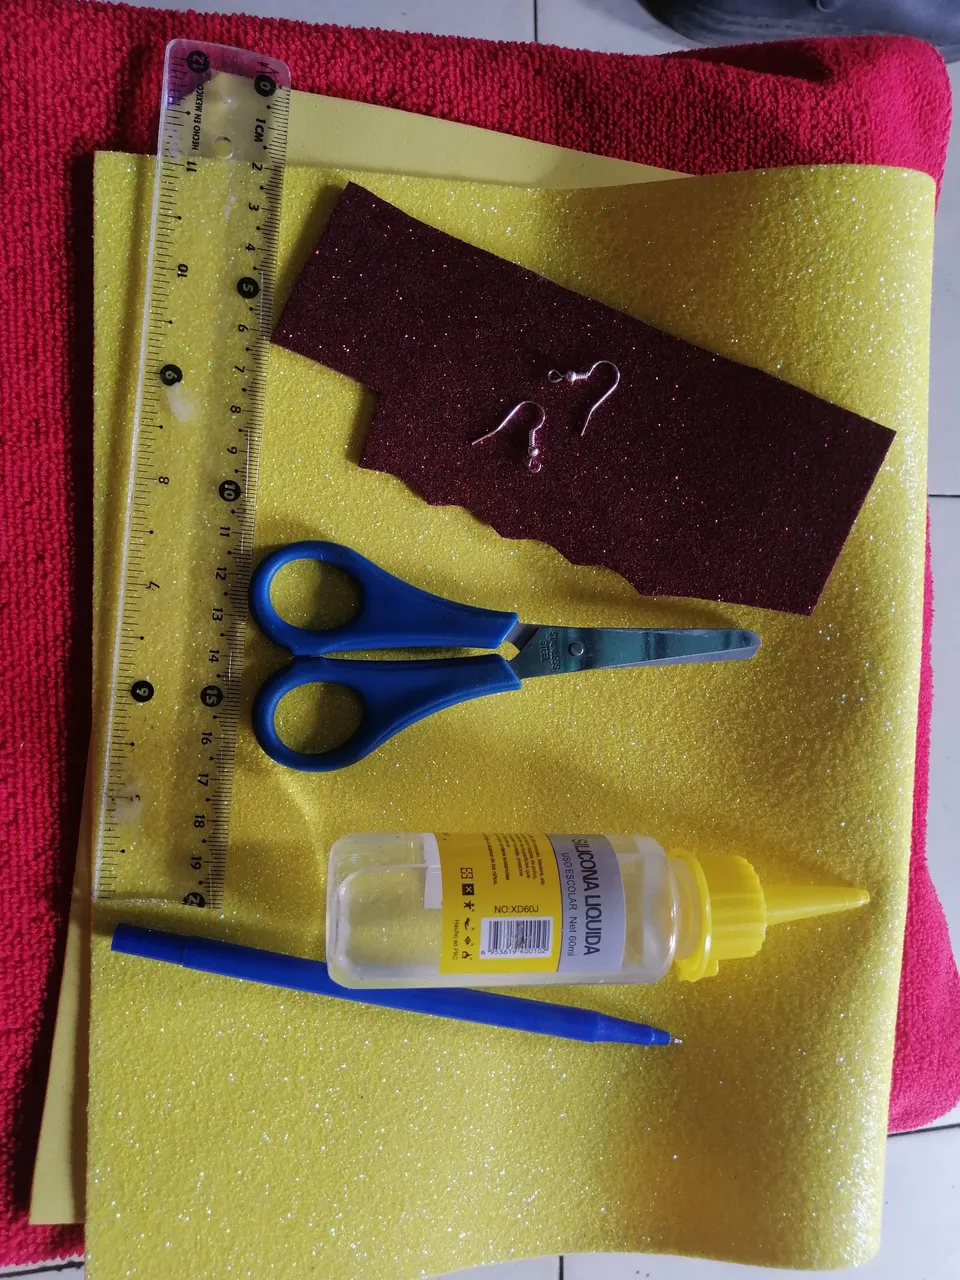
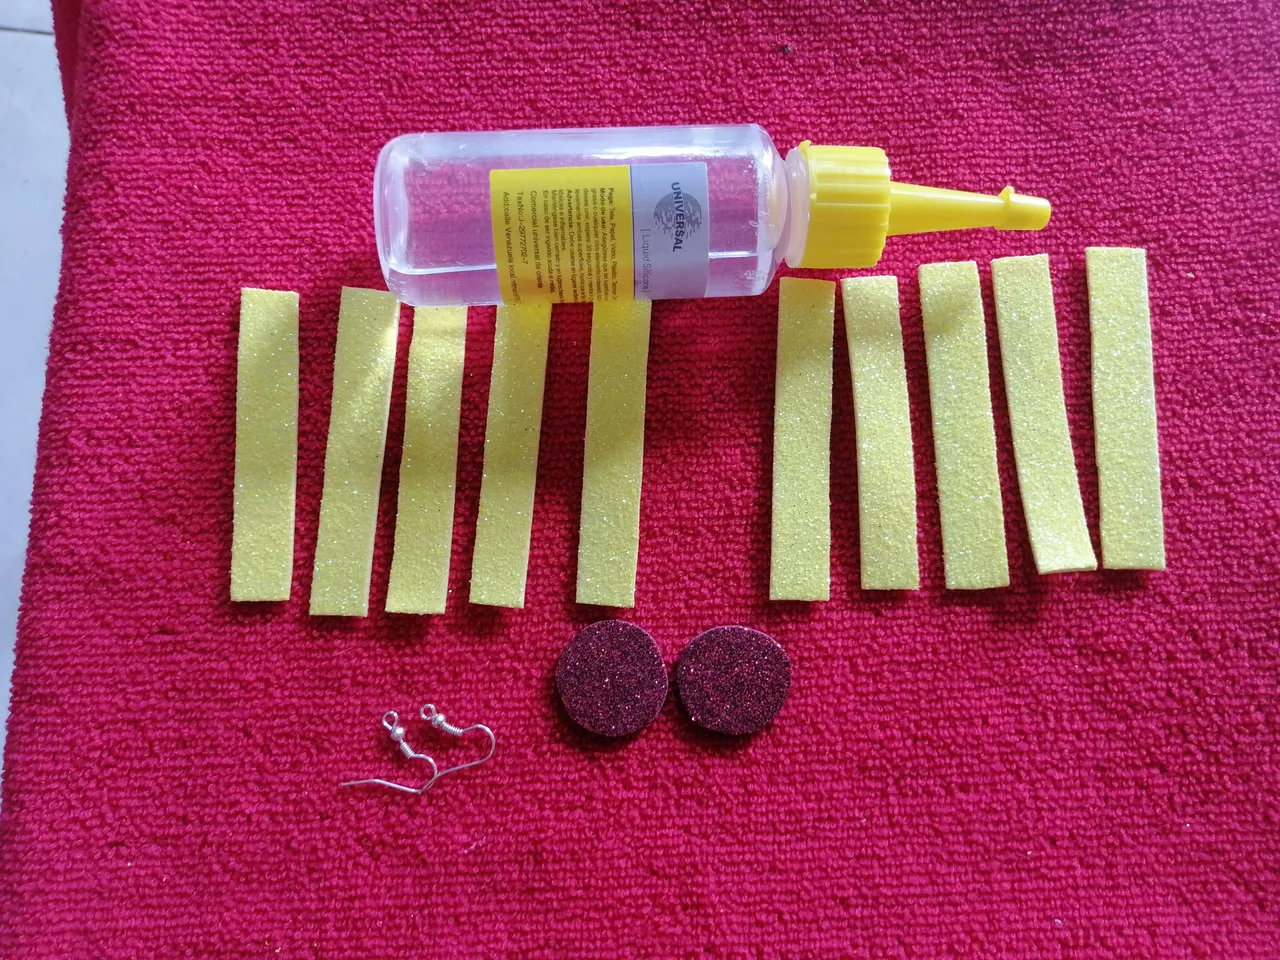
MATERIALES
Foamis escarchado (Amarillo y rojo)
Tijera
Silicón Frío
Regla
Lapicero
Anzuelo para zarcillos
MATERIALS
Frosty Foamis (Yellow and Red)
Scissors
Cold sylicon
Ruler
Pencil
hook for tendrils
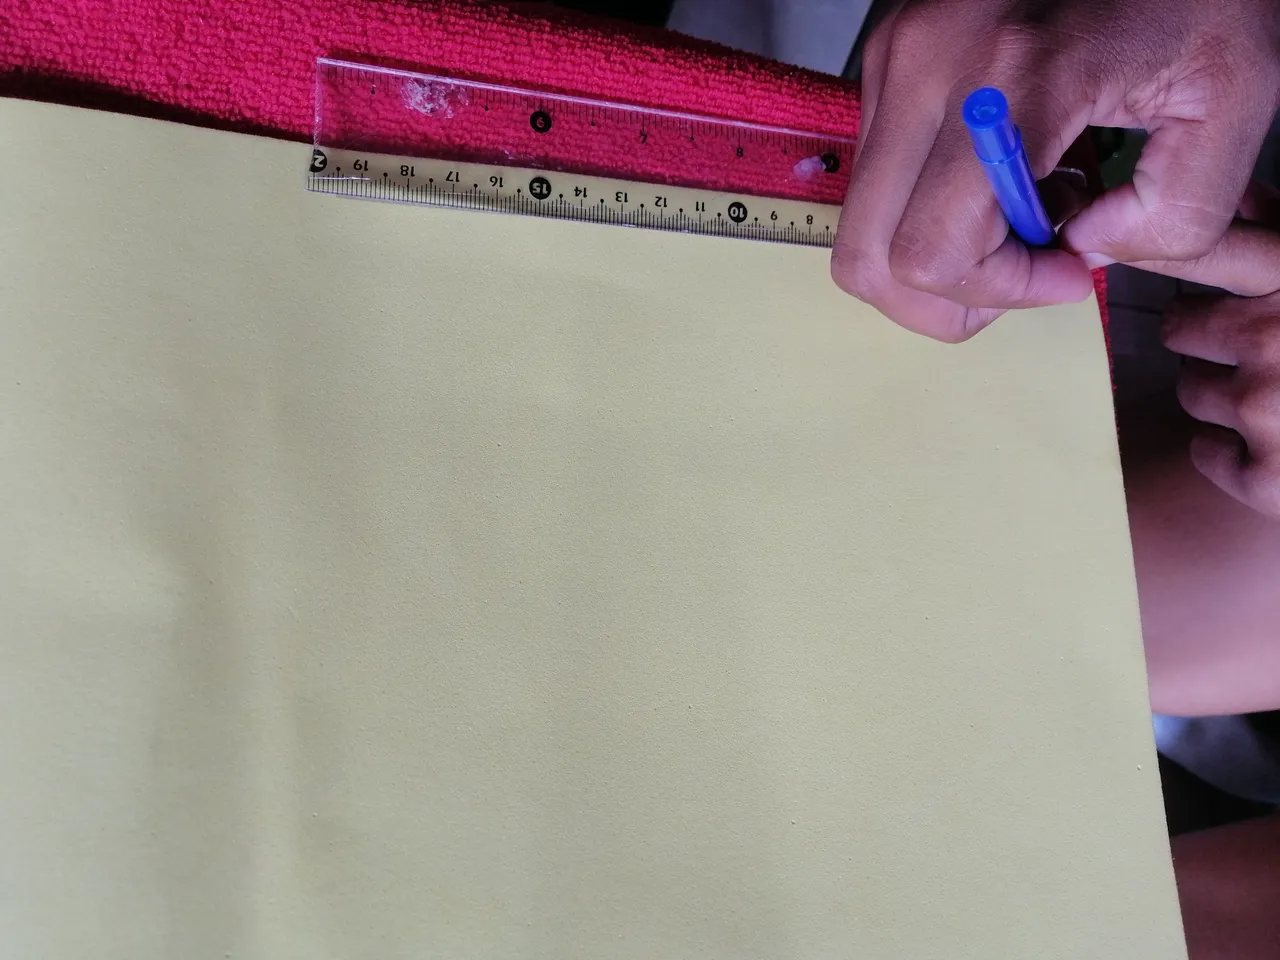
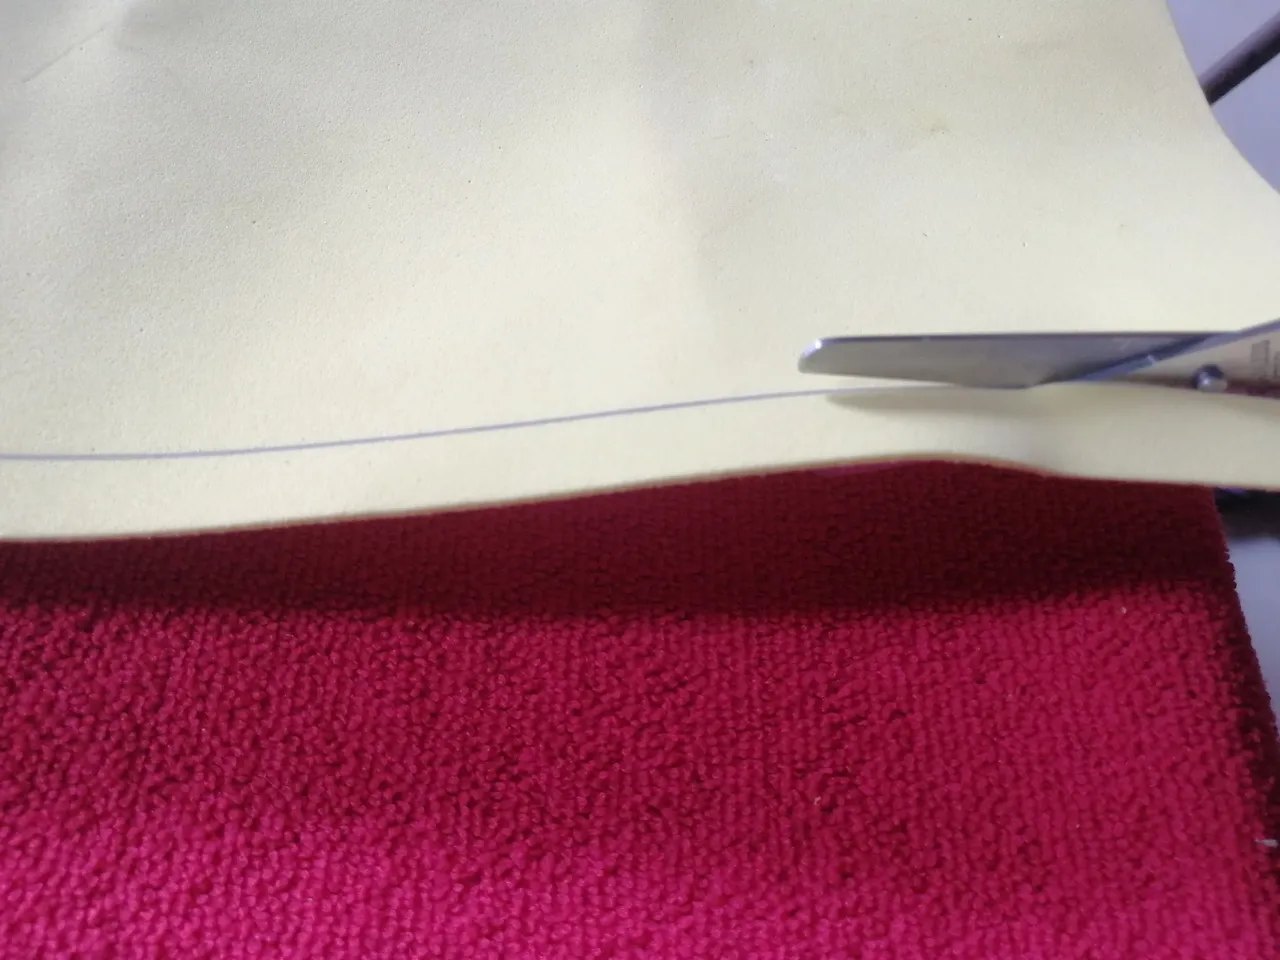
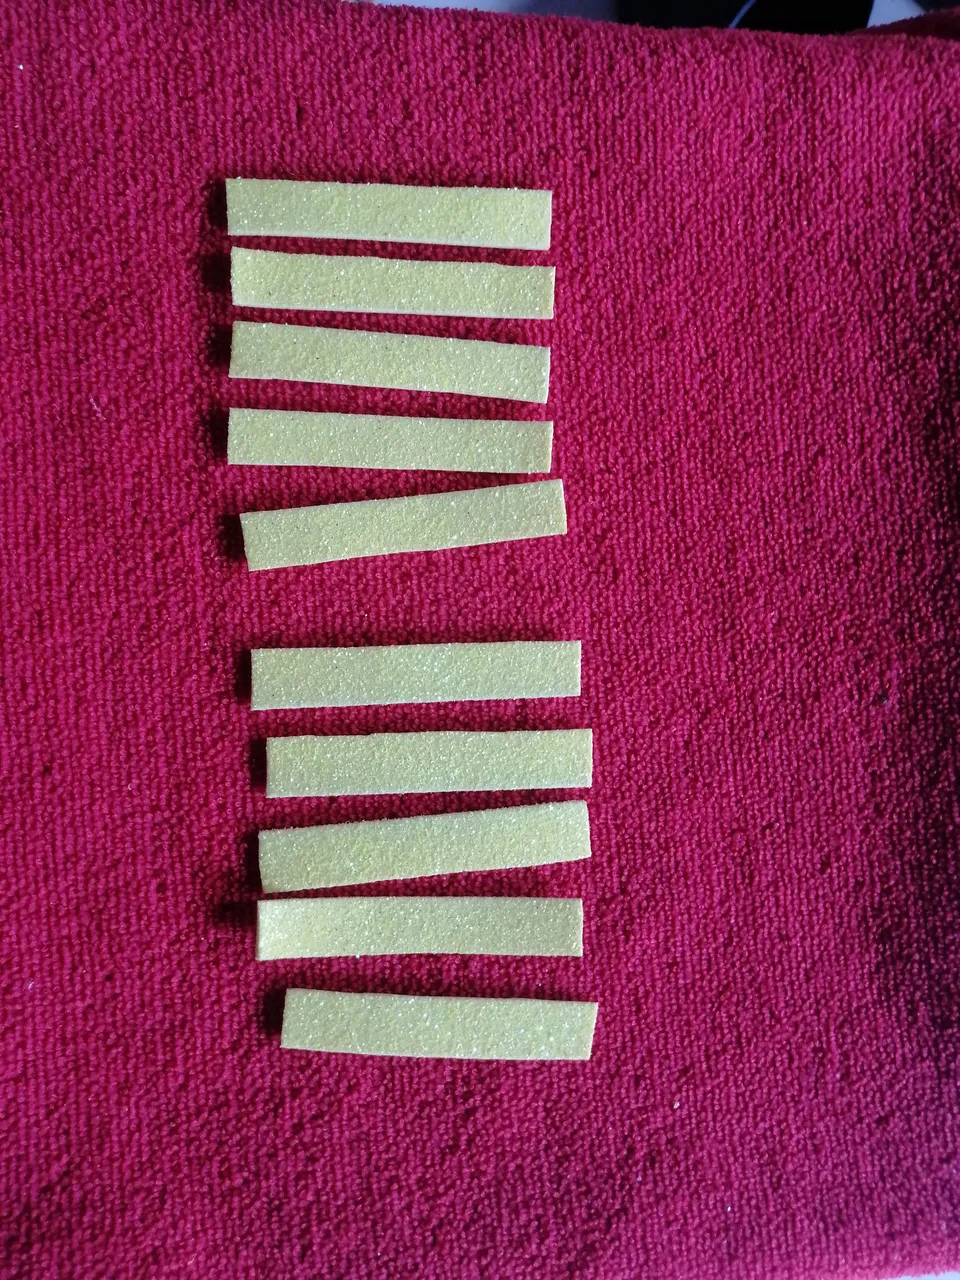
PASO 1
Comenzamos tomando nuestro Foamis amarillo, para medir con nuestra regla y marcaruna línea para recortar tiras de aproximadamente 1cm de ancho y 7cm de largo. Con ayuda de nuestra tijera comenzamos a recortar las tiras de foamis, de esta manera debe quedar. Sacamos 10 tiras de foamis y reservamos.
STEP 1
We start by taking our yellow Foamis, to measure with our ruler and mark a line to cut strips of approximately 1cm wide and 7cm long. With the help of our scissors we begin to cut the strips of foam, this is how it should look. We take out 10 strips of foamis and reserve.
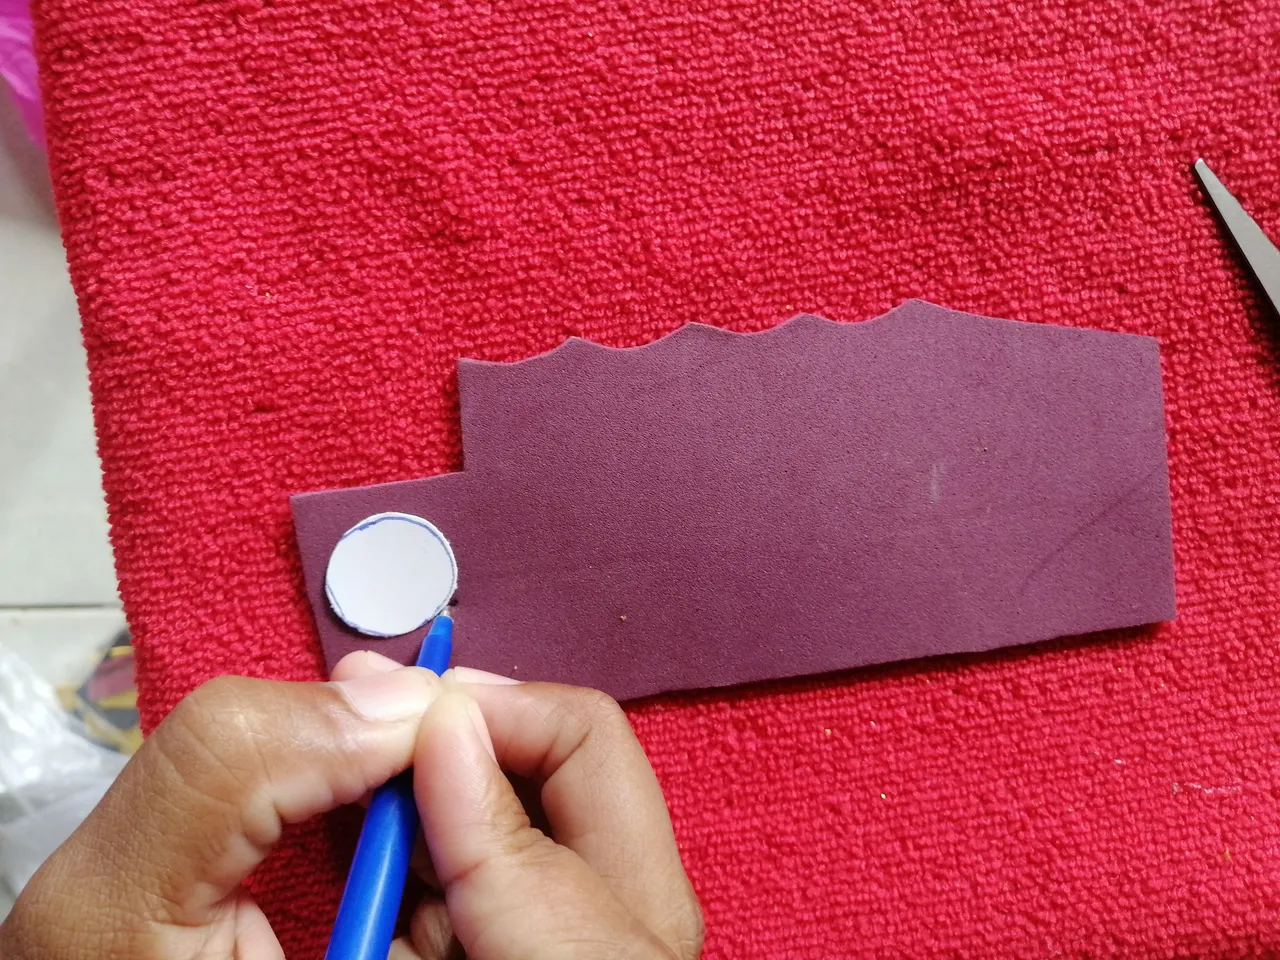
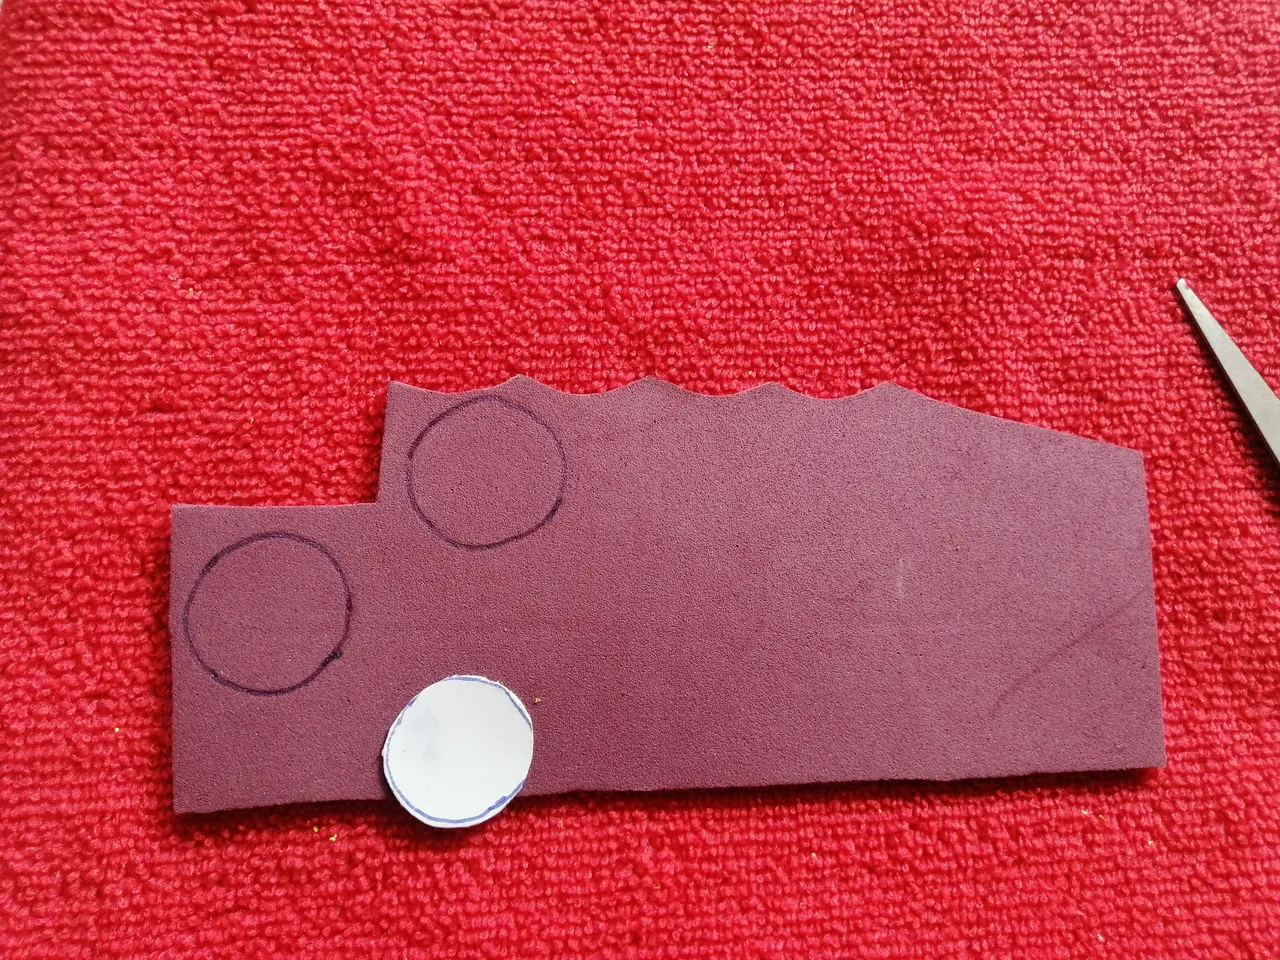
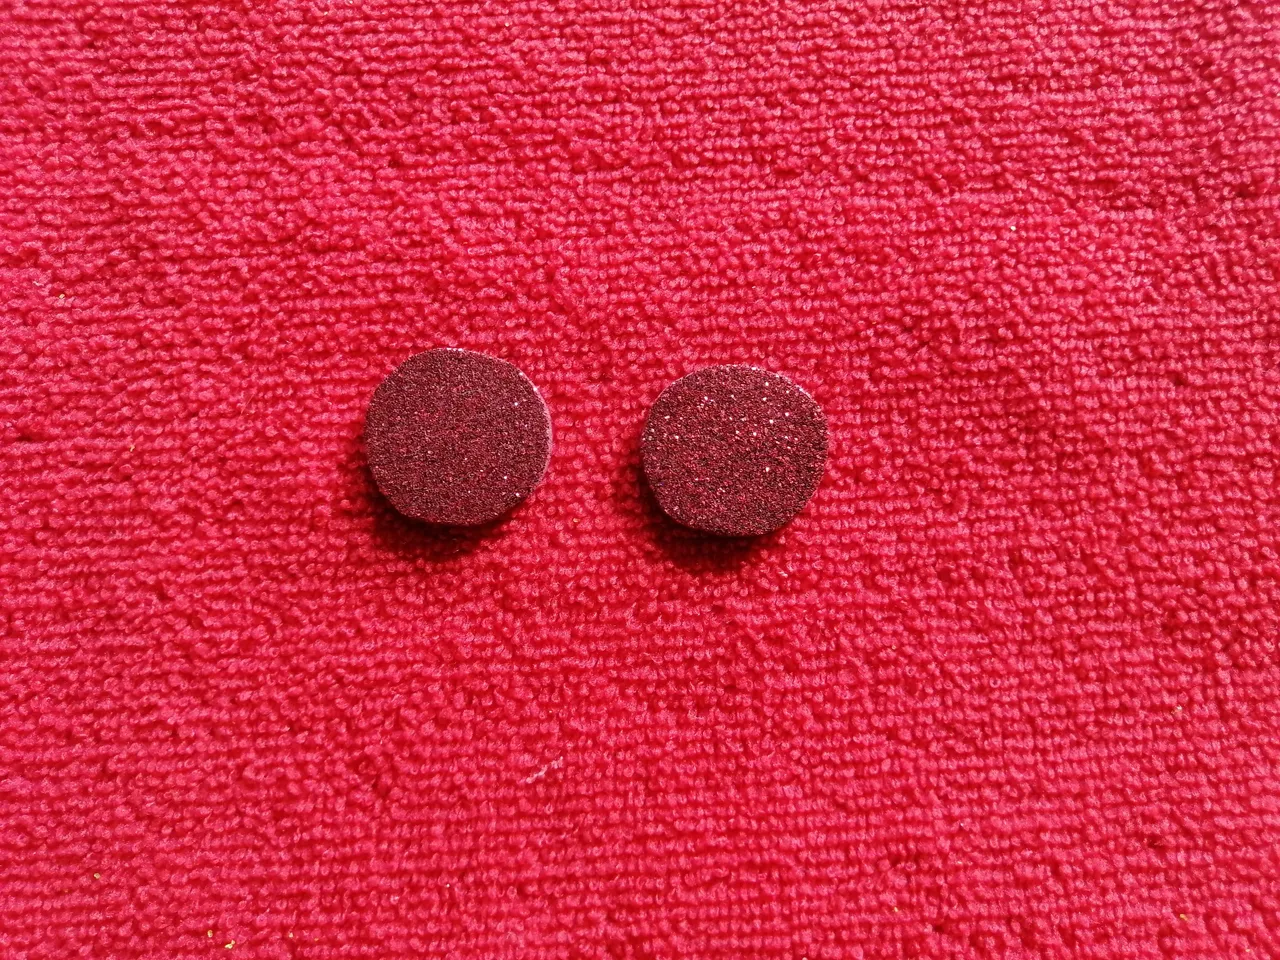
PASO 2
Haremos lo mismo con nuestro Foamis rojo, de la misma manera, tomamos el Foamis y dibujamos dos círculos con un diámetro de 1,5 cm ya que lo marquemos, con ayuda de nuestra tijera procedemos a recortar, de esta manera nos debe quedar nuestros círculos para formar nuestro hermoso zarcillo inspirado en los girasoles
STEP 2
We will do the same with our red Foamis, in the same way, we take the Foamis and draw two circles with a diameter of 1.5 cm and we mark it, with the help of our scissors we proceed to cut, in this way we should have our circles to form our beautiful tendril inspired by sunflowers
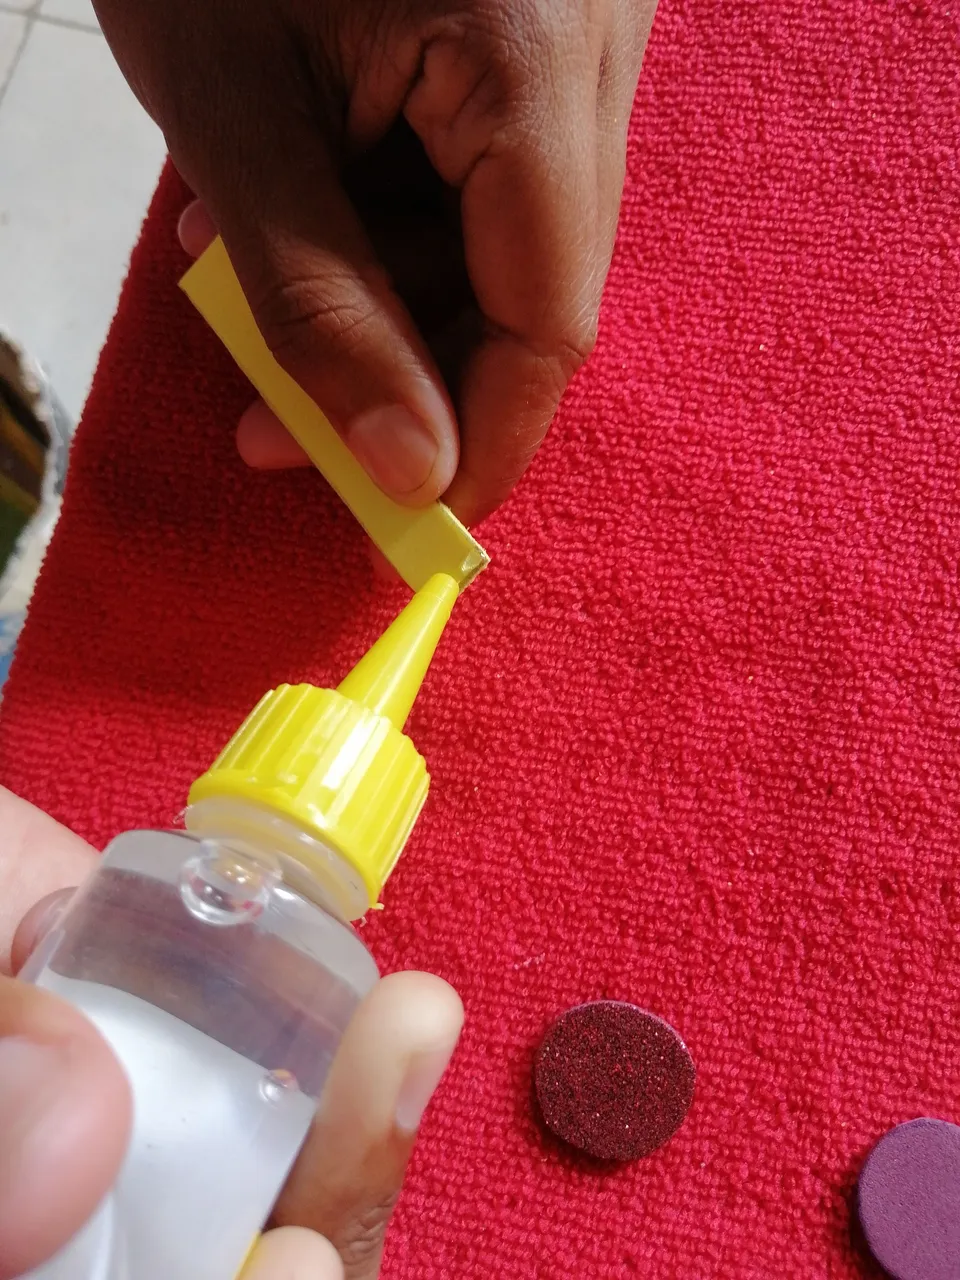
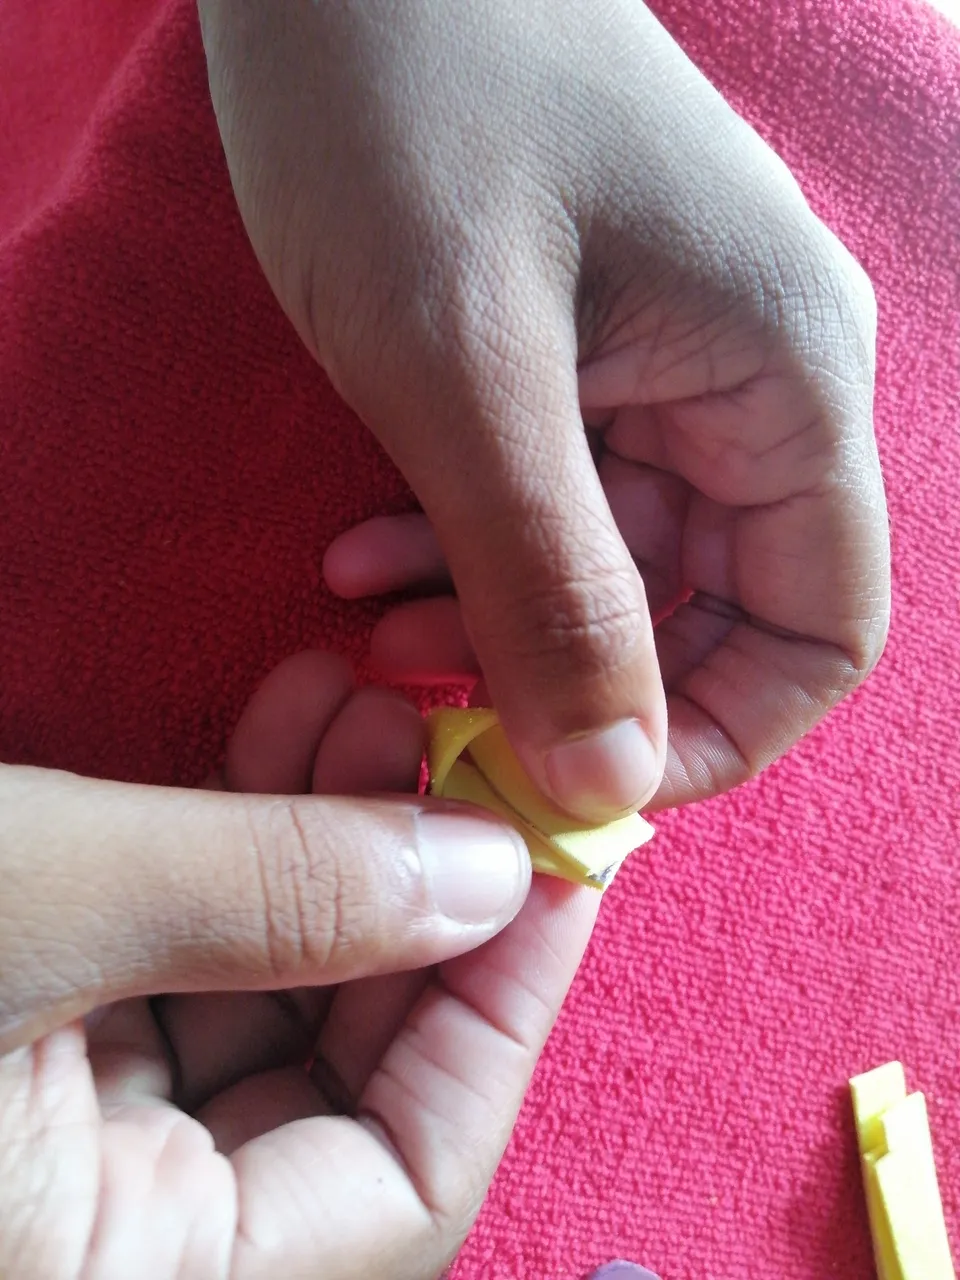
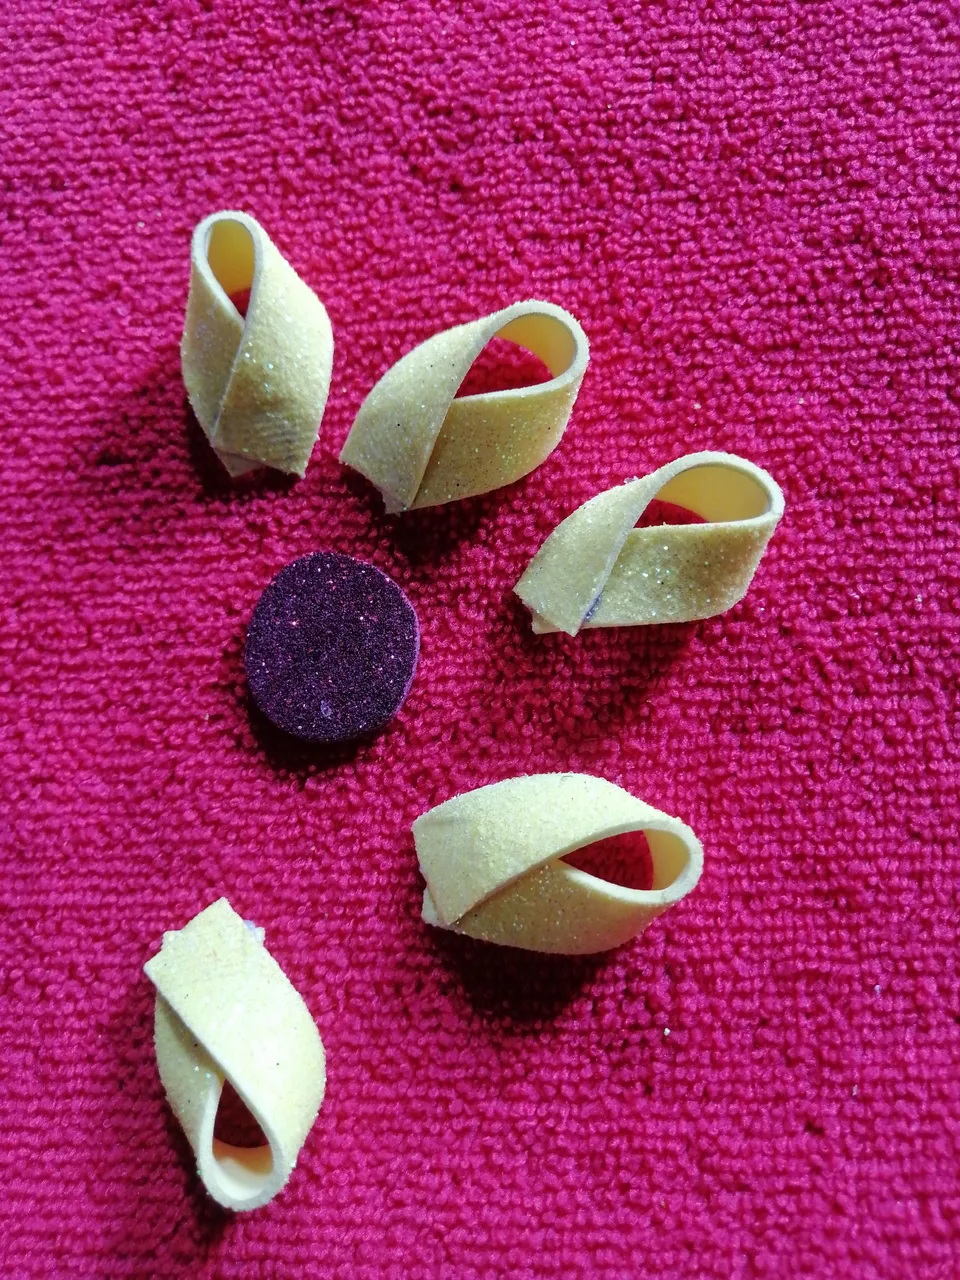
PASO 3
Ya que tenemos nuestras tiras de foamis y los círculos listos preocedemos a armar nuestro zarcillo, con ayuda del Silicón pegaremos todas las piezas una por una. Comenzamos tomando cada tira de foamis y doblaremos de esta manera, para hacer los pétalos de nuestra florecita haremos presión hasta que quede bien pegada al círculo.
STEP 3
Since we have our foam strips and the circles ready, we proceed to assemble our tendril, with the help of Silicone we will glue all the pieces one by one. We begin by taking each strip of foam and we will fold it in this way, to make the petals of our little flower we will press until it is well attached to the circle.
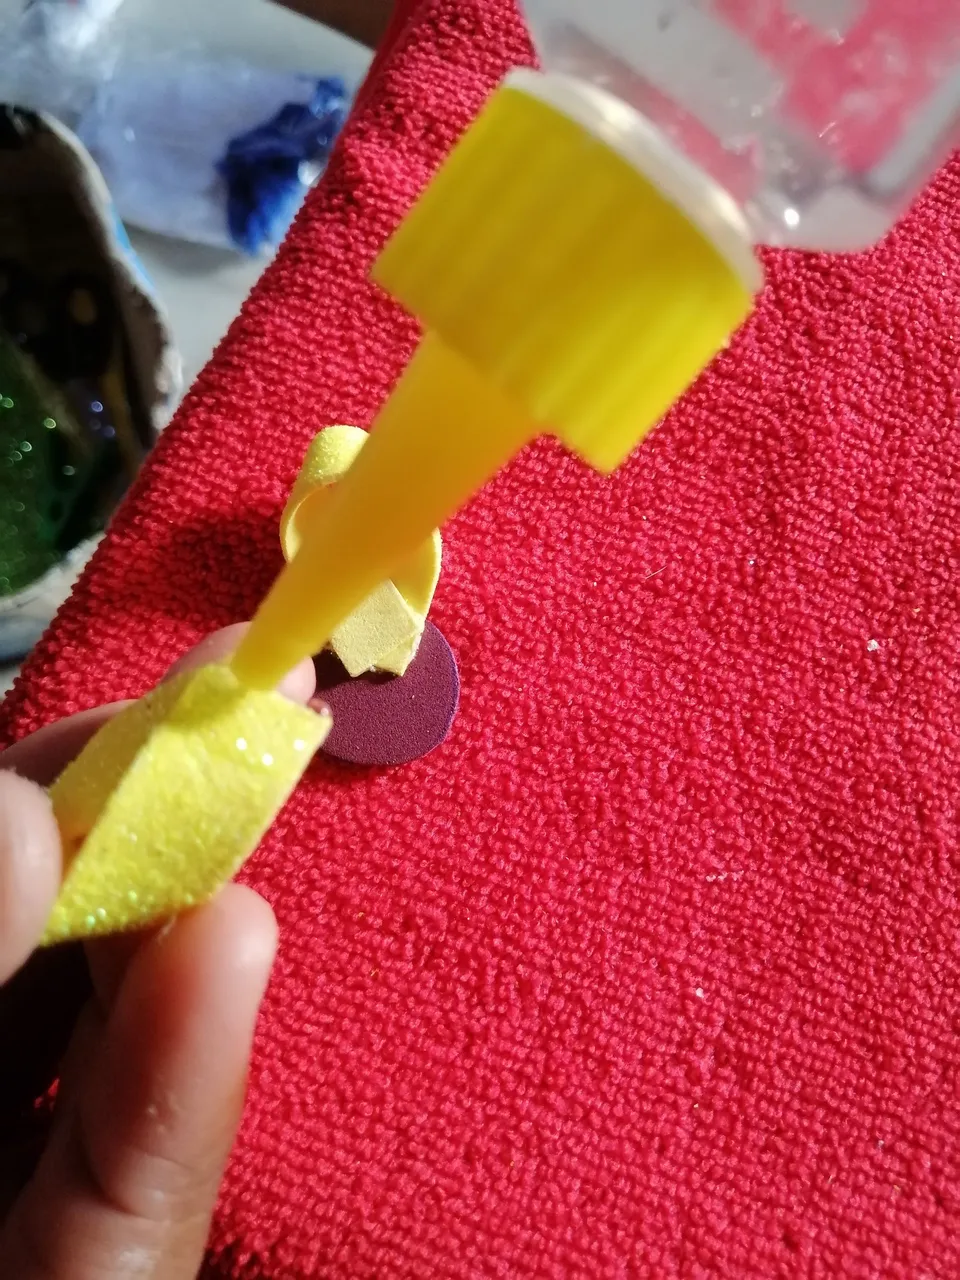
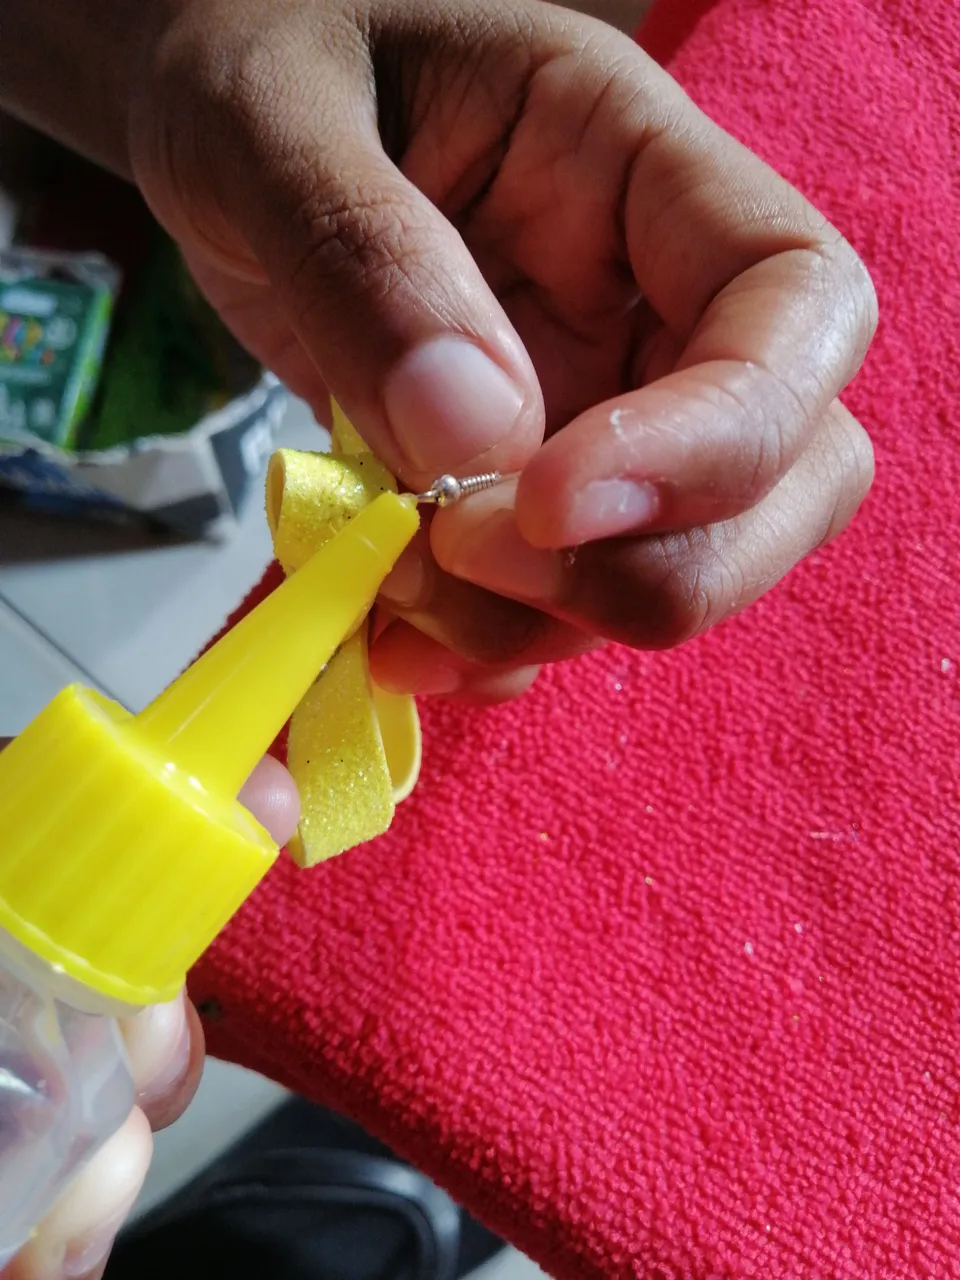
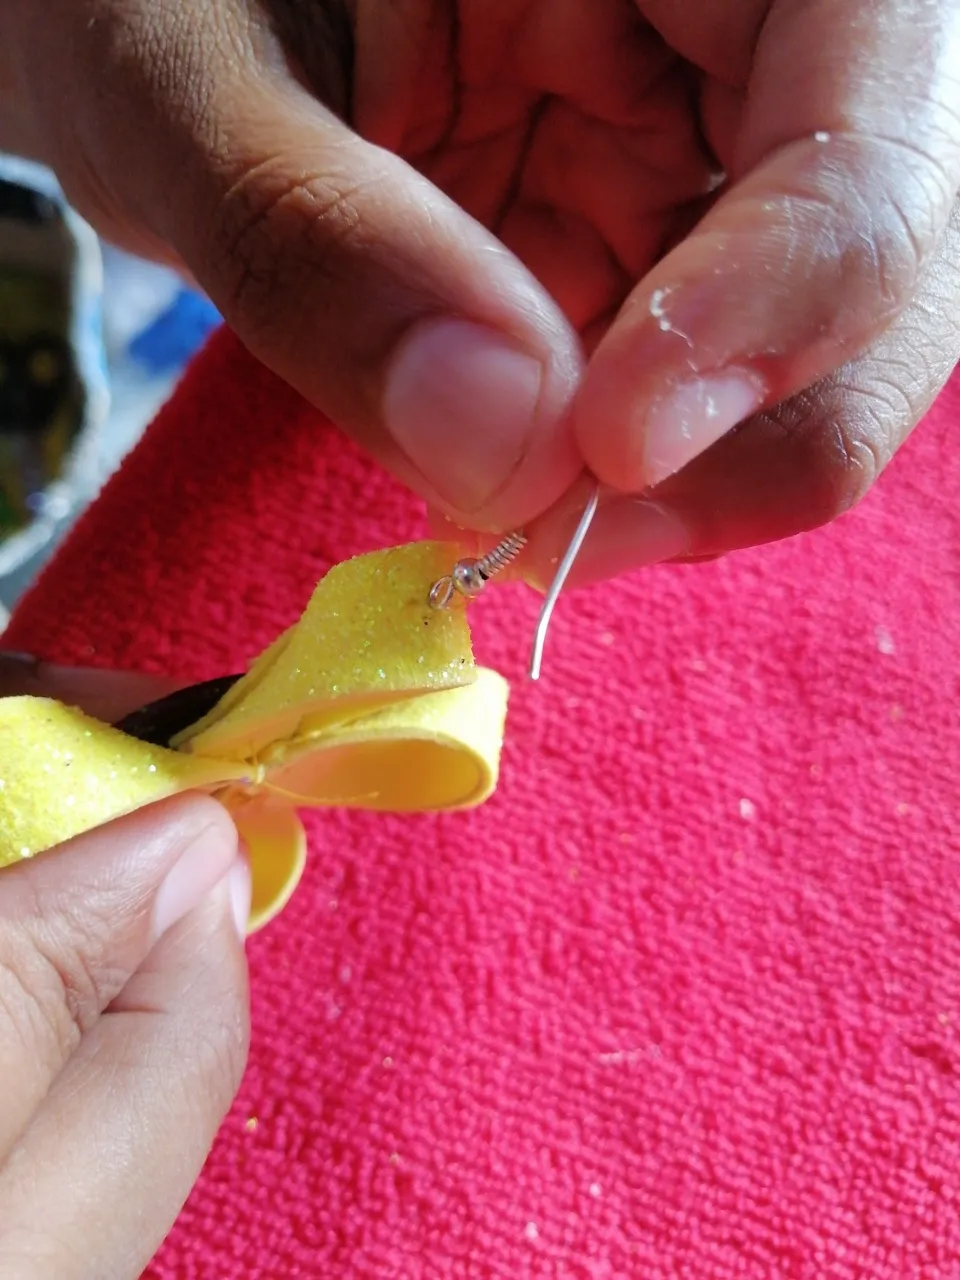
PASO 4
Aquí ya tenemos todas nuestras piezas bien pegadas, ya lo que haremos es pegarlos al círculo rojo de foamis de esta manera hasta cubrir todo. Una vez que esté pegada nuestra hermosa flor procedemos a pegar a nuestra flor el anzuelo de zarcillo de esta manera para ya terminar nuestro hermoso zarcillo.
STEP 4
Here we already have all our pieces well glued, and what we will do is glue them to the red circle of foam in this way until everything is covered. Once our beautiful flower is attached, we proceed to glue the tendril hook to our flower in this way to finish our beautiful tendril.

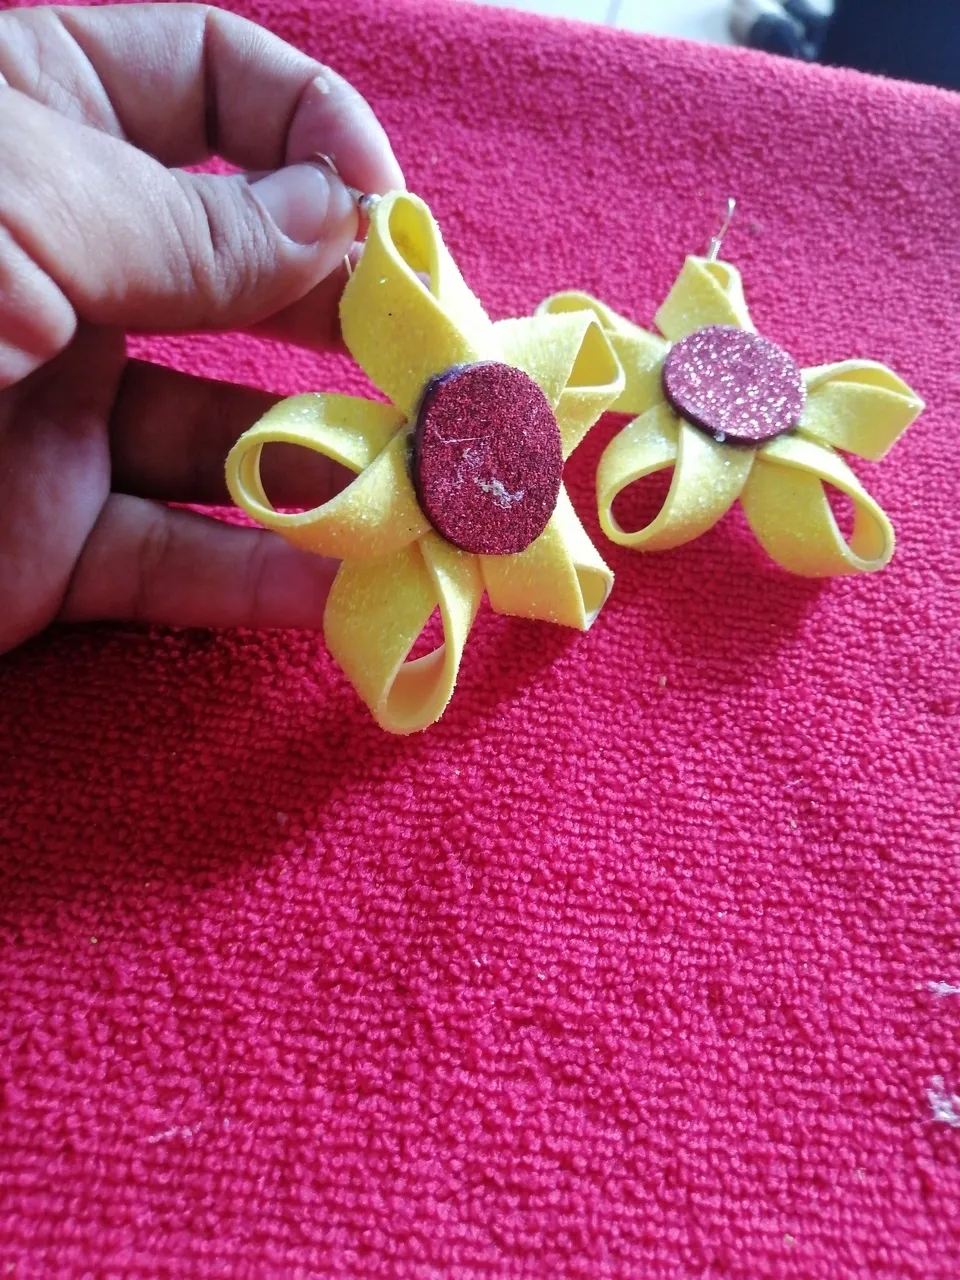
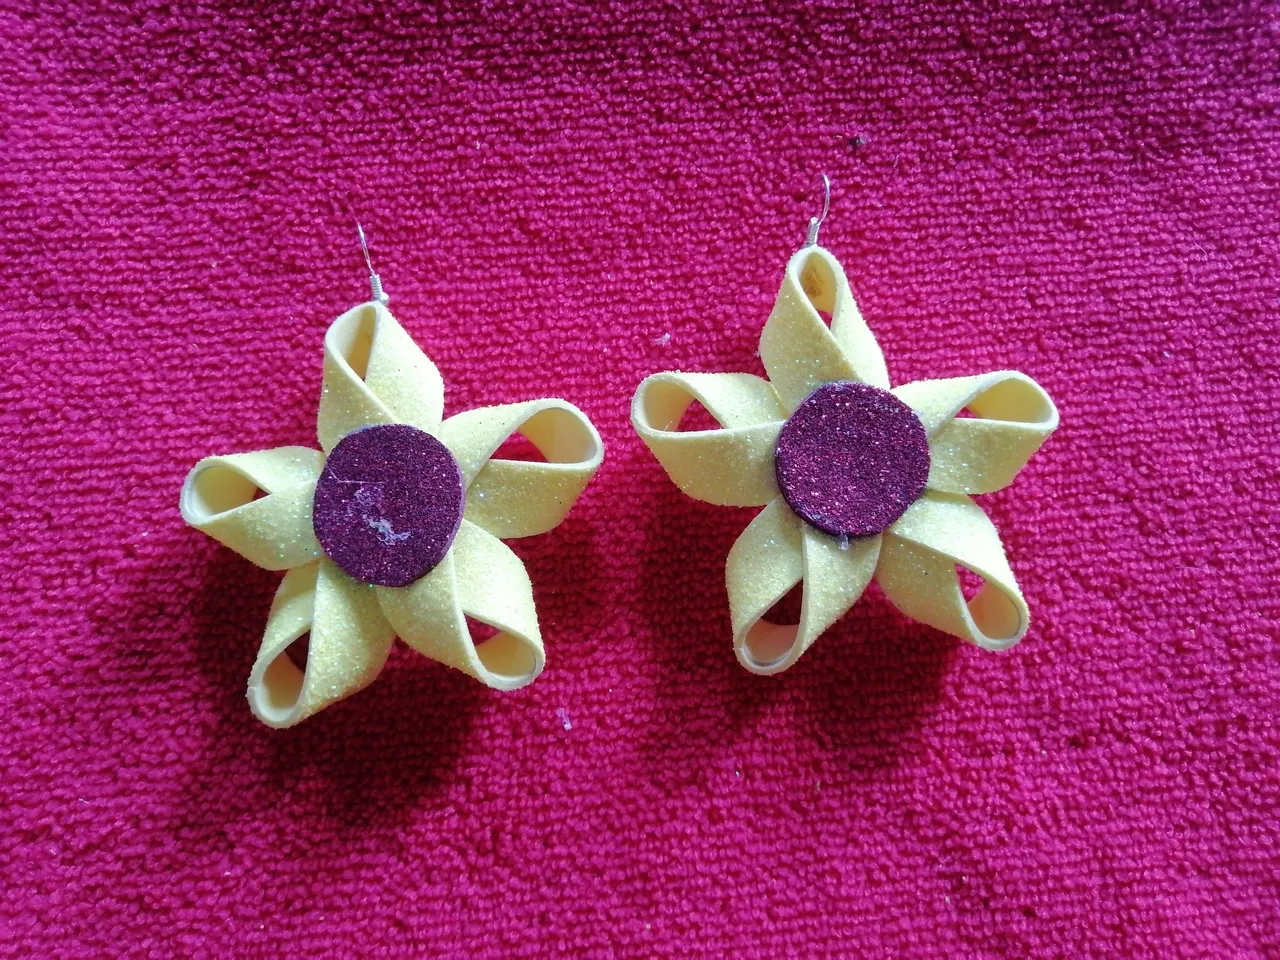
Y así es como quedan nuestros hermosos aretes de flor inspirado en los girasoles, nos sirve para lucir hermosas y muy expontaneas gracias a este lindo zarcillo 🌸 espero les haya gustado mi hermosa creación de hoy y la puedan realizar también, un arete sencillo y fácil de realizar con muy pocos materiales fáciles de conseguir. Gracias por quedarse hasta el final, cuento con todo su apoyo... ¡Que pasen muy linda tarde! Nos vemos en el próximo Post 🥰
Fotos tomadas por mí, desde mi teléfono Huawei Y9 Prime y textos traducidos por el traductor DeepL.
And so our beautiful flower earrings remain inspired by sunflowers, it helps us to look beautiful and very spontaneous thanks to this cute tendril 🌸 I hope you liked my beautiful creation today and you can do it too, a simple and easy earring to make with very little effort available materials. Thank you for staying until the end, I count on your full support... have a nice afternoon! See you in the next post
Photos taken by me, from my Huawei Y9 Prime phone and texts translated by DeepL translator.