
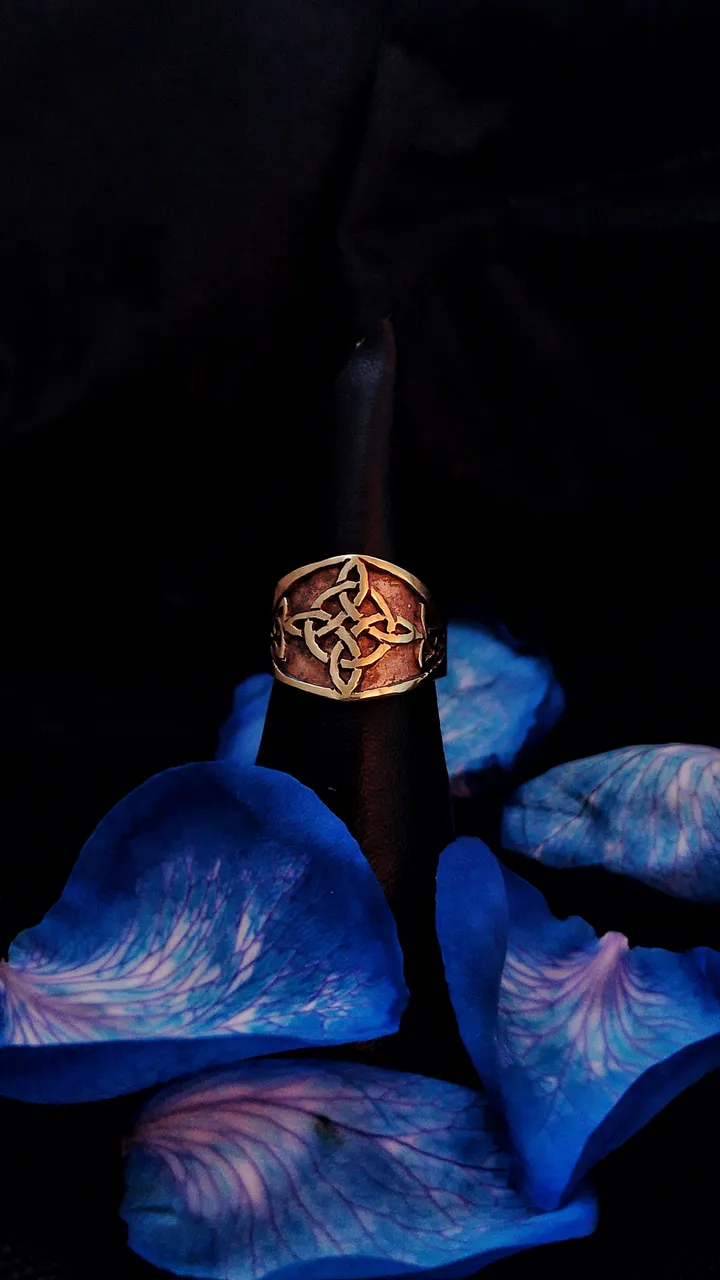
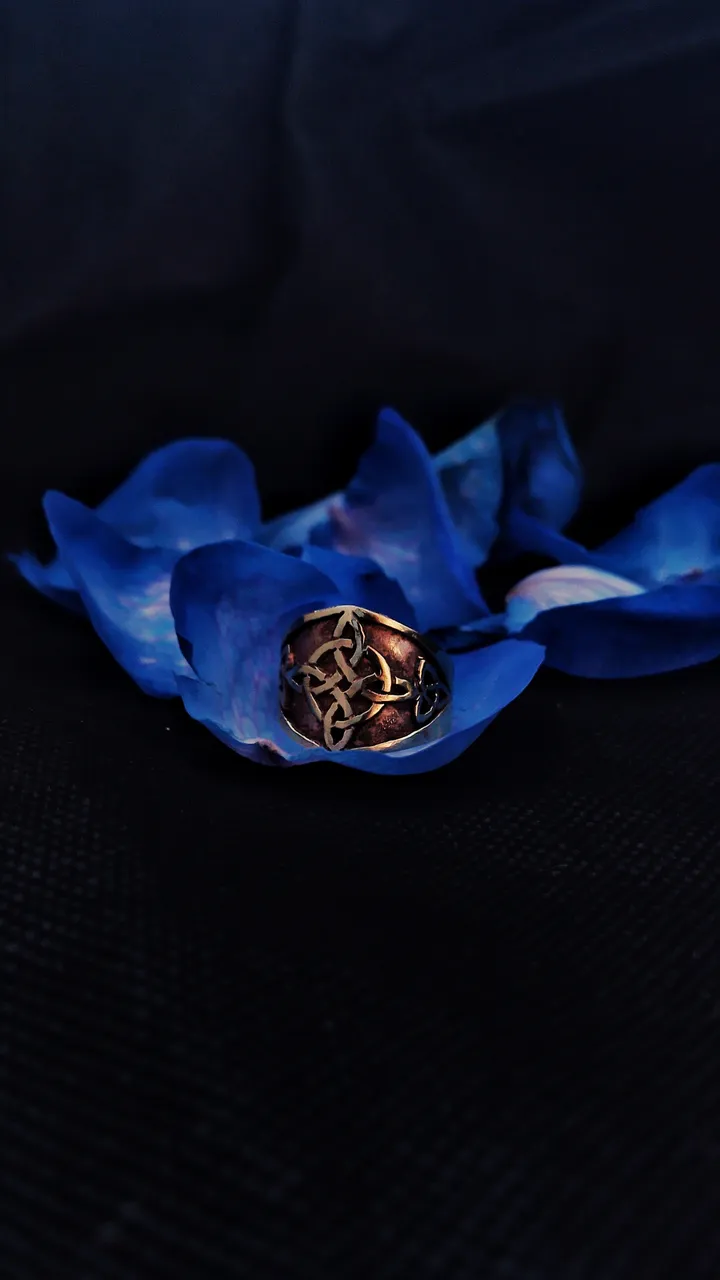
Me uno al reto del mes de las brujas y a la próxima celebración de Halloween 🎃 en la comunidad de @jewelry, presentaré mi proceso para este anillo de nudo de brujas, que combina en sus lados las triquetes, no es por nada, pero me quedo bien potente.
Primero les comento que el símbolo de nudo de brujas es uno de los que más popularidad ha agarrado últimamente y su finalidad es que el usuario reciba protección contra maleficios y energías negativas, se cuenta que tiene la capacidad de devolver cualquier conjuro o magia que busque dañar; la triqueta también tiene propiedades de protección, pero este símbolo se relaciona más con los ciclos de vida, muerte y renacimiento, aunque también habla de consciencia física, la mental y espiritual.
Este tipo de piezas de joyería suelen activarse con rituales para que sean efectivos para sus fines de protección y que conecten con la persona que lo usara, convirtiéndose en un talismán.
Este era una prueba para luego hacerla en plata, te voy a nombrar ahora los materiales y herramientas involucrados:
Lámina de bronce de 0.75 mm y otro pedazo de 0.35 mm
Soldadura Harris 5%
Bórax como fundente.
Limas
Soplete, piedra refractaria y ácido para decapar.
Segueta y sierras de segueta 2/0
Dremel con eje flexible, fresa 0.8 mm para abrir hueco
Limas y jijas número 220, 360 y 400
Fresas de piedra para limar.
Lastra de anillos
Motor de banco, disco de tela para pulir y cera de pulir.
PROCESO
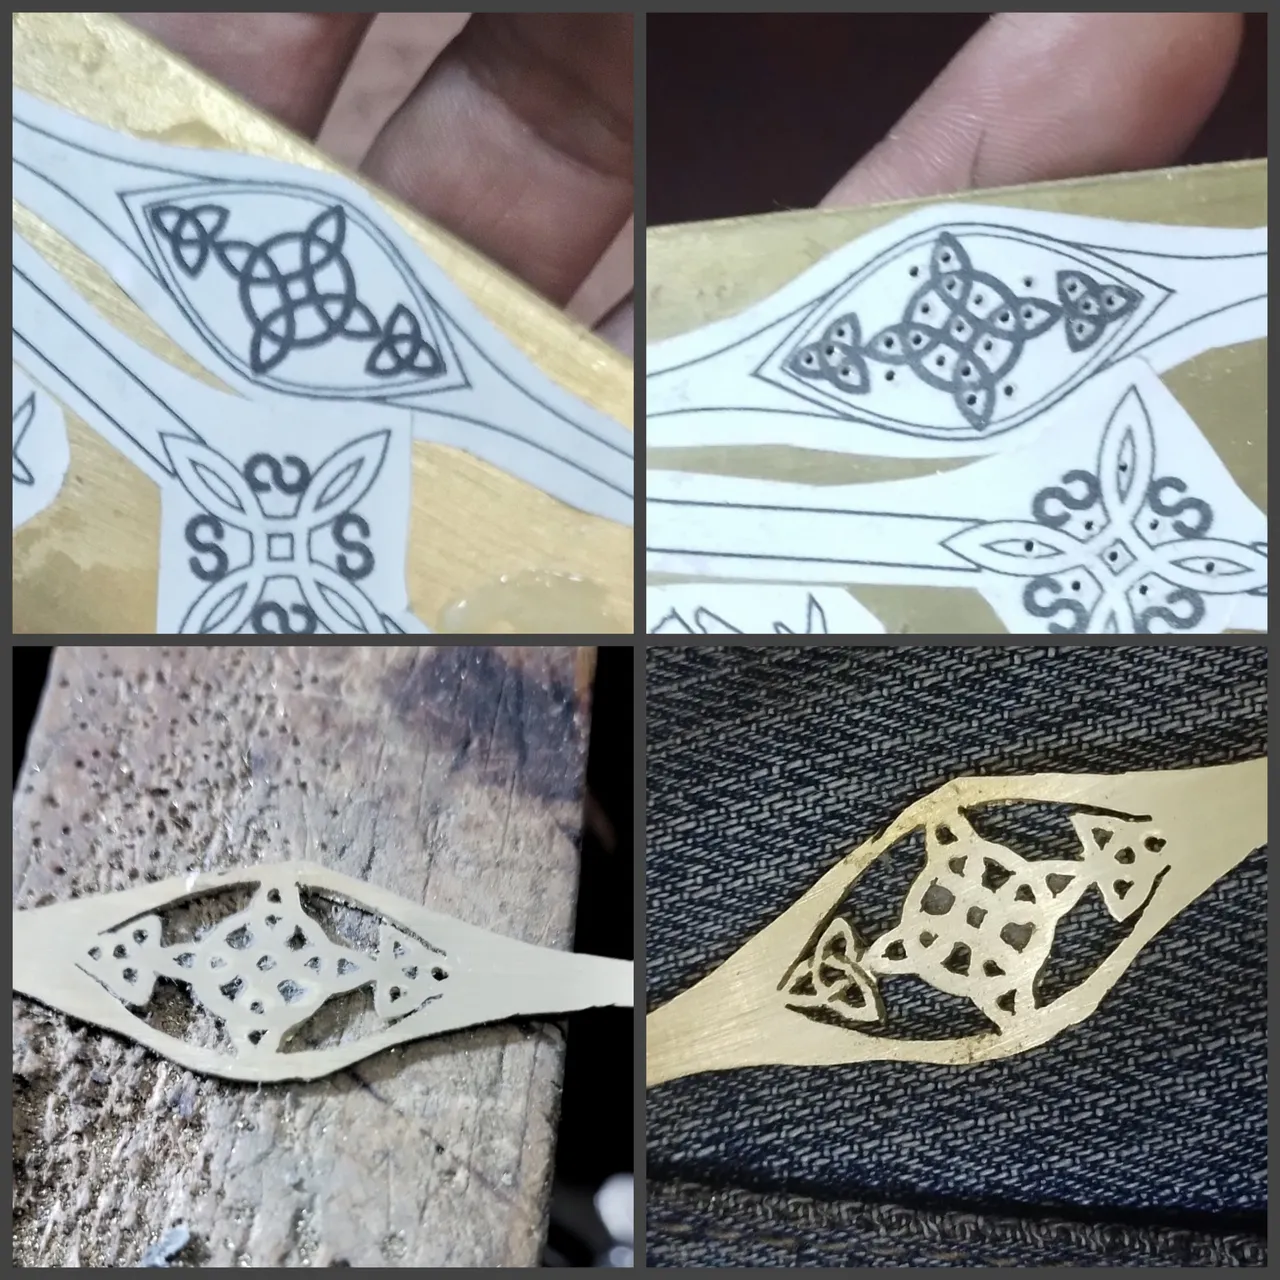
Para empezar pego el dibujo en la lámina de bronce usando barra adhesiva, para esto es bueno lijar un poco la superficie del metal; después de un par de minutos agarro el Dremel y le coloco la fresa de 0,8 mm para hacer los huecos internos a la figura del anillo; procedo por esos mismos agujeros a meter las hojas de segueta y hacer los cortes internos con mucho cuidado, las figuras internas son bastante pequeñas y como ven de buenas a primera no sale nada definido; después de los cortes internos se corta la silueta exterior.
Se extrae el papel con el diseño y con la segueta se empieza a definir las siluetas de los símbolos que contiene el anillo, este proceso puede ser tardado y tedioso, también hay que ir haciendo las líneas del nudo inclinando un poco la segueta.
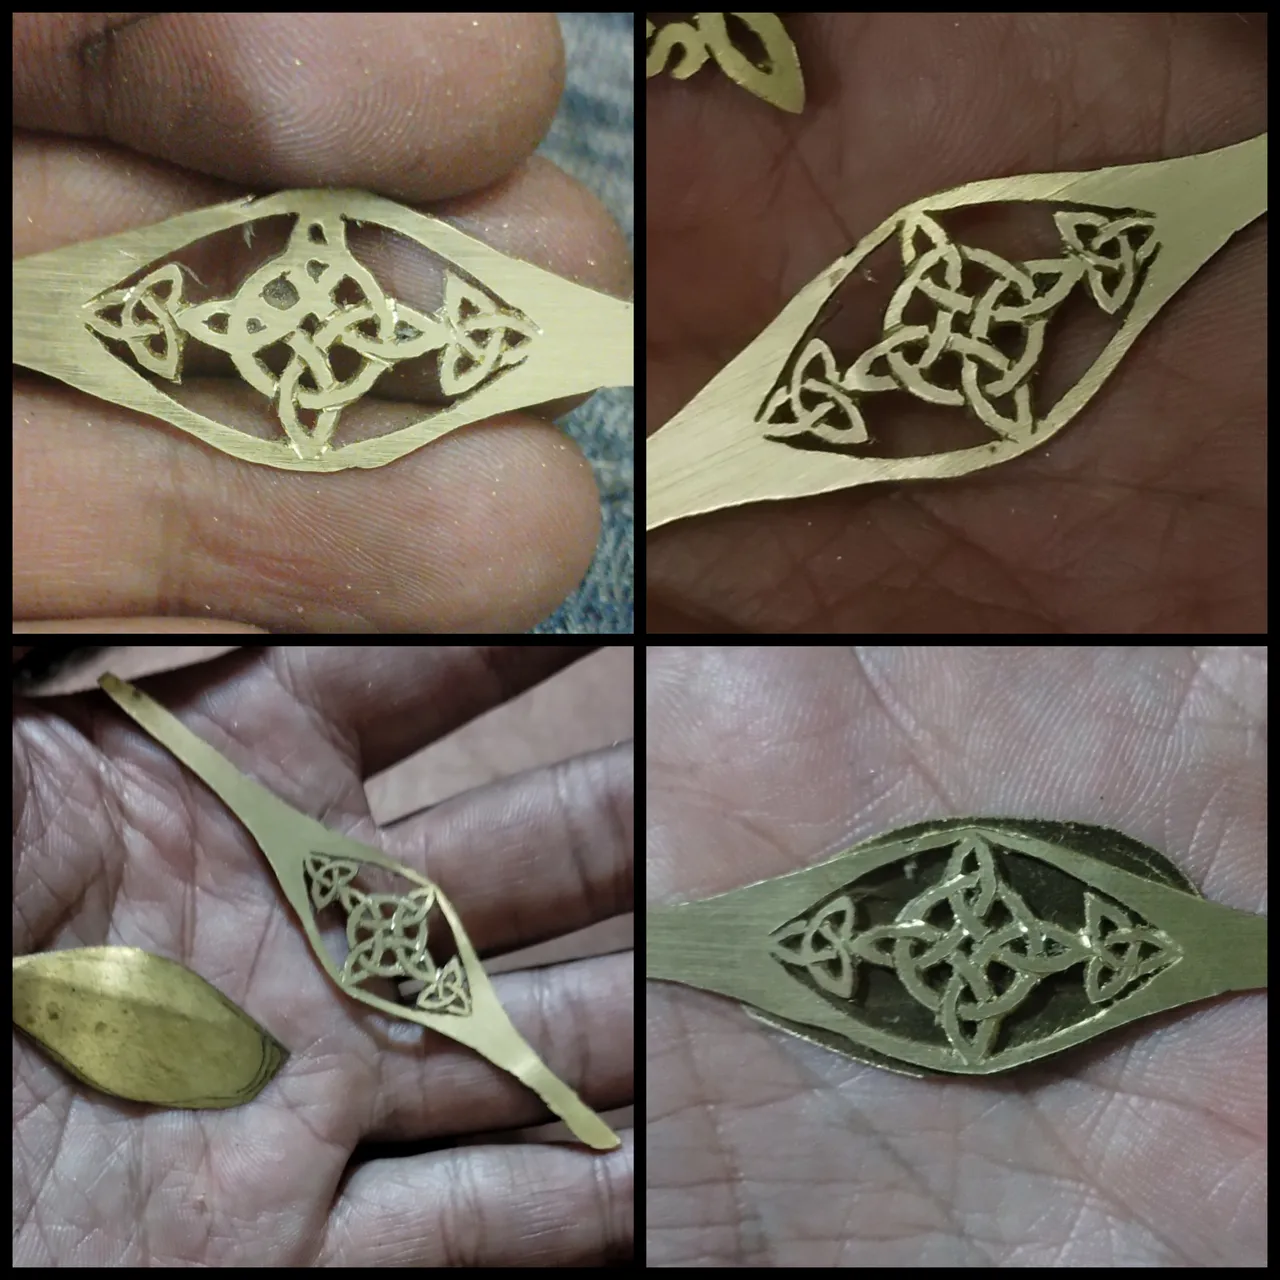
Poco a poco voy detallando las figuras internas y haciendo las líneas internas, hasta que queden completas y los nudos se vean como tal. Corto luego una lámina de 0.35 de forma oval para tapar por detrás la figuras.
Se me paso comentar que la silueta exterior la corregí con el uso de limas.
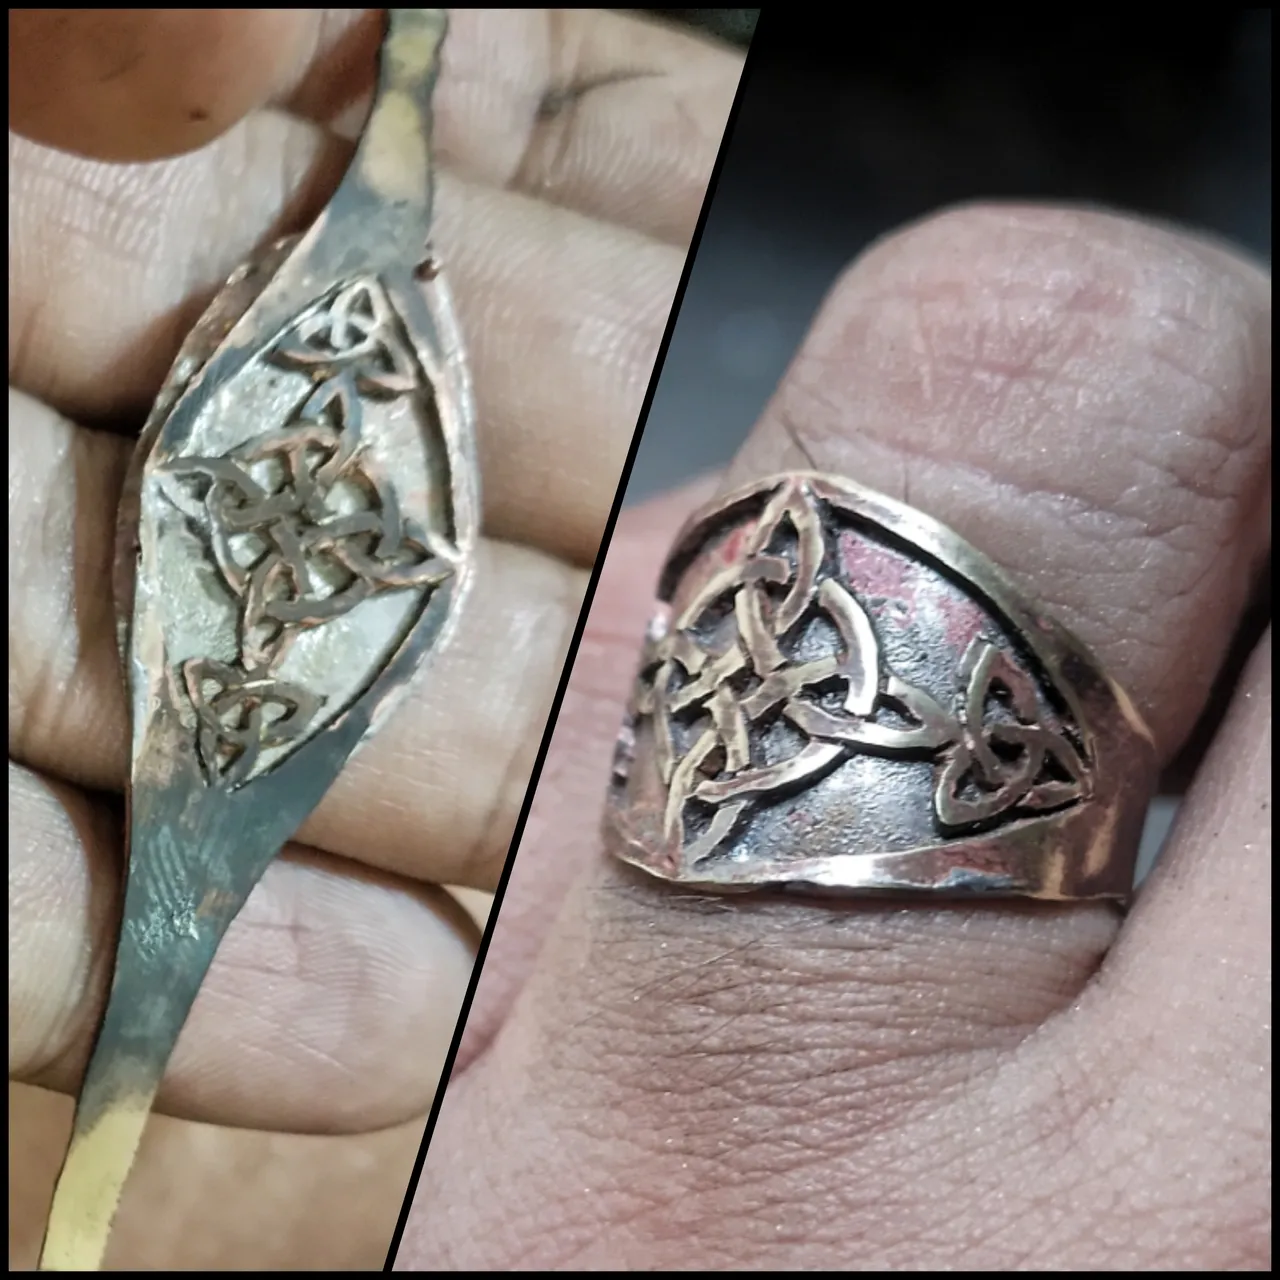
Ahora pasamos a la piedra refractaria, en ella puse la base oval con el uso del soplete y bórax, fui echándole la soldadura Harris para que corriera uniformemente sobre ella. Después monte el anillo cortado sobre esta base, previamente eche bórax para que corriera mejor la soldadura, soldé con el soplete, afortunadamente me corrió perfecto.
Recorte con la segueta los excesos y pase lima para corregir el anillo, y con la lastra fui dándole forma de aro poco a poco, después con las fresas de piedras lime los excesos que daba la base que le soldé al anillo.
Ahora toca soldar los extremos para hacer el aro del anillo, así que con la lastra ajusto la medida y corto con la segueta en el medio donde cruzan los extremos de las puntas en la parte de atrás del anillo.
Una vez cortado, soldó y termino de darle forma con la lastra, meto la pieza en un líquido ácido especial para quitar el chamuscado y restos de bórax, saco cuando esté listo, limo los excesos, lijo con lija 220, 360 y por último 400.
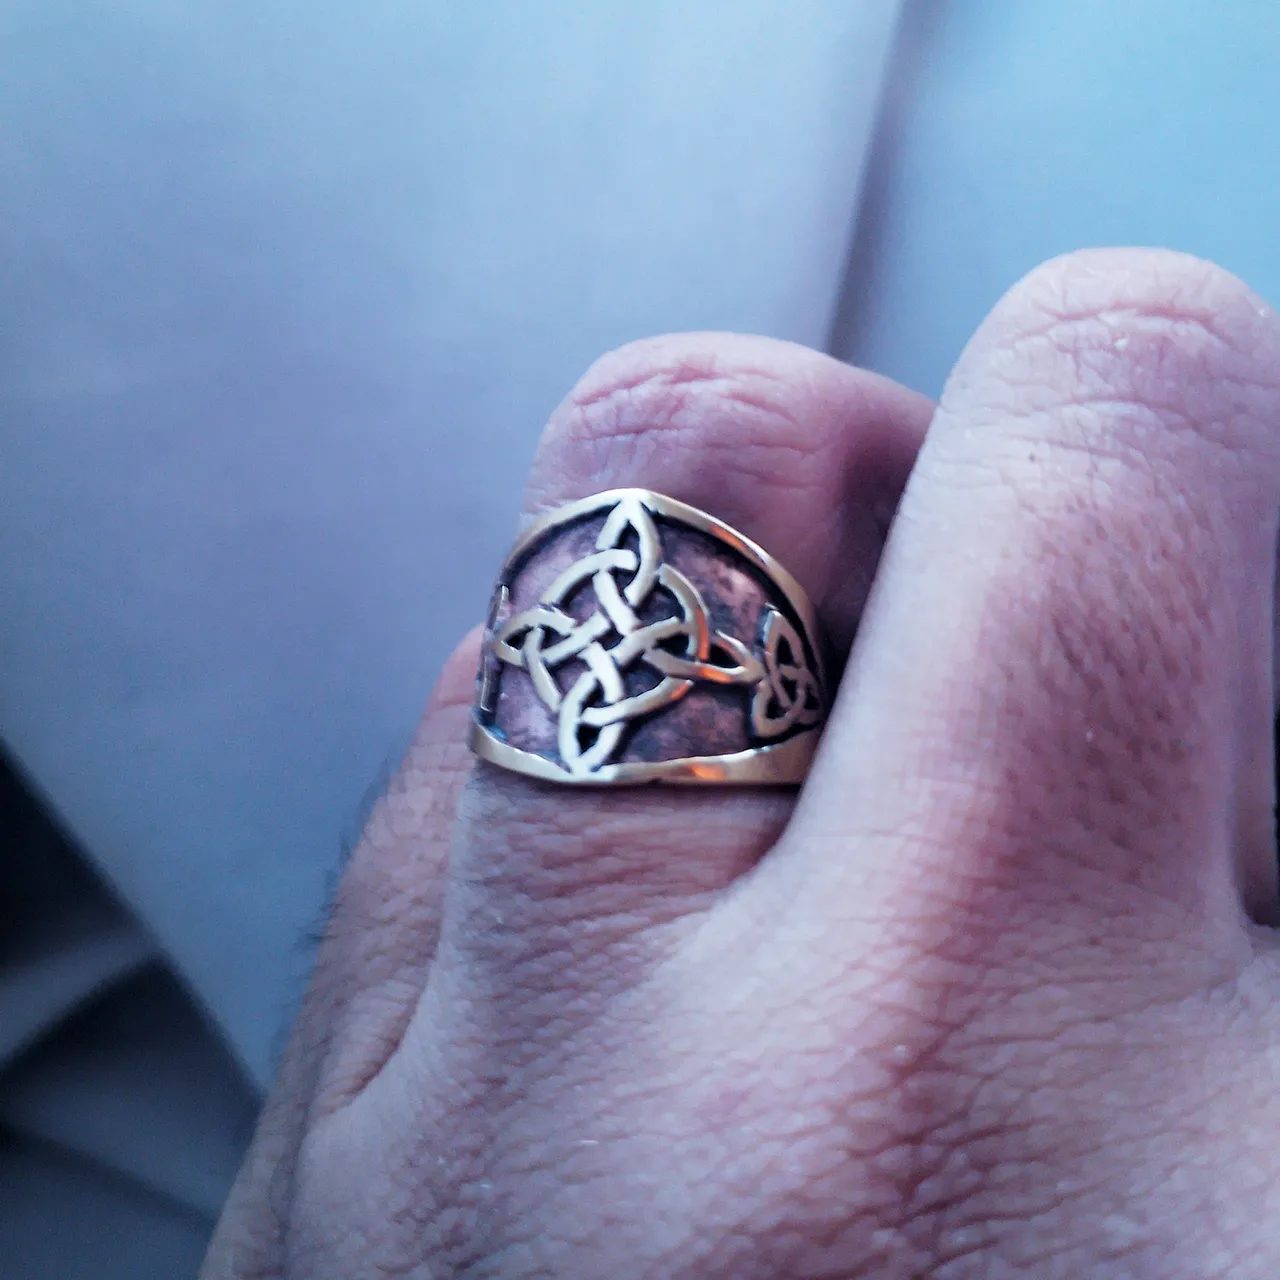
Una vez terminado paso por el motor de banco a pulir el anillo usando su disco de tela de algodón y una cera de pulir, esto para sacarle brillo y el resultado queda a la vista como se puede apreciar en las fotos.

Espero les haya gustado este proyecto de brujas y magia, invito a @vivianabell , @favourite2 y a @torre-alba
Aquí el post con los detalles si deseas participar:
@hive-189504/hallowen-accessories-initiative
Si gustas me puedes seguir en https://www.instagram.com/m16ueljoyas
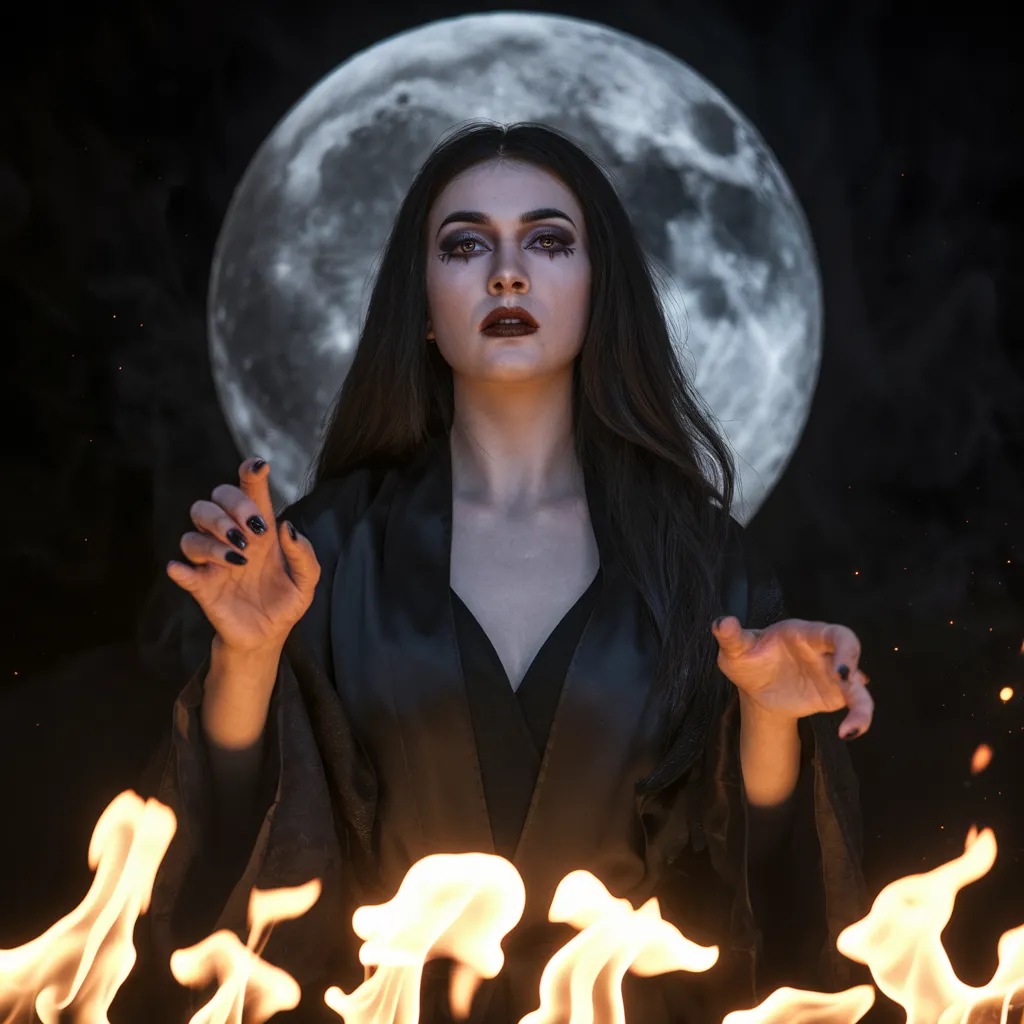
Nota: la imagen de portada fue hecha en Picsart y la bruja fue generada en [Ideogram con IA](https://ideogram.ai/g/KKquD1fYSPaBsQrvkBvK3g/3)
++++ ++++++ ++++++ ++++
ENGLISH / GOOGLE TRANSLATION
I'm joining the Witches Month challenge and the upcoming Halloween 🎃 celebration in the @jewelry community. I'll be presenting my process for this witches knot ring, which combines the triquettes on its sides. It's not for nothing, but it looks really powerful.
First, I'll tell you that the witches knot symbol is one of the most popular lately and its purpose is for the user to receive protection against curses and negative energies. It is said that it has the ability to return any spell or magic that seeks to harm; the triquetra also has protective properties, but this symbol is more related to the cycles of life, death and rebirth, although it also speaks of physical, mental and spiritual consciousness.
These types of jewelry pieces are usually activated with rituals so that they are effective for their protective purposes and that they connect with the person who will use it, becoming a talisman.
This was a test to then make it in silver, I will now name the materials and tools involved:
0.75 mm bronze sheet and another 0.35 mm piece
Harris solder 5%
Borax as flux.
Files
Blowtorch, refractory stone and acid for stripping.
Hacksaw and 2/0 hacksaws
Dremel with flexible shaft, 0.8 mm cutter to open hole
Files and drills number 220, 360 and 400
Stone cutters for filing.
Ring slab
Bench motor, cloth polishing disc and polishing wax.
PROCESS
To start I stick the drawing on the bronze sheet using adhesive stick, for this it is good to sand the surface of the metal a little; After a couple of minutes I take the Dremel and put the 0.8 mm cutter in to make the internal holes for the ring figure; I proceed through these same holes to insert the hacksaw blades and make the internal cuts very carefully, the internal figures are quite small and as you can see at first glance nothing is defined; after the internal cuts the external silhouette is cut.
The paper with the design is removed and with the hacksaw you begin to define the silhouettes of the symbols that the ring contains, this process can be slow and tedious, you also have to make the knot lines by tilting the hacksaw a little.
Little by little I'm detailing the internal figures and making the internal lines, until they are complete and the knots look like that. Then I cut a 0.35 oval sheet to cover the figures from behind.
I forgot to mention that I corrected the external silhouette with the use of files.
Now we move on to the refractory stone, on it I put the oval base using the blowtorch and borax, I was pouring the Harris solder so that it would run evenly on it. Then I mounted the cut ring on this base, previously I poured borax so that the solder would run better, I soldered with the blowtorch, fortunately it ran perfectly.
I trimmed the excess with the hacksaw and used a file to correct the ring, and with the slab I was giving it the shape of a ring little by little, then with the stone cutters I filed the excess that the base that I soldered to the ring gave.
Now it's time to weld the ends together to make the ring's ring, so with the weight I adjust the measurement and cut with the hacksaw in the middle where the ends of the tips cross on the back of the ring.
Once cut, welded and finished shaping with the slab, I put the piece in a special acid liquid to remove the scorched and borax residue, take it out when it is ready, file off the excess, sand with 220, 360 and finally 400 sandpaper.
Once finished, I go through the bench motor to polish the ring using its cotton cloth disc and a polishing wax, this to make it shine and the result is visible as can be seen in the photos.

I hope you liked this project of witches and magic, I invite @vivianabell, @favourite2 and @torre-alba
If you like, you can follow me at https://www.instagram.com/m16ueljoyas
*Note: the cover image was made in Picsart and the witch was generated in Ideogram with AI