
Hey amigos, aquí tengo un proyecto nuevo, que se trata de una pieza de cristal que me entrego una clienta, esta estaba rota en la parte superior y ella quería que le hiciera una base para que pueda ser un dije estilo péndulo y que le diera una nueva vida, que luciera único, poderoso y especial. Yo le recomendé que el metal para hacer la pieza sería cobre porque es un conductor de energía y eso le podría ayudar con su uso como péndulo.
Este trabajo fue complicado, pero sí tenía algunos problemas técnicos solucionables siempre de la primera vez, que en el transcurso de la explicación de como se hizo le iré comentando, ahora vamos con los materiales y herramientas usados en su elaboración:
- Cable de cobre de 1 mm, lamina cobre 0.3 mm.
- Pieza de Cristal tornasol.
- Pega instantánea o pegaloka.
- Soldadura Harris 5% plata, soplete
- Lijas 100, 220, 360 y 400
- Pinzas de joyería, plana y redonda.
- Dremel
- Mopa y Pasta de Pulir.
- Limas
PROCESO
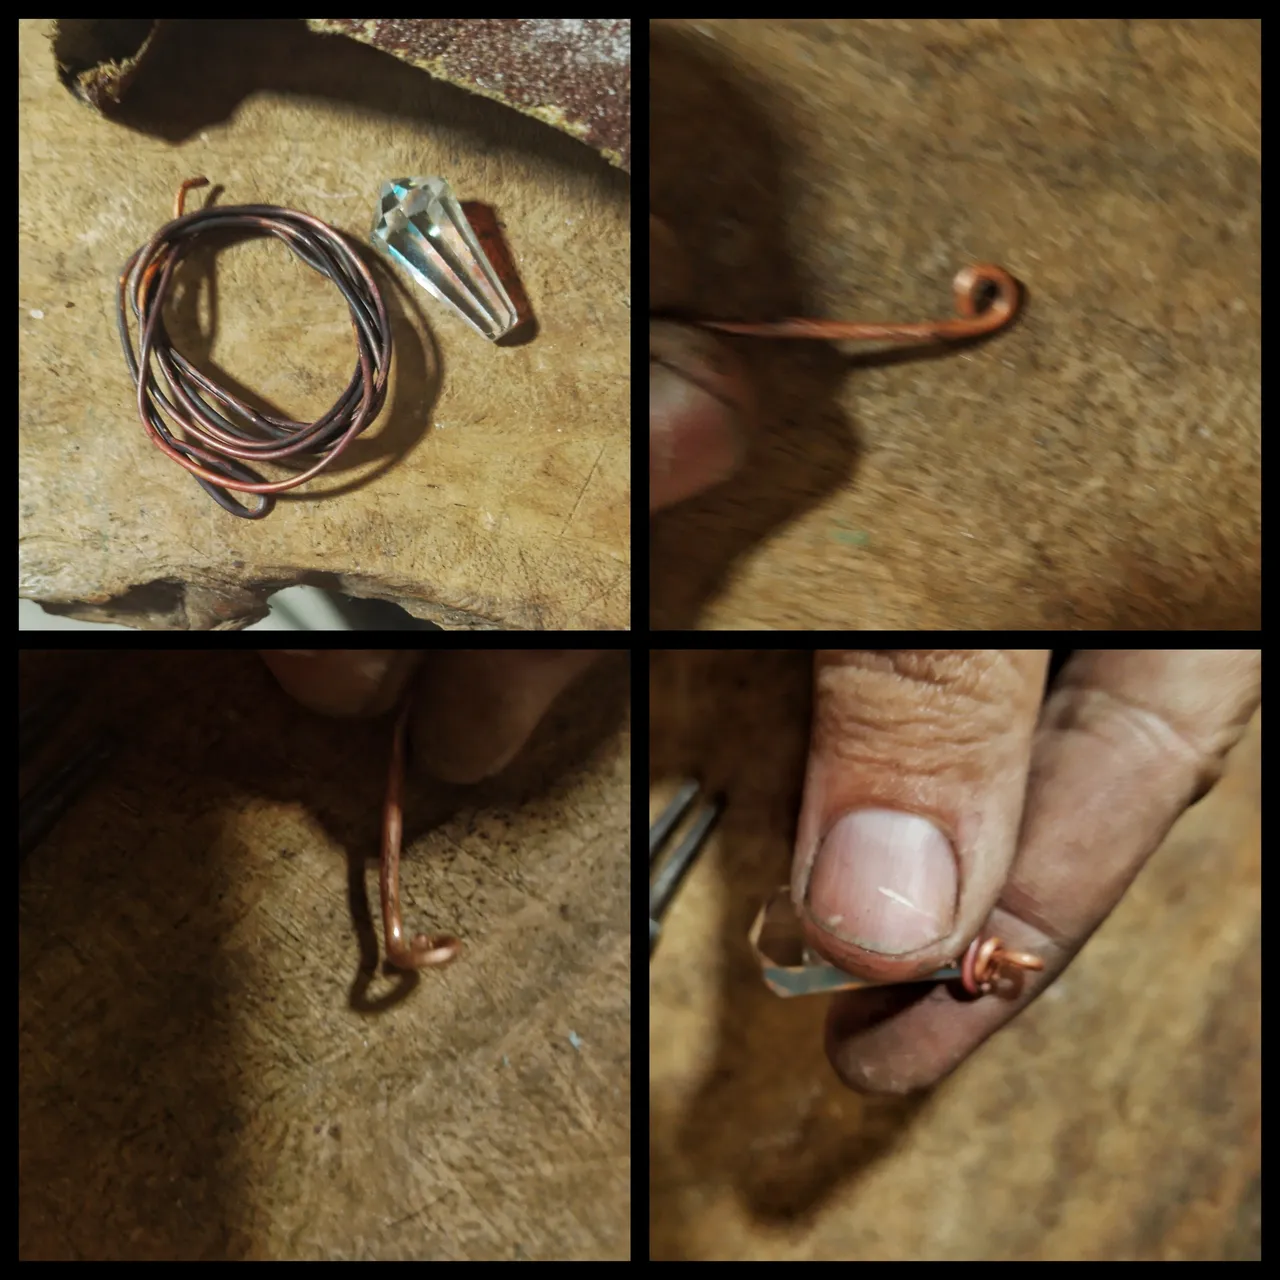
El cristal estaba roto en la punta superior y consideré lijar estas parte para dejarla pareja, un poco más plana, pensé así se me facilitaría el trabajo. El alambre de cobre lo pasé previamente pasado por fuego para que se ablandara y fuera más maleable, a partir de allí agarre la pinza redonda, e hice un pequeño doblez, este doblez lo levante con la pinza plana, para iniciar con la pieza de cristal a envolver y así construir el capuchón.
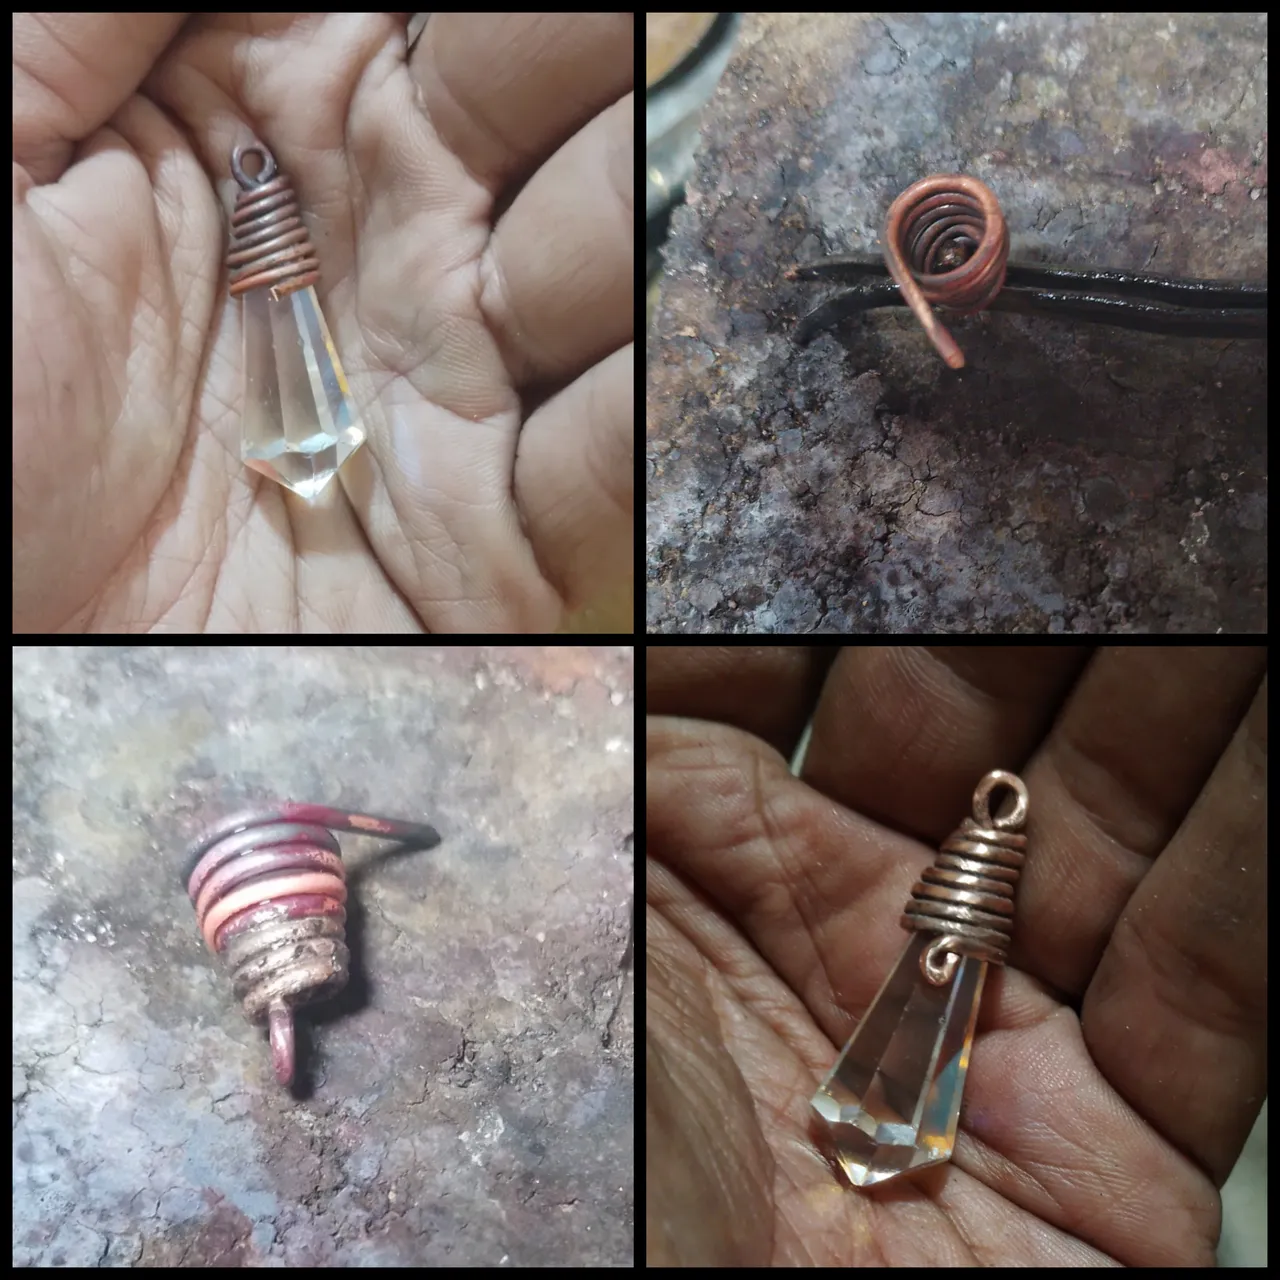
Nuevamente, pase por fuego el cobre para moldear mejor la pieza, en el área de soldar con el soplete y la soldadura trate de delicadamente que esta corriera por toda la espiral de la envoltura, manteniendo la parte de abajo libre que esta me servirá para hacer un adorno estético con un pequeño doblez.
Con la lima me ayuda a retirar el exceso de soldadura, que pienso fui un poco salvaje en su aplicación, después pase las lijas 220, 360 y 400.

Prepare una contra argolla con un pedazo de lámina delgada y ajustándola con la lima, esta pieza la soldé en la estructura del capuchón, lije nuevamente parte de las áreas y pase a aplicar la pega instantánea y colocar el cristal, afortunadamente calzo y pego excelentemente, espere un par de horas, creo más por miedo que por otra cosa y pase a pulir con el uso del Dremel y pasta de pulir, pase un paño para quitar el exceso de soldadura y lo deje así que se viera un poco rústico.
Para mi quedo maravilloso, a la clienta le gusto también, de los trabajos de relativa simpleza que he hecho últimamente, este es uno de los que más me ha gustado en el proceso y acabado, no sé qué opinen usted, si tiene algo que decir puede dejarlo en los comentarios, además pronto publicaré más proyectos interesantes.
Si le gusto el trabajo y le interesa lo que hago a nivel de joyería puedes visitarme en:
https://www.instagram.com/m16ueljoyas
+++++++++ ++ +++ ++
ENGLISH / GOOGLE TRANSLATOR
Hey friends, here I have a new project, which is about a piece of glass that a client gave me, it was broken at the top and she wanted me to make a base for it so that it could be a pendulum-style pendant and give it a new life, so that it would look unique, powerful and special. I recommended that the metal to make the piece would be copper because it is an energy conductor and that could help with its use as a pendulum.
This job was complicated, but it did have some technical problems that could always be solved the first time, which I will discuss during the explanation of how it was done. Now we will look at the materials and tools used in its preparation:
- 1 mm copper wire, 0.3 mm copper sheet.
- Piece of iridescent glass.
- Instant glue or glueloka.
- Harris 5% silver solder, blowtorch
- 100, 220, 360 and 400 grit sandpaper
- Jewelry pliers, flat and round.
- Dremel
- Mop and polishing paste.
- Files
PROCESS
The glass was broken at the top and I considered sanding these parts to make it even, a little flatter, I thought this would make my work easier. I previously passed the copper wire through fire so that it would soften and be more malleable, from there I grabbed the round pliers, and made a small fold, this fold I lifted with the flat pliers, to start with the piece of glass to wrap and thus build the cap.
Again, I put the copper through the fire to better shape the piece. In the area of soldering with the blowtorch and the solder, I delicately tried to make it run along the entire spiral of the wrap, keeping the bottom part free, which will serve to make an aesthetic decoration with a small fold.
With the file I helped remove the excess solder, which I think I was a little wild in its application, then I passed the 220, 360 and 400 sandpaper.
I prepared a counter ring with a piece of thin sheet metal and adjusting it with the file, I welded this piece to the structure of the cap, I sanded part of the areas again and went on to apply the instant glue and place the glass, fortunately it fit and stuck excellently, I waited a couple of hours, I think more out of fear than anything else and went on to polish it with the use of the Dremel and polishing paste, I passed a cloth to remove the excess solder and left it so that it looked a little rustic.
For me it turned out wonderful, the client liked it too, of the relatively simple works that I have done lately, this is one of the ones that I liked the most in the process and finish, I don't know what you think, if you have something to say you can leave it in the comments, and I will soon publish more interesting projects.
If you liked the work and are interested in what I do at the jewelry level, you can visit me at: