¡Bienvenidos a mi blog!
Felíz Jueves por la noche a todos los amantes del arte de hecho a mano, accesorios y bisutería, en especial a la comunidad de #jewelry, deseo que todos estén bien, que el calor no lo esté agobiando y que tengan un descanso reparador y activador, para seguir en la lucha del día a día.Muchas bendiciones.
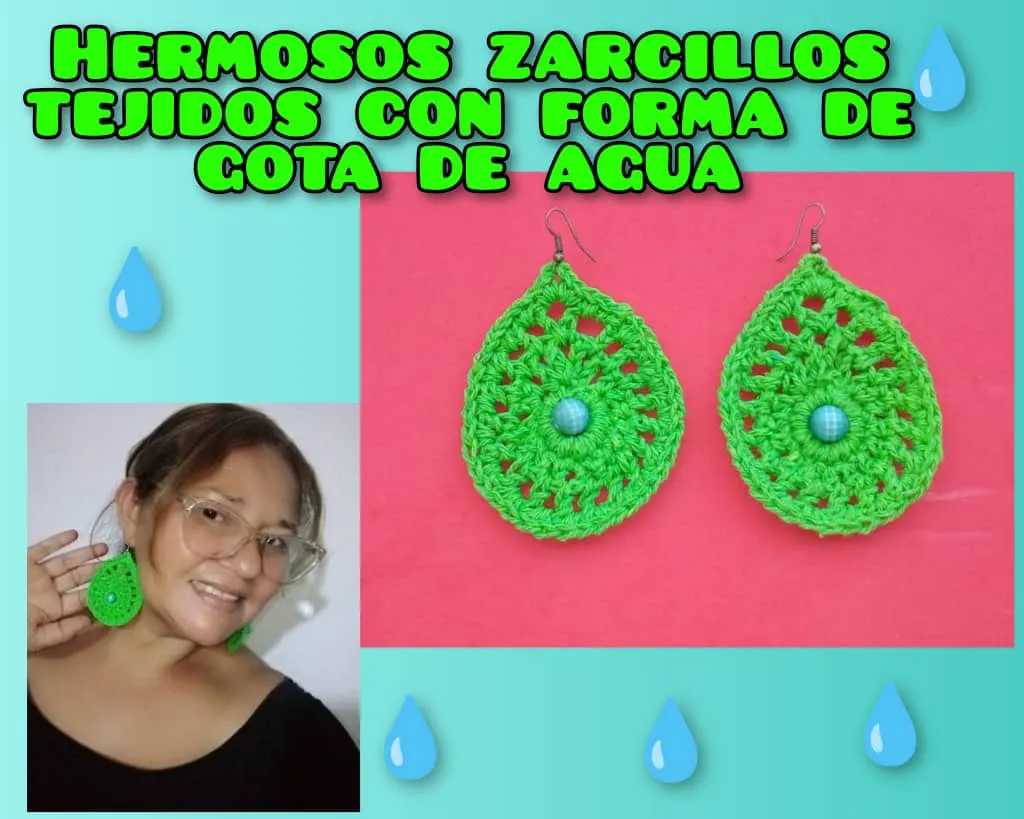
El día de hoy les traigo un proyecto y quiero mostrar a través de un tutorial , como hacer unos hermosos zarcillos tejidos a crochet,en formas de gotas de agua, fácil de hacer y en pocos minutos, no es preciso ser tejedora profesional, con solo saber los puntos básicos , pueden realizar este lindo proyecto, espero que les guste y sea de su agrado.
💧💧Hermosos zarcillos tejidos a crochet en forma de gotas de agua 💧💧💧
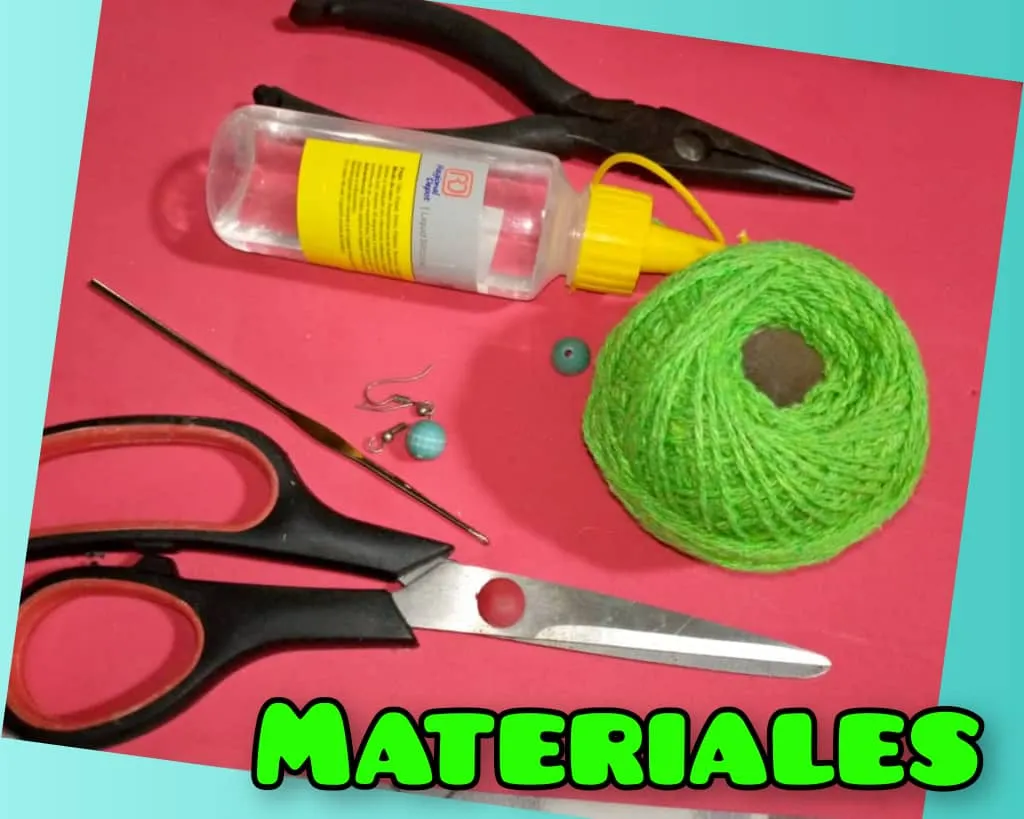
💧💧Materiales para la realización de los hermosos zarcillos tejidos a crochet en forma de gotas de agua 💧💧:
- Hilo para tejer , color verde.
- 2 perlas , color verde agua.
- Silicona líquida.
- Tijera.
- Aguja o ganchillo para tejer.
- Anzuelos de zarcillos.
- Tenaza.
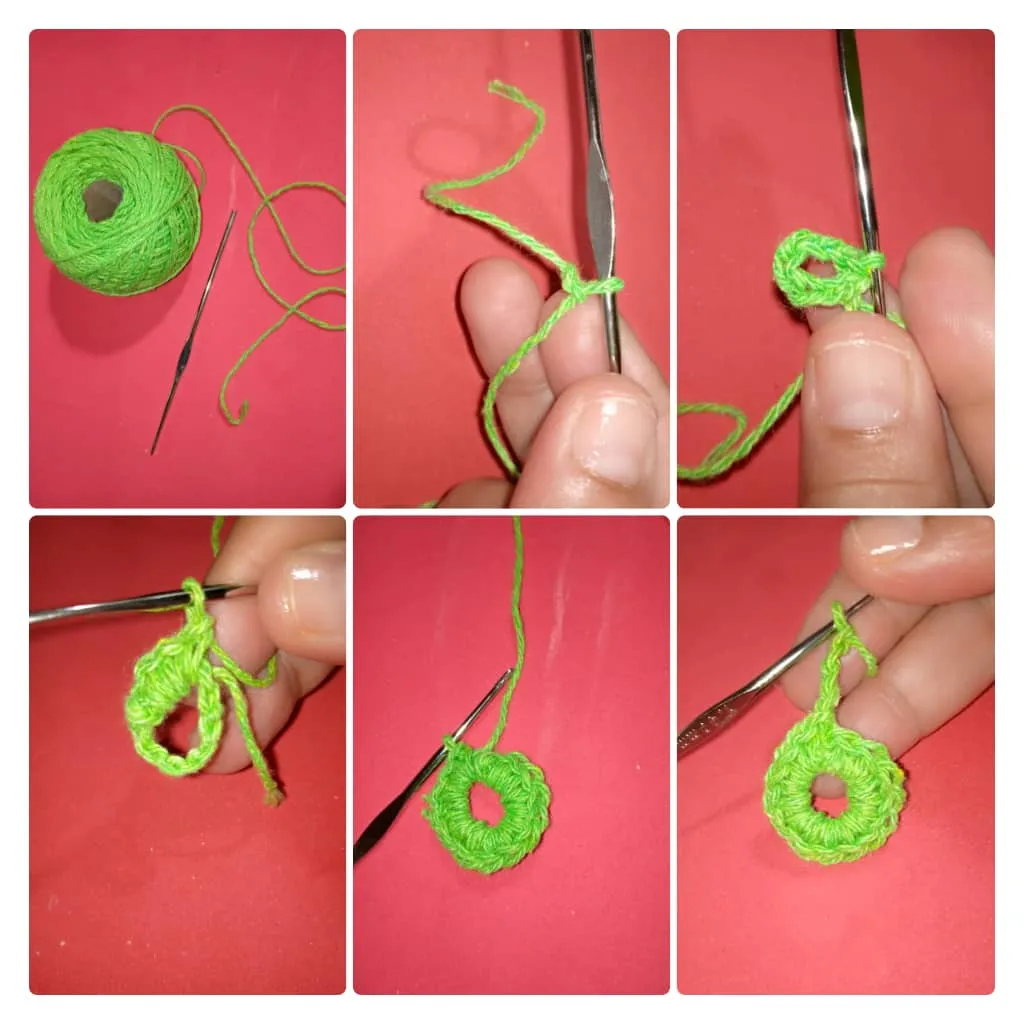
💧💧Paso a paso para la realización de los zarcillos tejidos en forma de gotas de agua 💧💧:
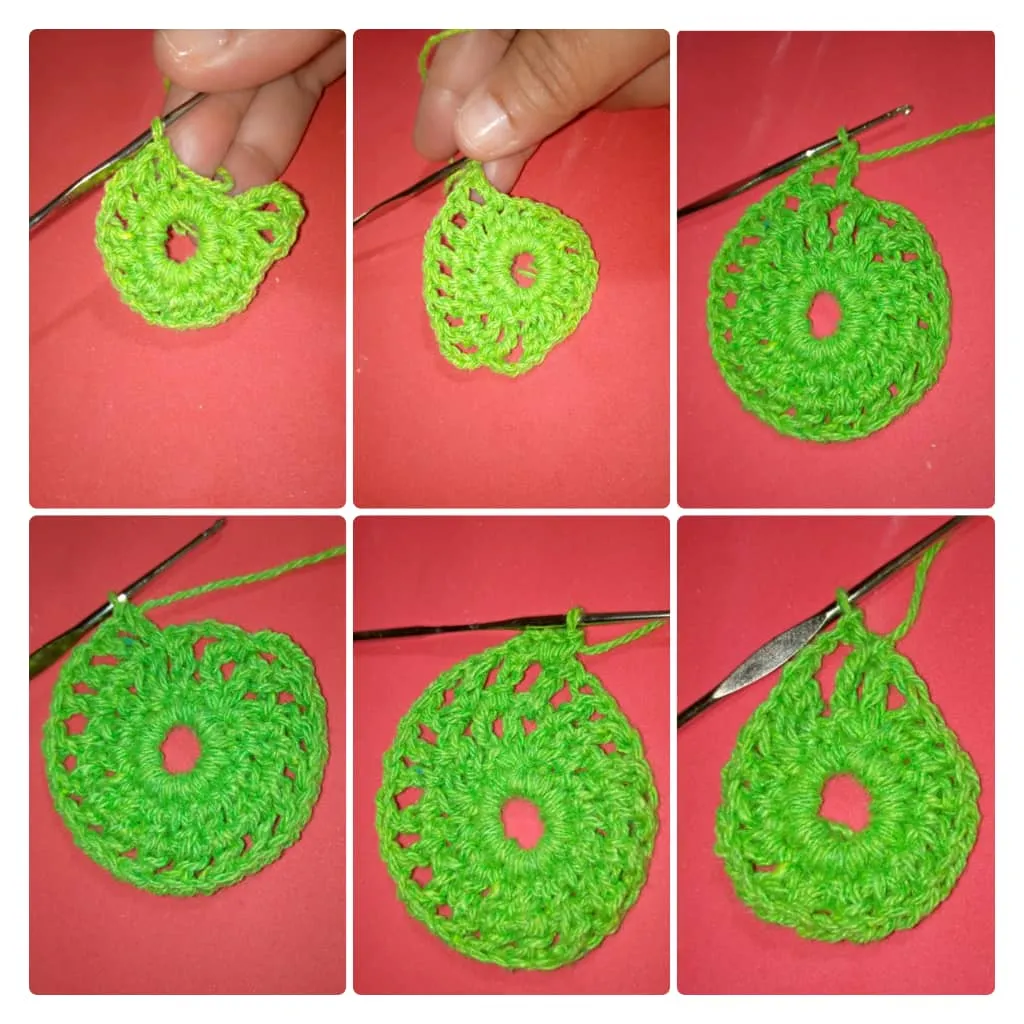
- Lo primero que se hace es, tomar el hilo conjuntamente con la aguja, luego comenzamos haciendo un nudo para hacer una cadeneta de 11 puntos, ahora tomamos el primer punto de la cadena y allí hacemos un punto deslizado, tenemos un aro, dentro de ese aro debemos hacer 14 puntos bajos. esto representa la primera vuelta del tejido.
- Para comenzar a realizar la tercera vuelta,levantamos 4 cadenetas , tomamos una lazada y en el mismo punto hacemos un punto alto.Luego hago una cadeneta , enlazamos y en el punto siguiente hacer un medio punto alto. Enlazamos dejamos dos puntos , luego hacer medios puntos altos en cada punto, separados por una cadena , así vamos a realizar esta vuelta hasta dejar 2 puntos. cuando llegamos a los dos puntos que debemos dejar ,hacemos una cadena , enlazamos y metemos en ese punto siguientes 2 medios puntos altos.
- Separamos con una cadena y en el segundo punto hacemos un punto medio alto y en ese mismo punto, un punto alto doble.
Ahora hago tres cadenetas , tomó una lazada y agarró la tercera cadena y termino esta vuelta con punto deslizado. - Tenemos la tercera vuelta lista.
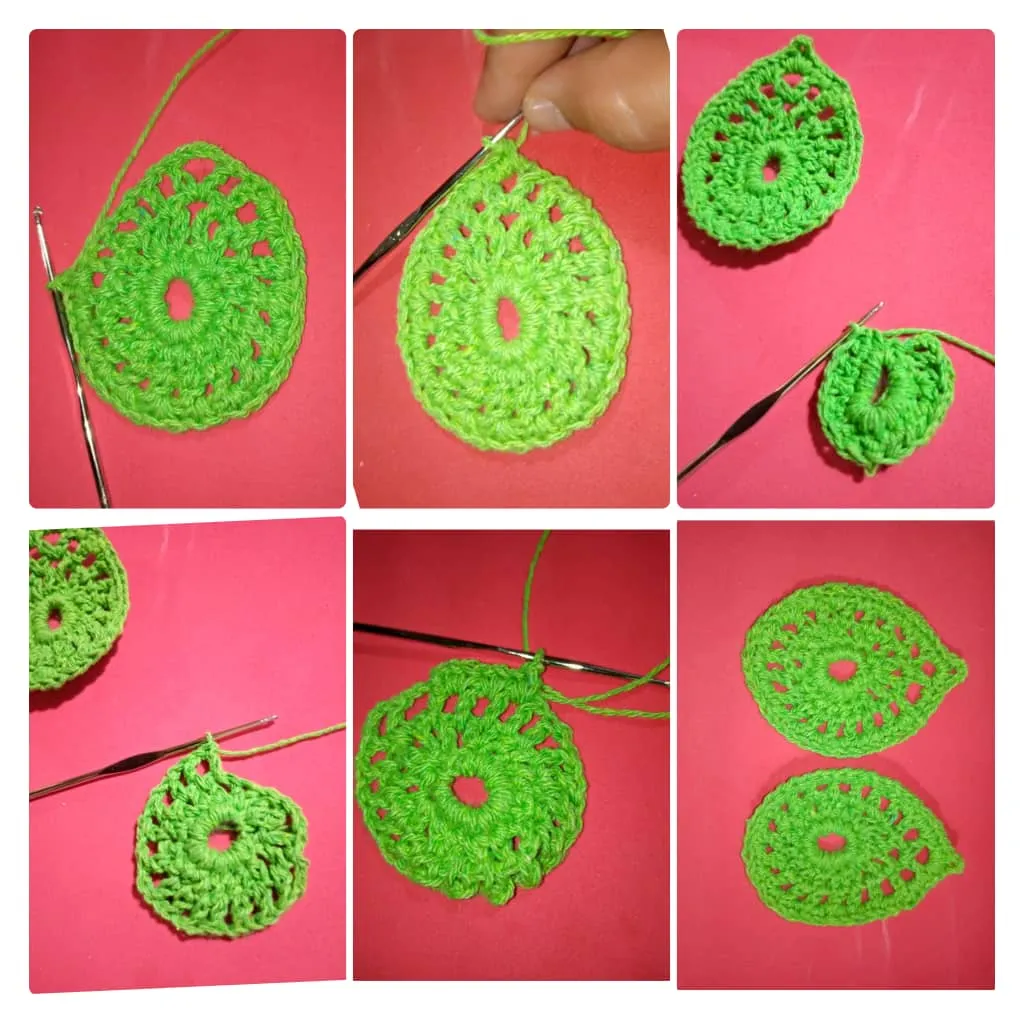
Para la cuarta vuelta, levantamos 4 cadenetas , enlazamos y en el siguiente punto hacer un punto alto.Luego hacemos una cadena , enlazamos y en el siguiente espacio hacemos puntos altos.Hacemos esto mismo hasta completar la vuelta o hasta llegar a donde están los puntos altos doble.
Cuando lleguemos a ese lugar , levantamos una cadena , en ese punto hacemos un punto alto, luego hacemos tres cadenetas y en es mismo punto hacemos un punto alto.
Ahora levantamos una cadena y en el tercer punto de la cadena que sigue , metemos la aguja y cerramos con un punto deslizado.Terminamos la cuarta vuelta.
Para la quinta vuelta, levantamos una cadena y en ese mismo punto hacemos un punto bajo,ahora vamos a realizar 2 puntos bajos en cada unos de los espacios, hasta llegar al centro o la parte de arriba de la gota de agua,cuando lleguemos hasta allí, metemos dos puntos bajos , tres cadenetas y en el mismo `punto hacemos dos puntos bajos, se hacen dos puntos bajos más para terminar la vuelta y terminar con punto deslizado tomando el punto siguiente.
- Ahora faltaría colocar los anzuelos a los zarcillos con ayuda de la pinza y pegar con silicona líquida las perlas azules.
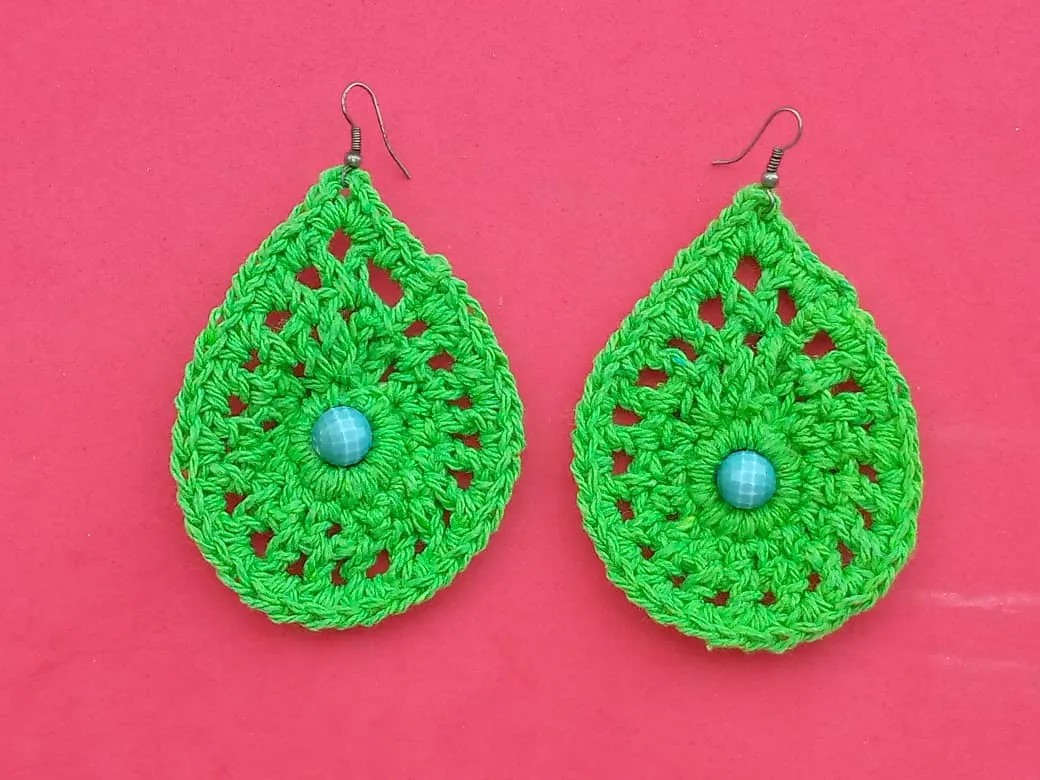
- Aquí podemos ver los hermosos zarcillos.
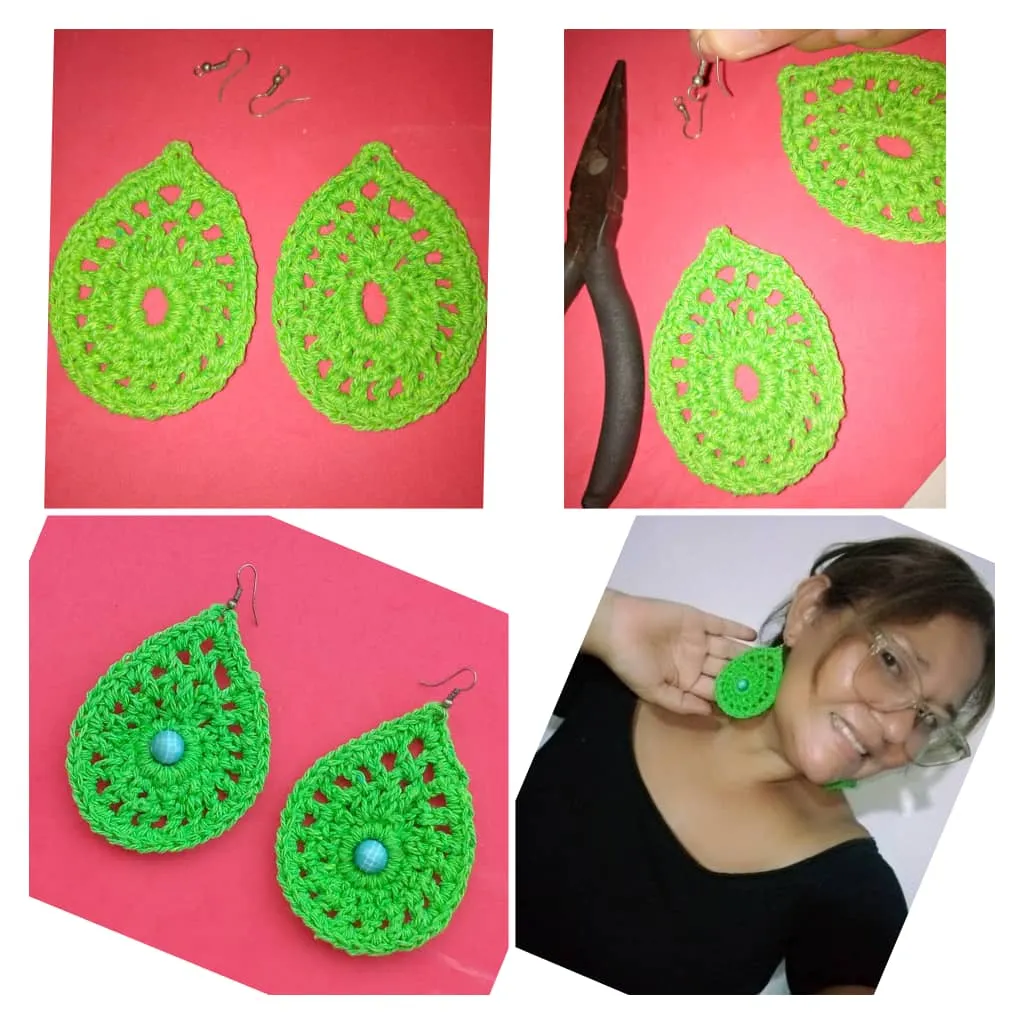
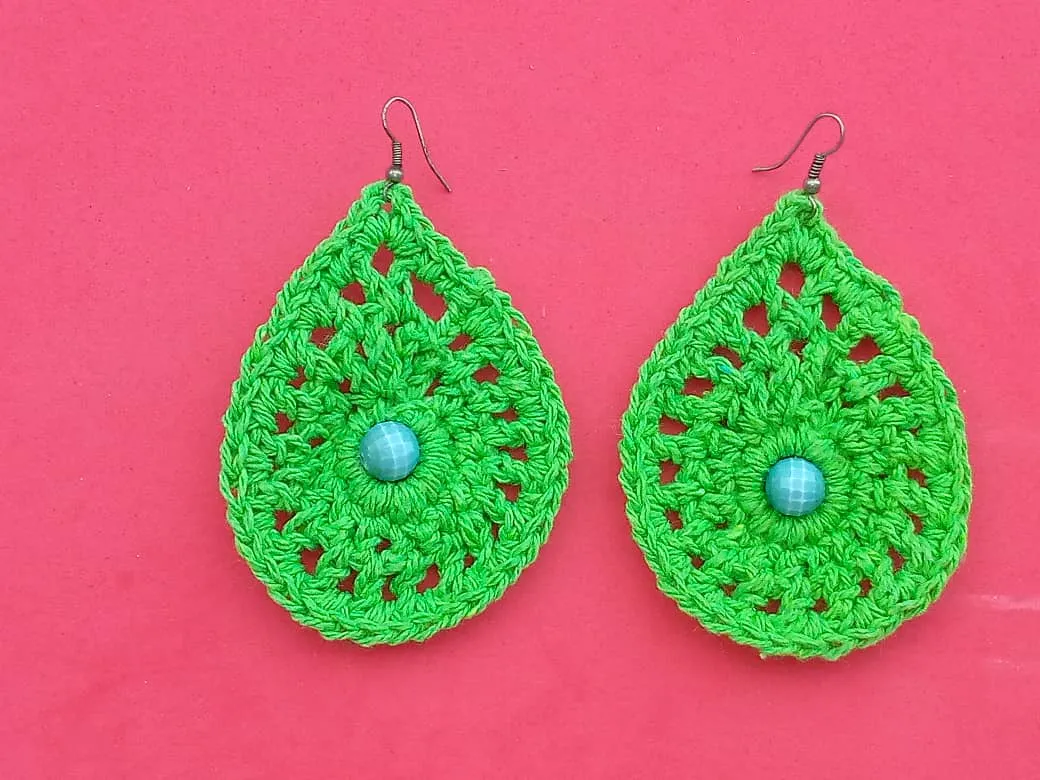
Resultado final de los zarcillos tejidos a crochet en forma de gotas de agua.
Luciendo los bellos aretes.

Espero que sea de su agrado, gracias por leer mi post, muchas bendiciones, hasta la próxima.
Las fotos son mías tomadas con telefono Infinix, editadas con incollage y traducidas con DEEPL.

Versión Inglesa
Welcome to my blog!
Happy Thursday night to all lovers of handmade art, accessories and costume jewelry, especially to the #jewelry community, I wish you all well, that the heat is not weighing you down and that you have a restful and activating rest, to continue in the day to day struggle.Many blessings.
Today I bring you a project and I want to show through a tutorial, how to make beautiful crocheted tendrils, in the form of water drops, easy to do and in a few minutes, you do not have to be a professional knitter, just knowing the basic stitches, you can make this beautiful project, I hope you like it and will be to your liking.
💧💧Beautiful crochet knitted tendrils in the form of water drops 💧💧💧💧💧
💧💧Materials for the realization of the beautiful crocheted tendrils in the shape of water drops 💧💧💧:
- Knitting yarn , green color.
- 2 beads , water green color.
- Liquid silicone.
- Scissors.
- Knitting needle or crochet hook.
- Hooks of tendrils.
- Pliers.
💧💧Step by step for the realization of the woven tendrils in the form of water drops 💧💧💧:
- The first thing to do is, take the yarn together with the needle, then we start by making a knot to make a chain of 11 stitches, now we take the first stitch of the chain and there we make a slipped stitch, we have a hoop, inside that hoop we must make 14 low stitches. this represents the first round of the knitting.
- To begin to make the third round,we lift 4 chain stitches , we take a loop and in the same stitch we make a high stitch.Then I make a chain stitch , we link and in the next stitch make a half high stitch. Then we make a chain, we link and in the next stitch we make a half double crochet, then we make a chain, we link and in the next stitch we make a half double crochet, then we make a chain and in the next stitch we make a half double crochet.
- We separate with a chain and in the second stitch we make a half double crochet and in that same stitch, a double crochet.
Now I make three chain stitches , took a loop and grabbed the third chain and finish this round with slip stitch. - We have the third loop ready.
For the fourth loop, we pick up 4 chain stitches , we link and in the next stitch make a high stitch.Then we make a chain , we link and in the next space we make high stitches.We do this same until we complete the loop or until we get to where the double high stitches are.
When we get to that place, we pick up a chain, in that stitch we make a double crochet, then we make three chain stitches and in that same stitch we make a double crochet.
Now we pick up a chain and in the third stitch of the next chain, we put the needle in and close with a slip stitch, we finish the fourth row.
For the fifth row, we lift a chain and in that same stitch we make a single crochet, now we will make 2 single crochets in each of the spaces, until we reach the center or the top of the water drop, when we get there, we put two single crochets, three chains and in the same stitch we make two single crochets, we make two more single crochets to finish the row and finish with a slip stitch taking the next stitch.
- Now it would remain to place the hooks to the tendrils with the help of the pliers and glue with liquid silicone the blue pearls.
- Here we can see the beautiful tendrils.
Final result of the crocheted tendrils in the shape of water drops.
Wearing the beautiful earrings.
I hope you like it, thanks for reading my post, many blessings, until next time.
The photos are mine taken with Infinix phone, edited with incollage and translated with DEEPL.