Greetings friends who love jewelry and costume jewelry. On this occasion I join you in the community spring contest. The contest is flower oriented, so I wanted to share with the community a lotus flower made with flexible dough.
If you want to know more about the contest you can follow this link:
@hive-189504/esp-ing-spring-contest
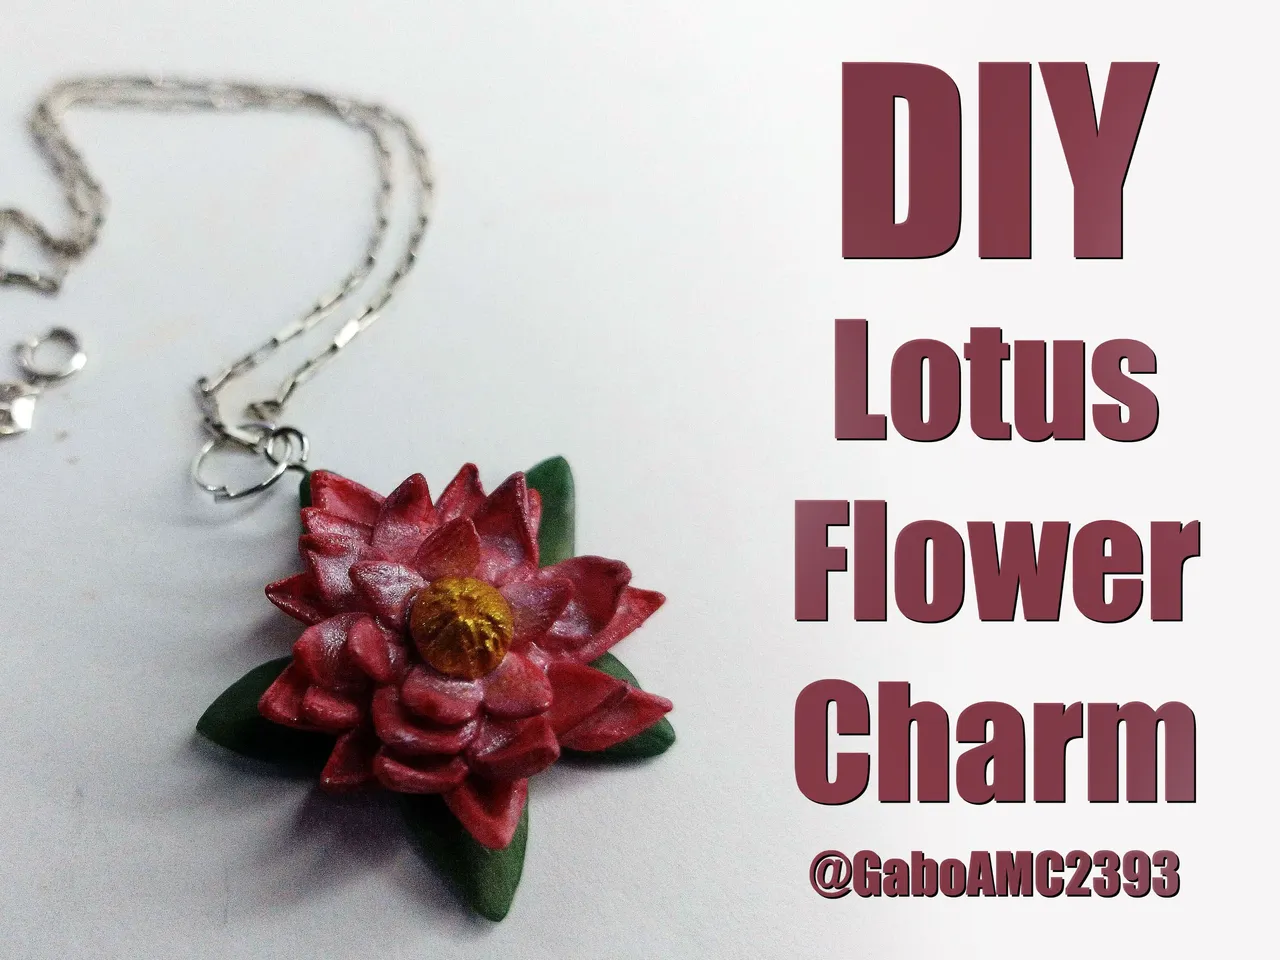
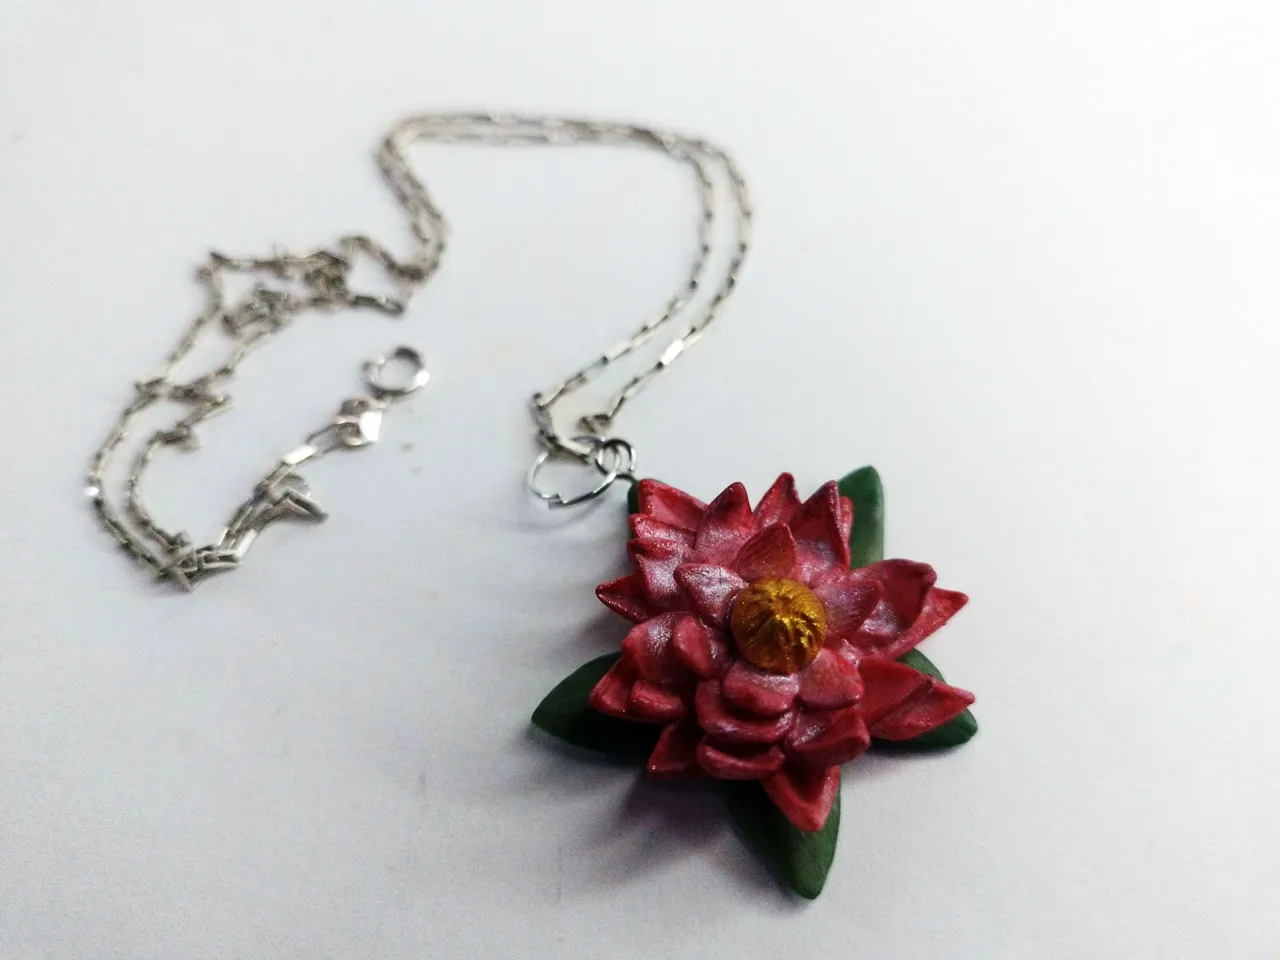
It is a very pretty flower but difficult to make and I wanted to try it to see how it turned out, this is the result:
Español
Saludos amigos amantes de la joyería y bisutería. En esta ocasión me uno a ustedes en el concurso de primavera de la comunidad. El concurso está orientado a las flores, así que quise compartir con la comunidad una flor de loto hecha con masa flexible.
Si gustan saber más sobre el concurso pueden seguir este enlace:
@hive-189504/esp-ing-spring-contest
Es una flor muy linda pero difícil de hacer y quise intentarlo a ver que tal me quedaba, este es el resultado:
Step by step
However, as I always do with my sculptures and works, I would like to share the step by step with you.
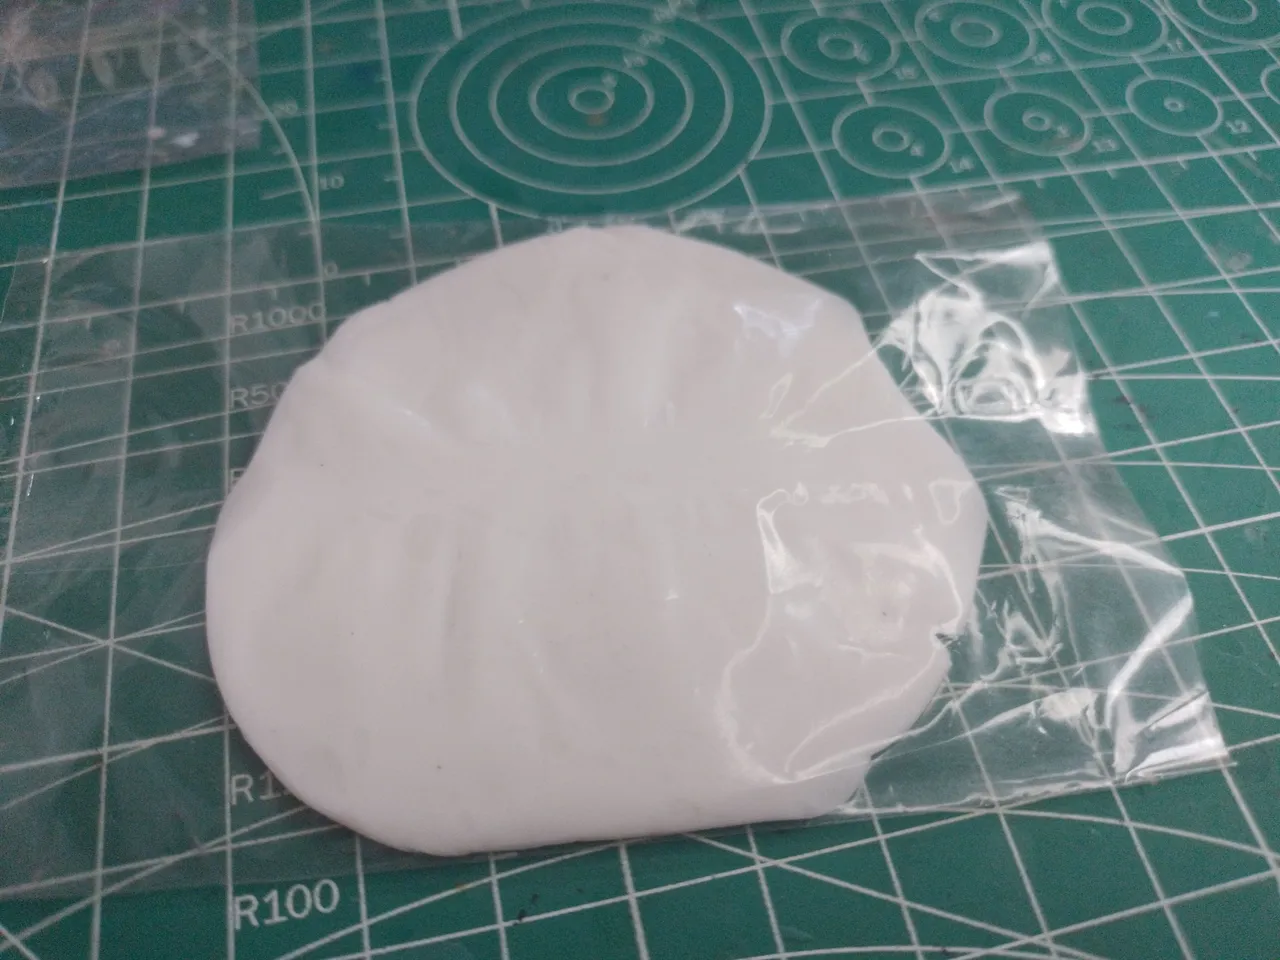
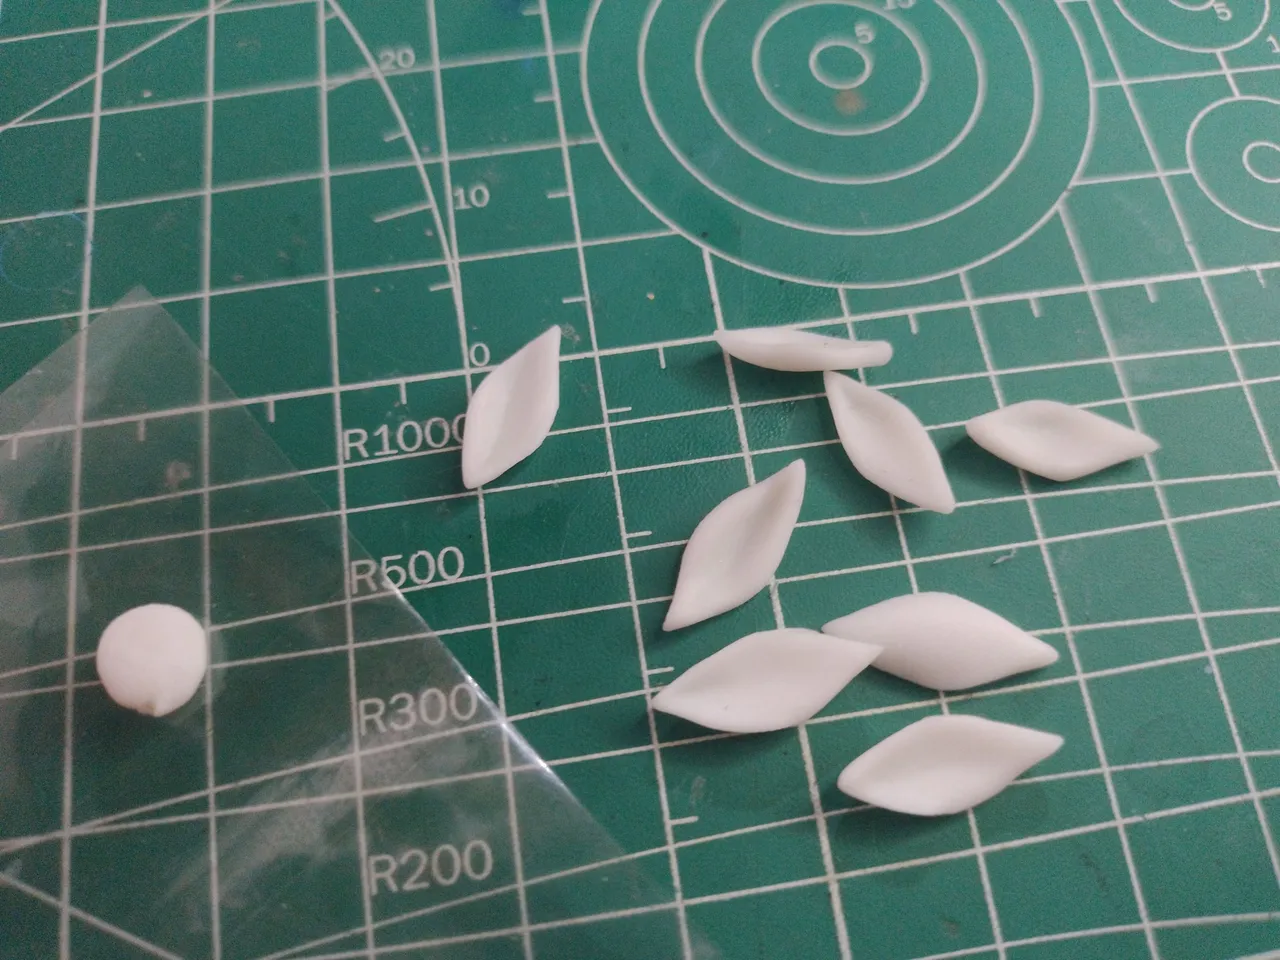
The first thing I did was to create a thin layer of flexible dough, spreading it as much as I could inside a small plastic bag, this to prevent it from sticking to my cutting mat or the tool I used to flatten it.
Paso a paso
Sin embargo, como siempre hago con mis esculturas y trabajos, me gustaría compartir el paso a paso con ustedes.
Lo primero que hice fue crear una fina capa de masa flexible, extendiéndola lo más que pude dentro de una pequeña bolsa de plástico, esto para evitar que se pegue en mi cutting mat o en la herramienta que usé para aplastarla.
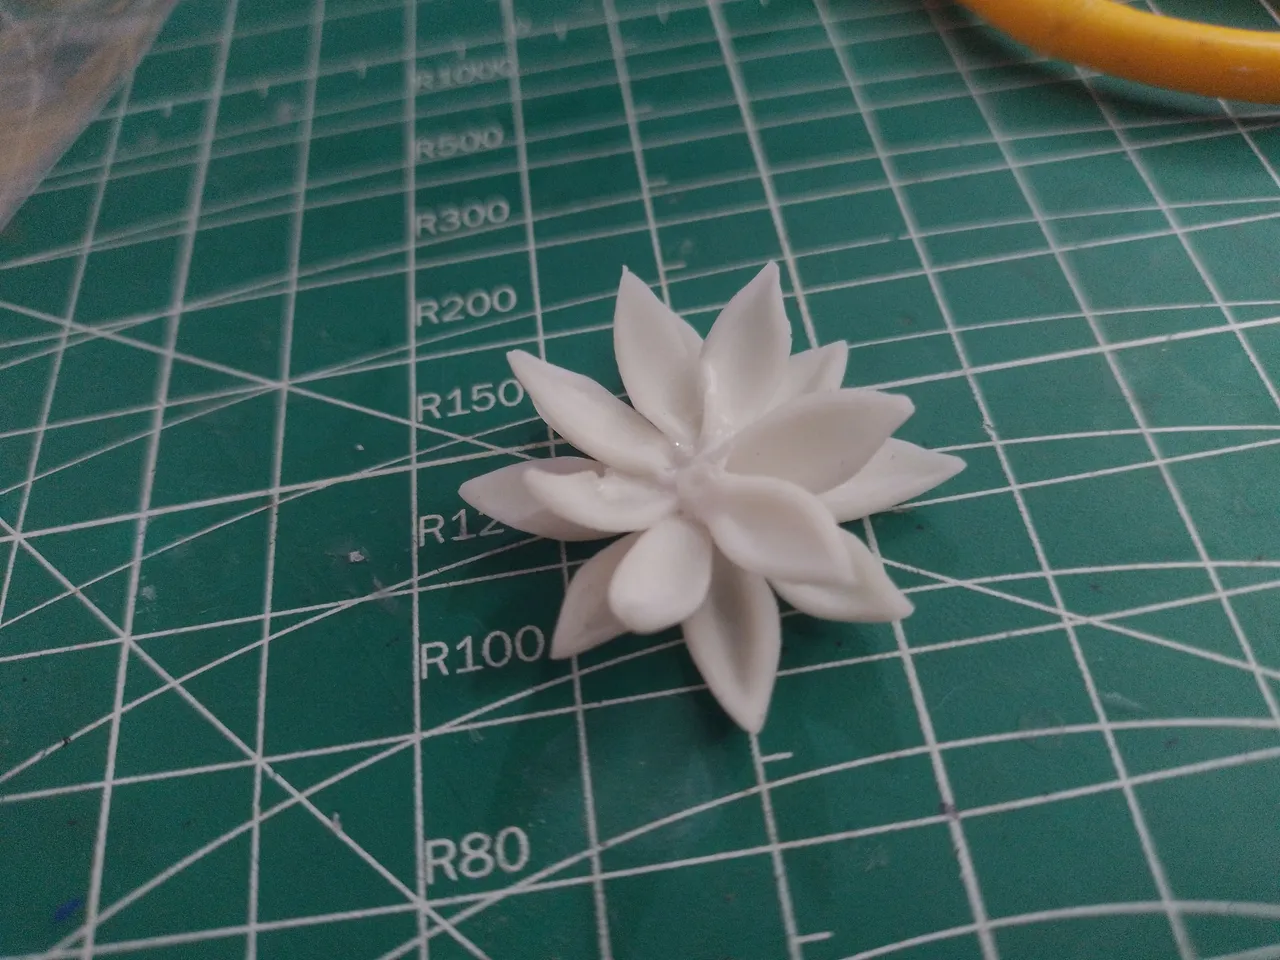
Once everything was flattened, I began to cut small sheets of dough to flatten them a little and give them that characteristic shape that the petals of the lotus flower have. At first I cut 8 for the first row of petals.
Una vez que todo quedó aplastado, comencé a cortar pequeñas hojas de masa para aplastarlas un poco y darles esa forma tan característica que tienen los pétalos de la flor de loto. En un comienzo corté 8 para la primera hilera de pétalos.
 |  |
|---|
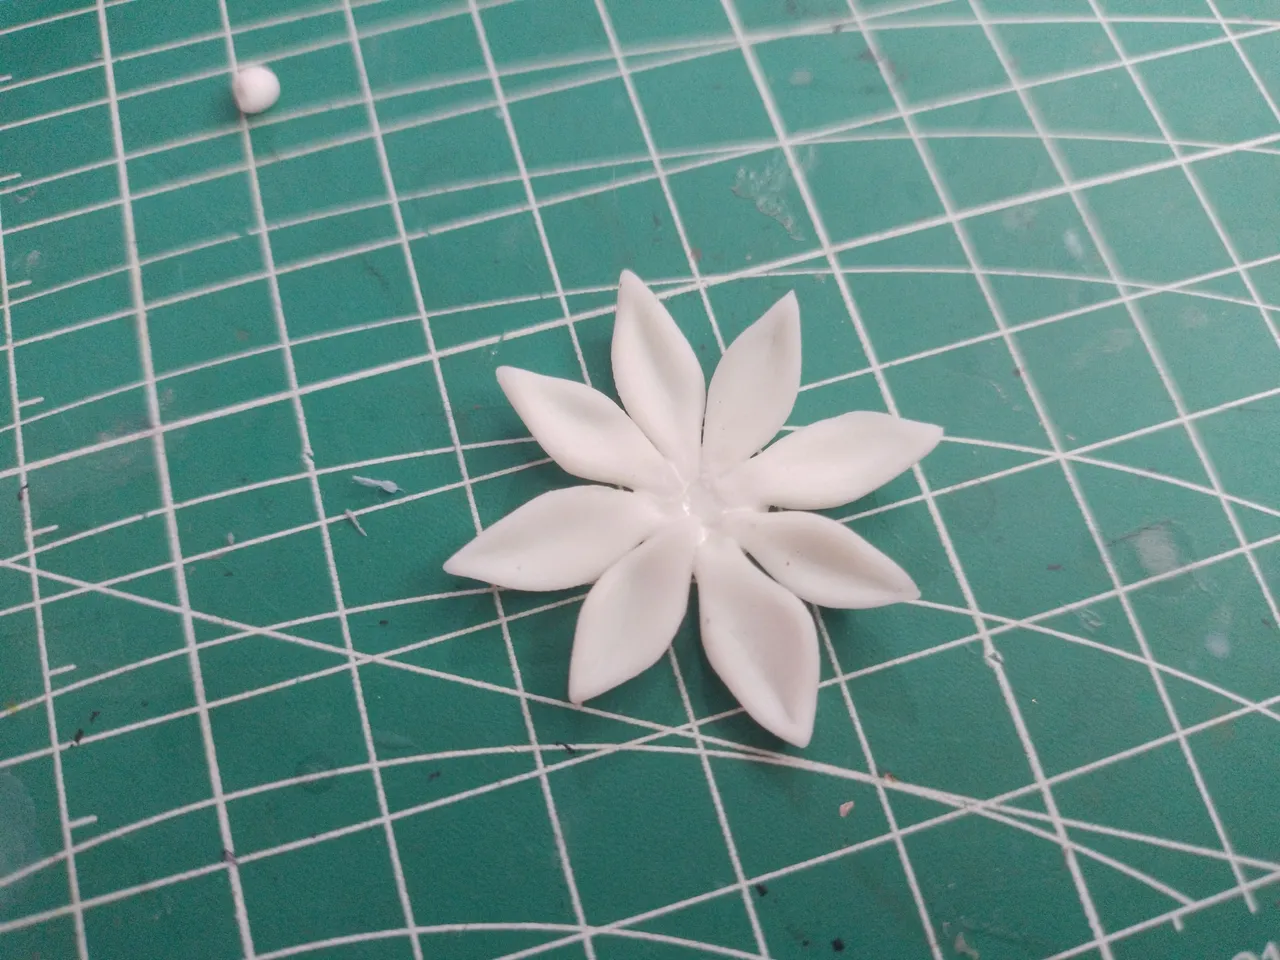
This is how this first row of petals was left, which would be the one at the bottom of the flower.
Así quedó esta primera hilera de pétalos que sería la que estaría más al fondo de la flor.
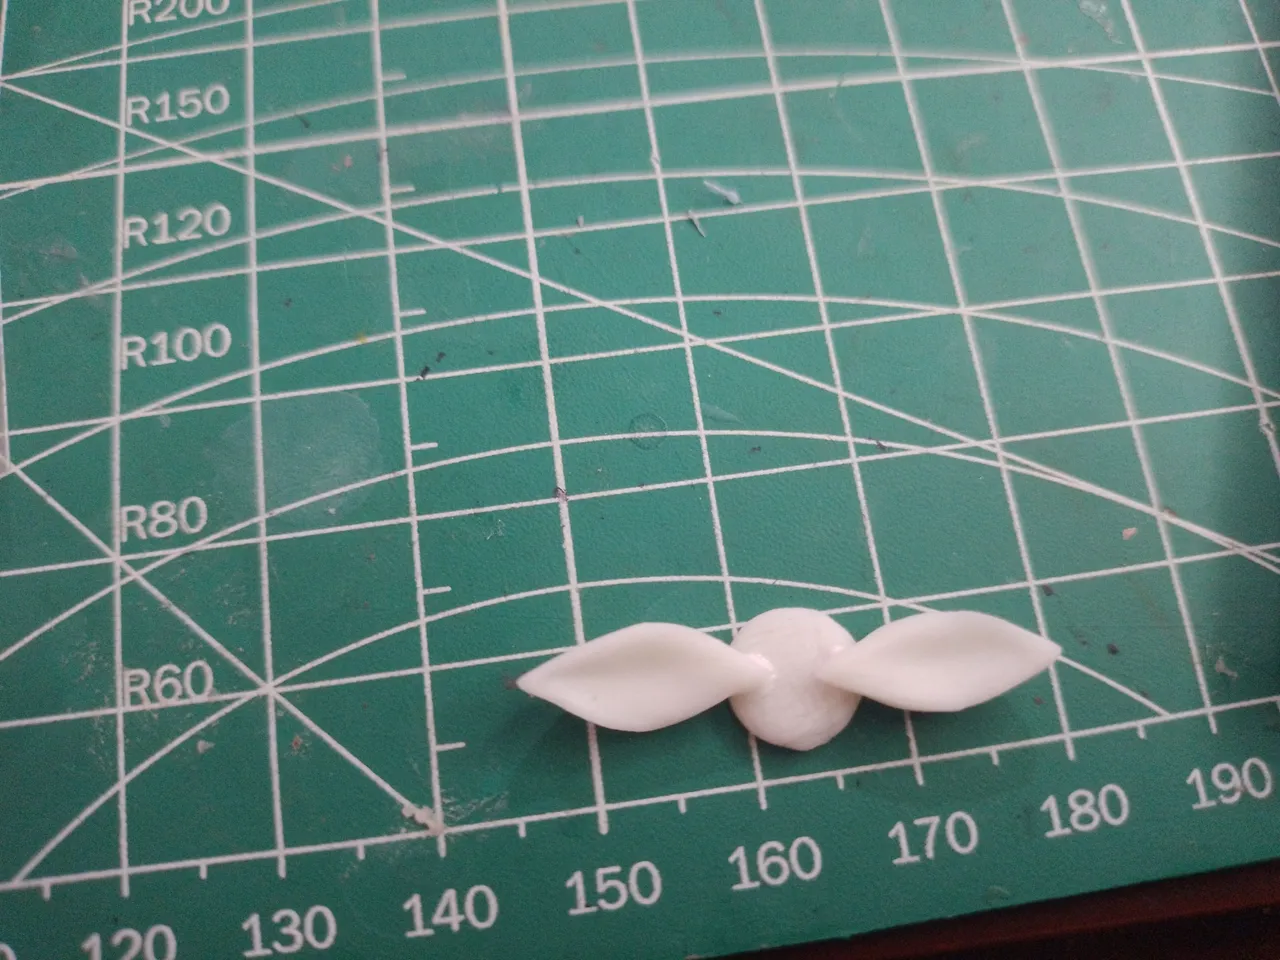
For this flower the work is of repetition, so you have to cut more petals to make the following rows until the whole flower is finished. Below you can see how I cut more petals and how I joined them to form the second one.
Para esta flor el trabajo es de repetición, así que hay que cortar más pétalos para hacer las hileras siguientes hasta terminar toda la flor. A continuación pueden ver cómo corté más pétalos y cómo los uní para formar la segunda.
 |  |
|---|
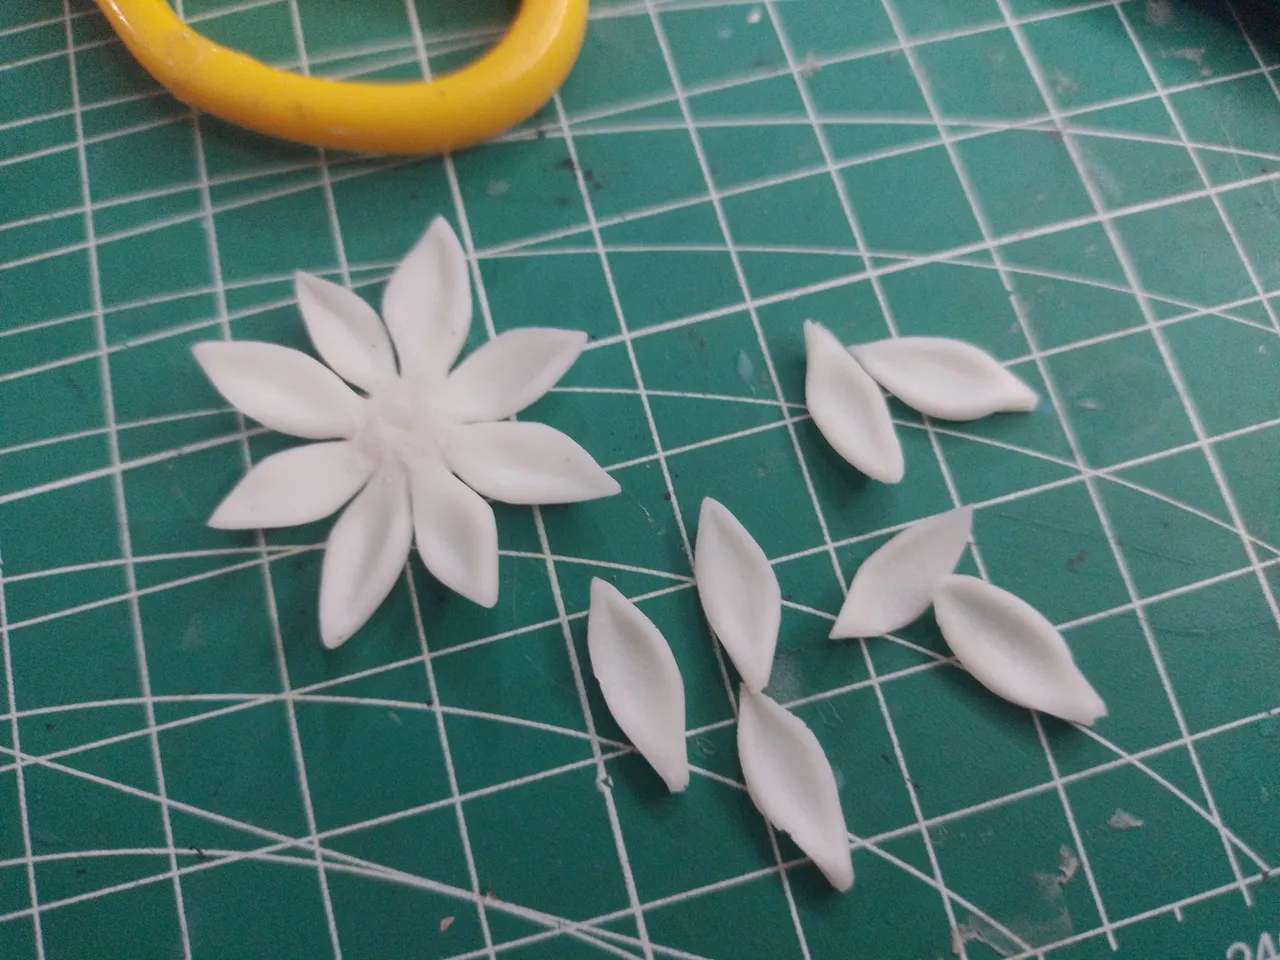
I repeated the process at least two more layers of petals, until I reached the last one where I made smaller petals, which would be the ones around the bud, it is worth noting that at this point I also painted the flexible mass with a soft layer of pink paint.
Repetí el proceso al menos dos capas más de pétalos, hasta llegar a la última en donde hice pétalos más pequeños, los cuales serían los que estarían alrededor del capullo, cabe destacar que en este punto también pinté la masa flexible con una suave capa de pintura rosada.
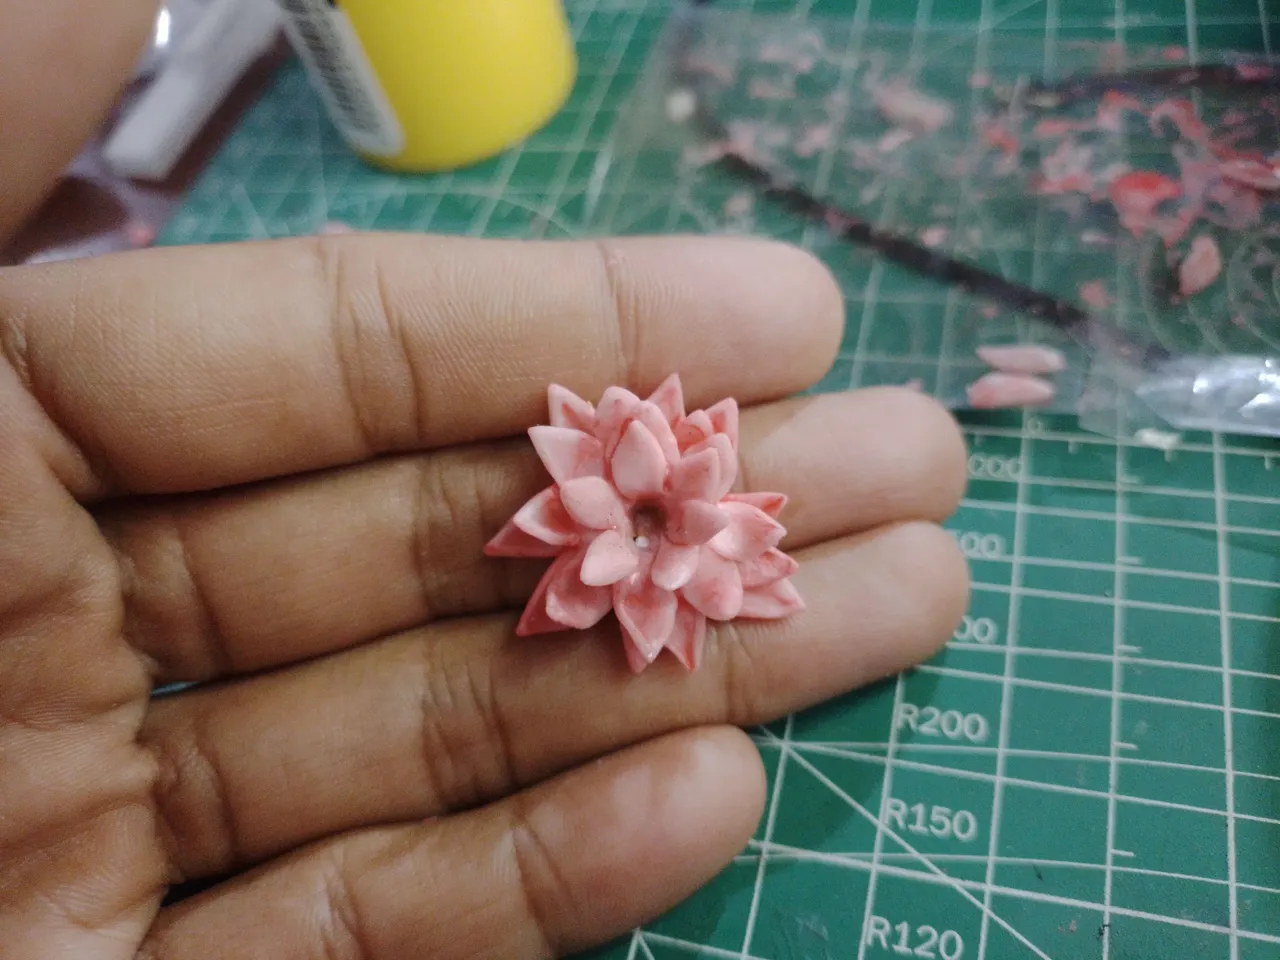
Before all the material dried, I tried to separate the top petals a little more from the bottom petals, so that the flower would be a little more open.
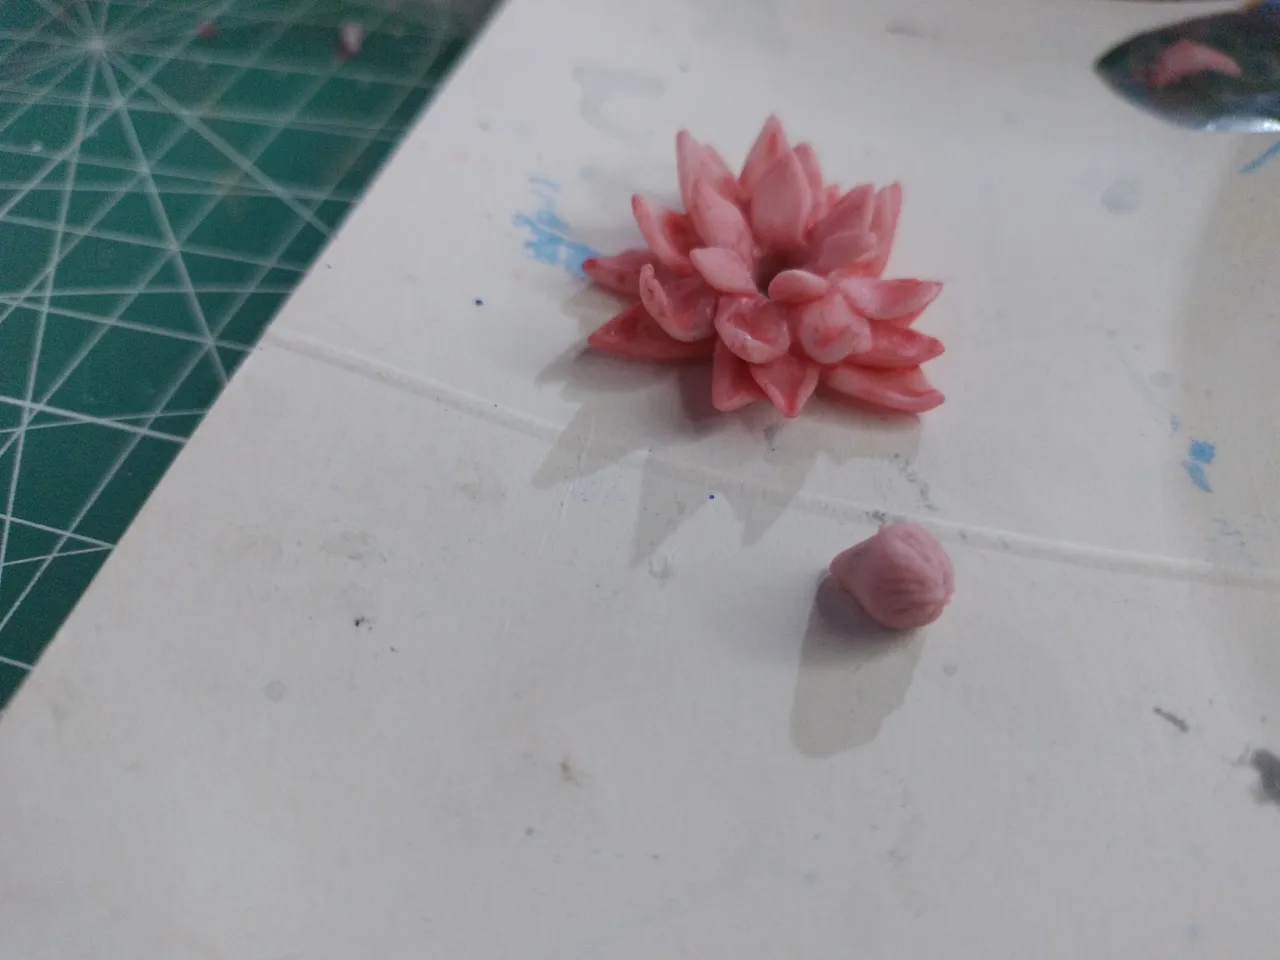
The next thing I did was to make a small piece, which would be the bud of the flower and would be right in the center of the whole flower.
Antes de que se secara todo el material, intenté separar un poco más los pétalos de arriba de los pétalos de abajo, para que quedara la flor un poco más abierta.
Lo siguiente que hice fue hacer una pequeña pieza, que sería el capullo de dicha flor y que estaría justo en el centro de toda la flor.
 |  |
|---|
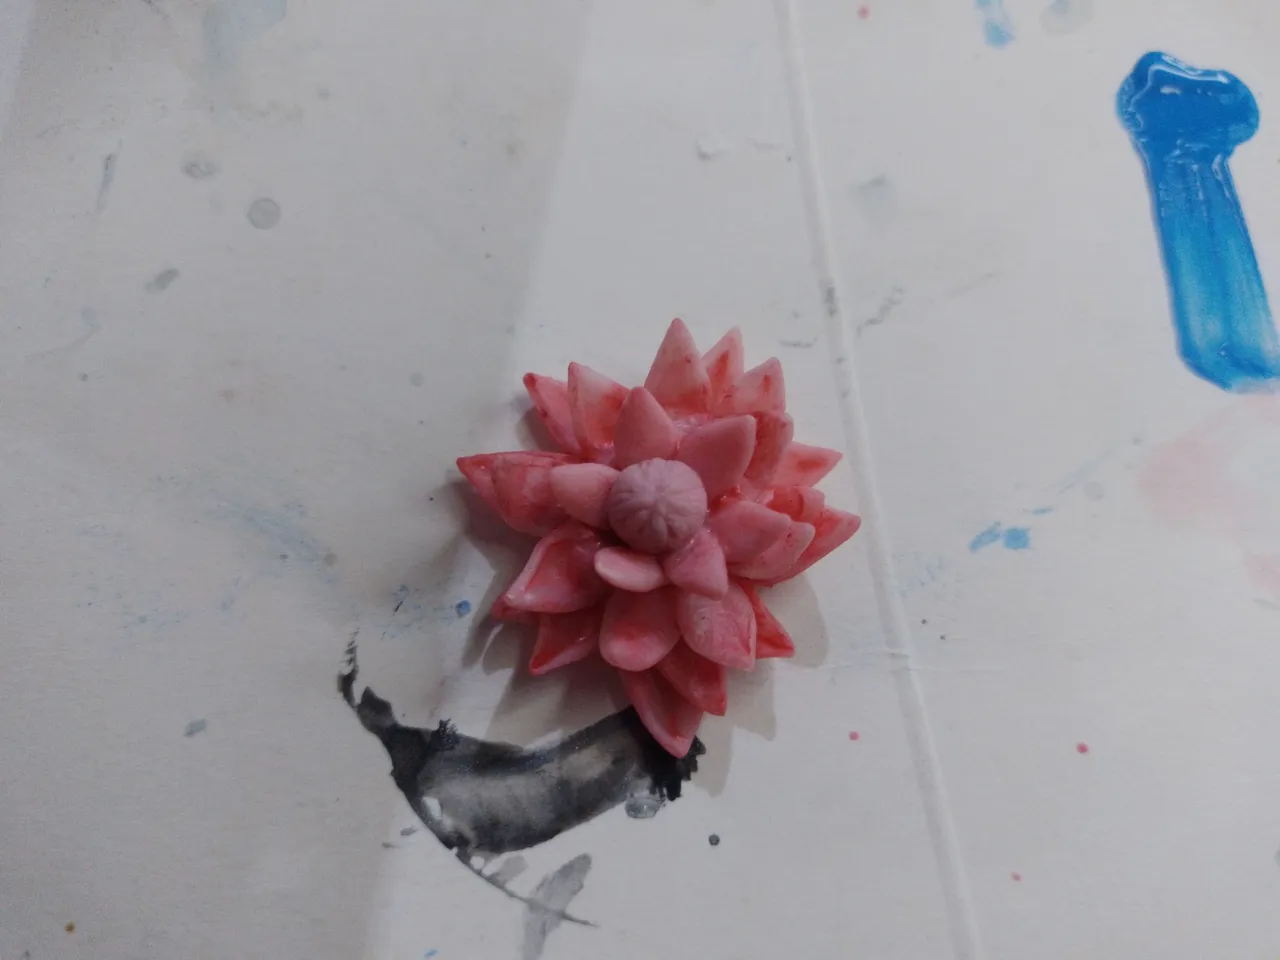
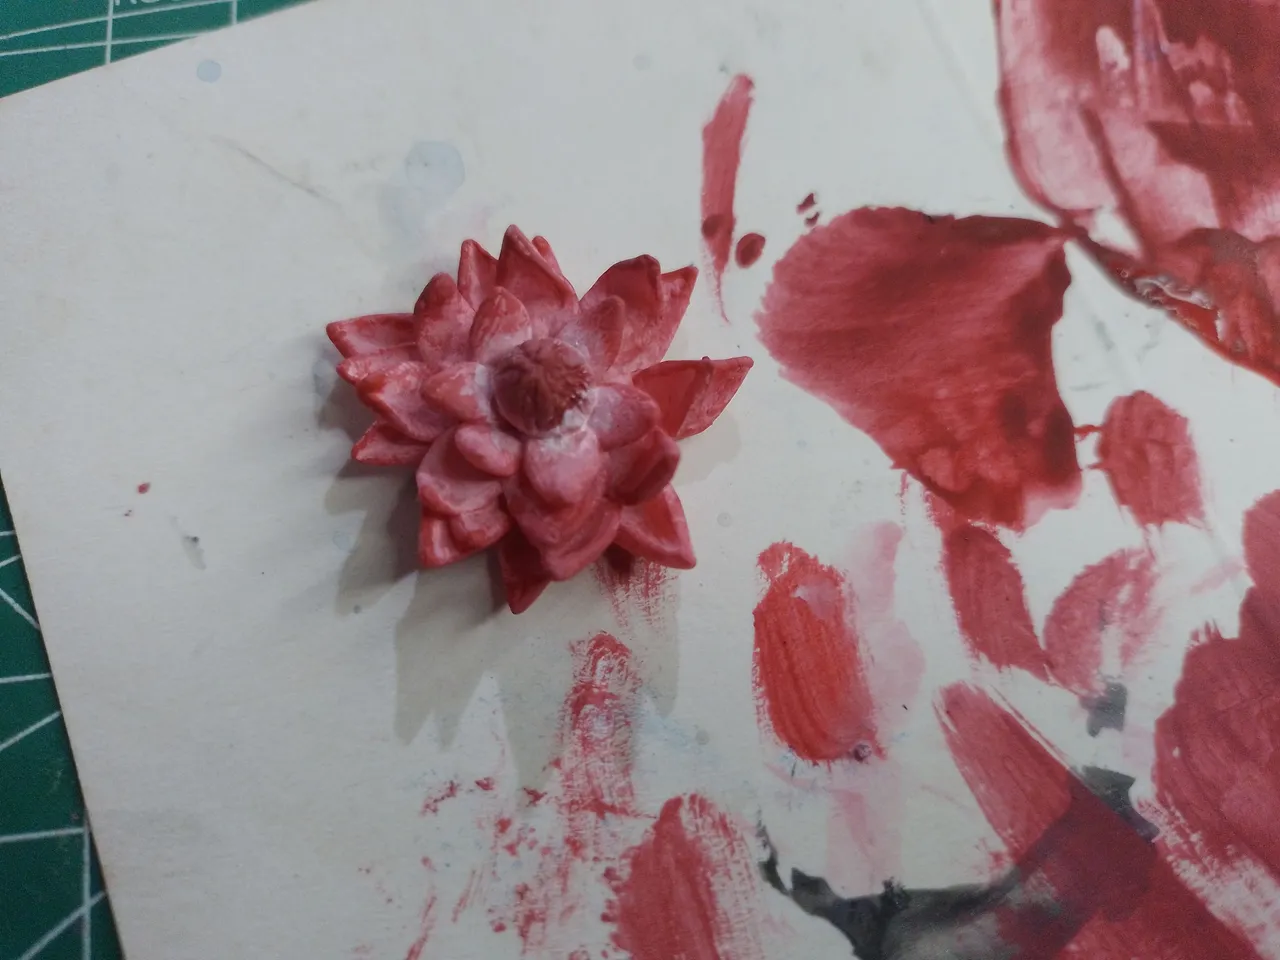
I initially painted it pink, but then began to paint a slightly deeper red on the petals of each flower, to give it a similar finish to the petals of the lotus flower itself, going in the center a light color and then towards the red color that is at the ends of each petal.
Lo pinté inicialmente de rosado, pero luego comencé a pintar con un rojo un poco más intenso los pétalos de cada flor, para darle un acabado similar a los pétalos de la propia flor de loto, yendo en el centro un color claro y luego hacia el color rojo que está en los extremos de cada pétalo.
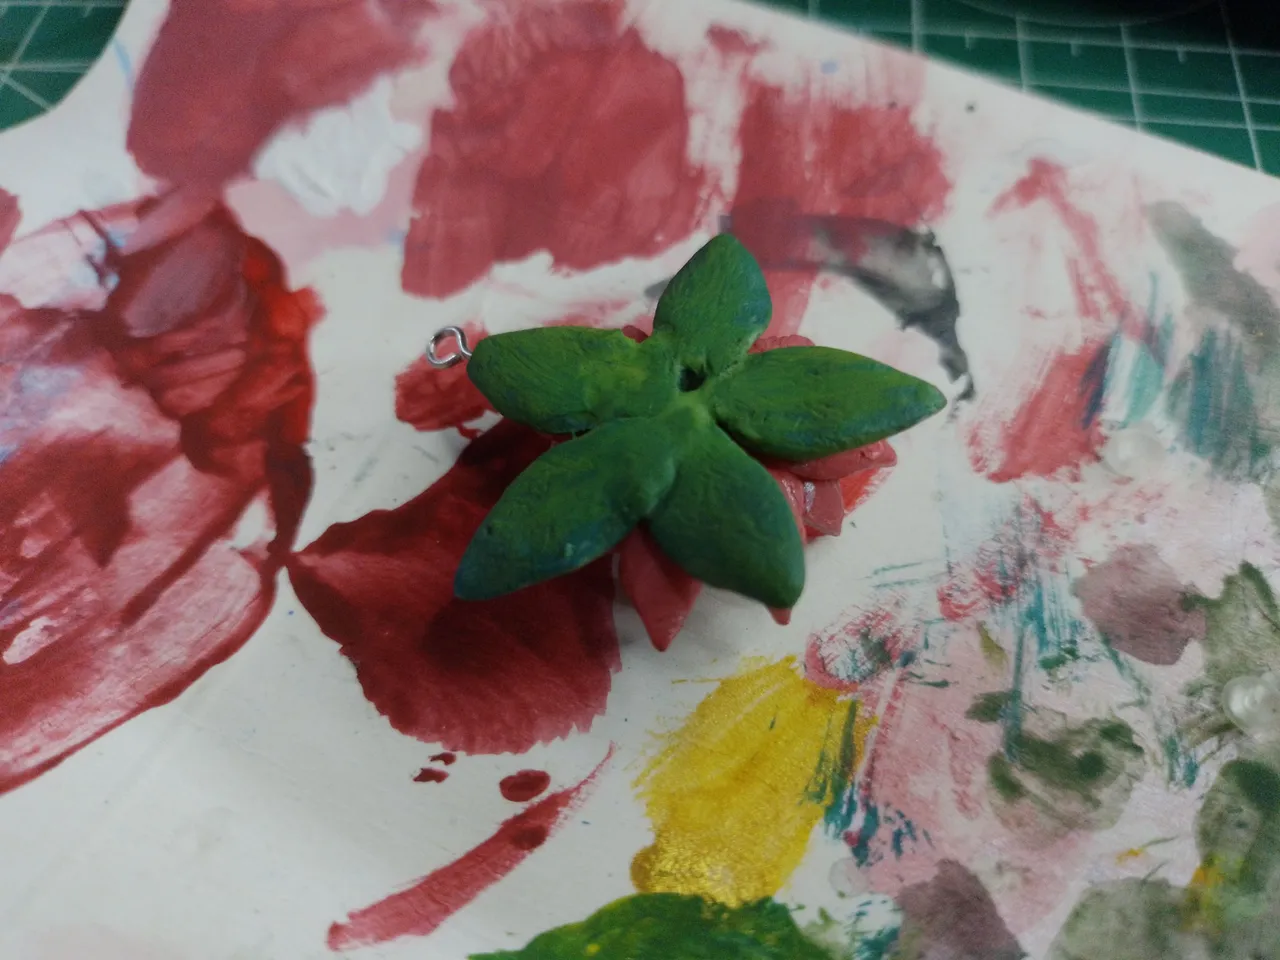
Finally, I made another base of petals that I painted green. This base would be used to hold the ring that would be used to hang the pendant on the necklace.
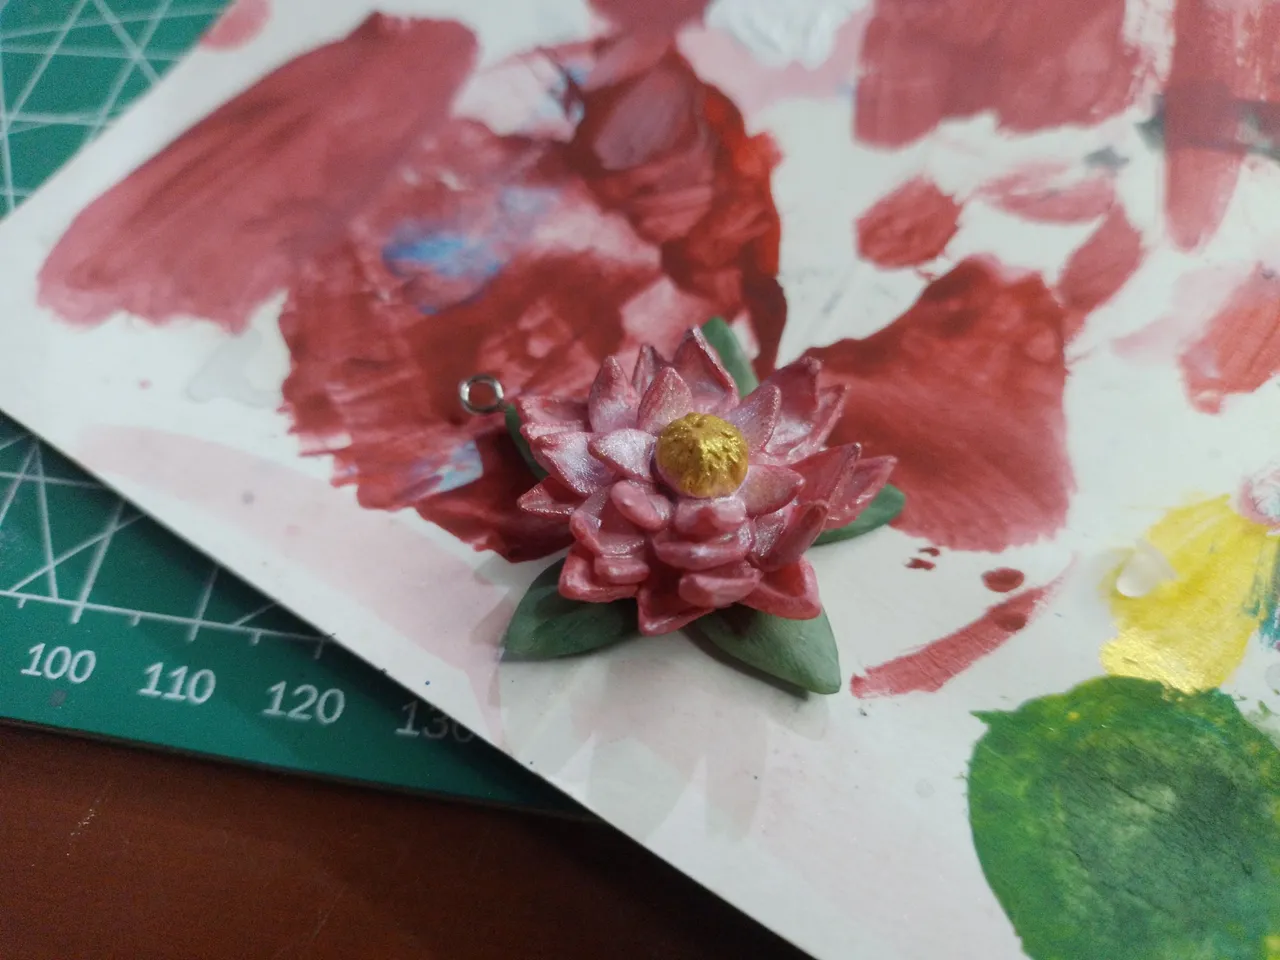
In the same way, I gave a few golden brushstrokes to the center bud.
Ya para finalizar, hice otra base de pétalos que pinté de color verde. Esta base serviría para sostener la argolla que serviría para colgar el dije en el collar.
De igual manera, di unas cuantas pinceladas con dorado al capullo del centro.
 |  |
|---|
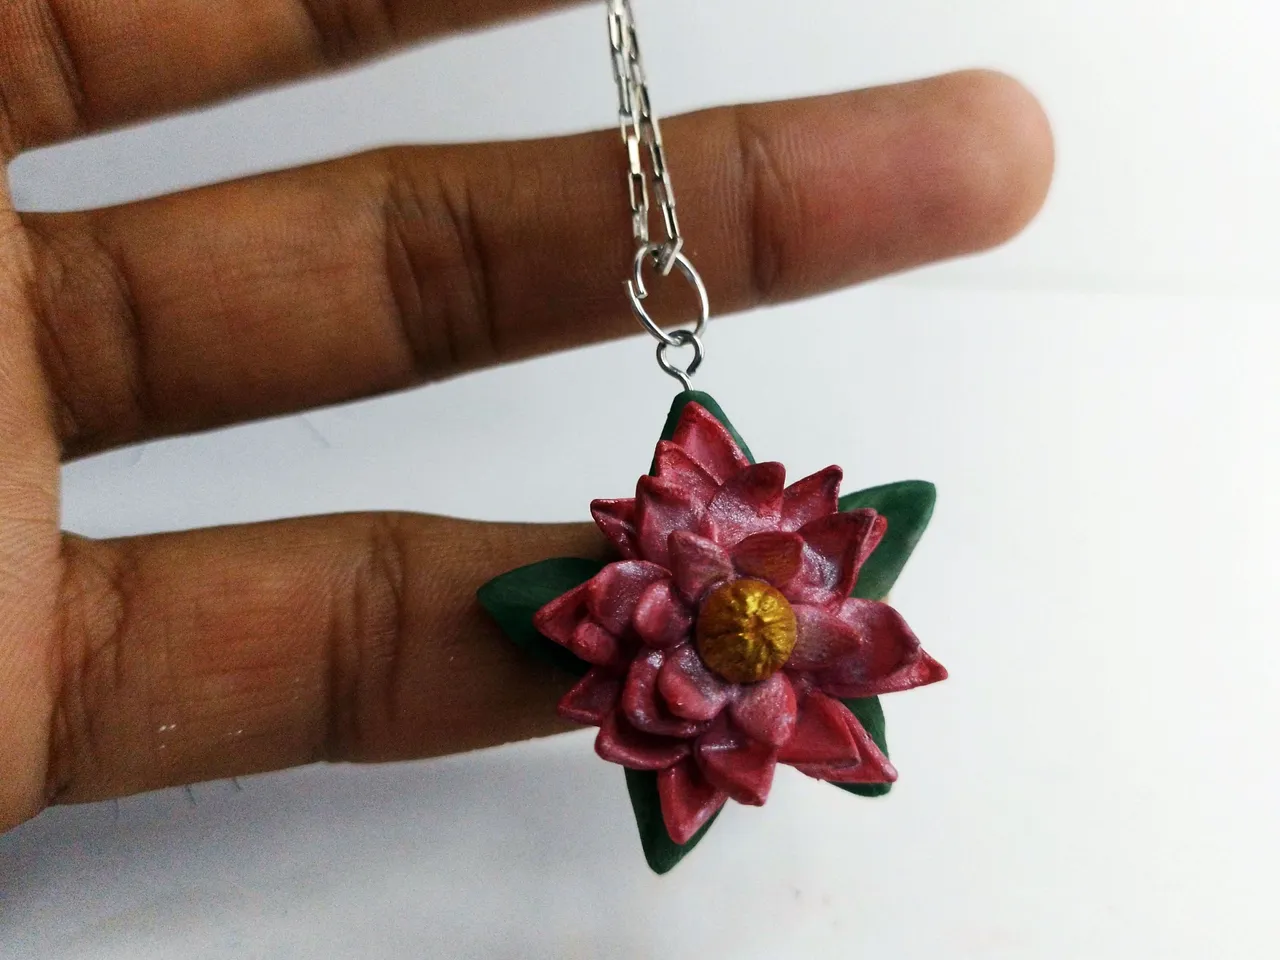
The last thing I did was to place a ring and a small chain to finish this beautiful piece.
Lo último que hice fue colocar una argolla y una pequeña cadena para terminar toda esta hermosa pieza.
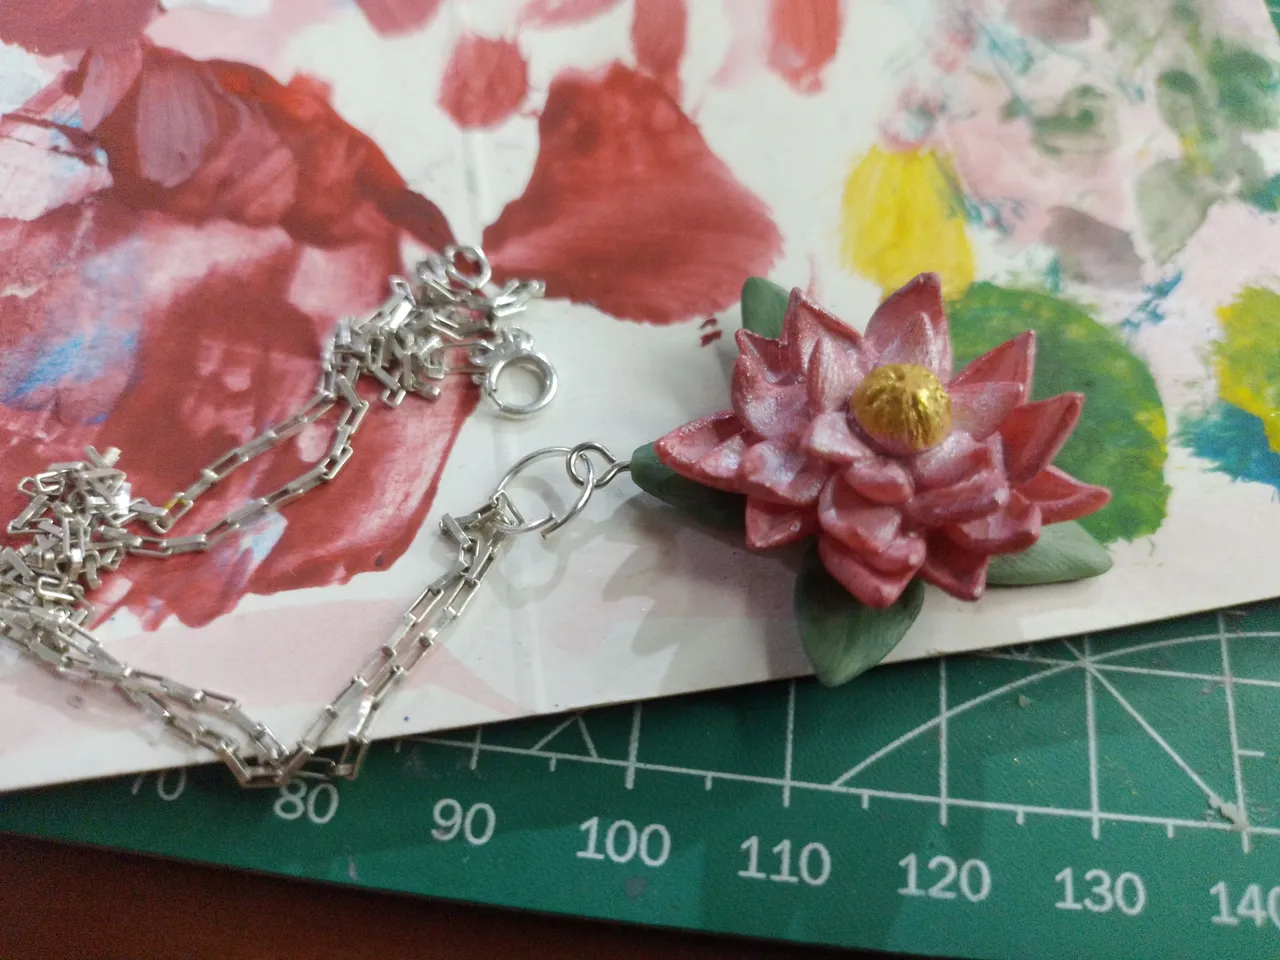
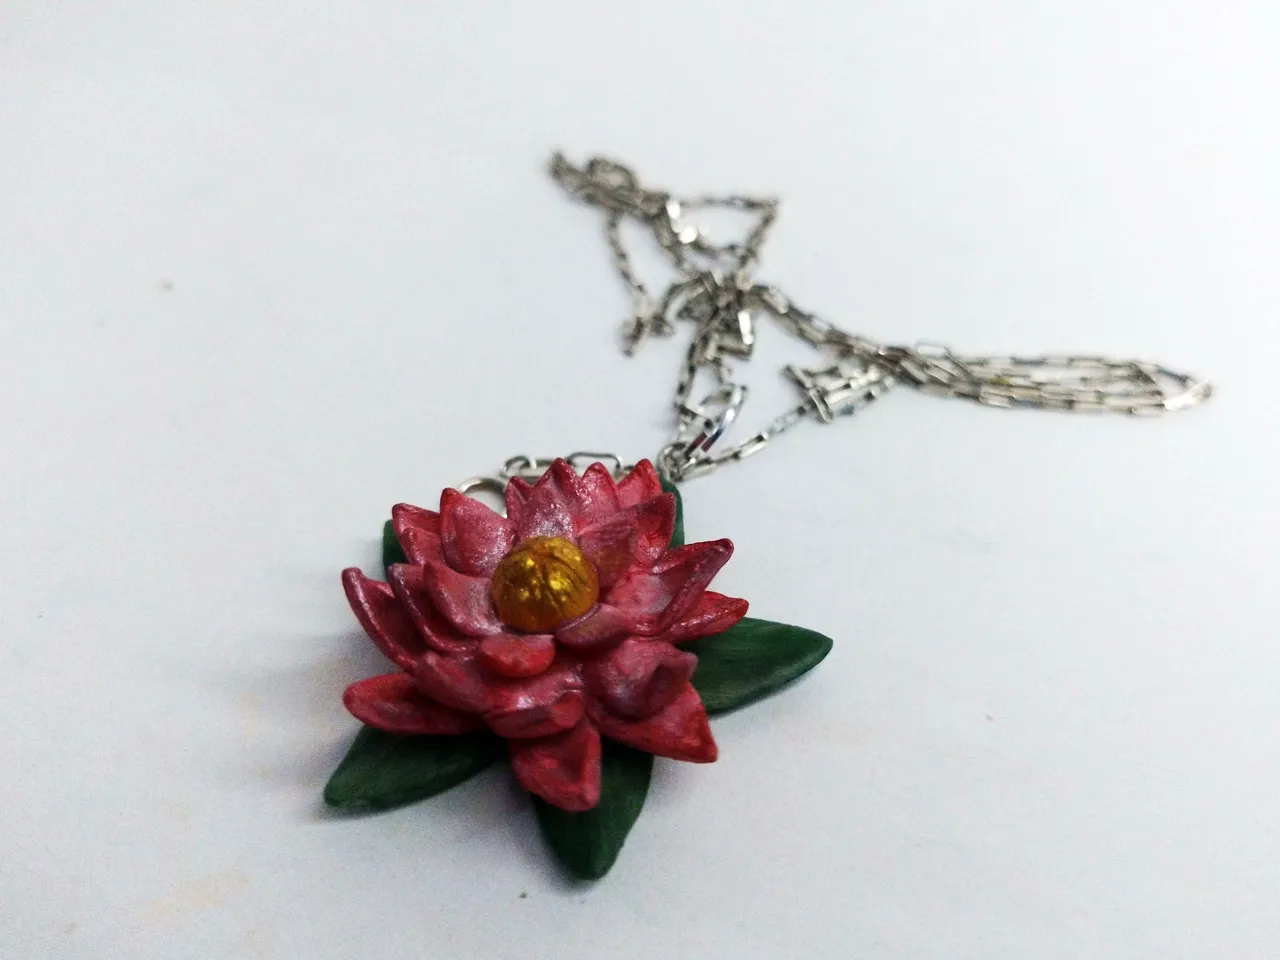
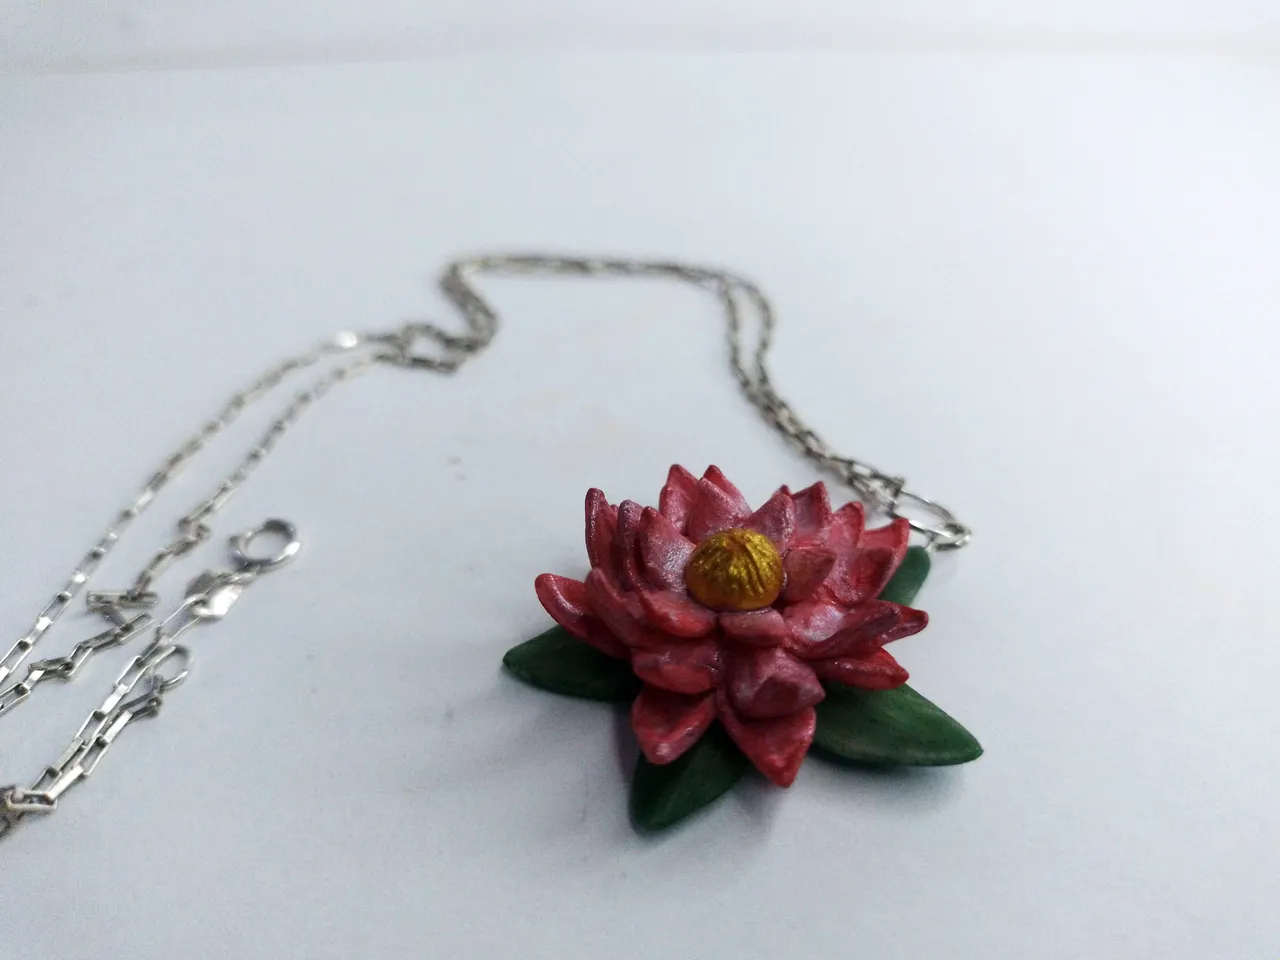
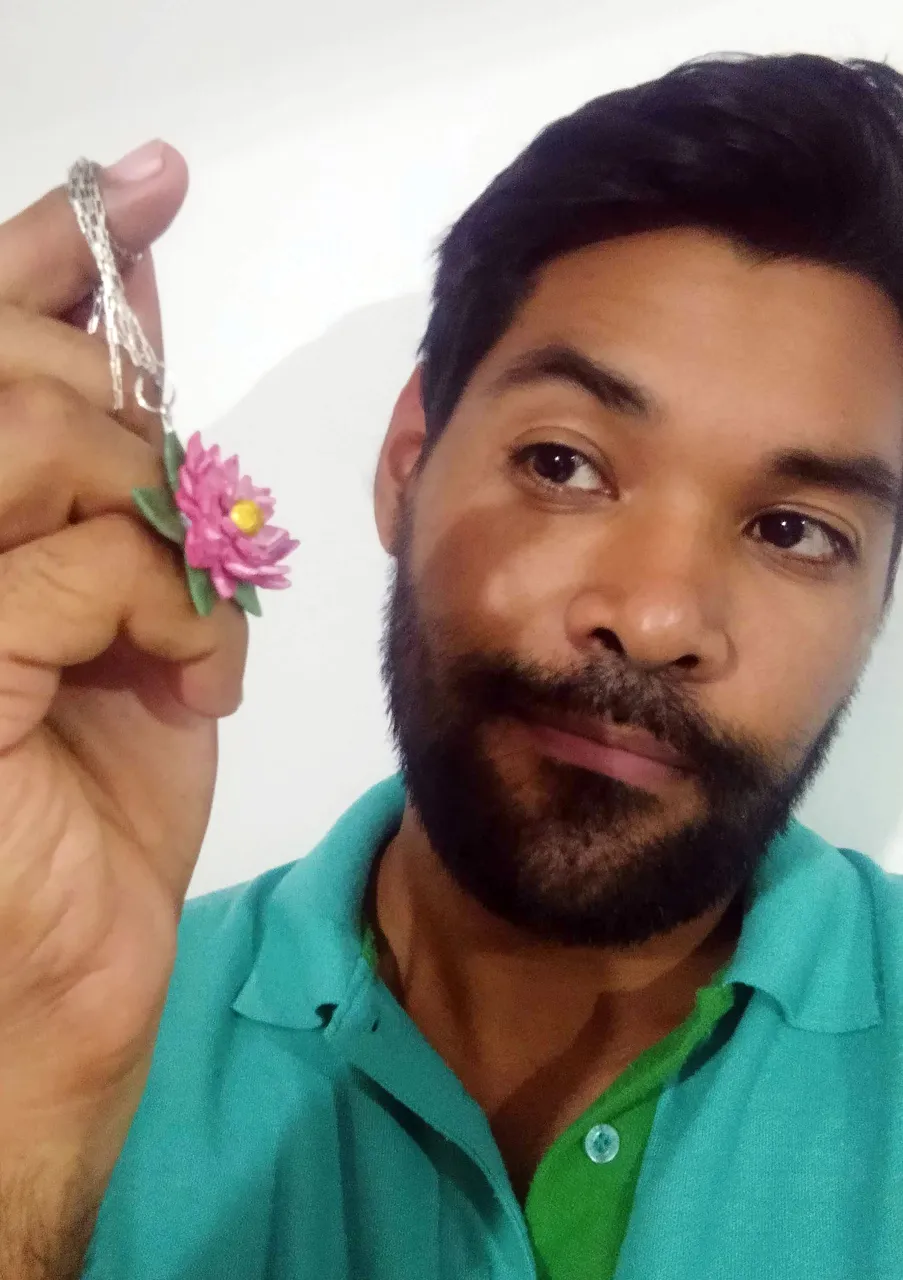
Below is a series of photographs of the final result:
A continuación una serie de fotografías del resultado final:
Well friends, that's all for now. I invite you to leave your thoughts below in the comments, as always I'll be happy to read them. I also invite @chacald.dcymt, @fixie and @edeyglezsosa to participate. You can participate while there is still a chance or subscribe to the community if you haven't already done so and participate in upcoming initiatives and contests.
I appreciate you taking the time to visit and read my post. With nothing more to add, I bid you farewell then...
See you next time!
Bien amigos, esto ha sido todo por ahora. Los invito a dejar sus opiniones abajo en los comentarios, como siempre estaré encantado de leerlos. También invito a participar a @chacald.dcymt, a @fixie y a @edeyglezsosa. Pueden participar mientras haya chance o suscribirse en la comunidad si aún no lo han hecho y participar en próximas iniciativas y concursos.
Agradezco que se tomaran el tiempo de visitar y leer mi publicación. Sin más que agregar, me despido entonces...
¡Hasta la próxima!