Greetings friends. Since I heard that Winnie Pooh became public domain, I found it interesting that this happened, but it's something that happens with characters that have been around for a long time. That's why it was more than nice to make a collection of these characters for myself.
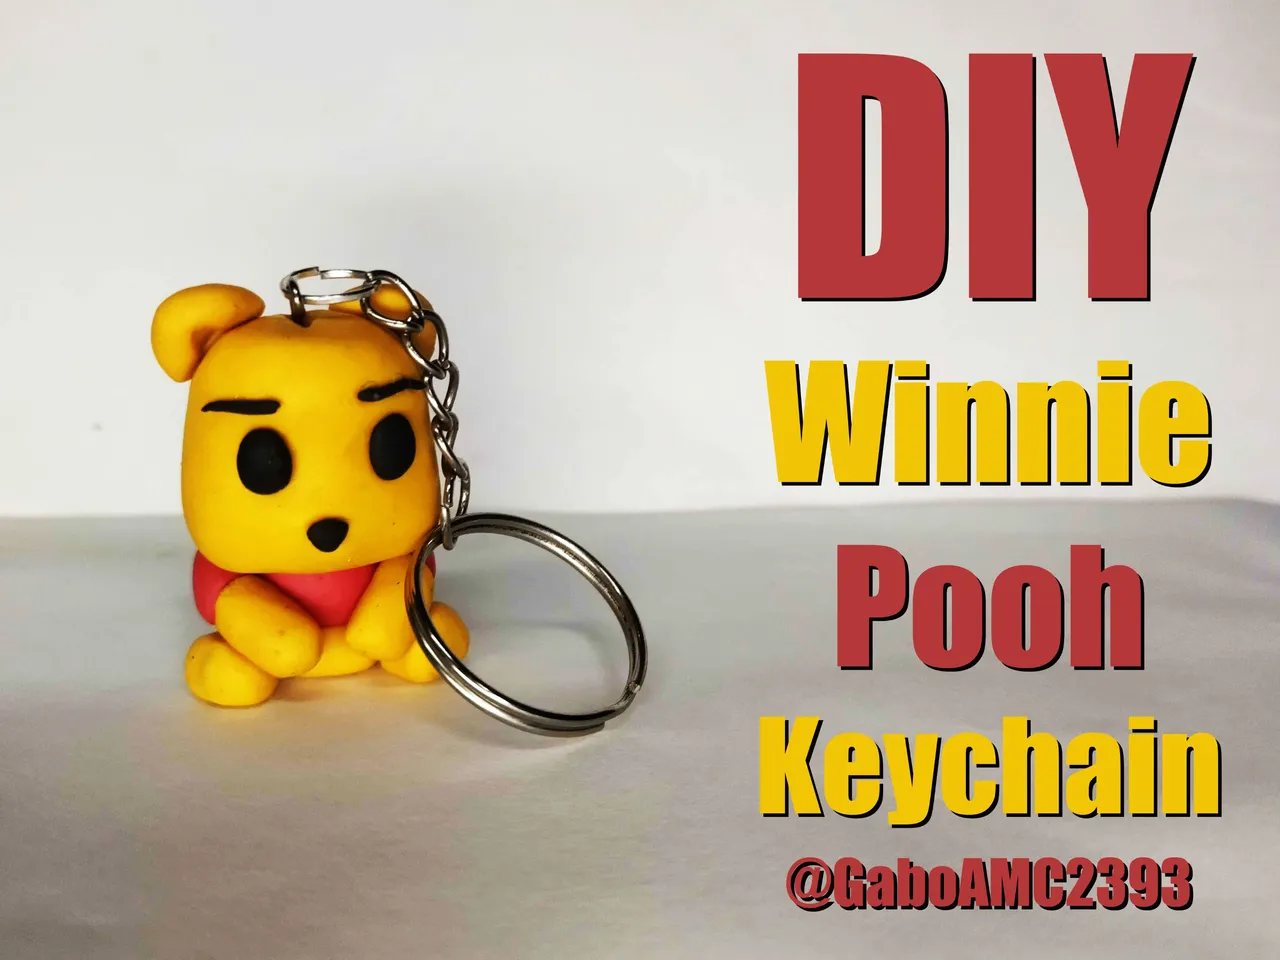
As you can see, I made myself a little Chibi style keychain of the character and I really liked it. Below you can see a picture of how it turned out.
Español
Saludos amigos. Desde que me enteré que Winnie Pooh pasó a ser de dominio público, me pareció interesante que esto sucediera, pero es algo que pasa con personajes que llevan mucho tiempo. Por eso me resultó más que bonito hacer una colección de estos personajes para mi.
Como pueden ver, me hice un pequeño llavero estilo Chibi del personaje y la verdad me gustó bastante. A continuación pueden ver una fotografía de cómo quedó.
Step by step
As you know, for this type of work I don't use plasticine, a material I usually use. To make key chains I use flexible dough, an excellent material that becomes hard when it dries, which is great to keep the piece well preserved.
Paso a paso
Como bien saben, para este tipo de trabajos no utilizo plastilina, un material que acostumbro a usar. Para hacer llaveros uso masa flexible, un material excelente que se pone duro cuando se seca, lo cual es genial para mantener bien conservada la pieza.
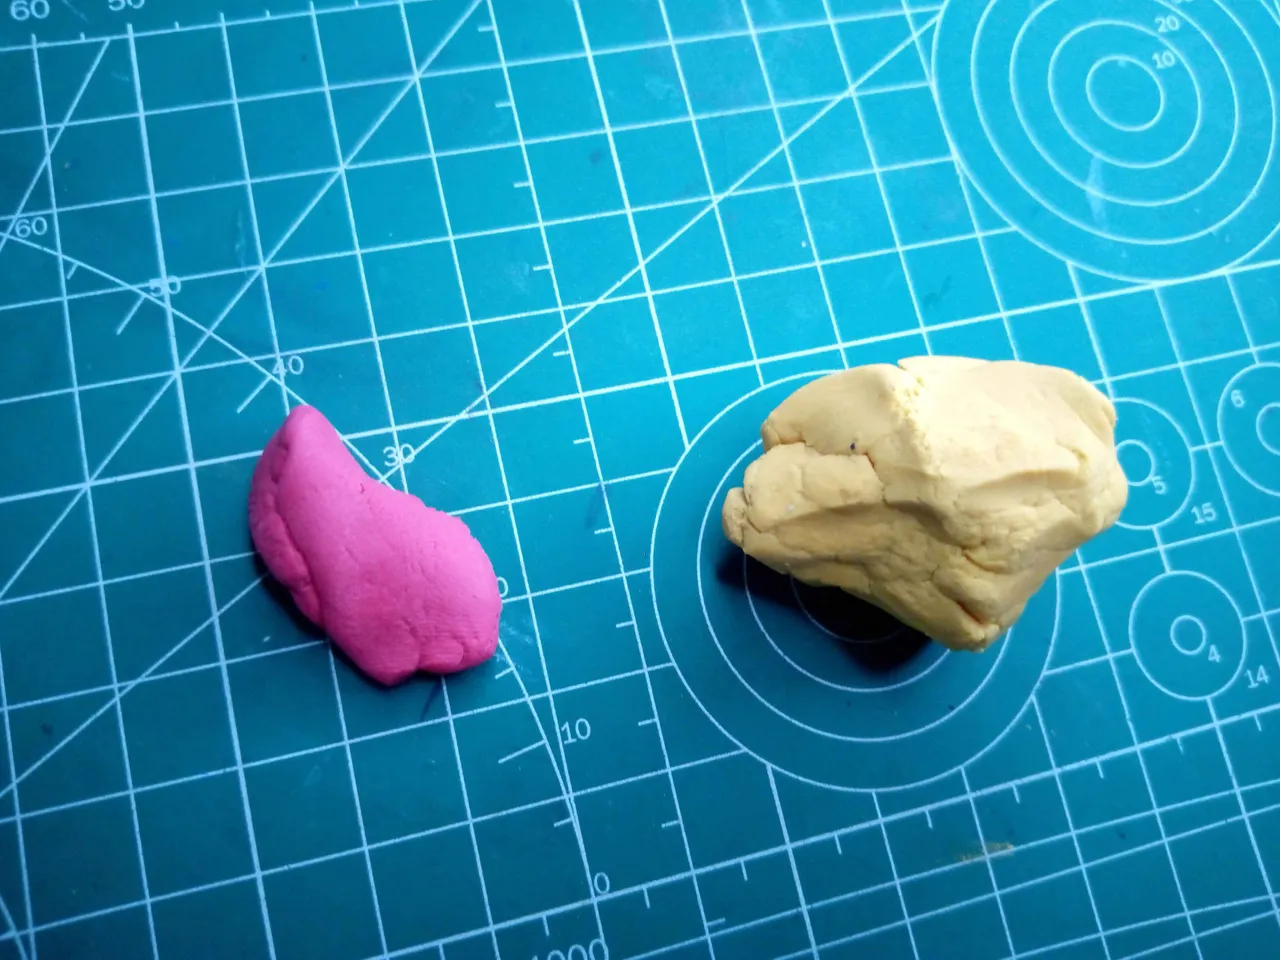
I colored this flexible dough in two colors very similar to the usual Winnie Pooh colors, yellow and red. I did not use these colors in an intense shade, but in pastel shades.
Esta masa flexible la coloreé de dos colores muy parecidos a los colores habituales de Winnie Pooh, amarillo y rojo. No usé estos colores en una tonalidad intensa, sino unas tonalidades pasteles.
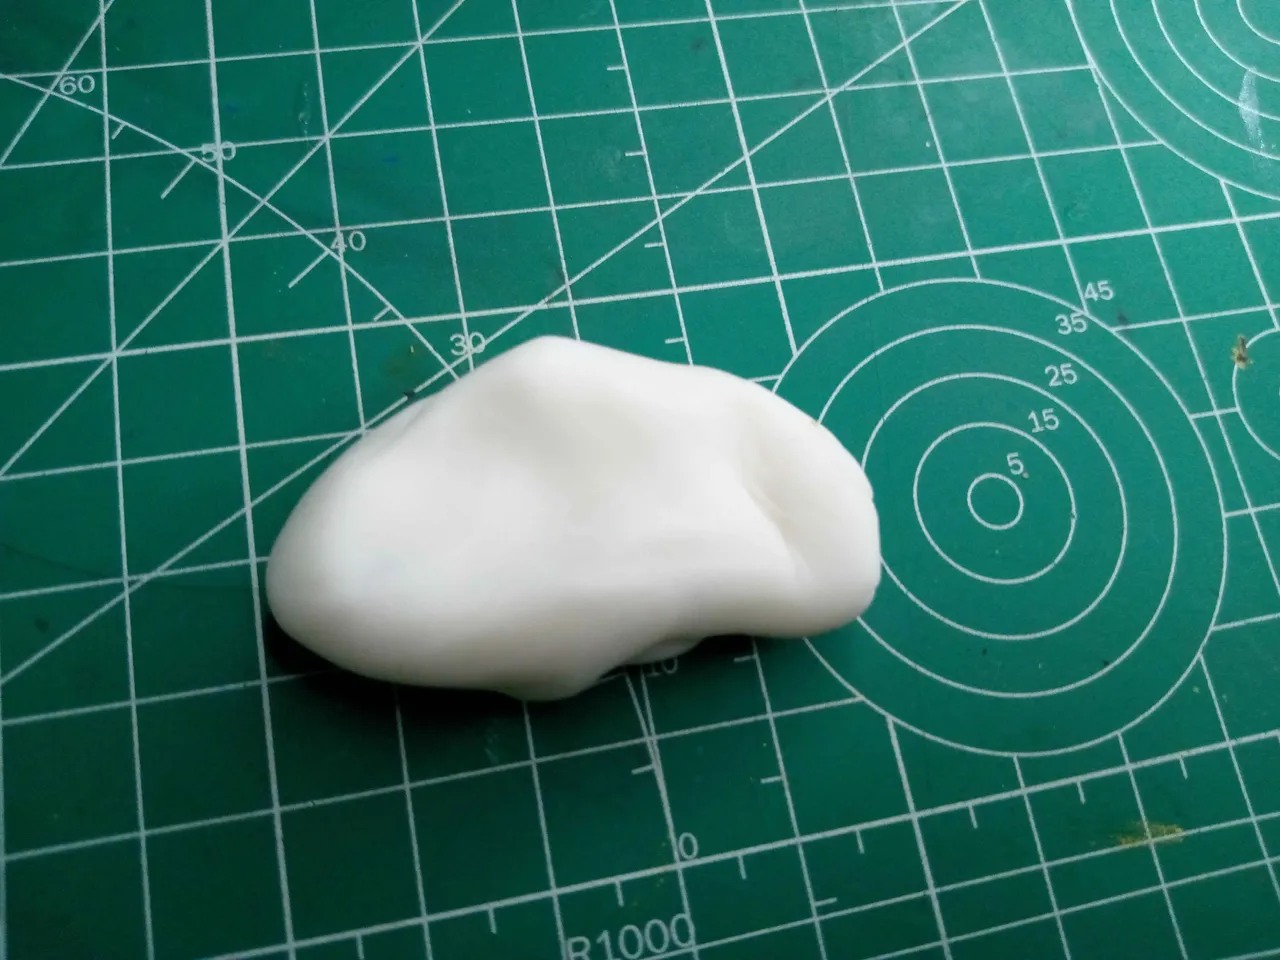
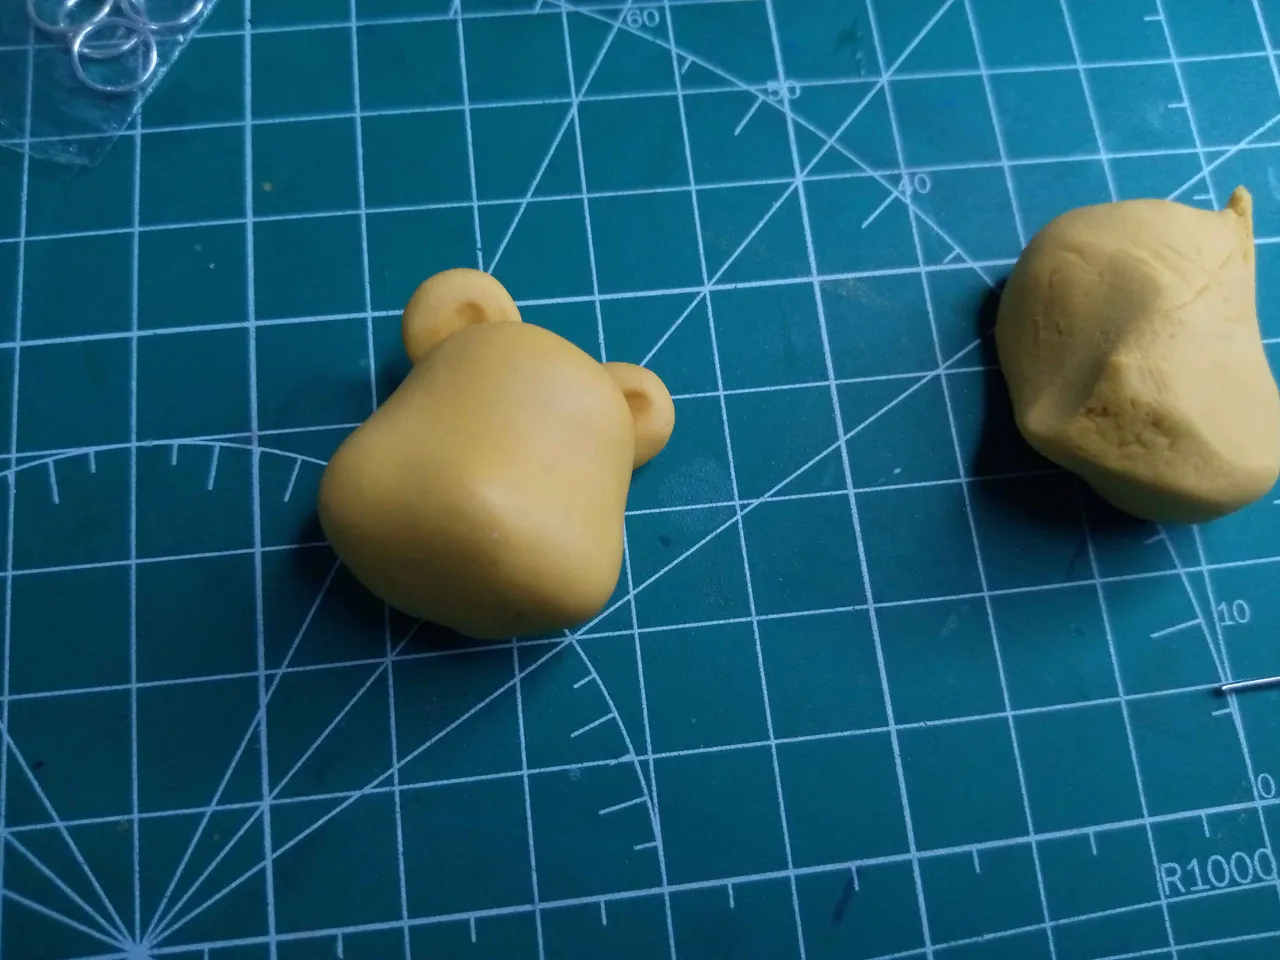
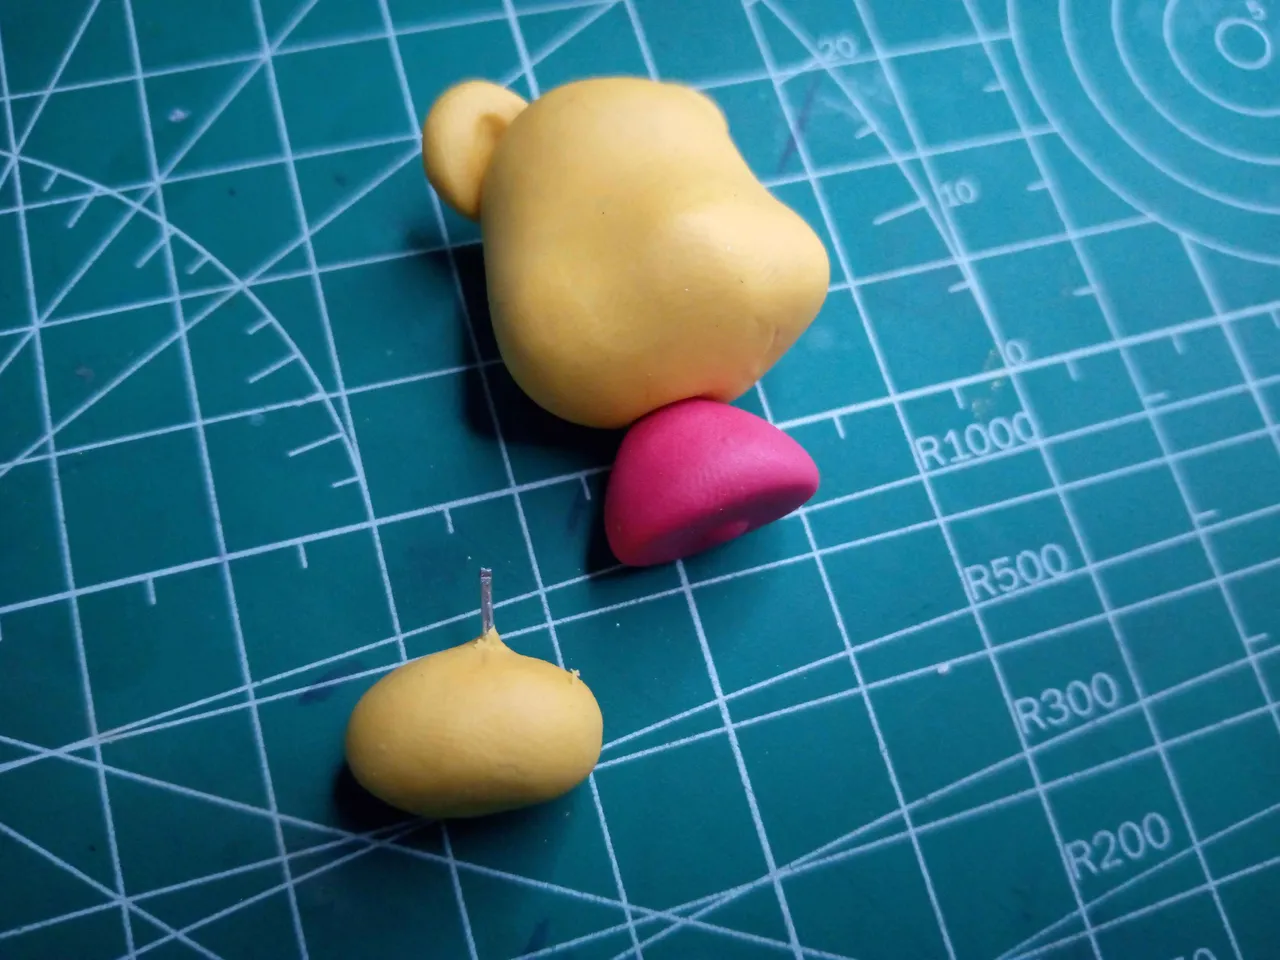
I started molding the head, I made it quite big compared to what would be the body, precisely because it is made in Chibi style.
For the initial shape of the head, I made an initial shape similar to that of a wine pumpkin, not having its curves so pronounced but rather a little flattened, then I made the cheeks and nose a little more pointed.
Comencé moldeando la cabeza, la hice bastante grande en comparación con lo que sería el cuerpo, precisamente porque está hecho en estilo Chibi.
Para la forma inicial de la cabeza, hice una forma inicial similar a la de una calabaza vinatera, que no tuviese sus curvas tan pronunciadas sino mas bien un poco aplastada, luego le hice las mejillas y la nariz un poco más puntiagudas.

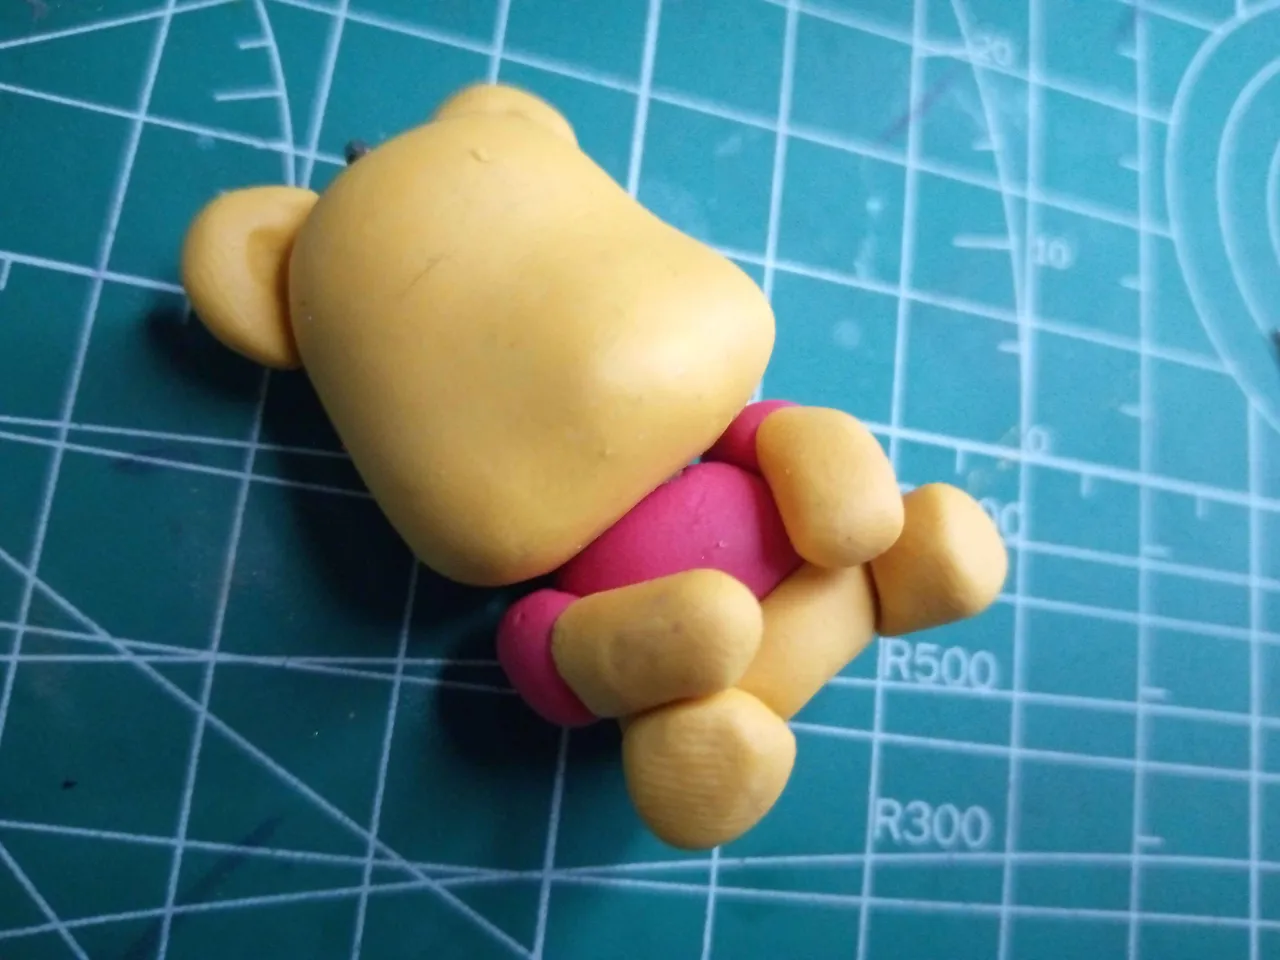
Then I made the ears, which I placed on the back of his head. I made this pair of ears as two spheres with a small hole in the center. They are the typical ears of a teddy bear, but I made them in the same color as the head, because the body of the character is only one color.
Luego le hice las orejas, las cuales le coloqué en la parte trasera de la cabeza. Este par de orejas las hice como dos esferas con un pequeñito agujero en el centro. Son las típicas orejitas de un osito de peluche, pero las hice del mismo color de la cabeza, pues es de un solo color el cuerpo del personaje.
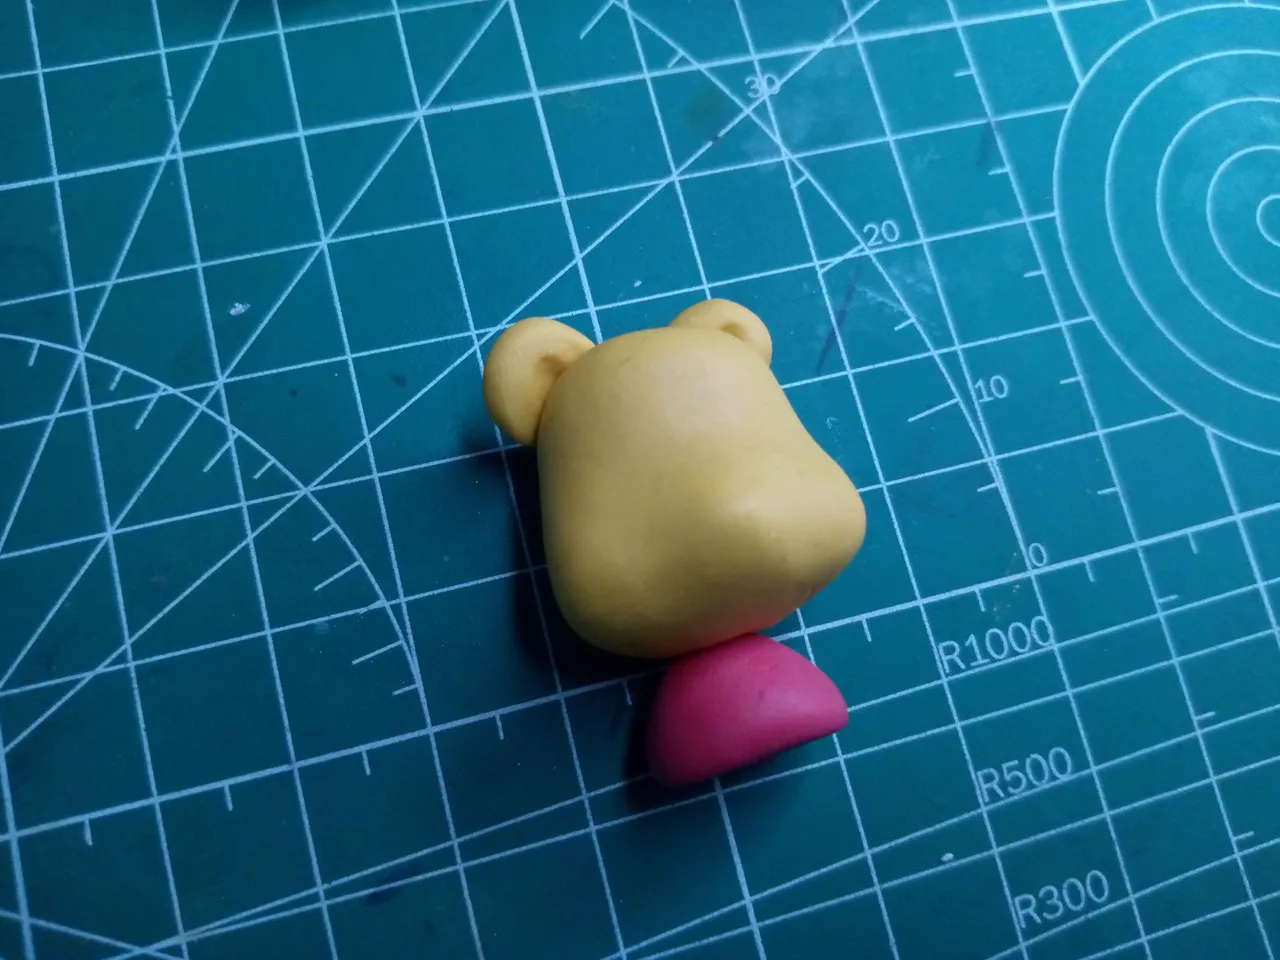
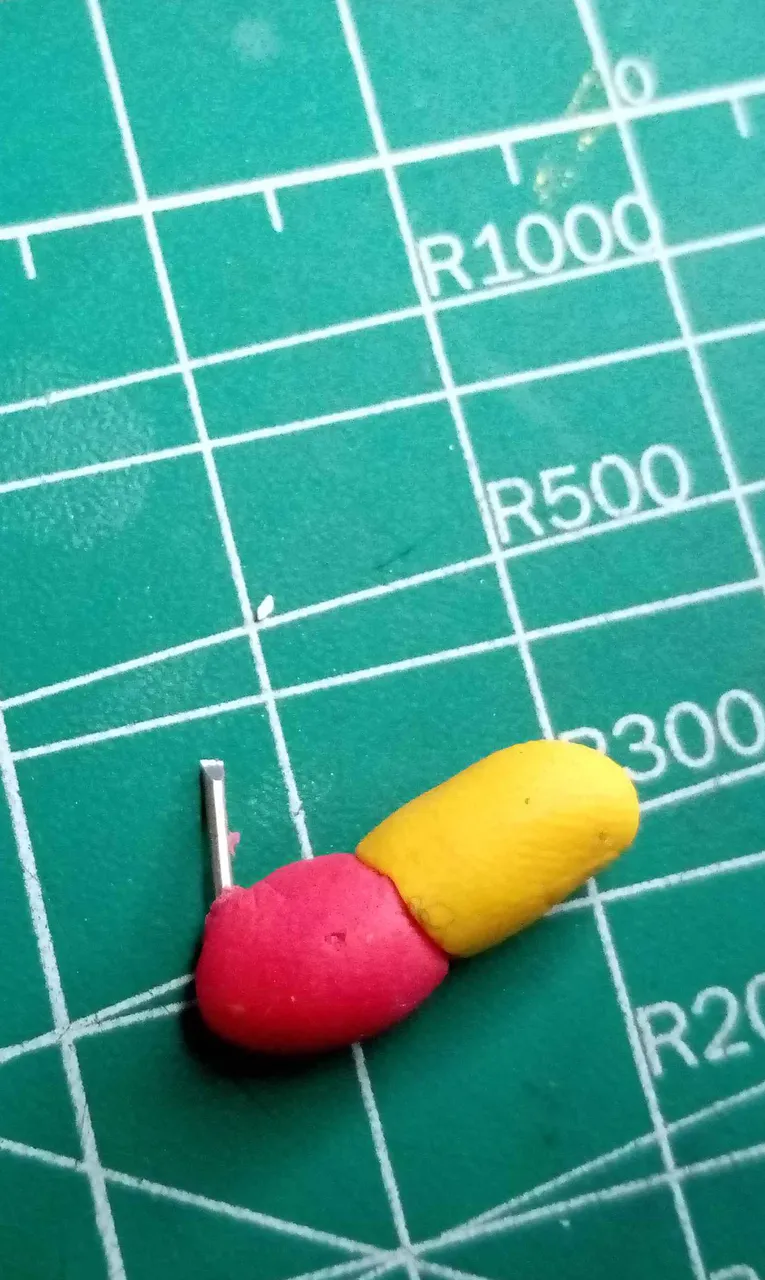
Although it is made with flexible dough, it is very practical to place supports for the different parts of the body. In this case, for the Winnie Pooh T-shirt, which is red, I placed a small pin that can serve as a support for the head and torso of the character.
Aunque está hecho con masa flexible, bien que resulta práctico colocar soportes para las distintas partes del cuerpo. En este caso para la camiseta de Winnie Pooh, que es roja, le coloqué un pequeño alfiler que pueda servir como soporte para la cabeza y el propio torso del personaje.
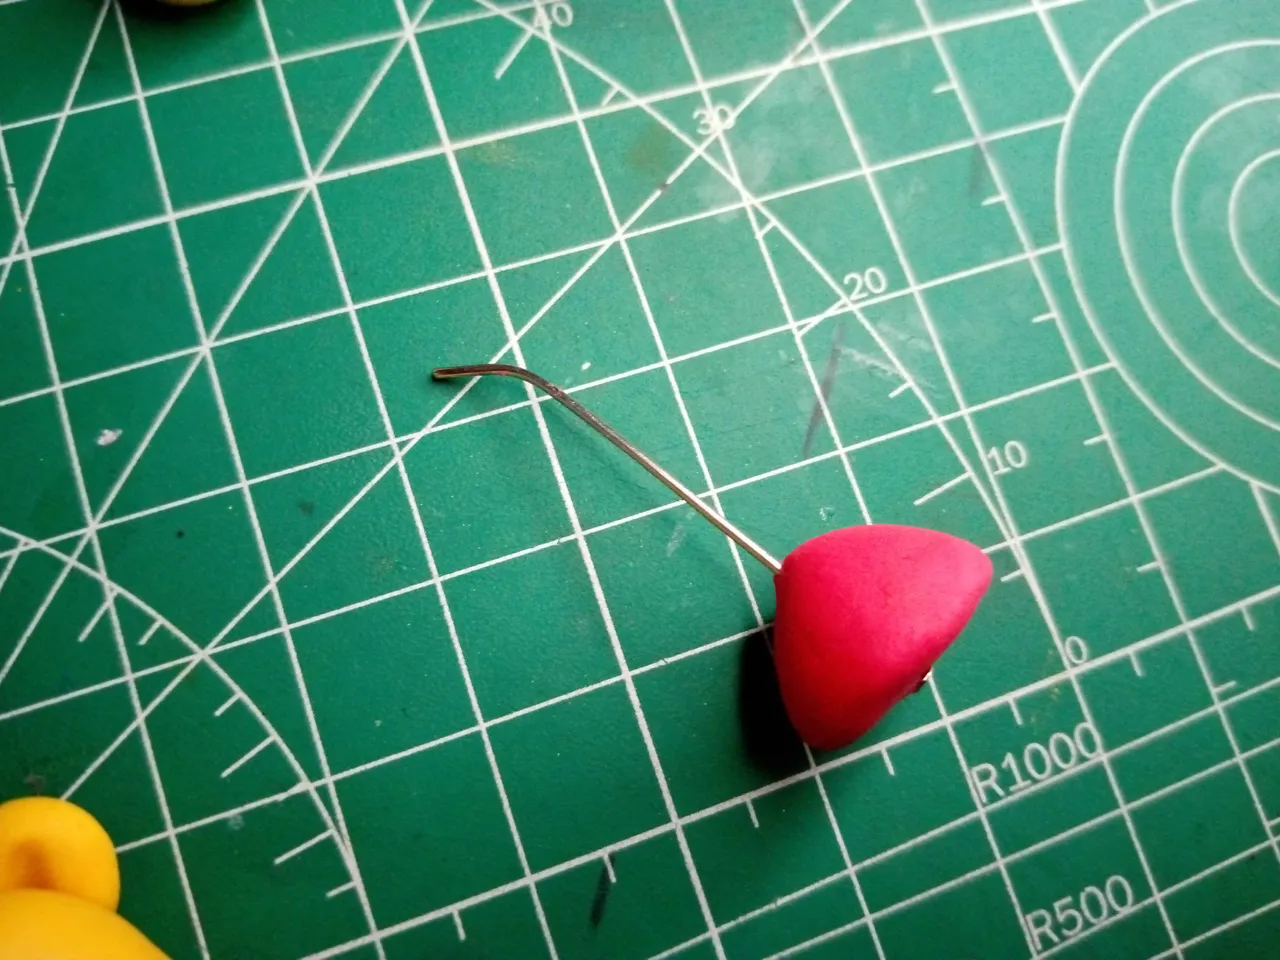
Notice that the pin goes all the way through the head, so it will be a strong joint, so when it's dry it will hold everything in place.
This is something I did with both the red t-shirt and the yellow bottom, where the legs go. I also put a piece of pin there to hold it in place.
Fíjense que atraviesa toda la cabeza el alfiler, por lo cual será una unión resistente, así cuando esté seco podrá mantenerse todo en su lugar.
Es algo que hice tanto con la camiseta roja, como con la parte inferior amarilla, donde van las piernas. Ahí también le coloqué una pieza de alfiler para sujetarlo.
 |  |
|---|
When it was time to make the arms and legs, I molded them as little sticks. For the arms I made two small sticks in red and one in yellow. For the legs, I did make them yellow. In both cases I used small pieces of pin to hold each piece in place.
Al momento de hacer los bracitos y las patas, los moldeé como pequeños bastoncillos. Para los brazos hice dos bastoncillos chiquititos de color rojo y el amarillo. Las piernas sí las hice de color amarillo. En los dos casos usé pequeños trozos de alfiler para mantener cada pieza en su lugar.
 |  |
|---|
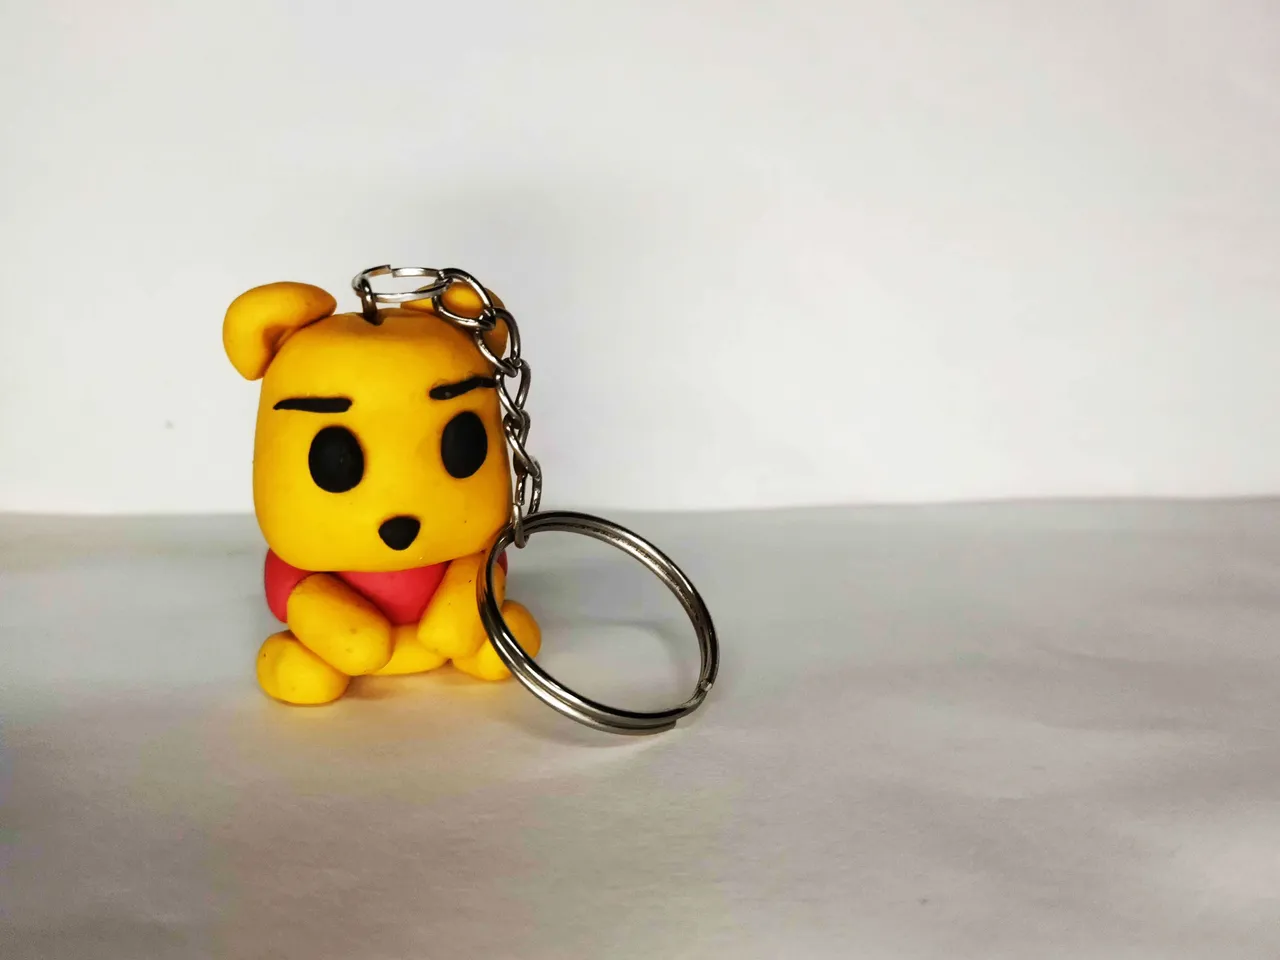
The last thing I did were the eyes and the nose. I made these features tender and adorable, precisely so that when you see the face of the character it evokes this feeling of a tender doll. If you notice, at the tip of the head I also placed the ring that will hold it to the chain and the larger ring of the keychain.
Ya lo último que hice fueron los ojos y la nariz. Estos rasgos los hice tiernos y adorables, Precisamente para que al ver el rostro del personaje te evoque esta sensación, de un muñeco tierno. Si se fijan, en la punta de la cabeza también le coloqué la argolla que lo sujetará a la cadena y la argolla más grande del llavero.
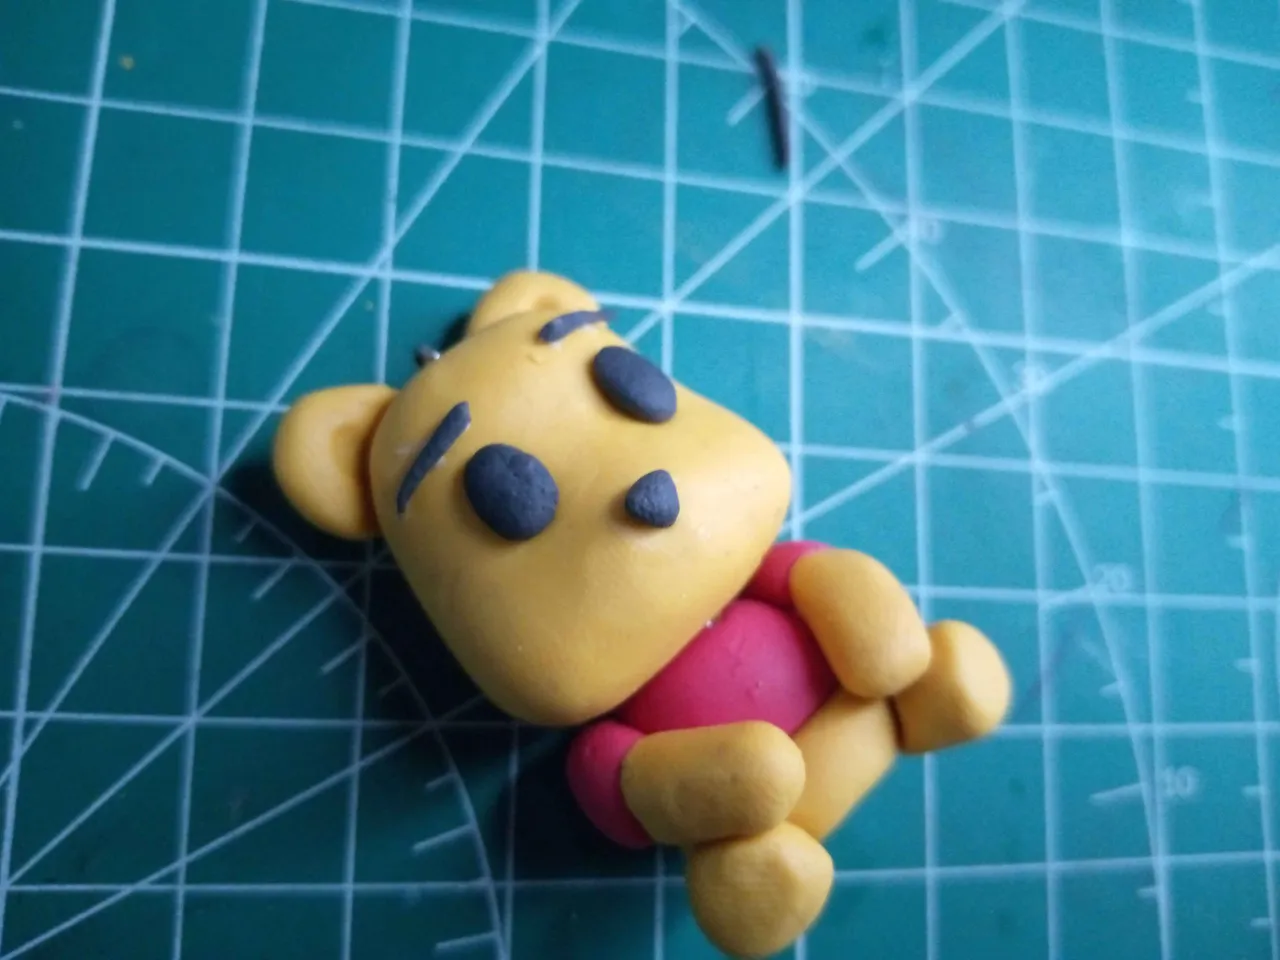
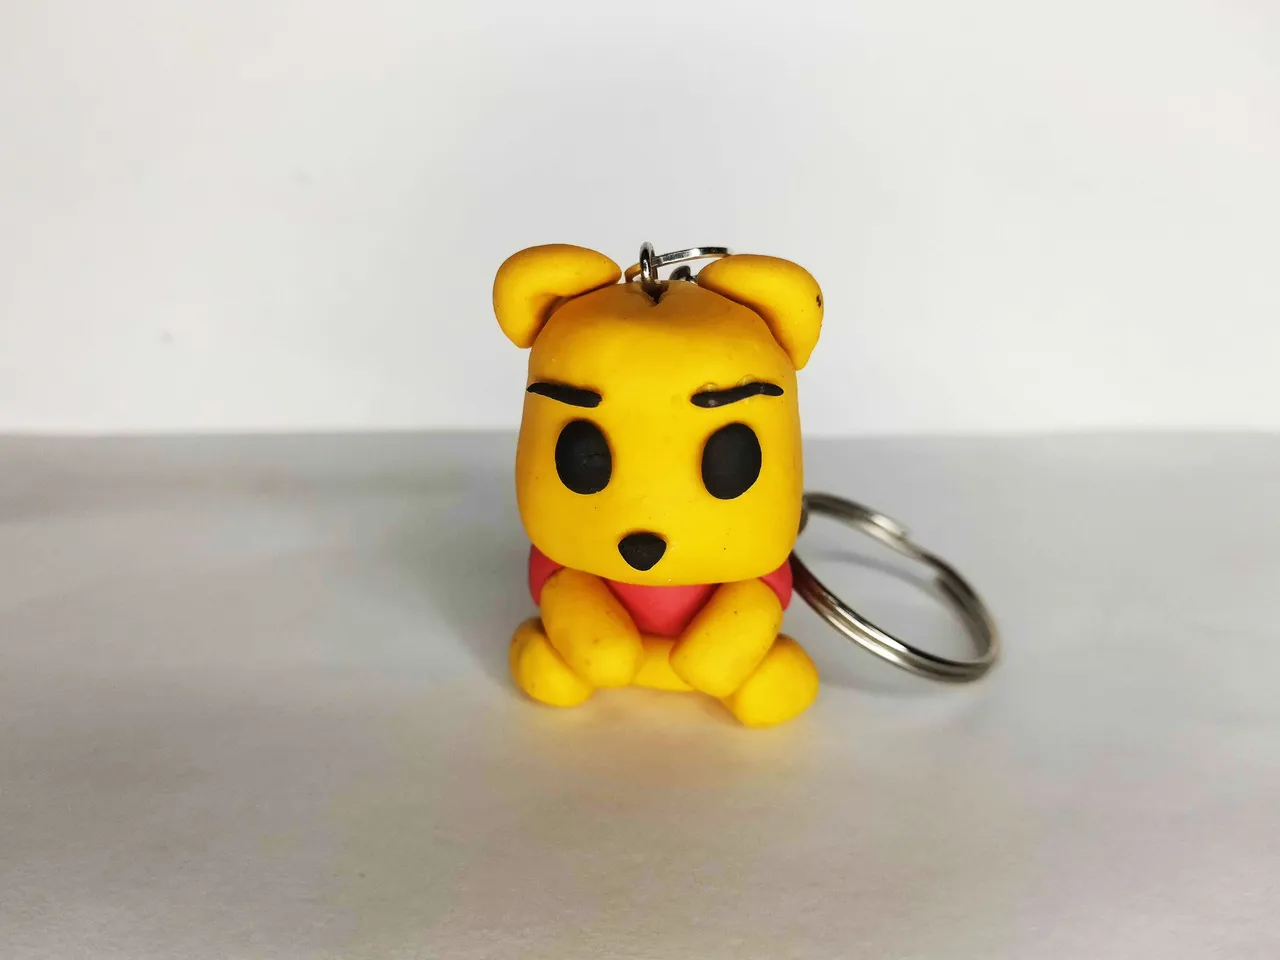
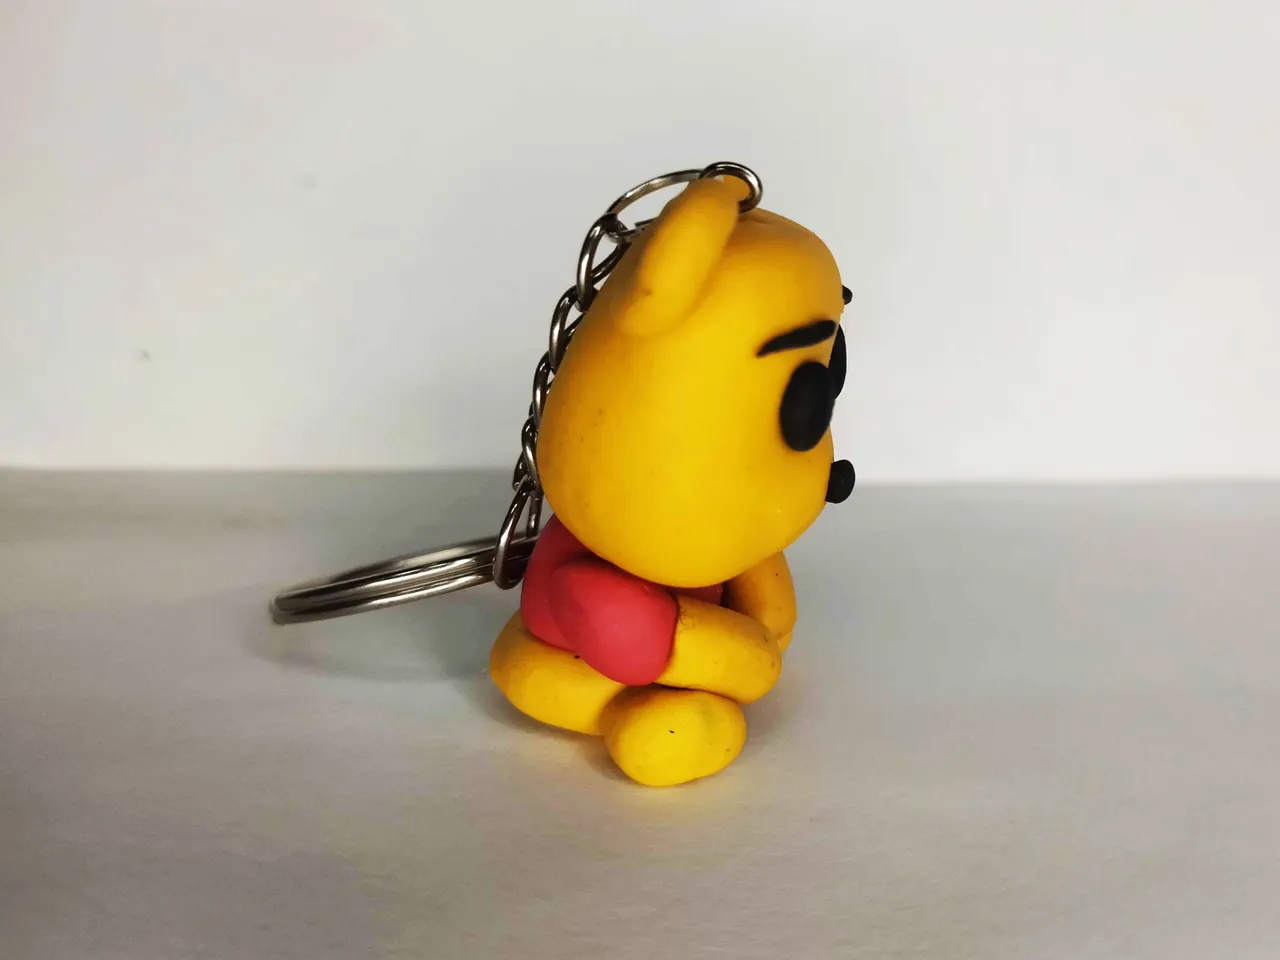
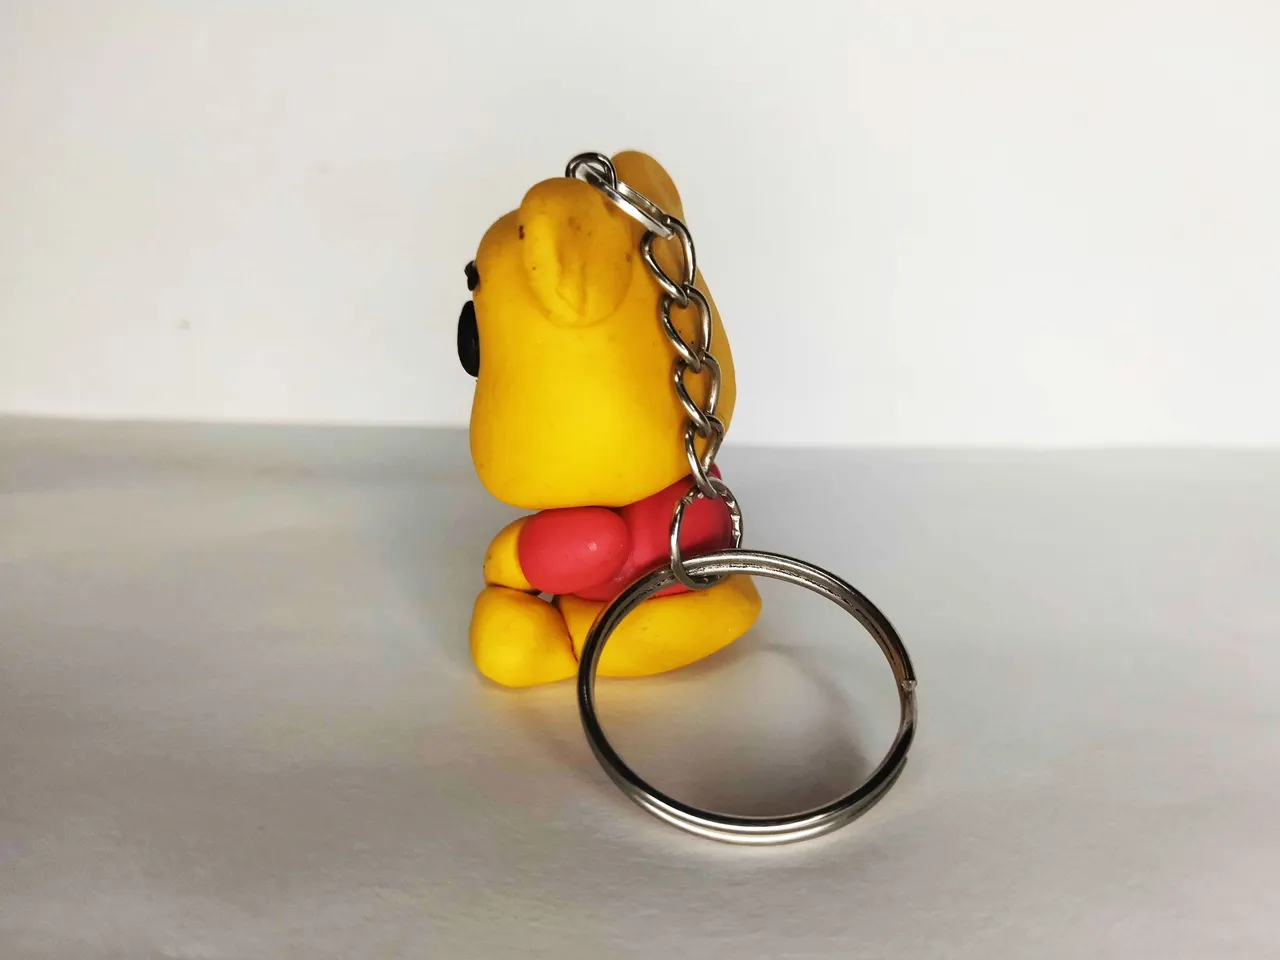
This is how this cute keychain was finished. Below you can see a series of pictures of the final result:
De esta manera quedó terminado este lindo llavero. A continuación pueden ver una serie de fotografías del resultado final:
Well friends, this has been all so far. I hope you liked my publication. I invite you to leave your opinions below in the comments, as always I will be happy to read them.
I appreciate you taking the time to read it. With nothing more to add, I'll say goodbye then...
See you next time!
Bien amigos, esto ha sido todo hasta ahora. Espero que mi publicación les haya gustado. Los invito a dejar sus opiniones abajo en los comentarios, como siempre estaré encantado de leerlos.
Agradezco que se tomaran el tiempo de leerme. Sin más que agregar, me despido entonces...
¡Hasta la próxima!